Tissue paper flowers make a gorgeous event decor with a big impact—think weddings, baby showers, bridal showers and more! Learn how to make easy tissue paper flowers, as well as different methods for cutting the petals to create four unique styles.
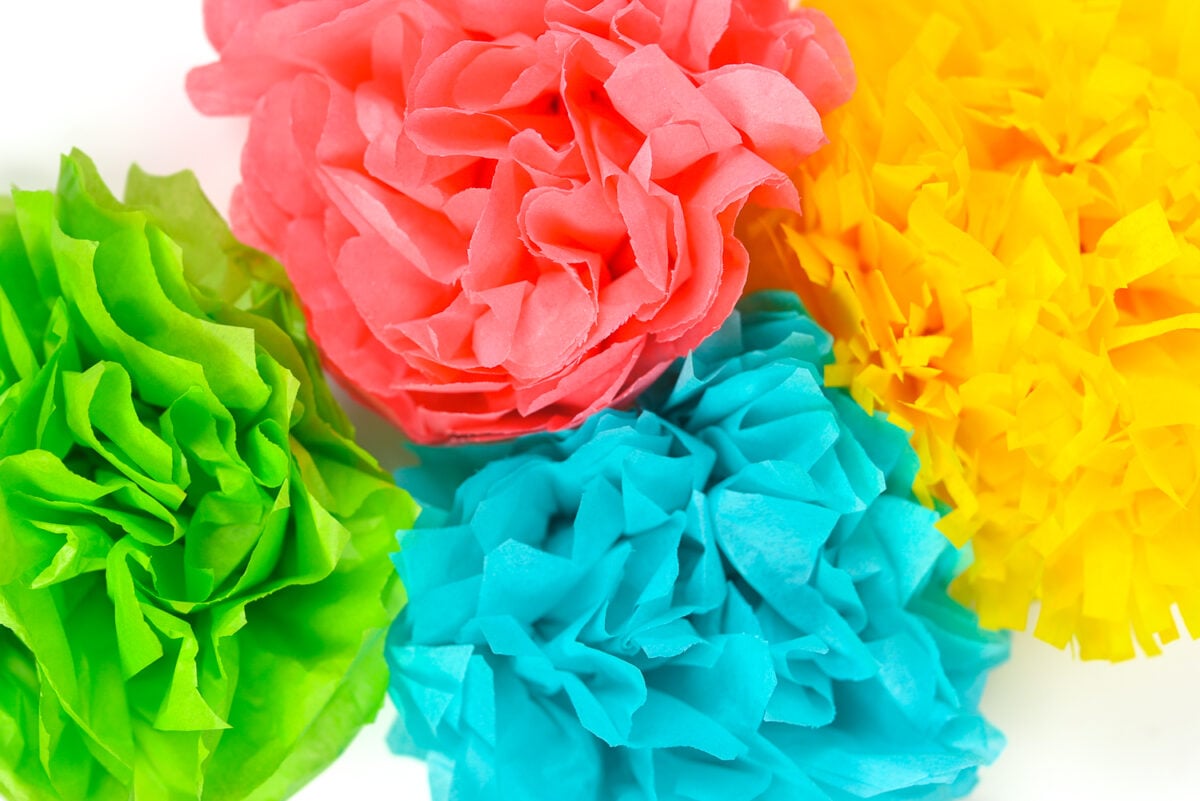
If you’re looking for budget decor for weddings, baby showers, and bridal showers, you’ve come to the right place! These tissue paper flowers also make amazing photo backdrops—you could even make small flowers for an inexpensive but gorgeous paper flower bouquet!
I’ve been making tissue paper flowers since our wedding in 2013, and they are still my go-to budget party decor. This post will teach you not only how to make tissue paper flowers quickly and easily, but you’ll also learn four different ways to cut the petals to get different looks to your flowers.
If you are looking for paper flowers to make using your Cricut or other cutting machine, check out my tutorials for Giant Paper Flowers, 3D Flowers, and Paper Succulents.
Watch the Video
You can watch my video tutorial here, or read on for written instructions!
Why Make Tissue Paper Flowers?
How did I come to love tissue paper flowers so much? Our budget was a little lopsided for our wedding. We knew we wanted great food and a fantastic photographer—which left approximately no dollars for table decorations. I’d thought about making fabric flowers for the centerpieces, but then I realized that fabric isn’t cheap either.
A while back, I bought some paper pompoms to decorate my friend’s daughter’s birthday party. I realized they are not hard to make, so I decided that “rivers of flowers” would decorate the centers of our long 8′ tables. I was able to get a good price on the paper through a wholesaler (learn more about buying tissue paper in bulk). Which was good, because I needed 500 flowers in two different sizes.
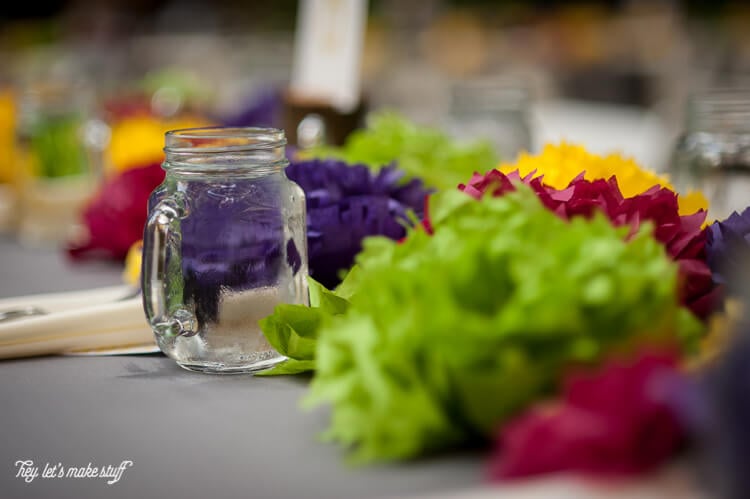
While it seemed kind of crazy to make 500 tissue paper flowers, it actually wasn’t too difficult. I had the help of many of my family and friends, who came over and helped me fluff all the flowers. They turned out beautifully and I got so many compliments on the decor at the wedding. A bunch of friends took them home after the big day to use at other parties they were throwing.
I’ve also had other friends who have bought tissue paper flowers and just fluffed them for their event!
How to Prepare Paper Flowers
It’s important to make sure your tissue paper flowers are all fluffed before your event! There will be way too many to fluff the day of, and it will just stress you out. I had a giant box with a variety of flowers in each for each table. That way my coordinator and her team could just open each box and pop the already-fluffed paper flowers on the table.
Want to make some of your own? Here’s a tutorial on how to make tissue paper flowers!
What Supplies Do I Need for Tissue Paper Flowers?
It doesn’t take much to make these flowers! All you need is:
How to Make Tissue Paper Flowers
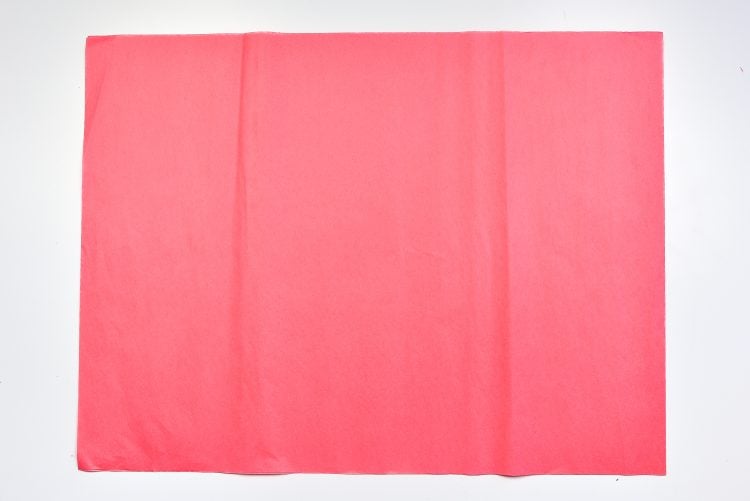
Start with two large sheets of tissue paper. I bought bulk tissue paper so it only has two vertical folds, but using regular tissue paper with more folds works too.
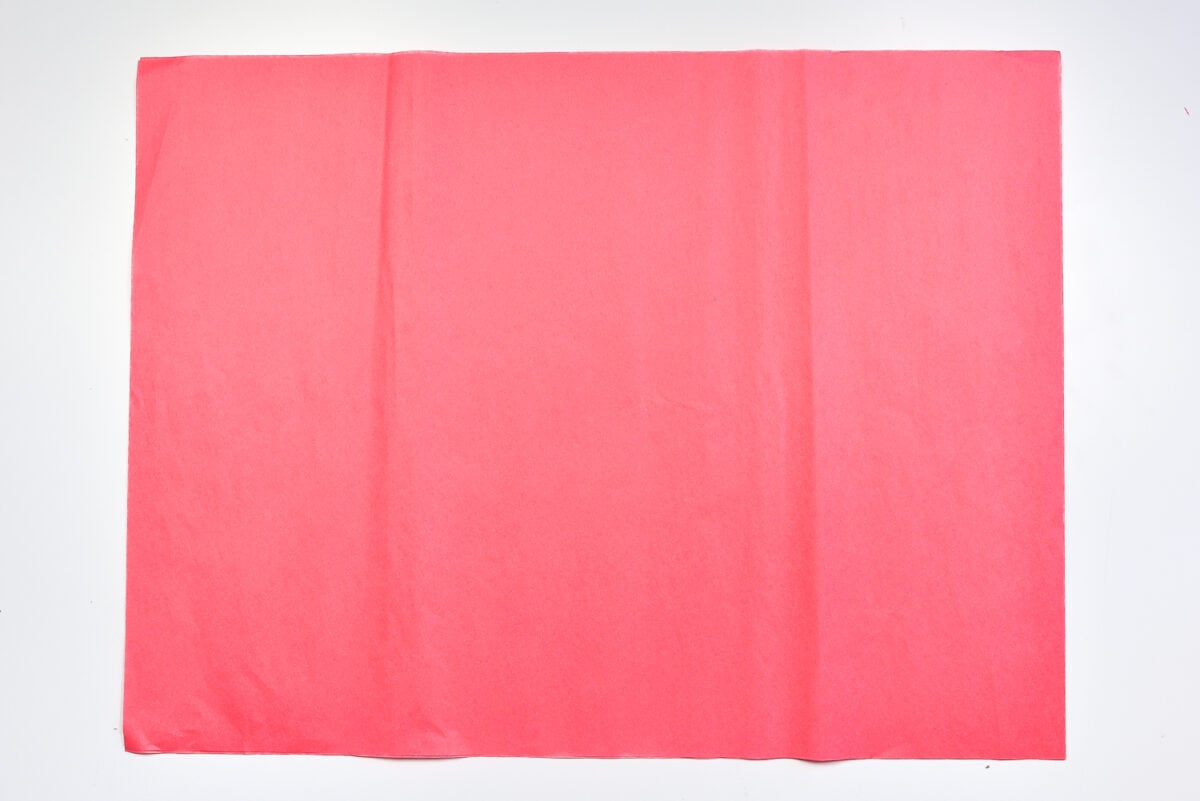
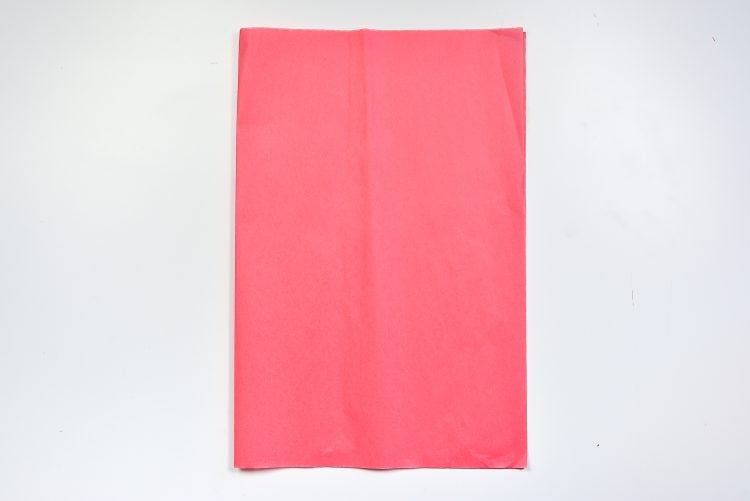
Fold the two tissue paper sheets in half.
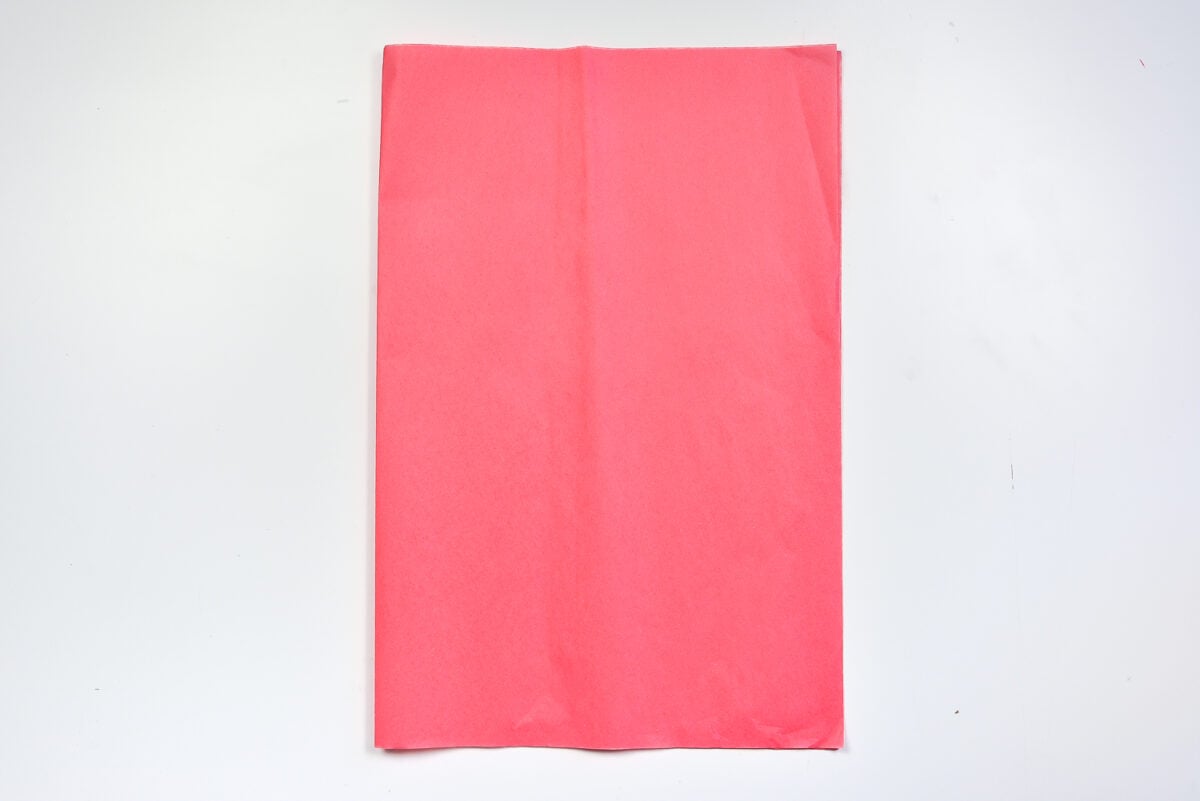
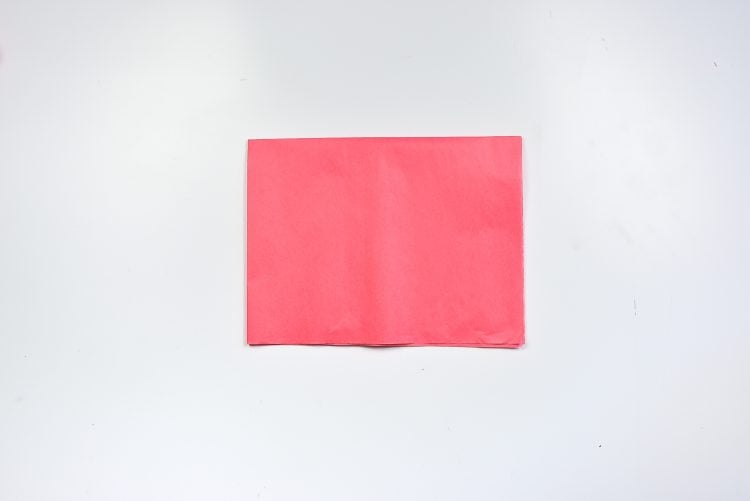
Then, fold in half again.
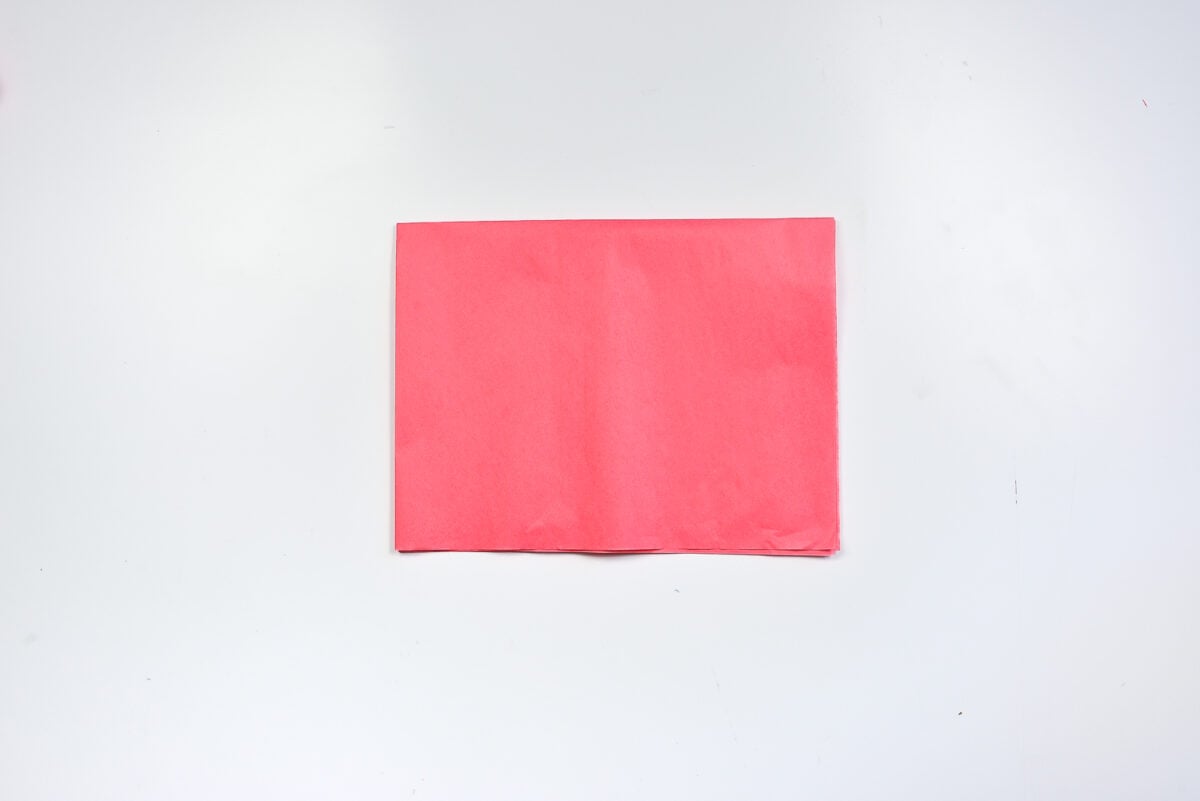
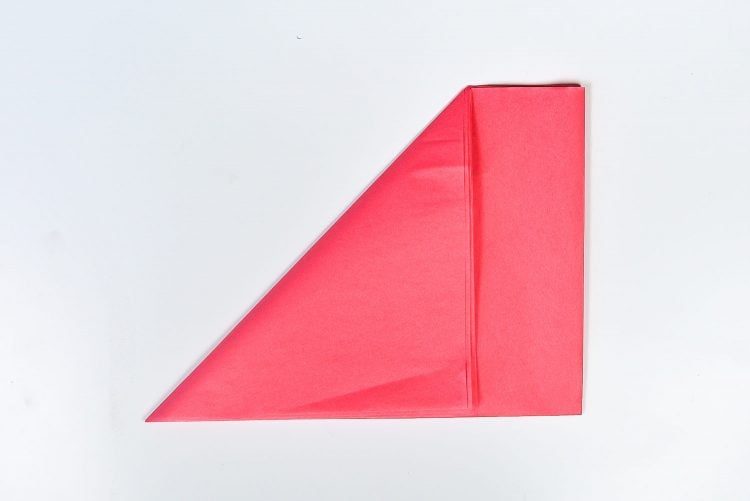
Find the corner with all of the separate pieces of paper (not one with a fold). Take this corner and fold it to the bottom edge to make a triangle.
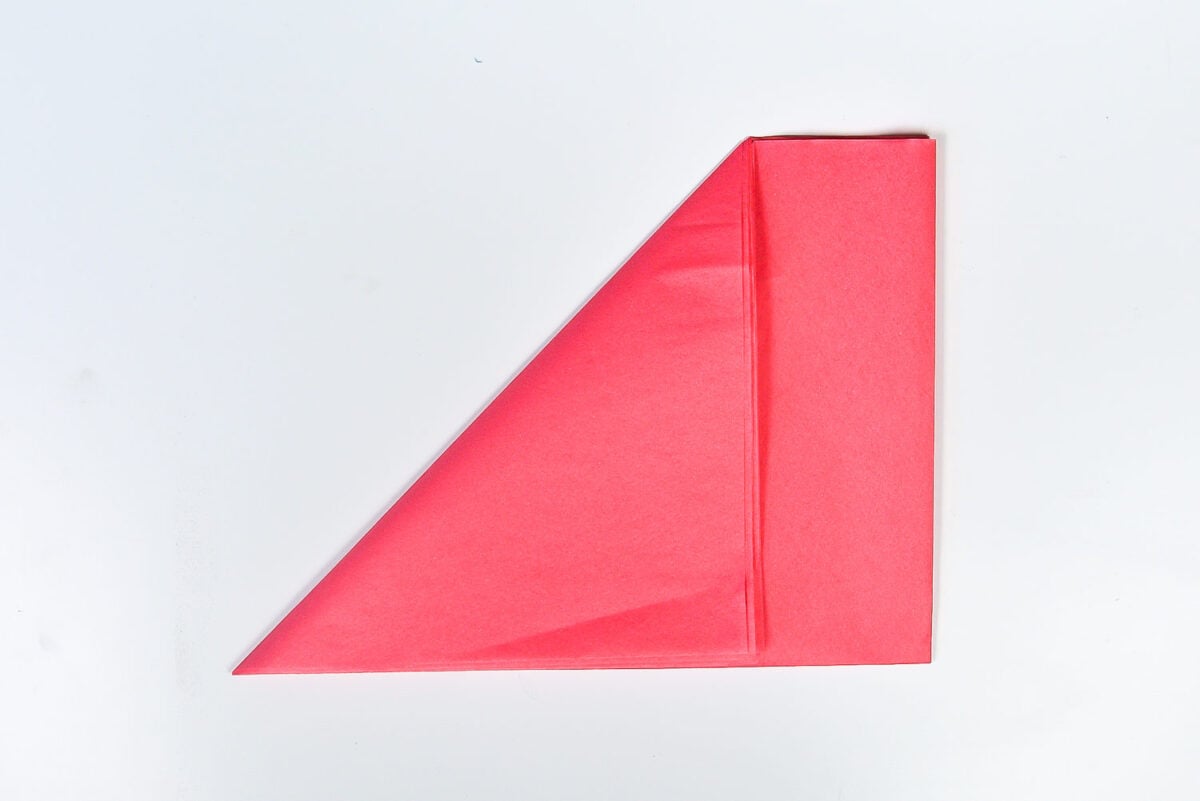
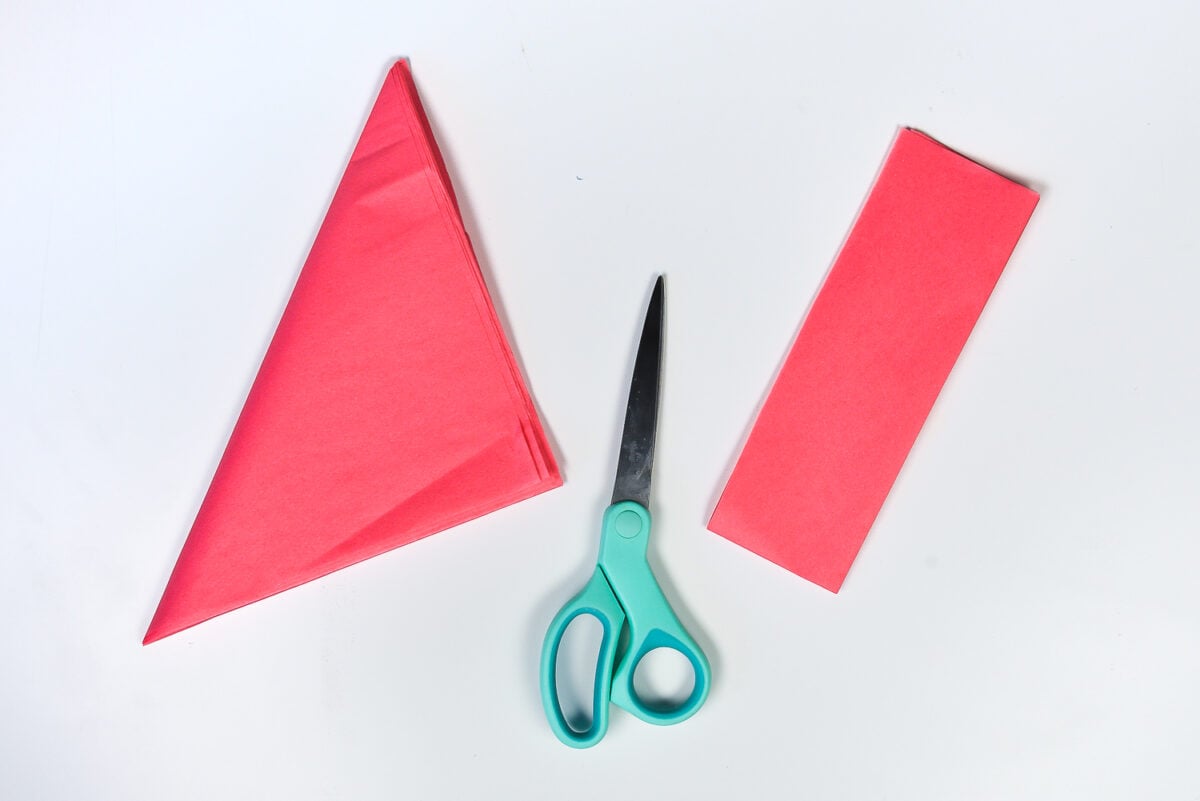
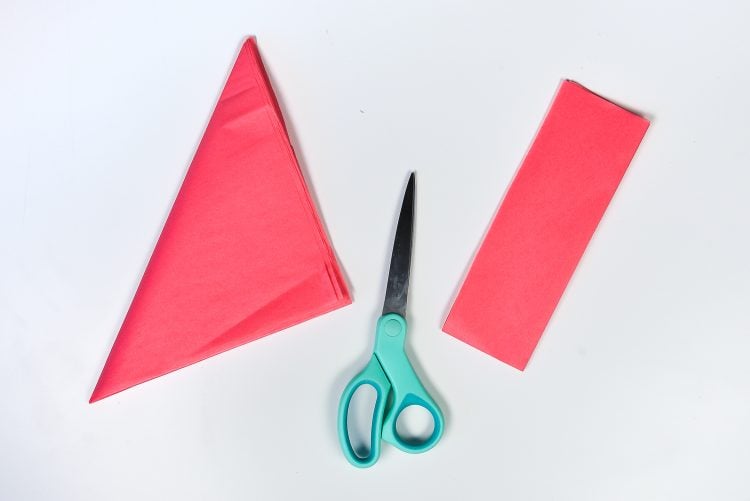
Trim off the extra rectangle of paper. Scissors work if you’re just making a few, but I really found my rotary cutter, ruler, and self-healing cutting mat were optimal for making a lot of tissue paper flowers.
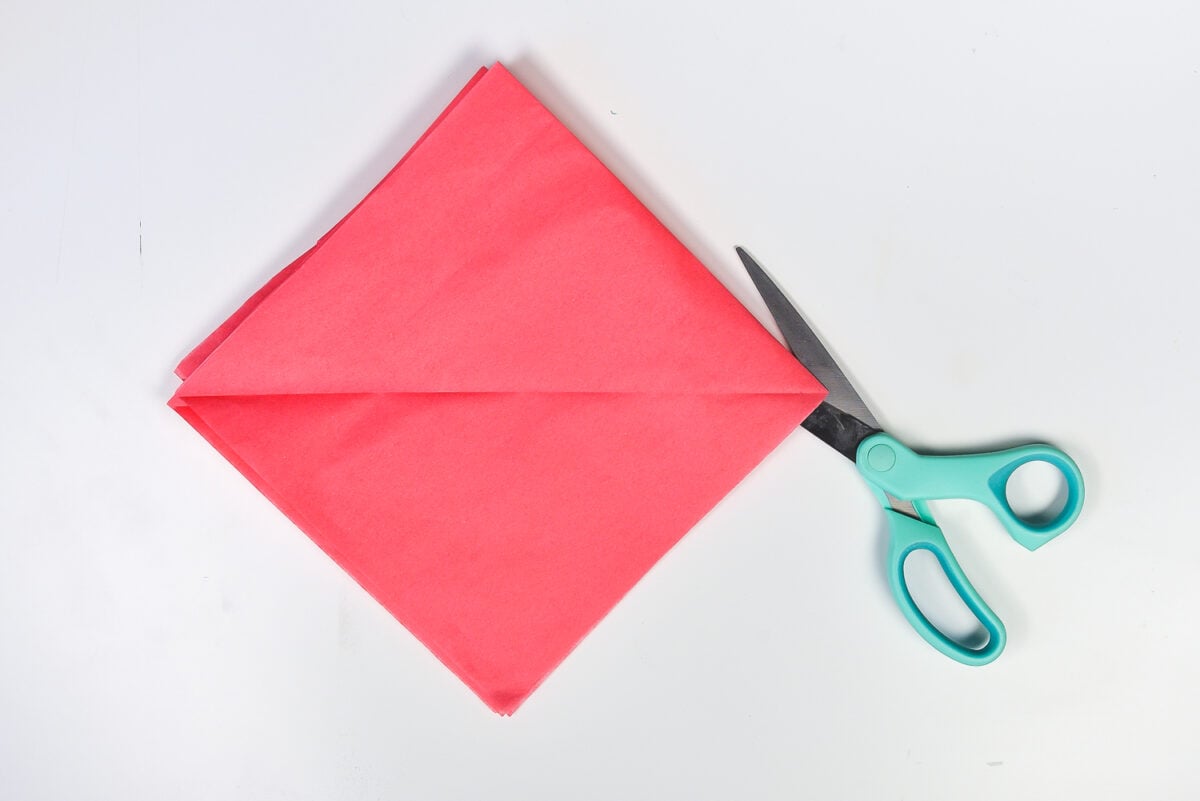
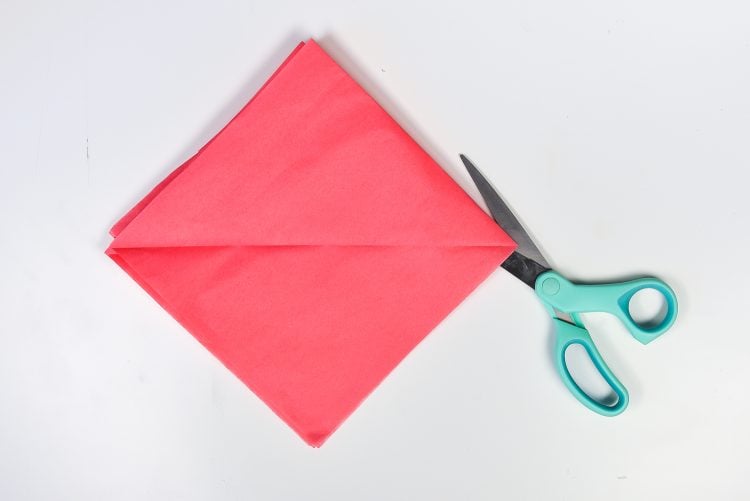
When you open up the triangle to make a square, you’ll notice that some edges still have a fold. Trim off that edge using a rotary cutter, or slip the scissors into the fold and cut to separate all the pieces of paper. Basically, you want eight individual squares.
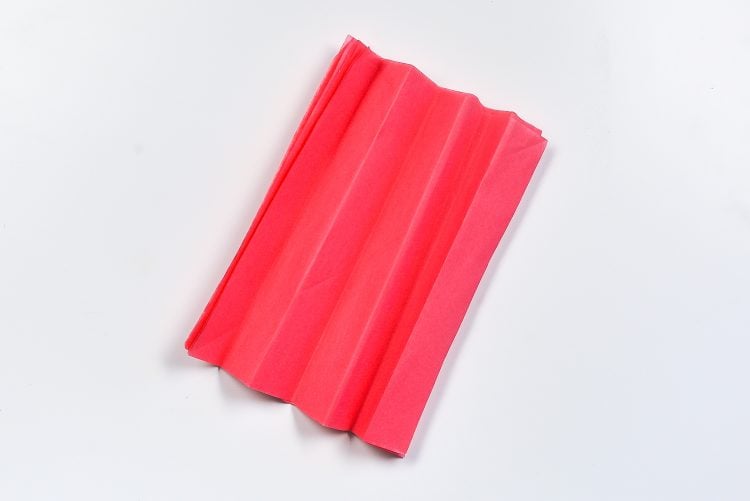
Fold the paper, accordion style. I usually ended up with six or seven folds.
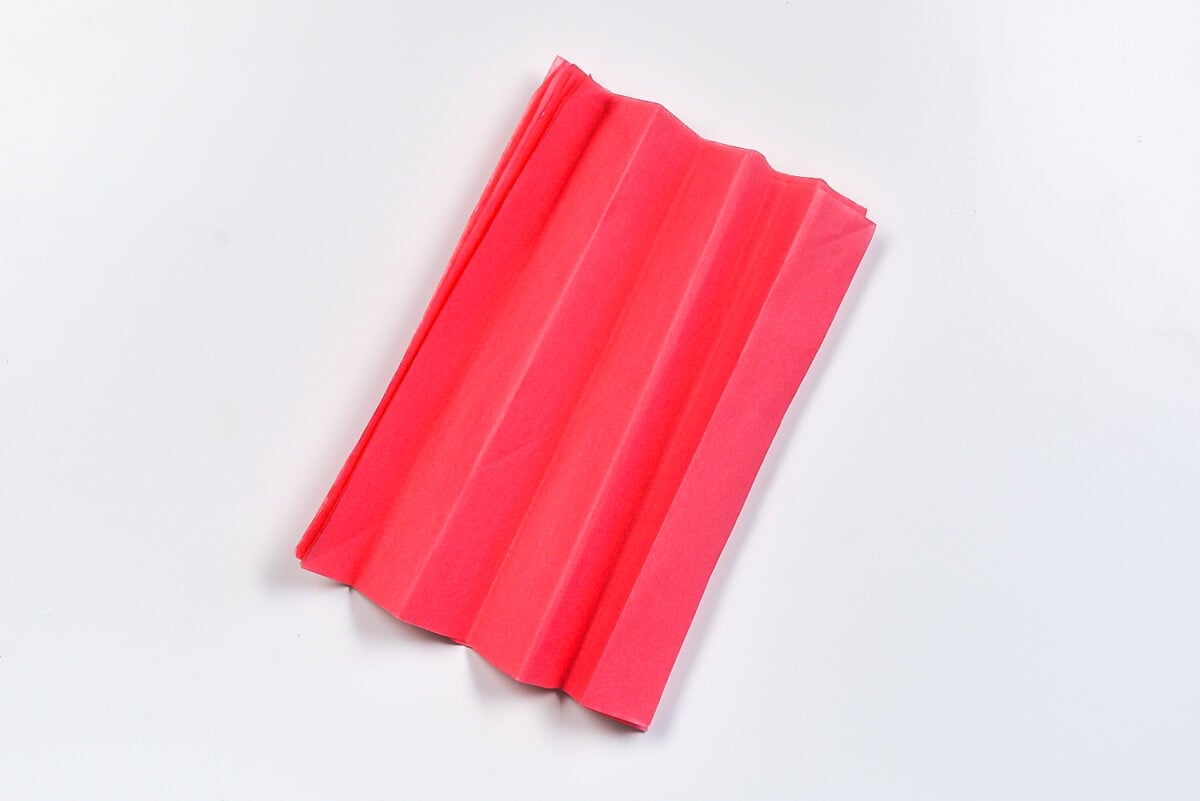
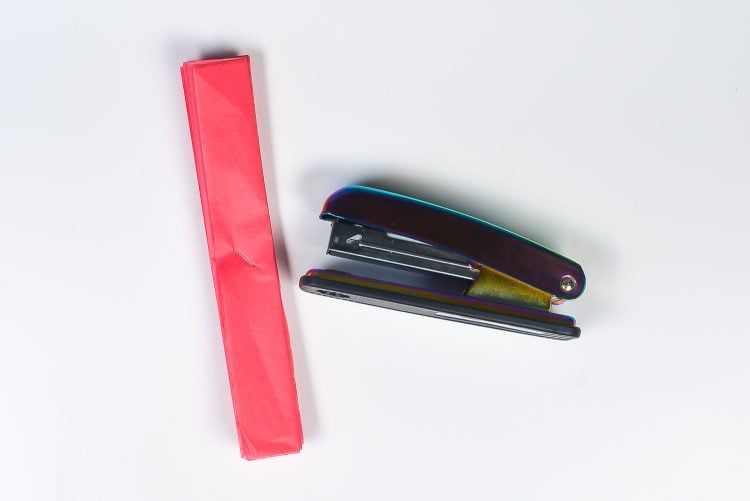
Staple the accordion in the center.
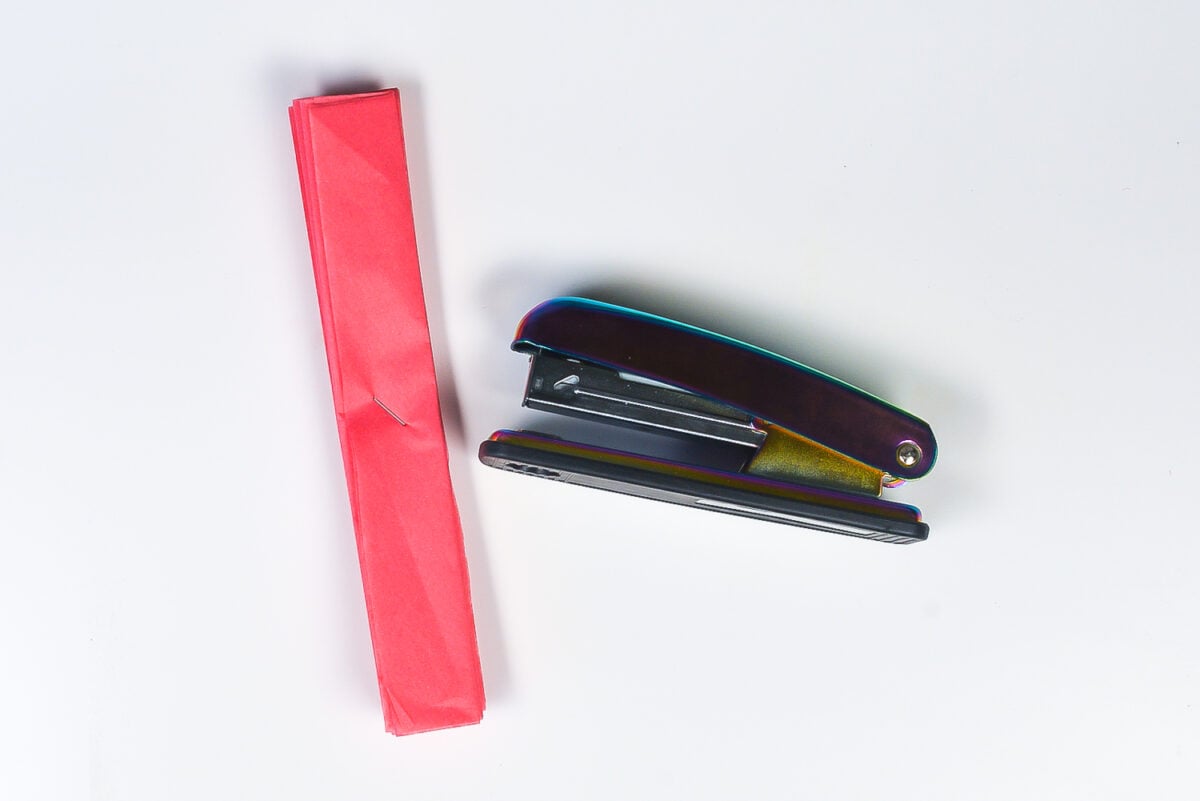
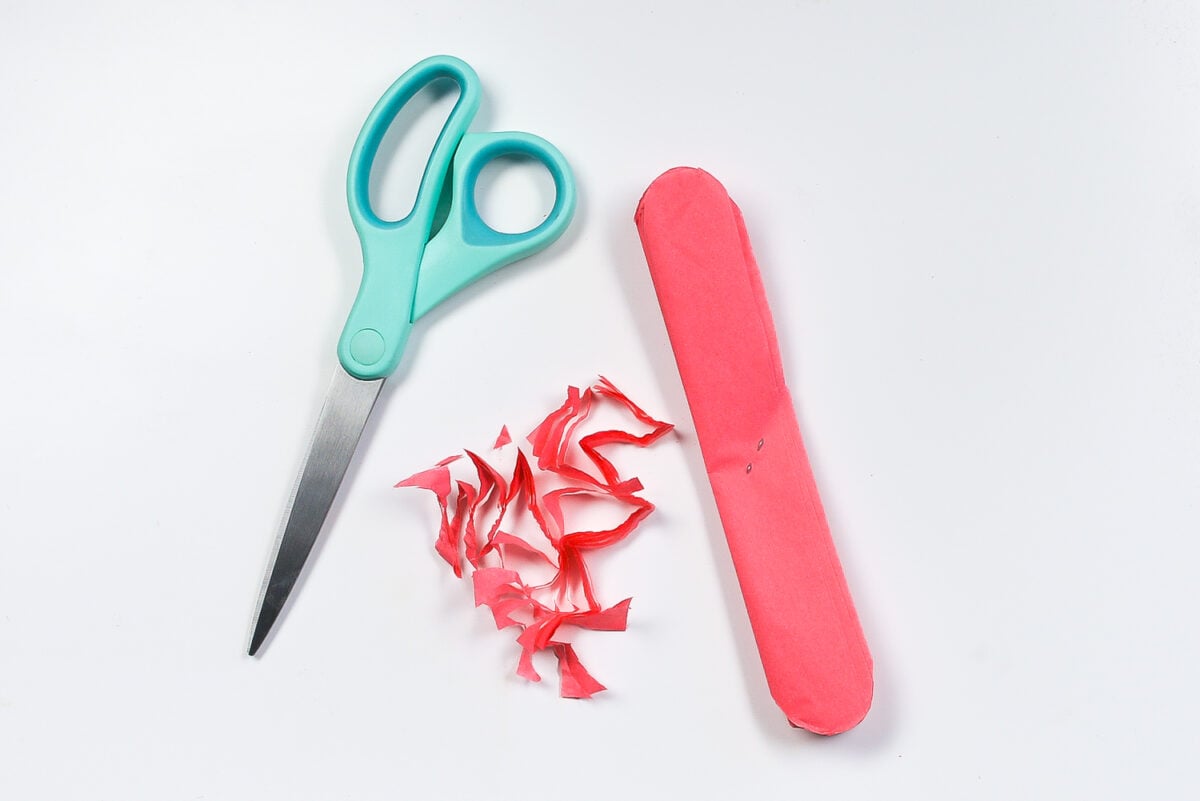
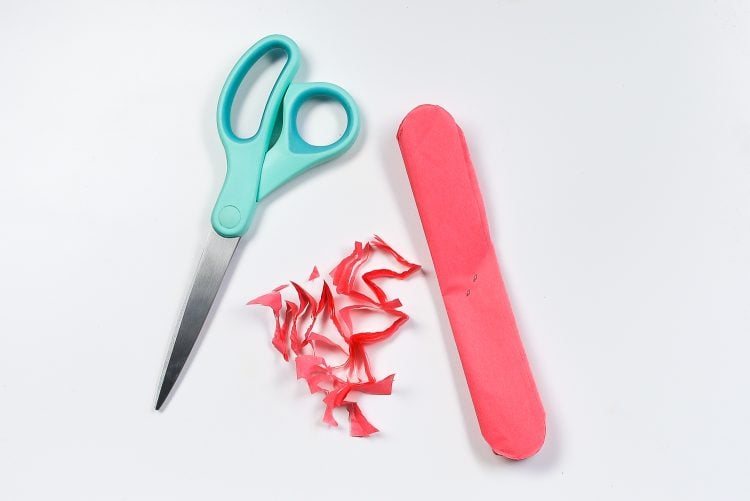
Trim each edge to create the “flower petals.” See below to find other ways of cutting the ends of each flower to create a different look.
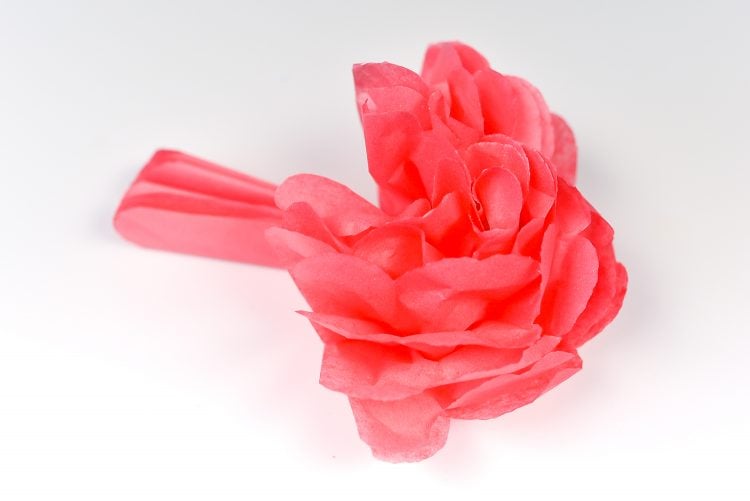
Carefully start to separate the layers of the flower. Pull from the inside of each layer, as opposed to out on each edge. This will help keep the flowers from tearing. To be honest, we ripped a lot of petals but there are so many on each flower that it wasn’t noticeable. Keep fluffing the layers until you have half the flower.
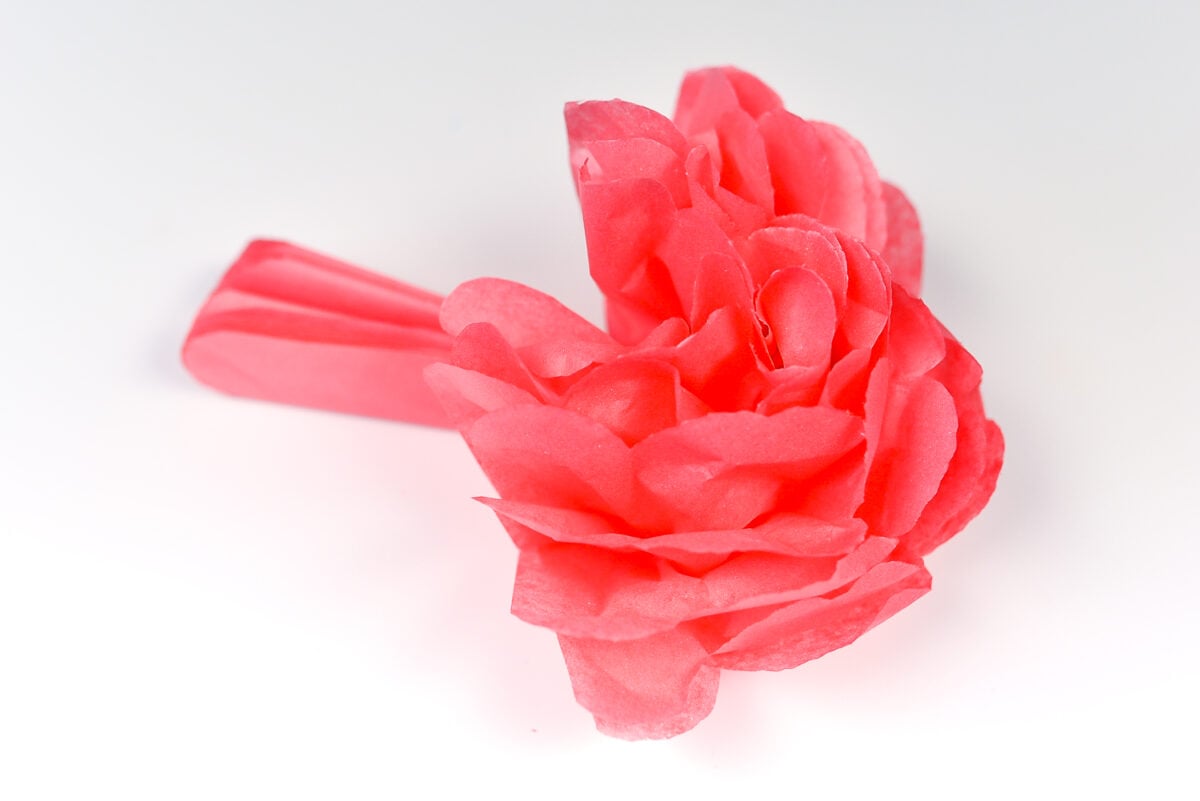
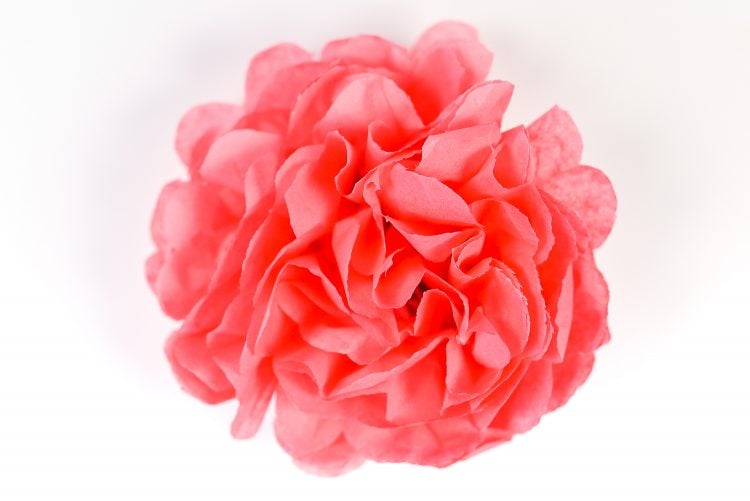
And then fluff the other side! Voila! You’ve made a paper flower!
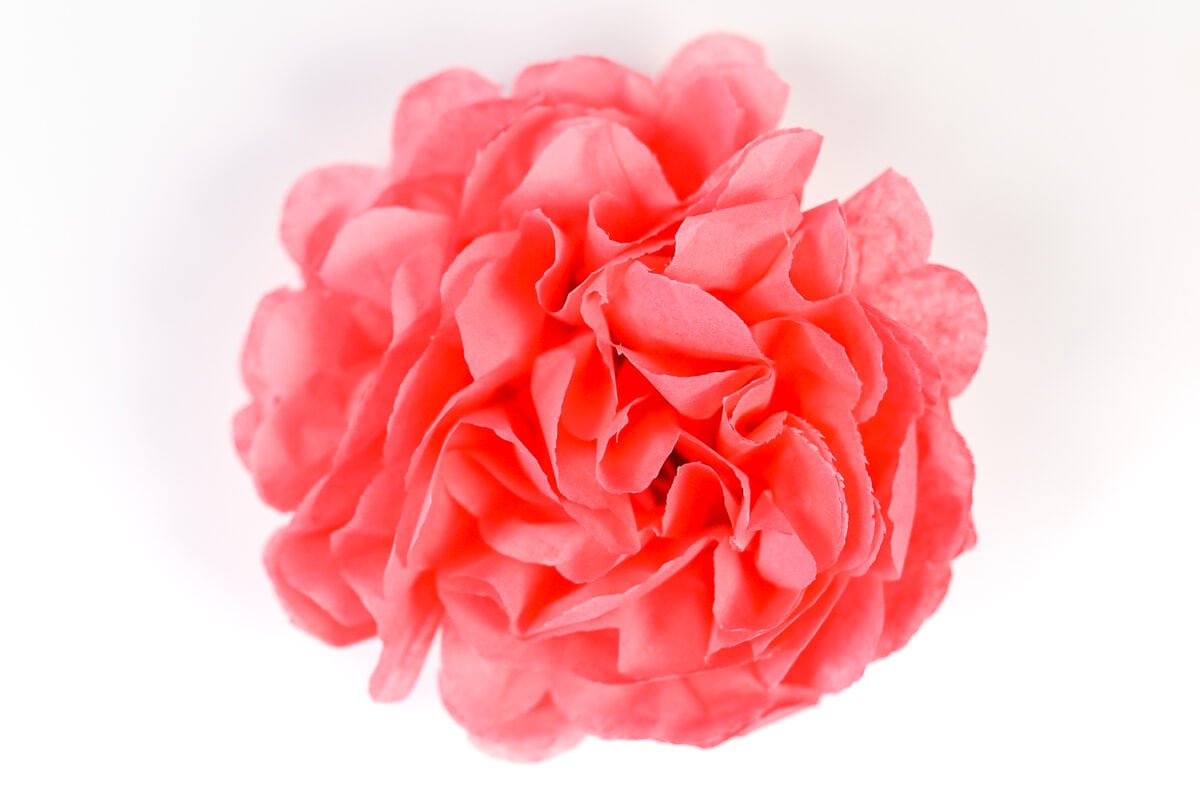
How to Make Small Tissue Paper Flowers
If you want to make smaller paper flowers, cut down the size of your squares. Then use this guide to know how many sheets of tissue paper to use:
- 12″ wide and up — 8 layers
- 8″ – 11″ — 6 layers
- 4″ – 7″ — 5 layers
- Smaller than 4″ — 4 layers
Tissue Paper Petal Options
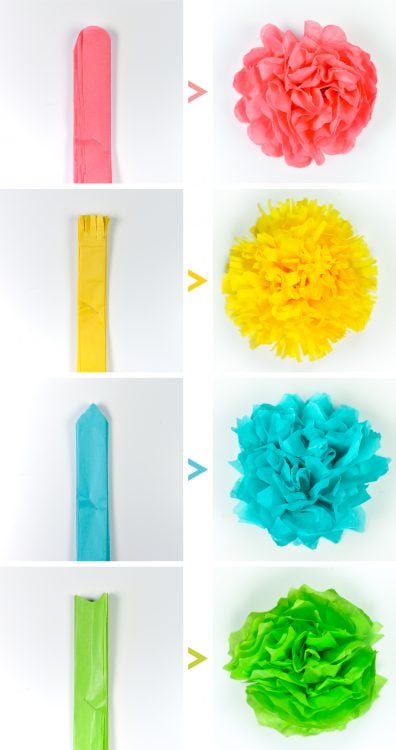
I ended up cutting four different styles of flowers—here’s how I accomplished each look:
- Cutting a rounded petal
- Cutting fringe
- Cutting a pointed petal
- Cutting an inverted rounded petal
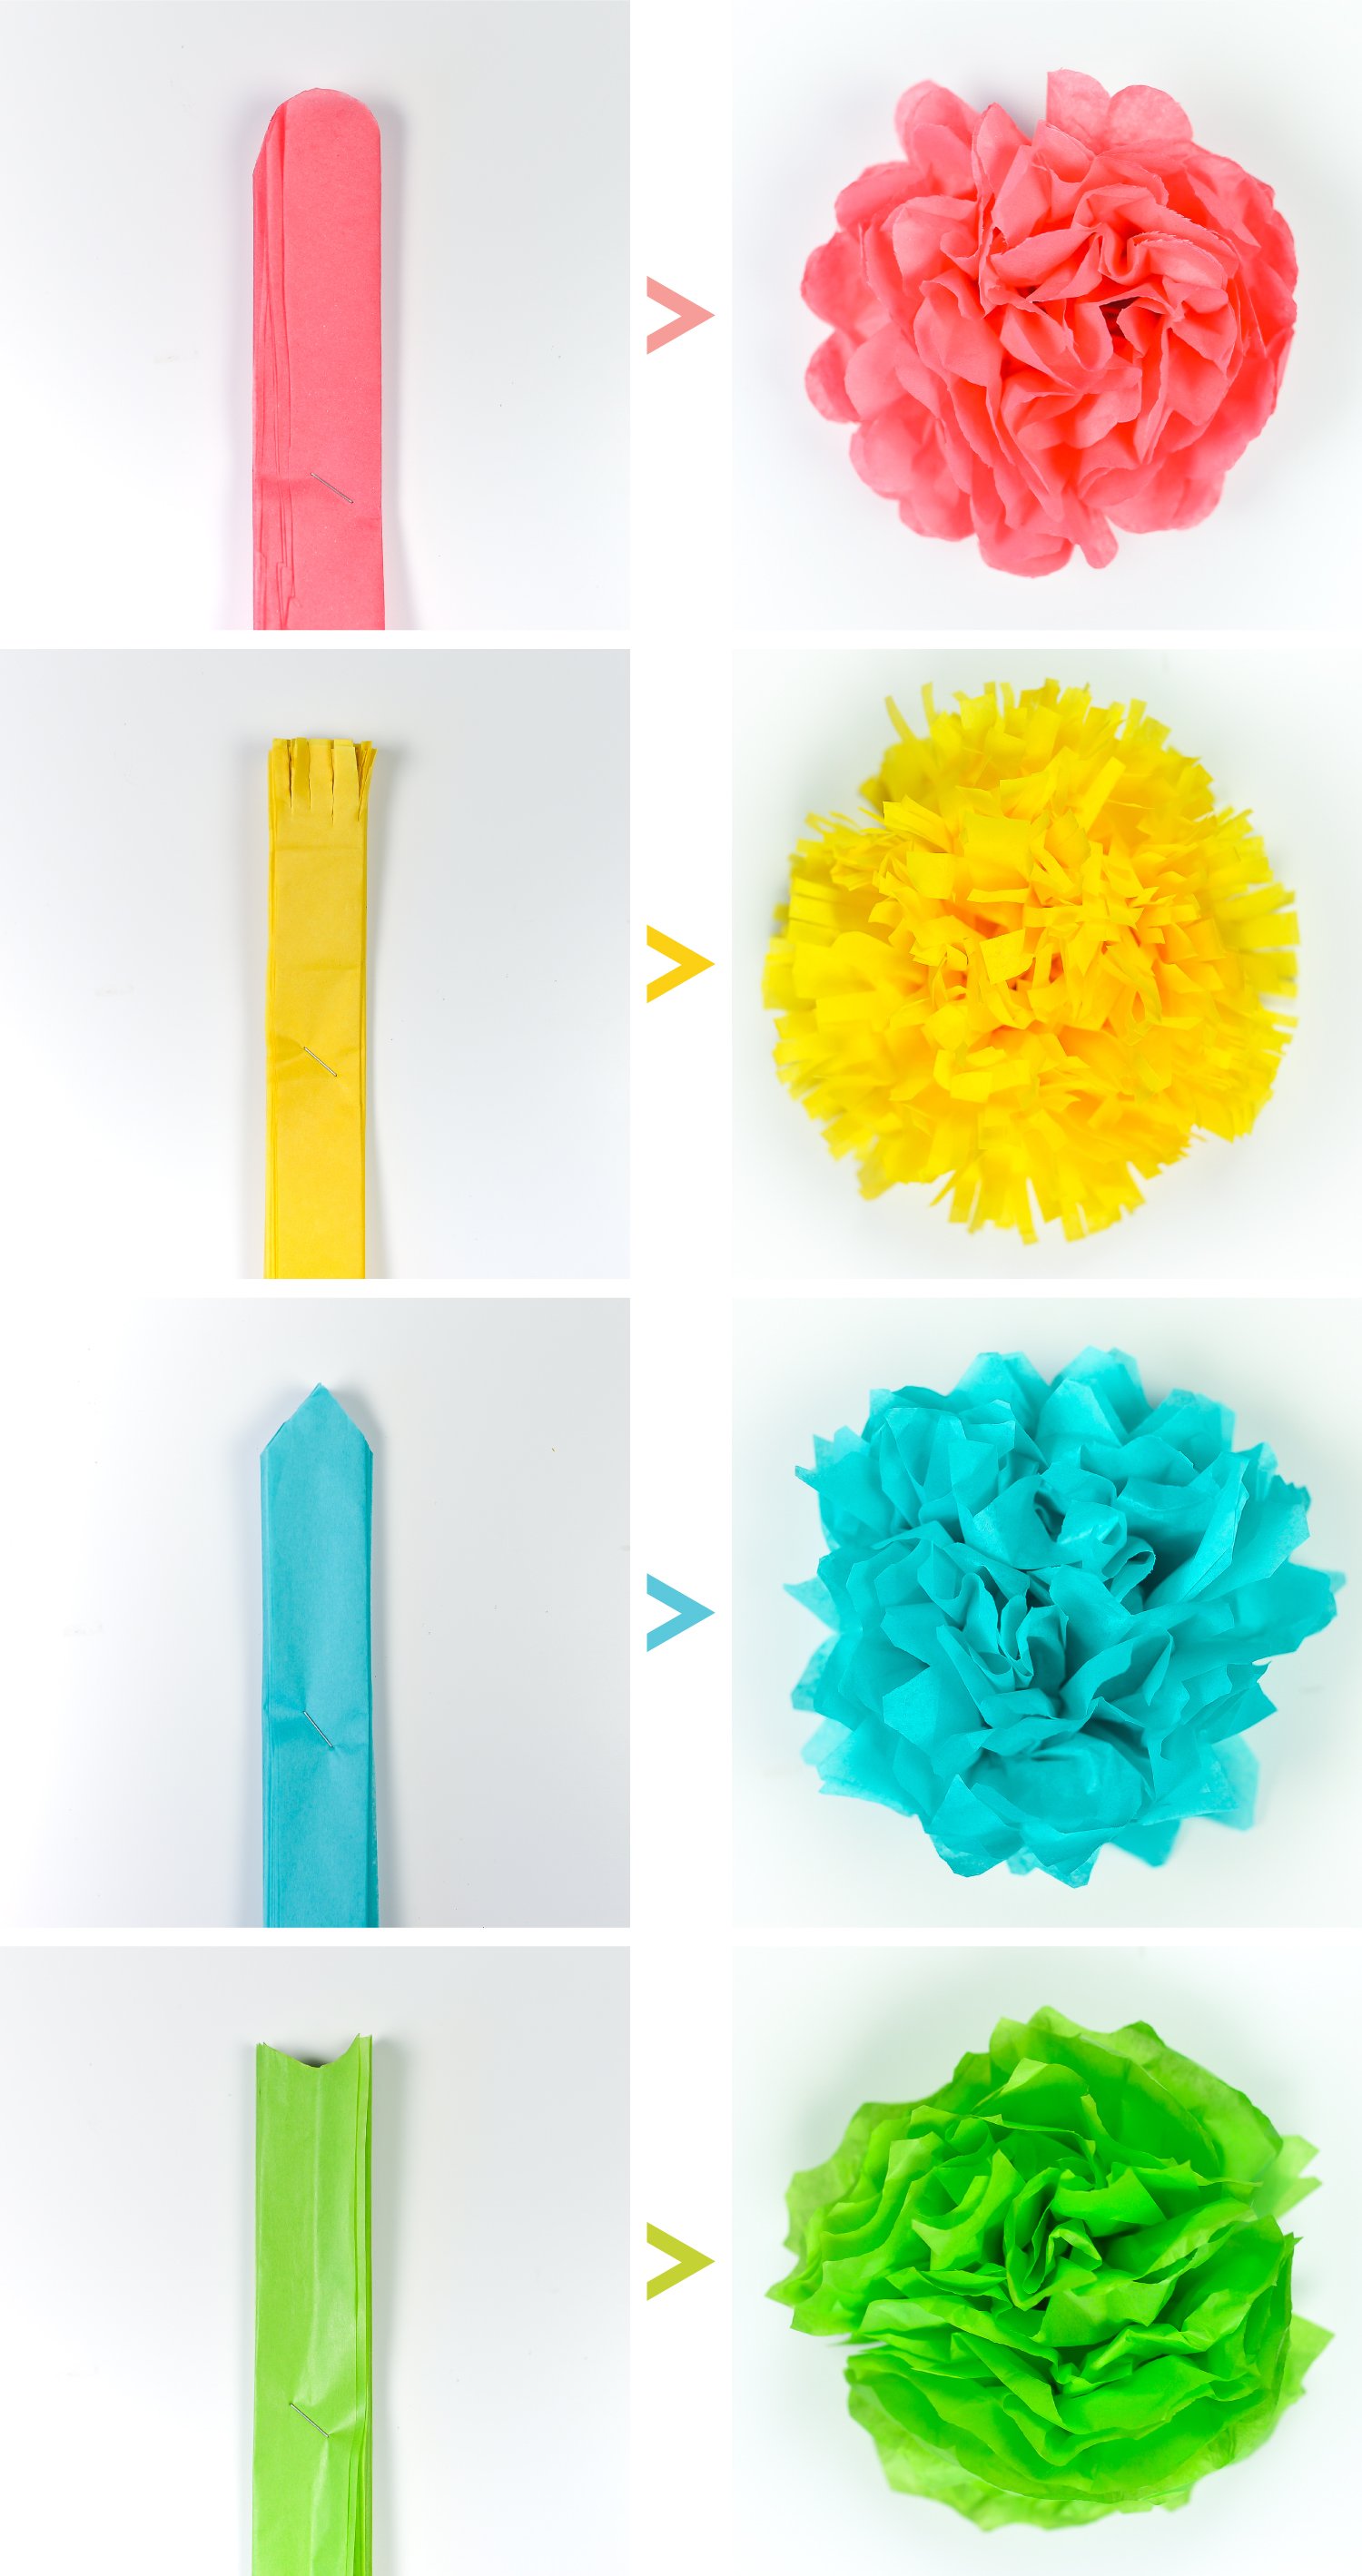
Pretty fabulous and not difficult! Perfect for the bride (or bridal or baby shower planner!) who wants to save a bit of money but still make an impact. Ever since the wedding, this paper flower DIY has been my go-to for almost any party I’m throwing.
Tissue Paper Flower Styles
Take your tissue paper flowers to the next level! You can make these paper flowers using three different colors of tissue paper to make a Tri-Color Tissue Paper Flower. I also have tutorials on How to Make Tissue Paper Peonies and How to Make Tissue Paper Sunflowers, which are perfect if you have a specific theme. Want even more ideas? Check out my round up of The Best Paper Flower Ideas!
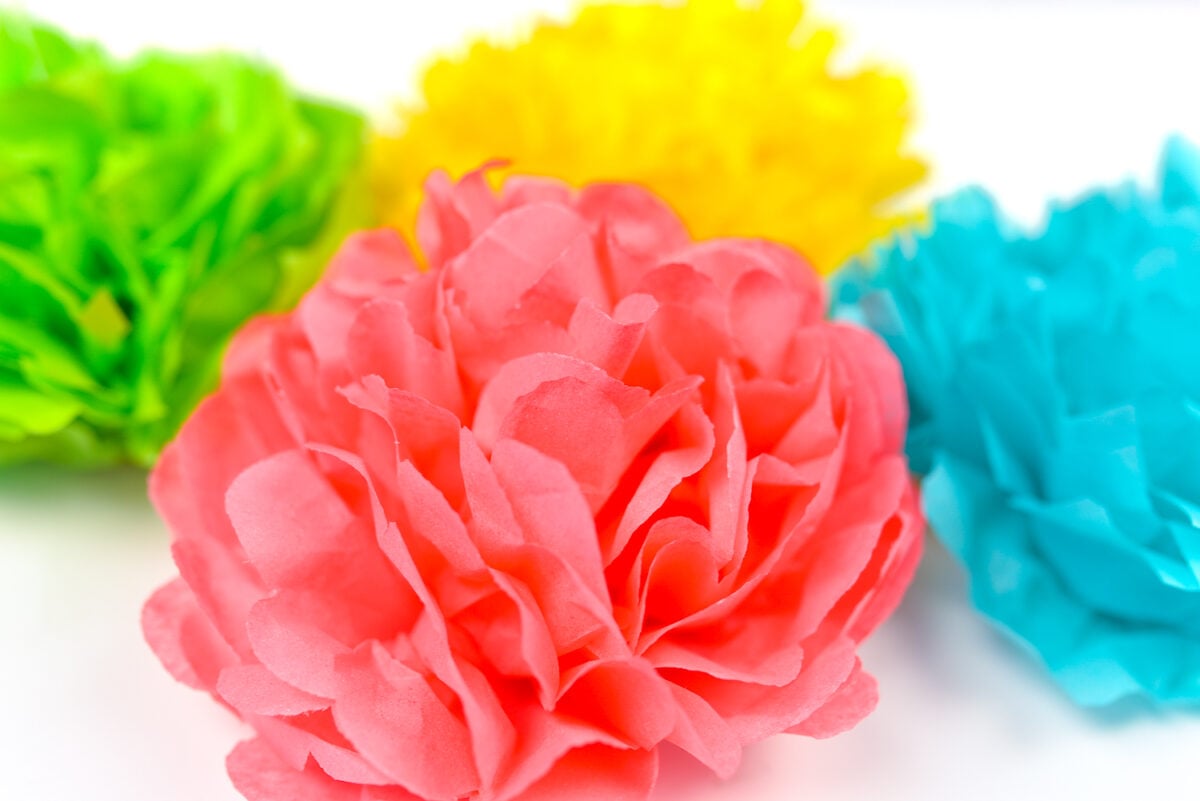
If you have less time than money, you can always buy your paper flowers as well. I have a whole post of The Best Places to Buy Tissue Paper Flowers.

HOW TO MAKE TISSUE PAPER FLOWERS FOUR WAYS
Supplies
Instructions
- Start with two large sheets of tissue paper.

- Fold the two tissue paper sheets in half.

- Then, fold in half again.

- Find the corner with all of the separate pieces of paper (not one with a fold). Take this corner and fold it to the bottom edge to make a triangle.

- Trim off the extra rectangle of paper. Scissors work if you're just making a few, but found that a rotary cutter, ruler, and self-healing cutting mat were optimal for making a lot of tissue paper flowers.

- When you open up the triangle to make a square, you'll notice that some edges still have a fold. Trim off that edge using a rotary cutter, or slip the scissors into the fold and cut to separate all the pieces of paper. Basically, you want eight individual squares.

- Fold the paper, accordion style. Usually ended up with six or seven folds.

- Staple the accordion in the center.

- Trim each edge to create the "flower petals." See below to find other ways of cutting the ends of each flower to create a different look.

- Carefully start to separate the layers of the flower. Pull from the inside of each layer, as opposed to out on each edge. This will help keep the flowers from tearing. To be honest, we ripped a lot of petals but there are so many on each flower that it wasn't noticeable. Keep fluffing the layers until you have half the flower.

- And then fluff the other side! Voila! You've made a paper flower!

- How to Make Small Tissue Paper FlowersIf you want to make smaller paper flowers, cut down the size of your squares. Then use this guide to know how many sheets of tissue paper to use:12" wide and up — 8 layers8" – 11" — 6 layers4" – 7" — 5 layersSmaller than 4" — 4 layers
- Tissue Paper Petal OptionsThis project ended up cutting four different styles of flowers—here's how each look was accomplished1. Cutting a rounded petal2. Cutting fringe3. Cutting a pointed petal4. Cutting an inverted rounded petal



Comments & Reviews
Casey says
Hi! This looks easy and so fun! How do you vary the sizes? Just cut a little more off when you trim the edges? Thanks!
Vickie says
I made tissue flowers and attached them to dowel rods to make a bouquet for my sister. She was in the hospital and wasn’t allowed to have fresh flowers. They were a big hit with the nurses and staff. Fun to do when you don’t know what to do.
Joyfully5 says
These flowers are so beautiful. Thank you for sharing the tutorial, so we can make them ourselves. Mother’s Day is coming up, and I will be making them for my daughter, and with my 4 & 6-year-old grandkids help, for my daughter-in-law.
Amber says
Hi. So excited to find this post as we are planning a baby shower. How far in advance did you make the flowers? The shower is about a month away and I’d love to knock them out over the next month and just store them but I’m not sure how well they’ll hold up/stay fluffed! Thanks!
Crystal Summers says
Hi Amber,
You can make them as far in advance as you’d like to! Just be sure to store them loosely. They’ll stay fluffed! I like to store them in plastic storage bins or boxes when I make them.
Happy crafting!
Crystal, HLMS Community Manager
Leslie says
What’s the name of the green tissue flower?
Crystal Summers says
Hi Leslie,
Unfortunately, I don’t think it has a name. It’s just a different way of cutting the tissue to give the flower a slightly different look and feel.
Hope this helps!
Crystal, HLMS Community Manager