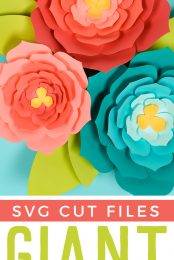
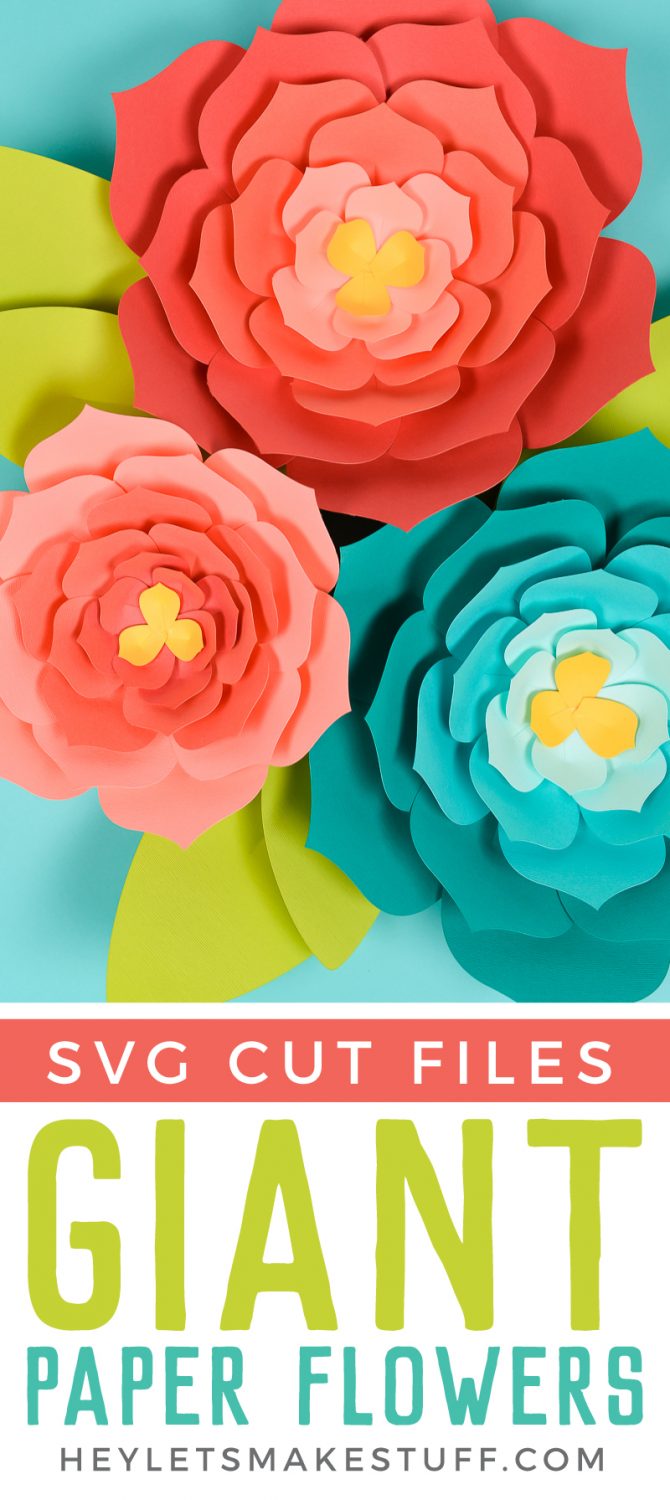
Make these large paper flowers using my template (hand cut or SVG for your Cricut or Silhouette) and then get my best tips and tricks for making them easily! Perfect for giant paper flower backdrops, beautiful home decor, and festive party decorations.
Tissue paper flowers have long been my go-to party decoration, but lately I’ve also been making large card stock flowers (even GIANT paper flowers!). Both materials have their benefits!
Tissue paper flowers can be made quickly, easily, and generally super inexpensively. Cardstock flowers take more time but really pack a polished punch, and they hold up well a lot longer than tissue paper flowers.
DIY paper flowers are perfect for weddings, baby showers, and other parties. You can use them in nurseries and kids’ rooms, too! And if you hang a bunch of them together, you can make the prettiest paper flowers backdrops, perfect for photo booths.
Today I’m sharing how to make these large paper flowers using cardstock, using either a PDF template and scissors, or cutting the SVG cut files with your electronic cutter, like a Cricut or Silhouette machine. I’ll also share my favorite tips and tricks for creating these so much easier!
Stop pulling your hair out and start creating confidently with your Cricut! Finally understand how to use your Cricut with my Learn Your Cricut eBooks!
The Best Paper for Large Paper Flowers
Let’s start with the type of paper you’re going to want to look for when making large paper flowers. Here are a few factors to consider.
Size
You’ll need large paper to make large paper flowers. 12″ x 12″ is the best size to make the largest flowers, but you can also scale the file to make medium flowers from an 8.5″ x 11″ sheet of paper. Still, if you can find that 12″ x 12″ scrapbook paper, it’s the best choice.
Solid Core
There are two types of cardstock: solid core and white core. Solid core means that the inside layer of the cardstock is the same as the outside layer. White core means that the inside layer is white. You want solid core so you don’t have an unsightly white edge to all of your flowers.
Texture
A lot of people just use smooth textured cardstock, but I also really love a slightly textured cardstock for paper flowers. My favorite cardstock is Bazzill Mono, which has a slight texture to it and comes in a huge range of pretty colors. Bazzill Smoothies is a smooth version.
It’s getting harder and harder to find Bazzill online, however, but I’ve listed some options below.
Weight
The final thing you want to consider is weight. Most 12″ x 12″ cardstock is between 60lb and 80lb. Anything lighter than that may not hold up to the weight of the flower and anything heavier may be hard to manipulate.
Where to Buy Cardstock for Paper Flowers
I always love going to my local craft store to actually get an accurate look at what I’m buying, since color and photography varies so much online and often there’s a wider selection in the open bins at the store.
Then once I have my favorites, I’ll buy more online when needed and if possible. I keep a little notebook of my favorite colors for easy reference.
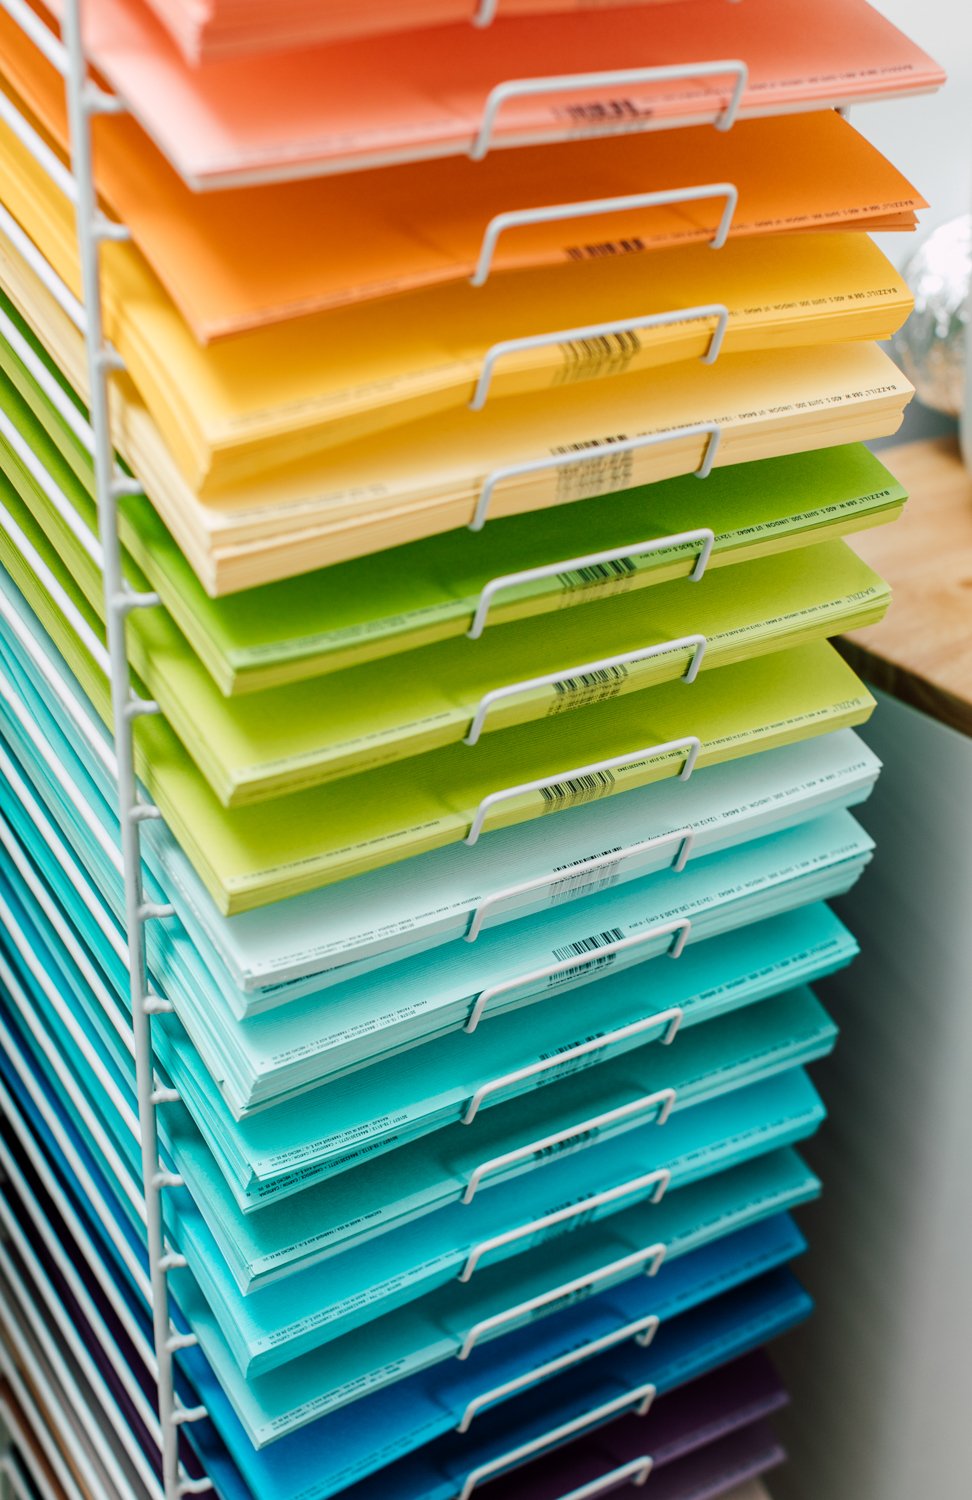
A lot of times, paper comes in variety packs, but I find it better to purchase individual colors when making paper flowers, since you’ll need lots of the same color to make a single flower.
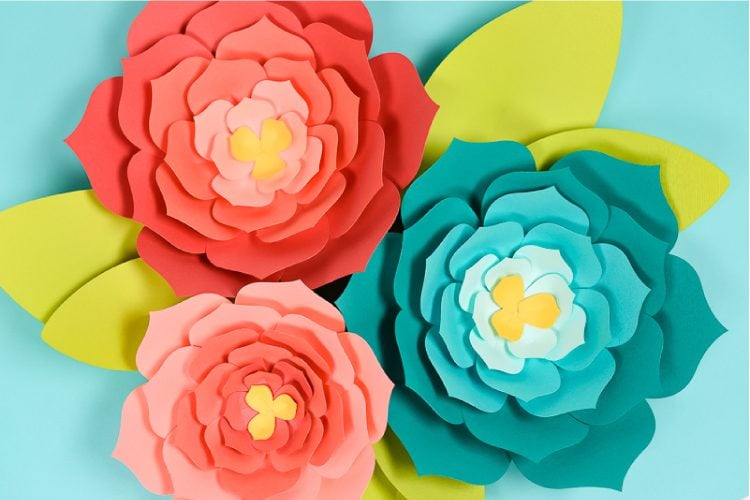
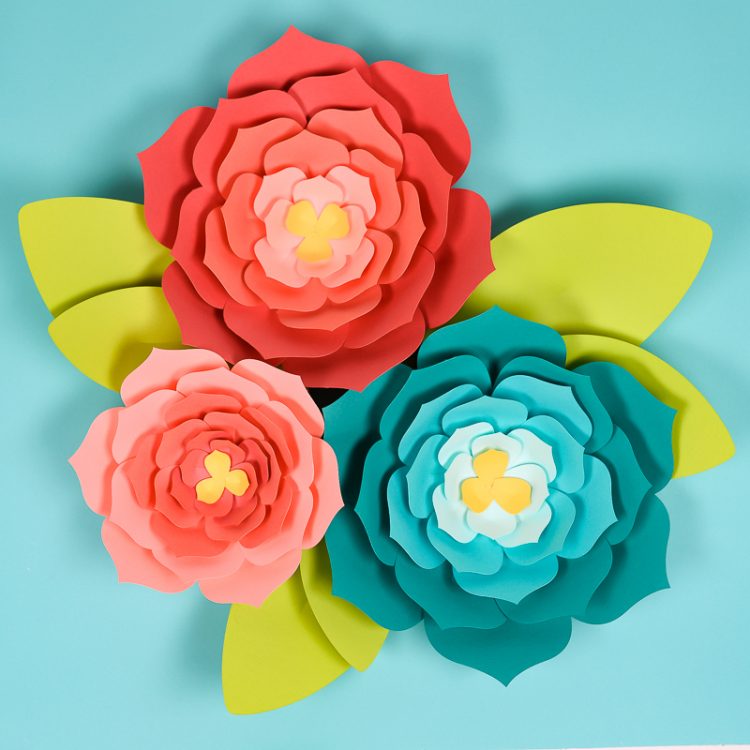
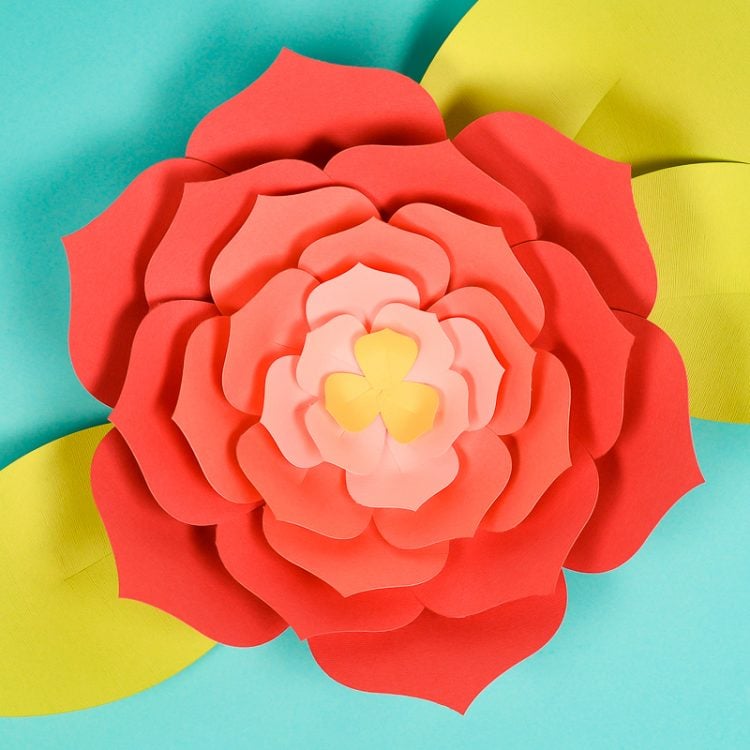
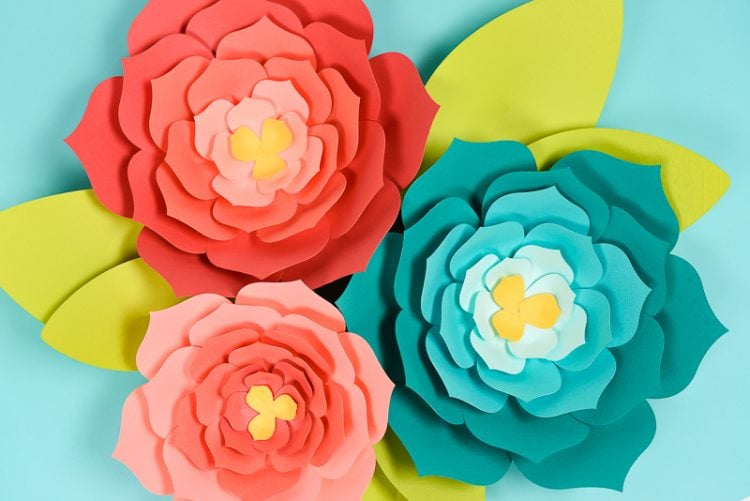
I like using a gradient to create large paper flowers, but of course you can use whatever colors you’d like! I think they would also look really cute in different subtle patterns. The Bazzill colors I used for these particular flowers are:
Pink Flower
- Flamingo
- Arroyo
- Coral Cream
- Mexican Poppy
Teal Flower
- Kachina
- Navajo
- Turquoise Mist
- Mexican Poppy
The leaves are my absolute favorite green: Granny Smith.
Supplies to Make the Large Paper Flowers
Using a Cricut machine for this project: A Cricut is perfect for quickly making projects like this, plus your template pieces will be so perfectly cut they will look professionally finished. And you can easily change the dimensions of your template pieces to cut your flower in any size you desire. If you don’t have a Cricut, however, I’ve provided a template for cutting by hand!
In addition to the cardstock sheets, you will also need:
If cutting with a cutting machine:
- Cricut Maker or Cricut Explore (if using a machine)
- Green StandardGrip Mat
- Fine Point Blade
- Craft glue
- Wonder Clips (optional)
- Dowel (optional)
If cutting by hand:
- Printer
- Scissors
- Craft glue
- Pencil
- Wonder Clips (optional)
- Dowel (optional)
A note about glue: I found that Aleene’s Quick Dry Tacky Glue was a good choice. It dries quickly, but not so quickly that you can’t make adjustments if you don’t get your petals placed right the first time. Even better, get the “Always Ready” bottle that stands so the glue flows down, and you’ll never have to sit there shaking the bottle, trying to get your glue to come out.
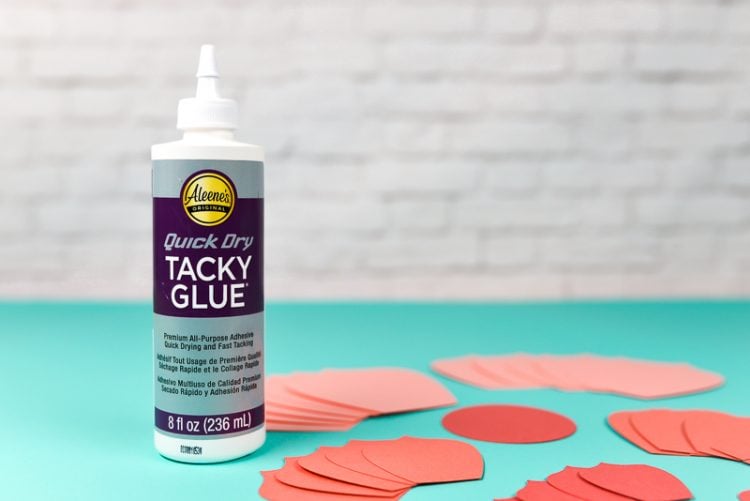
You can also use a glue gun and hot glue if you’d like, but I found it to be too stringy and messy for this partcular project.
Get the Large Paper Flower Template
About the Two Paper Flower Templates
This tutorial has two different files—one SVG file to cut the flowers using your Cricut or other cutting machine, and a PDF that you can use as a template for tracing and cutting by hand.
You can cut the SVG in all sorts of different sizes. The original file is sized to make a flower nearly two feet across! But if you’d like to size them down, you can make smaller versions.
For the larger flowers I made, I sized the file down to about 6″ tall, to give me a 12″ flower. The two smaller ones are sized to 4″ tall, to make an 8″ flower.
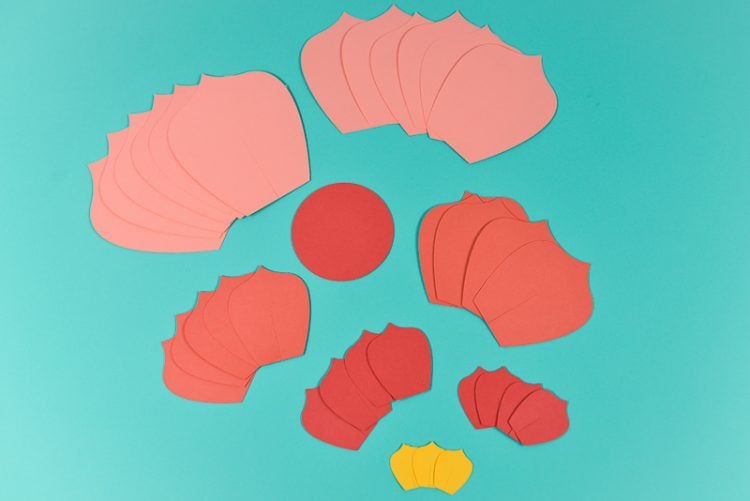
There are large petals, medium petals, and small petals, plus a center.
Get the Free File
Want access to this free file? Join my FREE craft library! All you need is the password to get in, which you can get by filling out the form below. The file number is: C445.
Assembling the Large Paper Flowers
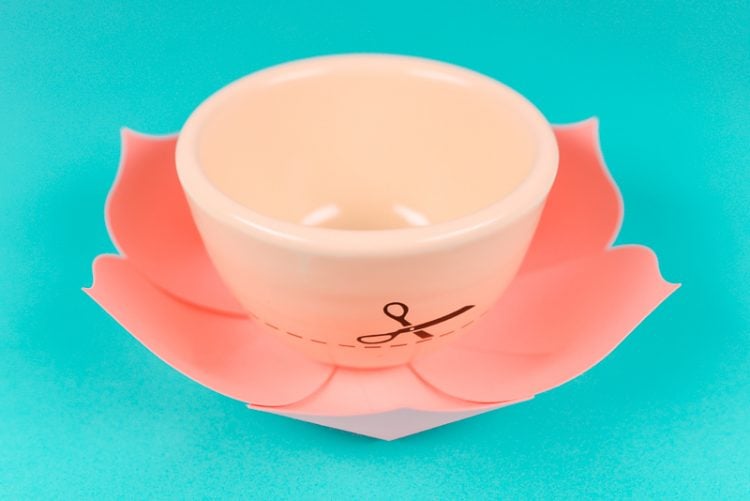
Once you have all of your pieces cut out, you’ll see that each petal has a slit that starts at the bottom of the petal.
Assemble the Petals
Use a little craft glue and overlap the bottom to create dimension with each petal. It doesn’t matter how far you overlap—just be consistent with all your flower petals.
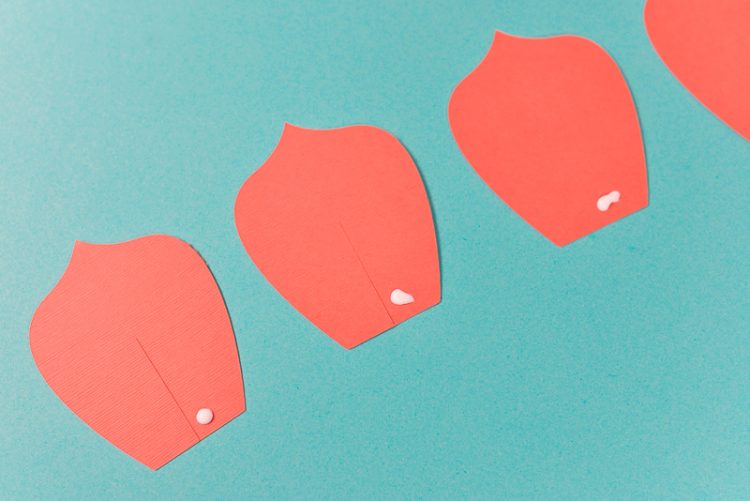
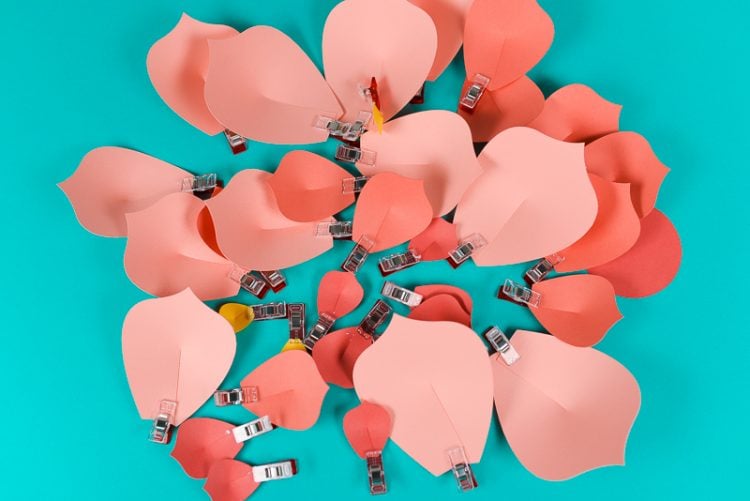
I like creating an assembly line. I line up six to eight petals, side by side, and put a dab of glue on each. Then I hold them together, using Wonder Clips!
When I first started assembling these flowers, I held onto each petal until the glue set enough for me to put it down. So each flower took me approximately four days (ha!).
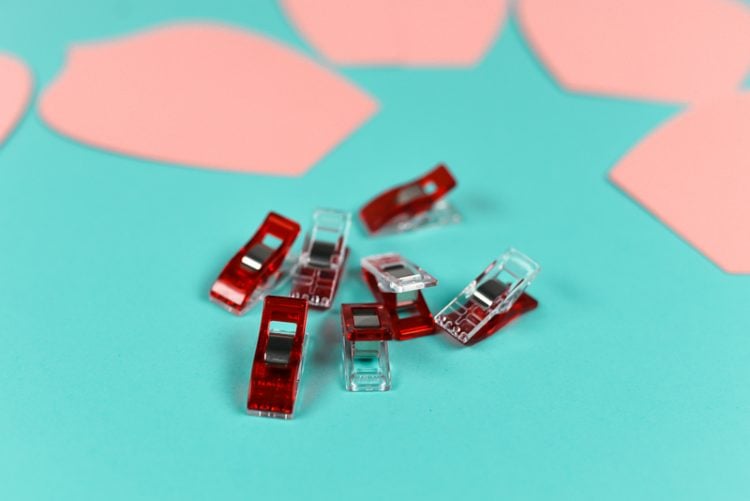
Then I realized that I could use Wonder Clips, which are basically like having a bunch of tiny friends holding your petals together for you. Just clip on and let them sit.
They do leave a small indentation on your paper, but all but the inside layer is covered up by the layer on top of it. If that indentation bothers you, just hold the three center pieces between your fingers as the glue sets.
If you’d like, you can slightly curl the edge of the petals using a dowel. I don’t generally take the time for this style flower, but you can if you want!
Create Each Layer of Petals
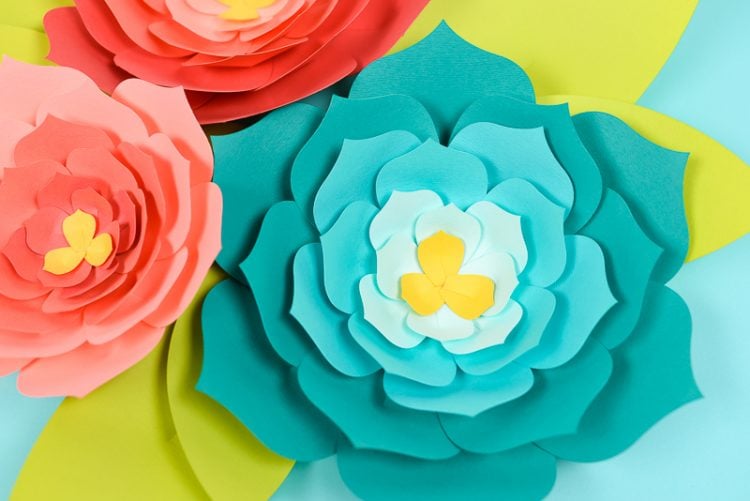
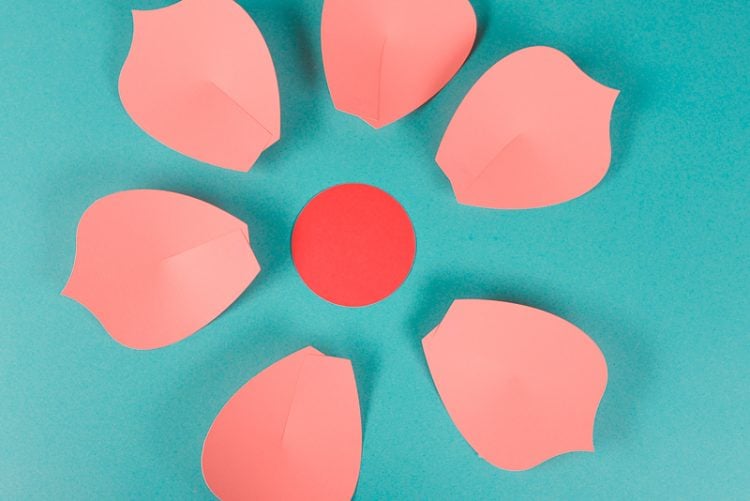
Once dry, you’ll glue all the petals to create the flower. Start with your largest petals at the bottom. Glue in a ring on top of the circle template piece.
Once the pieces are glued, you can set a bowl or other heavy object on the glue point so you don’t have to hold the pieces while the glue dries.
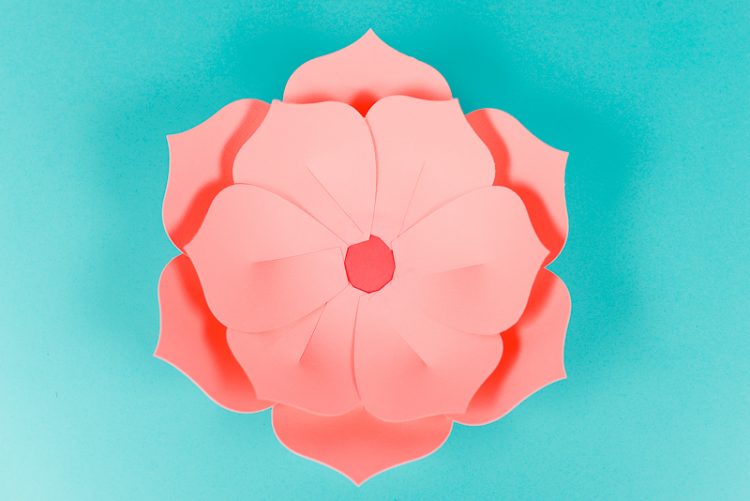
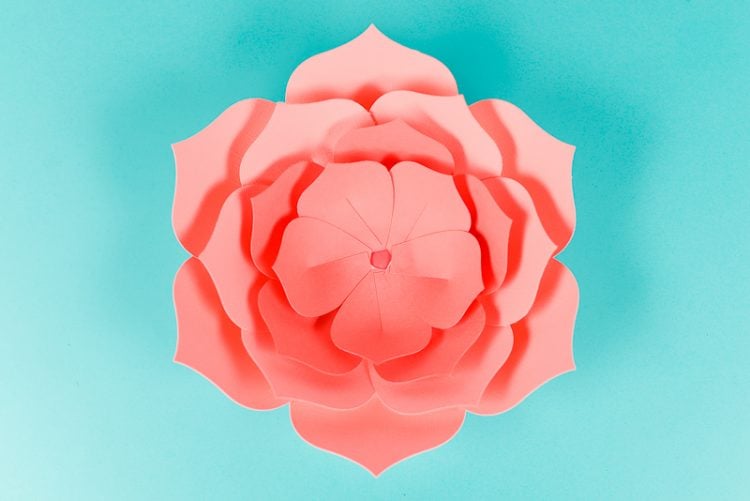
Then continue to add the layers of your flower.
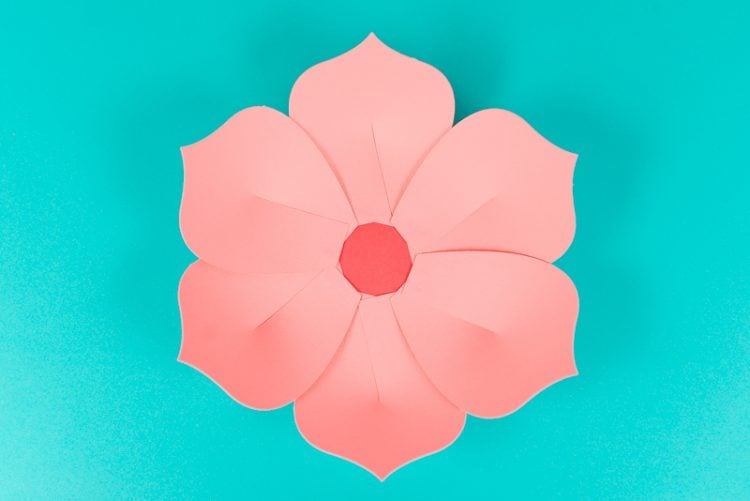
Then add the yellow center of your flower and you’re done!
It Doesn’t Have to Be Perfect
Try to get your petals to line up, but it doesn’t have to be perfect. Nature isn’t perfect and neither are you! The two most outer layers have six petals, the two middle have five, and the two smallest have four. The final center of the flower only has three. So there’s no way to line them up perfectly based on the row before it—just try to get them evenly lined up(ish) for each layer.
And that’s it! You can see how these simple tips and tricks make creating giant cardstock flowers a lot less daunting. Do you have any tips and tricks for assembling big projects like this? I’d love to hear them in the comments!


HOW TO MAKE GIANT PAPER FLOWERS WITH A CRICUT
Equipment
- Wonder Clips optional
- Dowel optional
Instructions
- Cut the flower template on your Cricut.

- Overlap the slit in the bottom of each petal and glue. Use Wonder Clips or clothespins while the glue sets.
- Glue the first, largest bottom layer of petals on the flower base.
- Continue gluing each layer of petals toward the center.
- Add the center of the flower (and leaves, if desired).
Interested in more paper flower ideas? Check out my favorite Flower SVGs and Cut Files!


Comments & Reviews
Colleen Rafferty says
These are gorgeous, and thank you for including both the hand-cut template and the SVG – that flexibility is exactly why I keep coming back to your tutorials. The petal-curling tip is the part that always trips up beginners, so calling it out early is smart. One workflow thing that has helped me hugely with builds like this: when I follow along with assembly videos I use a Video Frame Extractor to pull the exact frame where the petals get glued, so I can study the overlap without scrubbing back and forth. Making the giant size for a nursery wall this weekend.
Hil says
It is not so easy not so hard!
Rachel says
I signed up and requested a password but am only getting an email with a link that loops me back to the same page.
Abigail says
I can’t do it