HOW TO MAKE TISSUE PAPER FLOWERS FOUR WAYS
Tissue paper flowers make a gorgeous event decor with a big impact—think weddings, baby showers, bridal showers and more! Learn how to make easy tissue paper flowers, as well as different methods for cutting the petals to create four unique styles.
Ingredients
Instructions
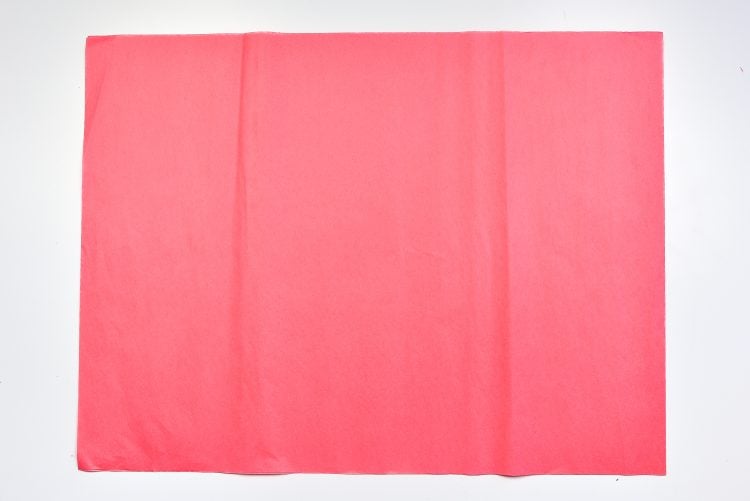
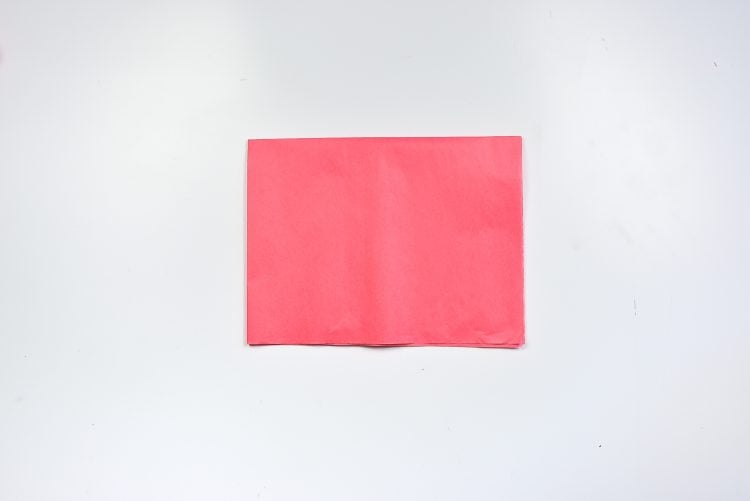
- Start with two large sheets of tissue paper.
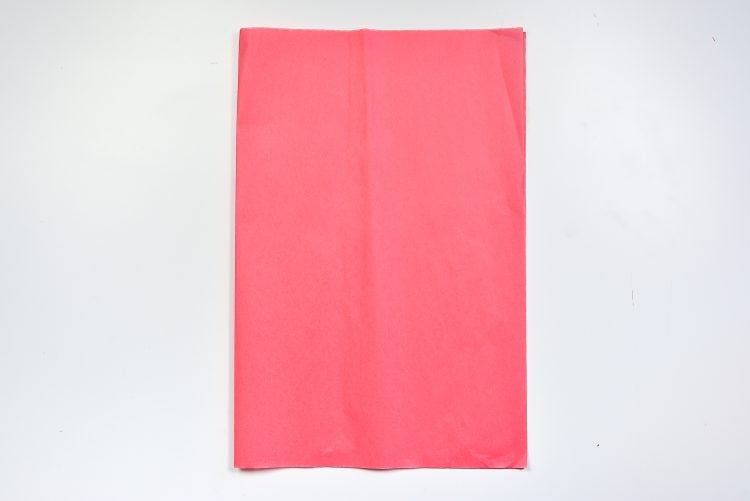
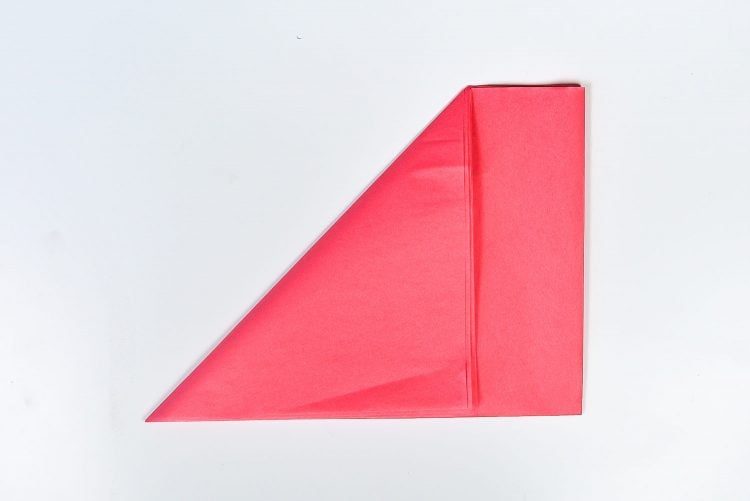
- Fold the two tissue paper sheets in half.
- Then, fold in half again.
- Find the corner with all of the separate pieces of paper (not one with a fold). Take this corner and fold it to the bottom edge to make a triangle.
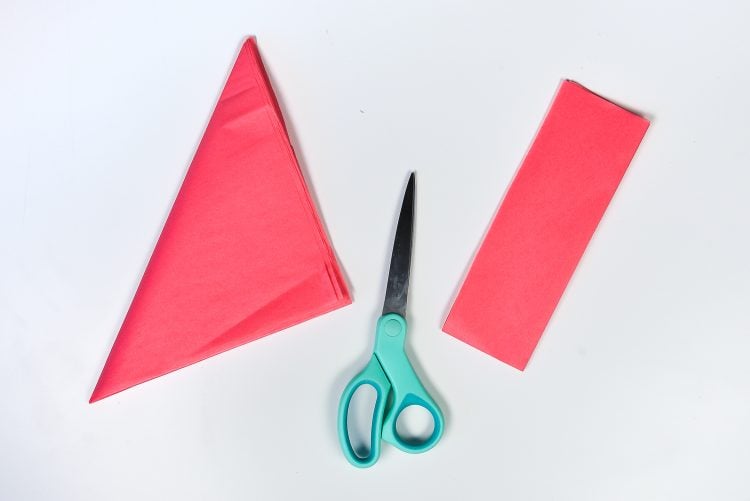
- Trim off the extra rectangle of paper. Scissors work if you're just making a few, but found that a rotary cutter, ruler, and self-healing cutting mat were optimal for making a lot of tissue paper flowers.
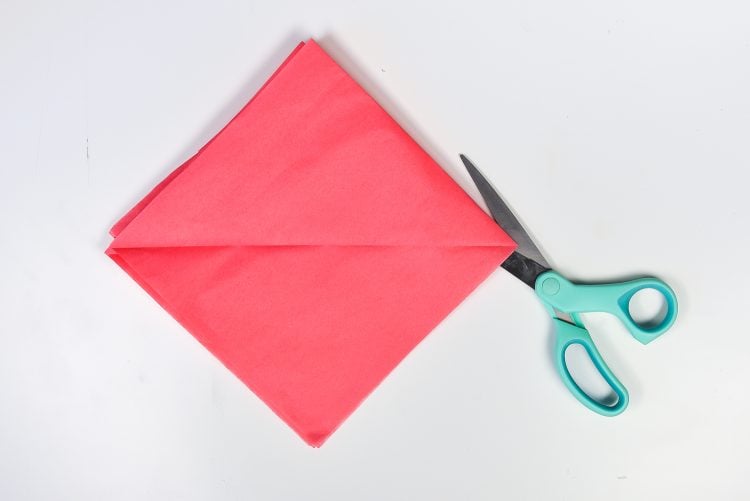
- When you open up the triangle to make a square, you'll notice that some edges still have a fold. Trim off that edge using a rotary cutter, or slip the scissors into the fold and cut to separate all the pieces of paper. Basically, you want eight individual squares.
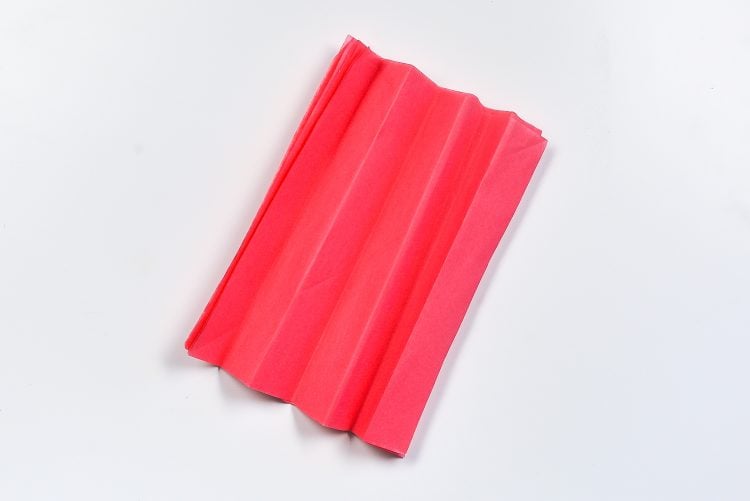
- Fold the paper, accordion style. Usually ended up with six or seven folds.
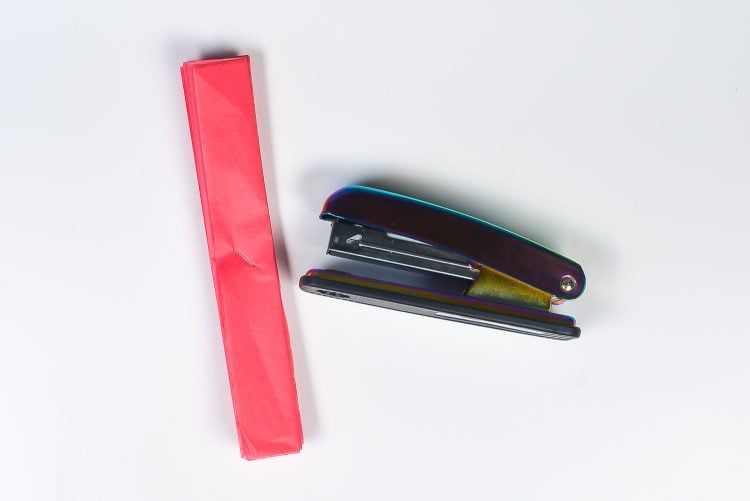
- Staple the accordion in the center.
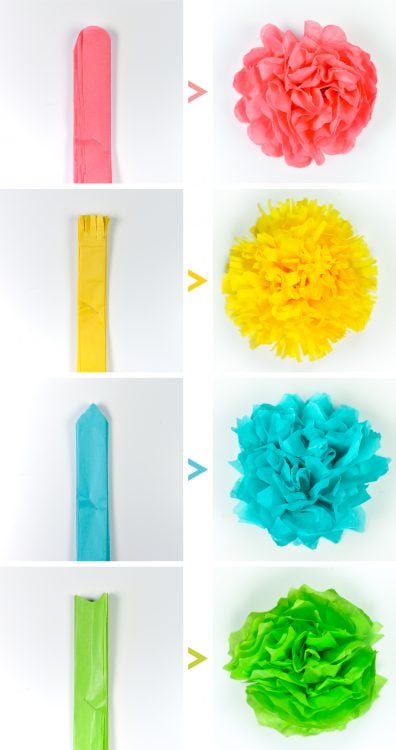
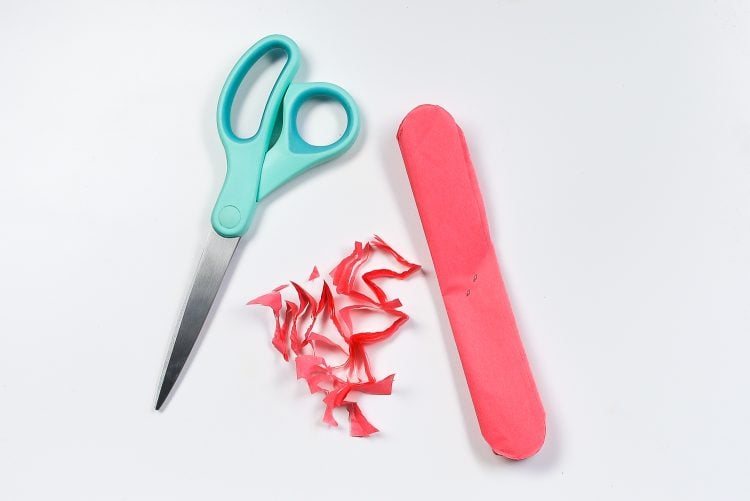
- Trim each edge to create the "flower petals." See below to find other ways of cutting the ends of each flower to create a different look.
- Carefully start to separate the layers of the flower. Pull from the inside of each layer, as opposed to out on each edge. This will help keep the flowers from tearing. To be honest, we ripped a lot of petals but there are so many on each flower that it wasn't noticeable. Keep fluffing the layers until you have half the flower.
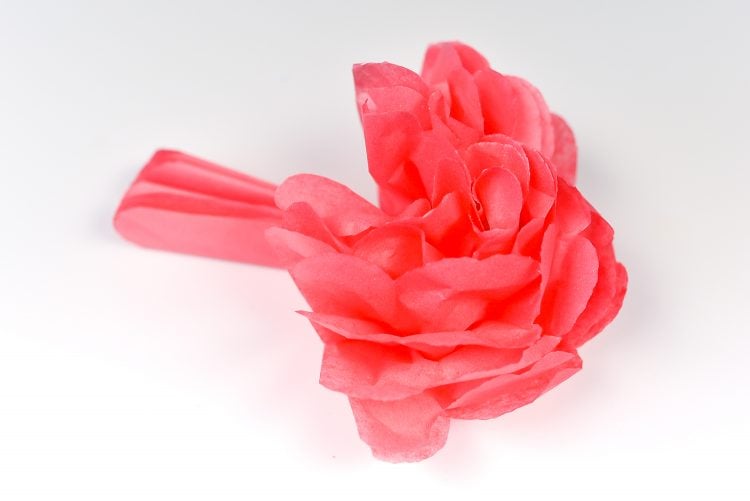
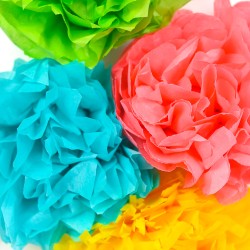
- And then fluff the other side! Voila! You've made a paper flower!
- How to Make Small Tissue Paper FlowersIf you want to make smaller paper flowers, cut down the size of your squares. Then use this guide to know how many sheets of tissue paper to use:12" wide and up — 8 layers8" - 11" — 6 layers4" - 7" — 5 layersSmaller than 4" — 4 layers
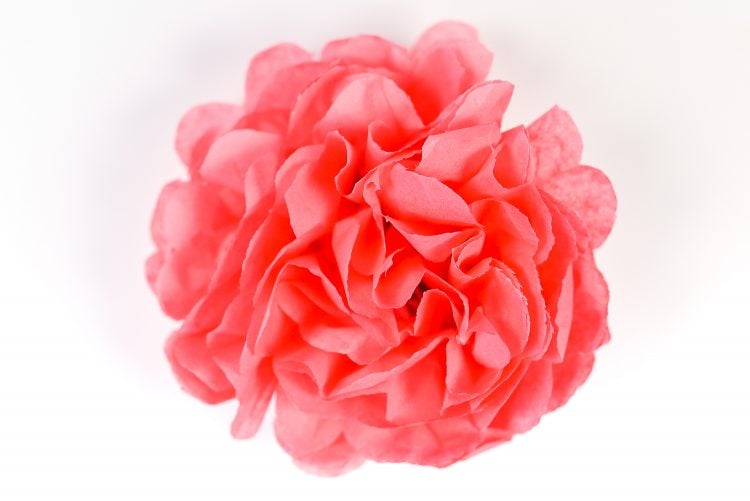
- Tissue Paper Petal OptionsThis project ended up cutting four different styles of flowers—here's how each look was accomplished1. Cutting a rounded petal2. Cutting fringe3. Cutting a pointed petal4. Cutting an inverted rounded petal