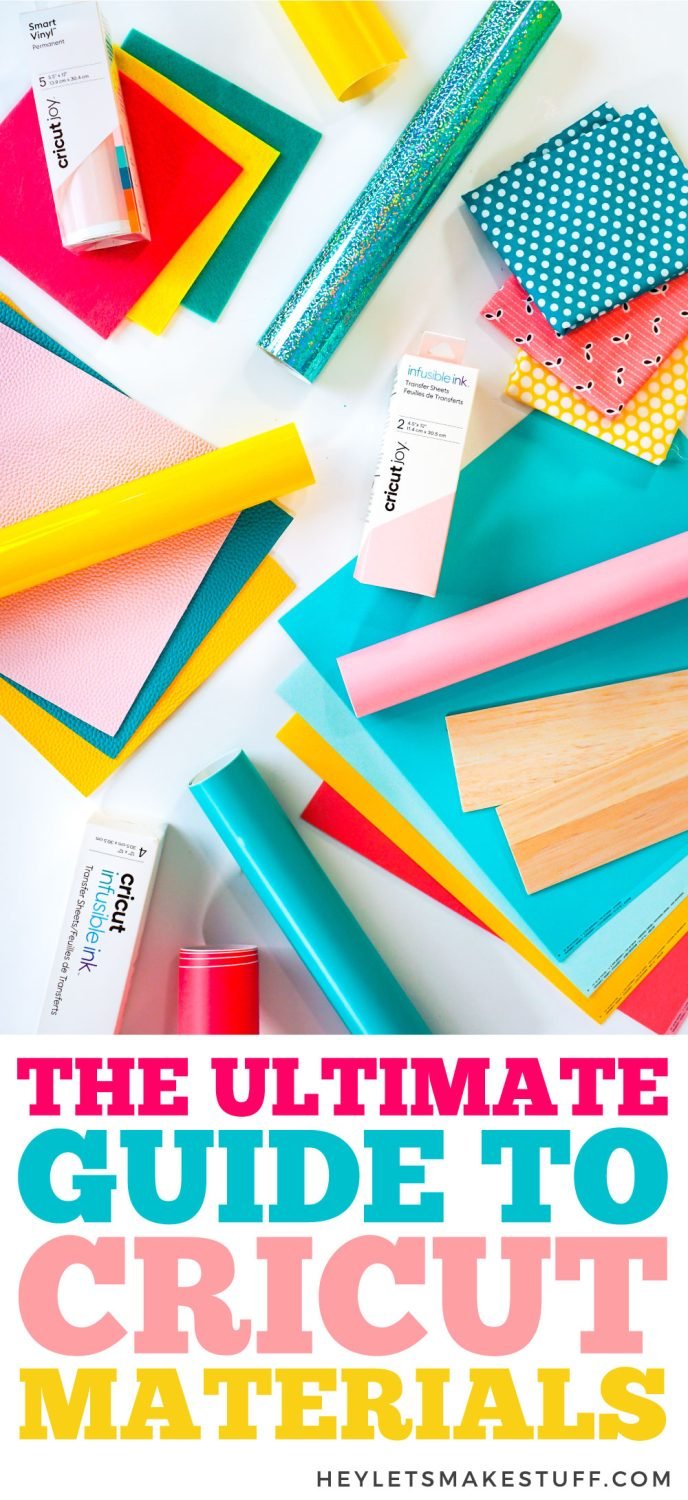
Whether you have a Cricut Maker, Cricut Explore, or Cricut Joy, your machine can cut SO many materials! Here’s my Ultimate Guide to Cricut Materials, including what you can cut, which machine can cut it, cut settings, and tips and tricks for perfect results!
This post is sponsored by Cricut.
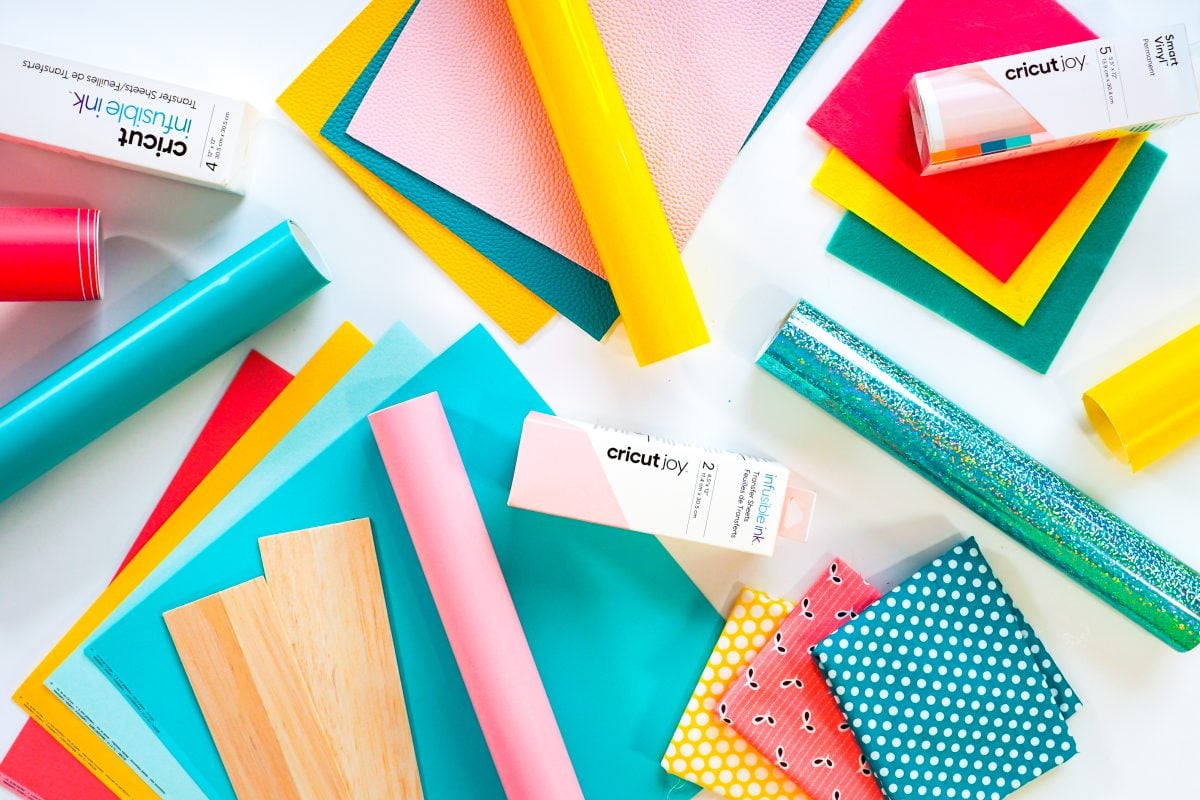
No matter what kind of Cricut you have, you may be wondering what types of materials it can cut. While many Cricut crafters stick to the three beginner materials—adhesive vinyl, iron on, and paper—there are hundreds of materials that can be cut with a Cricut machine!
In this post, I’ll go over both the essential materials you can cut with your specific Cricut machine, as well as some of the more advanced materials. For each material, we’ll talk about what blade and cutting mat you’ll need. I’ll also share fun projects you can make and even troubleshooting tips if you’re struggling! Want to try a bunch of materials? Check out a Cricut Mystery Box!
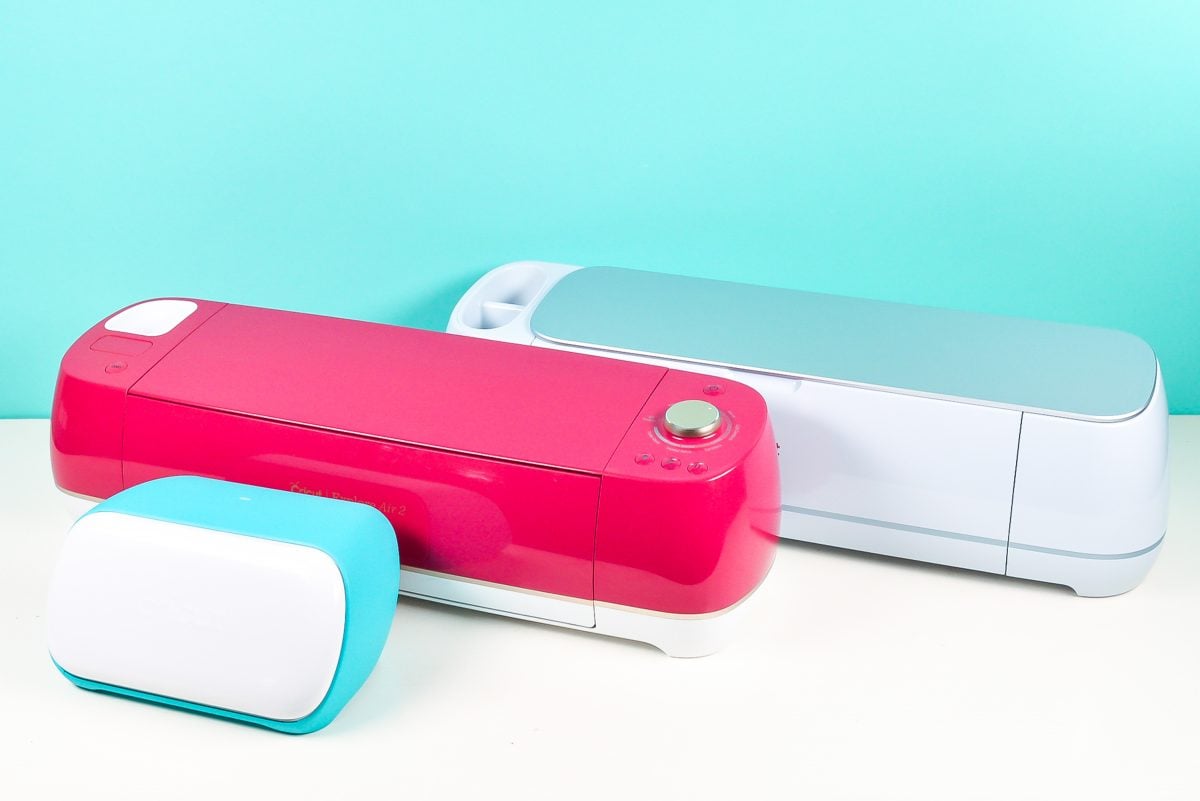
For purposes of this post, the following machines are listed for each material:
- Cricut Maker = Cricut Maker 3 and Cricut Maker
- Cricut Explore = Cricut Explore 3, Cricut Explore Air 2, and other previous generation Explore machines
- Cricut Joy = Cricut Joy
If specific machines are required (for example, you need a 3-series machine to cut Smart materials), that is called it under each material.
This is a long and thorough post, so bookmark it and pin it so you’ll always have it for reference!
In this Post
Here are the materials we’ll cover in this post. If you’re looking for a specific type of material (like glitter iron-on), look under the larger header (in this case iron-on vinyl). If there’s a material you want to know more about but it’s not featured in this post, leave a comment and I’ll add it!
- Acetate
- Aluminum
- Balsa Wood
- Basswood
- Bonded Fabric
- Cardstock
- Chipboard
- Fabric
- Faux Leather / Faux Suede
- Felt
- Genuine Leather
- Infusible Ink
- Iron-on Vinyl (HTV)
- Kraft Board
- Paper
- Party Foil
- Poster Board
- Printable Sticker Paper
- Printable Vinyl
- Transfer Tape
- SportFlex
- Smart Iron On
- Smart Paper
- Smart Vinyl
- Stencil Vinyl
- Veneer
- Vinyl
Acetate
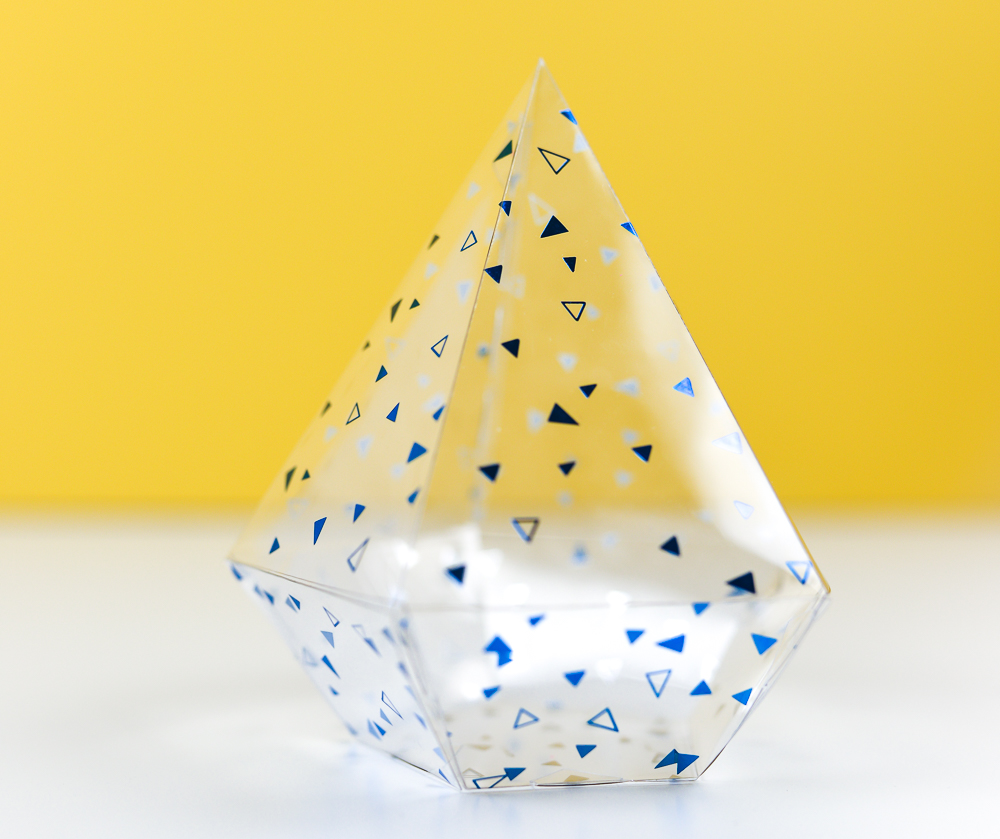
Acetate is a clear, plastic-like material that is great for card overlays, gift box windows, boxes, and more. You can use the Scoring Stylus or Scoring Wheel so you can fold it to create 3D projects.
Cricut makes Foil Acetate that has decorative foil accents. Cricut also makes Clear Acetate, though it can be a little harder to find, though I have seen it on Amazon. In a pinch, I’ve cut the Cricut mat protector sheet on the Foil Acetate setting to use as gift box windows.
Cricut Machines: Cricut Maker, Cricut Explore, Cricut Joy
Cricut Mat: Blue LightGrip or green StrongGrip mat
Blade: Fine Point Blade
Setting: Foil Acetate
More Information: How to Cut Acetate
Tips for Using Acetate: Wash your hands before you start to lessen any fingerprints on the acetate. Remove the protective liner on the acetate. This can be hard to see, but trust me, it’s there! Then place the foil acetate on the mat, load into the Cricut, and cut. Bend the mat a bit to release the cut acetate project. Carefully fold on any score lines, if applicable.
Aluminum
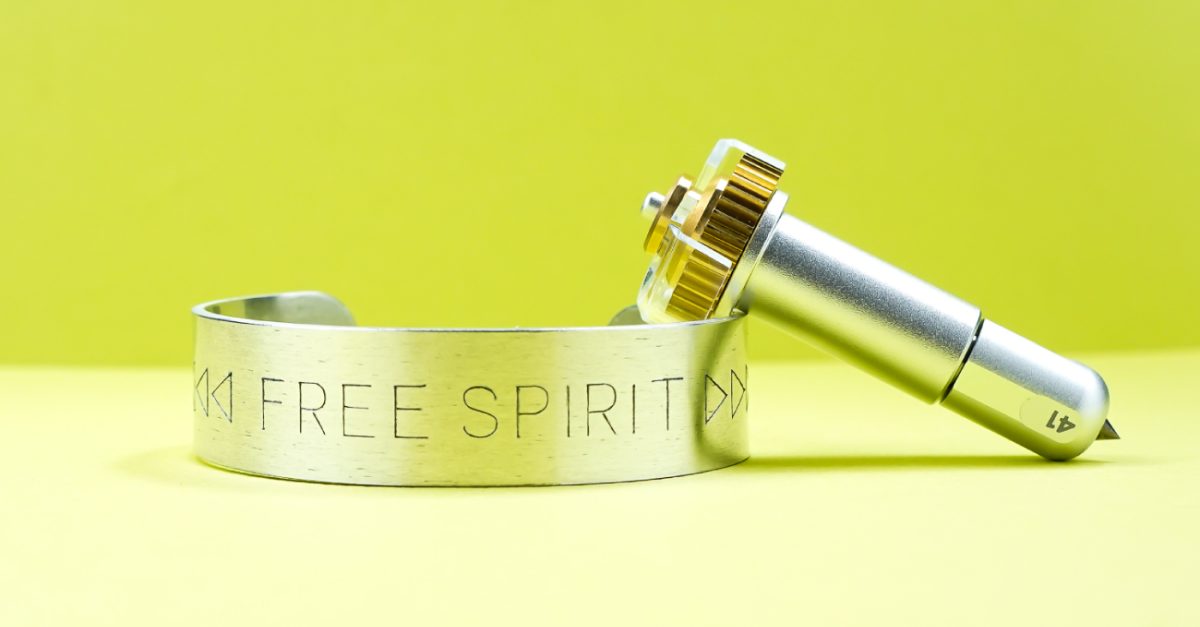
Aluminum is not a cuttable material, but you can engrave it using Cricut Maker and the engraving tip.
To use the Cricut Engraving Tool, you will need the QuickSwap Housing. This is the housing for the tip—the part of the tool with the gear and plunger at the top that allows you to swap out different tools. You can buy the Engraving Tool including the housing, or you can buy just the tip. If you already have a tool that has the QuickSwap Housing from another tool, like the Scoring Wheel, you do not need to buy a second housing (yay!).
Cricut makes Aluminum in various sized sheets.
Cricut Machines: Cricut Maker
Cricut Mat: Purple StrongGrip mat
Blade / Tool: Engraving Tip
Setting: Aluminum
More Information: How to Use the Cricut Maker Engraving Tool
Tips for Engraving Aluminum: Tape down the edges of the blank to help secure it to the mat. After engraving, use a lint roller or a cloth to remove any tiny bits of metal that may have come up in the engraving process. Use some plain black craft paint or an enamel marker if you’d like to make the engraving stand out more. Just rub a bit of paint or ink across the impression and then wipe off the excess—this creates a darker look to the actual engraving.
Balsa Wood
Balsa, surprisingly, is a hardwood that you can cut using Cricut Maker and the Knife Blade.
Cricut does not own their own balsa wood and it can be hard to find, particularly in sheet sizes that are good for the Cricut. Often when you search for balsa wood online, you’ll get other results like basswood, chipboard, and plywood, so double check the listing before you buy.
I will be honest and say I prefer basswood to balsa. Balsa is harder to find in sheets and has a tendency to crack. But it IS good for lighter weight projects, so there’s definitely a market for cutting balsa.

Cricut Machines: Cricut Maker
Cricut Mat: Purple StrongGrip mat
Blade: Knife Blade
Setting: Balsa Wood
More Information: Cutting Balsa Wood with the Cricut Knife Blade
Tips for Cutting Balsa: Cut down the longer pieces of balsa using a craft knife — just running a few passes in a straight line using a ruler, then snapping it into two pieces. Use a brayer to really adhere the balsa wood to the mat and tape around the edges of the balsa with masking tape. I often mirror my image in Cricut Design Space before cutting to ensure that the final project will have the clean cut on the front side. Make sure the balsa piece is no wider than 11″ wide and move the star wheels to the right on your Cricut so that they do not hit the material.
While cutting, if pieces start to “pop” out of the project, you can remove the smaller pieces. I keep larger pieces in the machine, however—removing them can cause the material to shift slightly, and even the slightest shift can ruin your project. If one of these popped pieces jams your Cricut, do not remove the project from your machine! Clear the piece and any debris and hit the “go” button again to restart where the machine left off.
At the end of the cut, before you remove the mat, double check that it’s cut all the way through. Do an additional pass if needed. To remove the material from the mat, bend the mat away from the project to help keep it from breaking. Do this carefully since balsa has a tendency to easily crack! Use a craft knife to finish any cuts that didn’t go all the way through (sometimes this happens in corners).
Basswood
Basswood is a type of light-colored hardwood that can be cut with Cricut Maker and the Knife Blade. Basswood has a smooth, even wood grain, with no resin or pitch to interfere with cutting. It can be painted and stained easily without having to seal it first.
Cricut makes Basswood sheets that I really like.

Cricut Machines: Cricut Maker
Cricut Mat: Purple StrongGrip mat
Blade: Knife Blade
Setting: Basswood
More Information: Tips for Cutting Basswood with the Cricut Knife Blade
Tips for Cutting Basswood: Cut down longer pieces of basswood using a craft knife — run a few passes in a straight line using a ruler, then snapping it into two pieces. Use a brayer to really adhere the basswood to the mat and tape around the edges of the basswood with masking tape. You can mirror the image in Cricut Design Space before cutting to ensure that the final project will have the clean cut on the front side. Make sure the piece is no wider than 11″ wide and move the star wheels to the right on your Cricut so that they do not hit the basswood.
While cutting, if pieces start to “pop” out of the project, you can remove the smaller pieces. I keep larger pieces in the machine, however—removing them can cause the material to shift slightly, and even the slightest shift can ruin your project. If one of these popped pieces jams the Cricut, do not remove the project from your machine! Clear the piece and any debris and hit the “go” button again to restart where the machine left off.
At the end of the cut, before you remove the mat, double check that it’s cut all the way through. Do an additional pass if needed. To remove the material from the mat, bend the mat away from the project to help keep it from breaking.
Bonded Fabric
Bonded fabric is fabric that has a stabilizer ironed onto the back.
With Cricut Maker, you can cut fabric without using that stabilizer, which is much easier! Because it uses the rotary blade instead of the fine tip blade, you don’t have the risk of the blade pulling at the fabric and messing up the cuts. However, if you have a Cricut Explore or Cricut Joy, you’ll can still cut fabric, as long as it’s bonded!
You can purchase fabric from your favorite fabric or craft store, as well as the iron-on fabric stabilizer.
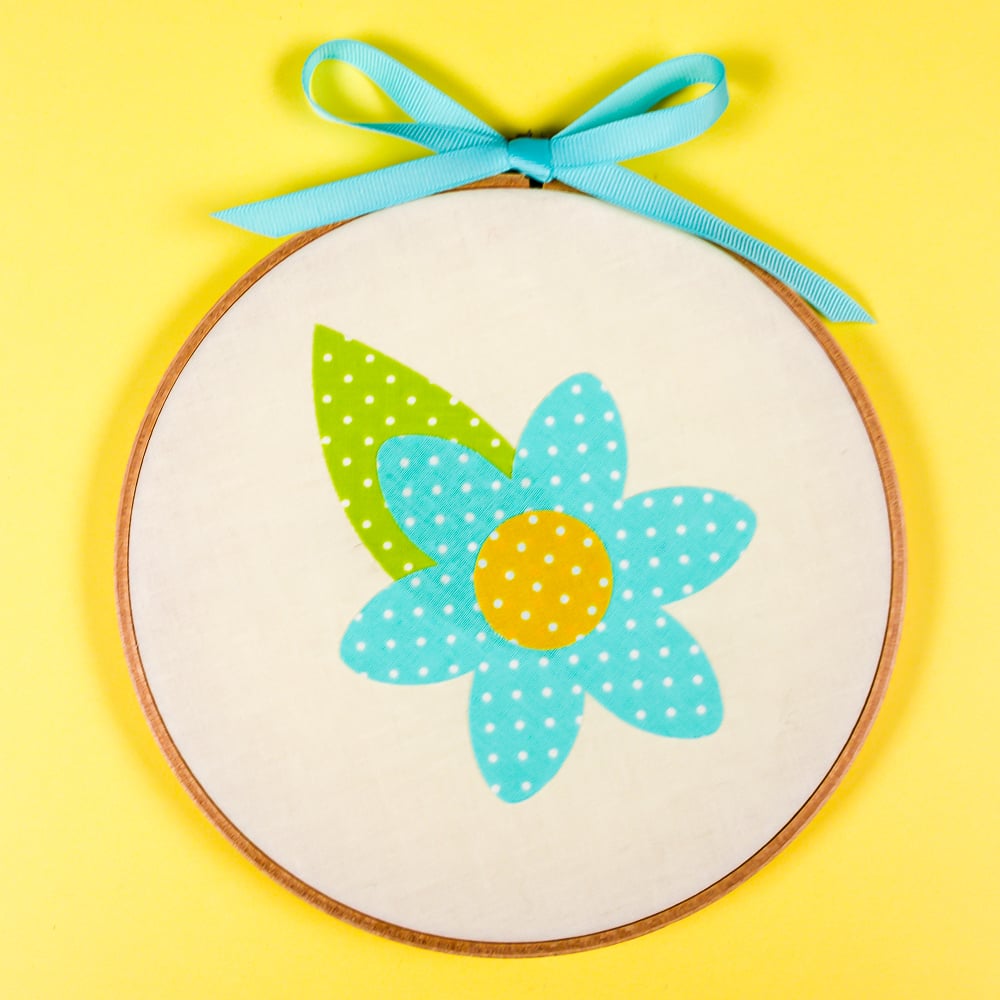
Cricut Machines: Cricut Maker, Cricut Explore, Cricut Joy
Cricut Mat: Pink LightGrip Mat
Blade: Bonded Fabric Blade
Setting: Bonded Fabric
Add the fabric bonded side down onto the mat. Use a brayer to secure the fabric to the mat. Your Cricut will cut the fabric, which you will want to remove carefully from the mat. I like using a pair of broad-tipped tweezers to remove fabric from the mat so that it doesn’t pull and stretch.
Cardstock
You can make all sorts of projects using paper and cardstock, including cards, banners, party decorations, home decor, gift tags, 3D boxes, flowers, and so much more. Cardstock is the perfect material for beginners AND is generally inexpensive, so it’s a great place to start if you just got a new Cricut!
Cricut has both regular and glitter cardstock. The nice thing about using Cricut cardstock is that the Design Space is set up for using each of these materials with precise settings. You can cut cardstock with your Cricut Joy, Explore, or Maker machines.
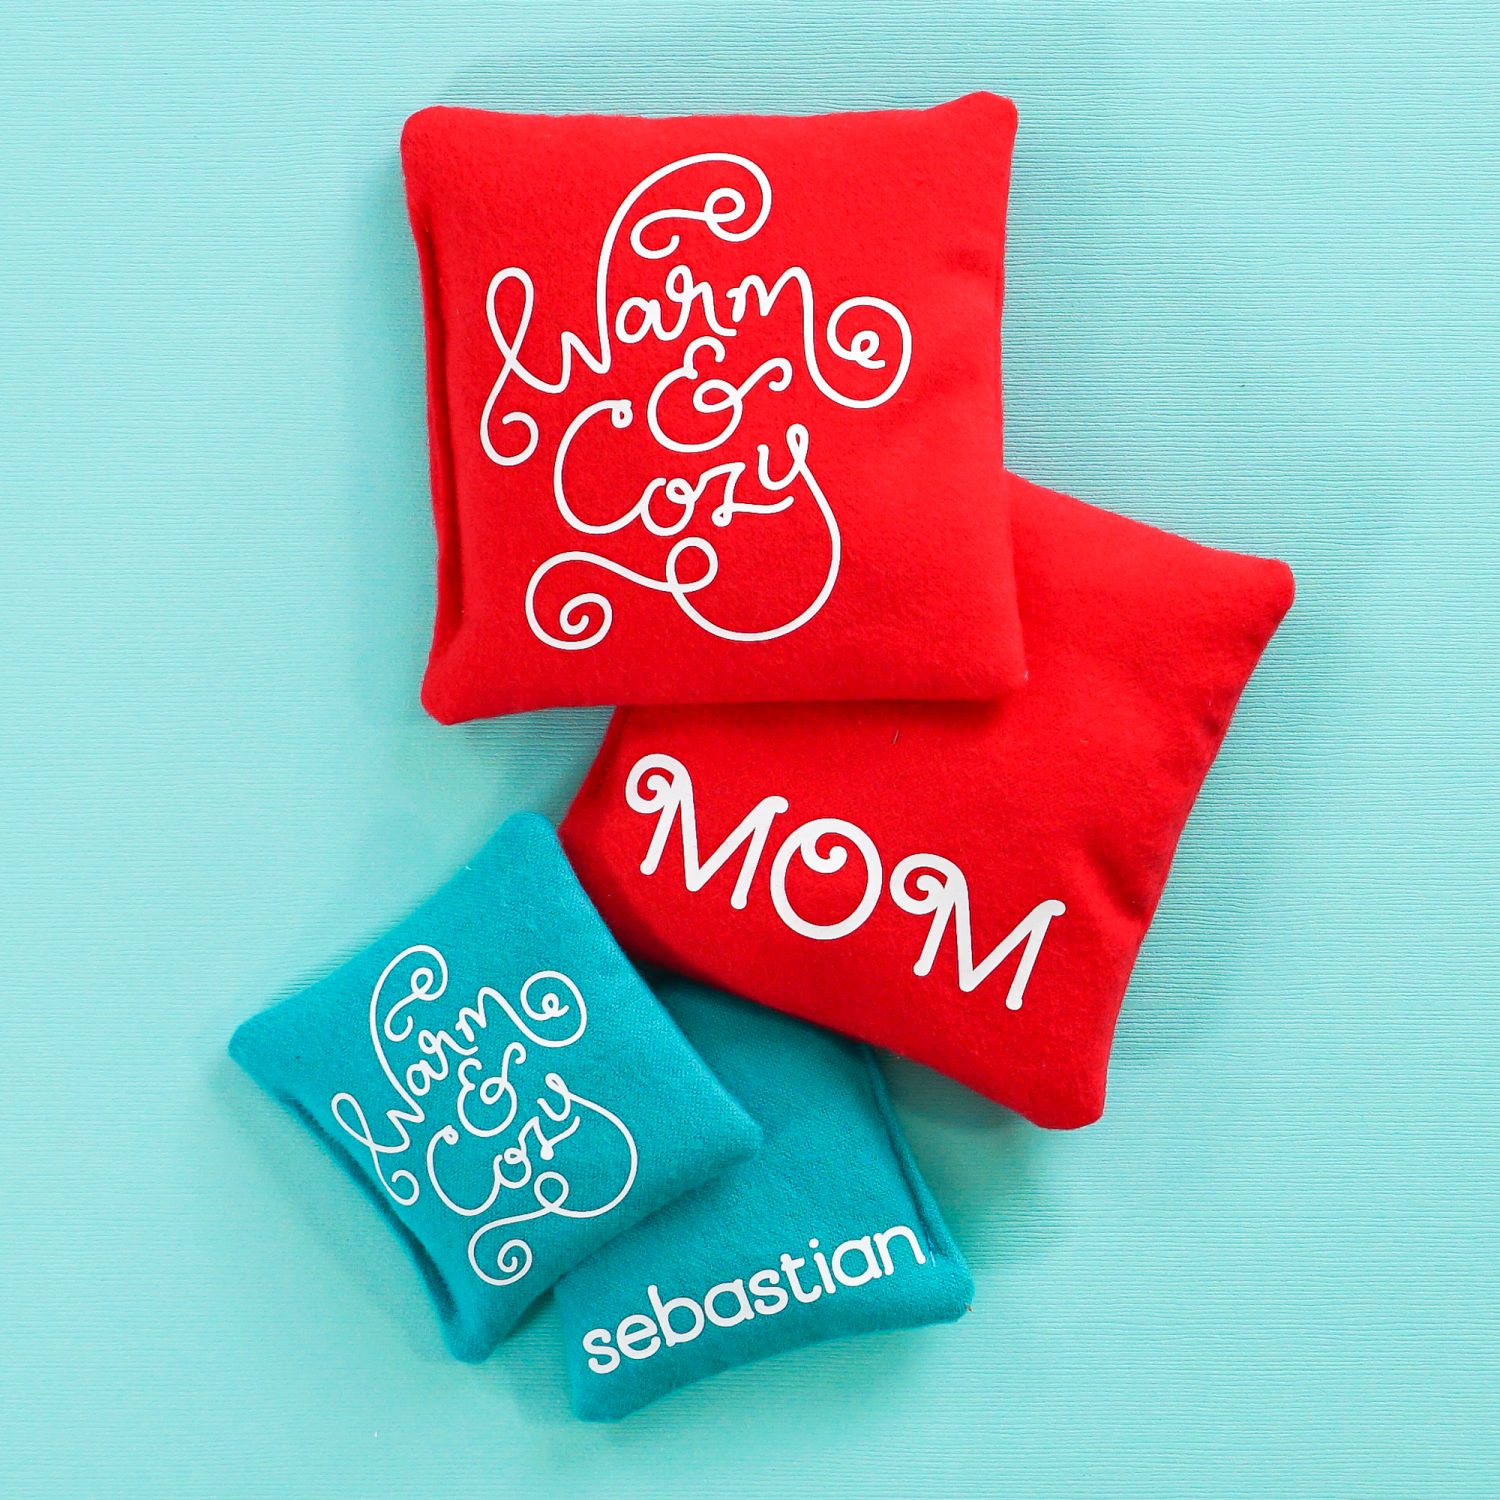
Cricut Machines: Cricut Maker, Cricut Explore, Cricut Joy
Cricut Mat: Blue LightGrip or green StandardGrip mat
Blade: Fine Point Blade
Setting: Cardstock, based on paper weight
More Information: The Ultimate Guide to Cutting Cardstock and Paper with a Cricut
Tips for Cutting Cardstock: Set the cut settings to the type of paper and weight. There are several cardstock choices, and you may to have to play around with the settings a bit to get it right—remember to do a test cut before you cut your project. Generally, use the blue LightGrip mat for most paper and cardstock. I find that the adhesive on the blue mat is the best at releasing paper materials. If you’re having problems with thicker cardstock, try the green StandardGrip mat.
After cutting, DO NOT pull up the paper project from the mat by the corner. It will curl, tear, and some of the paper will stick to the mat. Instead, bend the mat to loosen the adhesive, and then curl the mat away from the cardstock.
Chipboard
Chipboard is basically a material made from the waste of other paper products. It is pressed together with glue until it is quite sturdy and smooth.
It can be hard to find a good quality chipboard that is smooth, doesn’t shed or pill, and cuts well. That being said, Cricut Chipboard is great. I really love how it cuts. Plus, it generally cuts more quickly and with fewer passes than wood, while still feeling just as sturdy (if not sturdier!). Cricut chipboard cuts with a Cricut Maker and the Knife Blade.

Cricut Machines: Cricut Maker
Cricut Mat: Purple StrongGrip
Blade: Knife Blade
Setting: Chipboard
More Information: Cutting Chipboard with the Cricut Knife Blade
Tips for Cutting Chipboard: If the chipboard has a bow or warp, place it so the concave side (the inside of the curve) is facing the mat. When cutting, use a StrongGrip mat, and make sure to tape down all four edges. If the mat is not new, use a brayer to really press the chipboard into the adhesive on the mat. You don’t want it shifting during cutting! Make sure the piece is no wider than 11″ wide and move the star wheels to the right on your Cricut so that they do not hit the chipboard.
I did find that my chipboard projects are often done in fewer cuts than Cricut Design Space thinks. So start checking to see if your project is cutting all the way through around pass #12. Pause it and check. If it’s cut through on the whole project by then, you can just hit pause and unload the mat. If not, do not unload the mat but just press the “go” button to resume cutting.
Fabric
I discussed bonded fabric above, however, you can also cut regular, non-bonded fabric with a Cricut Maker using the Rotary Blade and pink FabricGrip mat.
Cricut doesn’t make a ton of fabric, aside from a handful of fabric material kits, but they do make fabric pens and accessories. The most popular place to purchase fabric will be at your local hobby craft store, though there are also a lot of great online retailers.
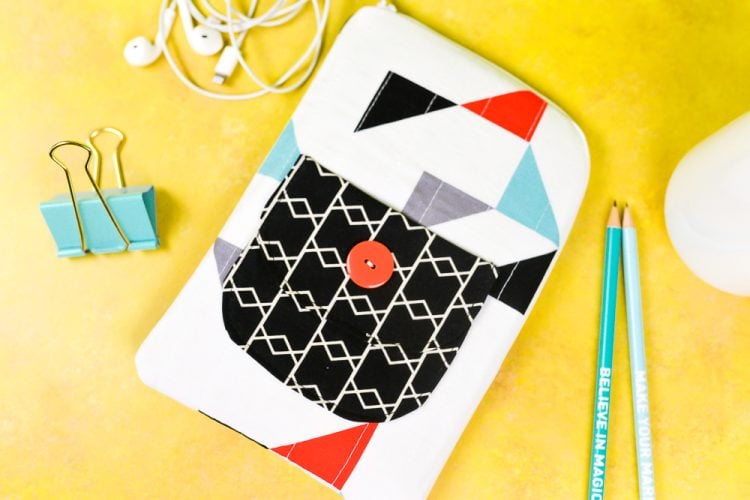
Cricut Machines: Cricut Maker
Cricut Mat: Pink FabricGrip Mat
Blade: Rotary Blade
Setting: Fabric and Rotary Cutting Tool
More Information: How to Cut Fabric on the Cricut Maker
Tips for Cutting Fabric: Place the fabric right-side down on the Cricut mat. This is how the Cricut Maker expects the fabric to be and patterns are designed to be cut right-side down. It also makes it easier to see washable pen marks on darker fabrics or more complex patterns.
Your Cricut will cut the fabric, then remove carefully. I like using a pair of broad-tipped tweezers to remove fabric from the mat so that it doesn’t pull and stretch.
If the mat ends up covered in threads, just place the next piece of fabric right on top and the rotary blade will cut through it all. When the mat is new, just use your fingers to lightly press the fabric onto the mat. When the mat is worn in, use a brayer to help the fabric stick to the mat.
Faux Leather / Faux Suede
Cricut faux leather and faux suede are fairly easy to cut with your machine. These faux materials give you the benefits of leather without the extra cost, and it’s great for vegan projects. Both materials cut beautifully with a StrongGrip mat and fine point blade.
Cricut has a variety of faux leather and faux suede options that can all be cut using the Cricut Maker, Cricut Explore, or Cricut Joy, using the Fine Point Blade which comes with the machine. My favorite thing to make with these materials is earrings.

Cricut Machines: Cricut Maker, Cricut Explore, Cricut Joy
Cricut Mat: Purple StrongGrip Mat
Blade: Fine Point Blade
Setting: Faux Leather (Paper Thin)
More Information: How to Cut Leather with a Cricut
Tips for Cutting Faux Leather / Faux Suede: To cut faux leather and faux suede, first place the material face down (this will keep the white star wheels from imprinting on the nice side of the material) on a purple StrongGrip mat. If you’re using an older mat, use a brayer or your hands to really adhere the leather to the mat.
The material should cut nicely. If not, you can try a new mat or blade, or flip the faux leather/suede over so the nice side is facing up. If you do flip the faux leather/suede, make sure to slide the white star wheels on the machine over to the right so they don’t imprint the material.
Felt
Felt is a popular material to use for Cricut crafts, however, it can be tricky. I’ll explain more in a bit! But it is one of my favorite materials to cut with my Cricut.
I’ve tested quite a few different felts and Cricut Felt cuts the best out of all of them, and it was the only felt that cut almost completely through with my Fine Point Blade on my Cricut Explore and Cricut Joy. That being said, I was also able to cut cheap acrylic felt and nice wool-blend felt using my Cricut Maker and the Rotary Blade.

Cricut Machines: Cricut Maker, Cricut Explore, Cricut Joy
Cricut Mat: Green StandardGrip Mat
Blade: Rotary Blade is the best, Fine Point Blade works on Cricut Felt in Explore and Joy
Setting: Felt (choose which felt option is closest to the material).
Tips for Cutting Felt: With Cricut Maker, use the Rotary Blade and one of the felt material settings. Cutting felt with the Explore or Joy can be a bit trickier. Cricut Felt cuts great, but other felt may not cut well or you may have to finish the cuts with scissors. Remove felt from the mat carefully, making sure not to stretch it out of shape.
Genuine Leather
Genuine leather is just that—real leather! If you’re looking to create something more upscale or durable, genuine leather is a great option.
Cricut offers sheets of genuine leather that are thin enough to be cut on an Explore or Maker with a Deep Cut blade. I hadn’t used their genuine leather until recently, and I was pleasantly surprised with how well it cut with that Deep Cut blade.

Cricut Machines: Cricut Maker, Cricut Explore
Cricut Mat: Purple StrongGrip Mat
Blade: Deep Cut Blade
Setting: Genuine Leather and Deep Cut Blade
More Information: How to Cut Leather with a Cricut
Tips for Cutting Genuine Leather: To cut genuine leather, place the genuine leather face down on a purple StrongGrip mat. If you’re using an older mat, use a brayer or your hands to really adhere the leather to the mat. Genuine leather is more pliable than faux leather, so you really want good adhesion on the mat so it doesn’t shift around. The leather should cut nicely. If not, try a new mat or blade. I haven’t found that flipping this leather over works—it really cuts more nicely face down.
Infusible Ink
Infusible Ink is an ink transfer material that allows you to create professional level projects. The ink becomes one with fibers of the material, meaning no peeling, no cracking, and it’s washer-proof! You can use Infusible Ink on all sorts of polyester and poly-coated blanks, including apparel, coasters, tote bags, pillow cases, mugs, tumblers, and more.
Cricut Infusible Ink Transfer Sheets are solid and patterned sheets of solid ink. The transfers look a bit like Cricut’s other sheets of vinyl, but they function very differently. They feel more like thick paper than regular iron on or adhesive vinyl.
You will need a heat press to apply the Infusible Ink to the blank. I recommend the EasyPress 3 or the Cricut AutoPress, though other heat presses will work as well.
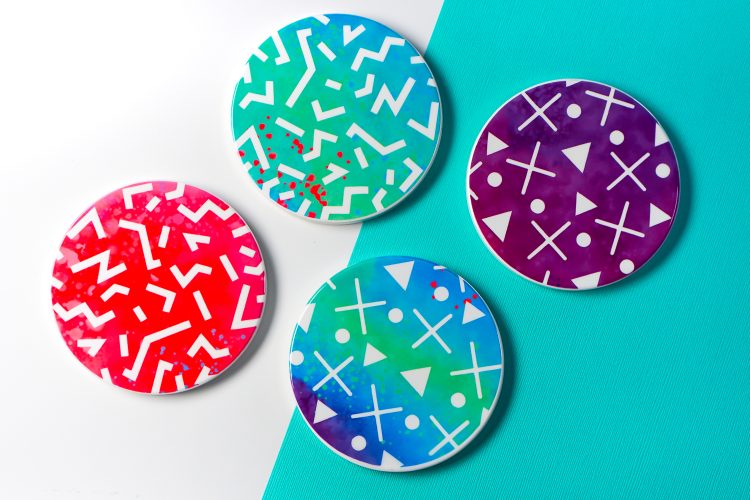
Cricut Machines: Cricut Maker, Cricut Explore, Cricut Joy
Cricut Mat: Green StandardGrip Mat
Setting: Infusible Ink
Tips for Cutting Infusible Ink: When you go to cut the image, make sure it is mirrored so it transfers the correct way onto your blank. To weed Infusible Ink, use your hands (wash your hands first!). Bend the transfer and pull away the negative parts of the image until you’re left with just the image you want to transfer.
Pressing each blank is a little different (you’ll need supplies like a blank sheet of white cardstock and/or butcher paper), so check out Cricut’s Heat Guide, where it will tell you exactly how you need to prepare the project for pressing.
Iron-On Vinyl (HTV)
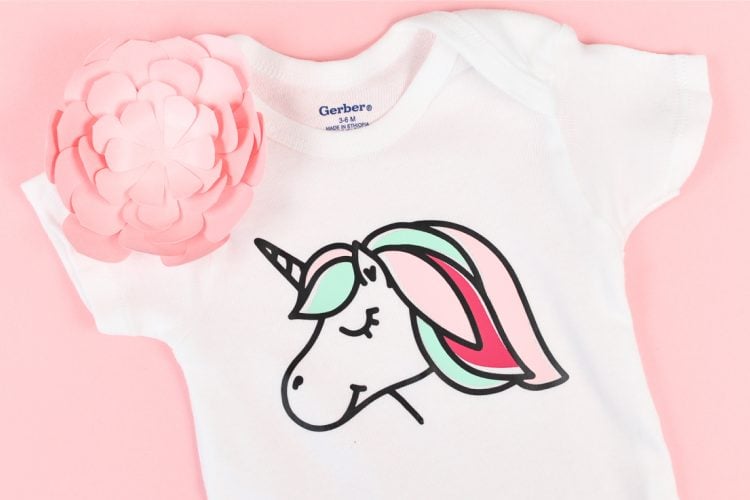
Iron on vinyl (also called heat transfer vinyl or HTV) is a type of vinyl material with a heat-sensitive adhesive that can applied to fabric and other materials (like wood, paper, or metal!). Here are some of the popular types of iron-on vinyl:
- Everyday Iron On
- Express Iron On
- Foil Iron On
- Glitter Iron On
- Holographic Iron On
- Mesh Iron On
- Mosaic Iron On (see specifics in my post How to Use Cricut Mosaic Iron On)
- Patterned Iron On (see specifics in my post How to Use Cricut Patterned Iron On)
- SportFlex (see section below)
- Smart Iron On (see section below)
You will need a heat press to apply the iron-on vinyl to the blank. I recommend the EasyPress 3 or the Cricut AutoPress, though other heat presses will work as well.
Cricut Machines: Cricut Maker, Cricut Explore, Cricut Joy
Cricut Mat: Green StandardGrip Mat
Blade: Fine Point Blade
Setting: Iron On
More Information: How to Use Cricut Iron On Vinyl
Tips for Cutting Iron On Vinyl: When you go to cut the image, make sure it is mirrored so it transfers the correct way onto your blank. Then place the iron on face-down (shiny side down) on the cutting mat. Cut the design, then use a weeding tool to weed out the material you don’t need (see my post Weeding Iron On Vinyl: Tips and Tricks for Making it Easy).
Check Cricut’s Heat Settings Guide to find the correct temperature for your particular iron-on type and particular blank. Place the design on the blank and use your Cricut EasyPress (or other heat source) to iron it on!
Kraft Board
Kraft board is a sturdy material used to create 3D projects, boxes, tags, and more. If you want something thicker than cardstock, but not as thick as chipboard, it’s the perfect material. You can use the Scoring Stylus or Scoring Wheel so you can fold it to create 3D projects.
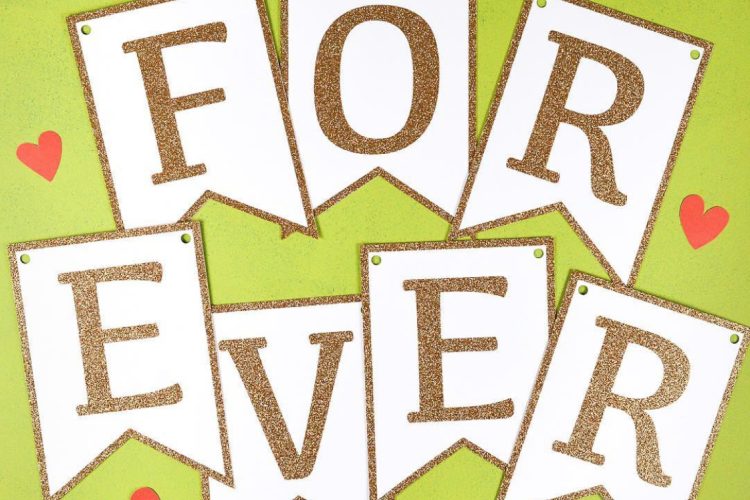
Cricut makes Kraft Board in a variety of colors such as white, natural, black and even holographic. It can be cut with any Cricut machine. I like using iron-on vinyl right on top of it!
Cricut Machines: Cricut Maker, Cricut Explore, Cricut Joy
Cricut Mat: Green StandardGrip mat
Blade: Fine Point Blade
Setting: Kraft Board
Tips for Cutting Kraft Board: Kraft board cuts similarly to cardstock. If your mat isn’t new, use a brayer to press the kraft board into the adhesive on the mat so it doesn’t shift during cutting.
After cutting, do not pull up the kraft board project from the mat by the corner. You may find that one of the layers sticks to the mat. Instead, bend the mat to loosen the adhesive, and then curl the mat away from the kraft board.
Paper
Paper is easily one of the most common types of materials used by Cricut crafters. Cardstock is probably the most popular type (see the Cardstock section above). You can make all sorts of projects using paper, including gift tags, banners, party decorations, home decor, gift tags, 3D boxes, flowers, and so much more.
Cricut has its own line of cardstock and papers. The nice thing about using these papers is that the Cricut is set up for using each of these materials with precise settings. You can also find all sorts of other papers at your local craft store like Michaels, or online.

Cricut Machines: Cricut Maker, Cricut Explore, Cricut Joy
Cricut Mat: Blue LightGrip
Blade: Fine Point Blade
Setting: Choose the setting specific to the paper type
More Information: The Ultimate Guide to Cutting Cardstock and Paper with a Cricut
Tips for Cutting Paper: Set the cut settings to the type of paper and weight. There are lots of paper choices, and you may to have to play around with the settings a bit to get it right—remember to do a test cut before you cut the project. I almost always recommend the LightGrip mat for paper, since paper can be delicate and the blue mat is the best at releasing paper materials.
After cutting, DO NOT pull up the paper project from the mat by the corner. It will curl, tear, and some of the paper will stick to the mat. Instead, bend the mat to loosen the adhesive, and then curl the mat away from the paper.
Party Foil
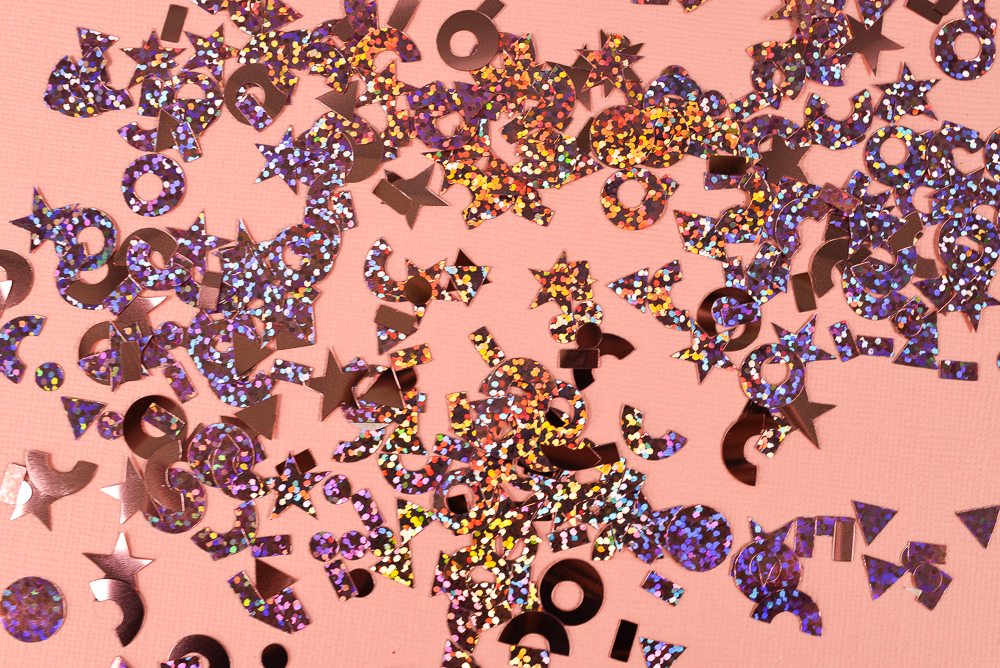
Cricut Party Foil is a double-sided shiny material that can be cut into shapes that spin and twirl, or into confetti. It’s perfect for party decor!
Cricut Machines: Cricut Maker, Cricut Explore, Cricut Joy
Cricut Mat: Green StandardGrip mat or Purple StrongGrip Mat
Blade: Fine Point Blade
Setting: Party Foil
Tips for Cutting Party Foil: Wash your hands before you start to lessen any fingerprints on the party foil. I have found that Party Foil does not like to stick to the mat very well, so I use a newer mat and a brayer, plus sometimes I use masking tape around the edges.
Poster Board
Poster board is a thick, durable paper material that can be used in place of cardstock papers to create longer-lasting projects! It’s similar to cardstock, but thicker. You can use the Scoring Wheel to create folded poster board projects as well.
Cricut offers foil and metallic poster board and you can find other types of poster board at your local craft store in larger sheets that you’ll need to trim down before cutting using your Cricut.

Cricut Machines: Cricut Maker, Cricut Explore, Cricut Joy
Cricut Mat: Green StandardGrip or Purple StrongGrip mat
Blade: Fine Point Blade
Setting: Poster Board
Tips for Cutting Poster Board: As mentioned above, poster board is similar to cardstock in most ways. If you find the poster board is shifting, move up to the StrongGrip mat. The poster board setting on your Cricut machine should be sufficient, but you may have to play around with settings if you’re cutting a non-Cricut material.
If you want to score the project, I recommend using the Double Scoring Wheel and scoring the back of the poster board. This will keep the poster board from cracking and showing the white core when you fold it. You can read more about this in my post 3D Paper Stars with the Cricut Scoring Wheel.
Printable Sticker Paper
Printable sticker paper is just that—printable paper used to create stickers! It’s perfect for creating your own stickers, decals, labels, and more using Cricut Print then Cut. Note that while Cricut Joy can cut printable sticker paper, the machine itself doesn’t have Print then Cut capabilities.
I prefer Cricut’s printable vinyl over the sticker paper (it’s thinner and feels more like a real sticker to me), but lots of crafters use and like the sticker paper as well.

Cricut Machines: Cricut Maker, Cricut Explore
Cricut Mat: Green StandardGrip mat
Blade: Fine Point Blade
Setting: Printable Sticker Paper
More Information: Make Cricut Stickers using Clip Art, SVGs, Photos, and More!
Tips for Cutting Printable Sticker Paper: Print the images on your home printer through Cricut Design Space. Design Space will automatically add a black registration box around the image so that the Cricut knows where to cut.
If you use the Printable Sticker Paper cut setting, your Cricut will “kiss cut” the material, like a standard sheet of stickers. If you’d rather cut all the way through the outline of the stickers so that the stickers are individual (to gift or sell, for example), try using the cardstock setting.
Printable Vinyl
Printable vinyl is similar to printable sticker paper, it’s just thinner. For most, it’s a matter of personal preference. I personally prefer printable vinyl because I think it feels more like a traditional sticker or label.
To make create your designs, you’ll use Cricut Print then Cut. Note that while Cricut Joy can cut printable sticker paper, the machine itself doesn’t have Print then Cut capabilities.

Cricut Machines: Cricut Maker, Cricut Explore
Cricut Mat: Green StandardGrip mat
Blade: Fine Point Blade
Setting: Printable Vinyl
More Information: Make Cricut Stickers using Clip Art, SVGs, Photos, and More!
Tips for Cutting Printable Vinyl: Print the images on your home printer through Cricut Design Space. Design Space will automatically add a black registration box around the image so that your Cricut knows where to cut.
If you use the Printable Sticker Paper cut setting, the Cricut will “kiss cut” the material, like a standard sheet of stickers. If you’d rather cut all the way through the outline of the stickers so that the stickers are individual (to gift or sell, for example), try using the cardstock setting.
Transfer Tape
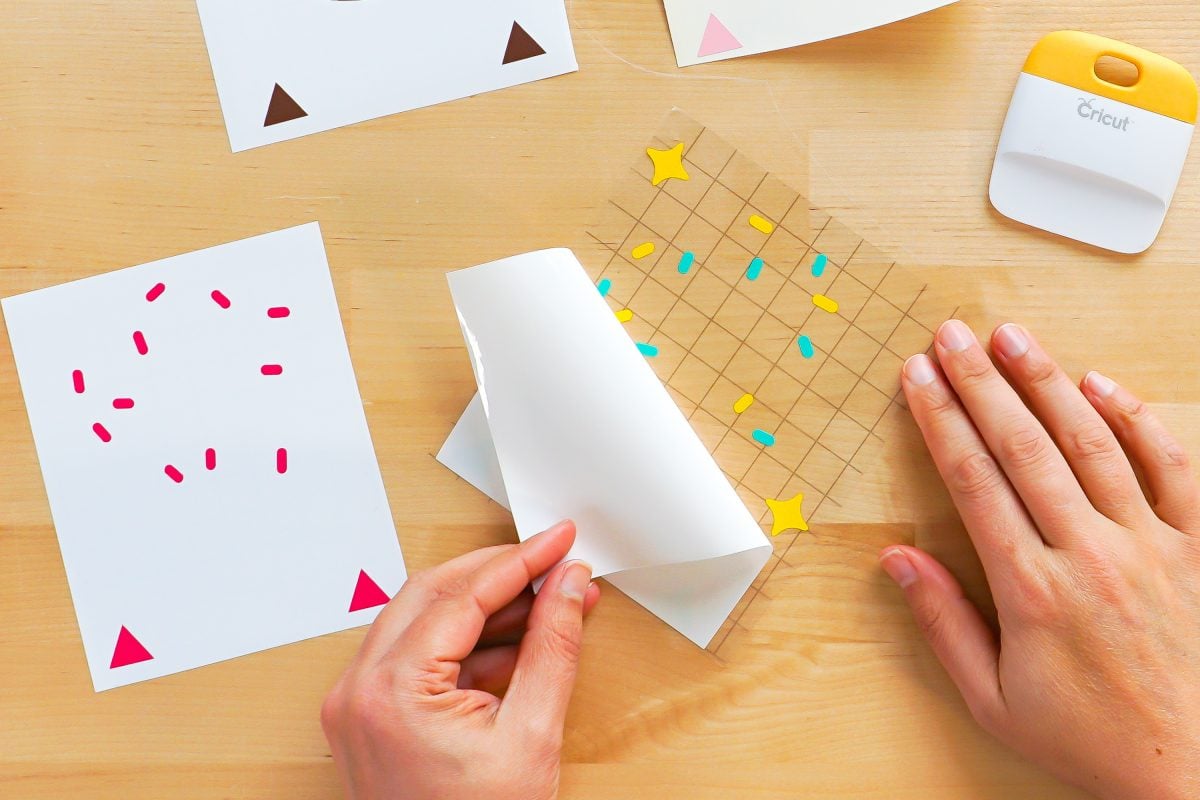
Transfer tape isn’t a material you’ll use on its own, but it’s integral to using adhesive vinyl. It’s a sticky-backed material, often with a grid, that helps you transfer vinyl from the backing paper to your final project. If you’ve ever made something with Cricut vinyl and wondered how you’re going to get it from the backing paper and onto the final project material, transfer tape is the answer.
Cricut offers transfer tape in various sized rolls, as well as sheets that can be used for projects of all sizes. You don’t need a Cricut machine to cut the transfer tape—you’ll just hand cut a piece that’s large enough to fit over the decal.
Cricut Machines: N/A
Cricut Mat: N/A
Blade: N/A
Setting: N/A
More Information: How to Use Transfer Tape
Tips for Using Transfer Tape: Once you’ve cut and weeded the adhesive vinyl decal, cut a piece of transfer tape slightly larger than the image. Peel off the backing sheet from the transfer tape and place it on the decal. Then use a scraper to burnish the transfer tape on the decal. Flip it over, and peel the vinyl’s carrier sheet away so that the vinyl sticks to the transfer tape.
Then place the decal on the blank and burnish it down. Peel back the transfer tape and the vinyl should stick to the blank.
If you are struggling to get the vinyl to stick to the transfer tape or for the transfer tape to let go of the vinyl on the blank, use your fingers to burnish all parts of the decal even more. You can use your fingernail or a weeding hook to help get the pieces to stick where they should.
Sportflex
Cricut SportFlex is a type of iron on vinyl that is thin and lightweight and is made to stretch and move with the base material. It’s great for applications like swimsuits, activewear, jerseys, and on other polyester and nylon materials. You can use it on regular t-shirts and other apparel as well. Cricut has two types of Sportflex iron on available: Regular Sportflex and Metallic Sportflex.

Cricut Machines: Cricut Maker, Cricut Explore, Cricut Joy
Cricut Mat: Green StandardGrip Mat
Blade: Fine Point Blade
Setting: Sportflex Iron On
More Information: How to Use Cricut SportFlex Iron On Vinyl
Tips for Cutting SportFlex: Cutting SportFlex is the same as any other iron on material with one difference—it does not like to stick to the mat. I always have to use a newer mat and tape around the edges to keep it from shifting.
When you go to cut the image, make sure it is mirrored so it transfers the correct way onto your blank. Then place the iron on face-down (shiny side down) on the cutting mat, taping around the edges. Cut the design, then use a weeding tool to weed out the material you don’t need (see my post Weeding Iron On Vinyl: Tips and Tricks for Making it Easy).
Check Cricut’s Heat Settings Guide to find the correct temperature for your particular blank. Place the design on the blank and use your Cricut EasyPress (or other heat source) to iron it on!
Smart Iron On
Smart Iron On is the same as regular iron on with one major difference—you can cut it without using a mat! It’s great for larger projects where you’d normally have to cut multiple mats of material. You can only cut smart materials with the Cricut Joy, Explore 3 and Maker 3.
Cricut offers many different types of Smart Iron On, including:
You can purchase a Cricut Smart Roll Holder to make smart cutting even more effortless.

Cricut Machines: Cricut Maker 3, Cricut Explore 3, Cricut Joy
Cricut Mat: None (unless you are cutting scraps, which need a mat)
Blade: Fine Point Blade
Setting: Smart Iron On Vinyl
Tips for Cutting Smart Iron On: Make sure the image is mirrored so it transfers the correct way onto your blank. When you go to make the project, a pop-up will ask you how you want to cut the project. Select Without a Mat. Then place the iron on face-down (shiny side down) straight into the machine. The machine will pull the material all the way through to double check you have the correct length you need for the project. Make sure there’s space behind your machine for it to do this.
Cut the design, then use a weeding tool to weed out the material you don’t need (see my post Weeding Iron On Vinyl: Tips and Tricks for Making it Easy).
Check Cricut’s Heat Settings Guide to find the correct temperature for the particular iron-on type and particular blank. Place the design on the blank and use your Cricut EasyPress (or other heat source) to iron it on!
Smart Paper
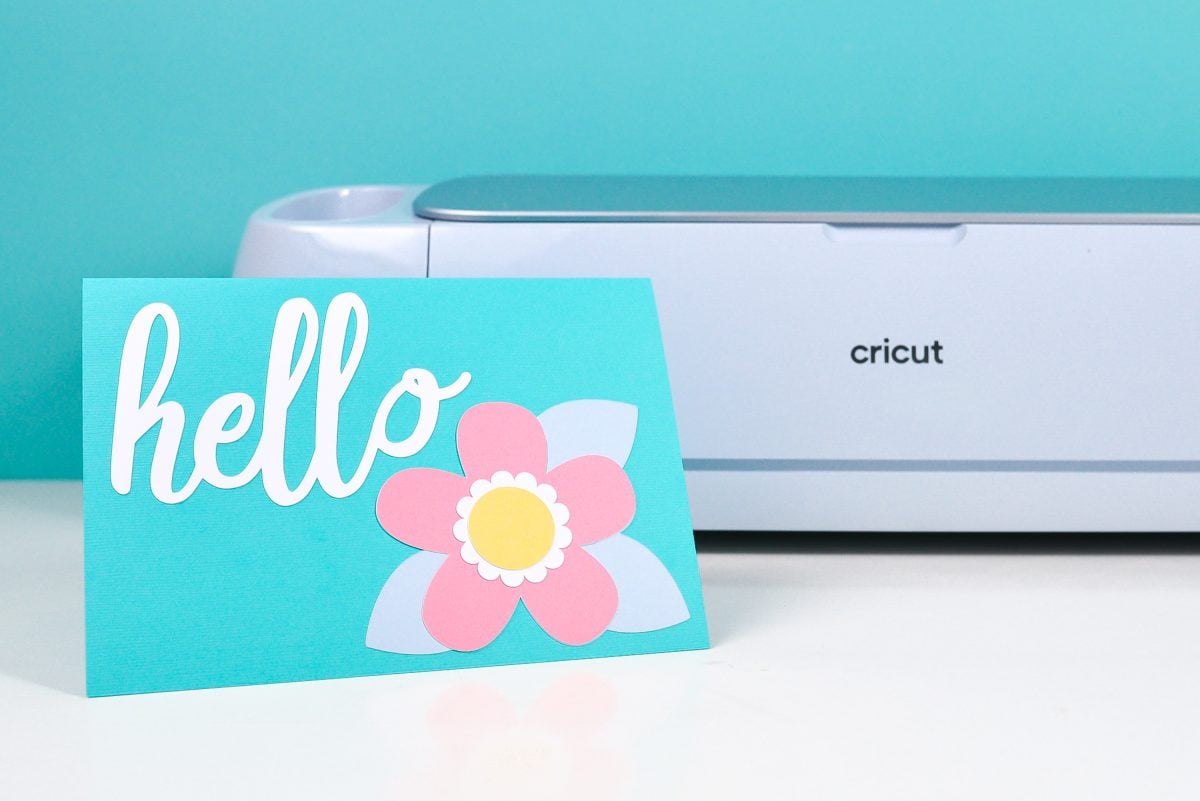
Smart Paper is basically a cardstock with an adhesive backing. You can cut it matless in Cricut Maker 3, Cricut Explore 3, or Cricut Joy, or you can cut it on a mat using any of the machines. Smart Paper is great because you don’t need to mess with glue when making layered projects.
Cricut Machines: Cricut Maker 3, Cricut Explore 3, Cricut Joy
Cricut Mat: None (unless you are cutting scraps, which need a mat)
Blade: Fine Point Blade
Setting: Smart Paper
Tips for Cutting Smart Paper: When you go to make the project, a pop-up will ask you how you want to cut the project. Select Without a Mat. Then insert the Cricut Smart Paper directly into the machine. Once you’re done, simply pick up the adhesive-backed paper pieces and apply them to your project like a sticker—do not use transfer tape.
Smart Paper is best for projects where you’d normally use paper and glue, like cards, banners, and gift tags. It’s not good as a replacement for adhesive vinyl on glass, plastic, or other blanks.
Smart Vinyl
Smart Vinyl is the same as regular adhesive vinyl with one major difference—you can cut it without using a mat! It’s great for larger projects where you’d normally have to cut multiple mats of material. You can only cut smart materials with the Cricut Joy, Explore 3 and Maker 3.
Cricut offers many different types of Smart Vinyl, including:
- Permanent Smart Vinyl
- Removable Smart Vinyl
- Holographic Smart Vinyl
- Metallic Smart Vinyl
- Shimmer Smart Vinyl
- Writable Smart Vinyl
You can purchase a Cricut Smart Roll Holder to make smart cutting even more effortless.

Cricut Machines: Cricut Maker 3, Cricut Explore 3, Cricut Joy
Cricut Mat: None (unless you are cutting scraps, which need a mat)
Blade: Fine Point Blade
Setting: Smart Vinyl
Tips for Cutting Smart Vinyl: When you go to make the project, a pop-up will ask you how you want to cut the project. Select Without a Mat. Then insert the Cricut Smart Vinyl directly into your machine with the color side up. Cut the design, then use a weeding tool to weed out the material you don’t need (see my post How to Weed Adhesive Vinyl for tips and tricks).
Once you’re done, you can use transfer tape to adhere the vinyl to your blank.
Stencil Vinyl
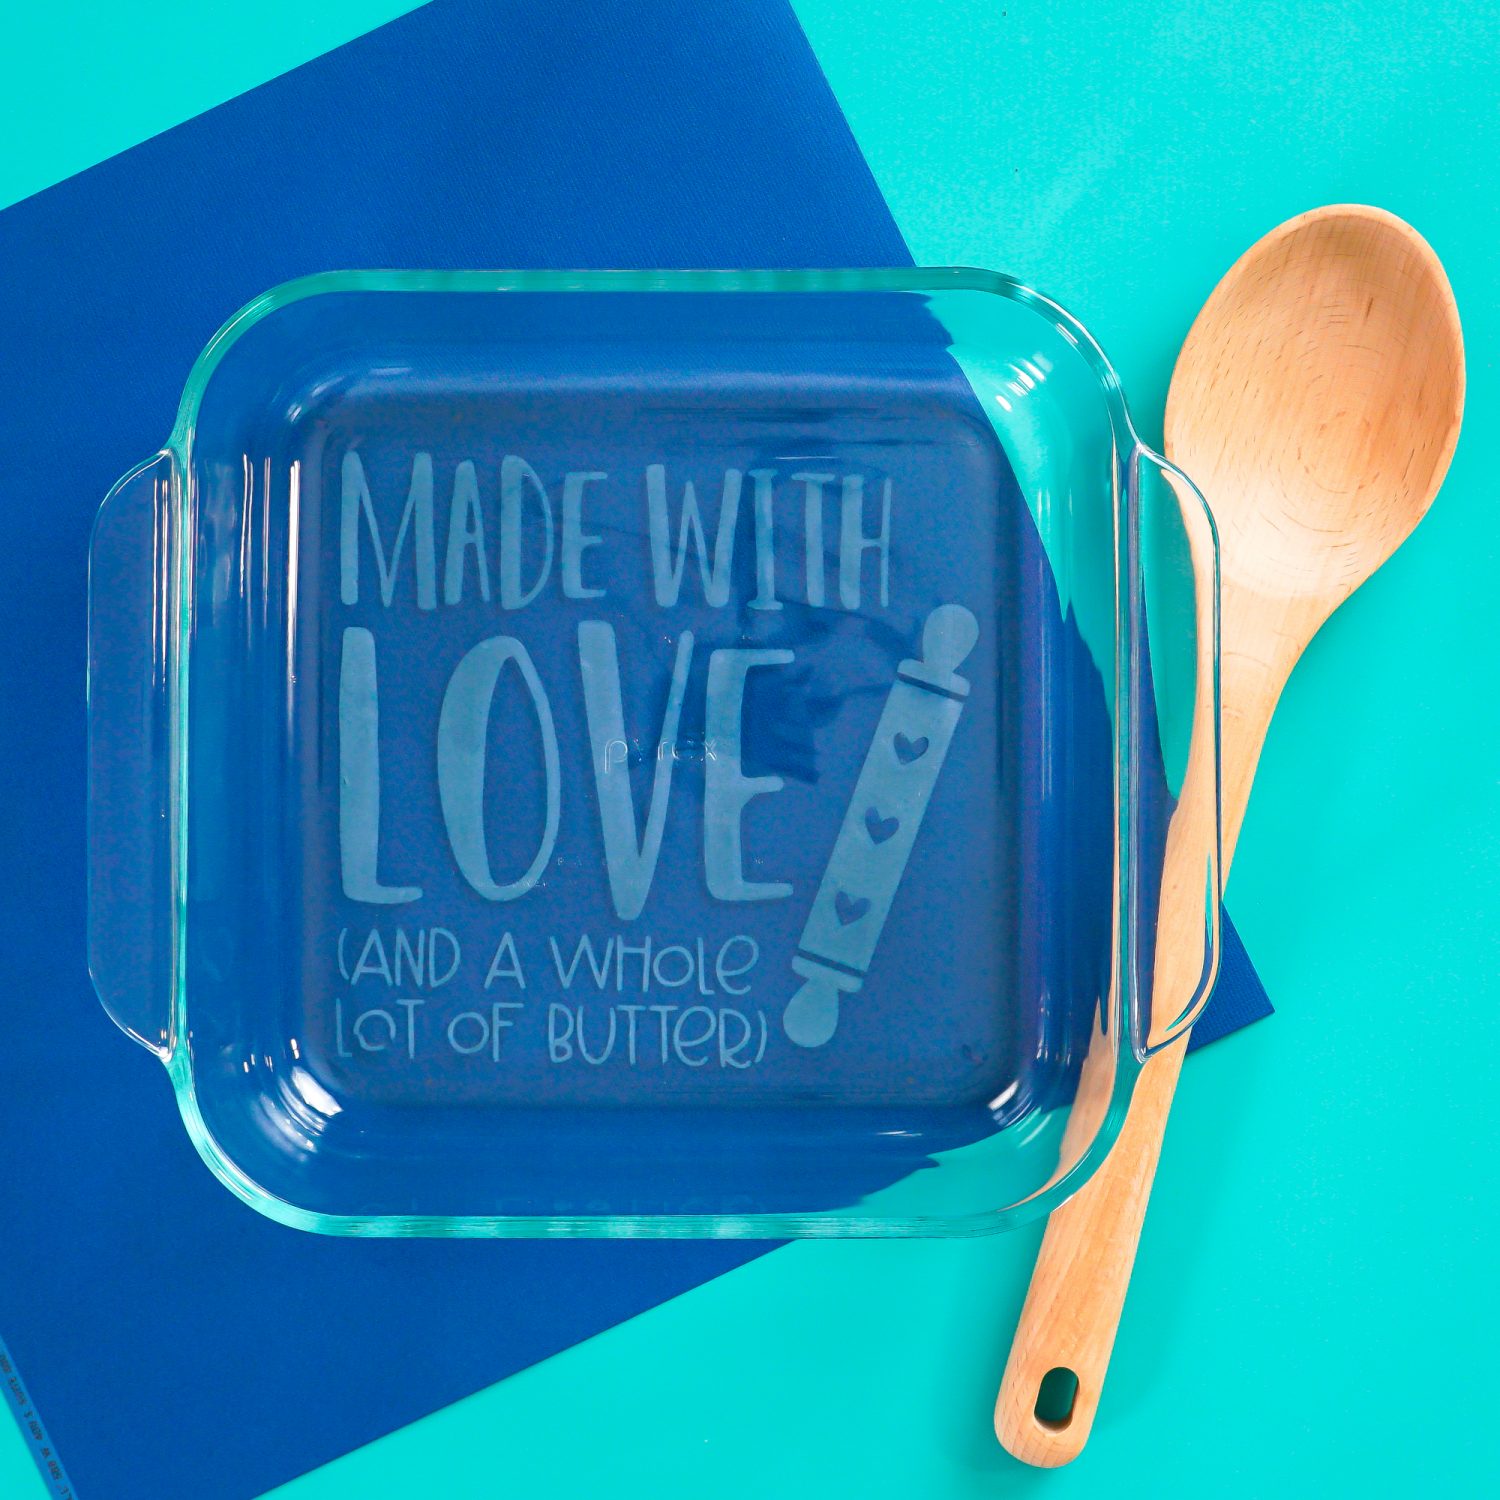
Stencil Vinyl is used to create stencils for projects like home decor signs and wall murals. You can also use it with etching cream to make projects like casserole dishes and wine bottles.
Cricut has both regular Stencil Vinyl and Smart Stencil Vinyl. The Smart Stencil Vinyl cuts without a mat just like the Smart Iron On and Smart Vinyl. You can only cut Smart Materials with the Cricut Joy, Explore 3 and Maker 3.
Cricut Machines: Cricut Maker, Cricut Explore, Cricut Joy
Cricut Mat: Green StandardGrip
Blade: Fine Point Blade
Setting: Stencil Vinyl
More Information: Etch with Your Cricut
Tips for Cutting Stencil Vinyl: Cutting Stencil Vinyl is similar to cutting any other adhesive vinyl. Because it’s transferred to the blank using transfer tape, you don’t need to worry about using a stencil font—you won’t lose the centers of the letters. After the stencil is cut, weed out everything but the negative space. This is the opposite of how you would normally weed. You only want the outline of the project to remain.
Place the stencil on your blank using transfer tape. Then use paint, stain, etching cream, or other medium to create your image. Generally you’ll want to remove the stencil vinyl once the project has started to dry (but has not dried all the way) so that it doesn’t pull up the paint or other medium when you remove it.
Veneer
Wood veneer is real wood that’s been cut into very thin sheets and glued together for strength. Cricut’s version has an extra layer (I think it might be plastic) in between two layers of wood, which increases the strength and “cutability” of this material. Cricut veneer comes in three types of wood—cherry, walnut, and maple.

Cricut Machines: Cricut Maker, Cricut Explore
Cricut Mat: Purple StrongGrip mat
Blade: Deep Cut Blade
Setting: Veneer
More Information: How to Cut Cricut Veneer
Tips for Veneer: Place the veneer on the Cricut mat with the grain running from the top of the mat to the bottom, using the brayer to get it to adhere evenly. If the mat is on the older side, you can place masking tape on all four sides of the project to help keep the veneer from shifting. Make sure you have the Deep Cut blade in your machine, insert the mat, and your Cricut will cut the veneer!
Remove a veneer project with extra care. Place the mat face-down on a table and carefully peel the mat away from the veneer, using your hand to keep the veneer flat on the table. You can use a scraper, spatula, or tweezers if you’d prefer, but I’ve found that my hand holding everything down gives me the best results.
Vinyl
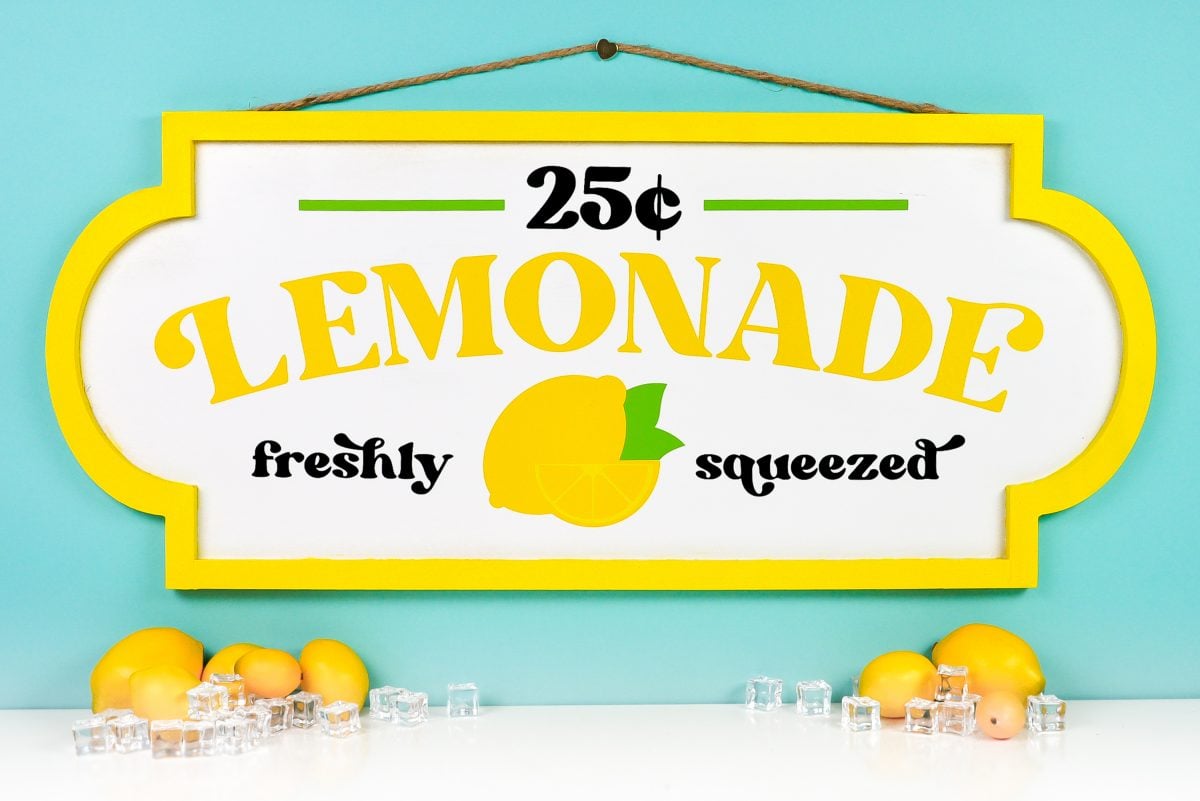
Adhesive vinyl (usually referred to as just “vinyl”) is a type of material with a sticky adhesive that can applied to non-porous materials like plastic, glass, metal, and painted wood.
Here are some of the popular types of vinyl:
- Permanent Vinyl
- Removable Vinyl
- Holographic Vinyl
- Mosaic Vinyl
- Shimmer Vinyl
- Chalkboard Vinyl
- Dry Erase Vinyl
Cricut Machines: Cricut Maker, Cricut Explore, Cricut Joy
Cricut Mat: Green StandardGrip Mat
Blade: Fine Point Blade
Setting: Vinyl (choose the vinyl you are using)
More Information: How to Use Adhesive Vinyl with a Cricut
Tips for Cutting Iron On Vinyl: Place the vinyl on the mat, color side up. Cut the design, then use a weeding tool to weed out the material you don’t need (see my post How to Weed Adhesive Vinyl for tips and tricks).
Once you’re done, you can use transfer tape to adhere the vinyl to your blank.
As you can see, there are SO many materials you can cut with your Cricut! If you’re looking to cut something that I haven’t listed here, please let me know in the comments and I’ll give you my best recommendations!


Comments & Reviews
Jessica says
Amazing & daunting info! I’ve had my Cricut Maker for 2 years and only took it out of the box once! I haven’t made anything with it yet because I’m very overwhelmed! However, I’m finally tired of it being a “paper weight” and ready to learn how to use it. With that said, out of the plethora of Cricut How-To books, which book(s) would you recommend for beginners?
Teresa says
Love your list. So precise. I do have a question have you tried cutting materials like cake board and what setting would you recommend for it?
I want to try it but get too nervous and give up before I even get it on the mat.
Thank you for helping keep me on the correct path to creating.
Cori says
Hi Teresa,
Yes, your Cricut can cut corrugated cardboard which is what cake boards are typically made from. Here are some detailed instructions from Cricut that may help! :) https://help.cricut.com/hc/en-us/articles/360009373314-Corrugated-Cardboard-Set-Cutting-instructions
Cally Ross says
Great information, I’m pinning it for future reference. Thanks!
I have one thing to add, I ruined a new purple mat when I put real leather fuzzy side down. it stuck very well, and left a mess when I removed it! I read somewhere that putting transfer tape on the fuzzy side would protect the mat, stabilize the leather, and be easier to remove.
Cori says
Hi Cally,
Yes, that is a great tip! Thank you! :)