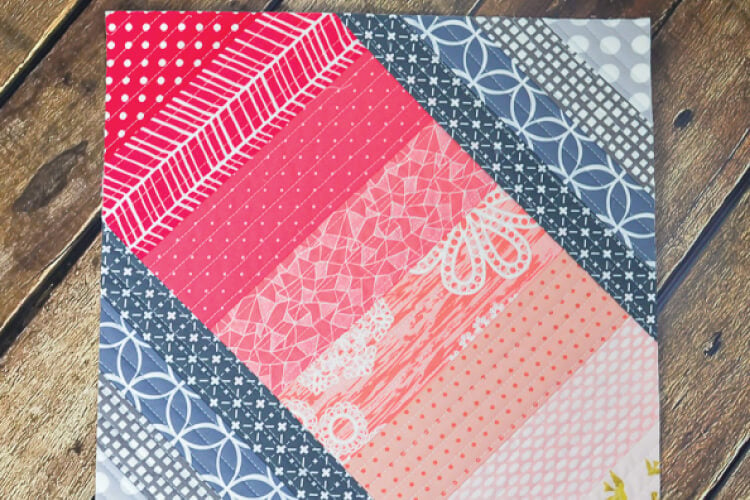
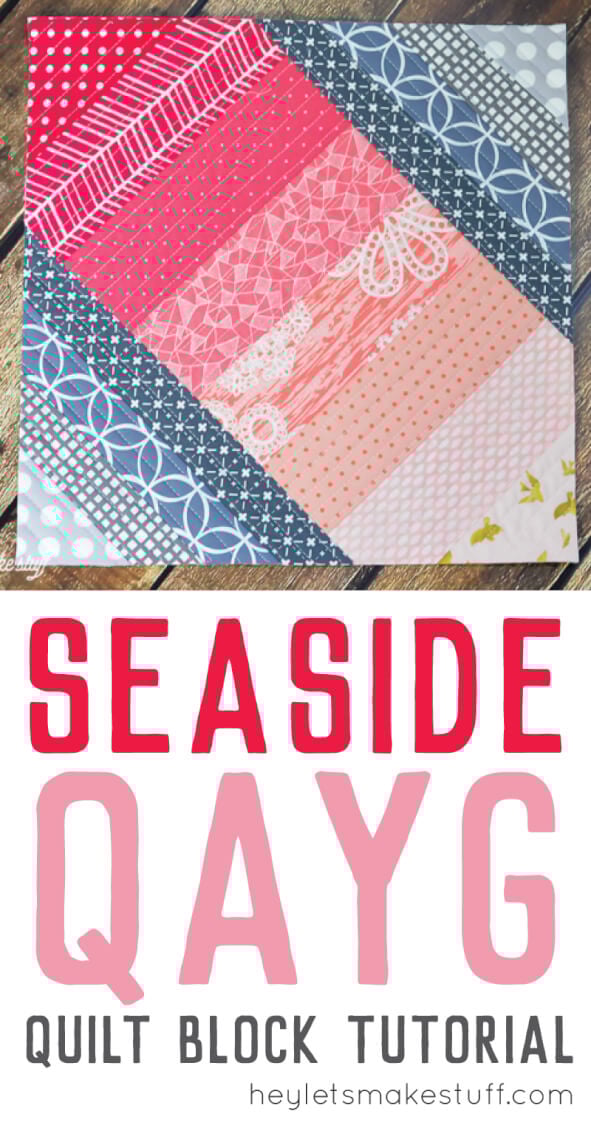
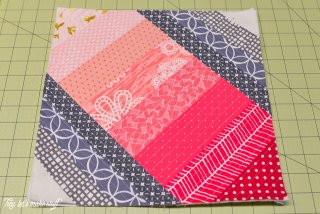
Using the quilt-as-you-go (QAYG) technique, you can make this easy Seaside Boardwalk quilt block! A fun sewing project that makes a great pillow or bag.
Today I’m happy to be sharing another quilting project! It’s been a while since I shared a quilt block tutorial, but if my stats are to be believed — you all LOVE them. This year, I’m hoping to share a new quilt-as-you-go (QAYG) block each month, though with twins on the way, I’m not holding onto anything too tightly.
If you’re unfamiliar with QAYG, it’s a foundation piecing technique that quilters often use to make a log cabin block (here’s a great tutorial from Oh Fransson!). A while back I decided this technique was much more versatile than it’s given credit for. If you’re completely unfamiliar with the technique, I created a SUPER easy Big Stripes block that can help teach you the method.
This block is actually fairly simple to make if you understand the QAYG concept. I’ve decided to call it Seaside Boardwalk because it reminds me of a planked boardwalk spanning over the gray water of the sea (thanks to Brittney and Siobhan for helping me name the block!). Of course, you can make it in whatever color combination you choose!
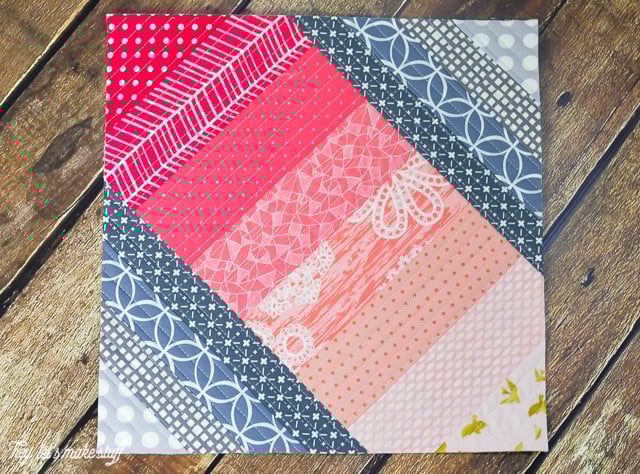
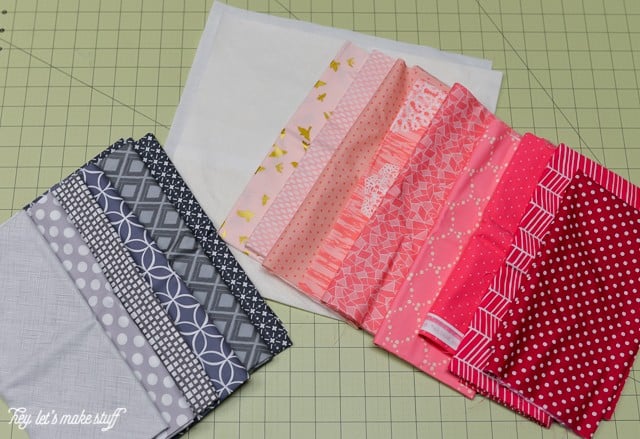
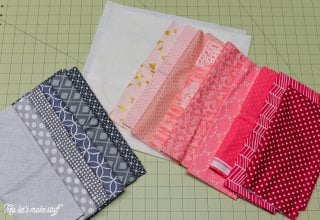
Start by laying out your fabrics. You will need a selection of fabric for the center, and a different selection for the sides. I always love a good gradient, so that’s generally what I choose. You’ll notice in my final block that I didn’t end up using all the fabrics I chose — I just picked exactly what I wanted as I went along.
You are also going to need a 13″ square of batting, and a 13″ square of backing fabric. I use cheap white fabric for the back (I think it’s $1.99 a yard). The final block size will be 12.5″ square, but I like a little extra for trimming.
IMPORTANT: Like I’ve said before, the back of QAYG is ugly (I mean ugly) — and I haven’t found a way to connect the blocks in a pleasing way. So I usually use the technique to make pillows and bags — things with a lining. Perhaps this is the year I’ll figure out how to connect them, and make a pretty backing.
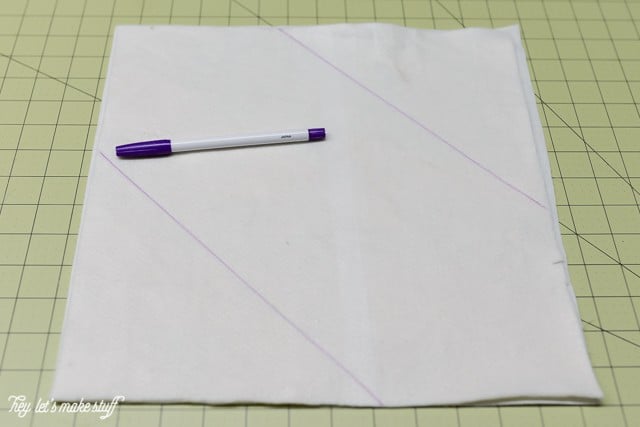
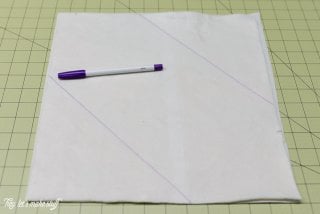
Using the 45° line on my cutting mat, I drew two lines on my batting to help guide my center stripe. My lines are 7.5″ apart, but again, you could make the stripe as wide or narrow as you’d like.
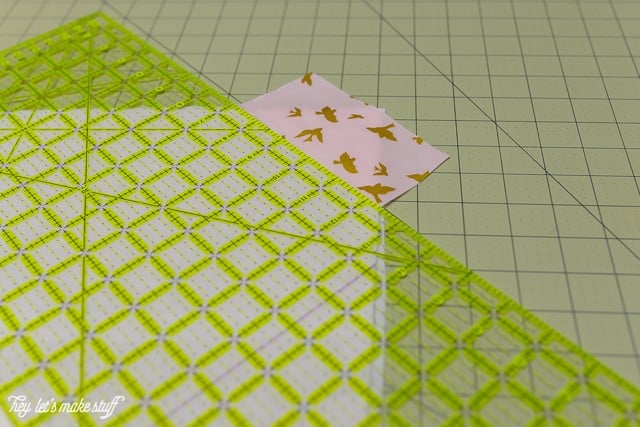
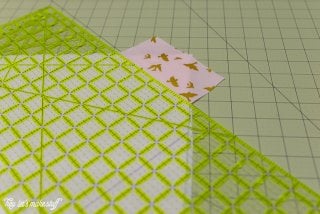
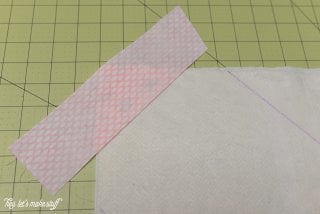
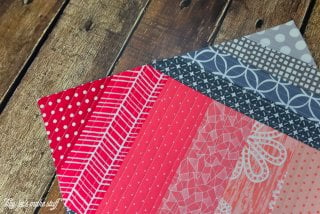
My pink strips in the middle of my block are cut to 2.5″ wide, and the gray strips are 1.5″ wide. You can use whatever width you choose, though. Start by placing the first fabric, right-side up, in the corner of your batting. I used my clear ruler to help make sure I was placing my strips perpendicular to the lines I drew (in the photo below, you can see my purple line underneath the ruler toward the bottom).
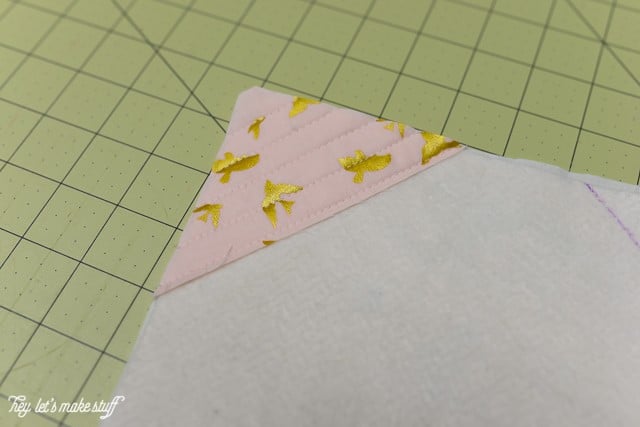
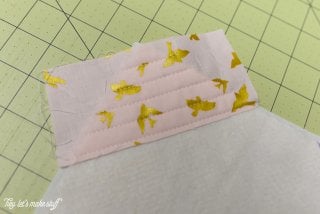
Quilt the fabric directly to the batting and backing fabric, using straight lines. I lengthen my stitch a little — my machine doesn’t have numbers, but it’s a little longer than a standard stitch, but not quite as long as a basting stitch.
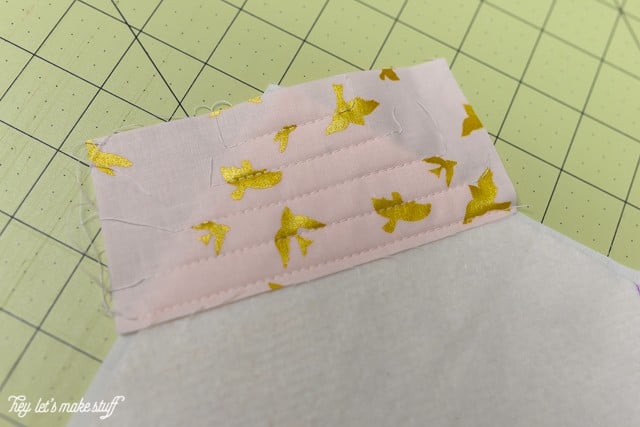
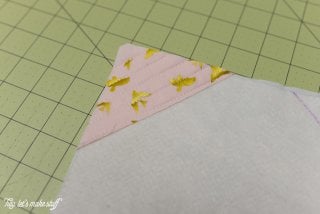
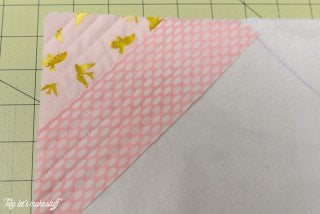
You can trim off the excess fabric as you go if you’d like. (I just LOVE the gold birds in the Brambleberry Ridge line — I can’t get enough of them!)
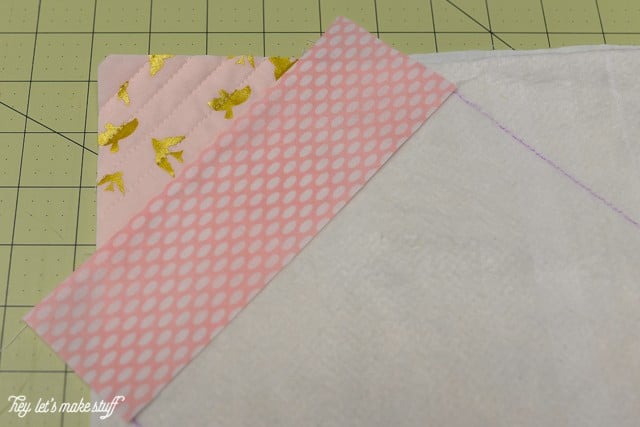
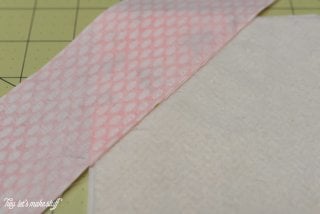
Add your second piece of fabric, right-side down on top of the first piece.
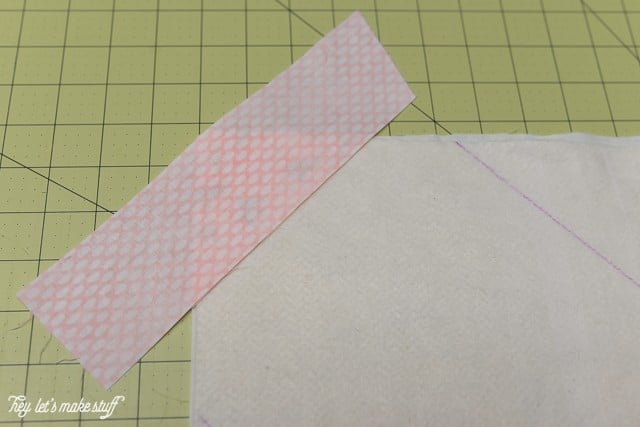
You are going to stitch very close along the edge of the two fabrics, 1/8″ away from the edge. If you look closely at the below photo, you can see my line of white stitching (sorry, it’s a bit hard to see).
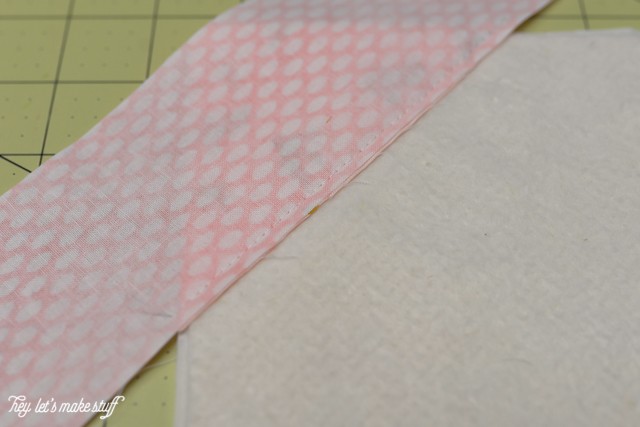
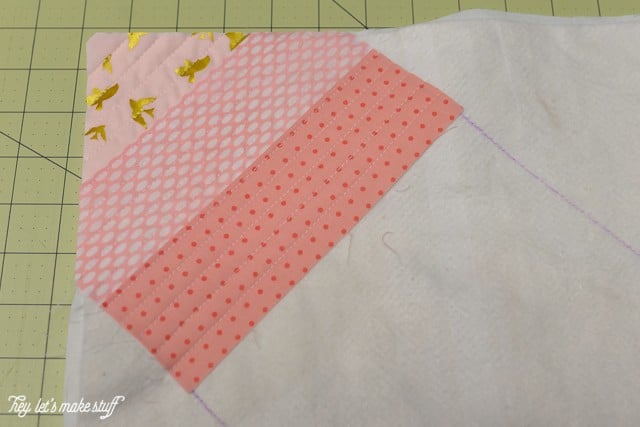
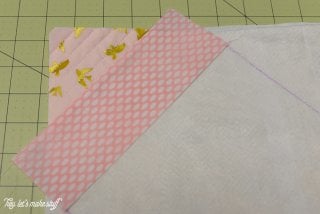
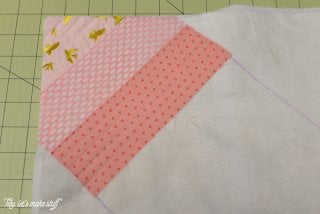
Open that piece and press in the opposite direction.
Quilt to the backing fabric, using straight lines, and trim as needed.
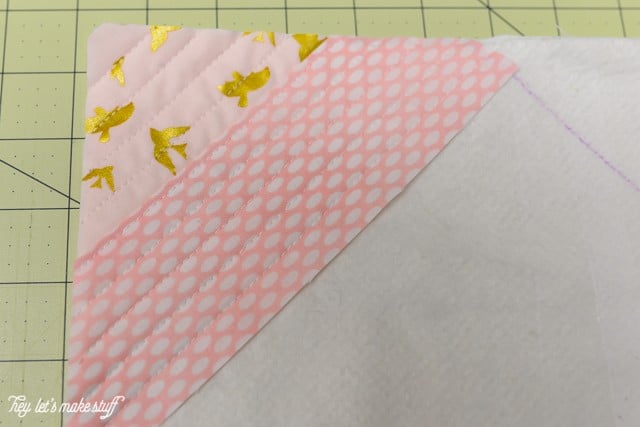
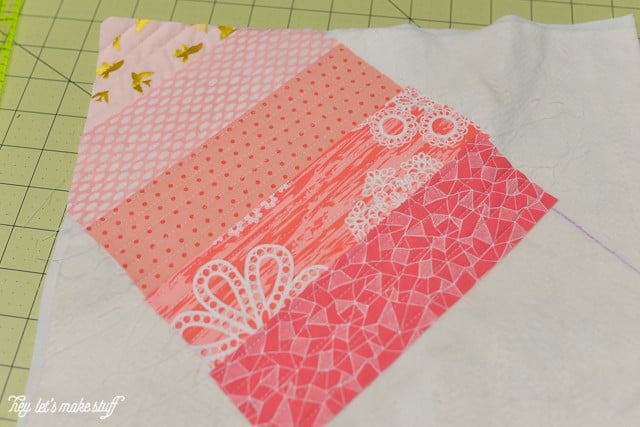
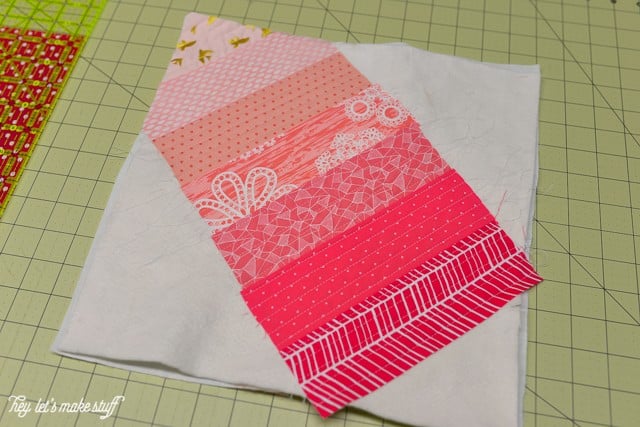
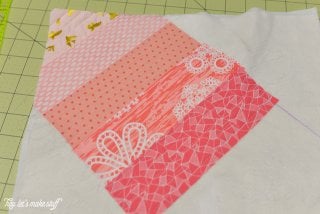
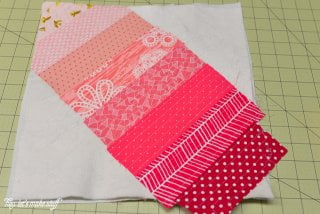
Continue adding strips of fabric down the middle, using your clear ruler to make sure they are perpendicular to your drawn lines.
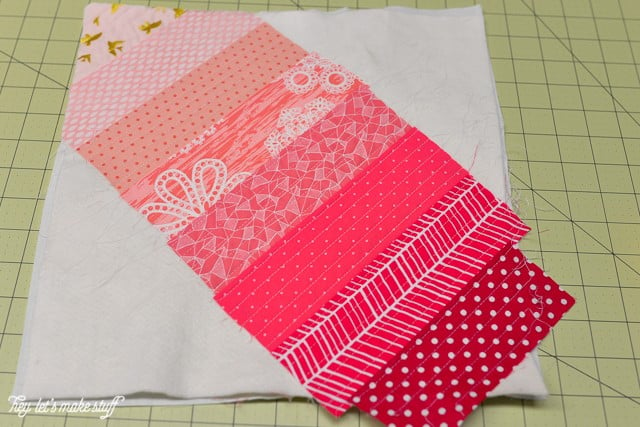
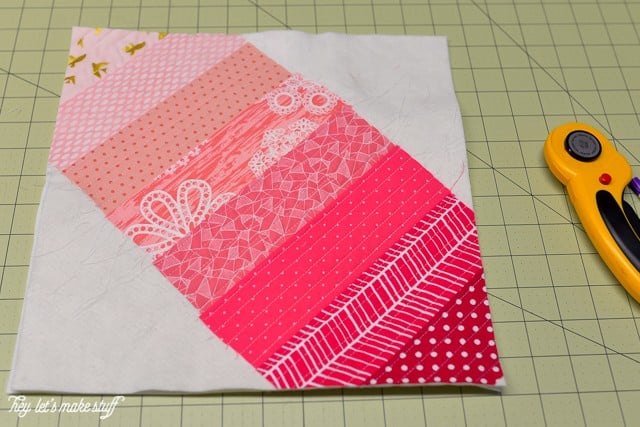
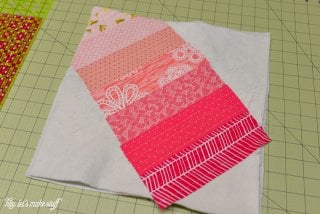
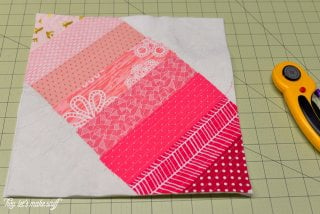
Once you get to the last piece, you can square up your block and trim off the excess. You’ll see that I have extra batting and fabric in the lower right corner — I just squared up my block from that corner.
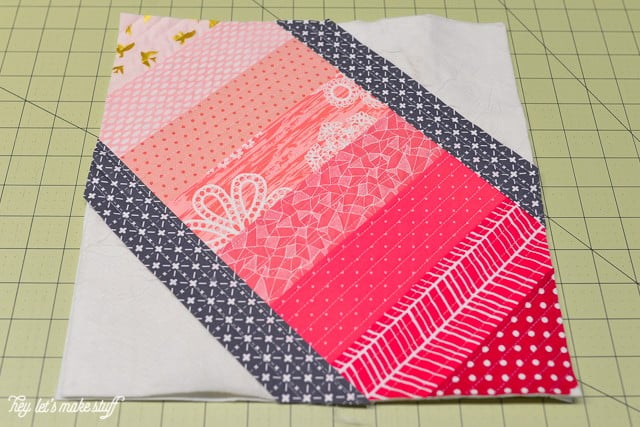
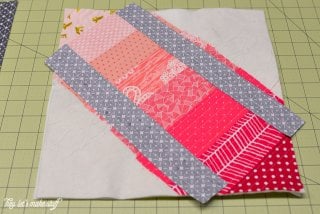
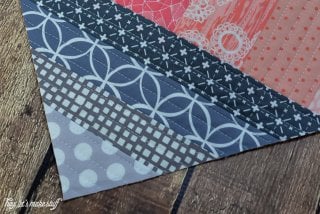
Now it’s time to add your side strips. My drawn lines were covered at this point, but I lined up my first gray pieces perpendicular to the pink pieces using my clear ruler, and sewed them down along the outside edge like I did with the pink pieces.
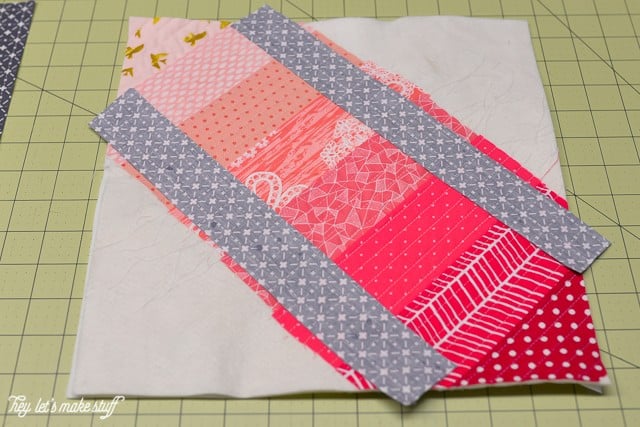
Then I opened them, pressed, and quilted them down.
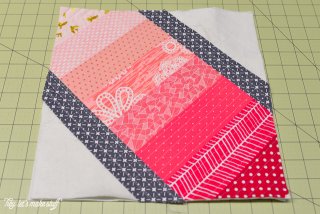
Then add the gray pieces until you reach the end. I made my final pieces just a hair thicker so they’d reach all the way to the corners.
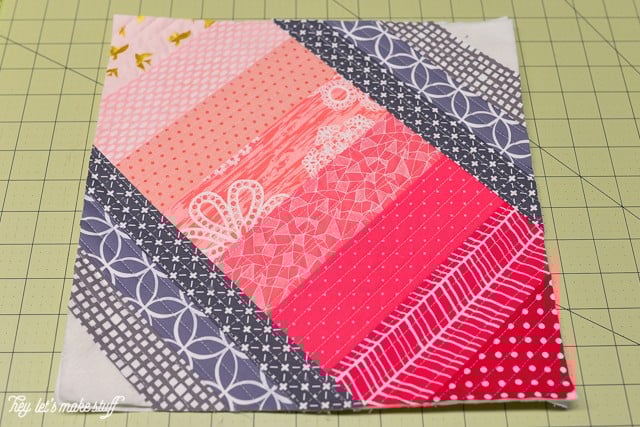
Square it up one more time if you need to, and then you’re done!
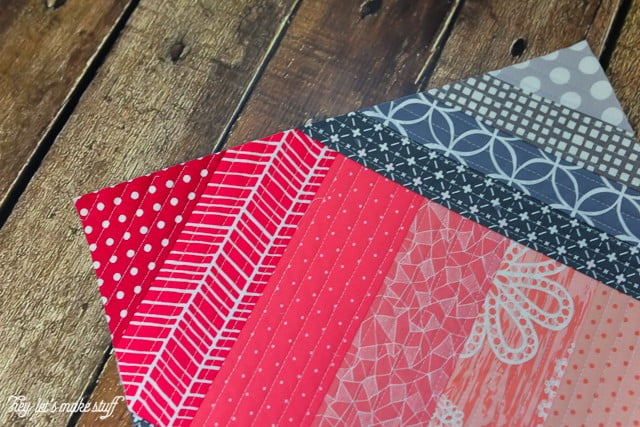
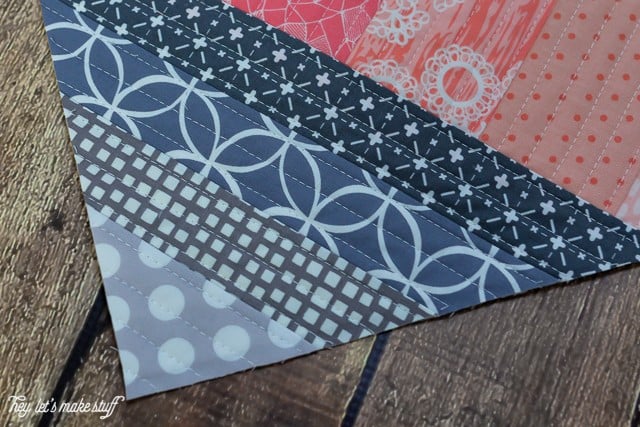
As always, if you have any questions about this (or any of my tutorials), feel free to ask in the comments!
More Quilt as You Go Tutorials:
- Learn Quilt-As-You-Go: Easy Big Stripes Panel
- Bloomin’ Quilt-As-You-Go Tutorial
- Seaside Boardwalk Quilt-As-You-Go Tutorial
- Scattered Geese Quilt-As-You-Go Tutorial
- Go Fly a Kite Quilt-As-You-Go Tutorial
- Step It Up Quilt-As-You-Go Tutorial
- Bear Mountain Quilt-As-You-Go Tutorial
- Scottish Thistle QAYG Block
- North West Quilt-As-You-Go Block Tutorial
SEASIDE BOARDWALK QUILT-AS-YOU-GO
Supplies
- Fabric
- 13"x13" square batting
- 13"x13" square backing fabric
Instructions
- Start by laying out your fabrics. You will need a selection of fabric for the center, and a different selection for the sides. Love a good gradient, so that's generally what is chosen. You'll notice in the final block that all the fabrics chosen weren't used – just picked exactly what was needed as the quilt blocked progressed.

- You are also going to need a 13" square of batting, and a 13" square of backing fabric. The final block size will be 12.5" square, but I like a little extra for trimming.Using the 45° line on the cutting mat, draw two lines on the batting to help guide the center stripe. The lines are 7.5" apart, but again, you could make the stripe as wide or narrow as you'd like.

- The pink strips in the middle of the block are cut to 2.5" wide, and the gray strips are 1.5" wide. You can use whatever width you choose, though. Start by placing the first fabric, right-side up, in the corner of your batting. Used a clear ruler to help make sure the strips were being placed perpendicular to the drawn lines (in the photo below, you can see the purple line underneath the ruler toward the bottom).

- Quilt the fabric directly to the batting and backing fabric, using straight lines. The stitch was lengthened a little — as this machine doesn't have numbers, but it's a little longer than a standard stitch, but not quite as long as a basting stitch.

- You can trim off the excess fabric as you go if you'd like.

- Add your second piece of fabric, right-side down on top of the first piece.

- You are going to stitch very close along the edge of the two fabrics, 1/8" away from the edge. If you look closely at the below photo, you can see the line of white stitching (sorry, it's a bit hard to see).

- Open that piece and press in the opposite direction.

- Quilt to the backing fabric, using straight lines, and trim as needed.

- Continue adding strips of fabric down the middle, using your clear ruler to make sure they are perpendicular to your drawn lines.


- Once you get to the last piece, you can square up your block and trim off the excess. You'll see that there is extra batting and fabric in the lower right corner — so the block was just squared up from that corner.

- Now it's time to add your side strips. The drawn lines are covered at this point, so just line up the first gray pieces perpendicular to the pink pieces using the clear ruler, and sew them down along the outside edge like what was done with the pink pieces.

- Open them, the press, and quilt them down.

- Then add the gray pieces until you reach the end. The final pieces were made just a hair thicker so they'd reach all the way to the corners.

- Square it up one more time if you need to, and then you're done!

- IMPORTANT: Like I've said before, the back of QAYG is ugly (I mean ugly) — and I haven't found a way to connect the blocks in a pleasing way. So I usually use the technique to make pillows and bags — things with a lining.



Comments & Reviews
Fritzie says
Thanks so much for a very nice tutorial , love the colors also…same thing with the others was wondering how to connect…i have found a tutorial under gourmetquilter.com…..on how to connect quilt as you go blocks…hope this helps…this is the first i found right after leaving ur page…thanks again..congratulations on ur twins…
Marti Morgan says
I woud love to see the finished quilt to see exactly how these blocks look together.
Cori George says
Hi Marti — In my post I noted that I’m still not sure how to combine the blocks. I usually make them into smaller projects, like pillows and bags. Perhaps this year I’ll figure out how to connect them!
cynthia smith says
To attach Squares to make a quilt, all you would have to do is put sashing on all four sides and join the squares together. On each sashing place a piece of batting (a 1/4″ smaller then sashing piece). Place in the center of sashing piece and sew a decorative stitch or any stitch to hold it in place. Attach to the block on all four sides and start sewing blocks together in a row. :)
Helen says
Just found your website, love it. Thanks so much for QAYG video, it’s great! Do you have a method for QAYG placemats also? I really enjoy making smaller items like table toppers and runners and placemats, mug mats, and pot holders.
Congratulations on TWINS!
Cori George says
I have two older projects that don’t have full tutorials, but do have a bit of an explanation:
http://letseatgrandpa.com/2013/01/12/seeing-red-a-mug-rug-for-becky/ and http://letseatgrandpa.com/2012/11/02/quilt-as-you-go-scrappy-pot-holders/. Hope that helps! :)
Dolores Johnson says
I love this block, but have no idea how to attach it to another. Could you please explain? thanks.
Cori George says
Hi Dolores — like I said in my post, “I haven’t found a way to connect the blocks in a pleasing way. So I usually use the technique to make pillows and bags — things with a lining.” I’m hoping to figure out how to connect them someday, I just haven’t yet. Hope that makes sense!
Anne Goldberg says
Try Sharon Pederson’s “Reversible Quilts” for a method of putting squares together.
sofia says
Leah Day has a great way of connecting quilted pieces. I would definitely use her tutorials.
https://www.youtube.com/watch?v=v7_lwOfZWM8
Carmen says
You could use sashes. One in front and one on the back.
Tracey @LetsGoJunking says
Cori – I’m actually going to try this. Thanks for the other tutorials to. I’ll keep you posted as it comes along.
Steph @ Crafting in the Rain says
That’s beautiful Cori-love the lines and colors!
Laurie T says
Love this! Are you going to be sharing a new QAYG block every month for the next 12 months? How can we make sure we don’t miss any of them? Saw this on Fave Quilts but will they be posting it each month?
Cori George says
Hi Laurie! You can subscribe to my newsletter at the top of my blog. I am planning on doing one a month (though I’m pregnant with twins so I’m not holding onto anything too tightly!) :)
Dee @CupcakesandCrowbars says
This is a great tutorial! Your instructions are so clear and I LOVE that you included so many photos – it really helps the novice sewers like me follow along. Can I borrow your pattern mixing skills please?
Cori George says
That’s my favorite part of the whole process! :)
Connie says
You nee# to watch pattern poole tutorials on attaching the blocks . Specifically the cover strip method. If you use a print good quality fabric on the back it is a beautiful quilt.block.i love your pattern .I am going to try it.
Lesley Gilbert says
Nice tutorial – thanks for taking the time to make it and share it here :)
Melanie says
Thank you for sharing this! I’m wanting to try QAYG this year! Congrats on the twins too…double blessings!
Cori George says
Thank you Melanie!
Betty Hendricks says
I love this! Never having done QAYG, is there a tutorial about putting the blocks together? Thanks!
Pauline says
Would it be possible to see what these blocks would look like in a quilt?