SEASIDE BOARDWALK QUILT-AS-YOU-GO
Using the quilt-as-you-go (QAYG) technique, you can make this easy Seaside Boardwalk quilt block! A fun sewing project that makes a great pillow or bag.
Ingredients
- Fabric
- 13"x13" square batting
- 13"x13" square backing fabric
Instructions
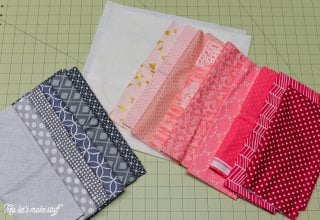
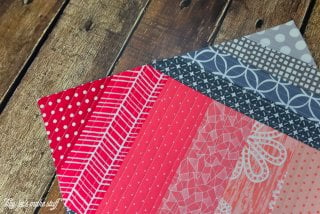
- Start by laying out your fabrics. You will need a selection of fabric for the center, and a different selection for the sides. Love a good gradient, so that's generally what is chosen. You'll notice in the final block that all the fabrics chosen weren't used - just picked exactly what was needed as the quilt blocked progressed.
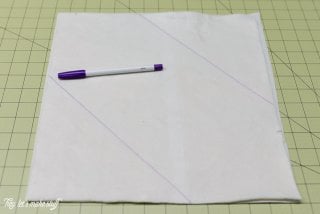
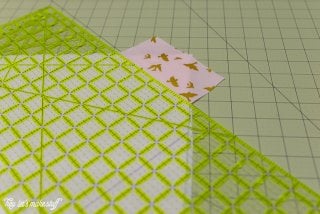
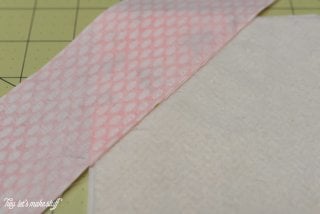
- You are also going to need a 13" square of batting, and a 13" square of backing fabric. The final block size will be 12.5" square, but I like a little extra for trimming.Using the 45° line on the cutting mat, draw two lines on the batting to help guide the center stripe. The lines are 7.5" apart, but again, you could make the stripe as wide or narrow as you'd like.
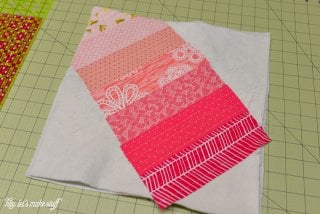
- The pink strips in the middle of the block are cut to 2.5" wide, and the gray strips are 1.5" wide. You can use whatever width you choose, though. Start by placing the first fabric, right-side up, in the corner of your batting. Used a clear ruler to help make sure the strips were being placed perpendicular to the drawn lines (in the photo below, you can see the purple line underneath the ruler toward the bottom).
- Quilt the fabric directly to the batting and backing fabric, using straight lines. The stitch was lengthened a little --- as this machine doesn't have numbers, but it's a little longer than a standard stitch, but not quite as long as a basting stitch.
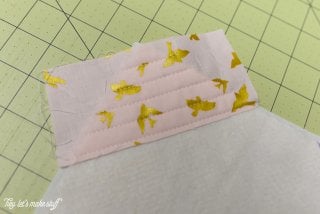
- You can trim off the excess fabric as you go if you'd like.
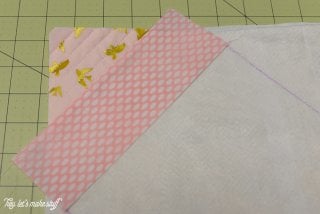
- Add your second piece of fabric, right-side down on top of the first piece.
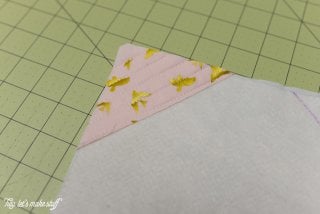
- You are going to stitch very close along the edge of the two fabrics, 1/8" away from the edge. If you look closely at the below photo, you can see the line of white stitching (sorry, it's a bit hard to see).
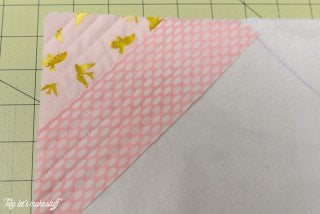
- Open that piece and press in the opposite direction.
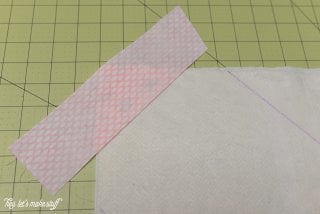
- Quilt to the backing fabric, using straight lines, and trim as needed.
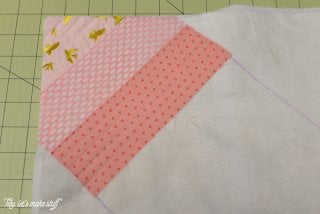
- Continue adding strips of fabric down the middle, using your clear ruler to make sure they are perpendicular to your drawn lines.

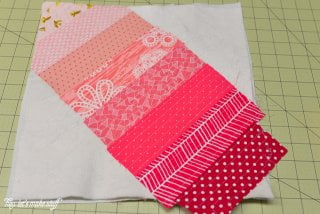
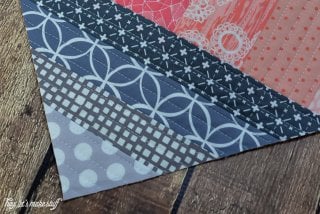
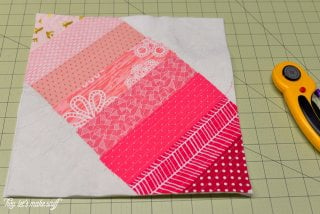
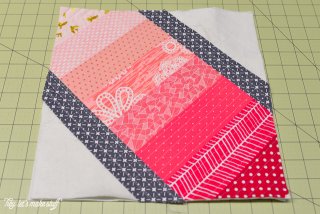
- Once you get to the last piece, you can square up your block and trim off the excess. You'll see that there is extra batting and fabric in the lower right corner -- so the block was just squared up from that corner.
- Now it's time to add your side strips. The drawn lines are covered at this point, so just line up the first gray pieces perpendicular to the pink pieces using the clear ruler, and sew them down along the outside edge like what was done with the pink pieces.
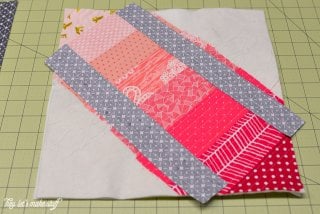
- Open them, the press, and quilt them down.
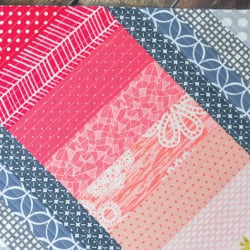
- Then add the gray pieces until you reach the end. The final pieces were made just a hair thicker so they'd reach all the way to the corners.
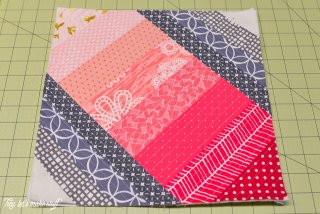
- Square it up one more time if you need to, and then you're done!
- IMPORTANT: Like I've said before, the back of QAYG is ugly (I mean ugly) -- and I haven't found a way to connect the blocks in a pleasing way. So I usually use the technique to make pillows and bags -- things with a lining.