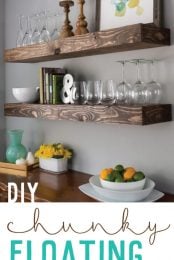
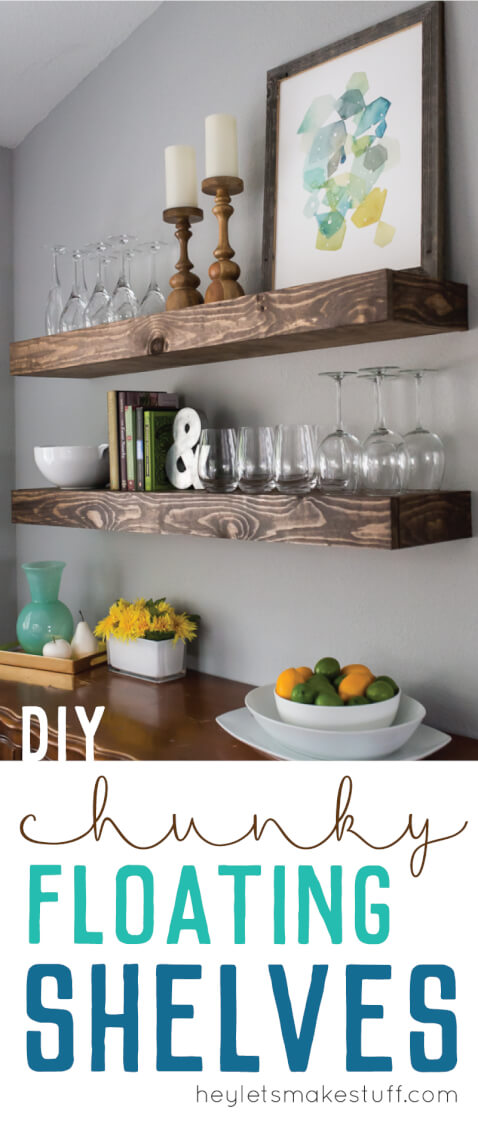
Chunky floating shelves are a great way to bring more storage to any space. Stylish and sturdy, the work well in farmhouse, industrial, and modern decor styles.
While we’re very happy in our new home, our kitchen lacks storage space. A kitchen remodel isn’t in the budget (update: we ended up doing a bright and happy kitchen remodel a few years later!), so in the meantime I’m working on several solutions for more storage. Can’t have all my delicate glassware sitting on the floor when the babies come this summer!
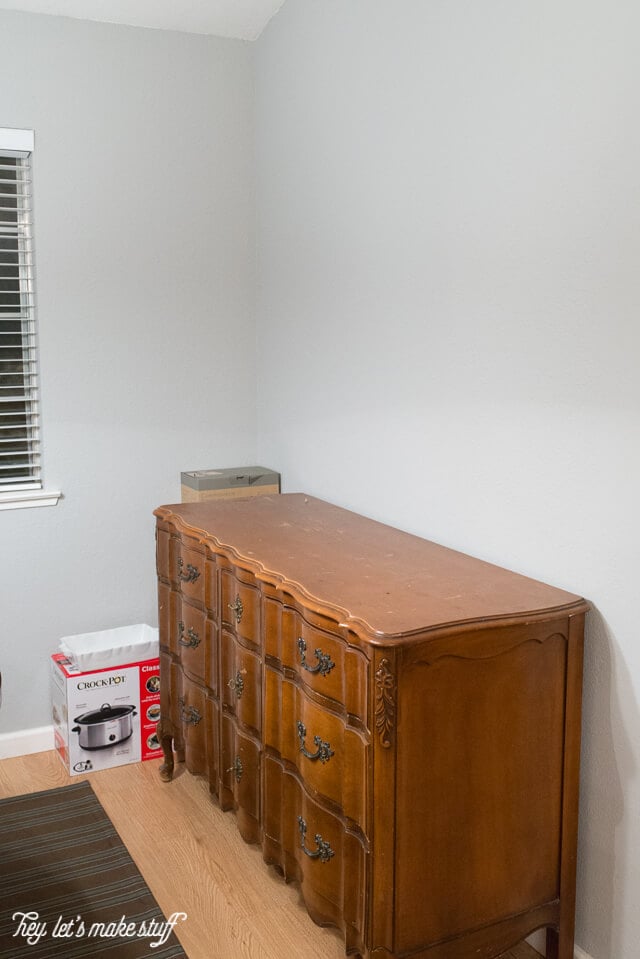
To help with the storage issue, we have a solid dresser in our dining room that I picked up for $50 at an estate sale. We have so little storage in our kitchen that our silverware has to live in the dresser! It also holds all of our bakingware, mixing bowls, candles, barware, and other miscellaneous kitchen stuff. It’s huge, sturdy, and working well for us right now.
While the dresser has been a great storage solution, the empty wall above it has been asking for a makeover (we painted the yellowy beige walls a soft gray when we first moved in). Originally I thought of hanging a big mirror above it, but I quickly realized that I needed more storage instead. So I made plans to build some floating shelves that would give me more space to store glassware, platters, and some of the other things that have been sitting in boxes next to the dresser since we moved in.
One of my next projects is to strip down and paint the dresser the same deep teal as our guest bathroom cabinets and to update the hardware — I think it’s going to be gorgeous with the shelves!
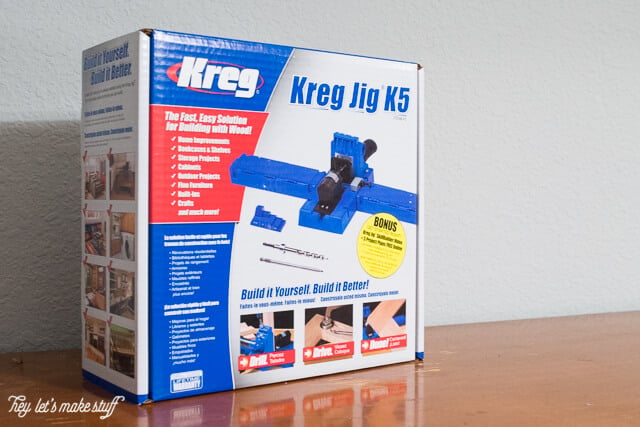
I’d like to thank Sears for providing me with the Kreg Pocket Hole Jig, which made this project a snap!
Materials
To build these shelves, we modified this tutorial from Shanty 2 Chic. You can go to her site for the actual building instructions (which are super clear and easy to follow), but here are the measurements we used to create our longer shelves:
- Two 2″ x 3″ x 8′ pine boards, ripped down to:
- Eight 7.75″ long pieces
- Two 48″ long pieces
- One 1″ x 10″ x 8′ pine board, ripped down to:
- Two 48″ long pieces
- One 1″ x 4″ x 12′ pine board, ripped down to:
- Two 50″ long pieces
- Four 9.25″ long pieces
- One 1/4″ x 2′ x 4′ plywood sheathing
- Two 9.25″ x 4′ pieces
- Brad nailer
- Kreg Pocket Hole Jig (highly recommended)
- 2.5″ Kreg Pocket Hole Screws
- 3.5″ all-purpose screws
- Wood glue
The total cost of our wood was about $48 — which makes each of these shelves about $24 each. Not too shabby!
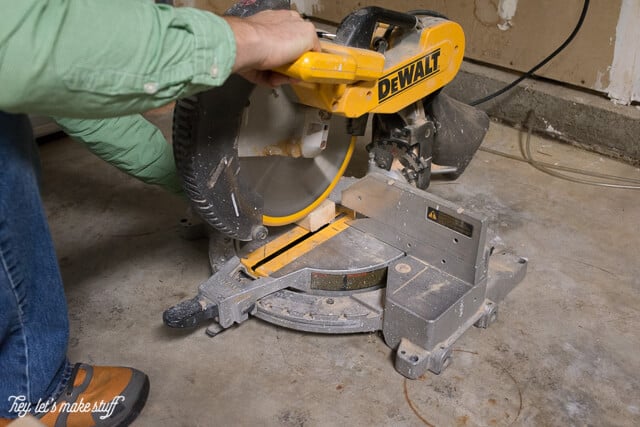
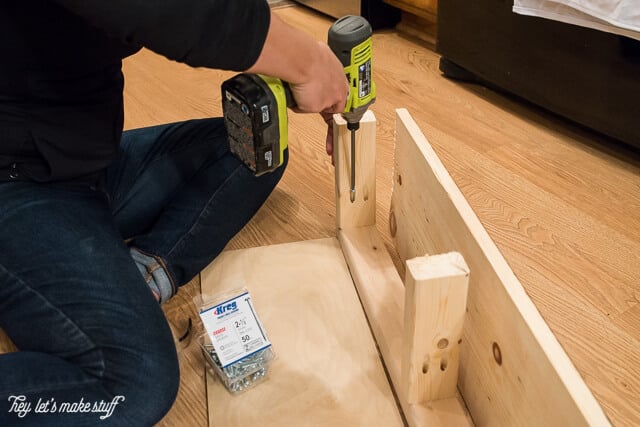
You can cut down these boards yourself, or you can have your lumber department do it for you. We have a chop saw at home, so we had them cut them down to the sizes that would fit in our car — and then did some precise finishing cuts on our own at home. The lumber department’s cuts were a little wonky, so we found ourselves making more precise cuts as we went. (I let Ryan work the chop saw since no one wants a clumsy pregnant lady near that thing.)
We only made a few variations when building our shelves from Shanty 2 Chic’s original plans, other than the size. We stained the boards before hanging them, instead of after. And we used four inner support pieces instead of three since the shelves are longer. And we didn’t sand them down at the end, so they are a little less rustic and a little more industrial.
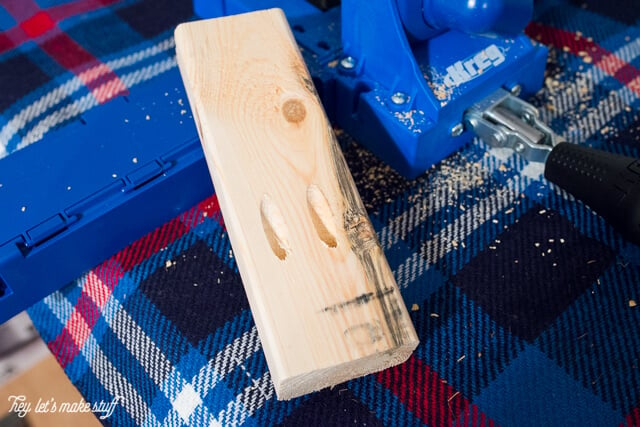
I also wanted to give a shout out to this Kreg Jig. This tool was so easy to use I could barely believe it. Setting it up was a breeze, as was figuring out where to drill the holes. It took me maybe 5 minutes to drill 16 pocket holes in our interior support pieces. So fast and easy!
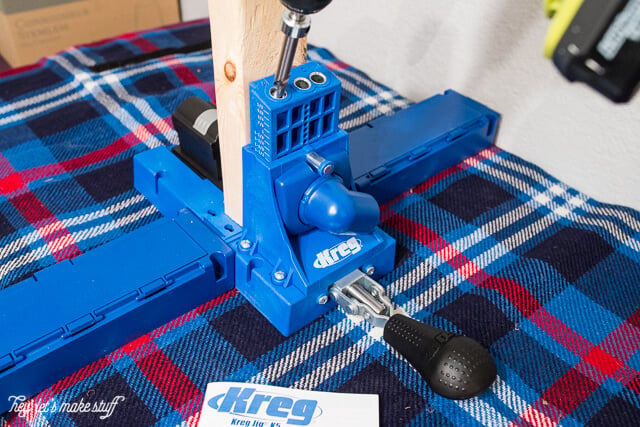
The jig created such precise pocket holes! The strength created by the angled screws means that our shelves will hold quite a bit of weight, and will be nice and sturdy for a long time to come.
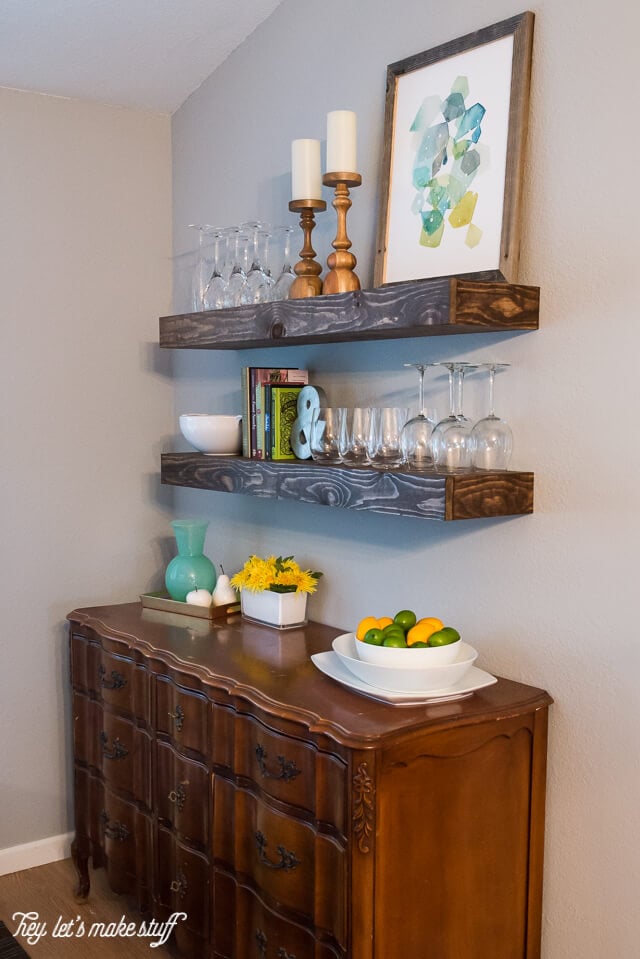
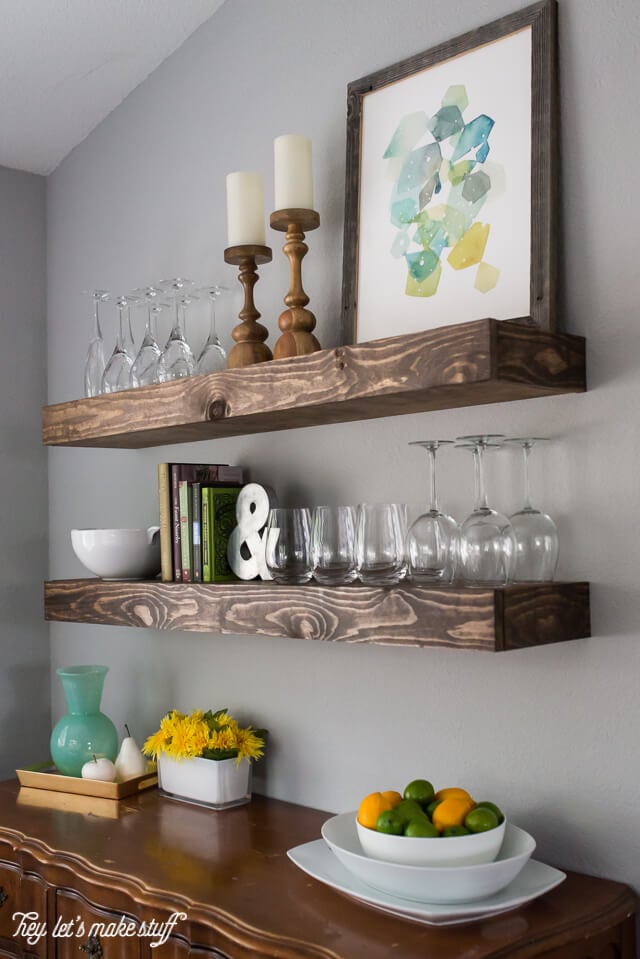
Other than the staining, we put the shelves together in just a few hours one evening. I can’t believe what a difference they make in the room — it actually feels finished! And I was able to unpack all of my glassware for the first time since we moved in.
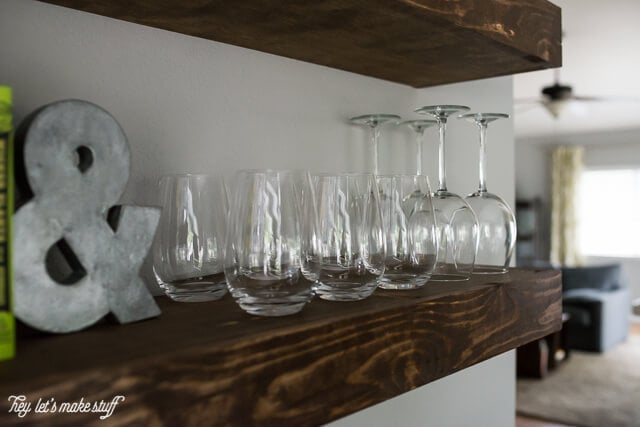
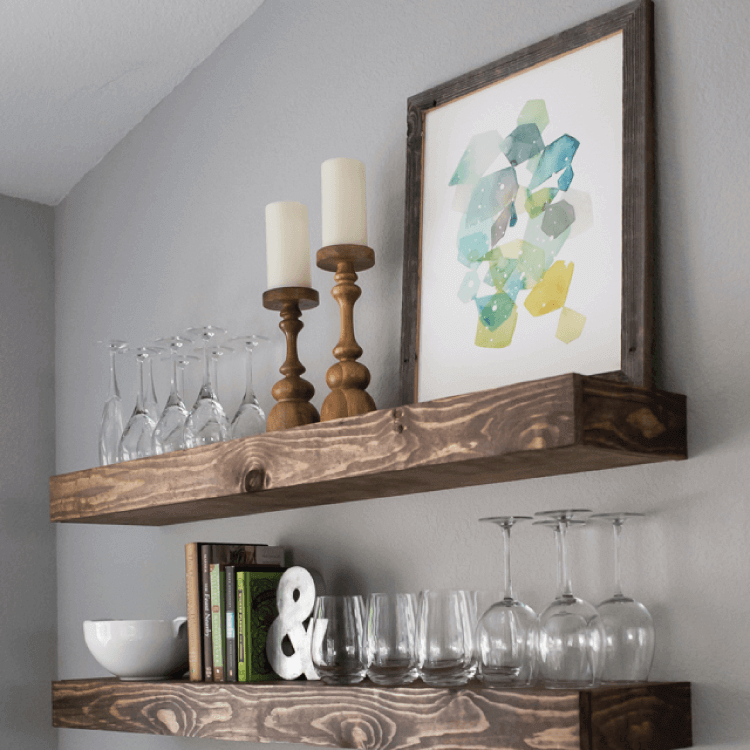
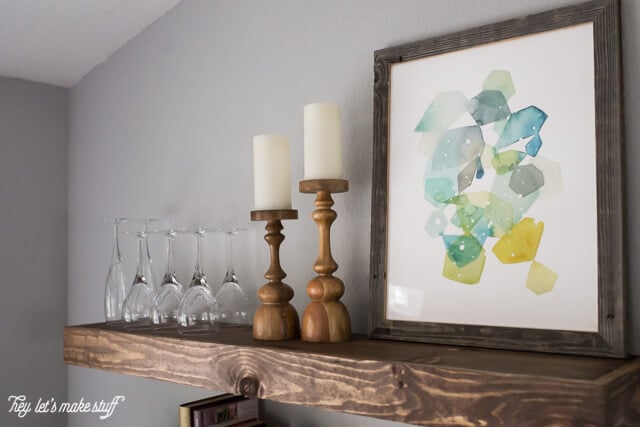
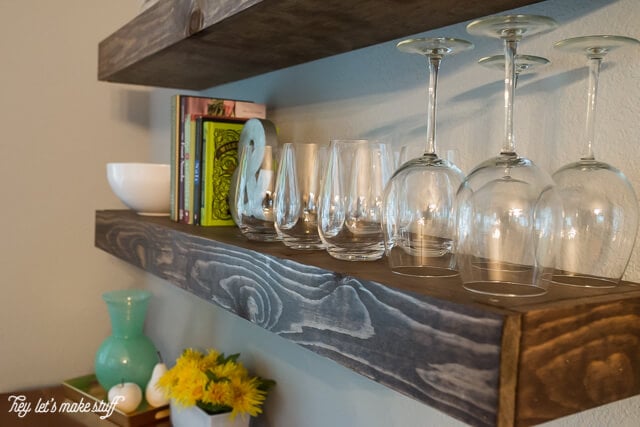
On the top shelf, I moved one of the art pieces from my living room to create some height (I ended up moving around some furniture in the living room so I needed to relocate the piece anyway). Wood candlesticks and my Waterford crystal wine glasses and flutes
complete the shelf. I like having my most precious glasses up nice and high and out of the way — no one’s going to bump them up there.
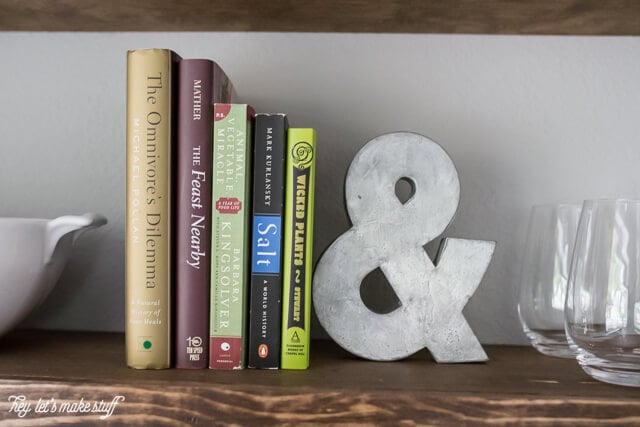
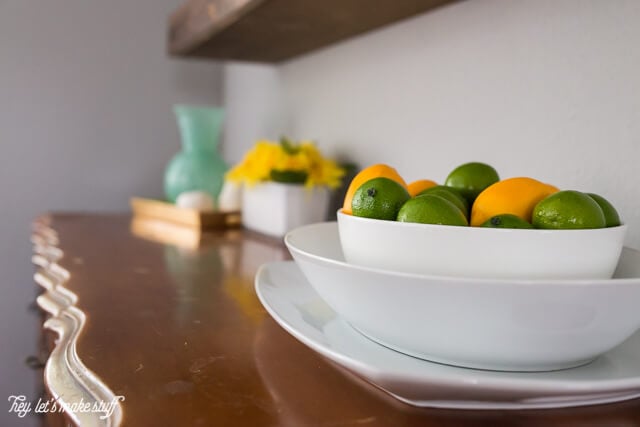
The lower shelf has the additional everyday glassware, as well as a few of my favorite food-related books and a white ceramic bowl
that I use all the time. I can store fruit or other goodies in there when I’m not using it elsewhere.
Clearing off the dresser also gave me a great place to store some of my platters and trays that I use for parties and blogging.
I couldn’t be more happy with how these shelves have transformed our dining room! Such a huge difference for a small price!
Also check out my Modern Entryway Makeover, which is right on the other side of the wall from these shelves!
Comments & Reviews
Meg says
Ooh, this nook looks great! Love the shelves and how they added such storage and class to the space. And the dresser will look gorgeous teal . . . so fresh and modern!
Cori George says
I love how it turned out, too!
Heidi @ Happiness is Homemade says
I love these! That stain color is perfect!
Cori George says
I agree! I used the same stain on our bathroom shelves — special walnut by Minwax.
Emily @ Two Purple Couches says
These shelves look awesome!!! Pinning :)
Cori George says
Thank you! :)
Steph @ Crafting in the Rain says
These turned out great, and I want a Kreg jig so bad!!
Cori George says
It’s such a cool tool!
Lolly Jane says
LOVE these!!
Cori George says
Thank you! :)
Malia says
Your shelves are super lovely!
Cori George says
Thank you Malia!
Jillene Petersen says
This turned out so fabulous! I love it!
Cori George says
Thank you! :)
Corinne says
This all looks amazing Cori! I have to ask- where is the”&” from!? :)
Cori George says
I’ve had it for years — but I think it was Anthropologie!
Gilly @ Colour Saturated Life says
You did an amazing job on these and I love that sideboard! Thanks for sharing!
Cori George says
Thanks Gilly!
Amanda @ Dwelling in Happiness says
Oh they turned out SO beautiful! I love these floating shelves, I want to put them all over my house. Ha. :)
Cori George says
Me too! Is it weird to have the same shelves all over? lol
Stephanie @ Mommyzoid says
Wow Cori! This turned out so well! I love floating shelves. The stain looks awesome and the revamp really brings out the beauty in that buffet! PS: You’re invited to come link up on Feb 4th at http://www.mommyzoid.ca for the kick off of the Ladies Collective Link-Up! Myself & the ladies hope to see you there <3
Stephanie @ Mommyzoid
Cori George says
Thank you Stephanie! I love that stain color.
Laura Irion // Avery Street Design says
These are great!! I’m really tempted to do something like this in my kitchen. Someday, right? Thanks so much for linking up with Found & Foraged- great to have you!! xo, Laura
Cori George says
Thanks Laura! With as easy as the are…someday can be now! ;-)
Lisa at Mabey She Made It says
These are seriously gorgeous!
Cori George says
Thank you Lisa!
Cori George says
That’s a high compliment! Thanks Heather!
Stephanie says
I LOVE these! I have been wanting shelves like these in my kitchen above the coffee bar we’re adding! Thanks for sharing!
Cori George says
They’ll look great! :)
Mrs Major Hoff says
I love these! I need them all over my house :) But I think they will go best in the boys room! Thanks!
Cori George says
They are super sturdy — great for a boy’s room!
Eva says
I love the look of floating shelves. I have quote a few shelves around the house, but still haven’t tried a project like this. My husband is dying to get a kreg jig lately, so this would be a perfect project to try out. Thanks for sharing your tutorial! I can’t wait to try it out!
Cori George says
The Kreg jig really made it easy to make these! And they are super sturdy because of that.
christine says
These shelves are pretty cool. I have never really seen anything like it! They have a rustic / modern vibe to them. Thanks for sharing!
Cori George says
That’s just what my husband said! He loves the rustic modern look.
Kyla @HouseOfHipsters says
These shelves are fantastic!
Cori George says
Thanks Kyla!
Lysa Co-Host OMHGWW says
What awesome shelves! I absolutely love them. We do quite a few things around here with re-purposed wood and I love it! Thank you for linking up to the Oh My Heartsie Girls Wordless Wednesday Linky Party!
Wishing you a fabulous week!
xx
Lysa
Co-Host OMHGWW
Aimee, The Crazy Craft Lady says
Beautiful job! I love the finish and the wood grain ppeking through. Have a great day!
Robin says
I love this they look great!
Maryann @ Domestically Speaking says
Love those floating shelves! I’ve been wanting to make some for our master bathroom. I’m featuring them tomorrow in my Friday Features. Thanks for linking up to Inspire Me Monday.
Bharati says
looks fantastic. Have been thinking of building some for kiddos bathroom, hopefully soon.
Lindsay Eidahl says
I love these! Thank you for sharing on Show Me Saturday!
Ashley ~ 3 Little Greenwoods says
Such an awesome DIY project! Thanks so much for sharing the how to’s of how you make your stylish floating shelf!
Pinning and sharing!
~ Ashley
Val @ Home Made Modern says
Amazing transformation and I love how you have them styled. Pinning!
Kathryn Griffin @TheDedicatedHouse says
Wow, these look amazing! Great in the space. Thank you for sharing. You are one of the features tonight at the Make it Pretty Monday party at The Dedicated House. Here is the link so you can check out your feature. http://www.thededicatedhouse.com/2015/02/make-it-pretty-monday-week-127.html Hope to see you at the bash. Toodles, Kathryn @TheDedicatedHouse
Michelle @ A Dish of Daily Life says
Those came out gorgeous! Sending some share love your way and pinning of course, as we have a spot that might work too! Thanks for sharing this with us at #FoodieFriDIY!
Nicole Neverman says
These shelves look great! Thank you so much for attending week 19 of #PureBlogLove and linking your fantastic blog post, I can’t wait to see what you have in store for our next party, Thursday 8 PM EST- Sundays at midnight. Your post has been added to the #PureBlogLove Pinterest board for all to see :) Have a great day!
Nicole
Allison says
Love these! Will have to think about doing them in our home! Thanks for linking up at A Little Bird Told Me Link Party!
Jennifer Dawn says
What a transformation! And you’ve styled it so beautifully! I just wanted to stop by to let you know that I’m featuring this project at this week’s link party! http://www.thelifeofjenniferdawn.com/2015/02/a-little-bird-told-me-link-party-126.html
Abi says
LOVE these! And you styled them so beautifully. The stain is perfection!
storagenorthwood.co.uk says
Thumbs up! You did a great job! I love the post! Really inspiring! Thanks! Greets!Storage Northwood Ltd.
JessicaH says
I love this! Thank you for the cut measurements!
walnut shelves says
Floating shelves are such a great way to add style while you store.
Anna says
These are fantastic! I’ve been trying to come up with a style of a bookcase I’d like to build, and I think I’m going to model it after these.
Can you tell me how you stained them so beautifully? (My first staining project didn’t go super well, so I need another practice round before the bookcase!)
Cori George says
Thanks! I didn’t do anything fancy — just applied the stain with a foam brush, and wiped off after 15 minutes. I think I used two coats. :)
Cindy says
Those are some really nice floating shelves, Cori! I have always wanted one in my house and maybe my husband will make one for me soon. I saw this nice idea with books hanging from the bottom of the shelve connected with elastic bands, there are so many creative ideas with floating shelves!
KC says
Love these! I’m thinking of building some to put above cabinets that we are installing as a dry bar in our dining room. My husband has a decent sized bourbon collection that we wanted to display, do you think these shelves would be sturdy enough for that? Or how much weight do you think they would hold safely? Thanks!
Floating Shelves says
These are great!! Thanks for sharing your Floating Shelves… I can’t wait to try it out!
Genger says
So happy that I came across your blog! Most of the floating shelves I’ve seen in stores do not look like they could hold a lot of weight. I am currently turning a 6 foot oak dresser into a buffet for our dining room & would love to put at least one floating shelf above it. Do you think we could expand the length of the shelf to 6 feet & it still be able to hold about 50lbs? I really don’t want to use shelves with brackets if I don’t have to.
Thank you!!
Cori George says
I think so, as long as you’re screwing the shelf securely into studs! You might want to include one more internal bracing piece, but I think it should work just fine!
Crystal @ Hello Creative Family says
Cori these shelves are so pretty. I love the rustic look of them from the stain you chose! I want a set in my house!
I included this project in a roundup of some of my favorite DIY and craft projects from people attending SNAP! I’d love for you to take a peek. You can find it here:
http://hellocreativefamily.com/27-diy-projects-from-creative-snap-bloggers/
Best Wishes,
Crystal
Barbra says
Beautiful! have you redone the dresser yet?
I actually own the same dresser (2 different sizes and the matching nightstands)! They were my great-grandparents and are at least 70 years old. I have always toyed with the idea of refinishing them and would love to see what you did!!
Courtney says
Sorry if you’ve already answered this question, but what height did you hang those shelves? I’m in the middle of a similar project and trying to decide how high above my buffet I want the first shelf to go, and then how high above the first shelf, I want the second one to go. Thank you!!!
Sara says
How deep are your floating shelves? They are beautiful!
Cori George says
They are 8″ deep — thanks!
Home Cleaning says
I had shelves in my room but it had an L-bracket w/c is I don’t want to look at.
You’re floating shelves were awesome!
Sarah says
What is the name of the turquoise color of the kitchen base cabinets? They look great!
Crystal Summers says
Hi Sarah,
The color is Drizzle by Sherwin Williams.
Hope this helps!
Crystal, HLMS Community Manager
Bobbie says
How far apart is the top shelf from the bottom shelf?
And how far is the bottom shelf from the top of the dresser?
Doing a similar project this weekend, yours looks great!
Crystal Summers says
Hi Bobbie,
Oh gosh, that was a dining room Cori worked on years ago. She’s unsure of the exact measurements. You may be able to eyeball your own shelves until they look about equal to the distance you see here.
I hope this helps,
Crystal, HLMS Community Manager