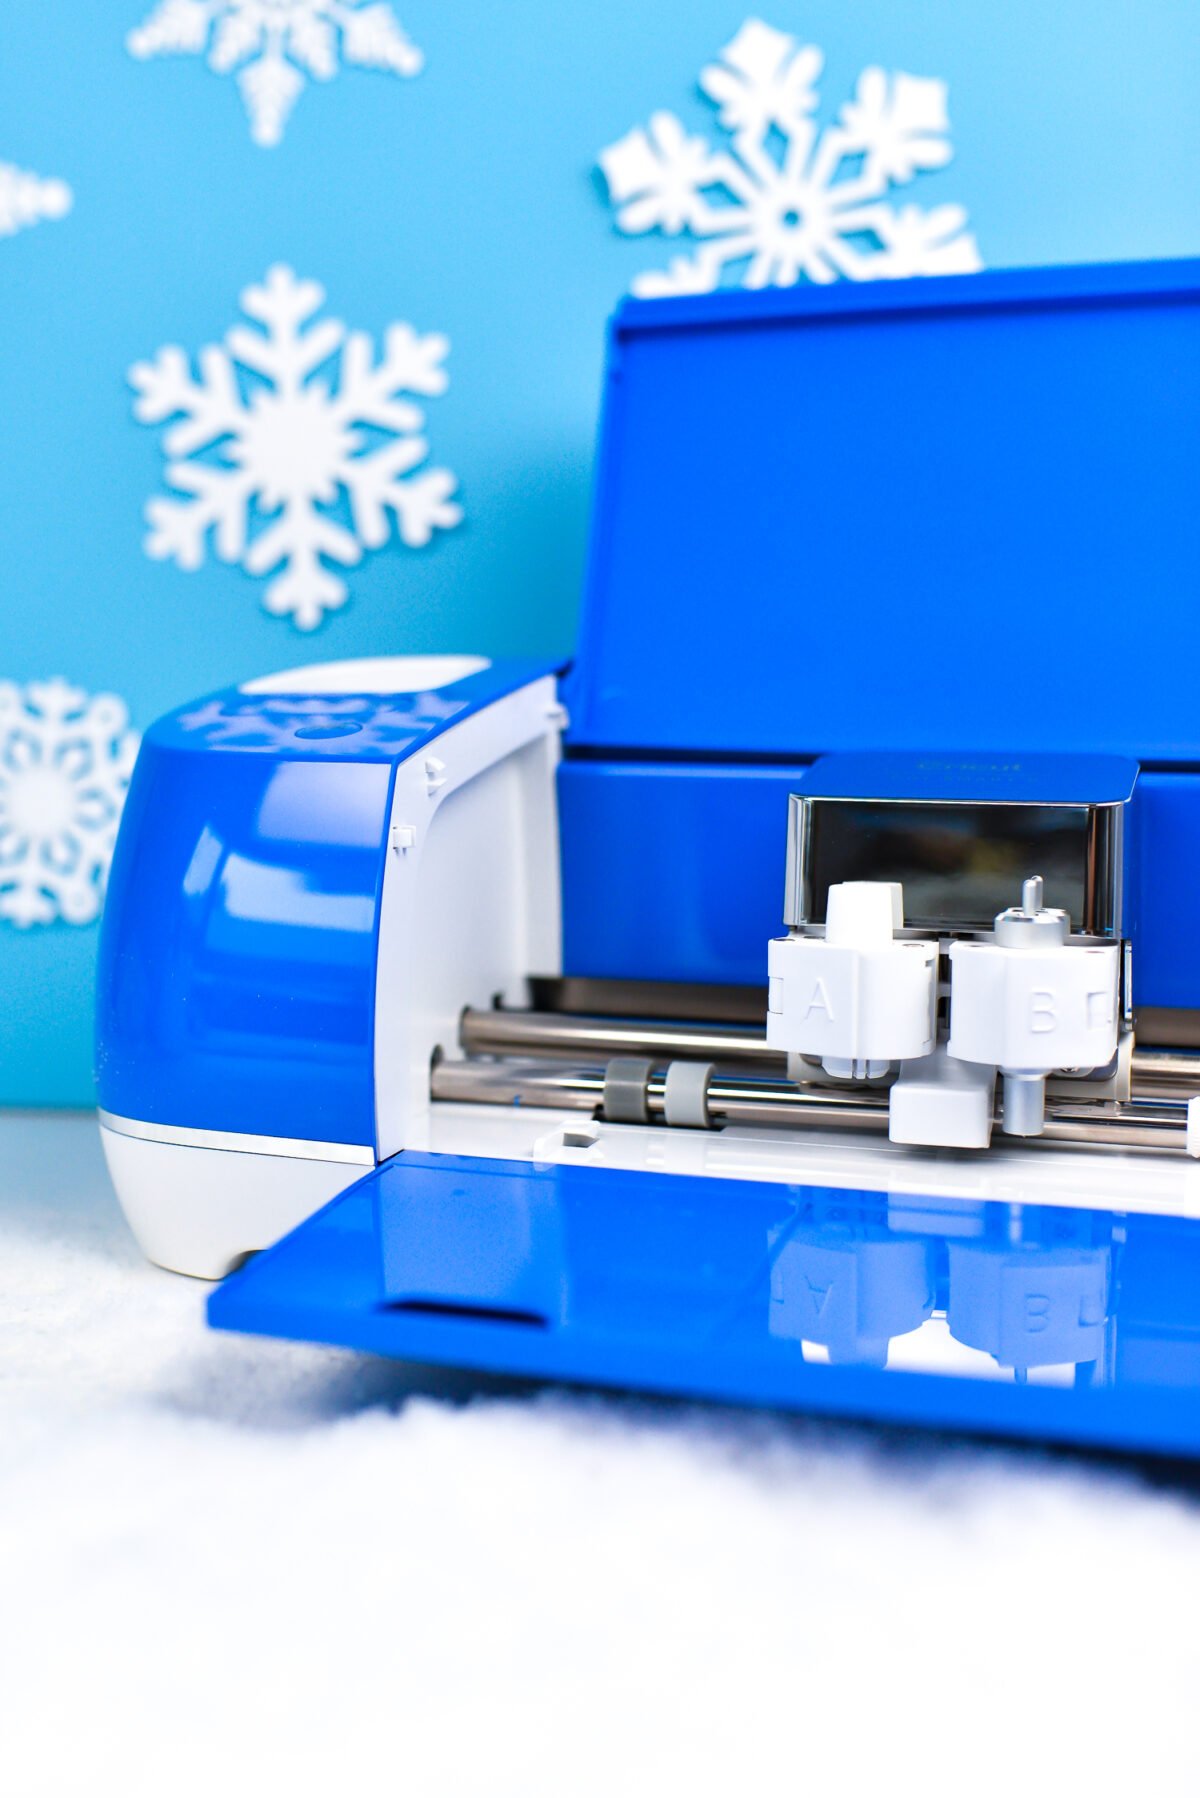
Looking for a sweet homemade gift to give this Christmas? This hot cocoa mug gift is perfect for almost everyone on your list! Easily make custom gifts like this using your Cricut Explore Air 2, now in gorgeous Cobalt!

If you’re looking for some last-minute gift ideas, this hot cocoa mug gift is easy to make and perfect for so many people on your list!
I made it using my favorite Christmas crafting tool—my Cricut Explore Air 2!
Easy Christmas Gifts with the Cricut
It’s clear from my blog that I absolutely love my Cricut (okay…Cricuts. I have, like, five). While there is so much to love about the machine, my favorite thing is that it has made crafting so much easier. I’m a mom of two little boys and I don’t have a ton of time like I did before they came along. I need quick, easy, and fun gift ideas, and the Cricut makes that possible! The Explore line of machines cuts more than 100 materials, from cardstock to vinyl and iron on, to specialty materials like poster board, metallic cardstock, cork, foam, and more.
Here are just a few ideas that you can make using your Cricut Explore—it should definitely be on your Christmas wish list if you do don’t have it on there already!
- Personalized t-shirts and onesies
- Home decor signs
- Customized kitchen tools and towels
- Gift boxes and gift wrap ideas
- Intricate, handmade cards
- Mugs, tumblers, and wine glasses
- 10 More Projects to Make with your Cricut Explore!
Let’s make one of those cute mugs! All told, it took me less than 10 minutes to make and assemble this mug, making it everything I like in a handmade gift—quick, easy, and cute!
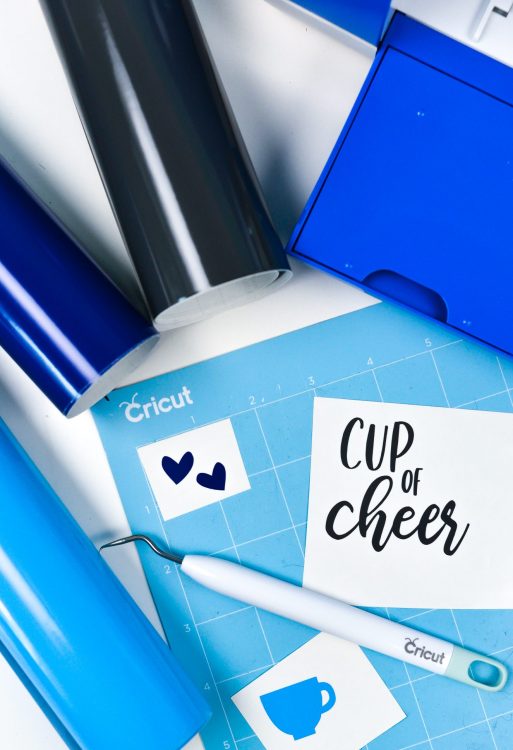
Hot Cocoa Mug Gift Supplies
- Cricut Explore
- Blue or green cutting mat
- Three colors of permanent vinyl
- Weeding tool
- Transfer tape
- White mug
- Hot chocolate ingredients
- Crinkle paper filler (to give the items in your mug height)
- Ribbon for decoration
Hot Cocoa Mug Gift Instructions
Being able to upload my own designs to Cricut Design Space (for free!) is another feature I love about my Cricut. I have this cute “Cup of Cheer” SVG file for you to use to make your hot cocoa mug gift.
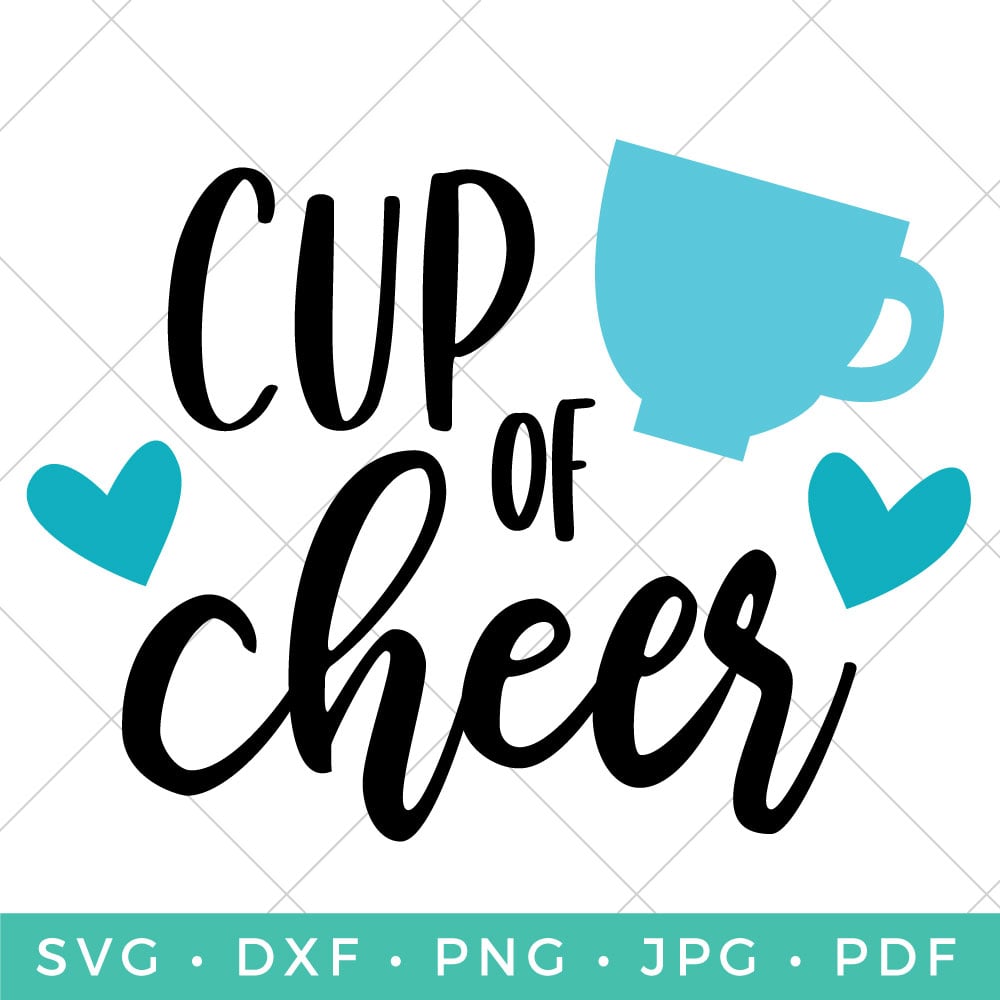
Get the Free File
Want access to this free file? Join my FREE craft library! All you need is the password to get in, which you can get by filling out the form below. The file number is: C163.
Upload it to Cricut Design Space using the Upload tool in the Design Panel on the left of your canvas (learn more about uploading SVG files). You’ll want to re-size the file, based on your mug size. I changed mine in the Edit Toolbar at the top to be 3″ wide. You can also change the colors if you are using different colors of vinyl.
Then cut on your Cricut. Note that regular adhesive vinyl does not need to be mirrored like iron-on vinyl (HTV). Cut out each piece and weed the excess material away from your images.
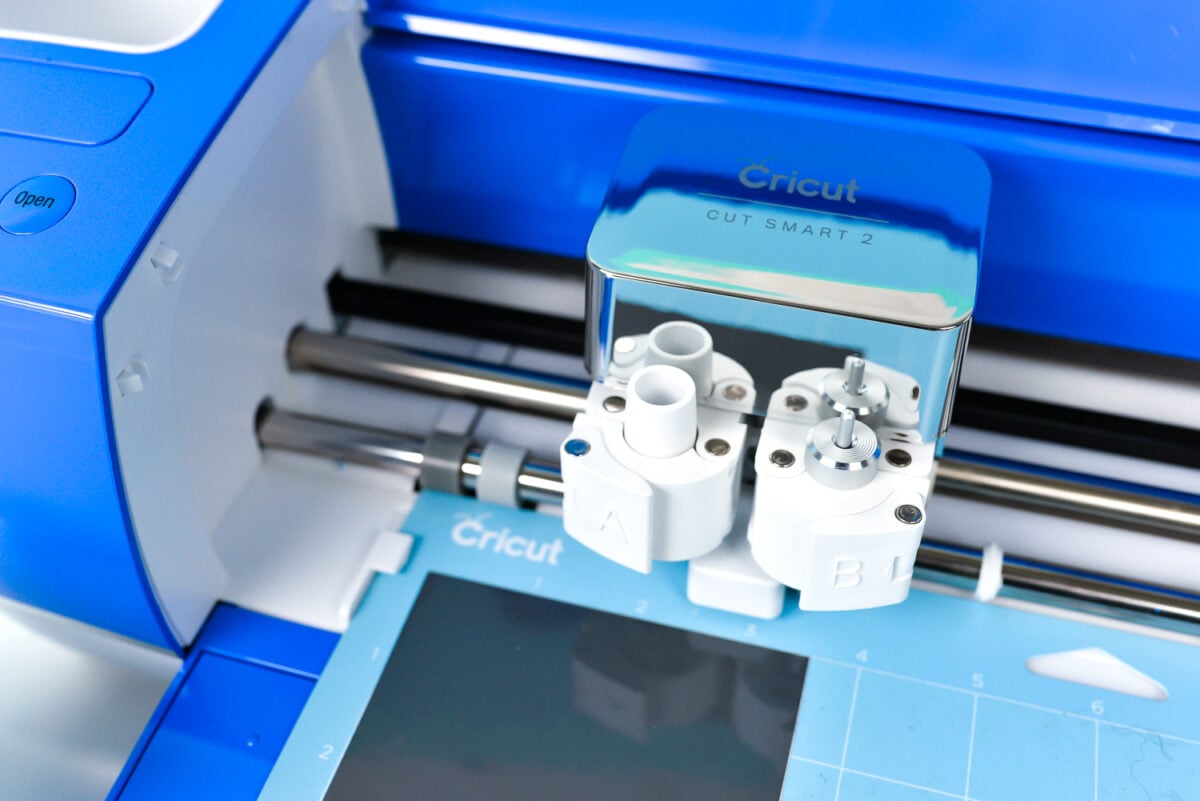
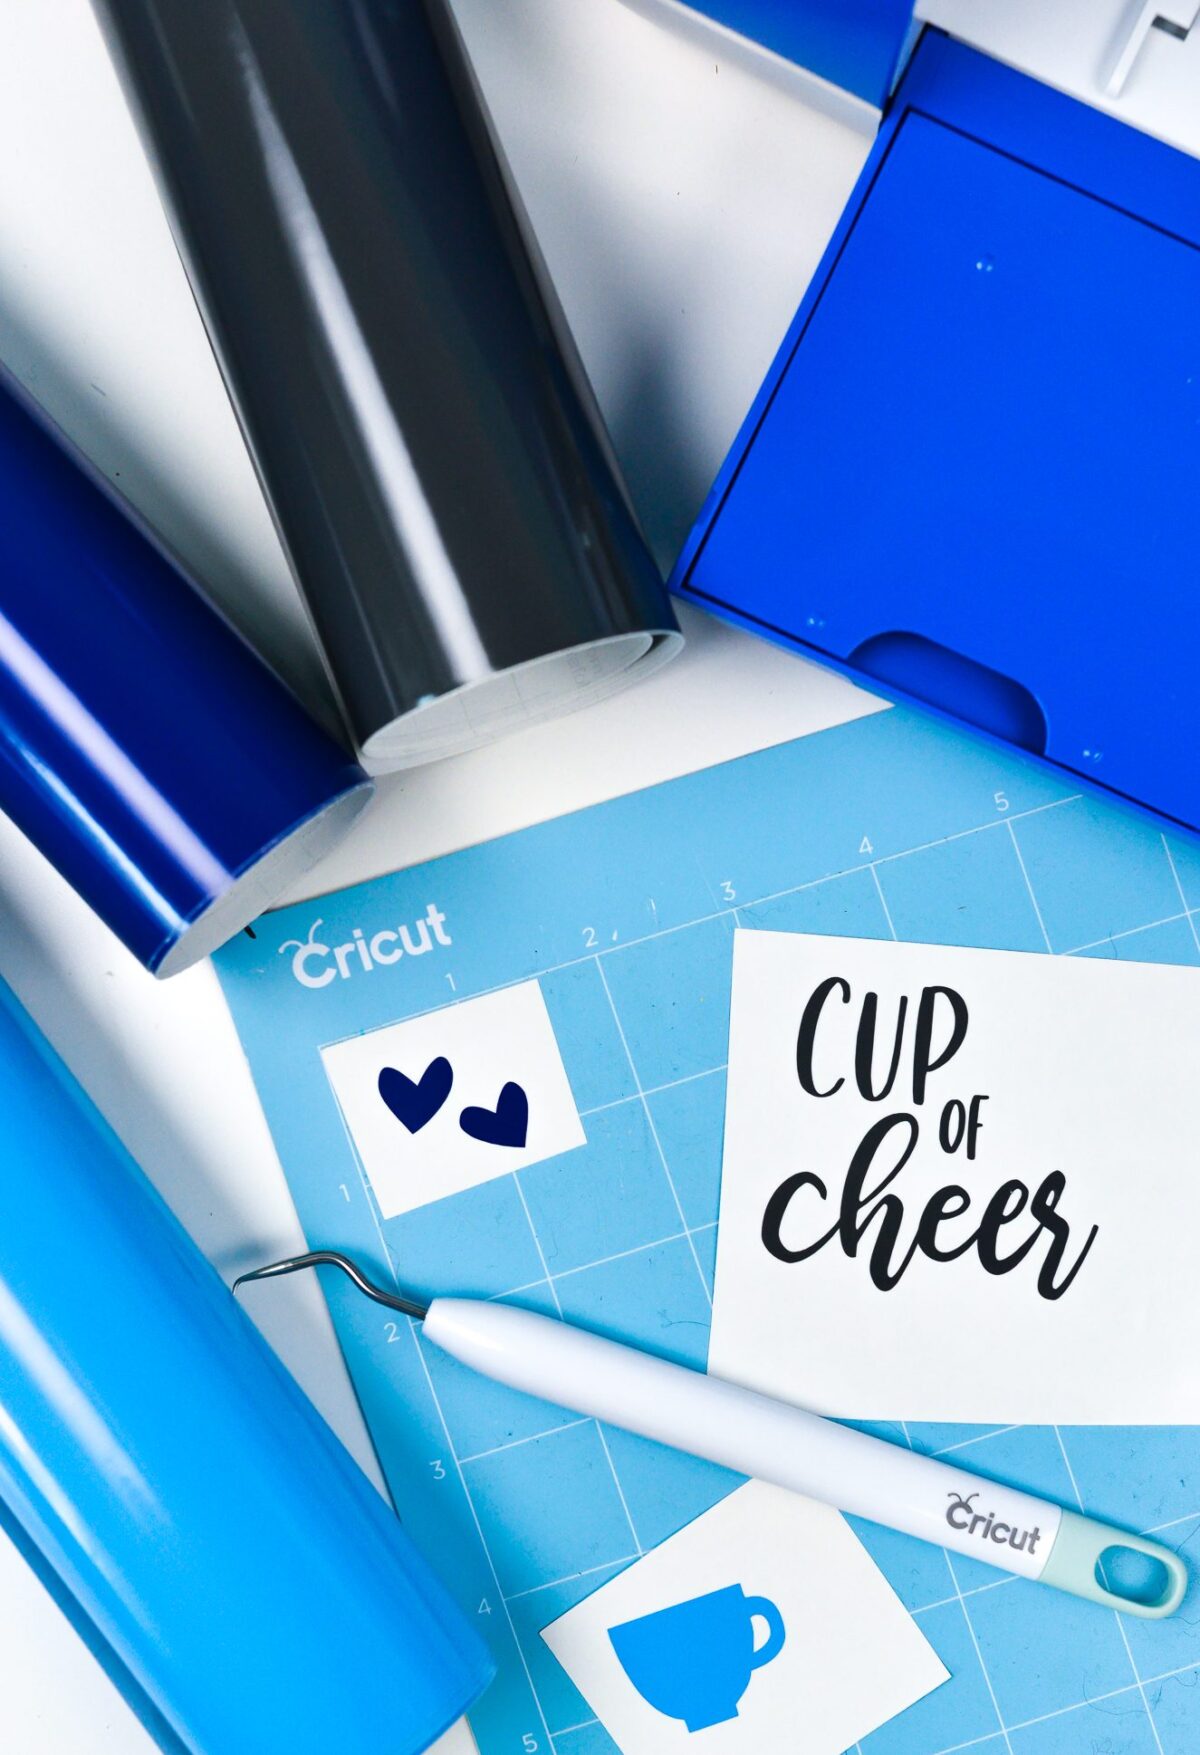
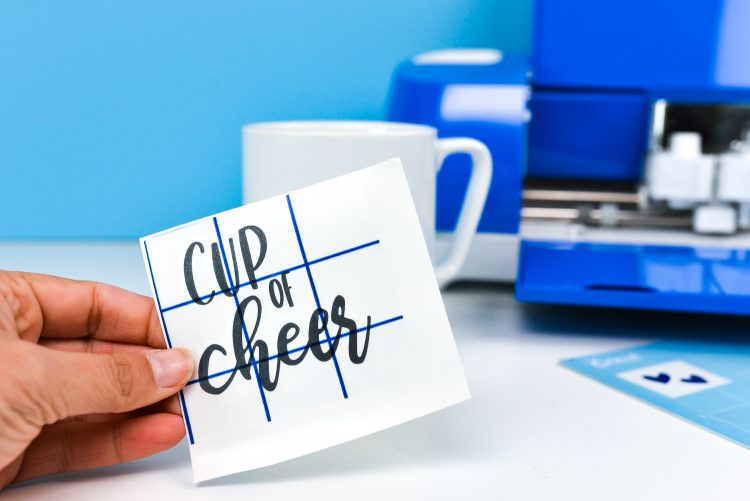
Cut a piece of transfer tape a little larger than your words. Peel back the paper on the transfer tape and place it over your words, rubbing the transfer tape to burnish it to the vinyl.
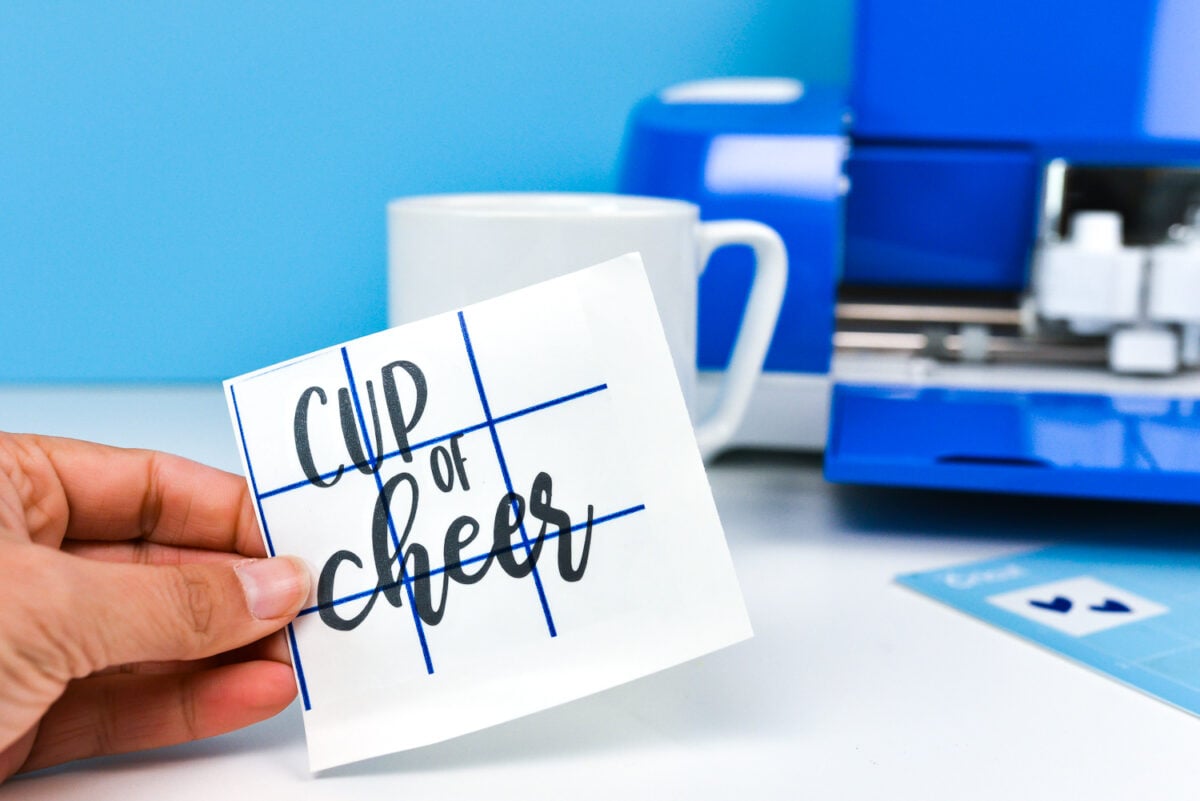
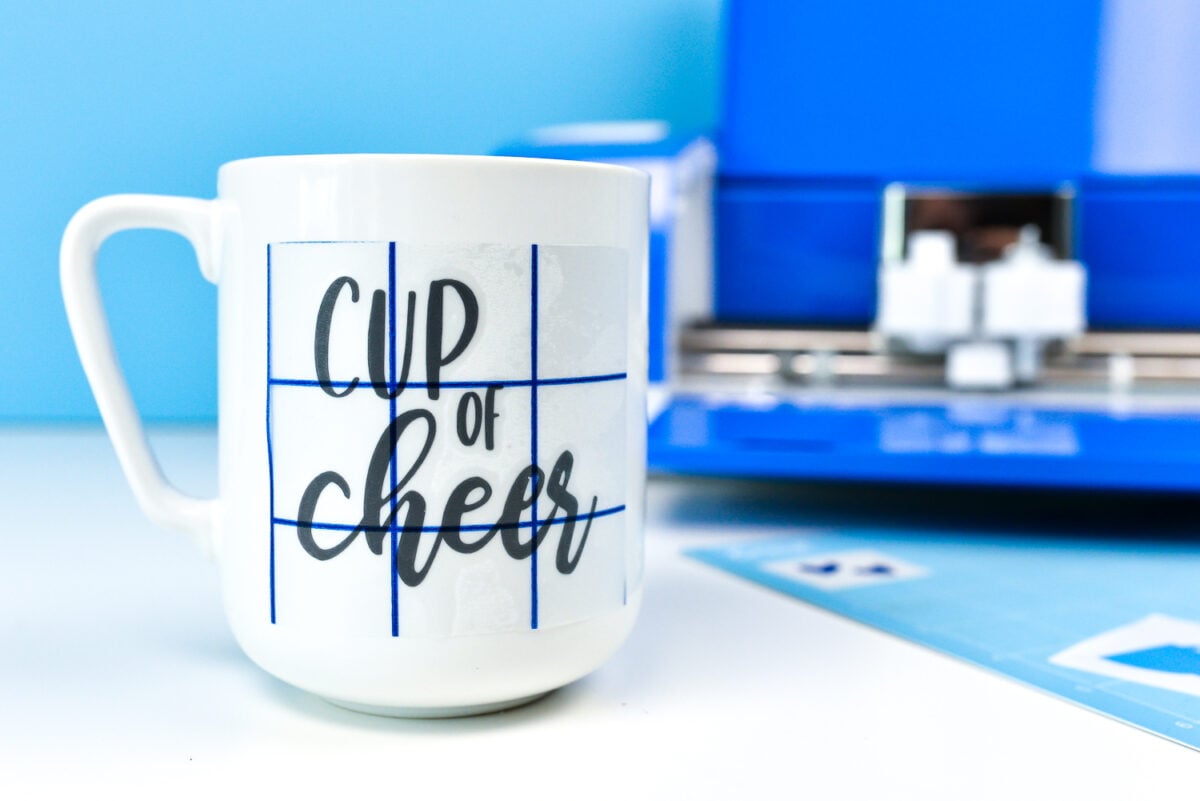
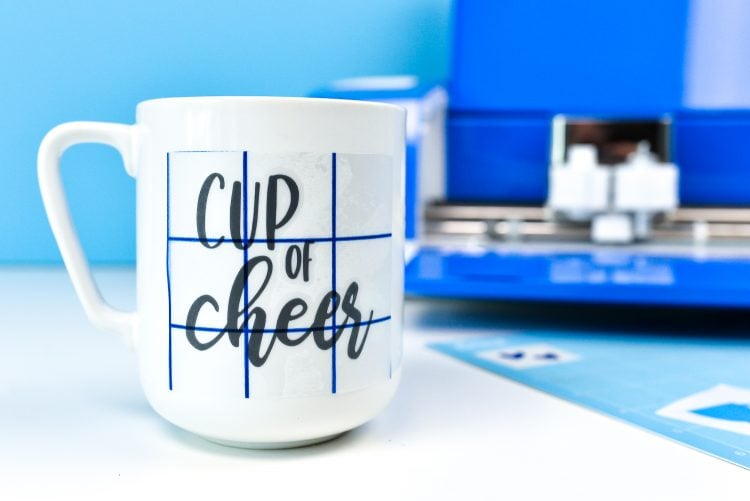
Peel back and your letters should stick to the transfer tape. Line up the transfer on your mug, and starting in the middle, press your decal to your mug. Peel back the transfer tape and your vinyl should stick to your mug! If it doesn’t rub a little harder and it should stick. For the mug and the two hearts, I actually didn’t use transfer tape—I just picked them off the backing paper and applied them like stickers. Easy!
Fill your mug with paper filler at the bottom, and then all the goodies to make hot chocolate—hot chocolate mix, mini marshmallows, and a candy cane are a must. Tie with a ribbon and your gift is ready to give!

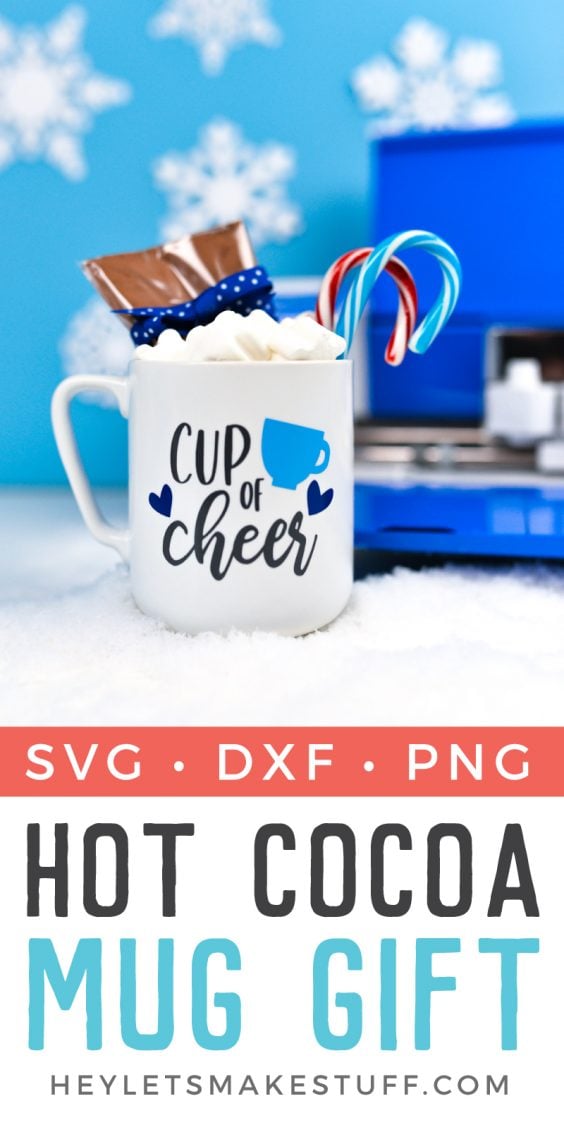
If you are interested in more Hot Cocoa designs, check out my blog for the Hot Cocoa SVG Bundle!

HOT COCOA MUG GIFT
Equipment
- Cricut Maker or
Supplies
- permanent vinyl three colors
- White mug
- Hot chocolate ingredients
- Crinkle paper filler (to give the items in your mug height)
- Ribbon for decoration
- Free Cup of Cheer File #C163
Instructions
- Upload the free file to Cricut Design Space using the Upload tool in the Design Panel on the left of your canvas (learn more about uploading SVG files). You'll want to re-size the file, based on your mug size. For this project it was changed in the Edit Toolbar at the top to be 3" wide. You can also change the colors if you are using different colors of vinyl.

- Then cut on your Cricut. Note that regular adhesive vinyl does not need to be mirrored like iron-on vinyl (HTV). Cut out each piece and weed the excess material away from your images.

- Cut a piece of transfer tape a little larger than your words. Peel back the paper on the transfer tape and place it over your words, rubbing the transfer tape to burnish it to the vinyl.

- Peel back and your letters should stick to the transfer tape. Line up the transfer on your mug, and starting in the middle, press your decal to your mug. Peel back the transfer tape and your vinyl should stick to your mug! If it doesn't rub a little harder and it should stick. For the mug and the two hearts, transfer tape wasn't used – just picked them off the backing paper and applied them like stickers. Easy!



Comments & Reviews
Lisa says
I forget when and where the winner will be posted. Can you remind me?
Marnie says
I love your website. Unfortunately I have a very old cricut that I never use, but I do have a silhouette machine that I just started using. I love all the designs and the wonderful ideas people post!!
dailynne mann says
hi i have wanted a circuit cutter for so long. unfortunately financially its not a very likely realistic future i am seeing for myself. so thank you for this oppurtunity to enter. maybe finally i can start puttimg your posts to use instead of just wiping my sad tear away each time at the end. lol merry Christmas, happy holidays and good luck to all.
TRESA FRITZ says
I love this site. Thank you for all your hard work on this site!
Cindy araneda says
Thank you for all your ideas and content. Thanks for the opportunity to win that beautiful blue air 2. I have the perfect spot to put it!
Janna Dyck says
I appreciate your email ideas and all of your amazing tips and how to blogs. I have an air 2 and now a maker too! Loved my first 2 weeks with the air my husband decided I could use both. I certainly have as I am making quiet books for my grandchildren. Cutting material and felt on the maker, writing and basic cutting on the air 2. My sewing and crafting is taking on new meaning and satisfaction. How I lived without these tools I will never know. Can’t wait to try your mug project. I do need some help explaining what is the right side of the sport flex vynal as both of my sides look shiny. Is there something else that would confirm right from wrong on the black?
Janna Dyck says
PS I am able to use them both at the same time for a win win with time to produce faster and easier.