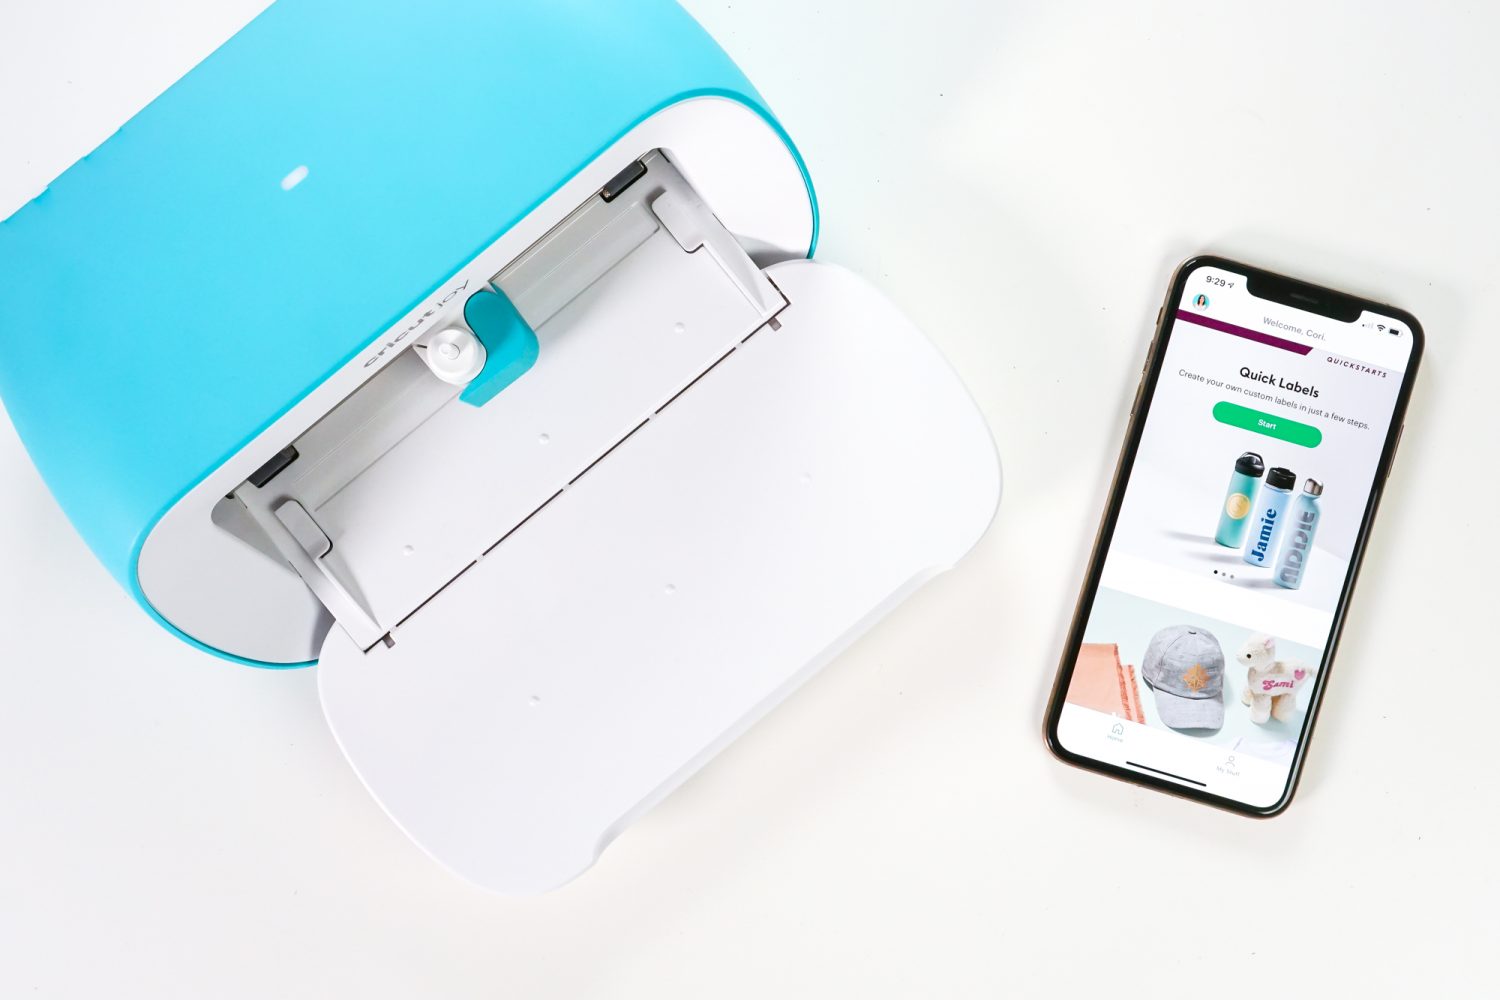
Cricut released a companion app to their smallest cutting machine—the Cricut Joy app. Create simple projects using your Cricut Joy using this pared-down mobile design software.
Stop pulling your hair out and start creating confidently with your Cricut! Finally understand how to use your Cricut with my Learn Your Cricut eBooks!
I’ve written a lot about Cricut Joy, Cricut’s smallest cutting machine, and today I thought I’d do a quick review of the Cricut Joy app. This mobile app is a scaled down version of the full Cricut Design Space mobile app. It’s geared toward beginners—if you find Cricut Design Space overwhelming, then it’s a good place to get your feet wet.
- What is Cricut Joy and What Can It Do?
- How to Cut Cards with Cricut Joy Card Mat
- Matless Cutting with Cricut Joy
- Writable Labels with Cricut Joy
- 5 Ways to Make Labels with Cricut Joy
- Cutting Adhesive Paper with Cricut Joy
- Must-Have Cricut Joy Accessories
Today I’ll walk you through making a simple project, and then talk about the things I think this app does well, and few things that I feel like it’s missing.
What is the Cricut Joy App
The Cricut Joy app is currently only available for iOS. It’s specifically formatted for the iPhone. You can access it on an iPad, though Cricut says you may see some buggy interfaces since it’s not designed for a tablet size.
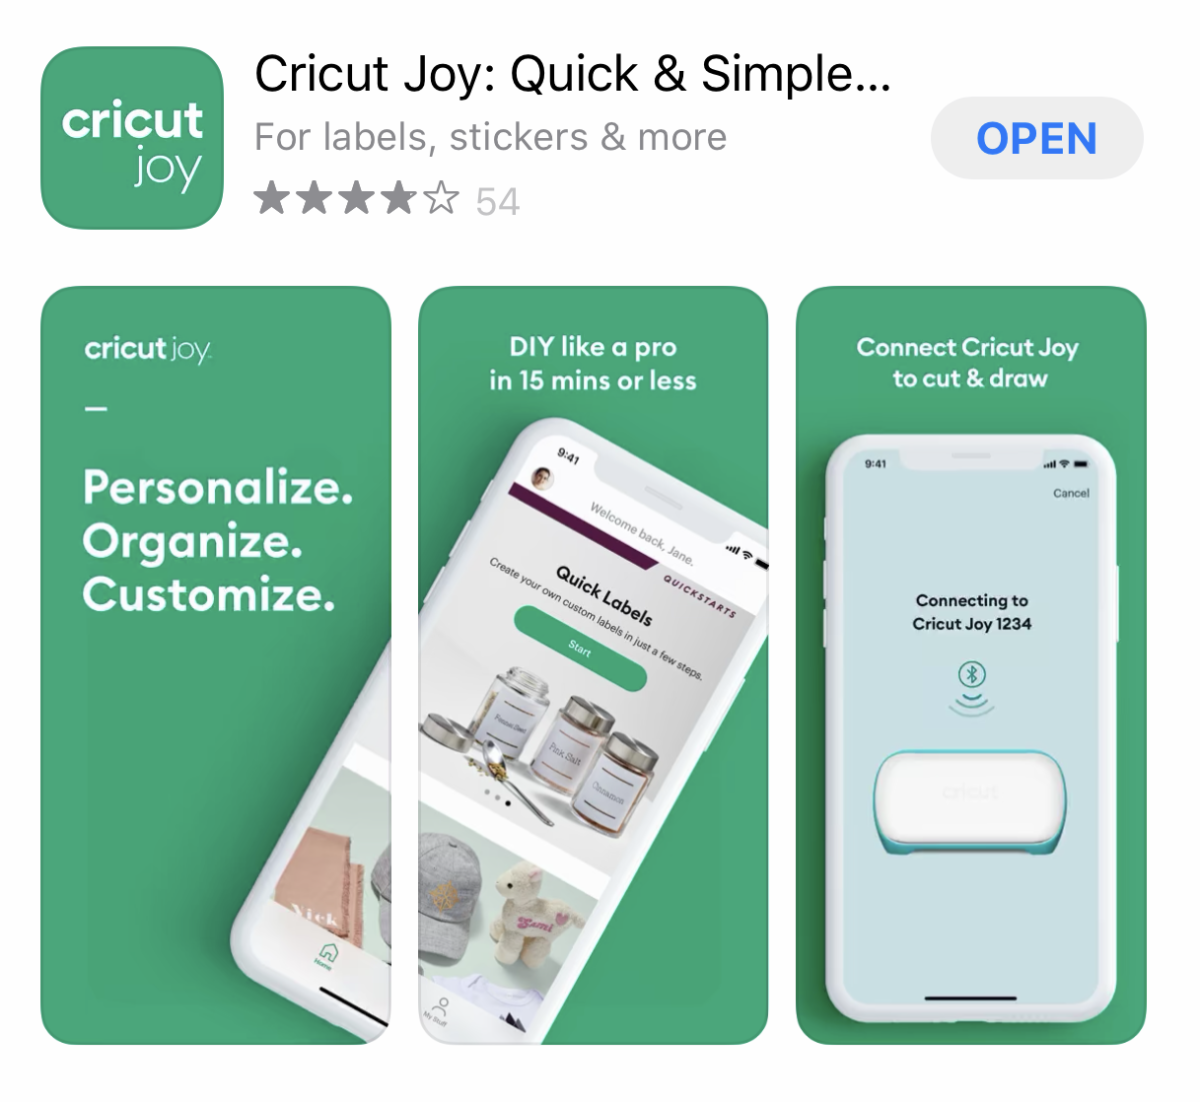
While you can make all sorts of complex projects using the Cricut Design Space app, the Cricut Joy app has been scaled down to focus on easy projects. When you open the app, you’ll be prompted to sign into your Cricut account.
Instead of having the entire software to choose from, the app walks you through choosing a project type (vinyl, Infusible Ink, paper, etc.), a size, and then prompts you to add a shape or single-layer image. You can change the size and colors, but not much else. There is no welding or contouring or any of the other tool functions of the larger Design Space app. You cannot upload your own images to cut either.
These are meant to be quick projects—one design, one cut, one application. Think water bottles, mugs, onesies, notebooks, gift tags, phone cases, etc.
A Simple Project with the Cricut Joy App
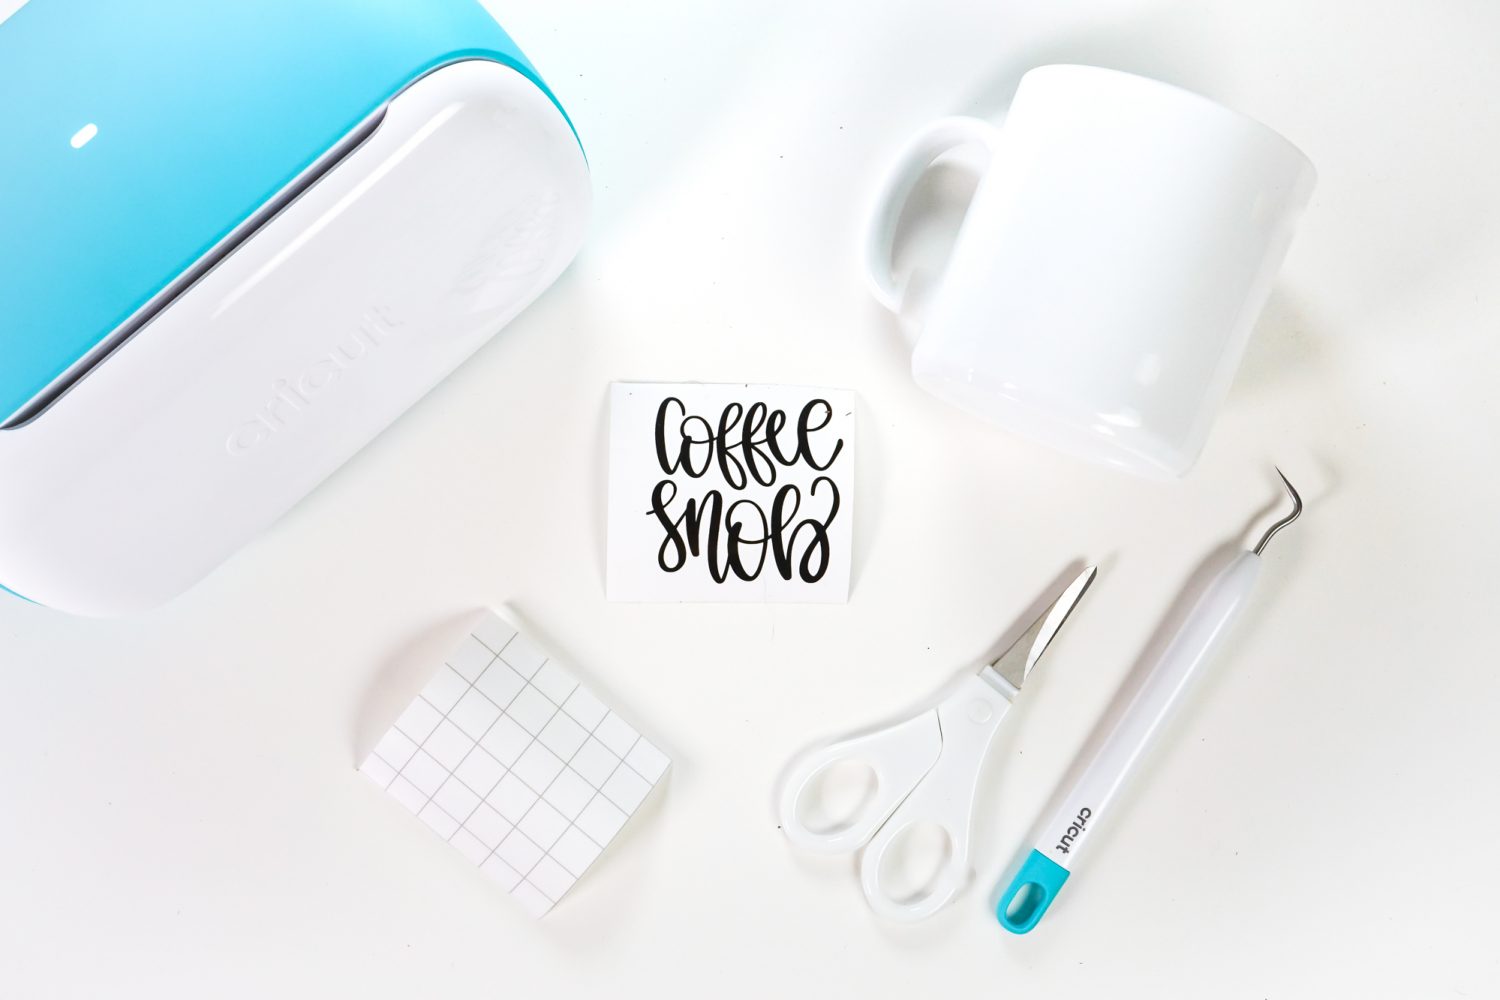
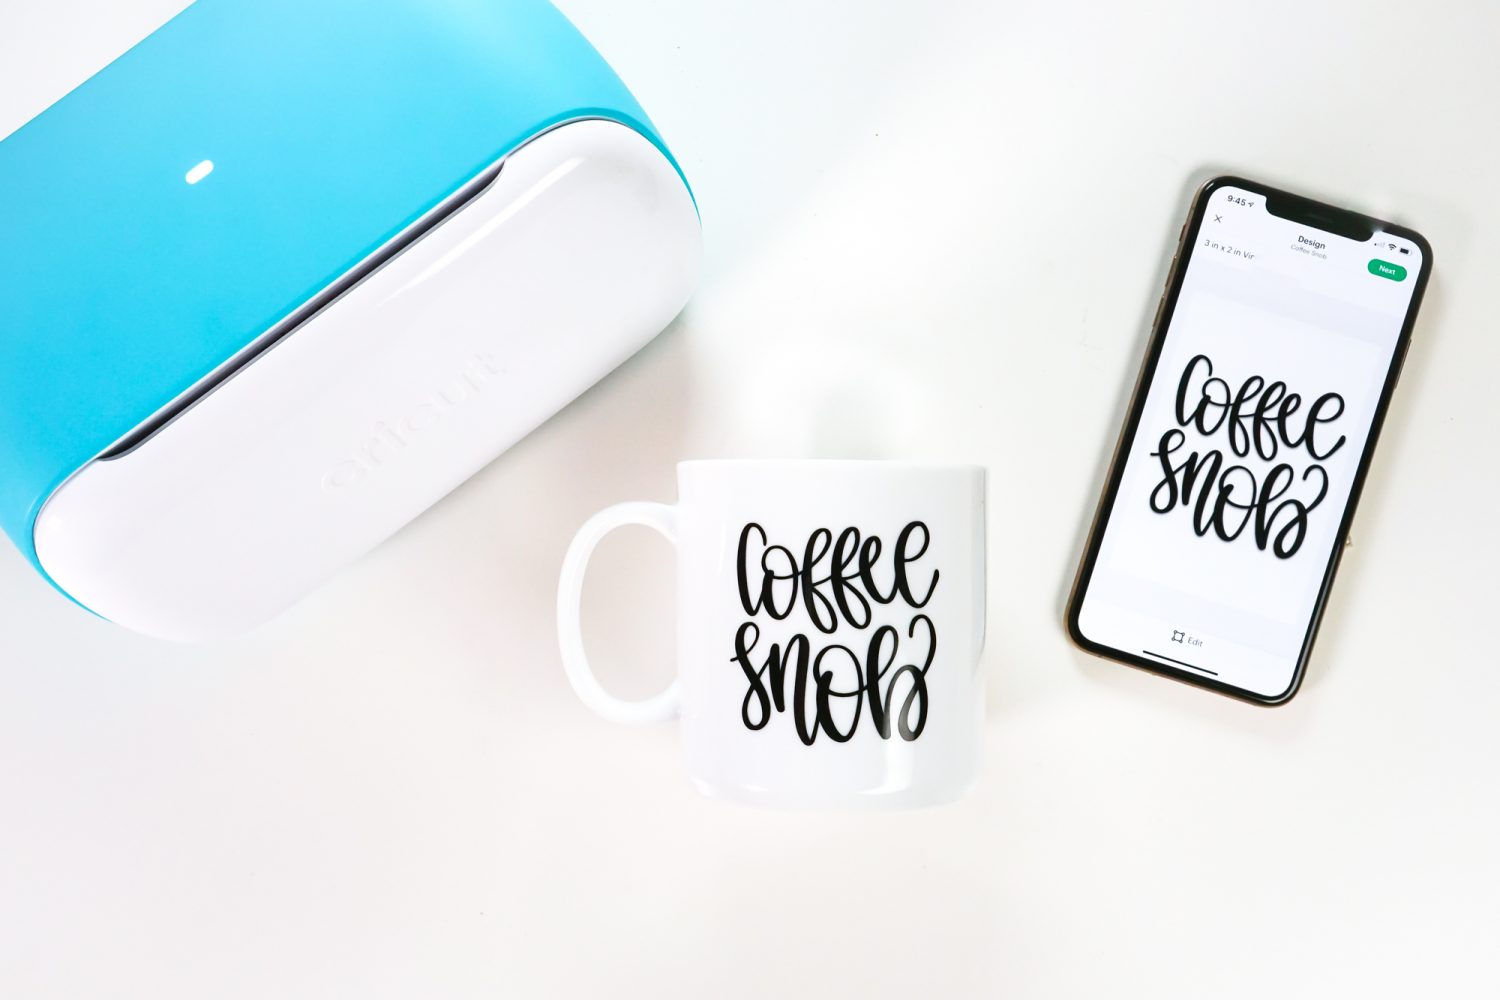
Let’s start with a super quick project with the Cricut Joy app. You’ll need your Cricut Joy, black Smart Vinyl, a weeding tool, transfer tape, and a mug. Easy!
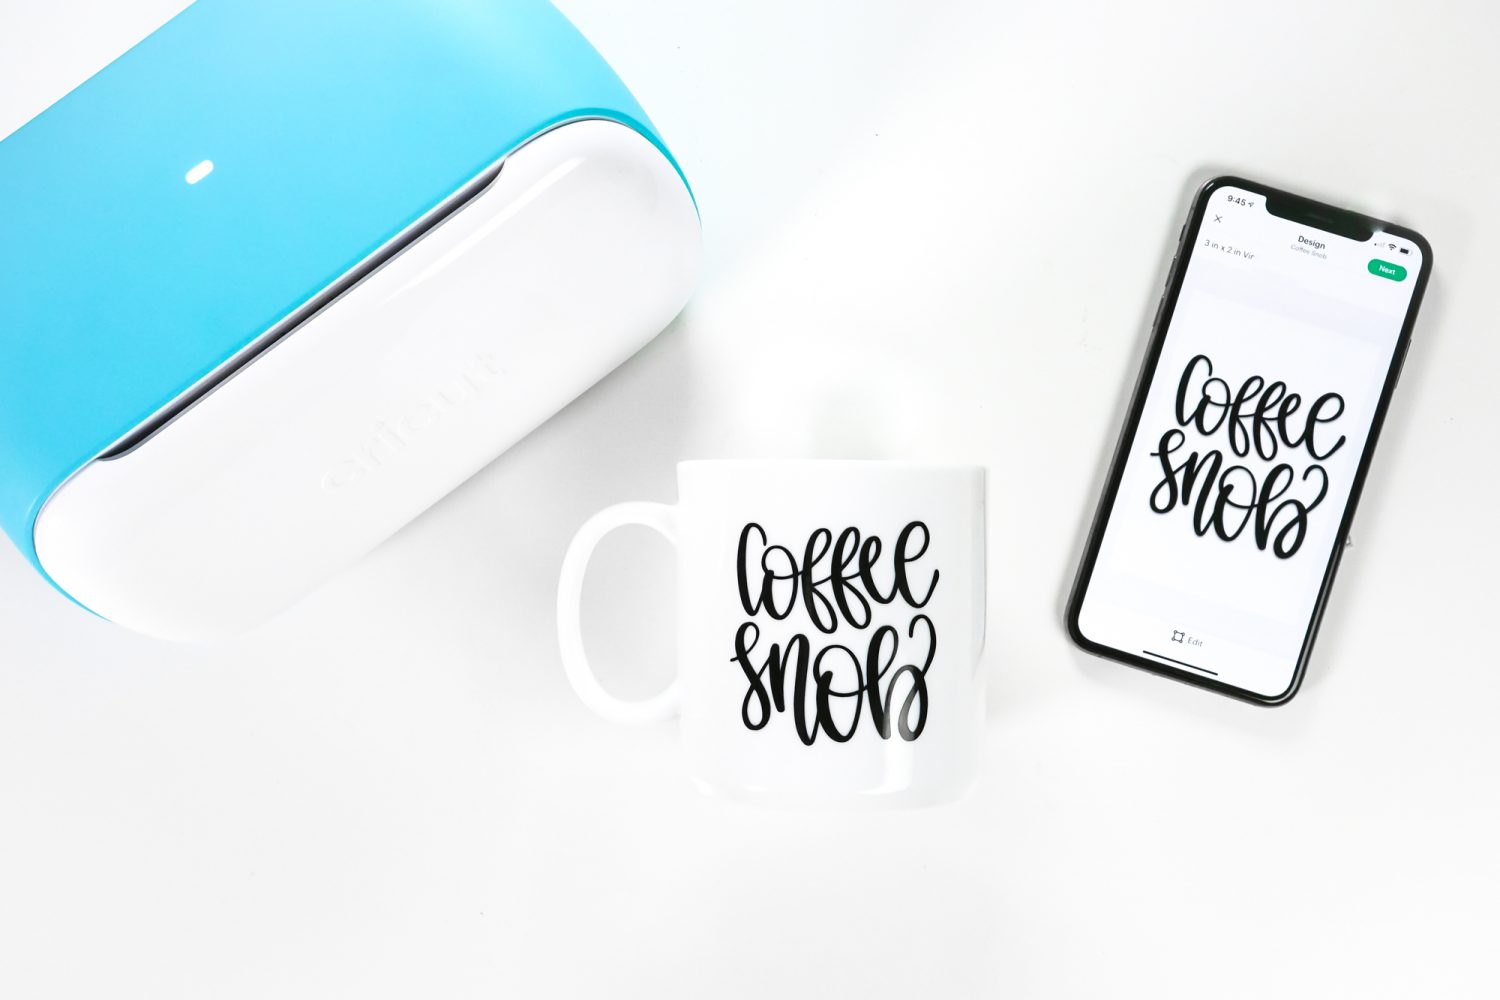
I’m going to make a funny coffee cup (because I’m running on coffee and sarcasm these days!).
Create the Project in the App
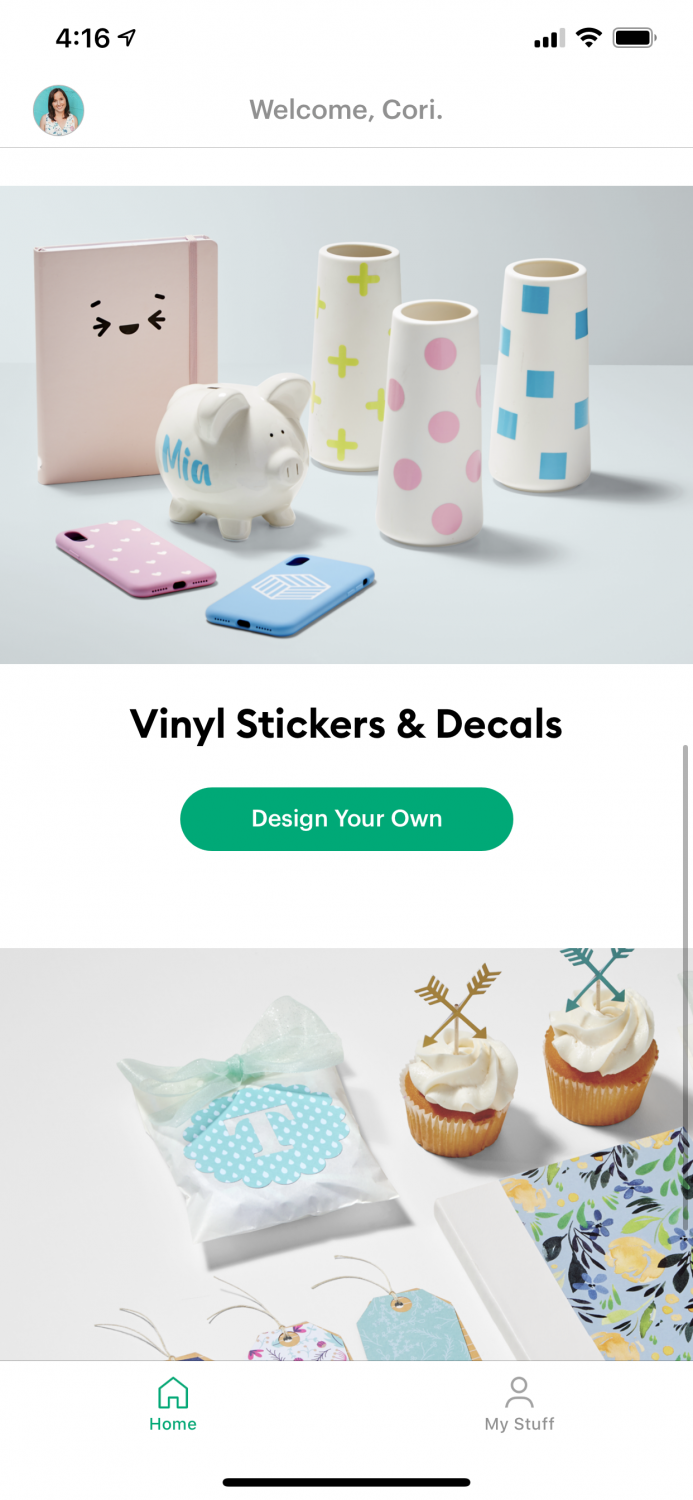
You’ll see a few options in the app—I chose Vinyl Stickers & Decals for this mug project by clicking Design Your Own.
Next, the app will give you a very brief overview of what you’ll need for your project, plus a few helpful links to project tutorials if you need them. I got my materials together and clicked Start Designing.
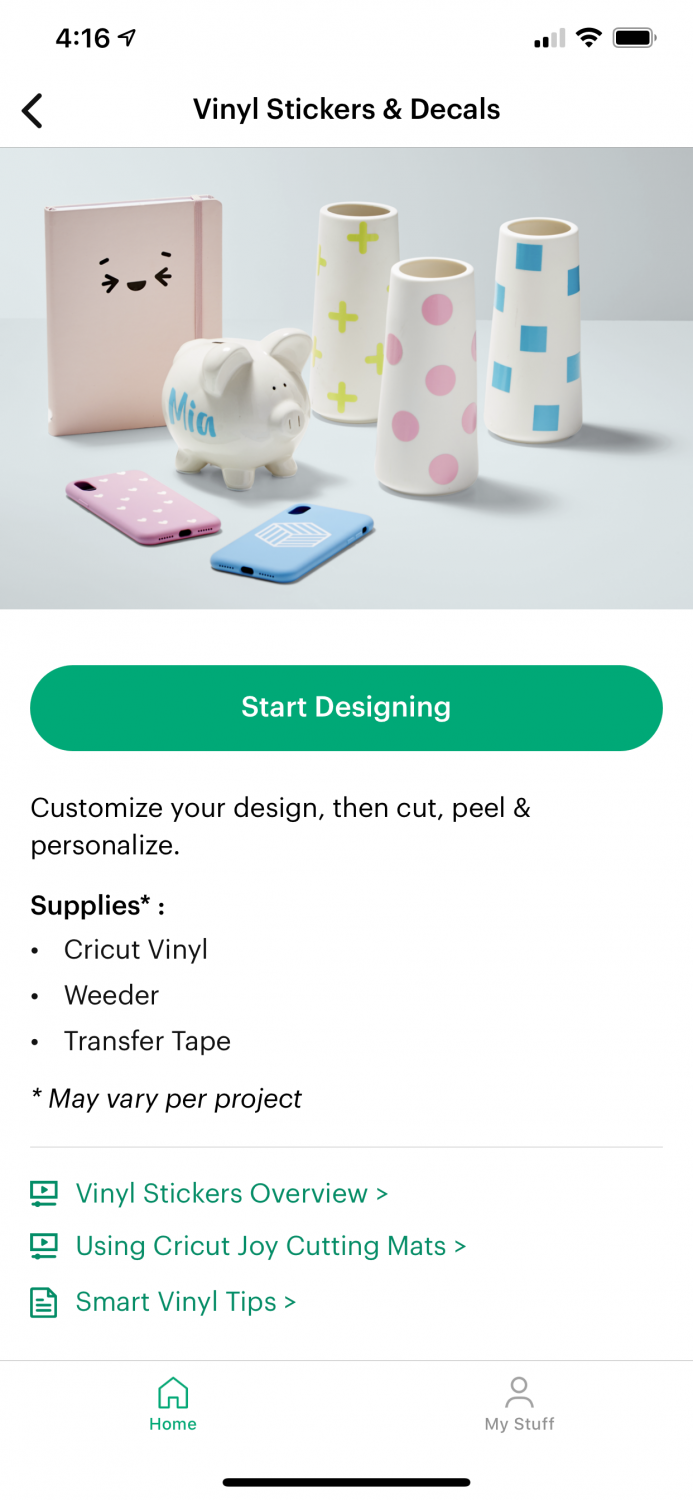
The next screen asks you to choose the size of your project. Measure your mug (or other base) and choose a size for your project by typing in the measurements. I went with 2″ x 3″ for my mug, knowing that the final size would have to fit within those dimensions to fit on my mug.
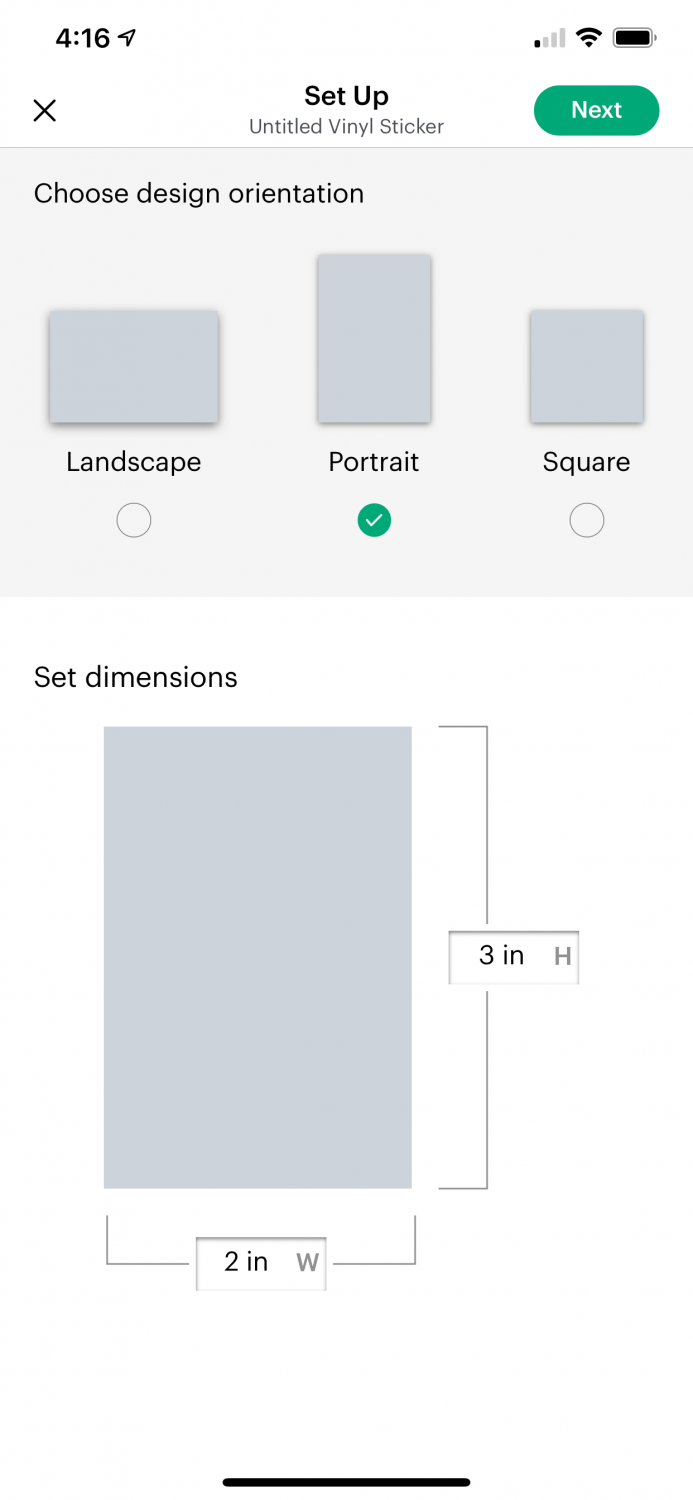
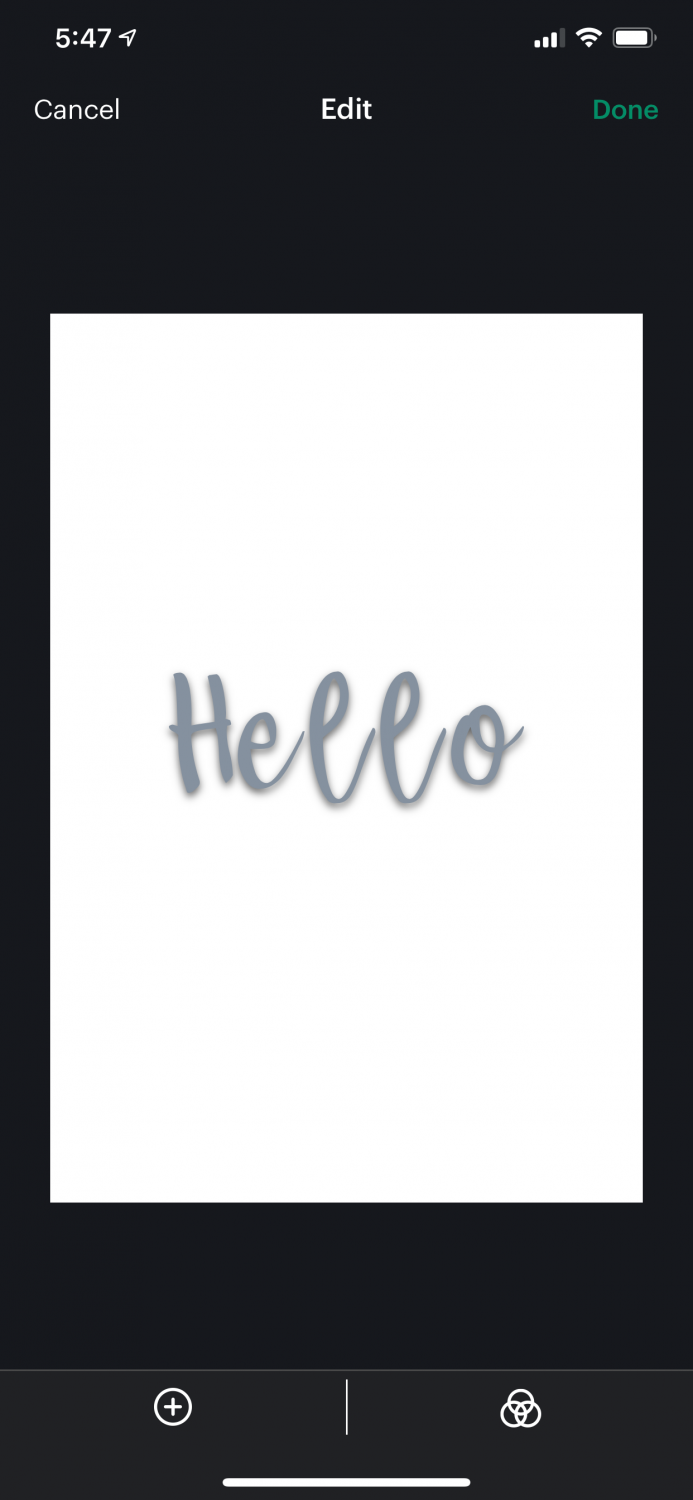
The next screen is basically your Canvas. If you’ve used the full Cricut Design Space app, you’ll immediately notice that there are very few options. At the bottom you can choose to add images, shapes, or text…and that’s it!
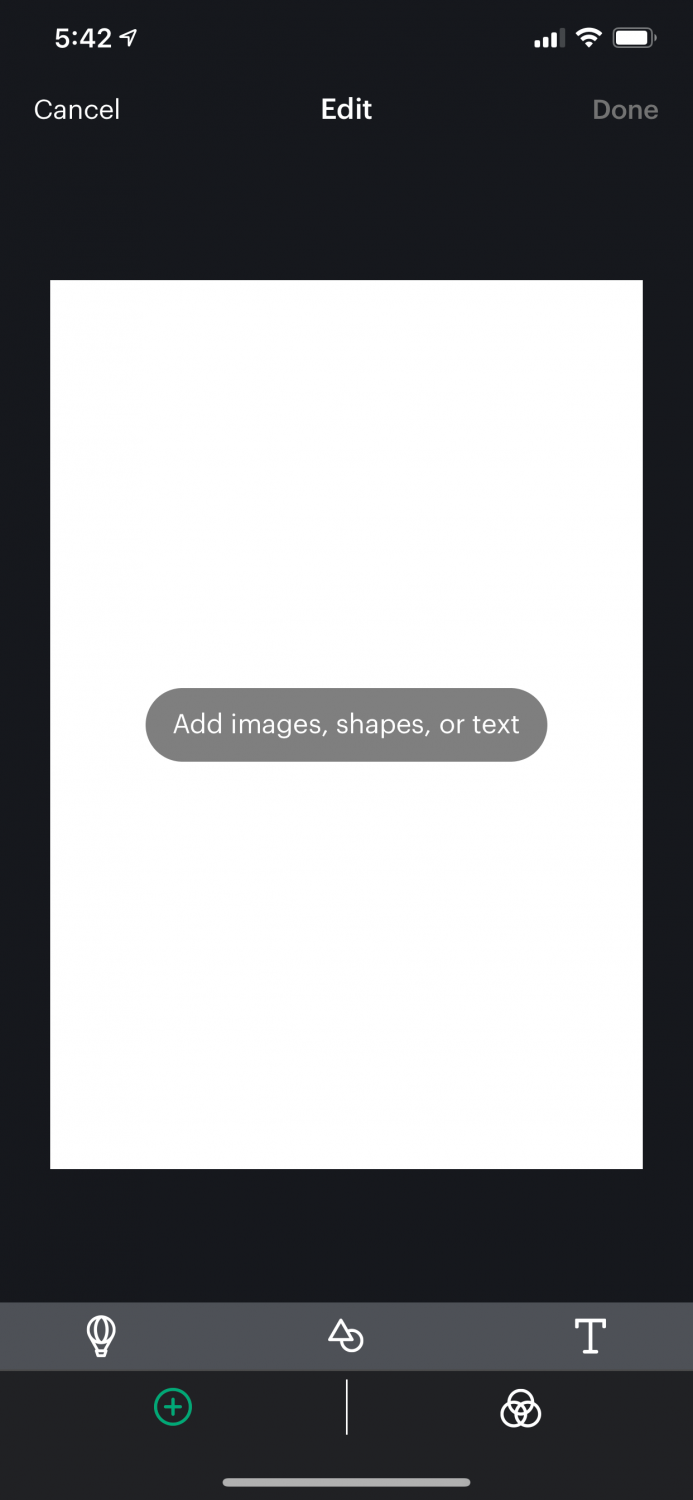
For this project, I decided to go with a funny coffee image. I clicked the hot air balloon at the bottom to get to the Image library. From here, you can search for whatever image you’d like.
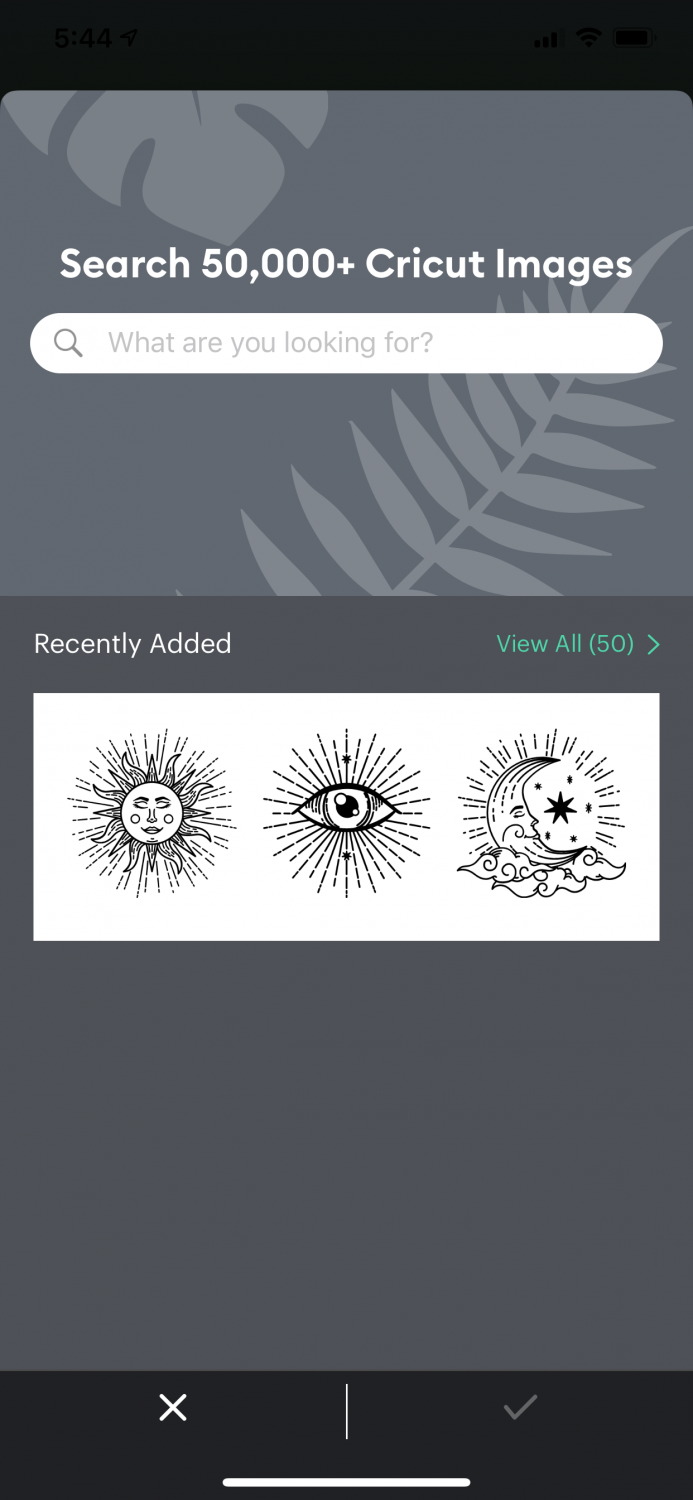
I searched for coffee and was pleasantly surprised by all of the images I found. They all seemed to be single-layer images (all of them were this blue color), which are perfect for cutting on Cricut Joy.
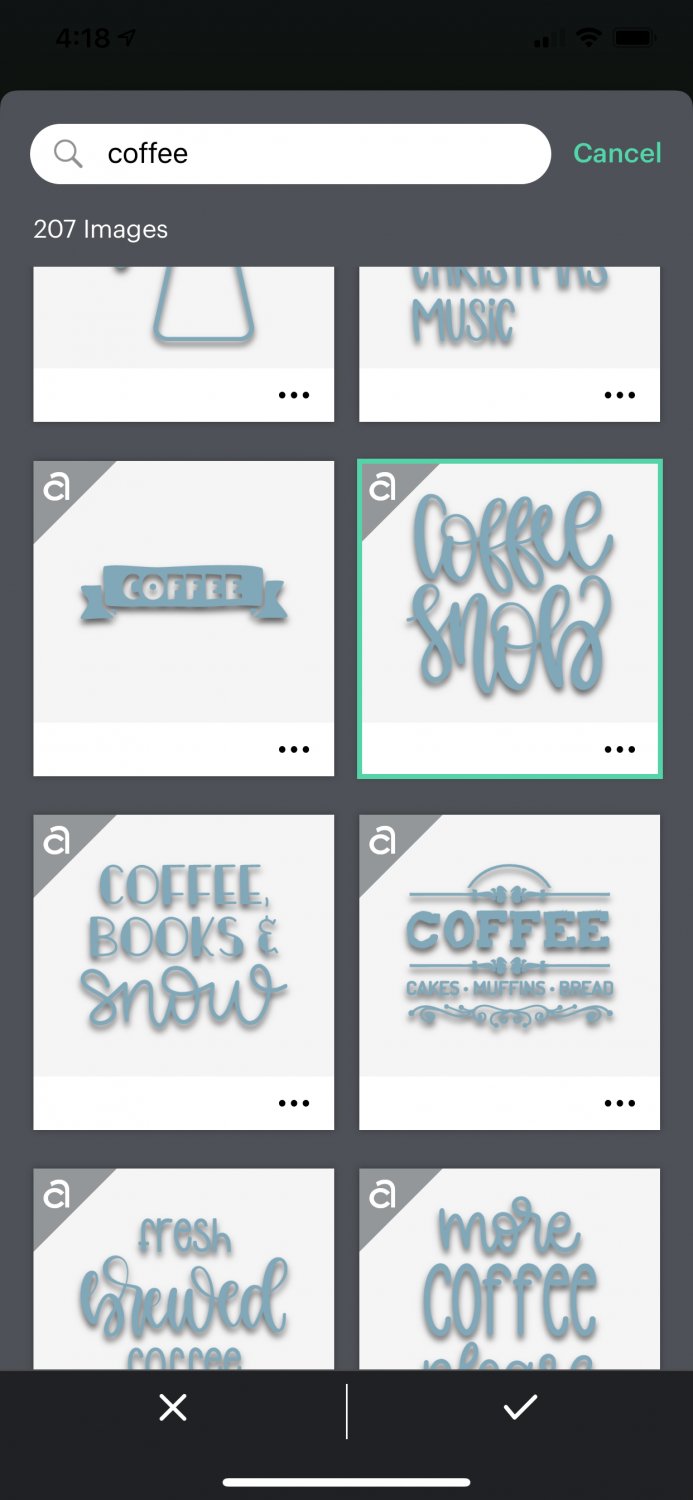
I selected the hand-lettered “coffee snob” image and click the checkmark at the bottom of the screen. Once I was back to my canvas, I resized it to fit the dimensions I set at the beginning using the arrow in the bottom right. Then click the checkmark to set the new size.
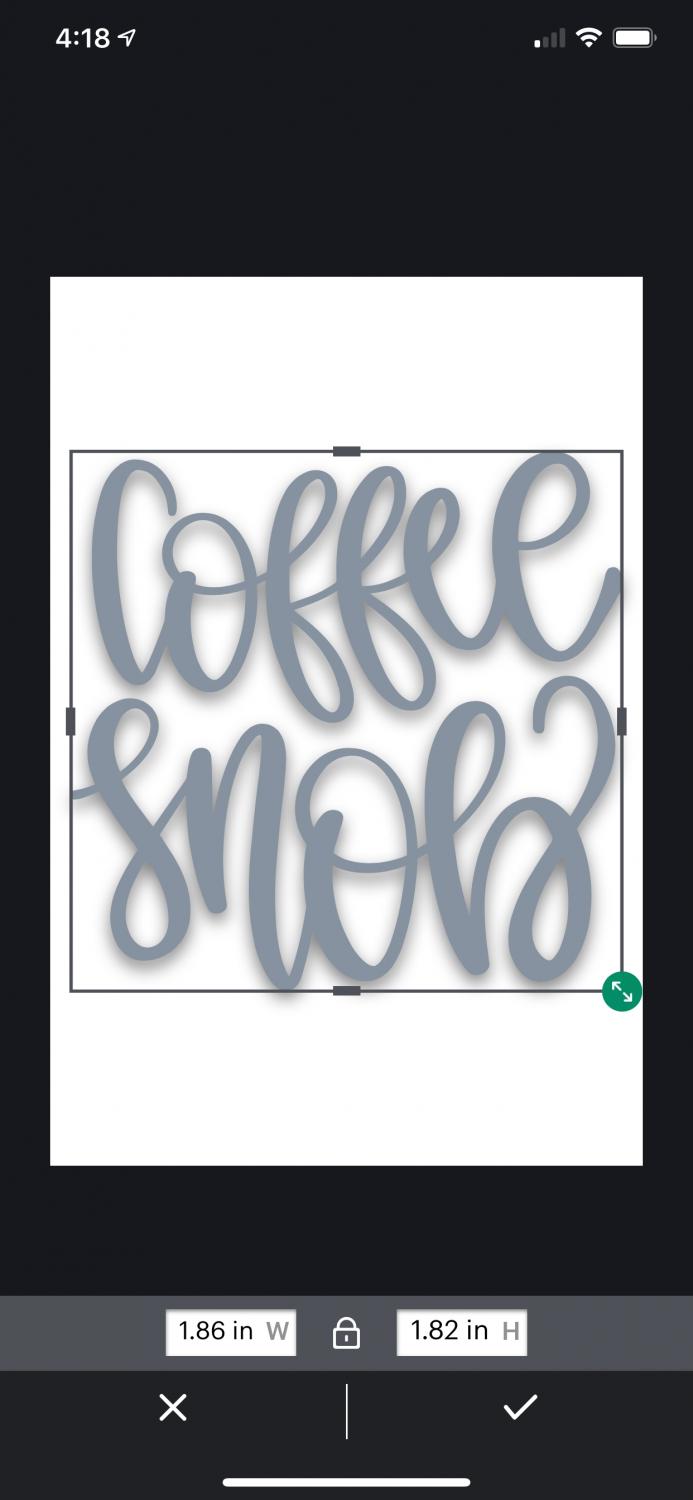
I also used the Venn Diagram icon (not sure what else to call that—the three overlapping circles) at the bottom to change the color to black.
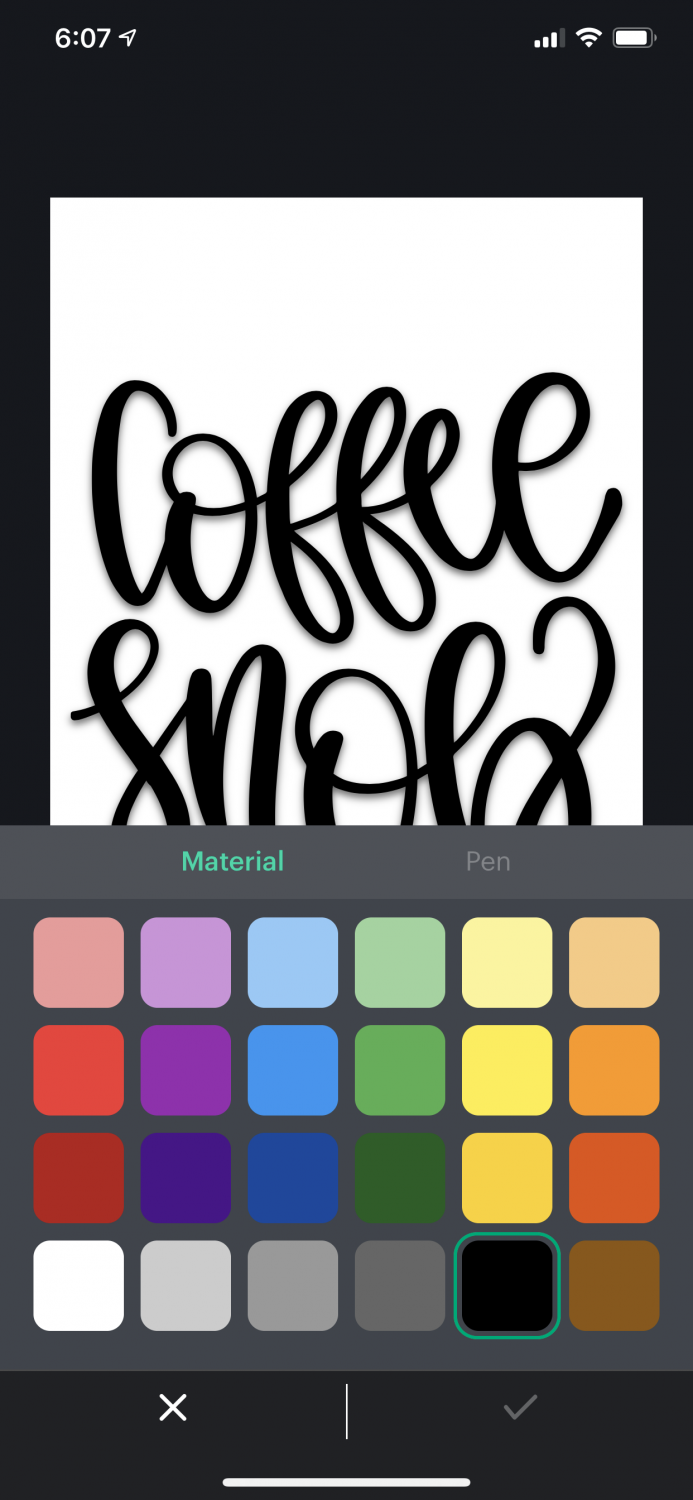
Once I had my image like I wanted, I clicked Done in the upper right, and then Next.
Cut the Project on Your Cricut Joy
In the next screen you can choose the material you are using. I am using Smart Vinyl, which doesn’t require a mat. Learn more about matless cutting.
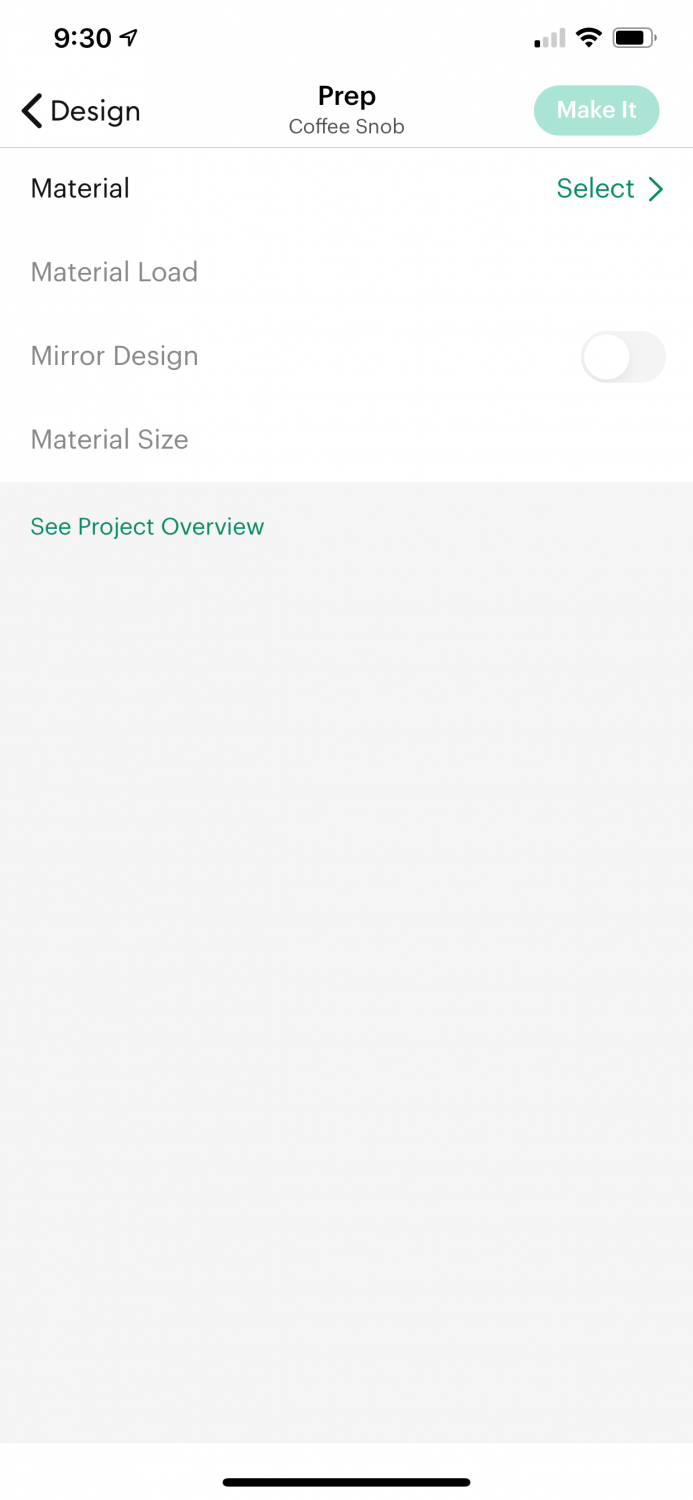
Once you select your material, a bunch of information will populate. With Smart Vinyl, it will say “Without Mat” and it will show you the size of vinyl you will need. Note that matless cutting requires about an inch of extra material at the top that the machine can “grab” and pull into the rollers.
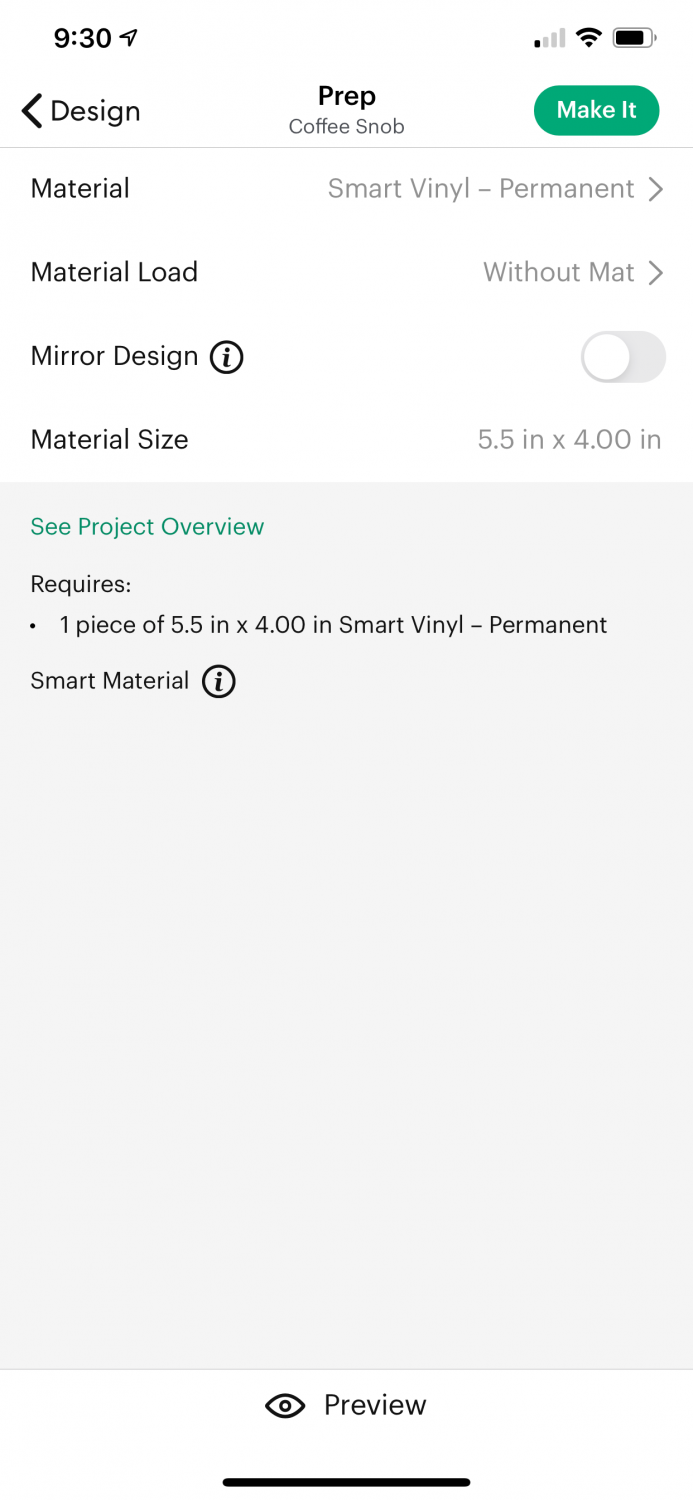
Then click Make It in the upper left. You’ll be prompted to connect your Cricut Joy (make sure it’s plugged in—there’s no on button. If it’s plugged in, it’s on!).
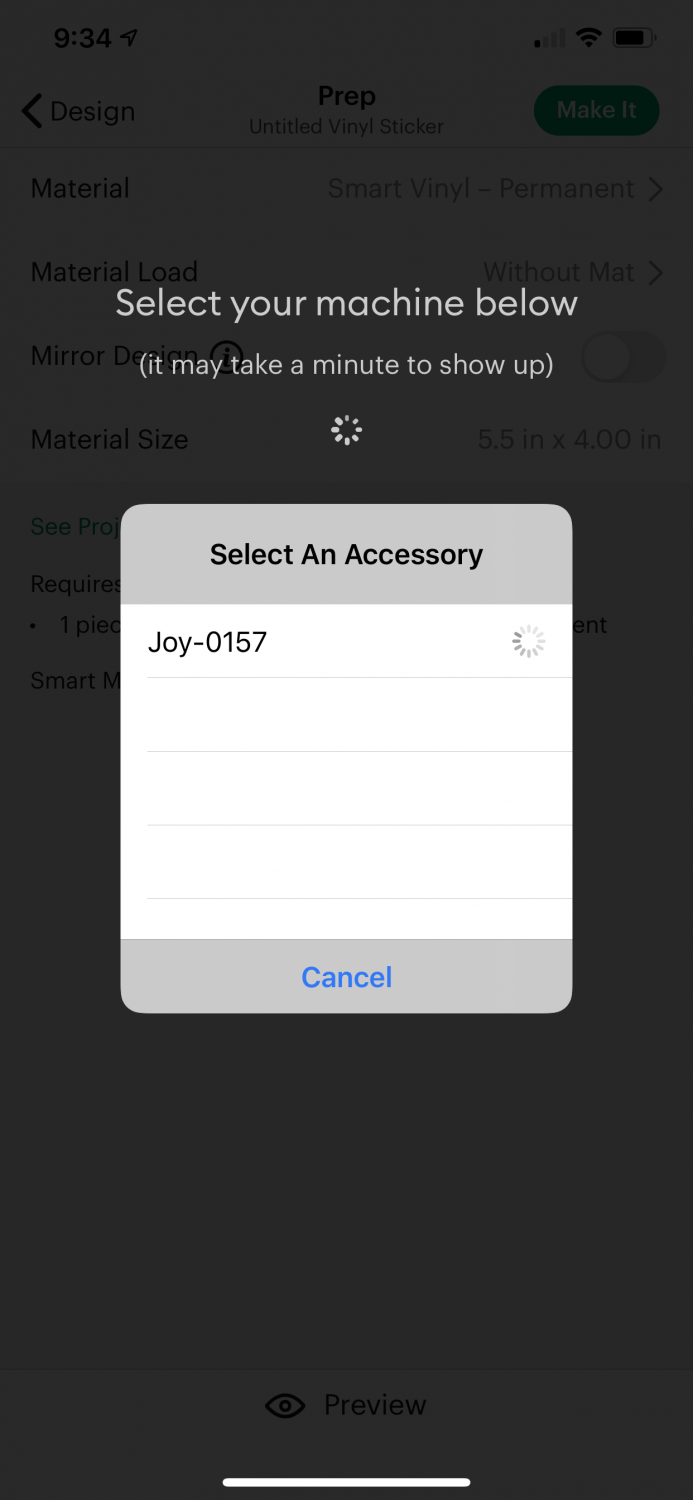
Once you have your machine connected, follow the on-screen instructions to load your material, blade, and then cut!
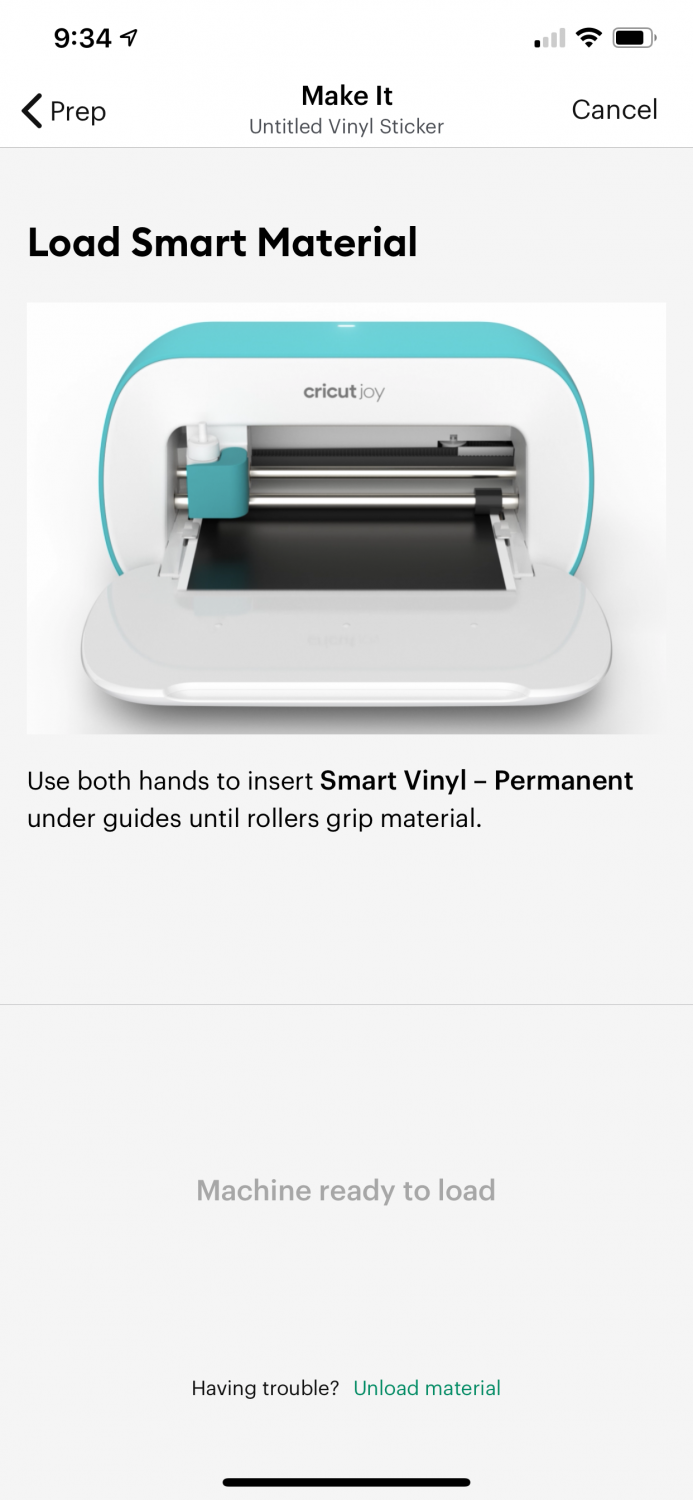
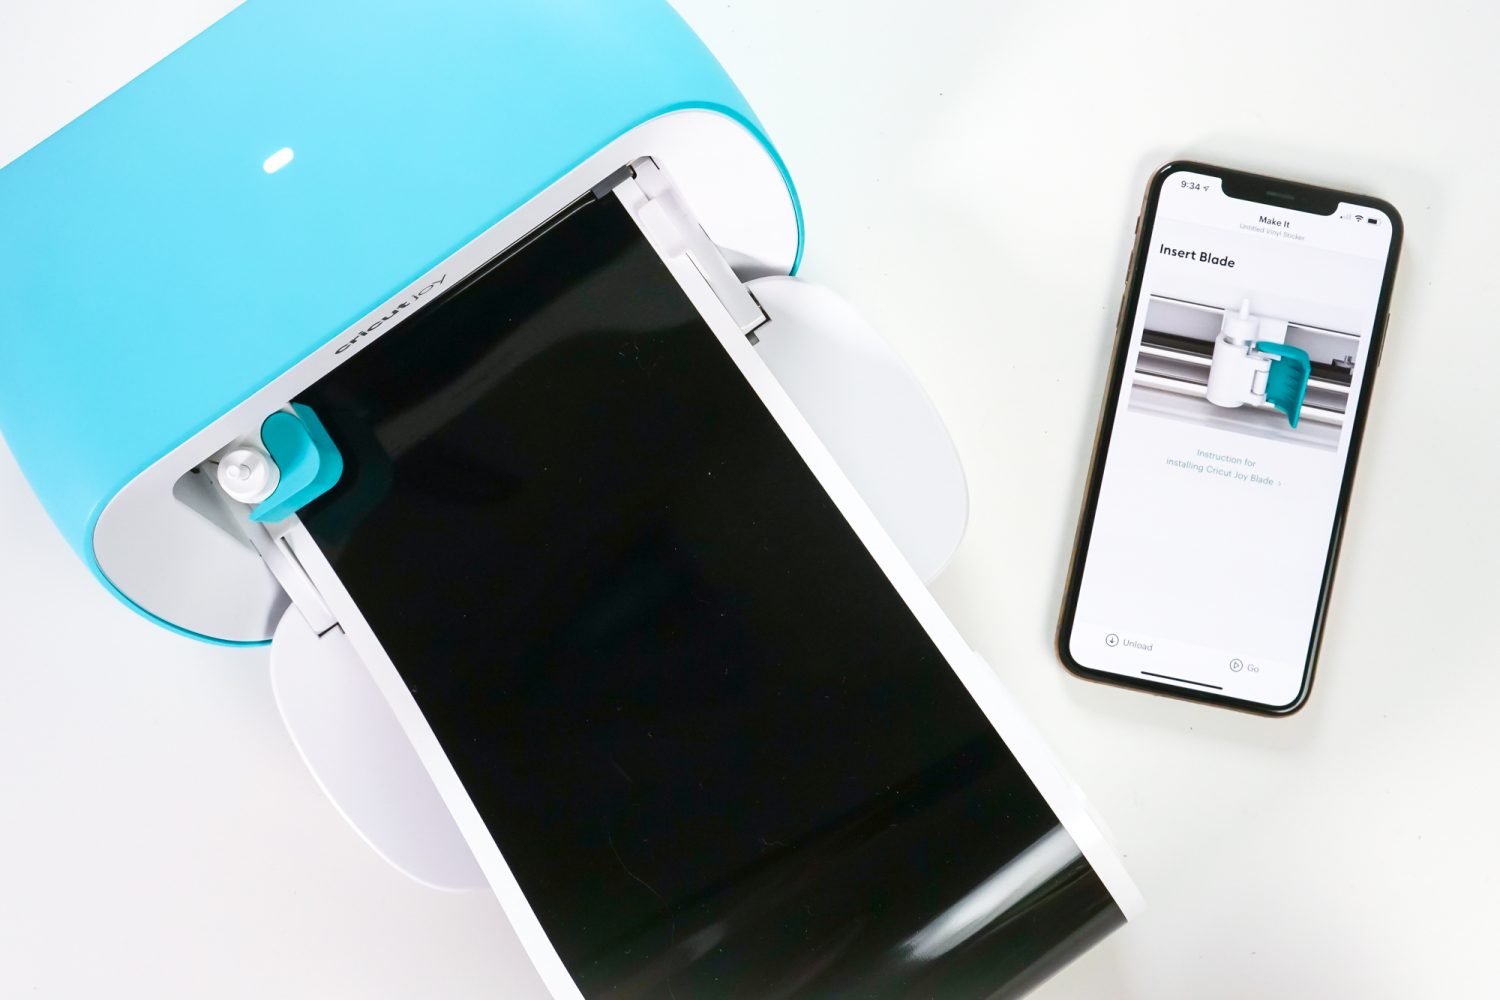
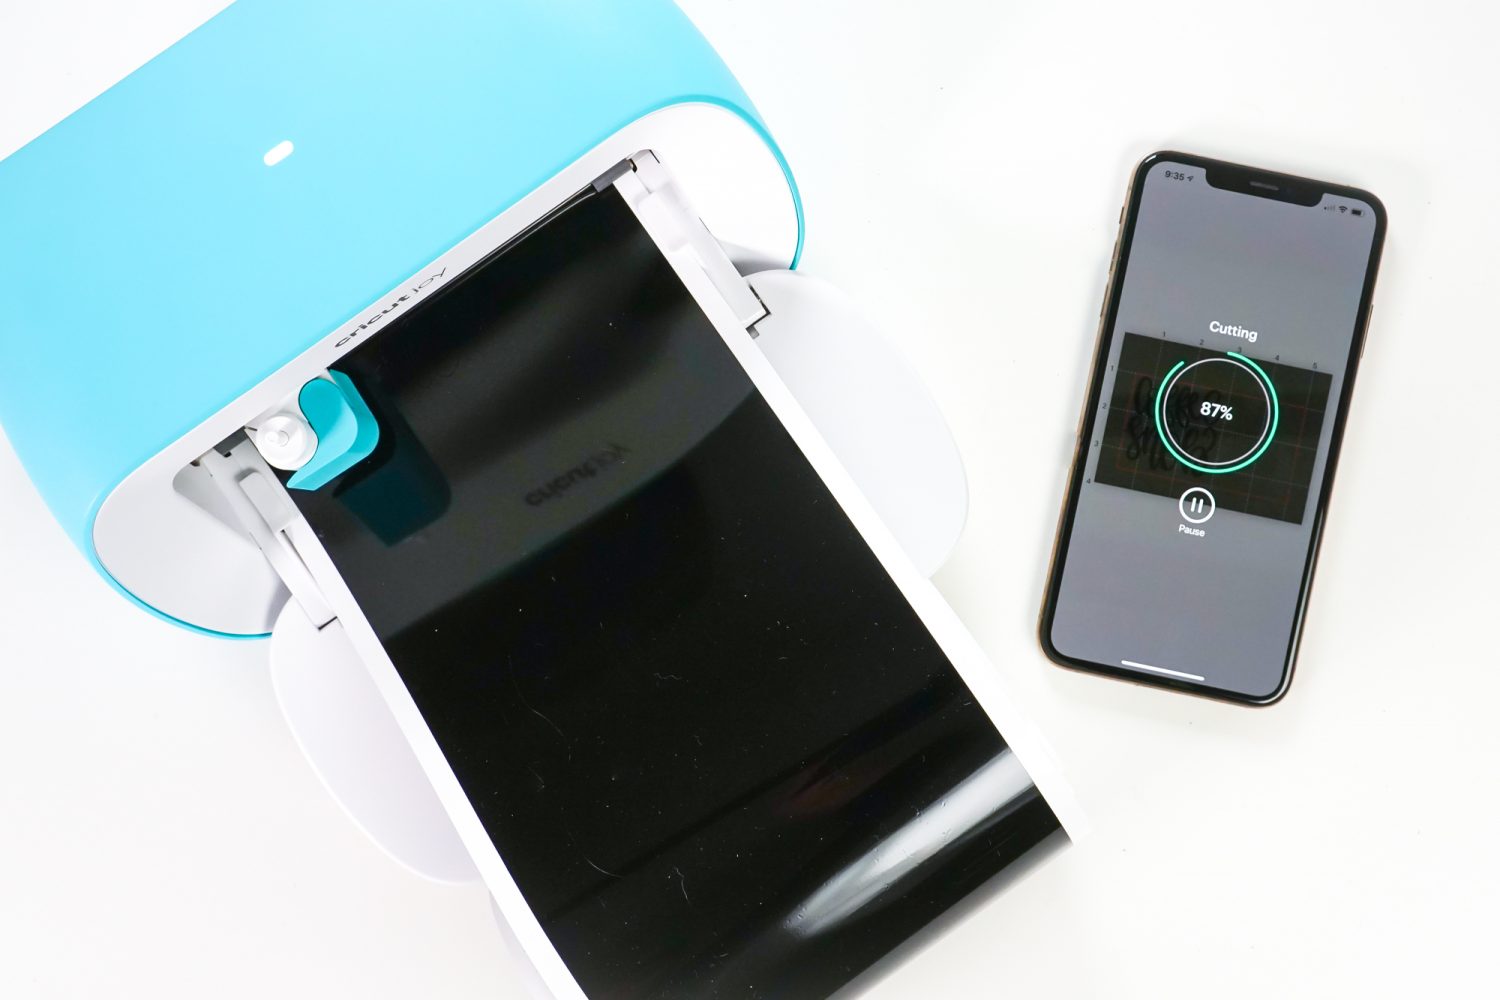
Once your project is cut, you’ll select Unload Mat at the bottom of the app.
Finish Making Your Project
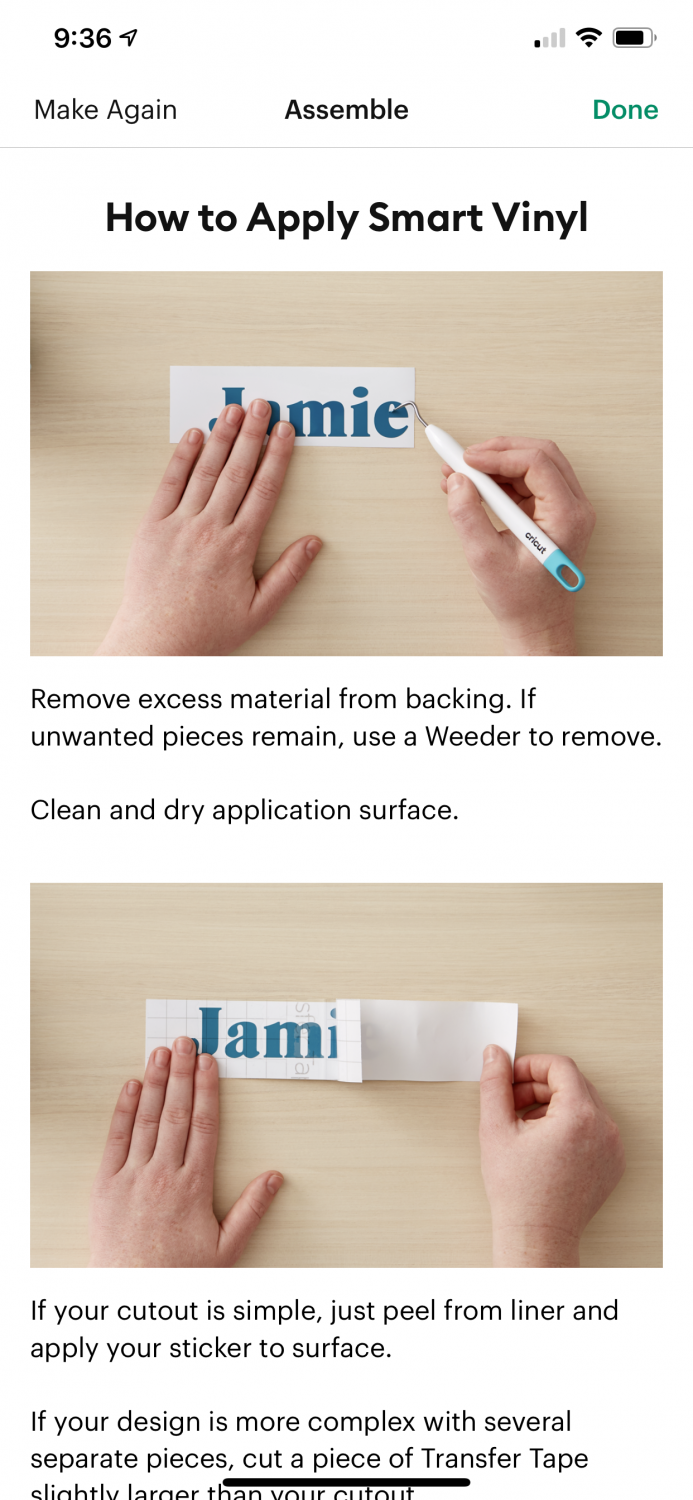
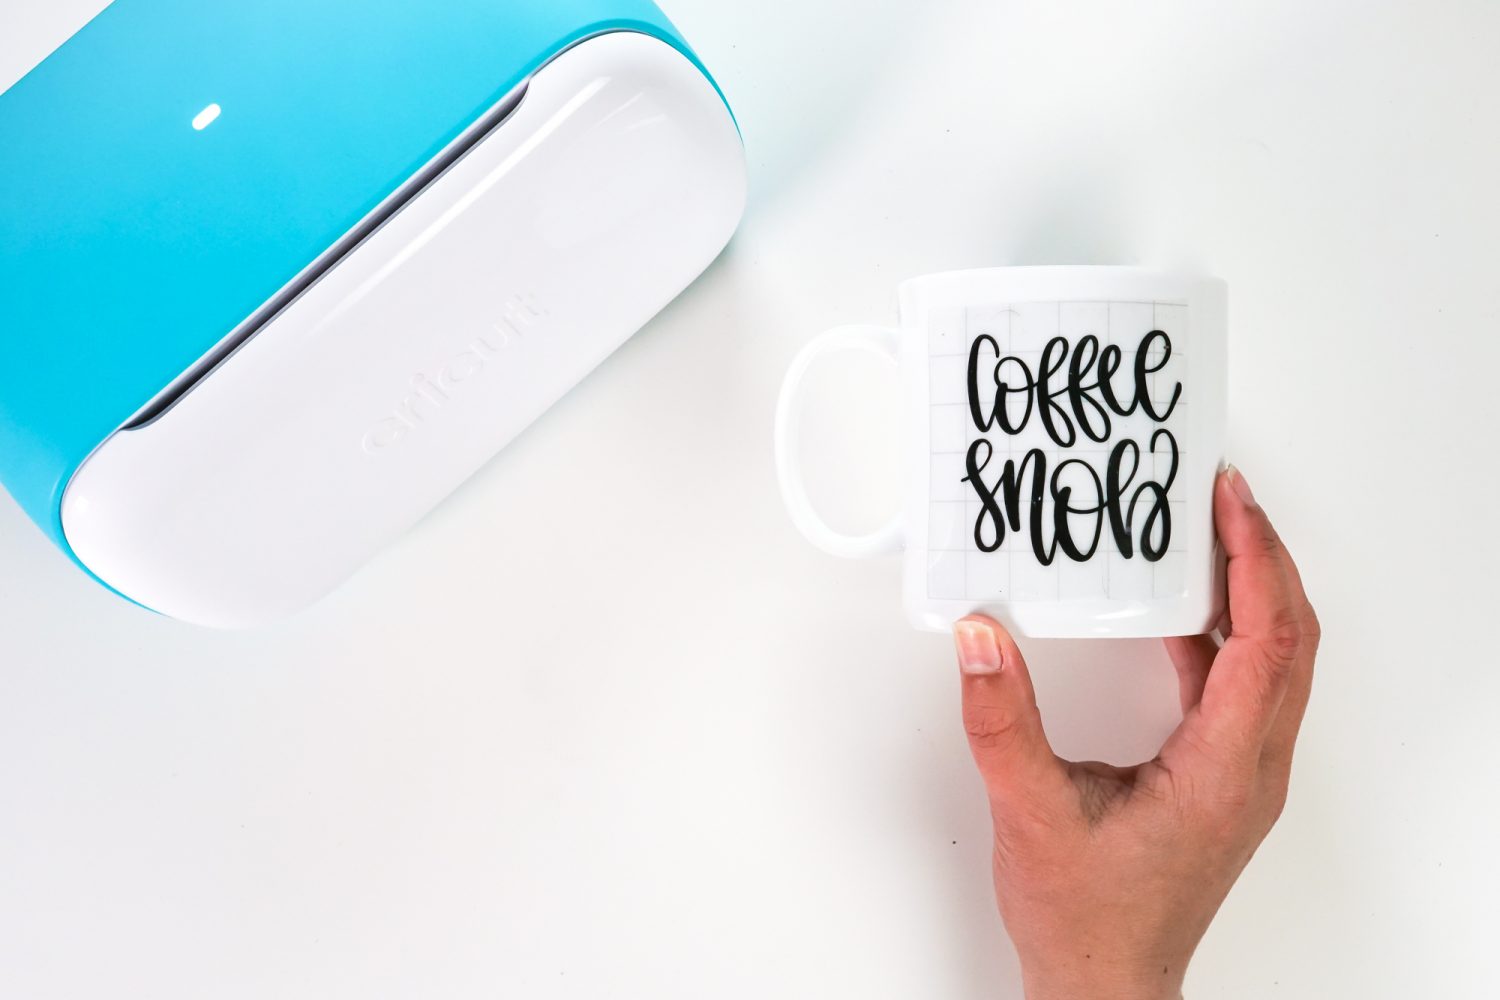
One cool feature of the app is that it will then show you how to use the decal you just cut! You’ll weed your project, and use transfer tape to apply it to your base.
What I Like About the Cricut Joy App
While it’s VERY abbreviated compared to the larger Design Space app, it’s actually quite functional to make quick projects. You still have access to a ton of images in Cricut’s image library—I spent a bit of time scrolling through coffee images and never got to the bottom.
Overall, it’s a decent little app for Cricut Joy owners who don’t want to do any of the robust projects that you can do with the full software. If you find all of that overwhelming, this app might be the ticket to easy projects without tearing your hair out.
What I Wish the Cricut Joy App Included
The biggest thing missing from the Cricut Joy app is the ability to make quick cards using Cricut Joy’s card mat. This is the number one thing I make with my Cricut Joy. Forget that it’s your mother-in-law’s birthday? Running late to a cousin’s birthday? You can make a card in under 5 minutes. I feel like this is something that they should add—it would be even faster to make a card!
I also wish there were just a few more tools, particularly when working with text. For example, if you insert a script text, there’s no way to make the letters overlap like real handwriting, and even if there was there’s no way to weld them together. You can learn more about Working with Script Fonts in Design Space to see what I’m talking about.
Overall Impression of the Cricut Joy App
The Cricut Joy app is much improved from when it was first released. It is very simple, which for some users might be frustrating. But it’s actually a pretty easy app for Cricut Joy crafters who just want to make simple projects using their Cricut Joy machine. Download it and see if it works for you!


Comments & Reviews
adam says
This is such a helpful guide! The Cricut Joy App really makes crafting more accessible, especially for beginners or anyone looking to create quick, beautiful projects without a steep learning curve. It’s amazing how user-friendly the interface is—perfect for labels, cards, decals, and more. https://www.lern-psychologie.de/
Shellie Welbon says
Could you post or email me a link to get the Cricut Joy App?
I can’t find it in the App Store
Debi says
I’m in Canada and it doesn’t seem to be available here
Jen says
How do I make the message more permanent and heat press the mug now? I don’t want the vinyl to wash off.
Cori says
Hi Jen,
For a permanent design, you can use a sublimation mug blank and Infusible Ink or sublimation with your Cricut Mug Press. Or, handwash your mug in cool water if you use vinyl.
Ashley says
hey, I just bought a cricut joy and I am very new to this. I know that it comes with a mat, but I cant figure out how to use the mat from the app, like if i want to use anything other than the smart vinyl.
I have a cromebook, and it doesnt work with the cricut program, so I am limited to the app.
Thanks!
Crystal Summers says
Hi Ashley,
You’ll want to be sure you’re selecting the correct material in the app. Make sure you aren’t selecting smart vinyl as the material if you’d like to use a mat.
Here are a few blog posts that may be helpful for you as you get to know your Cricut Joy machine.
https://heyletsmakestuff.com/cricut-joy-materials/
https://heyletsmakestuff.com/matless-cutting-cricut-joy/
https://heyletsmakestuff.com/cricut-joy-card-mat/
https://heyletsmakestuff.com/cricut-joy/
Happy crafting!
Crystal, HLMS Community Manager