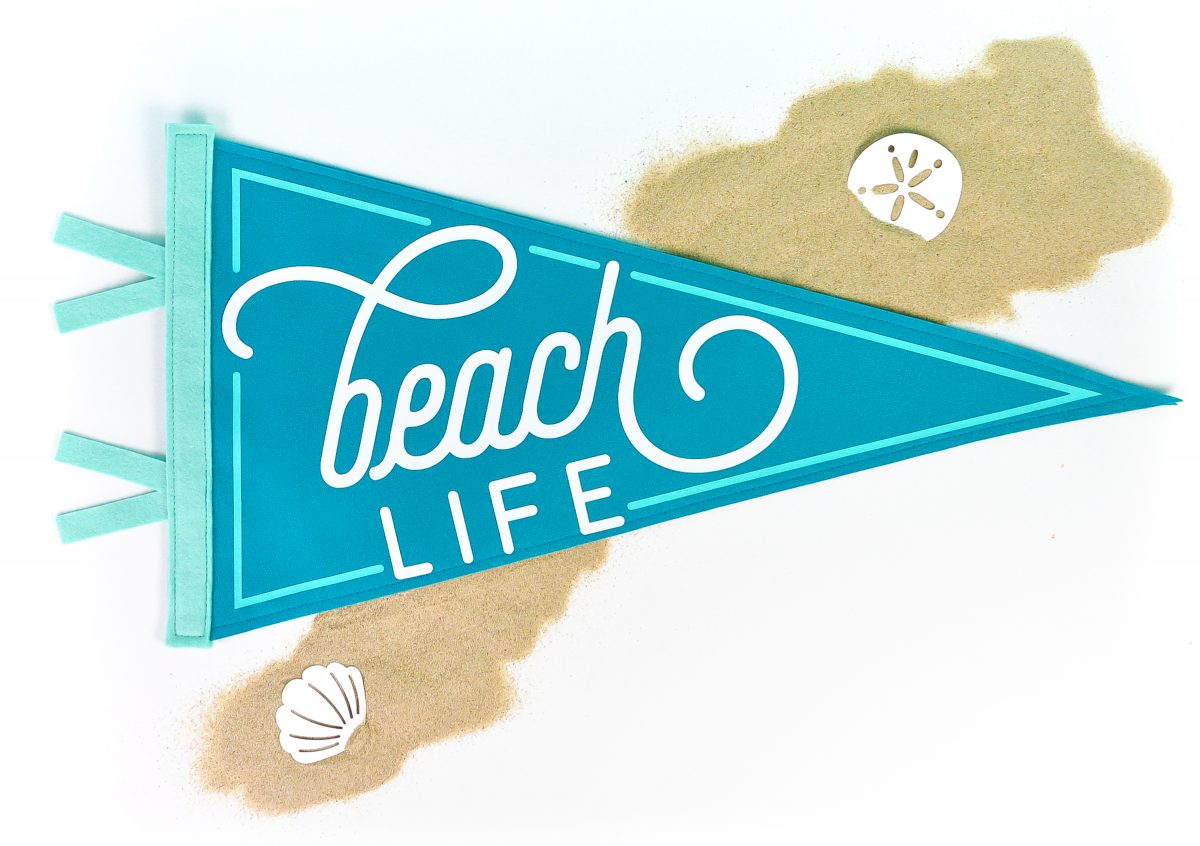
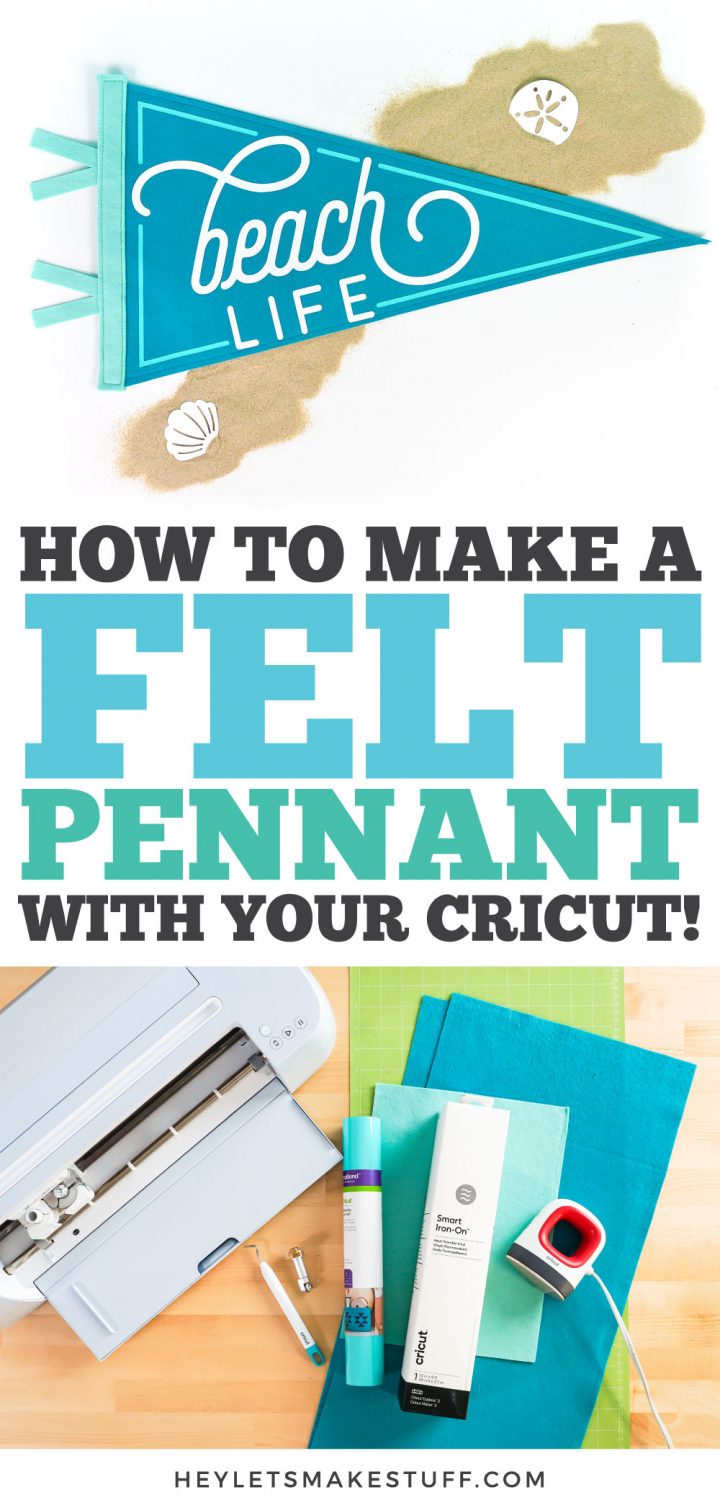
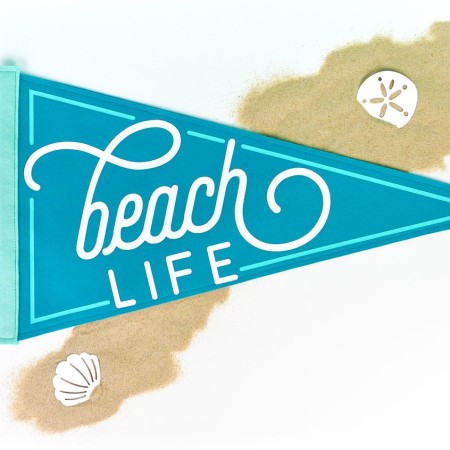
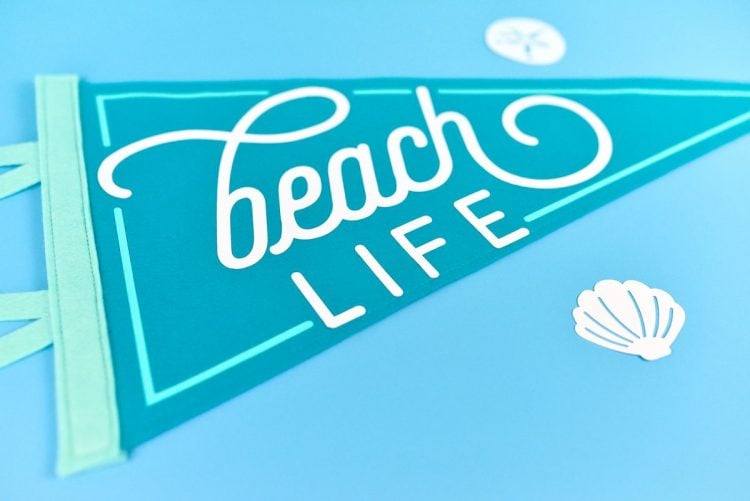
Celebrate your love of the beach with this fun Beach Life felt pennant! Use your Cricut to cut felt and iron on to create this fun pennant—perfect for any beach lover!
Welcome to Day 5 of the 15 Days of Cricut Summer Fun!
We’re a third of the way through our fifteen days of summer Cricut projects and today we’re hitting the beach with this felt pennant made with your Cricut! If you love the feeling of the sand between your toes and the sound of the waves crashing on the shore, you’re going to want to make this cute Beach Life pennant!
Styled after retro felt pennants, this Beach Life flag is perfect for decorating your beach house (or your regular house if you have beachy vibes!) or a kids room or nursery.
If you’d like to get this series in an ebook format PLUS all of the SVGs needed to make all 15 projects check out the 15 Days of Cricut Summer Fun eBook Bundle!
This project is best cut on the Cricut Maker 3, Cricut Explore 3, Cricut Maker, Cricut Explore Air 2, or other Cricut Explore machine because the pennant is way larger than the Cricut Joy can cut. Need help using your Cricut? Check out my Cricut Basics eBook!
This file has been designed to cut from felt (the pennant itself) and iron on (the words). I have an extensive post on How to Cut Felt with a Cricut. The best option is using the Cricut Maker’s rotary blade. If you don’t have that machine or blade, you can use the Fine Point Blade, though you may have to do some hand cutting with scissors—that fine point blade isn’t great at getting corners. You could also cut the pennant from cardstock and use iron on for the words (yes, you can use iron on with cardstock!).
This project requires two pieces of felt that are 12″ x 24″, which can be harder to find in sheets. Look for felt on the bolt at your local craft store or visit my favorite felt shop online, Benzie!
Finally, you can sew the felt parts of this project or you can use glue—whatever you’re most comfortable with!
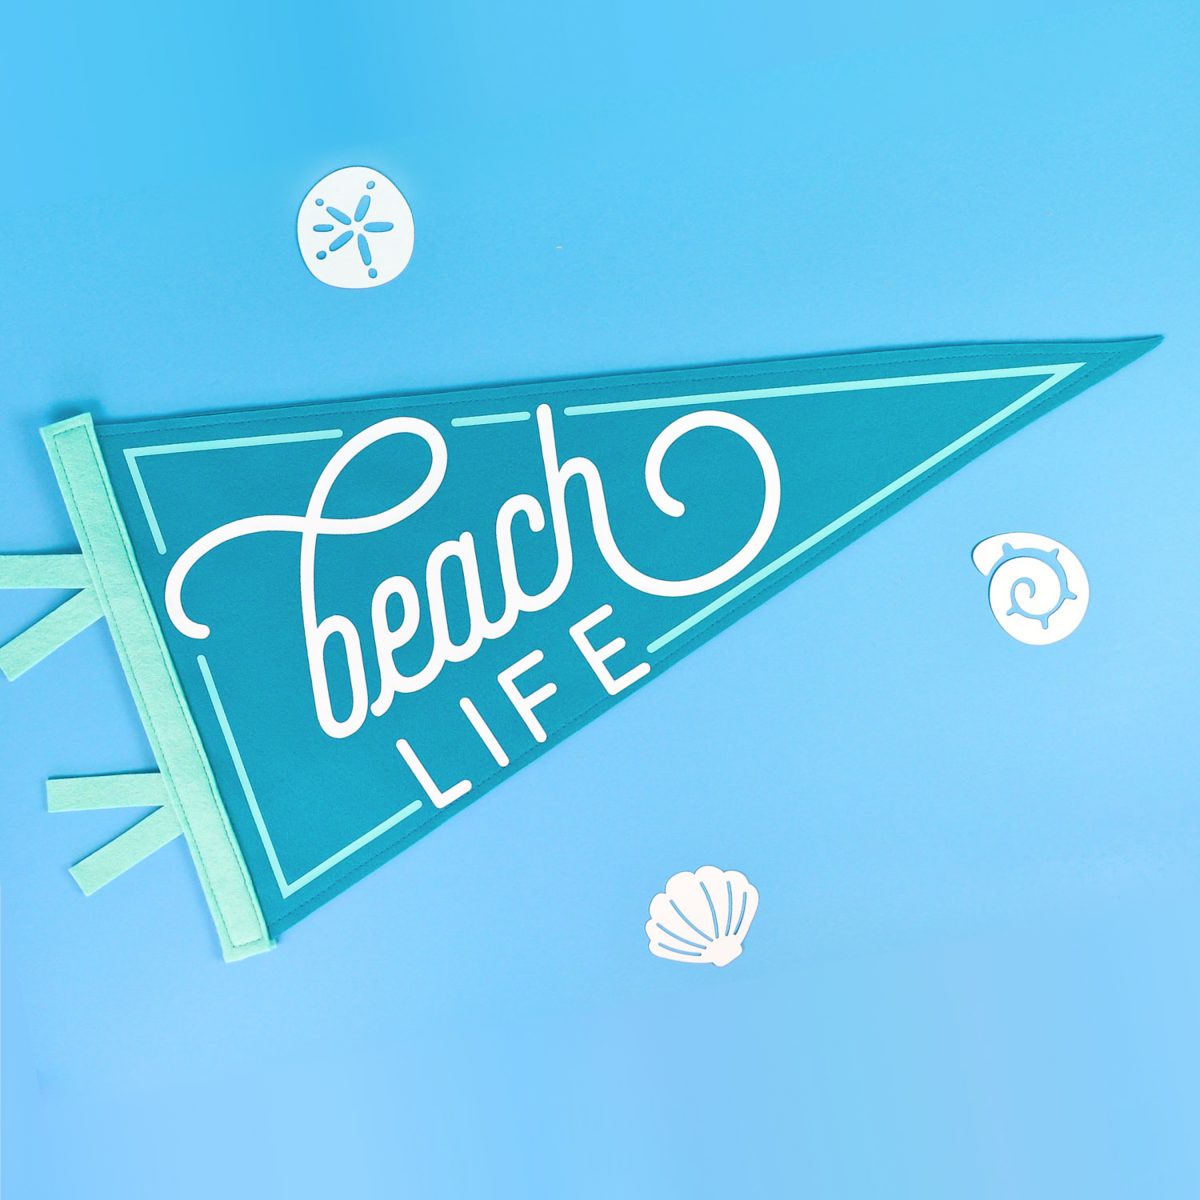
Love the fonts from this pennant? I used Selfie and Odin Rounded to design it!
Beach Life Felt Pennant Supplies
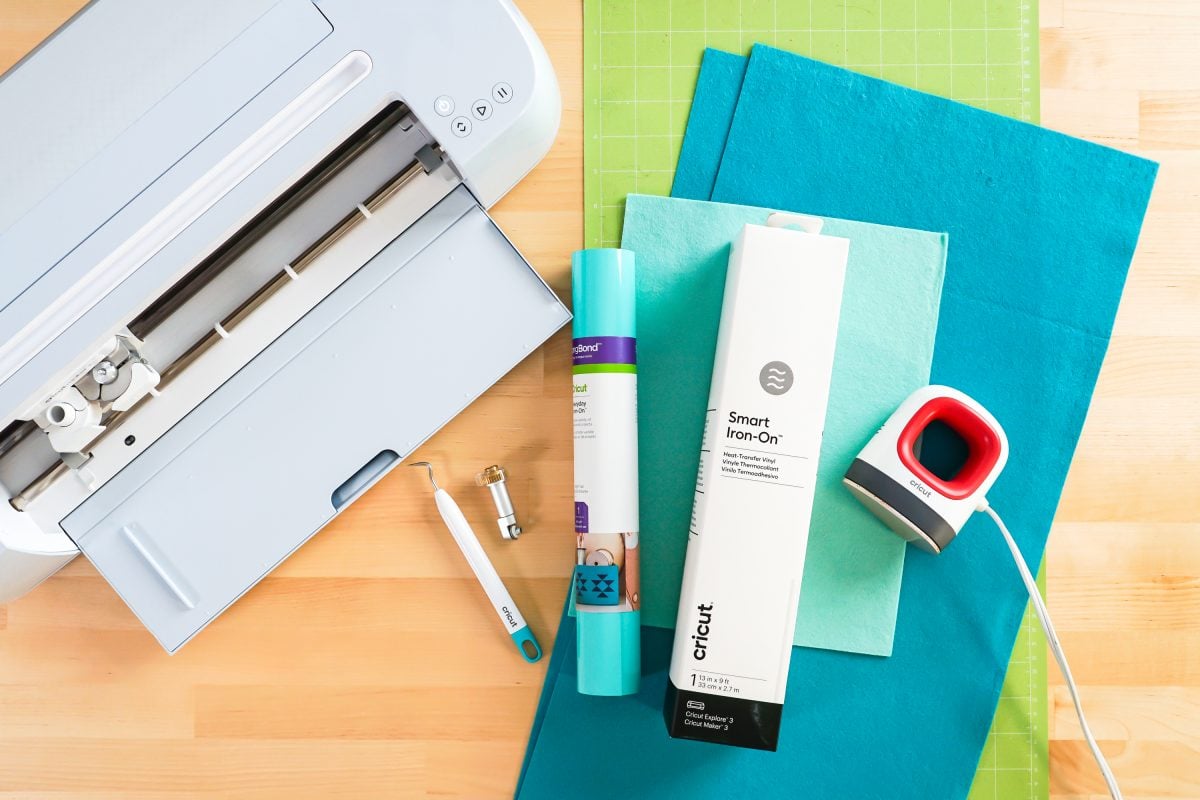
- Cricut Maker or Maker 3 with Rotary Blade and Fine Point Blade or Cricut Explore or Explore 3 with Fine Point Blade
- Two 12″ x 24″ pieces of felt + large felt scrap
- 12″ x 24″ Green StandardGrip mat
- Scissors (optional)
- Smart Iron On (if cutting matless) or
- Iron On
- Weeding tool
- EasyPress Mini or iron
- Tacky glue or sewing machine
- Beach Life Pennant SVG file (see below)
Material Note: You can cut a portion of this on your Cricut Maker 3 or Explore 3 using Smart Iron On.
Grab the SVG for this Project
Get the Beach Life SVG here. If you’re interested in making more projects in this summer series, our Cricut Summer Fun eBook and SVG Bundle is a great deal!
Beach Life Pennant Instructions
Upload the Beach Life Pennant File to Cricut Design Space
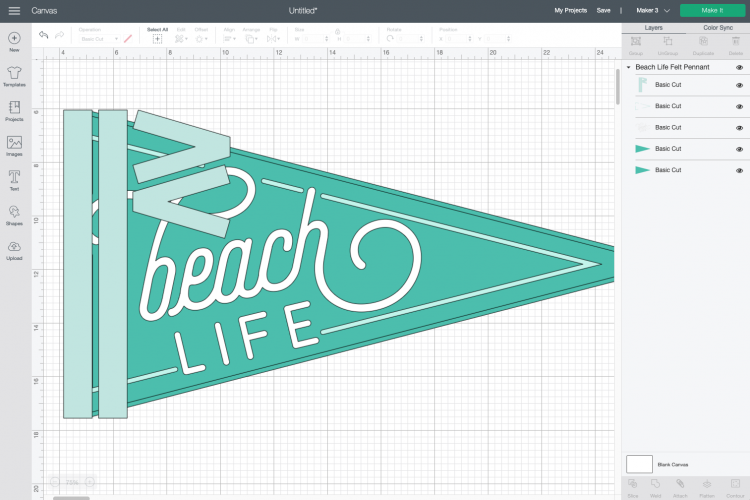
We will start by uploading the SVG file to Cricut Design Space (see Uploading SVG Files to Cricut Design Space if you need help).
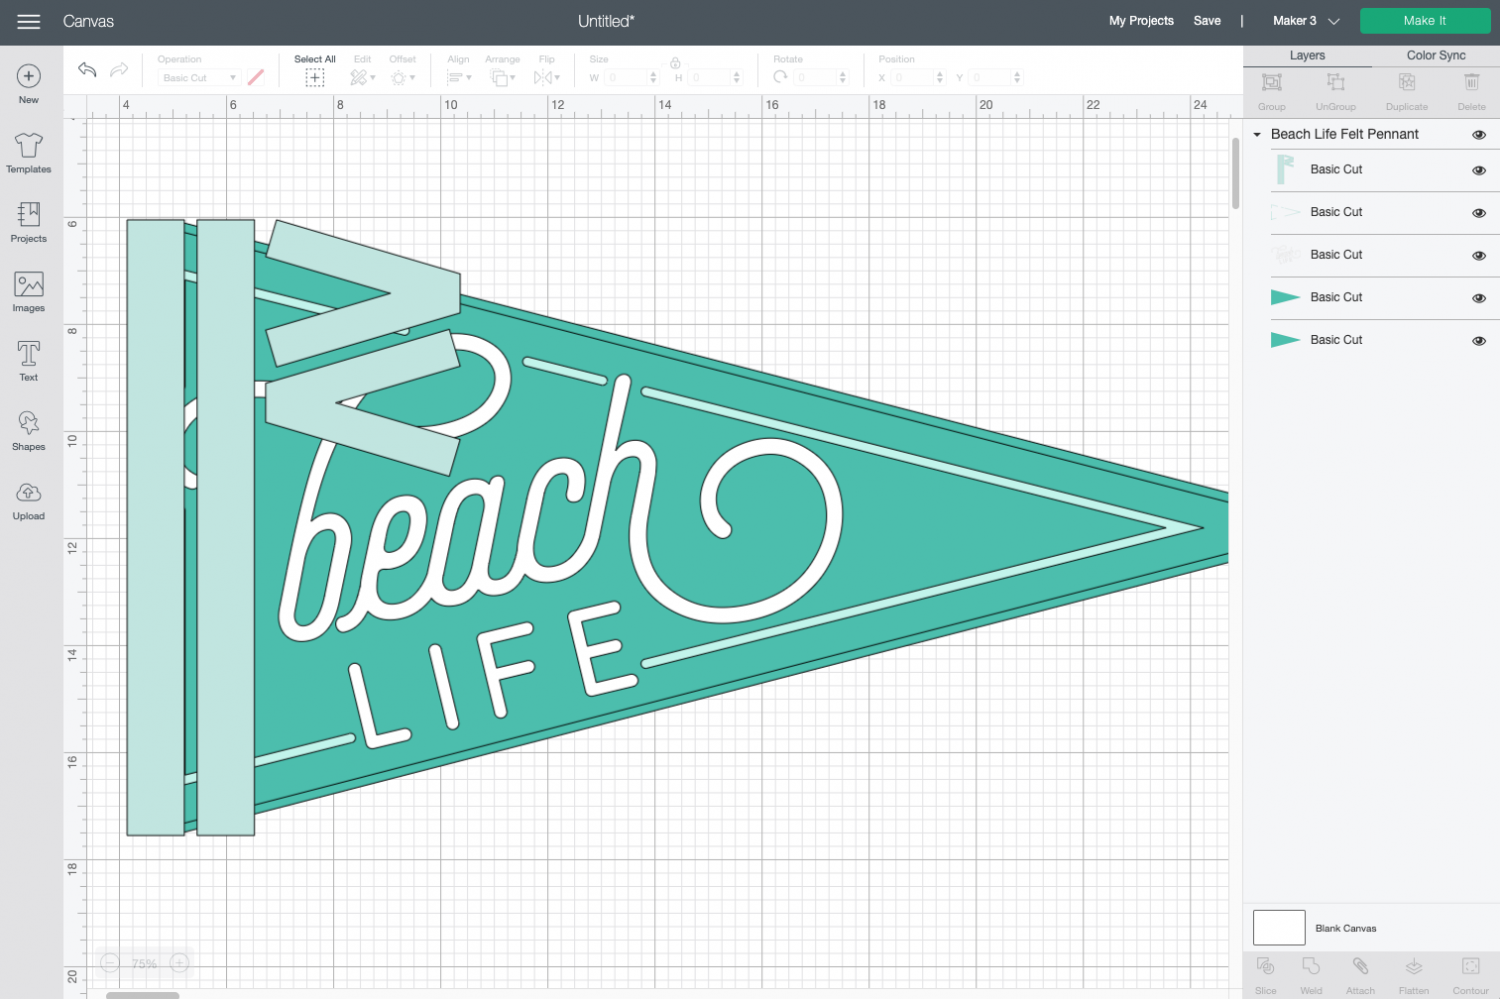
The file is sized properly to make the most of the cutting mat size. You can change the colors if you’d like, but other than that, this file is ready to cut! Click Make It in the upper right.
Cut Your Iron On and Felt
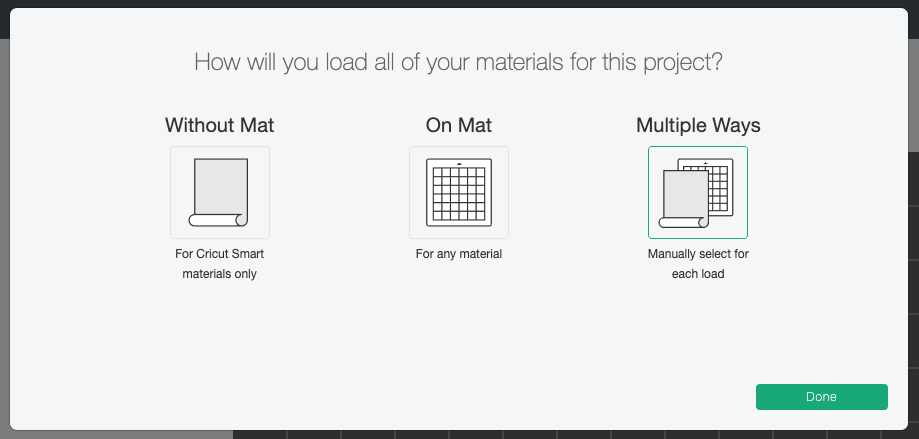
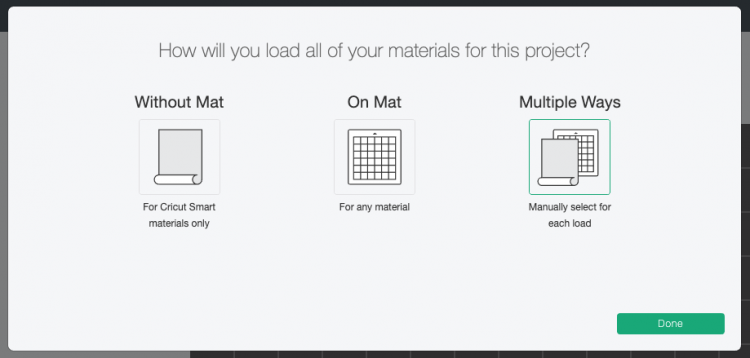
If you have a Cricut Maker 3 or Cricut Explore 3, you’ll see a Mat Selection window. I chose Multiple Ways because I’m using Smart Iron On for the white letters, regular iron on for the teal accent, and felt for the pennant itself. You can choose On Mat if you’re cutting using only mats. If you do not have one of these newer machines, you won’t see this screen.
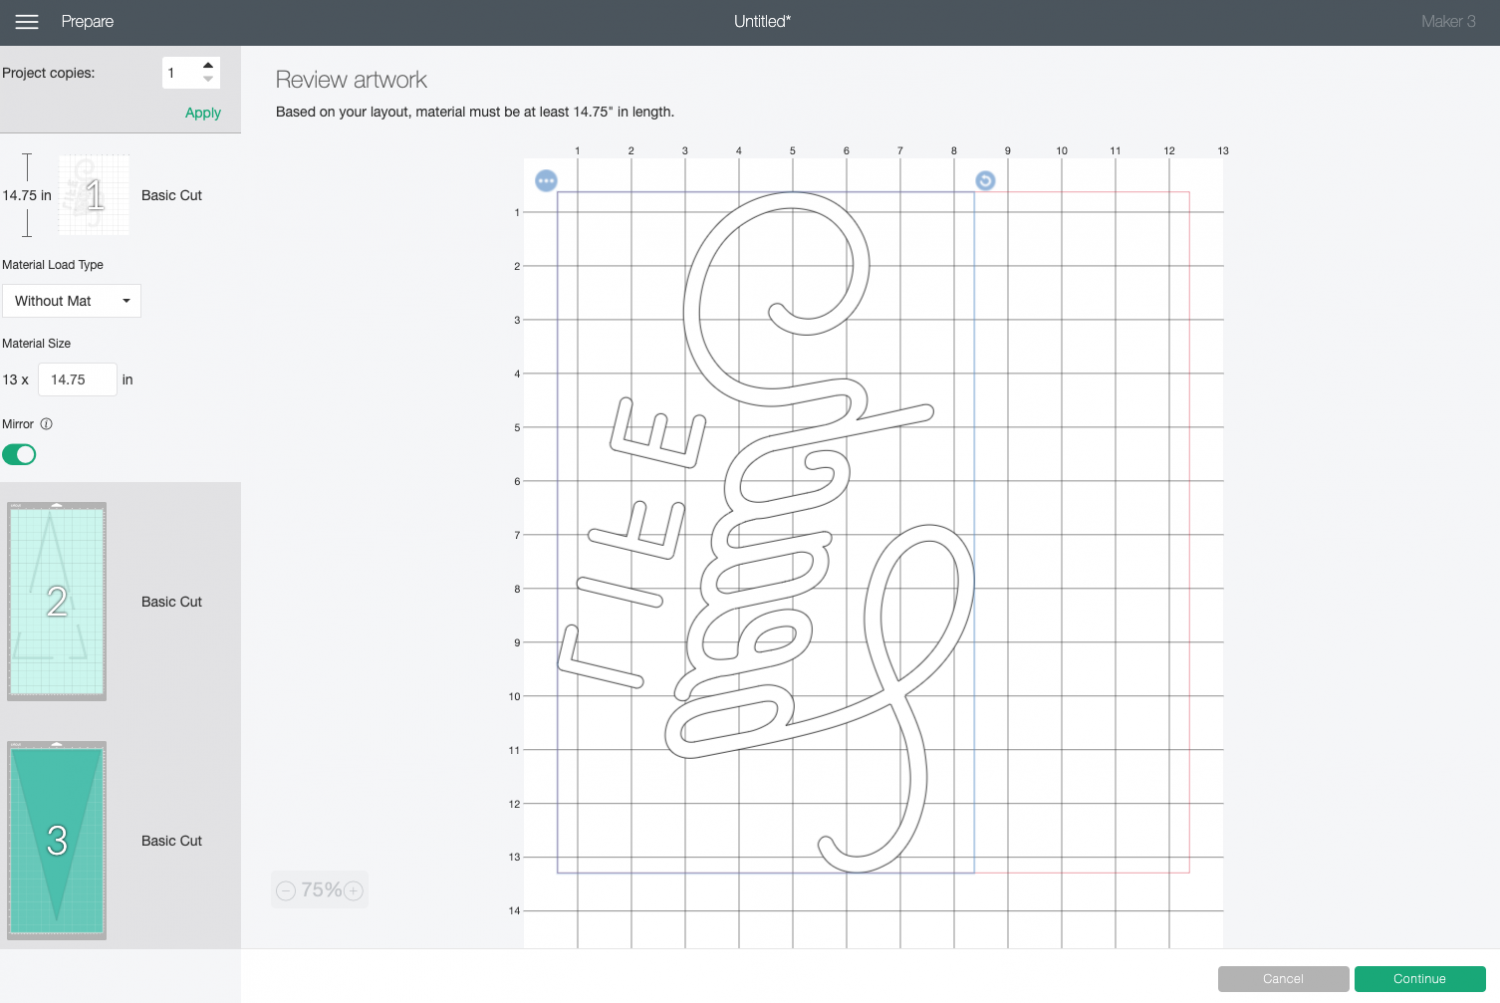
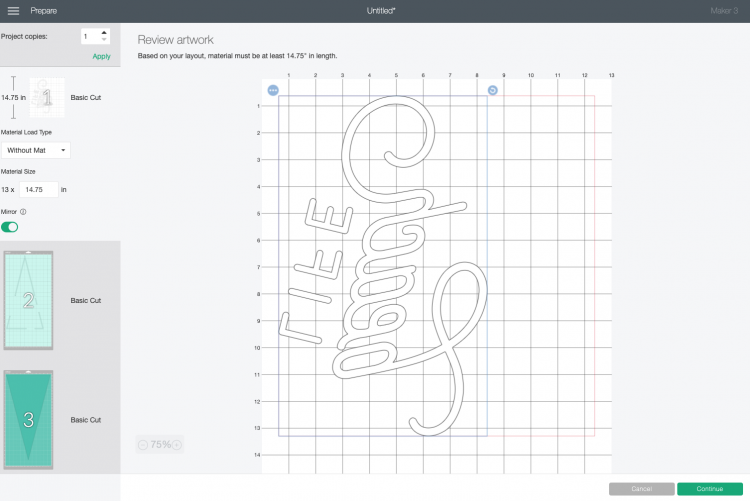
On the next Prepare Screen, you’ll see all of your images laid out on their respective mats and materials. Make sure to mirror your iron layers. If you don’t do this, your pennant will be backward.
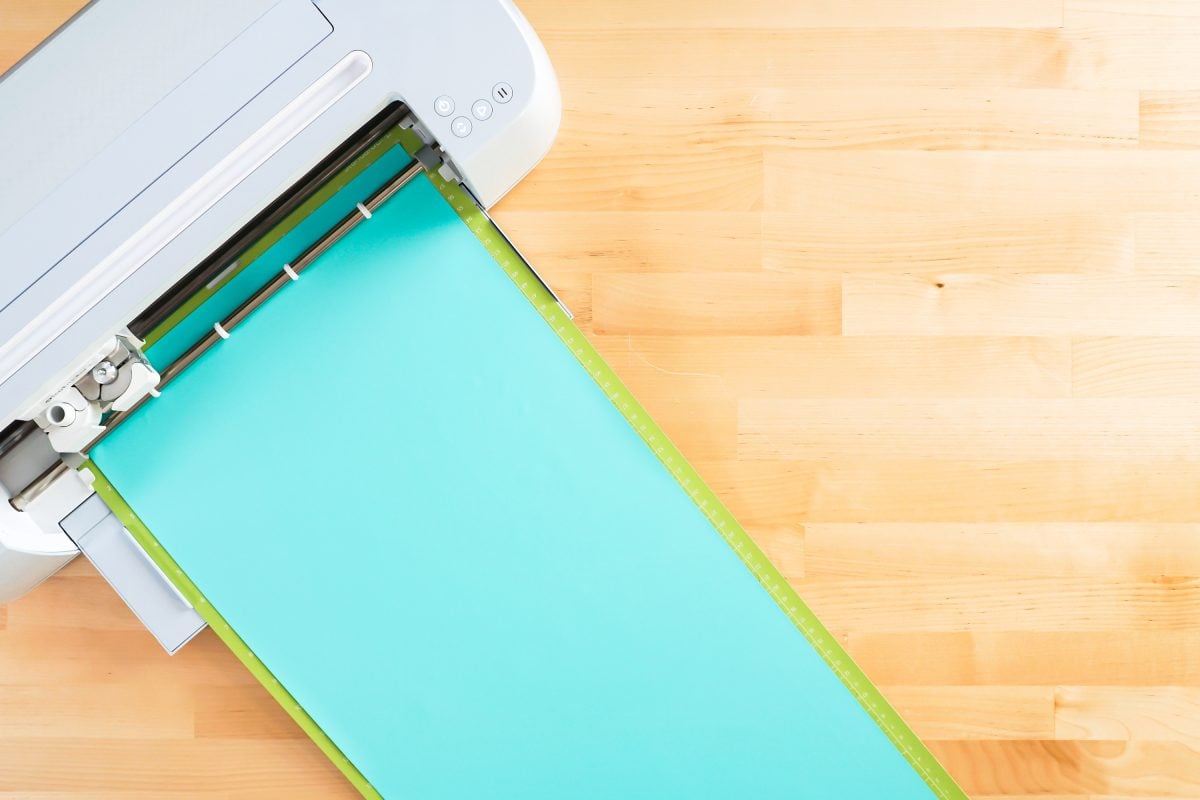
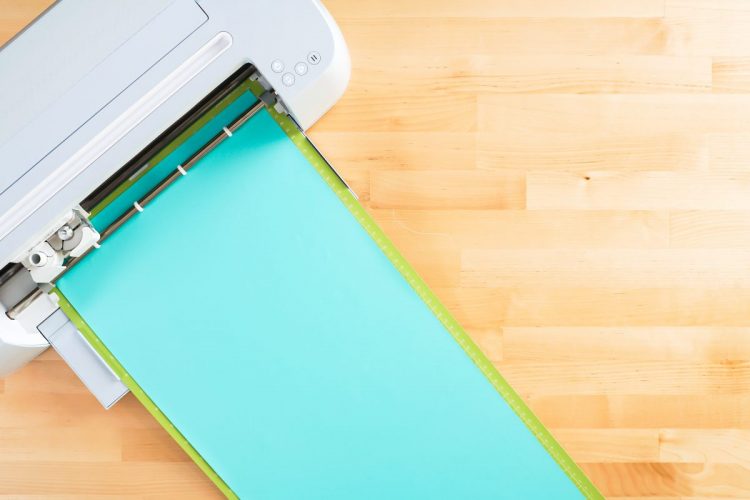
On the Make Screen, you’ll set your material for each mat as you cut them. Make sure you have your fine point blade or your rotary blade in your machine, insert your mat or material, and your Cricut will cut your project!
Sew or Glue Your Pennant
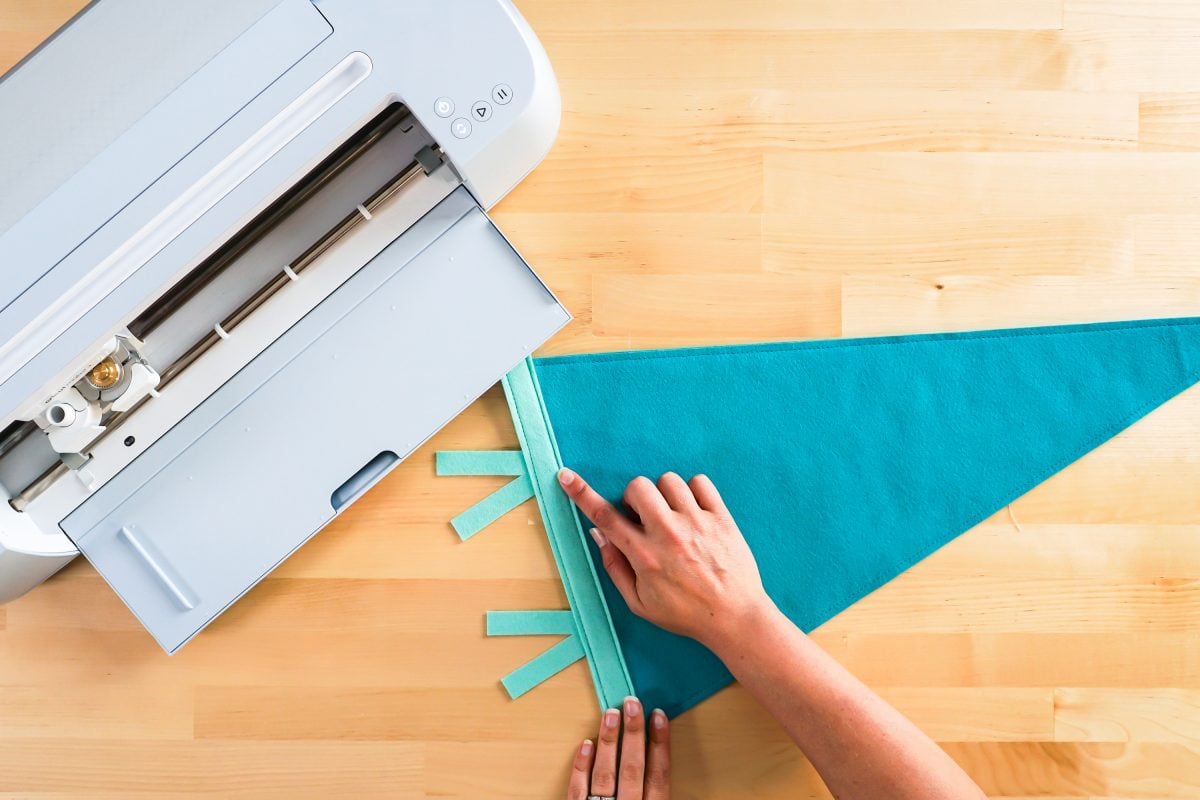
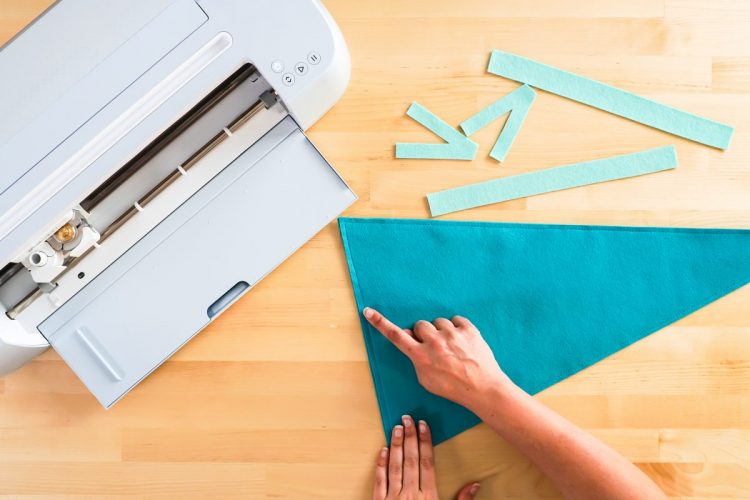
To assemble your pennant, you can sew or glue the two triangles together, right on top of one another, to make the pennant sturdier. I pinned mine and sewed around the edge using a longer stitch and coordinating thread.
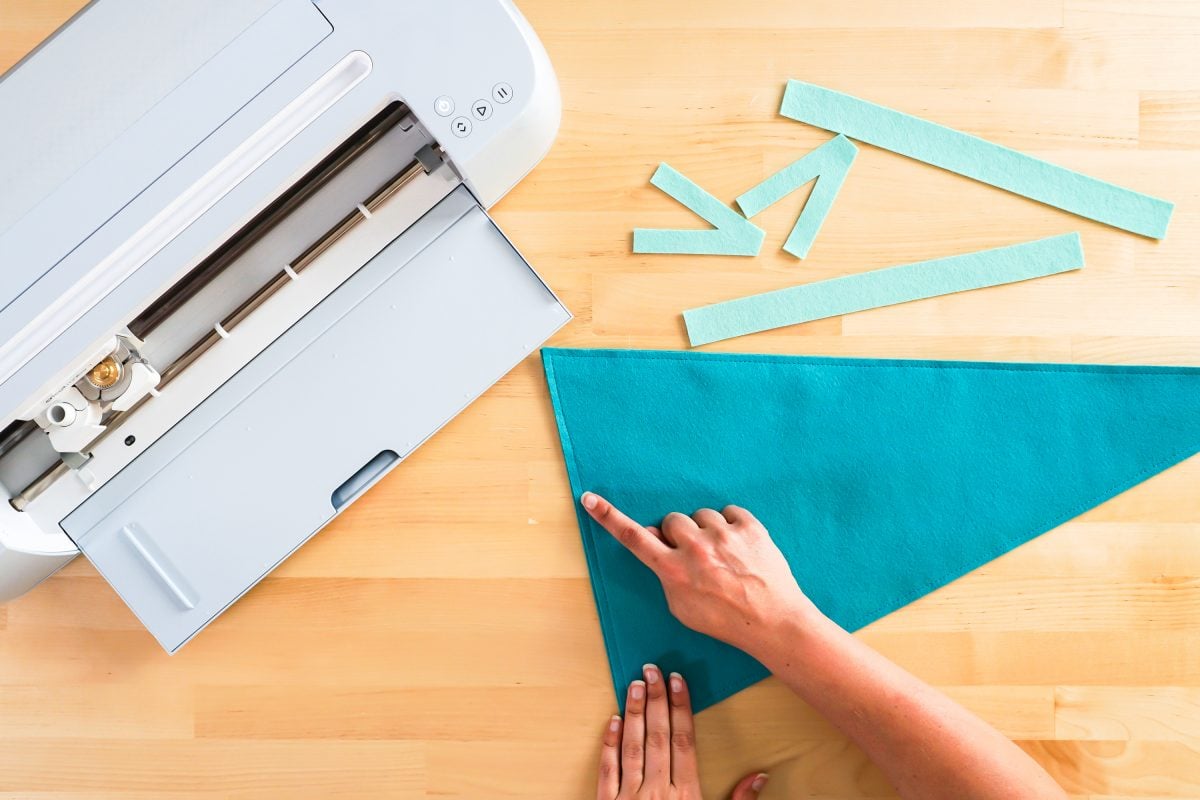
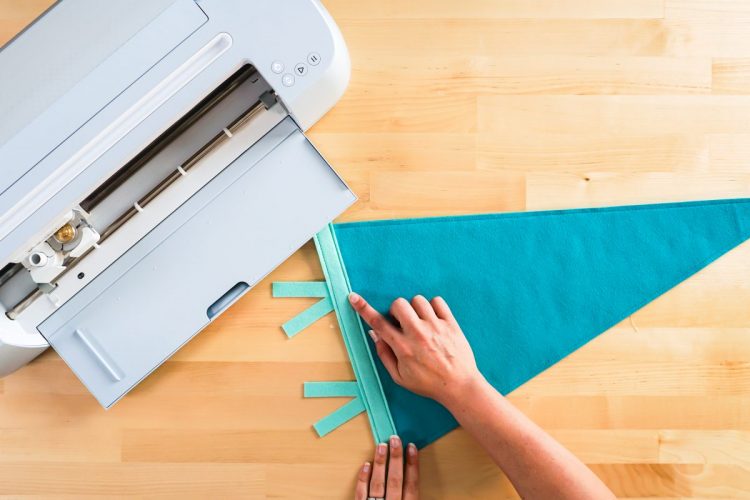
Then nest the two flag pieces between the two pieces of binding on the left edge and glue or sew together. You can glue these pieces on and then sew them—this helps keep everything in the right place.
Weed Your Iron On
Next we’re going to “weed” the negative space from around our iron on images. I have an extensive post about Weeding Iron On Vinyl, which you’ll want to read—tons of tips and tricks to making it easier.
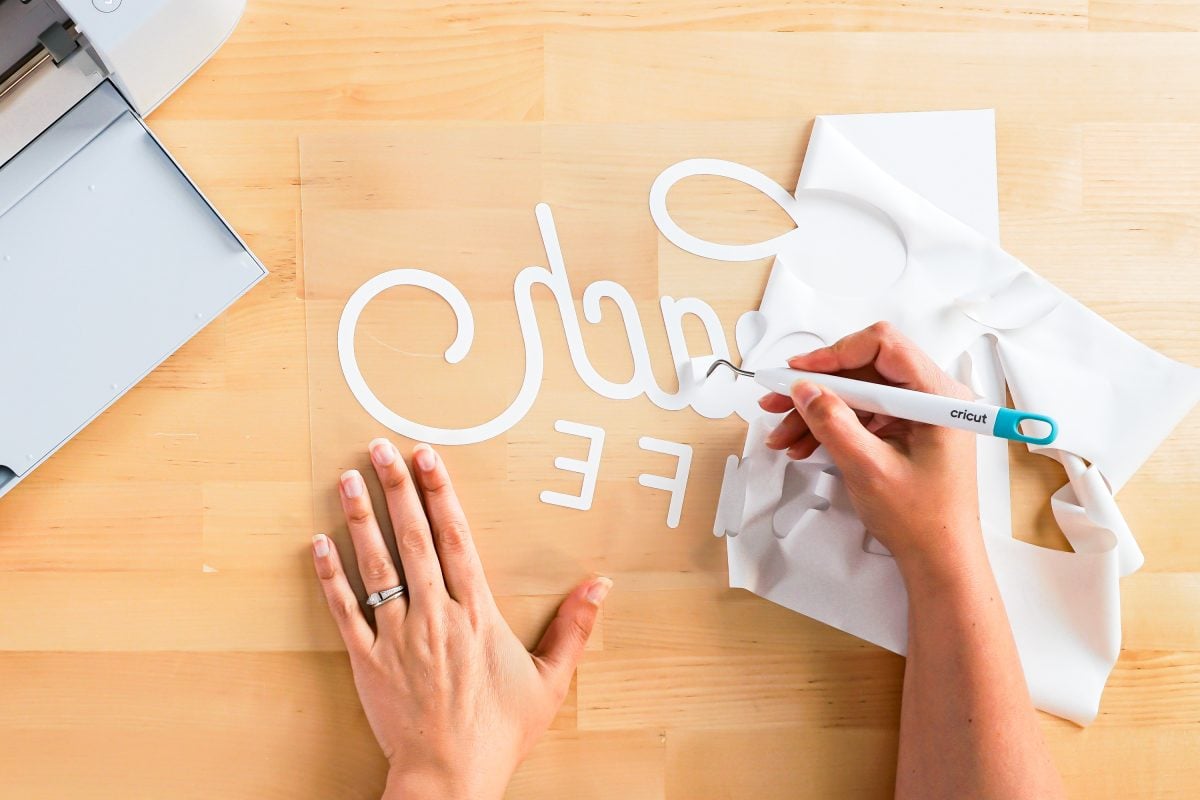
For the border accent piece, I made sure to trim off the excess, uncut vinyl from the sides and the center—there was plenty there to use in a future project!
Adhere Your Iron On
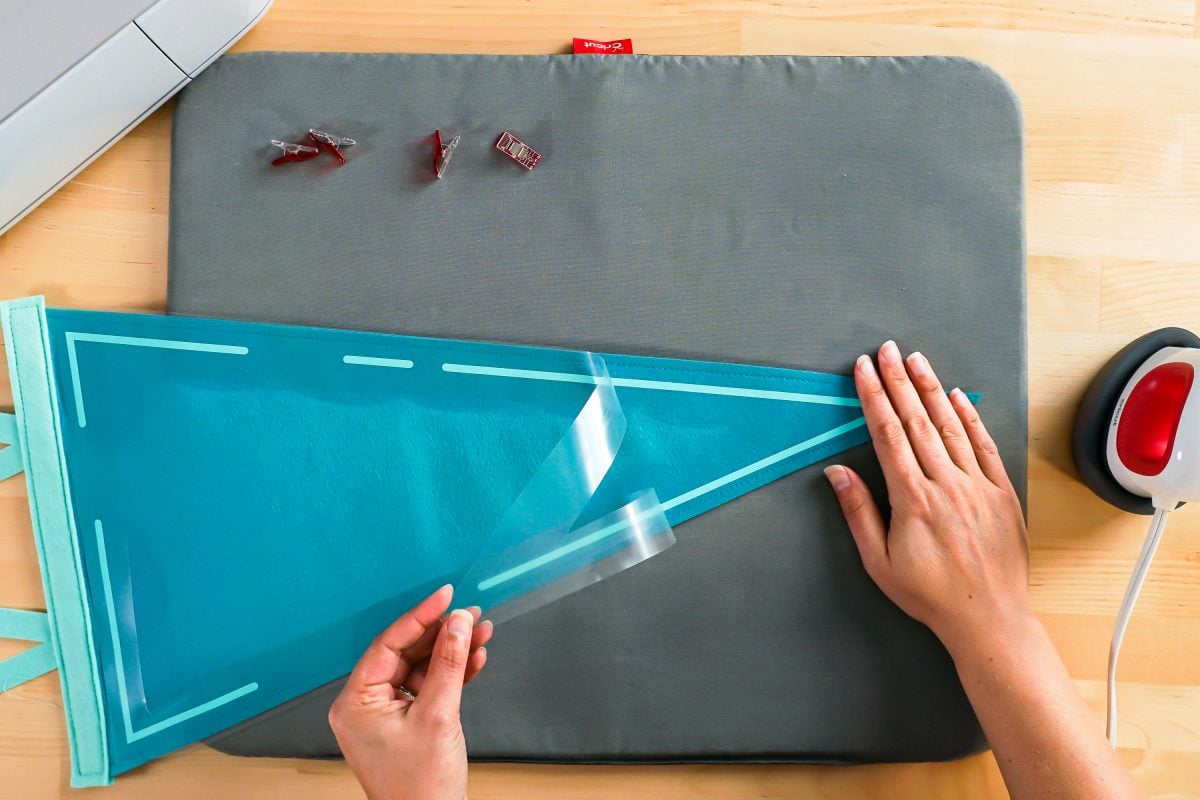
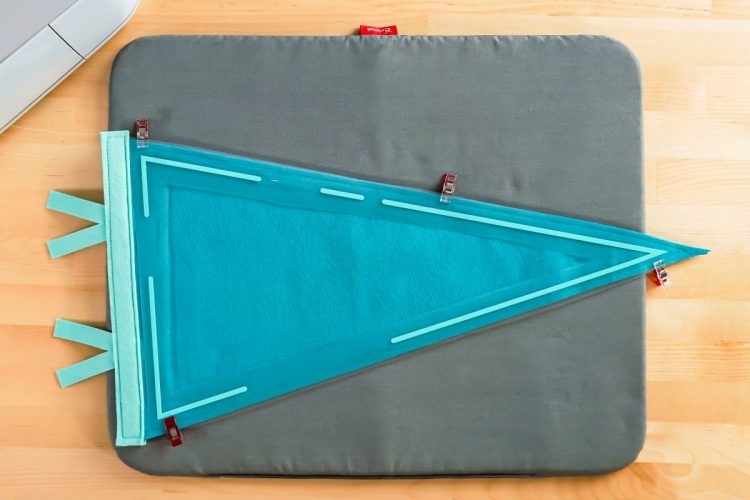
Using iron on with felt is similar to most other iron on projects. Learn more about Using Iron On Vinyl if you’re struggling. Place your border triangle on your pennant. You can use Wonder Clips, pins, or clothespins to help secure it so it doesn’t shift.
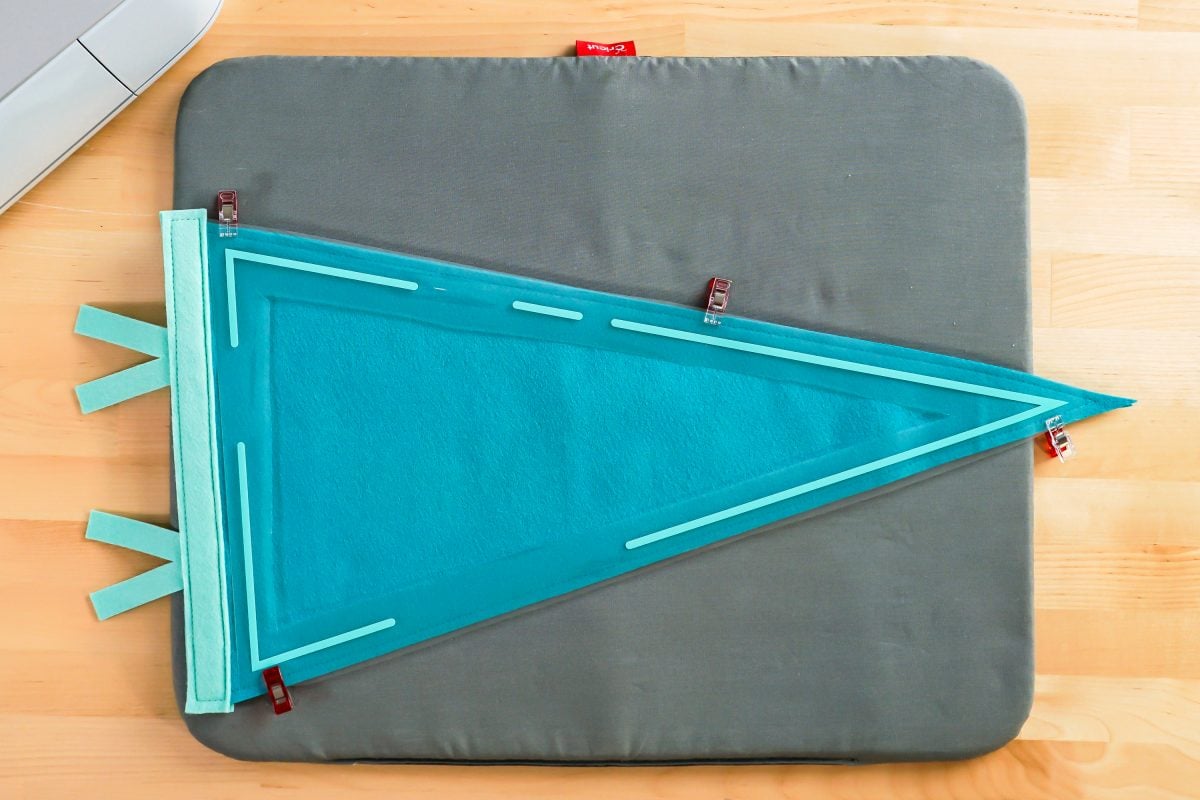
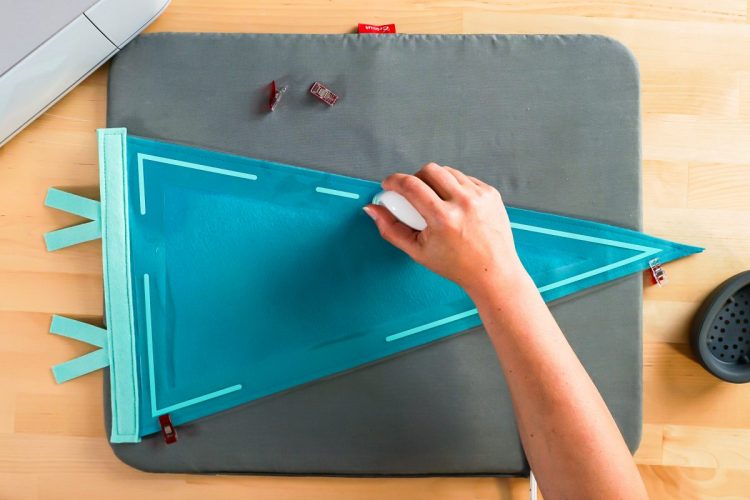
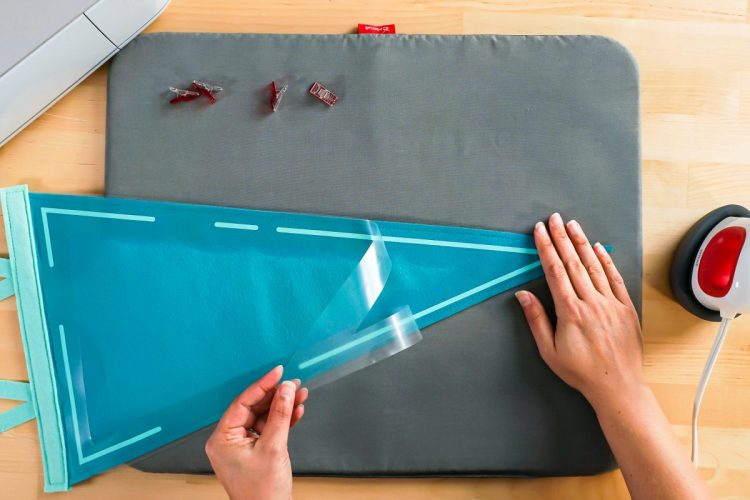
Use your EasyPress Mini or iron to adhere the iron on to the felt.
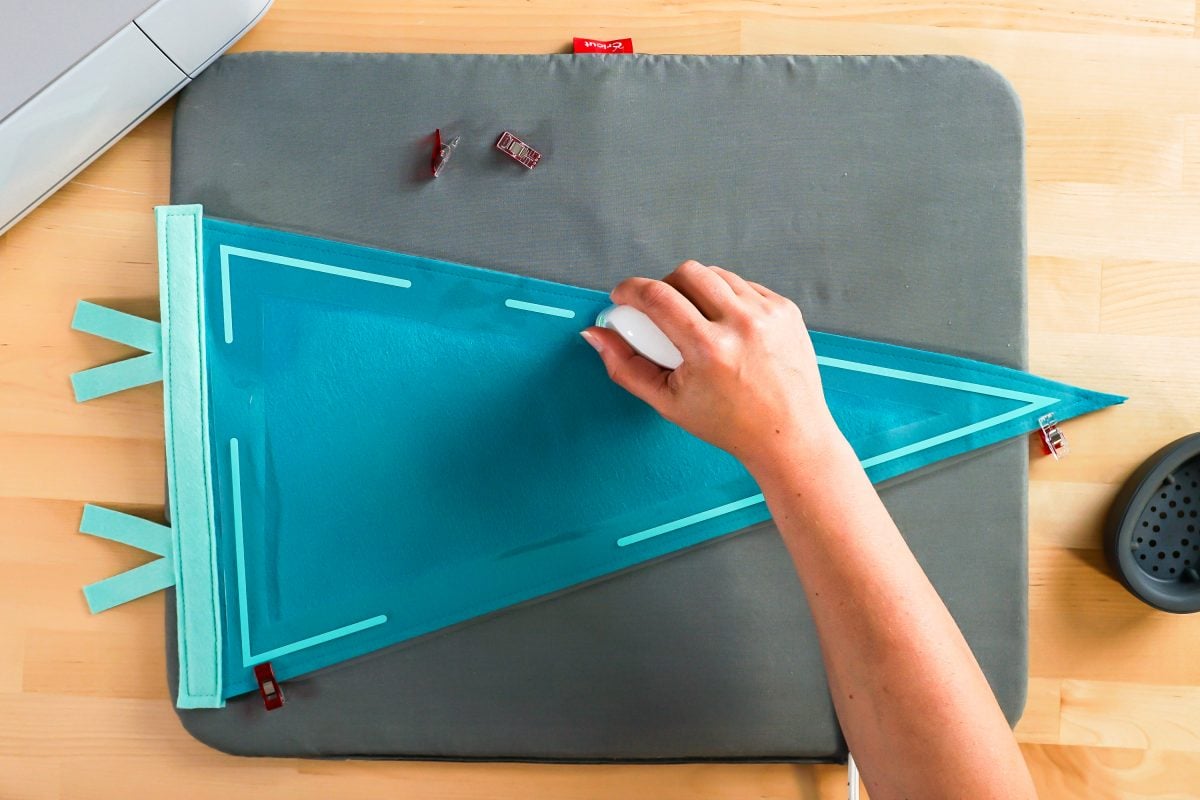
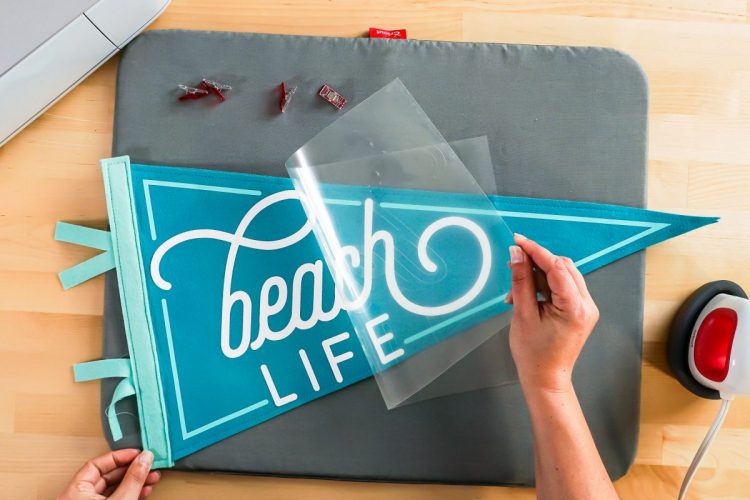
Once it’s cooled a bit, peel back the carrier sheet.
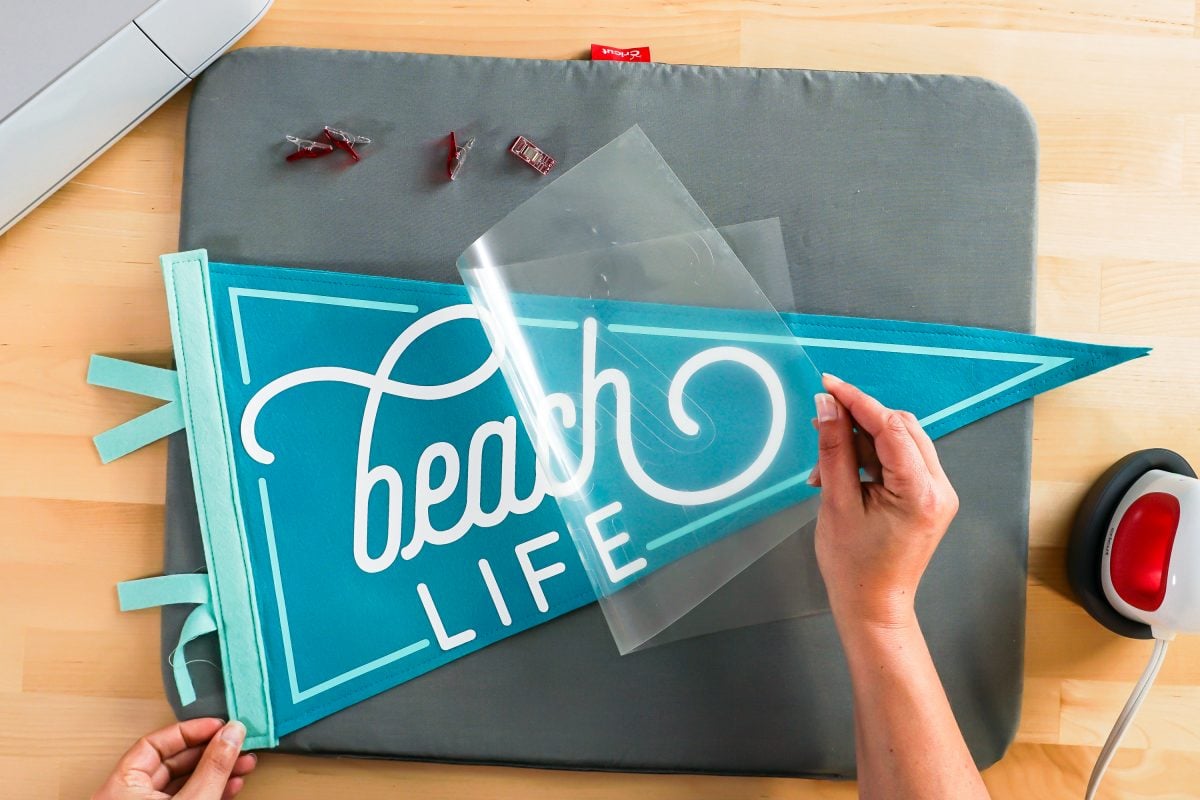
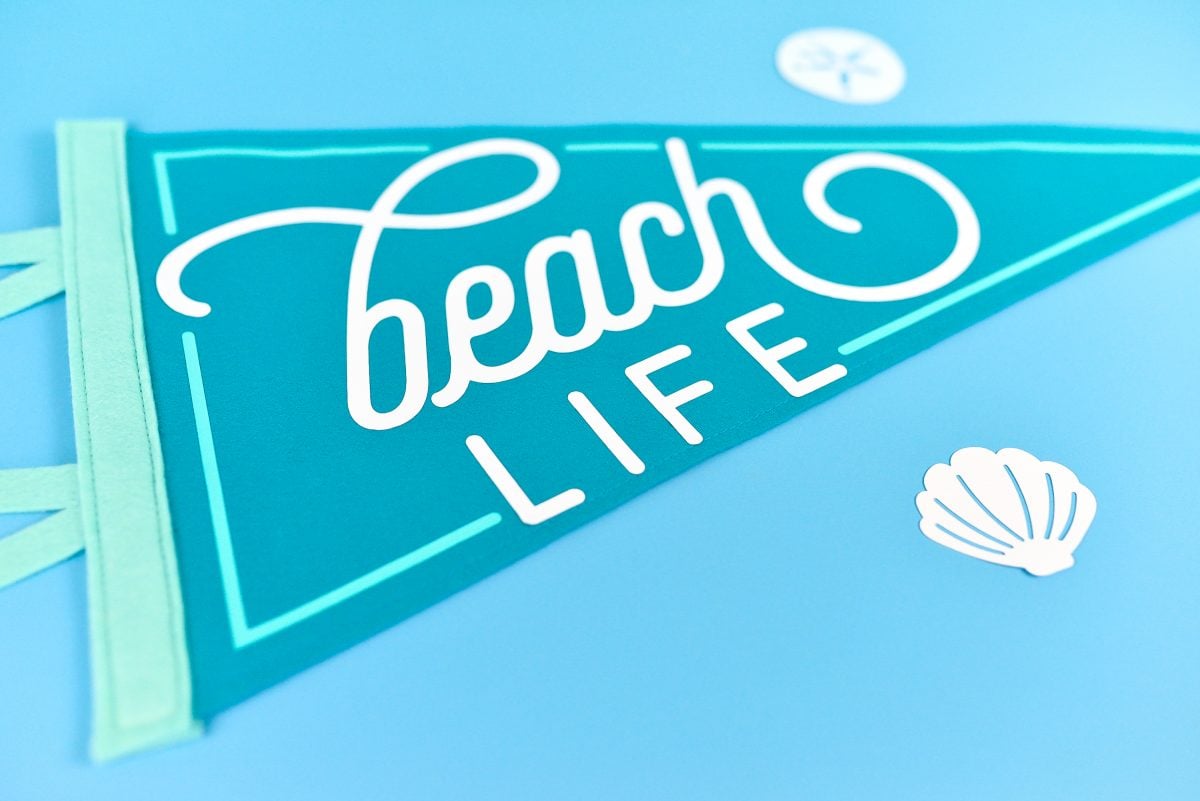
Then repeat with the words Beach Life and you’re done!
Make All the 15 Days of Cricut Summer Fun Projects!
We’ll be adding links as each day goes live! Grab the full bundle with all of the projects and SVGs in our 15 Days of Cricut Summer Fun eBook Bundle!
- Summer Bucket List Sign
- Spinning Paper Pinwheels
- Summer Vibes T-Shirt
- Funny Flower Pots
- Beach Life Pennant
- Barbecue Labels Two Ways
- Summer Coasters
- Picnic Caddy
- Personalized Ice Pop Holders
- Fruit Slice Banner
- Summer Stickers
- Beach Shadow Box
- Lemonade Stand Sign
- Popsicle Bookmarks
- Ice Cooler Decals
“BEACH LIFE” FELT PENNANT
Equipment
- Cricut Maker with Rotary Blade and Fine Point Blade or
- Maker 3 with Rotary Blade and Fine Point Blade or
- Cricut Explore with Fine Point Blade or
- Explore 3 with Fine Point Blade
- Scissors optional
- Tacky glue or
Ingredients
- Two 12" x 24" pieces of felt + large felt scrap
- Smart Iron On (if cutting matless) or
- Iron On
- Beach Life Pennant SVG file
Instructions
- Love the fonts from this pennant? Selfie and Odin Rounded were used to design it!Material Note: You can cut a portion of this on your Cricut Maker 3 or Explore 3 using Smart Iron On.This project requires two pieces of felt that are 12" x 24", which can be harder to find in sheets. Look for felt on the bolt at your local craft store or visit my favorite felt shop online, Benzie!
- Upload the Beach Life Pennant File to Cricut Design SpaceUpload the SVG file to Cricut Design Space (see Uploading SVG Files to Cricut Design Space if you need help).The file is sized properly to make the most of the cutting mat size. You can change the colors if you'd like, but other than that, this file is ready to cut! Click Make It in the upper right.

- Cut Your Iron On and FeltIf you have a Cricut Maker 3 or Cricut Explore 3, you'll see a Mat Selection window. I chose Multiple Ways because I'm using Smart Iron On for the white letters, regular iron on for the teal accent, and felt for the pennant itself. You can choose On Mat if you're cutting using only mats. If you do not have one of these newer machines, you won't see this screen.

- On the next Prepare Screen, you'll see all of your images laid out on their respective mats and materials. Make sure to mirror your iron layers. If you don't do this, your pennant will be backward.

- On the Make Screen, you’ll set your material for each mat as you cut them. Make sure you have your fine point blade or your rotary blade in your machine, insert your mat or material, and your Cricut will cut your project!

- Sew or Glue Your PennantTo assemble your pennant, you can sew or glue the two triangles together, right on top of one another, to make the pennant sturdier. For this project the two triangles were pinned and sewn around the edges using a longer stitch and coordinating thread.

- Then nest the two flag pieces between the two pieces of binding on the left edge and glue or sew together. You can glue these pieces on and then sew them—this helps keep everything in the right place.

- Weed Your Iron OnNext we're going to "weed" the negative space from around our iron on images. I have an extensive post about Weeding Iron On Vinyl, which you'll want to read—tons of tips and tricks to making it easier.For the border accent piece, make sure to trim off the excess, uncut vinyl from the sides and the center—there's plenty there to use in a future project!

- Adhere Your Iron OnUsing iron on with felt is similar to most other iron on projects. Learn more about Using Iron On Vinyl if you're struggling. Place your border triangle on your pennant. You can use Wonder Clips, pins, or clothespins to help secure it so it doesn't shift.

- Use your EasyPress Mini or iron to adhere the iron on to the felt.

- Once it's cooled a bit, peel back the carrier sheet.

- Then repeat with the words Beach Life and you're done!





Leave A Reply!