"BEACH LIFE" FELT PENNANT
Celebrate your love of the beach with this fun Beach Life felt pennant! Use your Cricut to cut felt and iron on to create this fun pennant—perfect for any beach lover!
Equipment
- Cricut Maker with Rotary Blade and Fine Point Blade or
- Maker 3 with Rotary Blade and Fine Point Blade or
- Cricut Explore with Fine Point Blade or
- Explore 3 with Fine Point Blade
- Scissors optional
- Tacky glue or
Ingredients
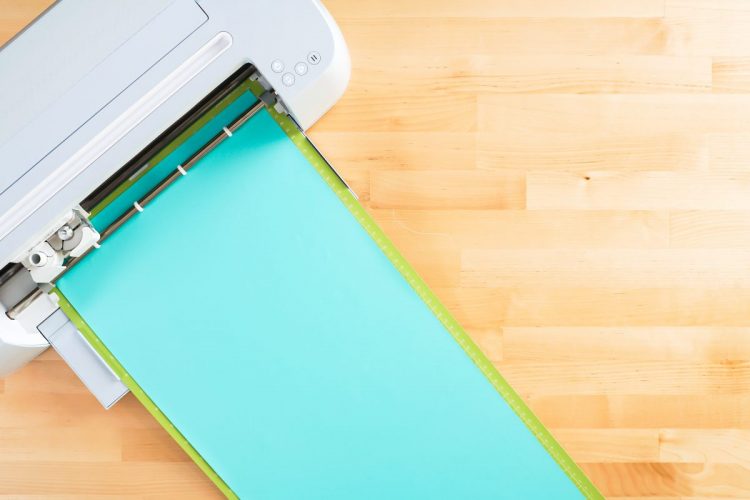
- Two 12" x 24" pieces of felt + large felt scrap
- Smart Iron On (if cutting matless) or
- Iron On
- Beach Life Pennant SVG file
Instructions
- Love the fonts from this pennant? Selfie and Odin Rounded were used to design it!Material Note: You can cut a portion of this on your Cricut Maker 3 or Explore 3 using Smart Iron On.This project requires two pieces of felt that are 12" x 24", which can be harder to find in sheets. Look for felt on the bolt at your local craft store or visit my favorite felt shop online, Benzie!
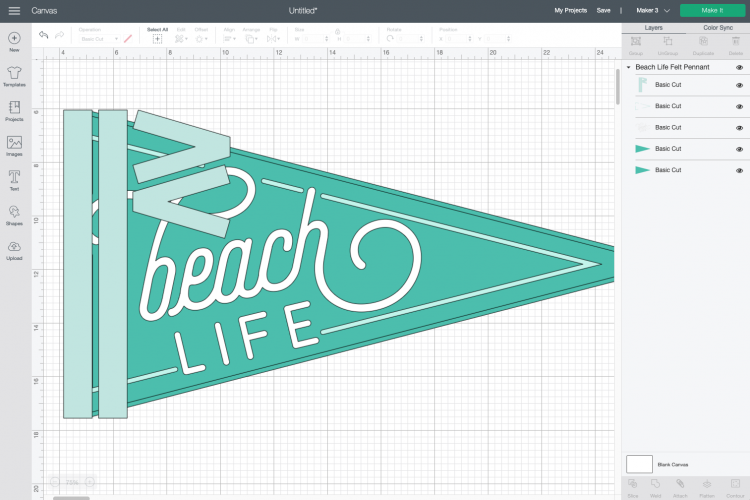
- Upload the Beach Life Pennant File to Cricut Design SpaceUpload the SVG file to Cricut Design Space (see Uploading SVG Files to Cricut Design Space if you need help).The file is sized properly to make the most of the cutting mat size. You can change the colors if you'd like, but other than that, this file is ready to cut! Click Make It in the upper right.
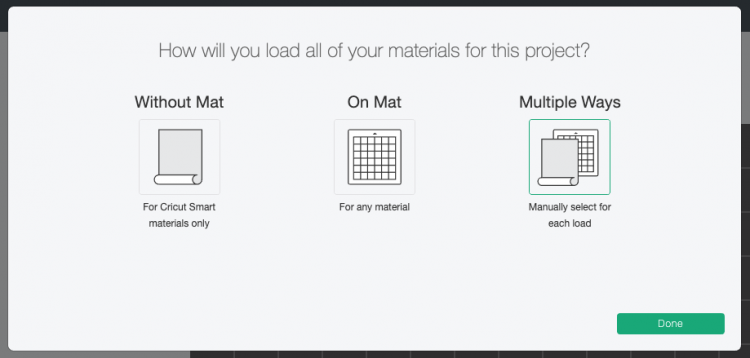
- Cut Your Iron On and FeltIf you have a Cricut Maker 3 or Cricut Explore 3, you'll see a Mat Selection window. I chose Multiple Ways because I'm using Smart Iron On for the white letters, regular iron on for the teal accent, and felt for the pennant itself. You can choose On Mat if you're cutting using only mats. If you do not have one of these newer machines, you won't see this screen.
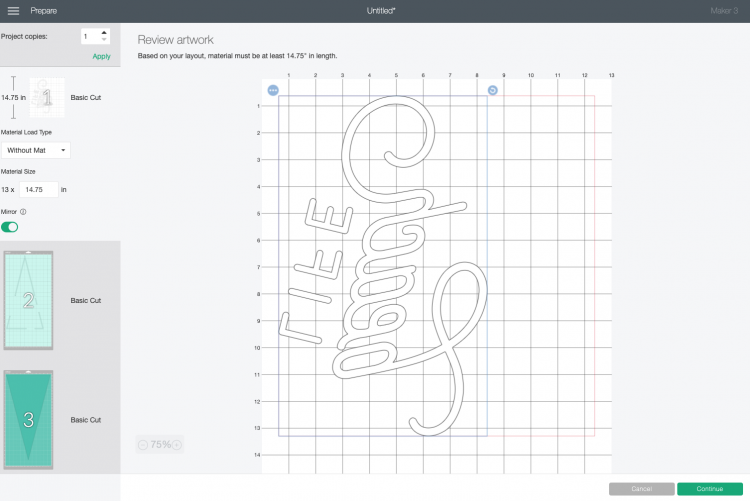
- On the next Prepare Screen, you'll see all of your images laid out on their respective mats and materials. Make sure to mirror your iron layers. If you don't do this, your pennant will be backward.
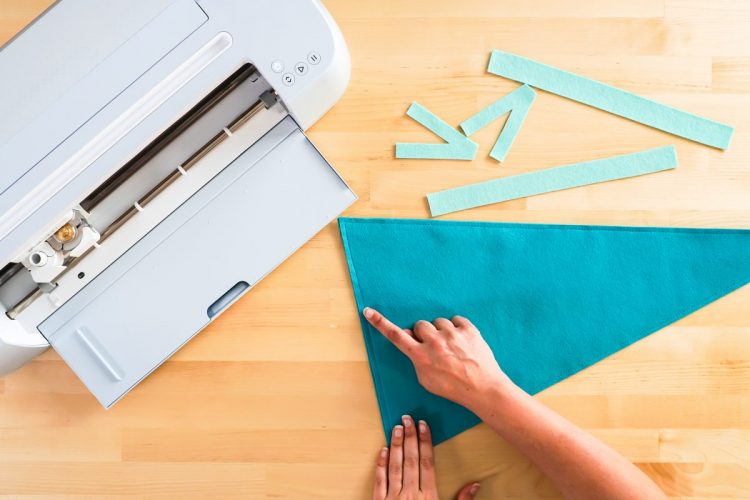
- On the Make Screen, you’ll set your material for each mat as you cut them. Make sure you have your fine point blade or your rotary blade in your machine, insert your mat or material, and your Cricut will cut your project!
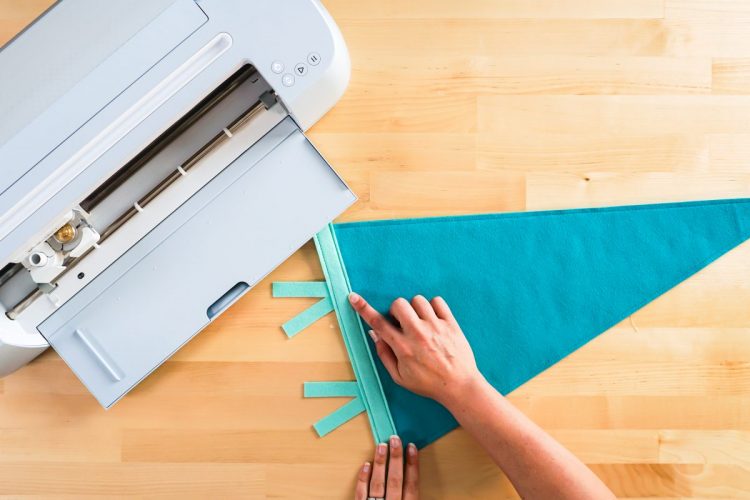
- Sew or Glue Your PennantTo assemble your pennant, you can sew or glue the two triangles together, right on top of one another, to make the pennant sturdier. For this project the two triangles were pinned and sewn around the edges using a longer stitch and coordinating thread.
- Then nest the two flag pieces between the two pieces of binding on the left edge and glue or sew together. You can glue these pieces on and then sew them—this helps keep everything in the right place.
- Weed Your Iron OnNext we're going to "weed" the negative space from around our iron on images. I have an extensive post about Weeding Iron On Vinyl, which you'll want to read—tons of tips and tricks to making it easier.For the border accent piece, make sure to trim off the excess, uncut vinyl from the sides and the center—there's plenty there to use in a future project!

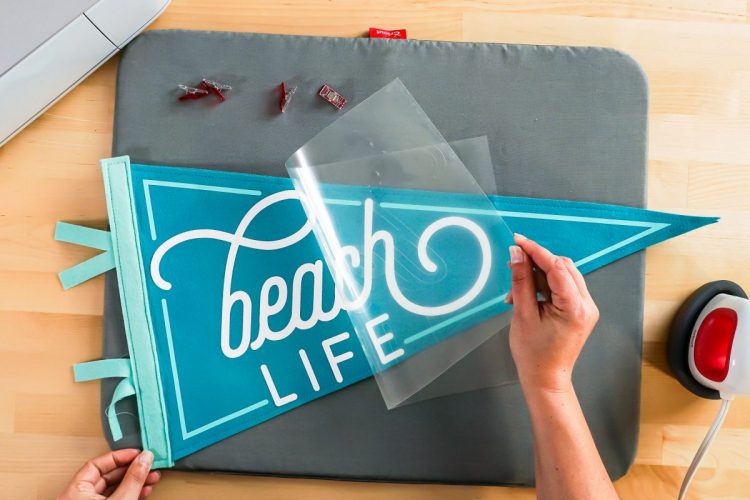
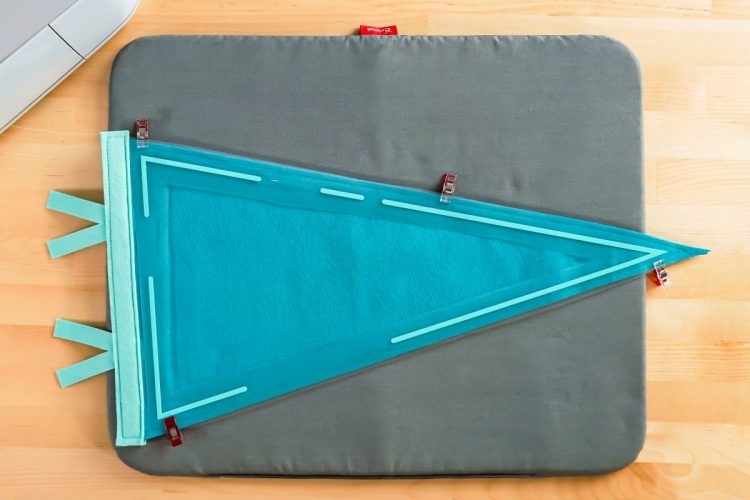
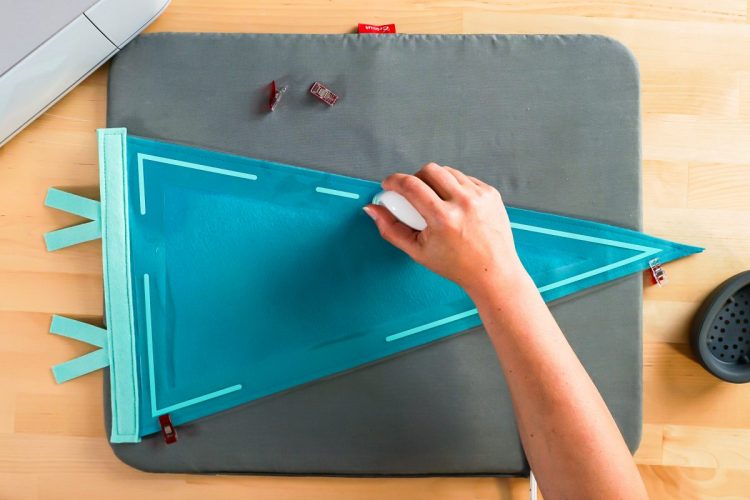
- Adhere Your Iron OnUsing iron on with felt is similar to most other iron on projects. Learn more about Using Iron On Vinyl if you're struggling. Place your border triangle on your pennant. You can use Wonder Clips, pins, or clothespins to help secure it so it doesn't shift.
- Use your EasyPress Mini or iron to adhere the iron on to the felt.
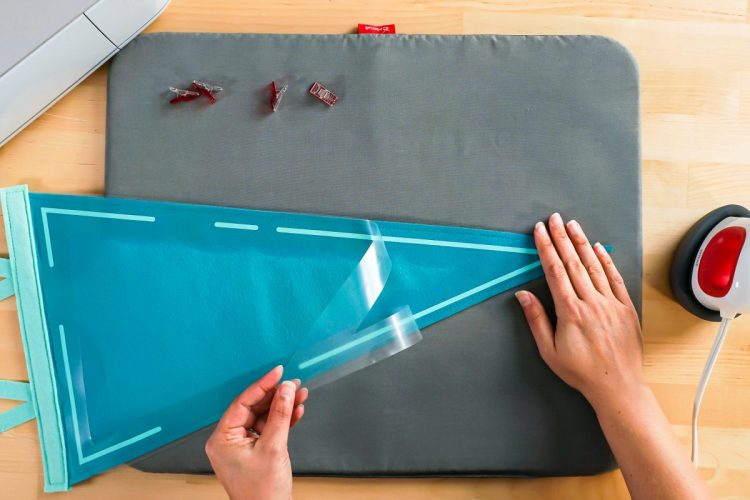
- Once it's cooled a bit, peel back the carrier sheet.
- Then repeat with the words Beach Life and you're done!