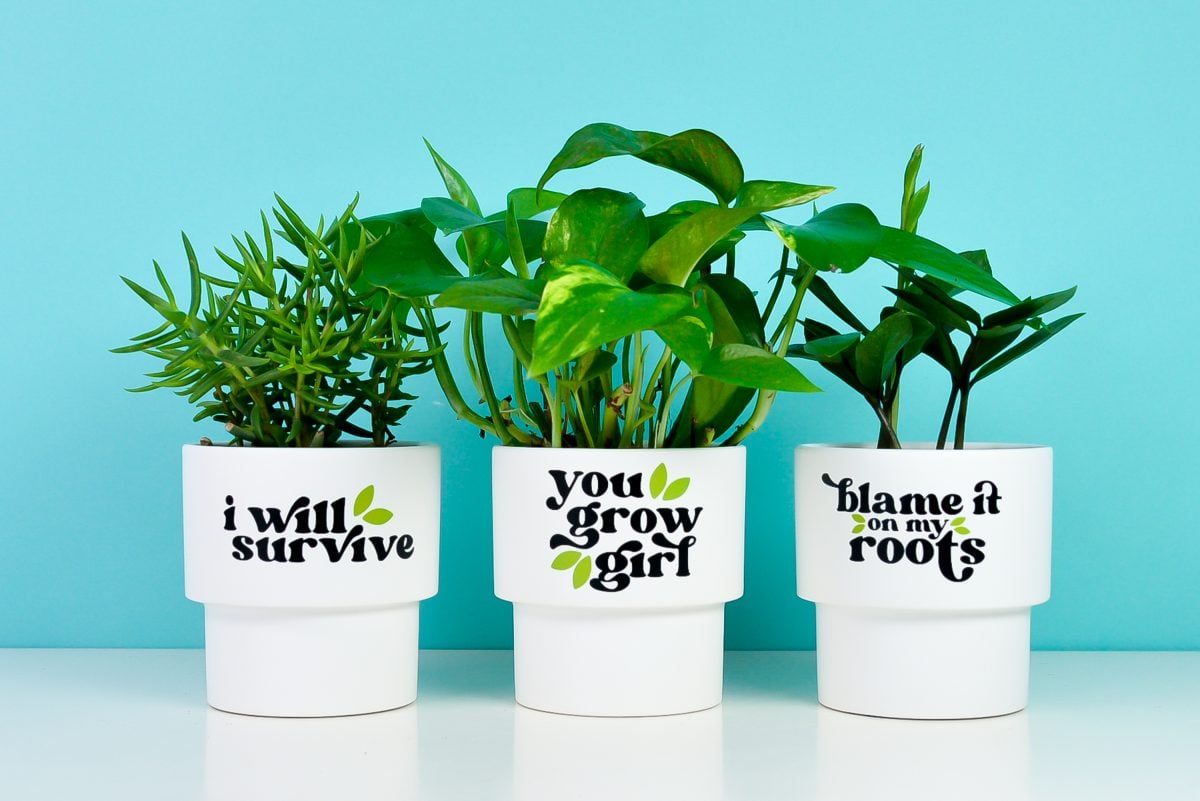
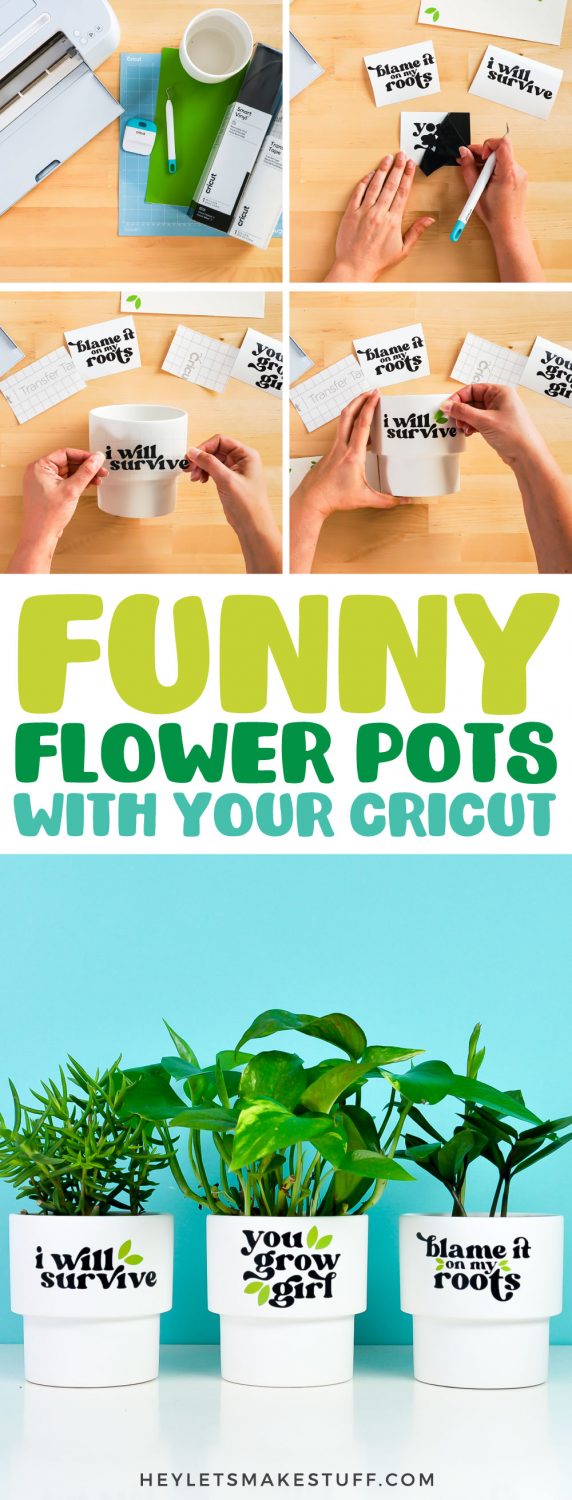
Add a little humor to your houseplants with these funny flower pots made using your Cricut. Adhesive vinyl plus cute flower pot SVG files are all you need to take your plants from humdrum to hilarious!
Welcome to Day 4 of the 15 Days of Cricut Summer Fun!
I started with a few houseplants about a year ago, and now our house is a veritable jungle. They are growing like crazy now that we have sunnier weather! Whether you have a green thumb or your nursing one little plant back to life, these funny flower pots will make you smile—and they are easy to make using your Cricut!
If you’d like to get this series in an ebook format PLUS all of the SVGs needed to make all 15 projects check out the 15 Days of Cricut Summer Fun eBook Bundle!
These flower pot decals work best on straight-sided flower pots, rather than tapered pots. You don’t have to worry about the curve of the flower pot if it’s straight sided!
For this project, you are probably going to want to use permanent vinyl. You can still scrape it off if you ever want to remove it (and use a little adhesive remover if it leaves a residue), but it’ll hold up better to splashes when you water your plants than removable vinyl will.
[adthrive-in-post-video-player video-id=”4Zv0ymXX” upload-date=”2022-05-29T19:48:00.000Z” name=”Adhesive Vinyl Projects to Make with a Cricut” description=”Make all sorts of amazing adhesive vinyl projects using your Cricut, including tumblers, signs, mugs, ornaments, and more. ” player-type=”default” override-embed=”default”]
This project is small enough to cut on your Cricut Joy, though of course you can also cut these flower pot decals with your Cricut Maker 3, Cricut Explore 3, Cricut Maker, Cricut Explore Air 2, or other Cricut Explore machine. Need help using your Cricut? Check out my Cricut Basics eBook!
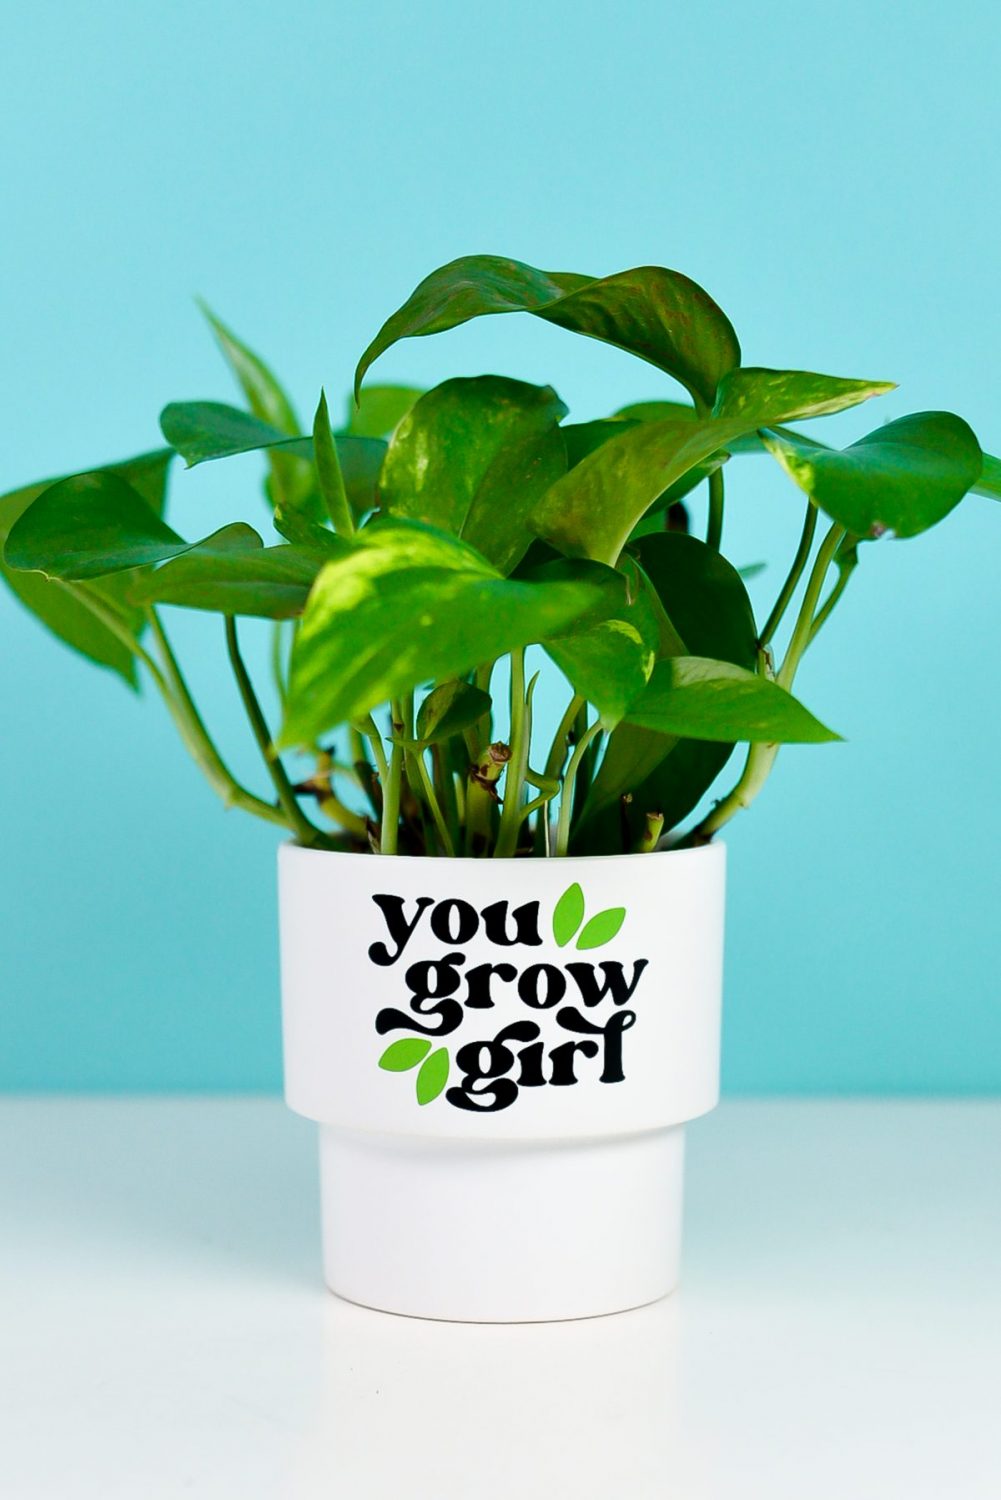
If you want to make matching pots with other sayings, you’ll need the font Margin! It’s one of my faves lately.
Funny Flower Pot Supplies
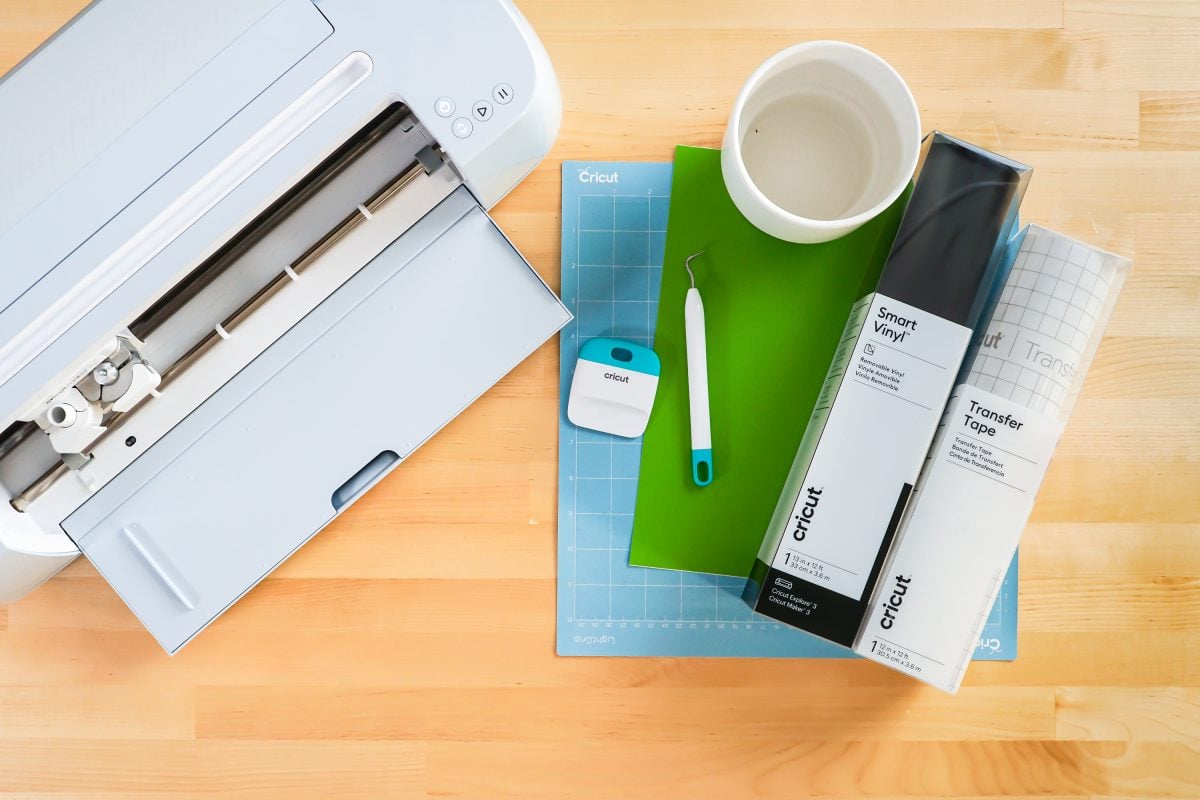
- Cricut Maker, Maker 3, Cricut Explore, Explore 3, or Cricut Joy
- Smart Vinyl (see material note below) or
- Blue LightGrip and
- Adhesive vinyl in black and green
- Fine Point Blade
- Weeding tool
- Transfer tape
- Scraper
- Flower pots
- Flower Pot SVG file (see below)
Material Note: You can cut this on your Cricut Maker 3 or Explore 3 using Permanent Smart Vinyl. I’m actually using both on this project—Smart Vinyl for the black, but regular adhesive vinyl for the green leaves because I wanted a green that doesn’t come in Smart Vinyl.
Grab the Funny Plant SVG for this Project
Get the plant decal SVGs here. If you’re interested in making more projects in this summer series, our Cricut Summer Fun eBook and SVG Bundle is a great deal!
Funny Flower Pot Instructions
Upload the Funny Plant SVG to Cricut Design Space
We will start by uploading the SVG file to Cricut Design Space (see Uploading SVG Files to Cricut Design Space if you need help).
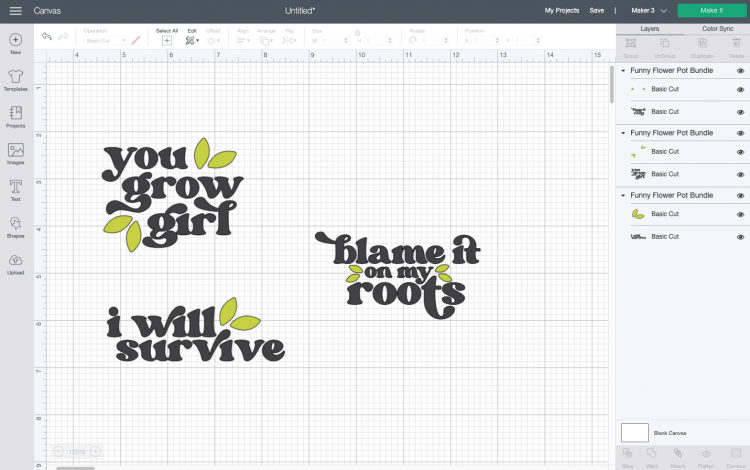
Choose which decals you want to use, and click the “eye” next to the other layers to hide them. For this project, I’m using three of the decals and I resized them to fit my flower pots.
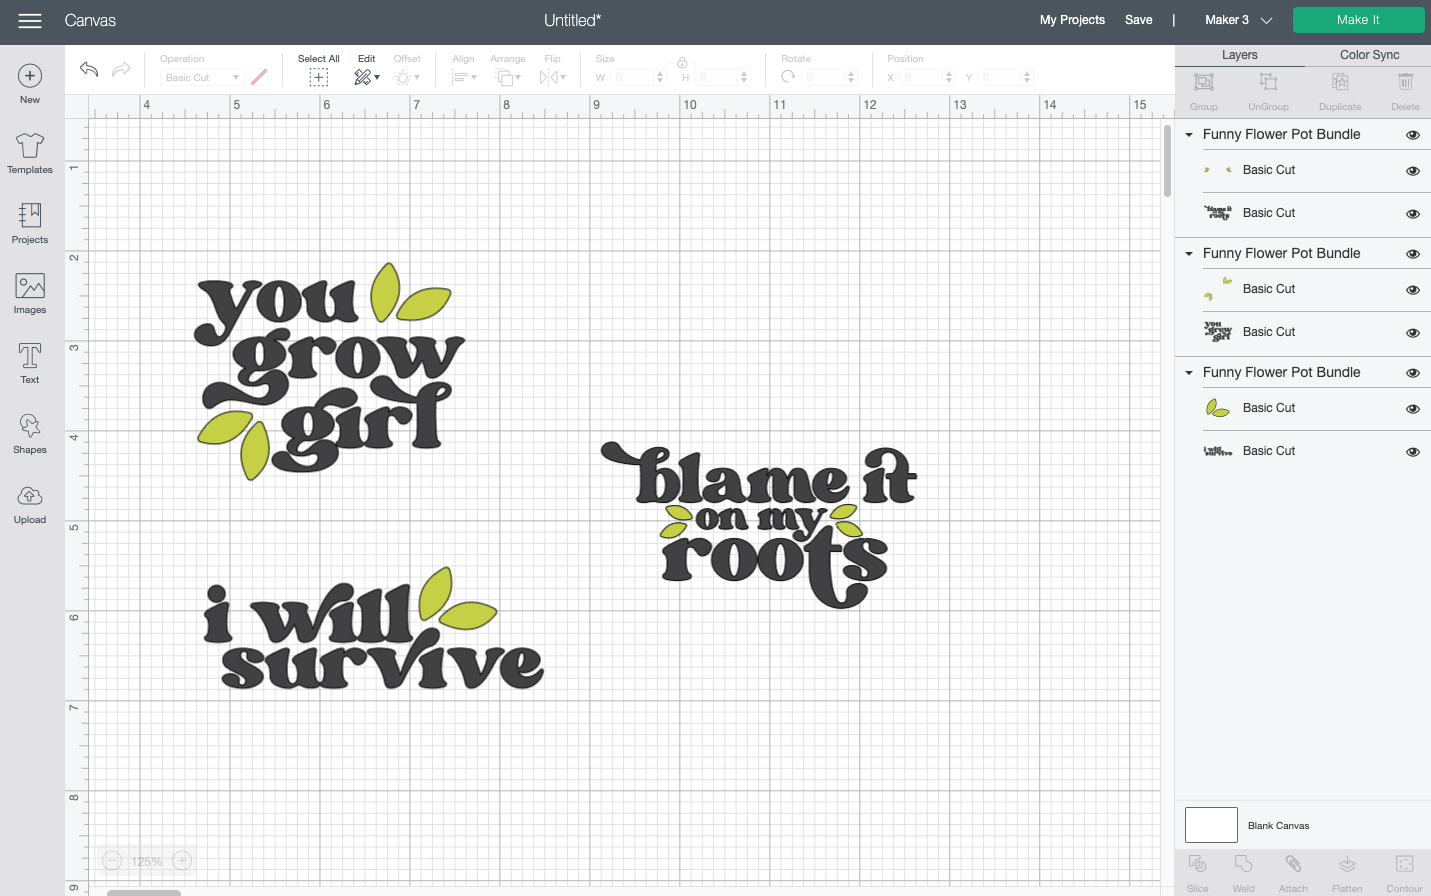
That’s it! You’re ready to make your flower pots. Click Make It in the upper right.
Cut Your Vinyl for Your Funny Flower Pots
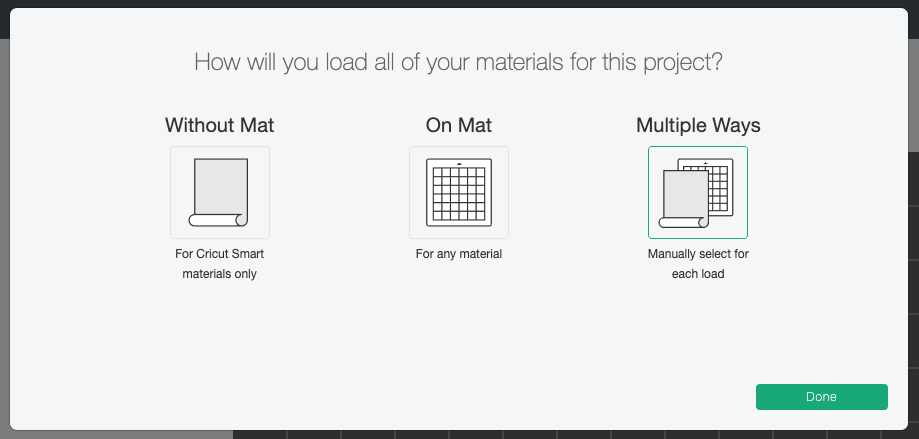
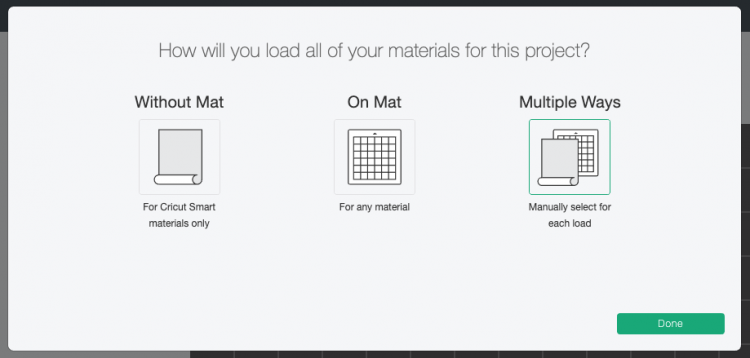
If you have a Cricut Maker 3 or Cricut Explore 3, you’ll see a Mat Selection window. I chose Multiple Ways because I’m using Smart Vinyl for the black layer and regular adhesive vinyl for the green leaves. You can choose On Mat if you’re cutting using a mat. If you do not have one of these newer machines, you won’t see this screen.
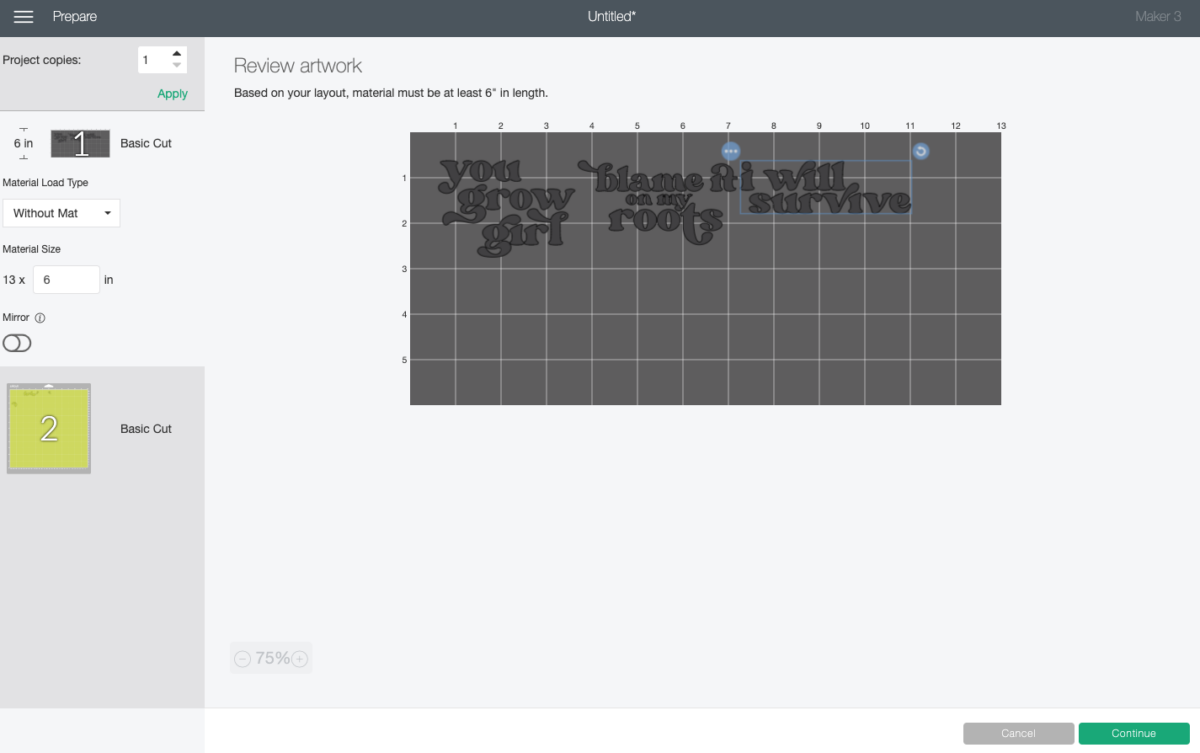
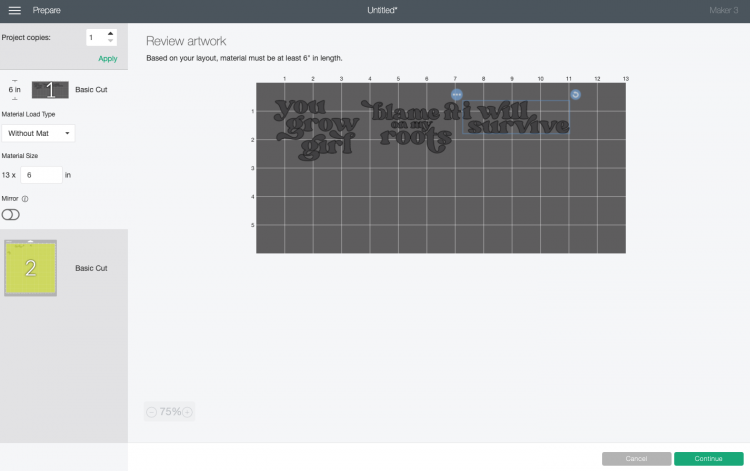
On the next Prepare Screen, you’ll see all of your images laid out on their respective mats (or just on the material if using Smart Vinyl).
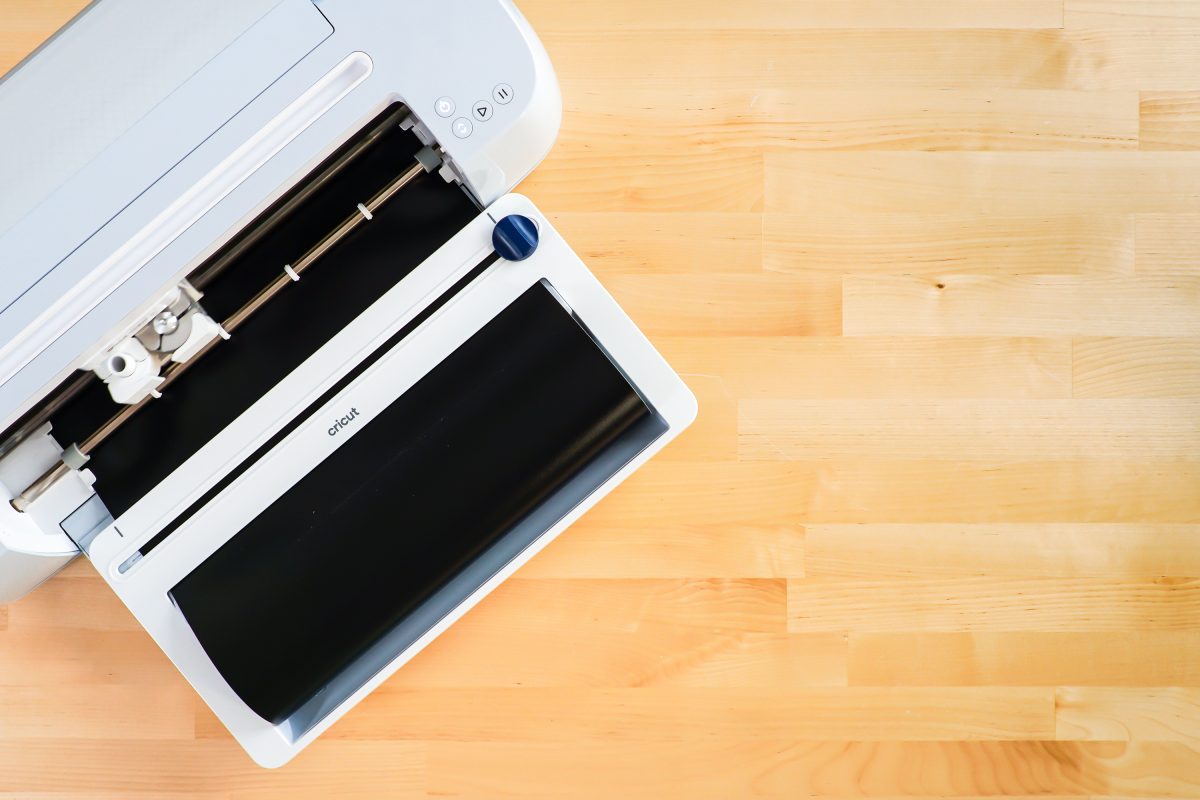
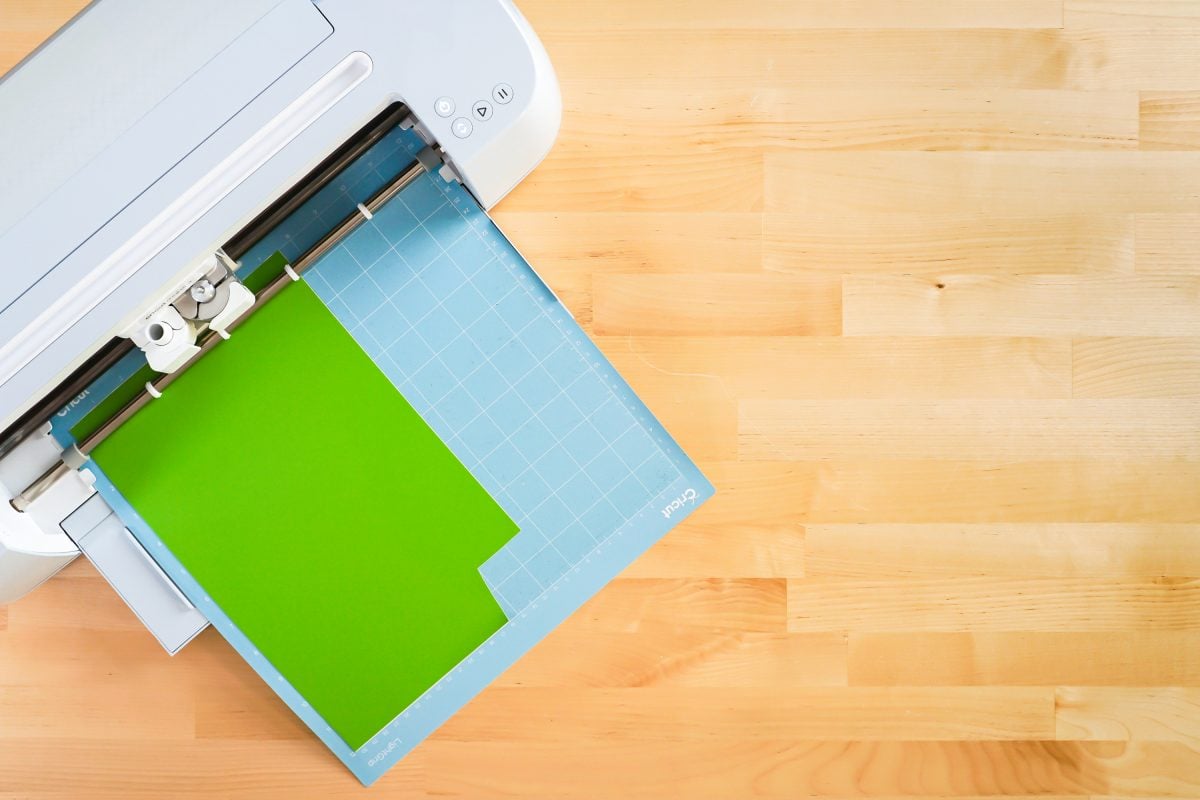
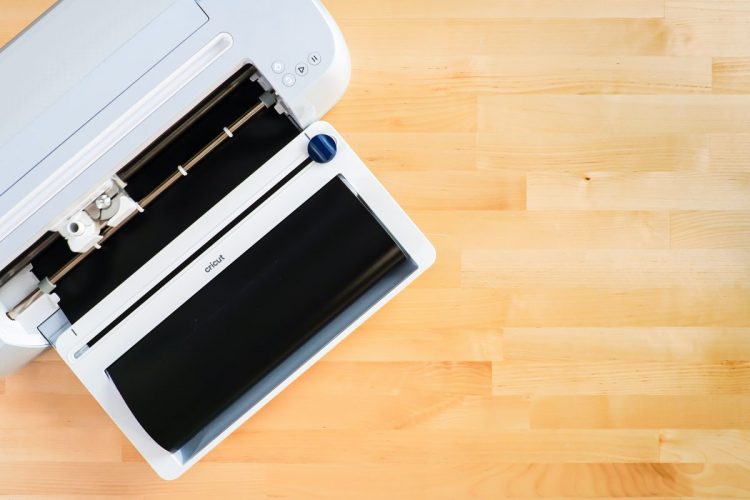
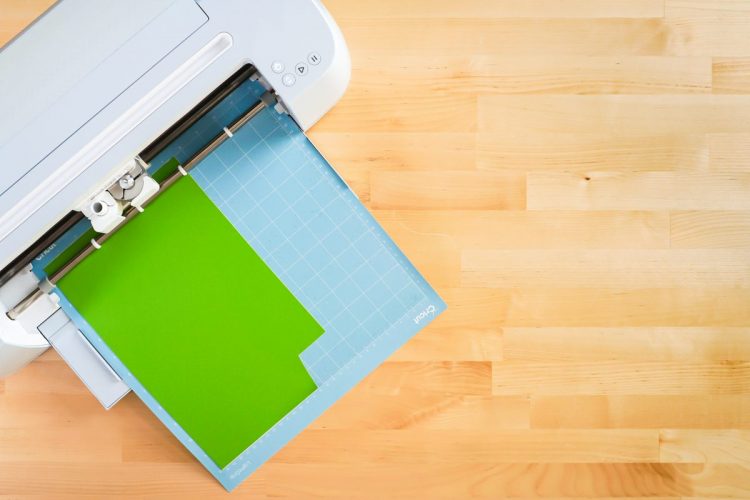
On the Make Screen, you’ll set your material to Smart Vinyl or permanent vinyl. Make sure you have your fine point blade in your machine and place your vinyl colored side up. Insert your mat or material and your Cricut will cut your project!
Weed Your Vinyl
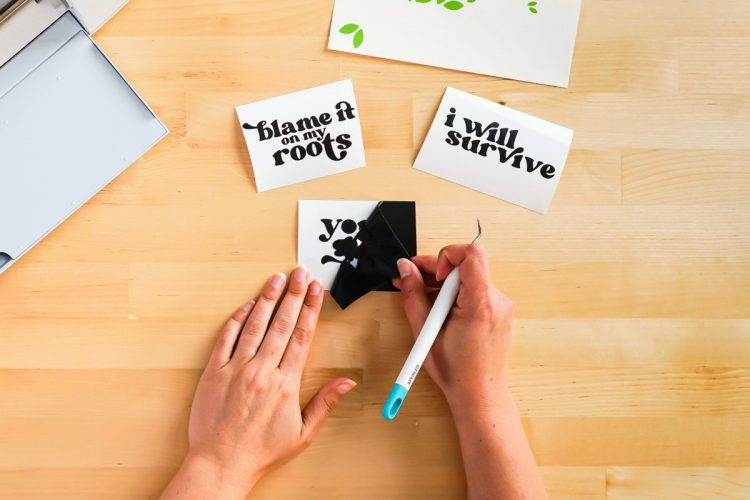
Next we’re going to “weed” the negative space from around each image. I have an extensive post about Weeding Adhesive Vinyl, which you’ll want to read—tons of tips and tricks to making it easier.
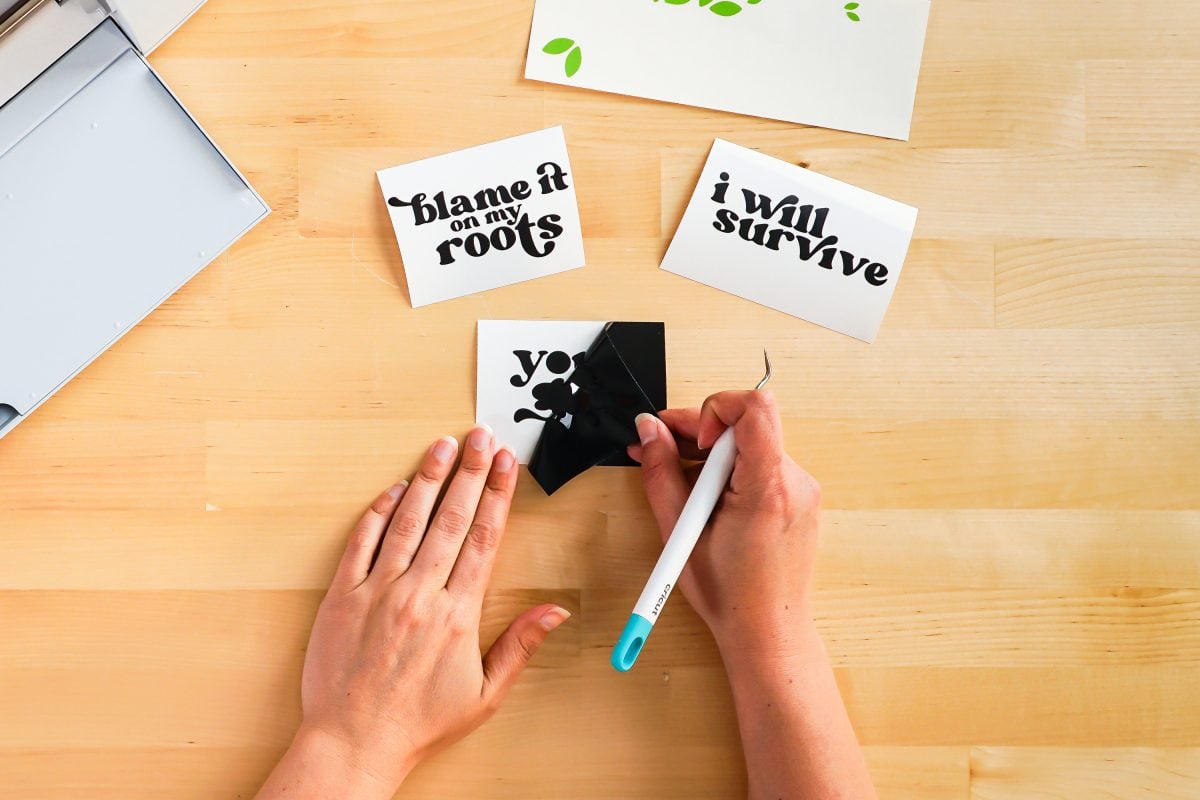
Use Transfer Tape to Adhere Your Vinyl
Once all of your decals are weeded, it’s time to use transfer tape to adhere them to your flower pots. You can see an in-depth tutorial about Using Transfer Tape if you need it (plus troubleshooting tips if you’re struggling!).
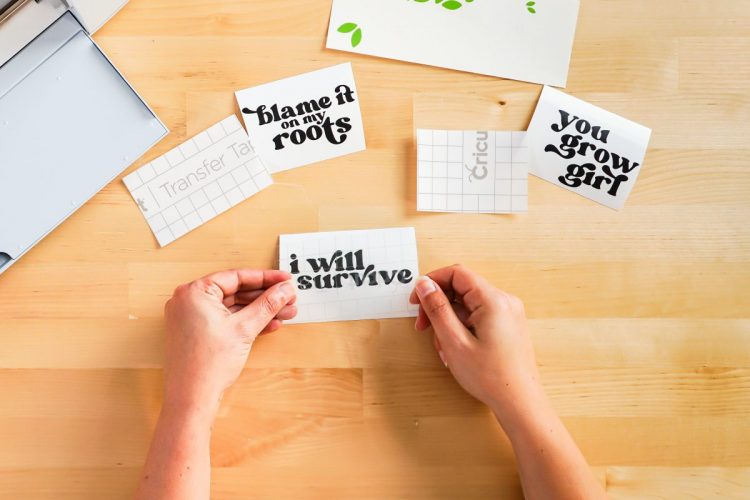
Start by cutting a piece of transfer tape the same size as your first decal. Peel off the backing sheet from the transfer tape and place the sticky side of the transfer tape down on your decal.

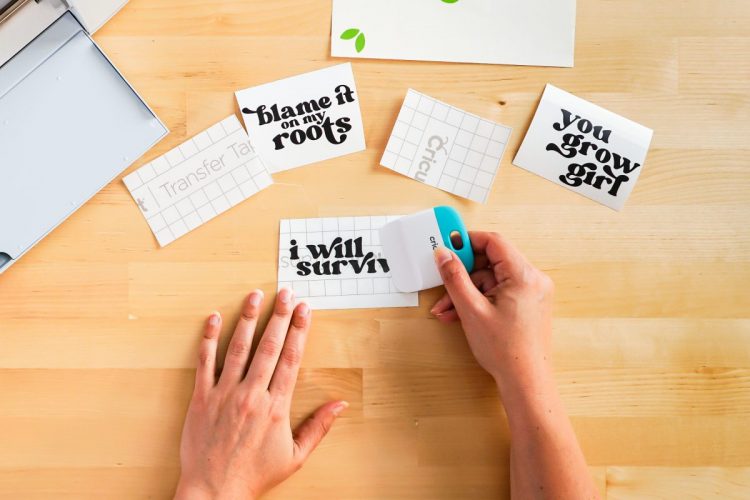
You can use your hands or a scraper to burnish the transfer tape down on top of the vinyl.
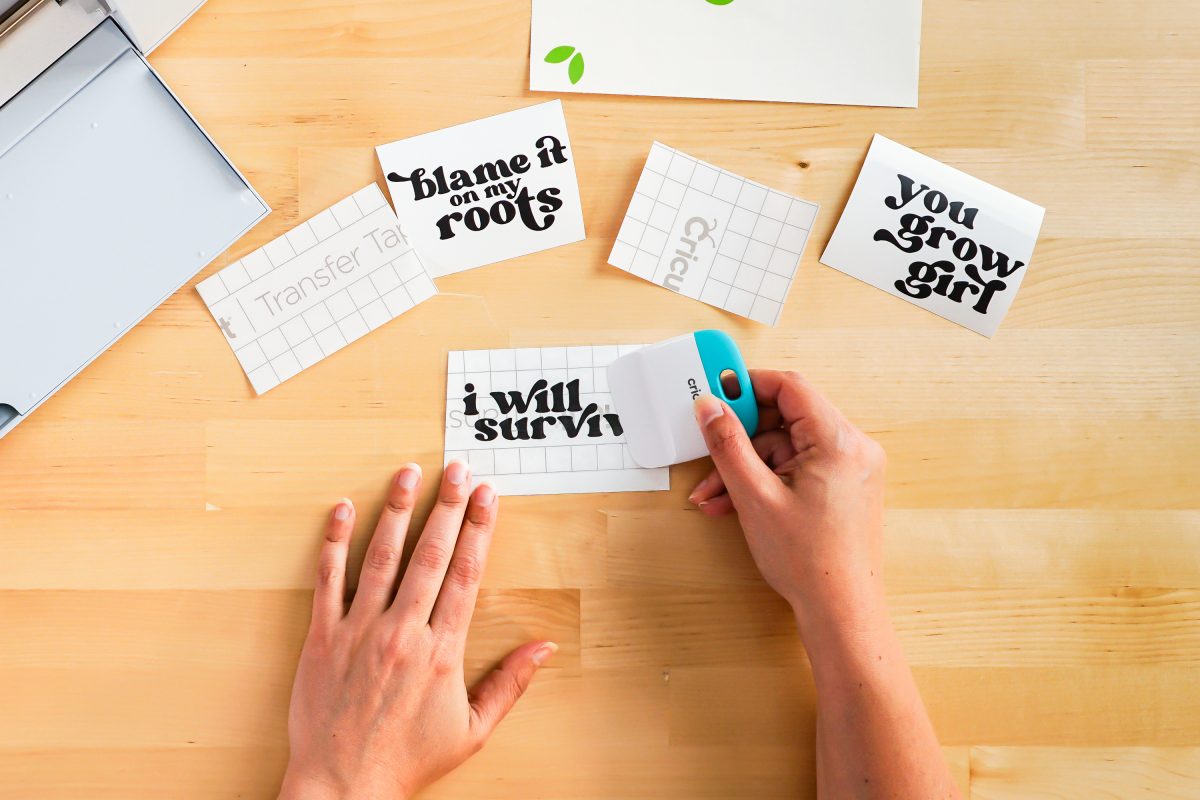
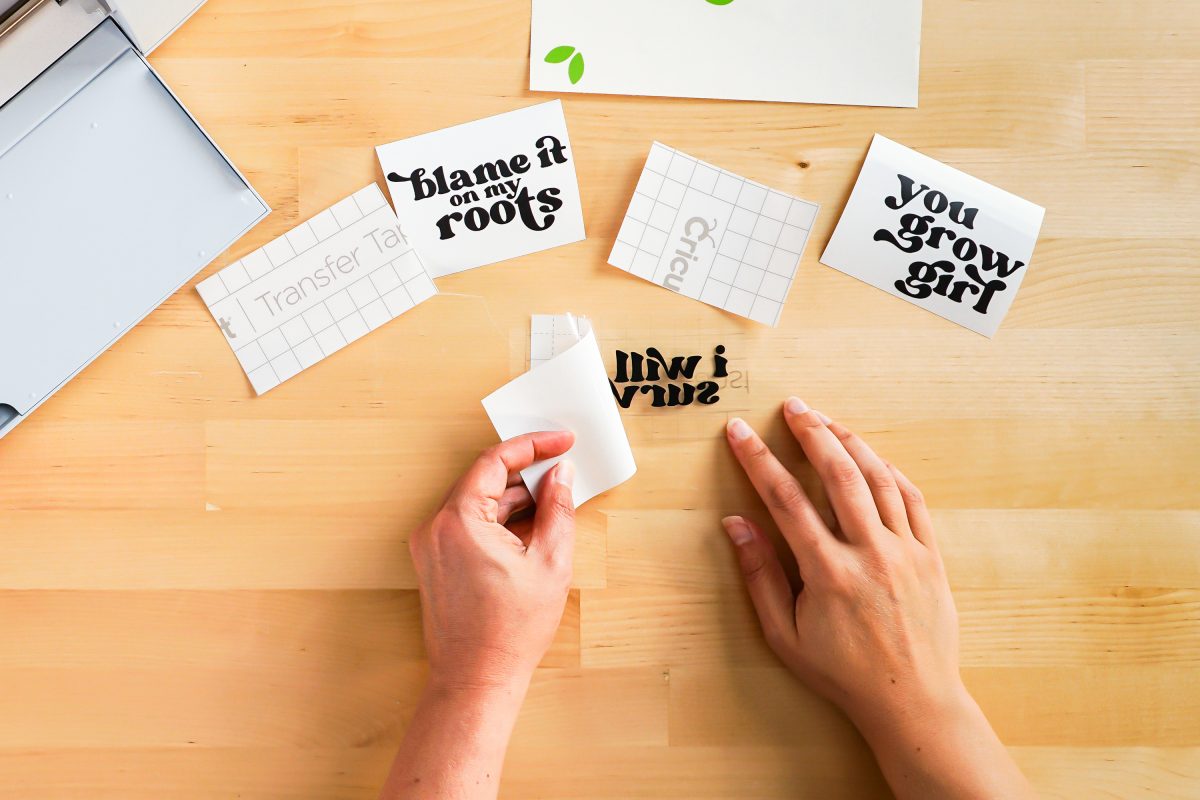
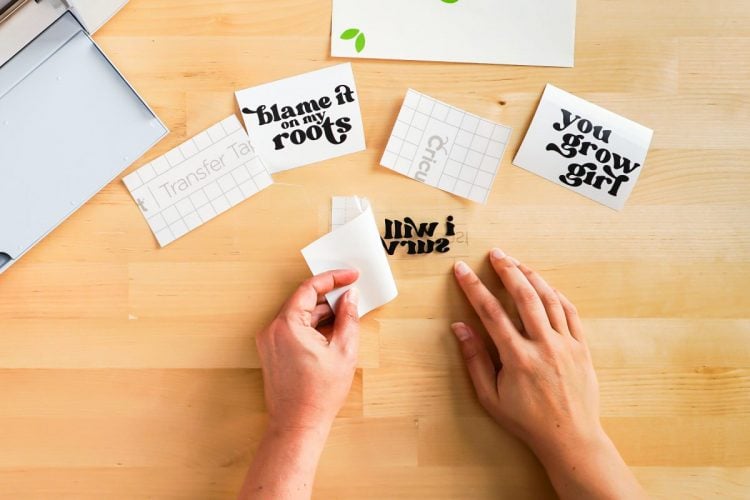
Then flip it over, and peel the backing sheet away from the transfer tape. Your decal should stick to the transfer tape—you can use your fingernail to catch anything that isn’t sticking cleanly.
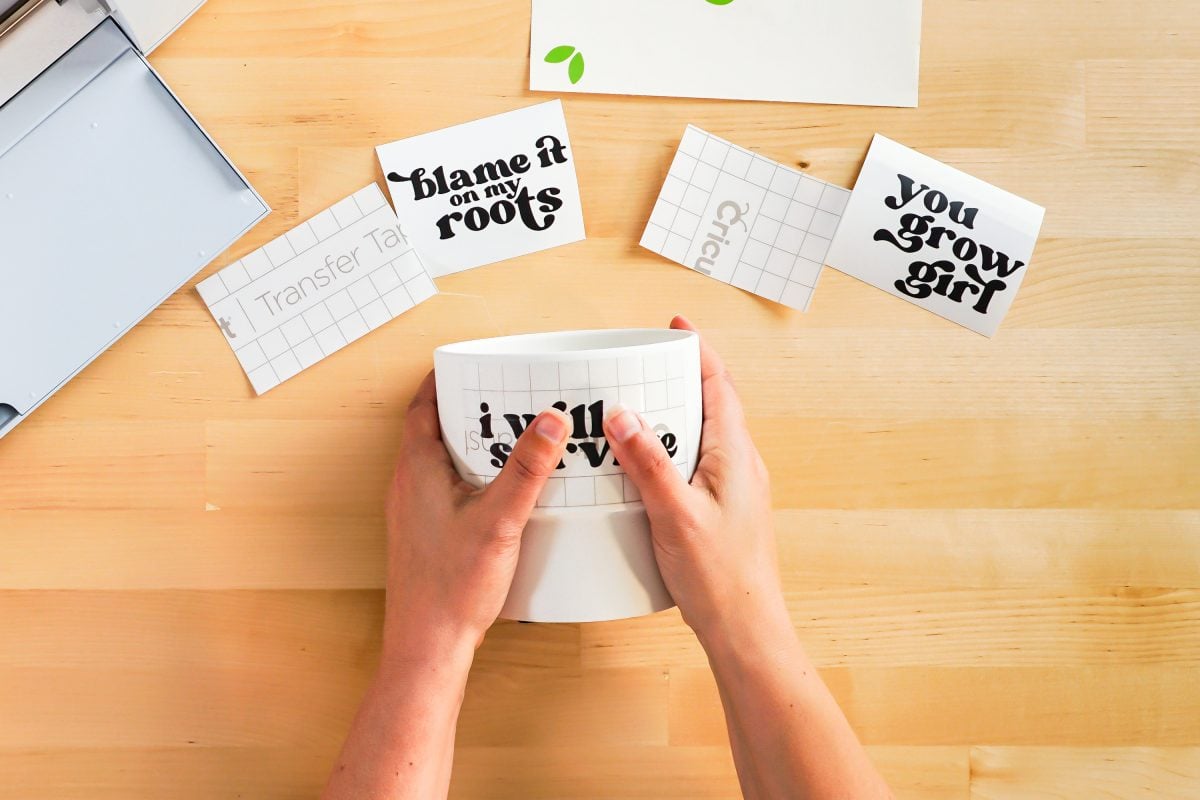
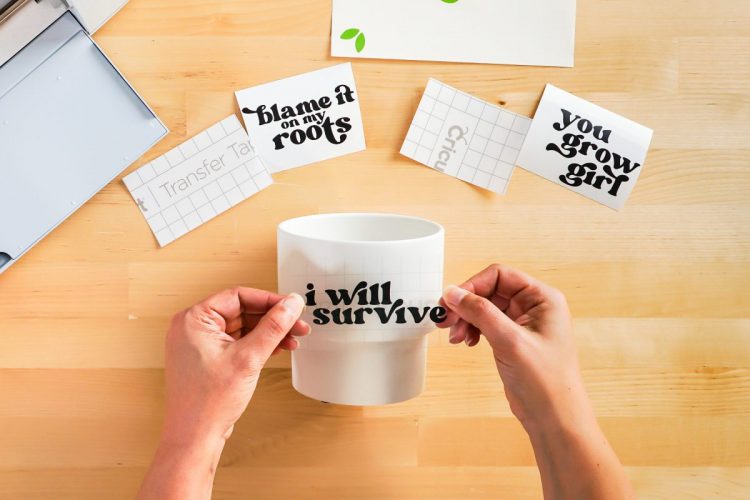
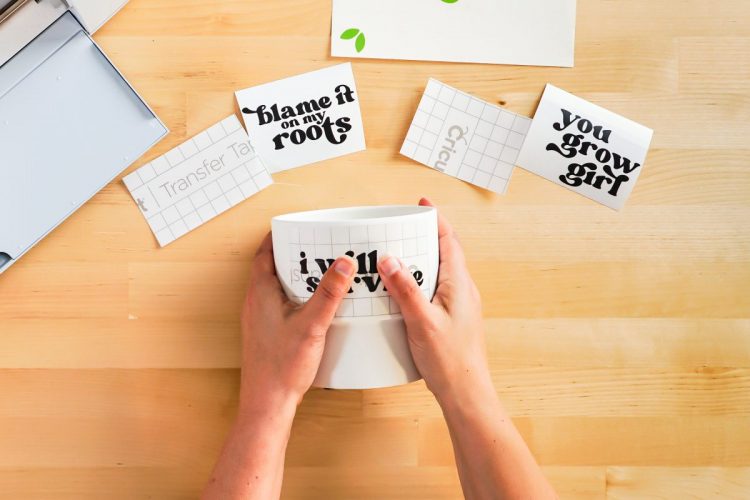
Then flip it over and press it onto your flower pot, starting in the center and moving toward the edges.
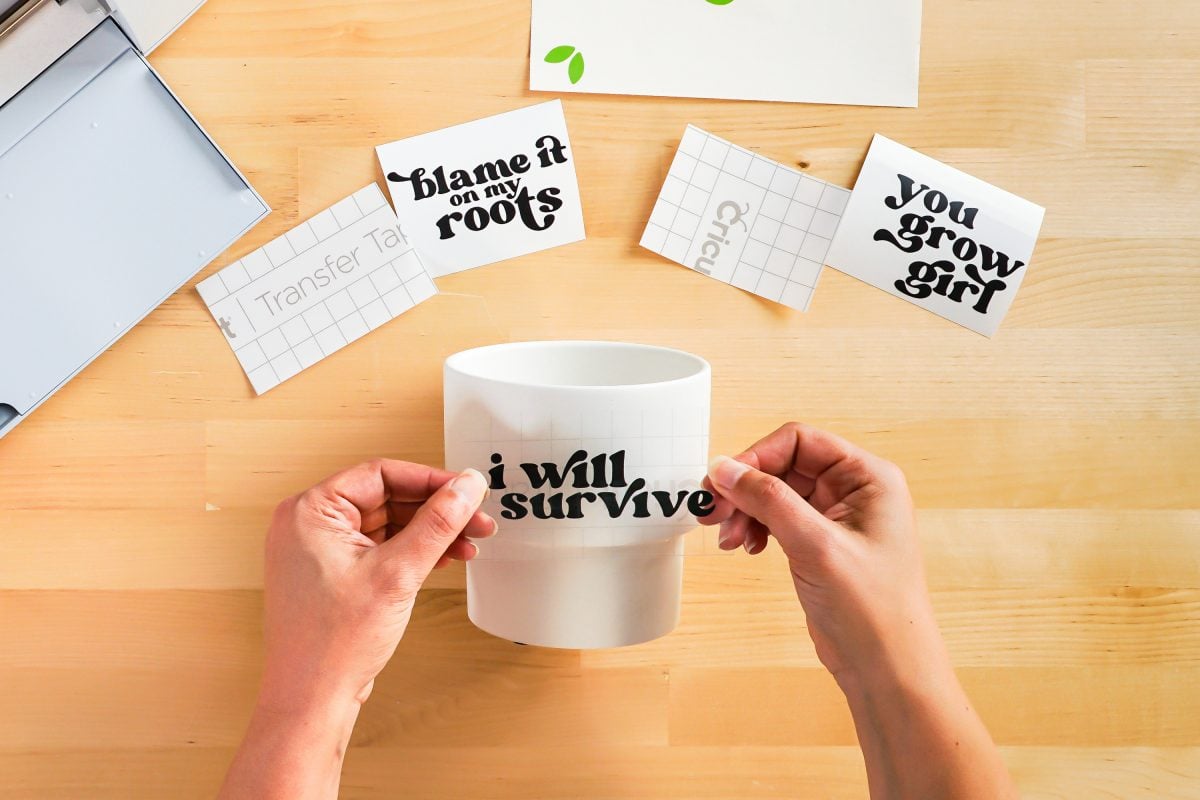
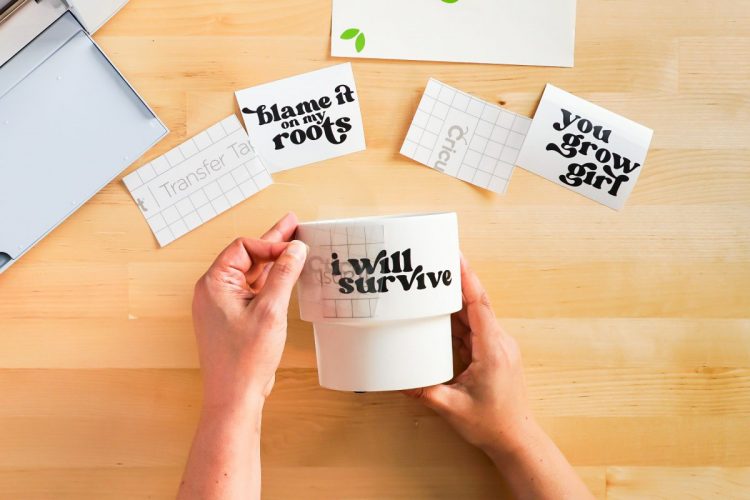
Use your fingers to burnish the vinyl into the pot—hands work a lot better than a scraper on curved surfaces.
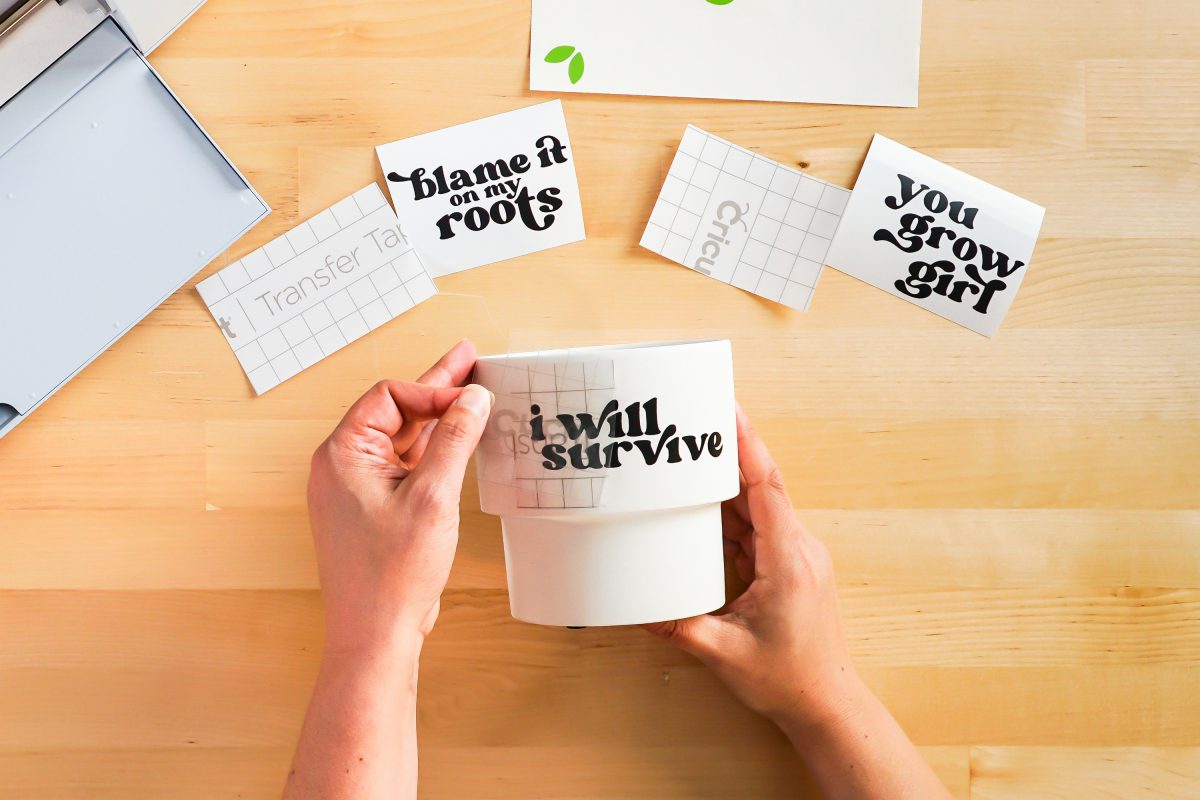
Then peel back the transfer tape and your vinyl should stick!
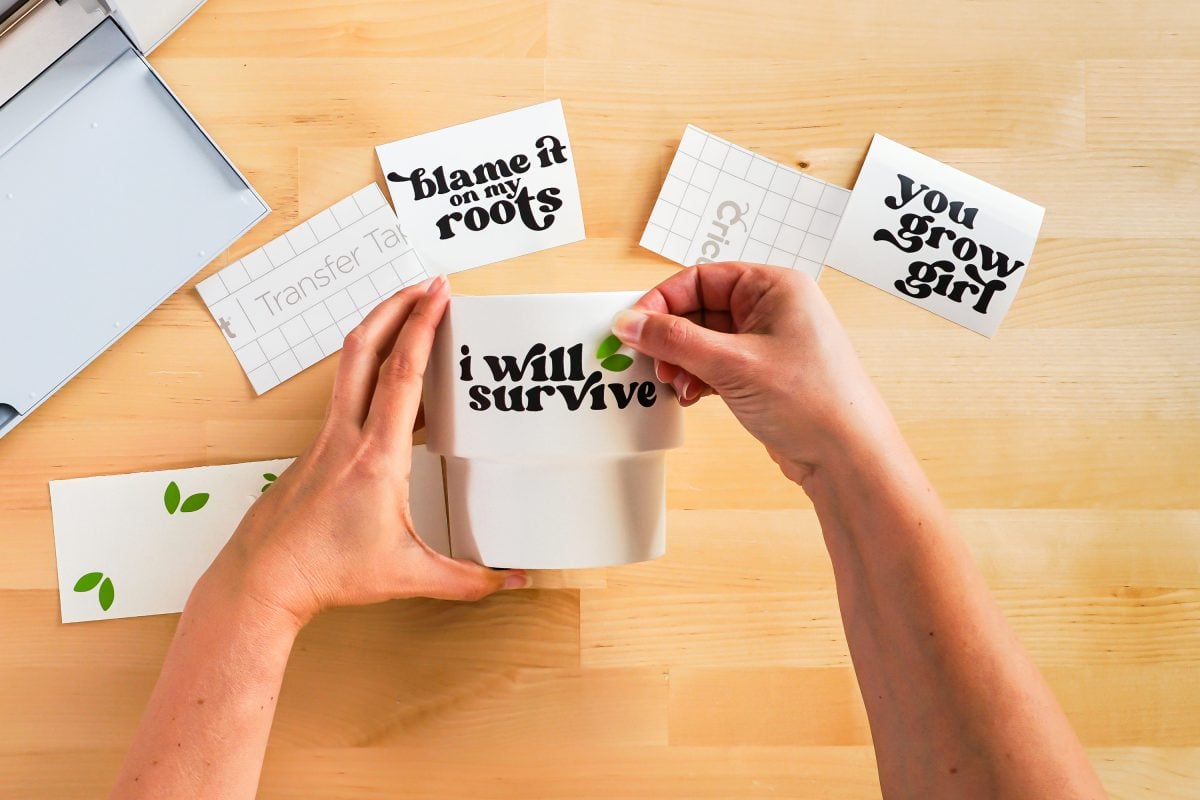
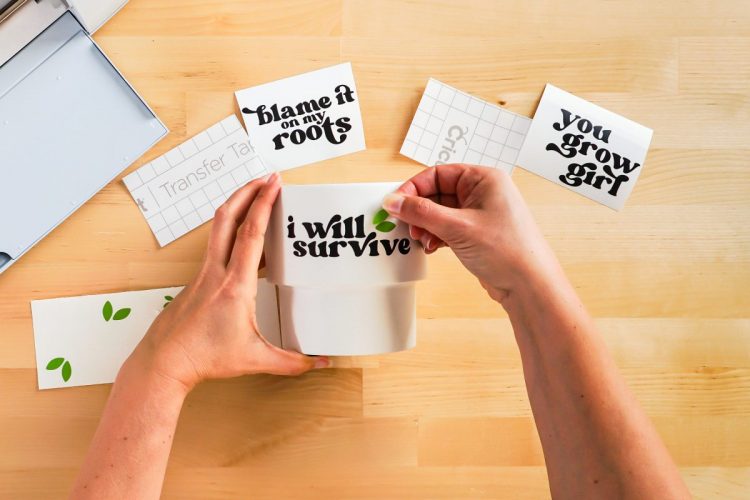
Instead of using transfer tape on the leaves, you can pick those up like stickers and place them by hand. If you prefer transfer tape, that works too!
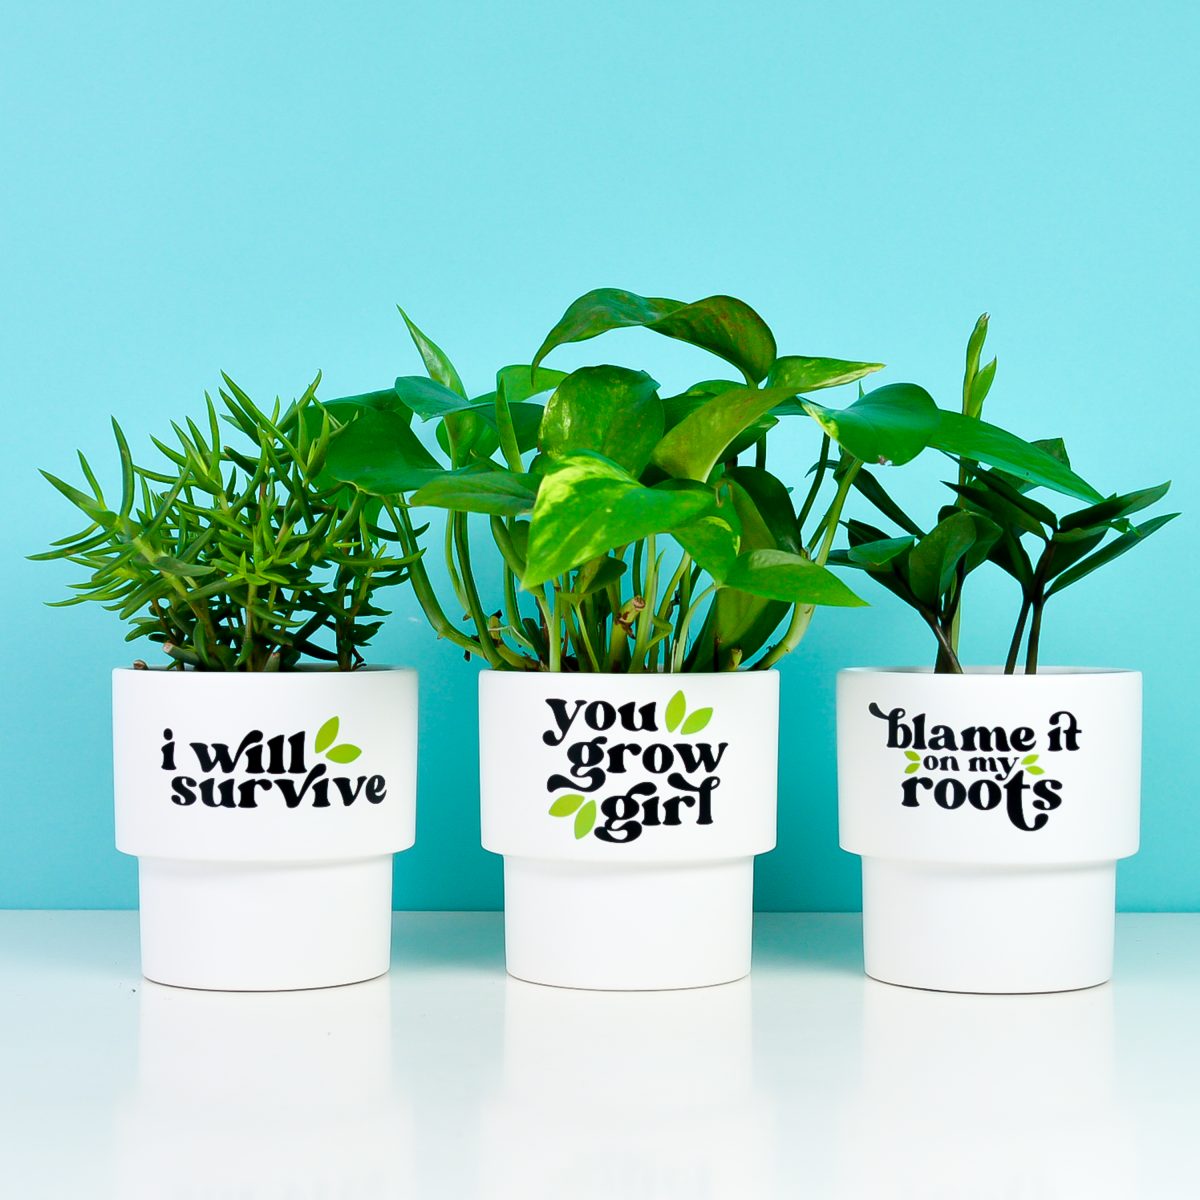
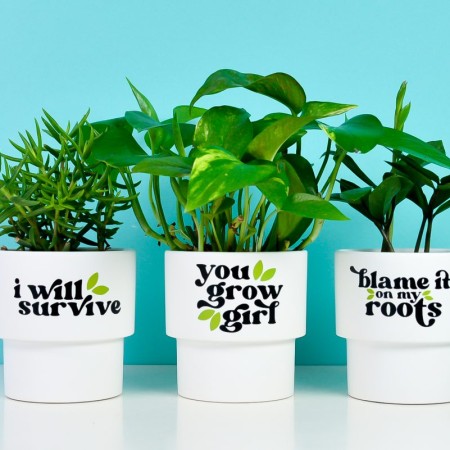
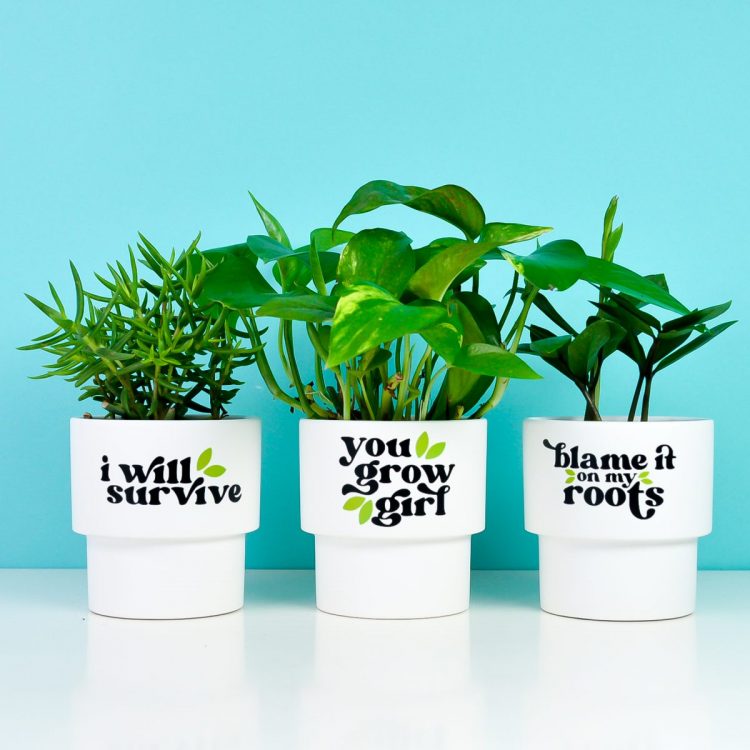
These flower pots may not grant you a green thumb, but at least they’ll make you chuckle as you try and keep your plants alive! Be proud of me—these are all plants I’ve been growing in my house!
Make All the 15 Days of Cricut Summer Fun Projects!
We’ll be adding links as each day goes live! Grab the full bundle with all of the projects and SVGs in our 15 Days of Cricut Summer Fun eBook Bundle!
- Summer Bucket List Sign
- Spinning Paper Pinwheels
- Summer Vibes T-Shirt
- Funny Flower Pots
- Beach Life Pennant
- Barbecue Labels Two Ways
- Summer Coasters
- Picnic Caddy
- Personalized Ice Pop Holders
- Fruit Slice Banner
- Summer Stickers
- Beach Shadow Box
- Lemonade Stand Sign
- Popsicle Bookmarks
- Ice Cooler Decals
Need more funny plant projects? Check out my blog for Plant SVGs for Plant Moms and Dads!
FUNNY FLOWER POTS
Equipment
- Cricut Maker or
- Maker 3 or
- Explore 3 or
- Blue LightGrip Mat to use with Adhesive Vinyl
Supplies
- Smart Vinyl (see material note below) or
- Adhesive vinyl in black and green
- Flower pots
- Flower Pot SVG file
Instructions
- Material Note: You can cut this on your Cricut Maker 3 or Explore 3 using Permanent Smart Vinyl. Using both on this project—Smart Vinyl for the black, but regular adhesive vinyl for the green leaves because wanted a green that doesn't come in Smart Vinyl.Upload the Funny Plant SVG to Cricut Design SpaceUpload the SVG file to Cricut Design Space (see Uploading SVG Files to Cricut Design Space if you need help). Choose which decals you want to use, and click the "eye" next to the other layers to hide them. For this project, using three of the decals and they were resized to fit the flower pots.That's it! You're ready to make your flower pots. Click Make It in the upper right.

- Cut Your Vinyl for Your Funny Flower PotsIf you have a Cricut Maker 3 or Cricut Explore 3, you'll see a Mat Selection window. I chose Multiple Ways because I'm using Smart Vinyl for the black layer and regular adhesive vinyl for the green leaves. You can choose On Mat if you're cutting using a mat. If you do not have one of these newer machines, you won't see this screen.

- On the next Prepare Screen, you'll see all of your images laid out on their respective mats (or just on the material if using Smart Vinyl).

- On the Make Screen, you'll set your material to Smart Vinyl or permanent vinyl. Make sure you have your fine point blade in your machine and place your vinyl colored side up. Insert your mat or material and your Cricut will cut your project!


- Weed Your VinylNext we're going to "weed" the negative space from around each image. There is an extensive post about Weeding Adhesive Vinyl, which you'll want to read—tons of tips and tricks to making it easier.

- Use Transfer Tape to Adhere Your VinylOnce all of your decals are weeded, it’s time to use transfer tape to adhere them to your flower pots. You can see an in-depth tutorial about Using Transfer Tape if you need it (plus troubleshooting tips if you’re struggling!).Start by cutting a piece of transfer tape the same size as your first decal. Peel off the backing sheet from the transfer tape and place the sticky side of the transfer tape down on your decal.

- You can use your hands or a scraper to burnish the transfer tape down on top of the vinyl.

- Then flip it over, and peel the backing sheet away from the transfer tape. Your decal should stick to the transfer tape—you can use your fingernail to catch anything that isn’t sticking cleanly.

- Then flip it over and press it onto your flower pot, starting in the center and moving toward the edges.

- Use your fingers to burnish the vinyl into the pot—hands work a lot better than a scraper on curved surfaces.

- Then peel back the transfer tape and your vinyl should stick!

- Instead of using transfer tape on the leaves, you can pick those up like stickers and place them by hand. If you prefer transfer tape, that works too!

- These flower pots may not grant you a green thumb, but at least they'll make you chuckle as you try and keep your plants alive!




Leave A Reply!