SETTING UP YOUR NEW CRICUT MAKER, EXPLORE, OR JOY
So you got yourself a Cricut Maker, Explore, or Joy...now what? Here's what you'll find in the Cricut box, plus how to set it up, get it turned on, and connect it to your device!
Instructions
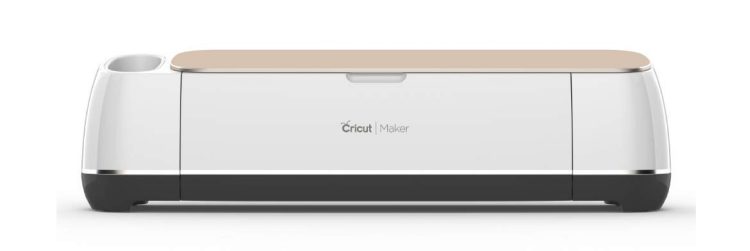
- Cricut MakerInside the Cricut Maker BoxThe Cricut Maker's box contains the machine, a USB cord, a power cord, a fine point blade and housing (installed in the machine), a rotary blade and housing, a pen, a welcome book, and two mats—a 12” x 12” pink FabricGrip cutting mat and a 12” x 12” blue LightGrip cutting mat.If you purchased a bundle, you may have additional tool and materials as well.Pull everything out of the box. YAY! Your Cricut Maker is no longer in the box. Pat yourself on the back.Use the power cord to plug in your machine and click the power button to turn it on. It’ll click and growl a bit—it’s alive!
- Your DeviceYou will need an internet-connected device to use with your Cricut and Cricut Design Space—a desktop computer, laptop, iPhone, iPad, or Android device. High-speed internet is ideal.You can use your Cricut when you’re offline, but you will need the internet to connect a device to start with.
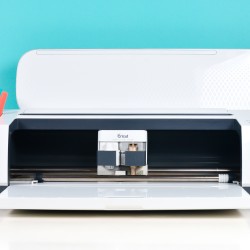
- Getting to Know Your Cricut MakerTo open the machine, just lift the lid and it will gently open, along with the front door.
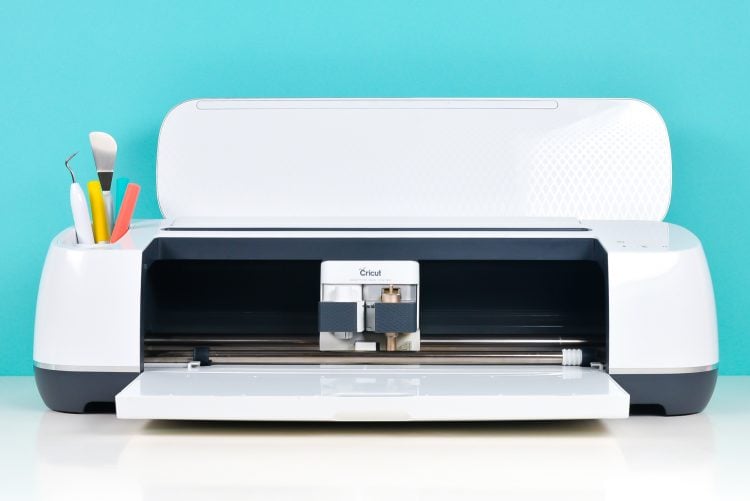
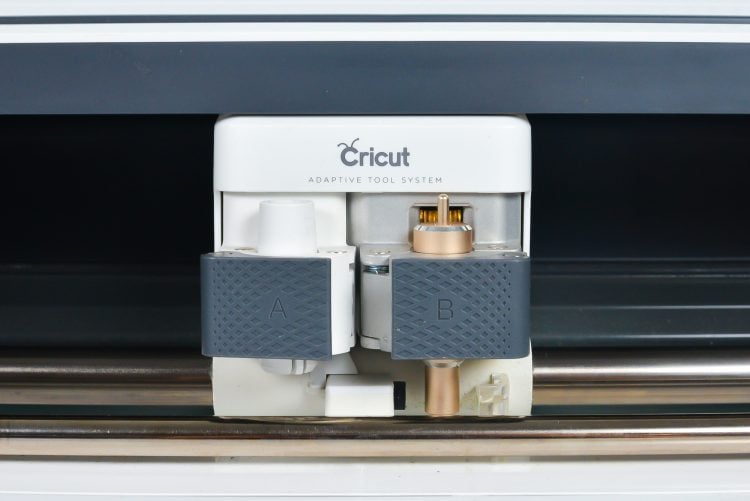
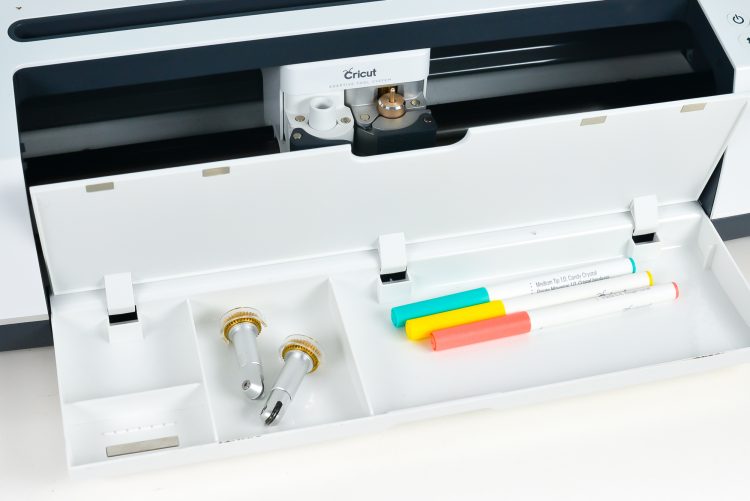
- In the center of the machine, you'll see the Cricut carriage. This carriage holds the Cricut blades and other accessories using two clamps labeled A and B.
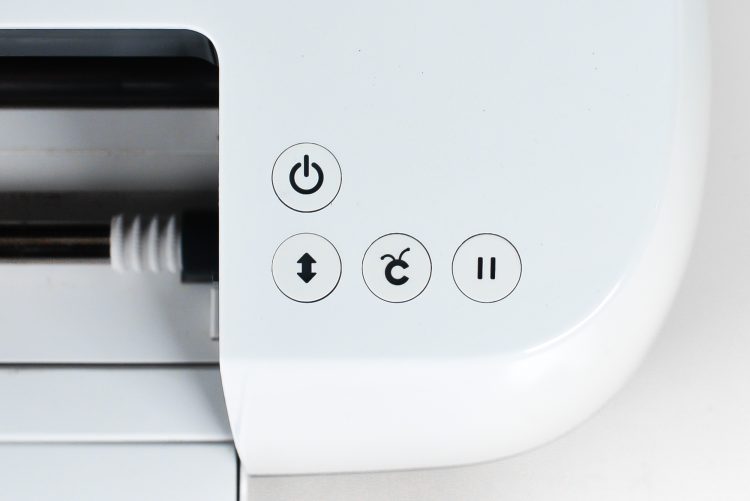
- There are also control buttons on the top of the machine: A power button, a load/unload button (a double-sided arrow), a pause button, and a go button (the Cricut “C”).
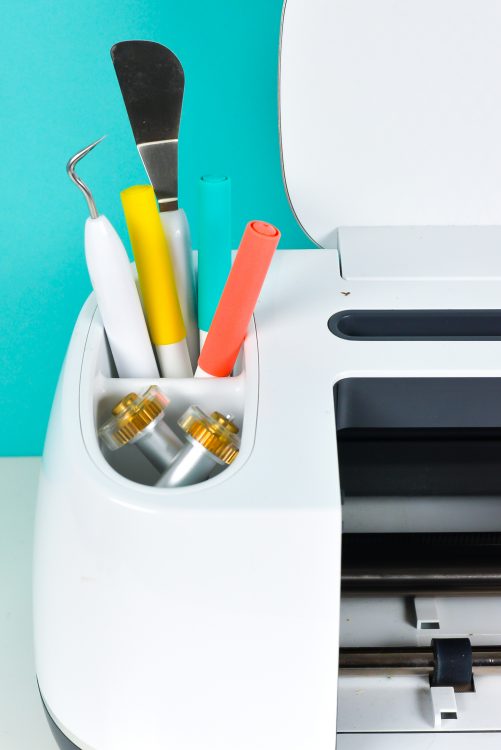
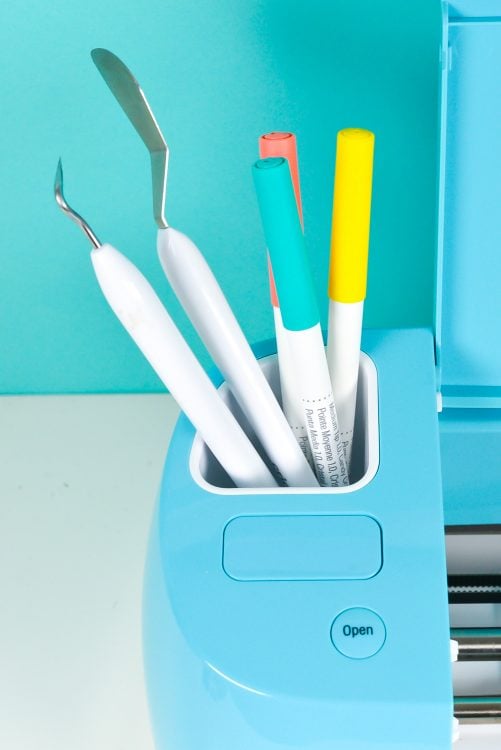
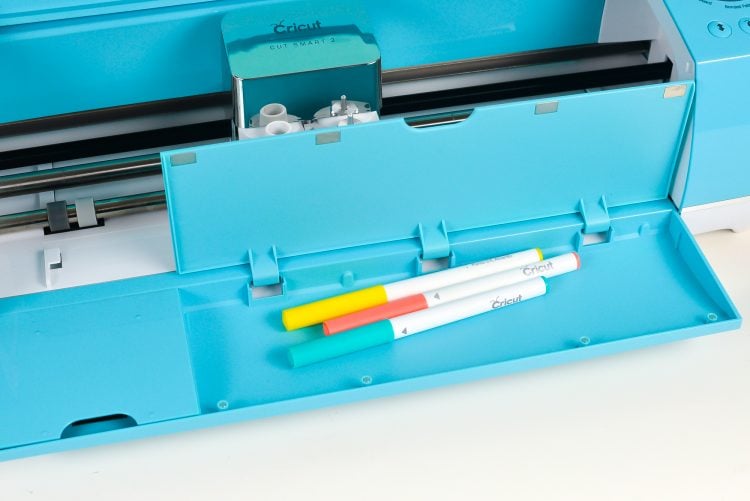
- Cricut Maker has two tool cups on the left side, as well as storage in the bottom door—just flip it open.
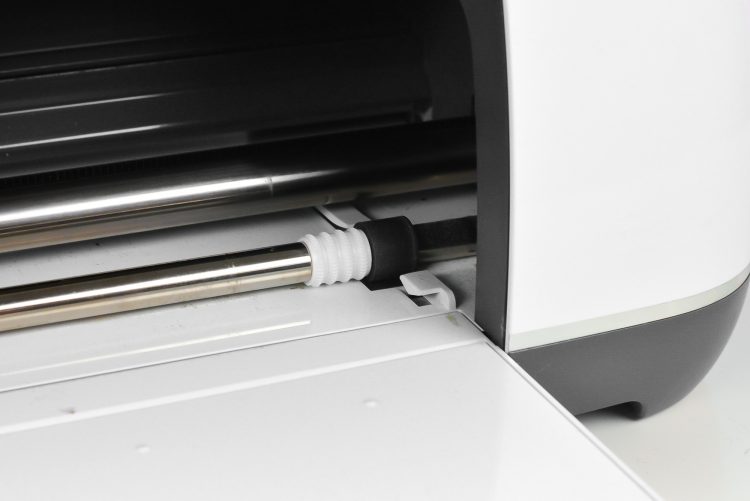
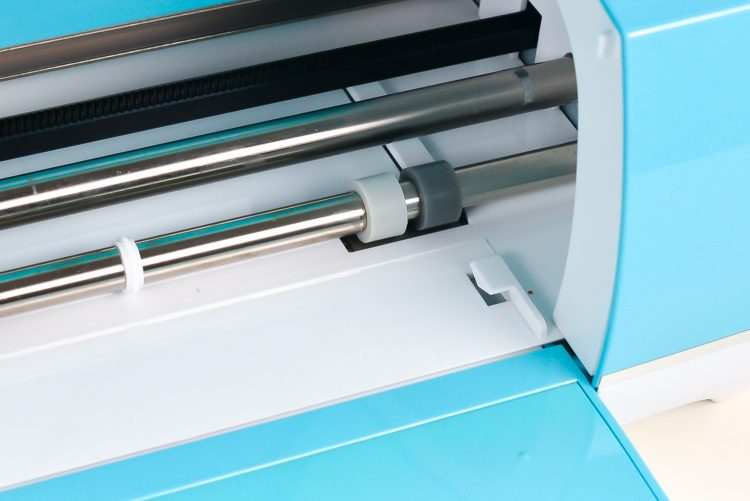
- Inside your machine, you’ll also see mat guides—plastic guides that tell you exactly where to put your mat when you load and unload it.There are also four-star wheels. These start out spread evenly across the roller on your machine, but you may need to slide them to the right if you are working with a thicker material like leather or chipboard.That's it! Now head to the bottom of this post to find all of my best tutorials for beginner Cricut crafters.
- Cricut ExploreThis section refers to all Cricut Explore machines. The only one currently being sold is the Cricut Explore Air 2, but the other Cricut Explore machines look and function similarly.Inside the Cricut Explore Box
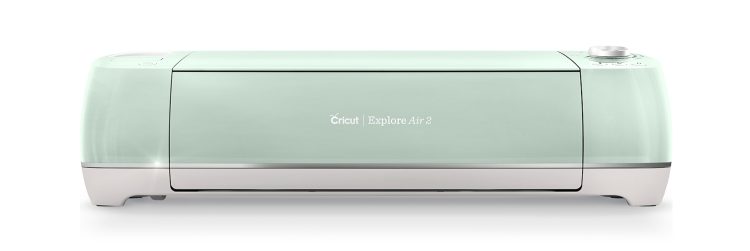
- The Cricut Explore box contains the machine, a USB cord, a power cord, a fine point blade and housing (installed in the machine), a Getting Started guide, a pen, a cardstock sample, and a 12” x 12” green StandardGrip cutting mat. In some of the newer machines, they include a 12” x 12” LightGrip cutting mat instead of the green mat.If you purchased a bundle, you may have additional tool and materials as well.Use the power cord to plug in your machine and click the power button to turn it on. It’ll make some noises—you're ready to begin!
- Your DeviceYou will need an internet-connected device to use with your Cricut and Cricut Design Space—a desktop computer, laptop, iPhone, iPad, or Android device. High-speed internet is ideal.You can use your Cricut when you’re offline, but you will need the internet to connect a device to start with.
- Getting to Know Your Cricut ExploreTo open the machine, click the OPEN button on the left and it will gently open, along with the front door.
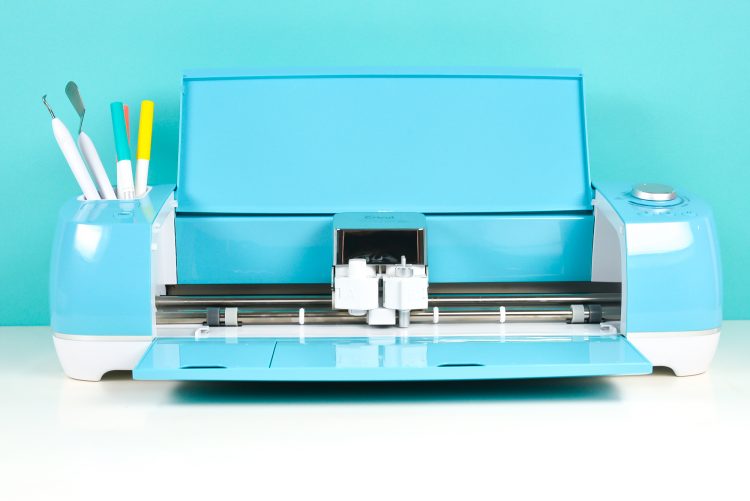
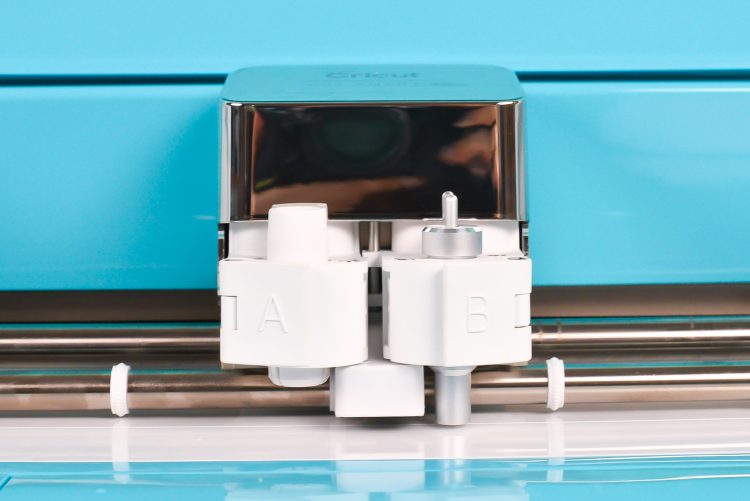
- In the center of the machine, you'll see the Cricut carriage. This carriage holds the Cricut blades and other accessories using two clamps labeled A and B. (If you have a Cricut Explore One, it only has one clamp.)
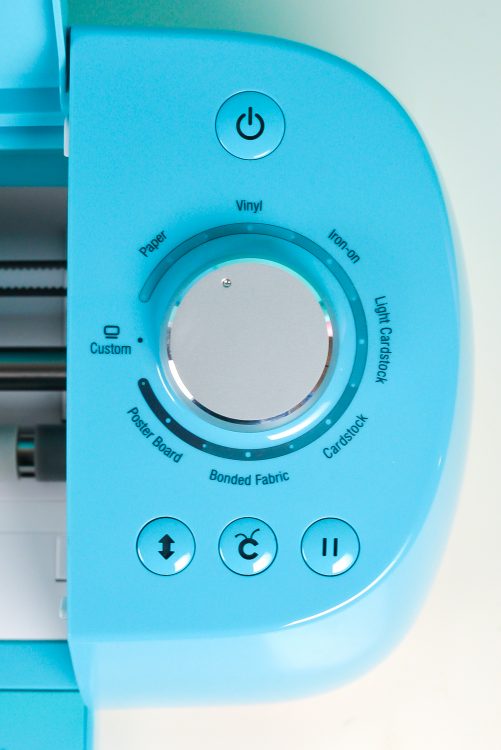
- On the top, Cricut Explore has a dial to choose the material settings. You just turn it to the material you are cutting—if the material you are using is not on the dial, choose Custom and then set your material in Cricut Design Space.There are also control buttons on the top of the machine: A power button, a load/unload button (a double-sided arrow), a pause button, and a go button (the Cricut “C”).
- Cricut Explore has a tool cup on the left side, as well as storage in the bottom door—just flip it open.
- Inside your machine, you’ll also see mat guides—plastic guides that tell you exactly where to put your mat when you load and unload it.That's basically your whole machine! Now head to the bottom of this post to find all of my best tutorials for beginner Cricut crafters.
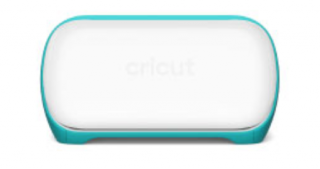
- Cricut Joy OverviewInside the Cricut Joy BoxInside your Cricut Joy box, you’ll find the machine itself, a power cord, a fine point blade and housing (installed in the machine), a pen, a 4.5" x 6.5" StandardGrip cutting mat, materials for your first project, and a Get Started guide.You will notice that Cricut Joy has no buttons. Just use the power cord to plug in your machine and it will turn on automatically!
- Your DeviceYou will need an internet-connected device to use with your Cricut and Cricut Design Space—a desktop computer, laptop, iPhone, iPad, or Android device. High-speed internet is ideal.You can use your Cricut when you’re offline, but you will need the internet to connect a device to start with.
- Getting to Know Your Cricut JoyFlip down the front door to open your Cricut Joy.
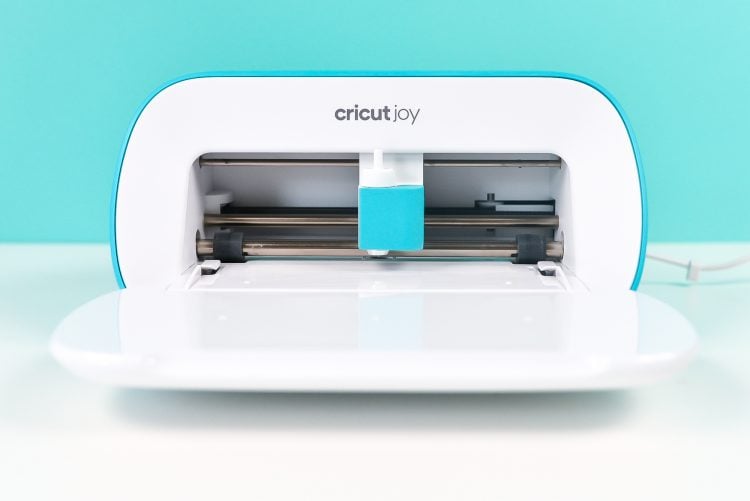
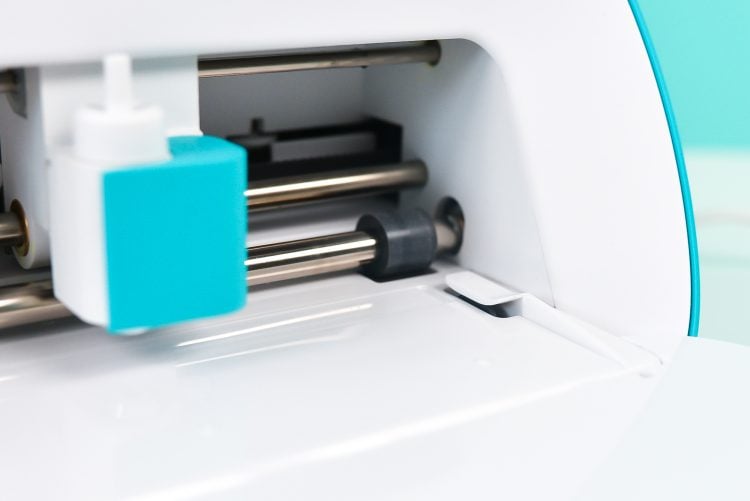
- Cricut Joy is a very simple machine. It has no buttons and uses just two tools—a blade or a pen. There are no tool cups or storage. That means this machine is light and easy to move around compared to the other machines.In the center of the machine, you'll see the Cricut carriage. This carriage holds the Cricut blade or pen in a single clamp.

- Inside your machine, you’ll also see mat guides—plastic guides that tell you exactly where to put your mat when you load and unload it.That's basically your whole machine! The Cricut Joy is truly a simple machine to use and the easiest Cricut to set up.
- Connecting Your Cricut to Your DeviceNow you'll need to connect your Cricut to your device to get it set up. This could be a mobile phone (iOS or Android) or a laptop or desktop computer. For the purposes of this section, "device" refers to any of the above.
- Connecting Your Cricut via BluetoothEnsure that your Cricut machine and your device are within 10 feet of each other and your Cricut is plugged in and is turned on.WindowsOpen up the Device Manager and find the Bluetooth Radios section. If you do not see this section, your computer is not Bluetooth enabled and you will need to use the USB method below.Go to the Control Panel and click on Devices and Printers. Then click on Add a Bluetooth Device. Your computer will locate the Cricut. Double click on the icon to open pairing options. Enter 0000 in the Device Pairing Code box and click next. Your computer and Cricut will pair.
- MacOpen up System Preferences and find the Bluetooth section. If you do not see this section, your computer is not Bluetooth enabled and you will need to use the USB method below.Open up System Preferences and find the Bluetooth section If Bluetooth is turned off, toggle the switch so it is turned on. Your computer will locate the Cricut or wireless adapter. Click Pair to initiate the process, enter 0000 in the Code box, and your computer and Cricut will pair.
- iOS Device (Apple Phone, iPad, etc.)Open the Settings on your phone or tablet. If Bluetooth is turned off, toggle the switch so it is turned on.Your phone will locate the Cricut or wireless adapter. Tap the Cricut or wireless adapter name and enter 0000 in the PIN box. A box will pop up asking for your permission to communicate between Cricut Design Space and your device. Tap Allow.Your iOS device will pair with your Cricut, and you will be redirected to the Cricut Design Space app.
- Android DeviceOpen the Settings on your phone or tablet. Tap Bluetooth on the left-hand menu. If Bluetooth is turned off, tap to turn it on.Tap the Cricut or wireless adapter name to initiate pairing. Enter 0000 or 1234 in the PIN box and tap done. Your Android device will pair with your Cricut.
- Connecting Your Cricut Maker via USBIf you do not have Bluetooth on your laptop or desktop, use the USB cord to connect the two. Turn on your Cricut and connect the USB cord from your Cricut to your device. Open up a browser window and go to https://design.cricut.com/setup. Follow the on-screen instructions to create a Cricut account, install Design Space, and accept your free trial of Cricut Access. You’re good to go!Note: you will need to have the USB cord plugged in whenever you want to cut, but you can always unplug if you’re not using it.If you have issues connecting your machine to your device, contact Cricut Support. They can walk you through the steps and troubleshoot if you are having issues.
- Best Tutorials for Cricut BeginnersOkay! Your machine is out of the box, turned on, set up, and connected to your device. Let's MAKE STUFF! Here are some of my favorite tutorials that you'll want to check out:
- Iron On Vinyl (also called Heat-Transfer Vinyl or HTV)Using Iron On VinylWarm Peel vs Cool Peel Iron On VinylWeeding Iron On VinylAll About the Cricut EasyPressIron vs. EasyPress vs. HeatPress