Use Cricut Pens to write cards and gift tags, draw coloring pages and doodles, and illustrate your Cricut creations! Here’s the ultimate guide to using Cricut Pens in Maker, Explore, and Joy!
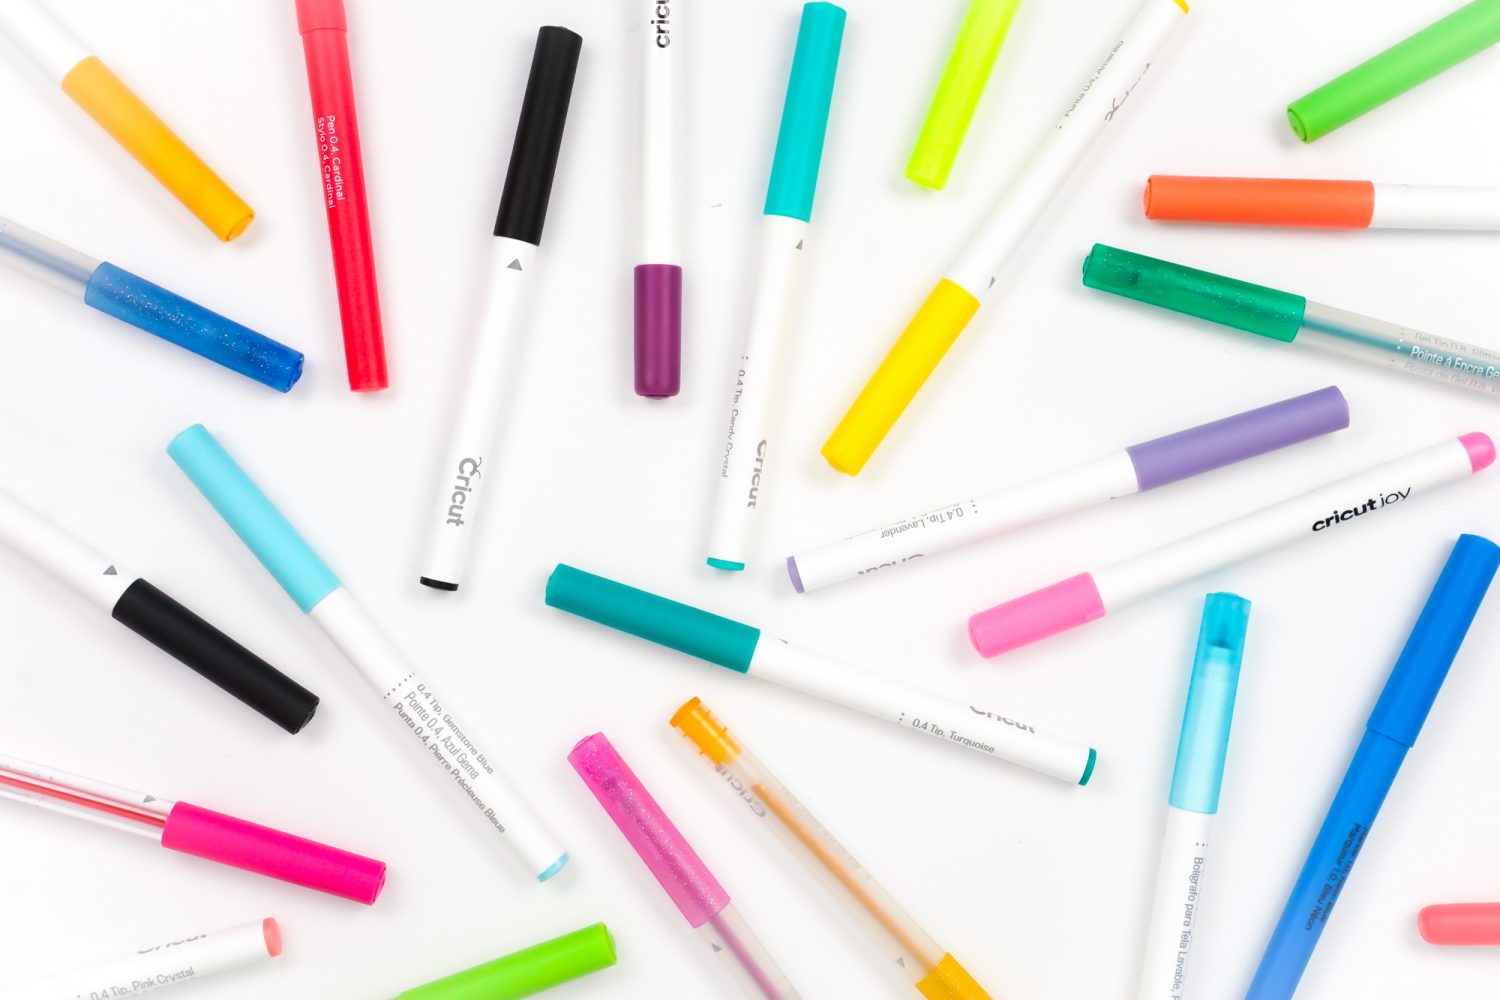
If you know what a Cricut is, you’re well aware of its cutting capabilities. But did you know it’s also a writing and drawing machine? That’s right! Cricut machines can use pens and markers to write and draw text, illustrations, doodles, coloring pages, and more. There’s even a fabric pen for marking fabric cut if you have a Cricut Maker!
Using the Cricut pens is fairly straightforward, but I wanted to write a comprehensive tutorial, including the different types of pens and how to make sure your file is set up correctly in Design Space. That’s probably the trickiest part of the process when writing with your Cricut—but it’s not hard once you understand how the Attach tool works!
Need more help with your Cricut overall? Learn more here!
Table of Contents
- Which Cricut Machines Use the Cricut Pen?
- What Types of Pens Work with My Cricut?
- Cricut Pen Comparison
- Can I Use Non-Cricut Pens?
- How to Load a Cricut Pen
- How to Draw Images with the Cricut Pen
- How to Write Text with the Cricut Pen
- Using Attach when Using the Cricut Pen
- Turning a Cut Image into a Draw Image
- How Should I Store Cricut Pens?
- Troubleshooting Cricut Pens
Which Cricut Machines Use the Cricut Pen?
Good news—all of the current Cricut machines can use a pen! This includes:
- Cricut Maker
- Cricut Explore Series Machines
- Cricut Joy
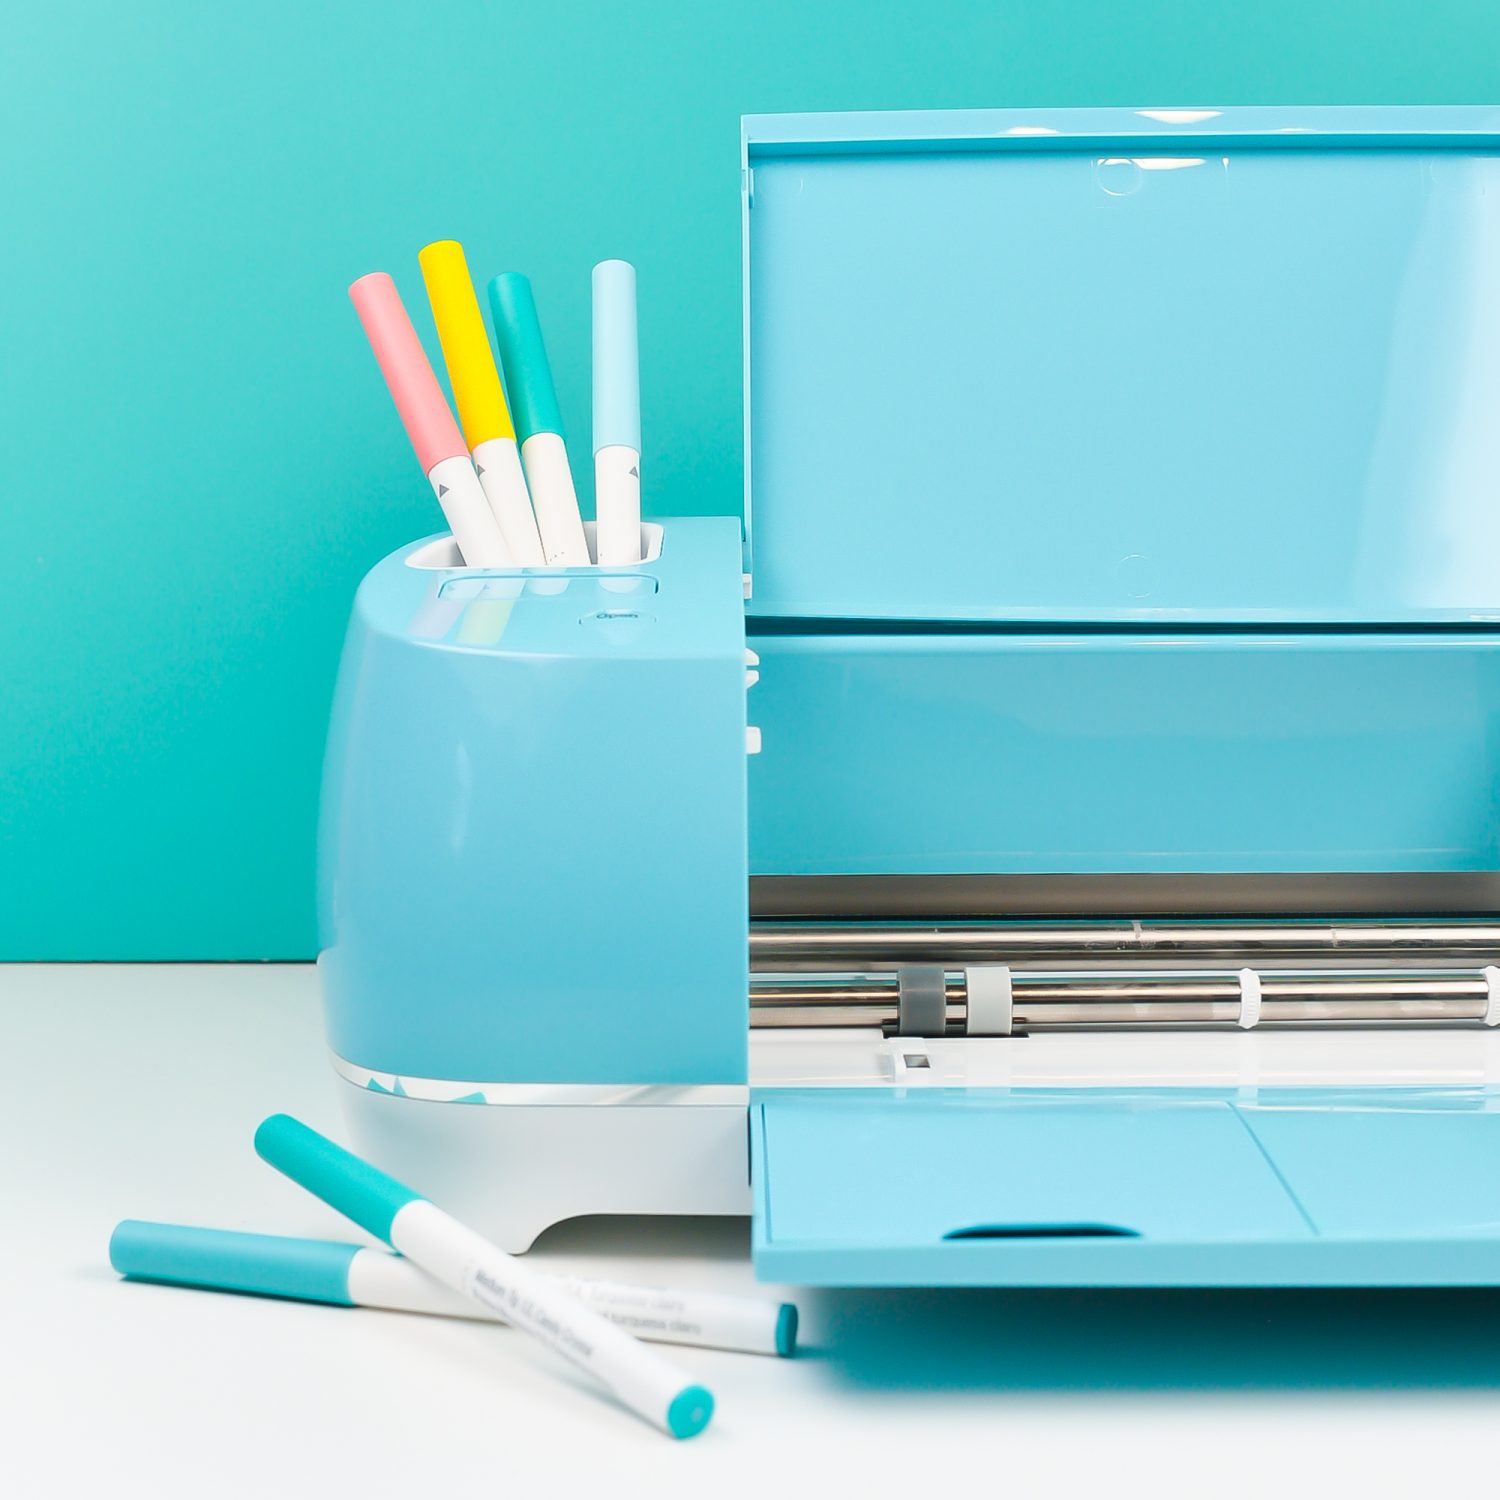
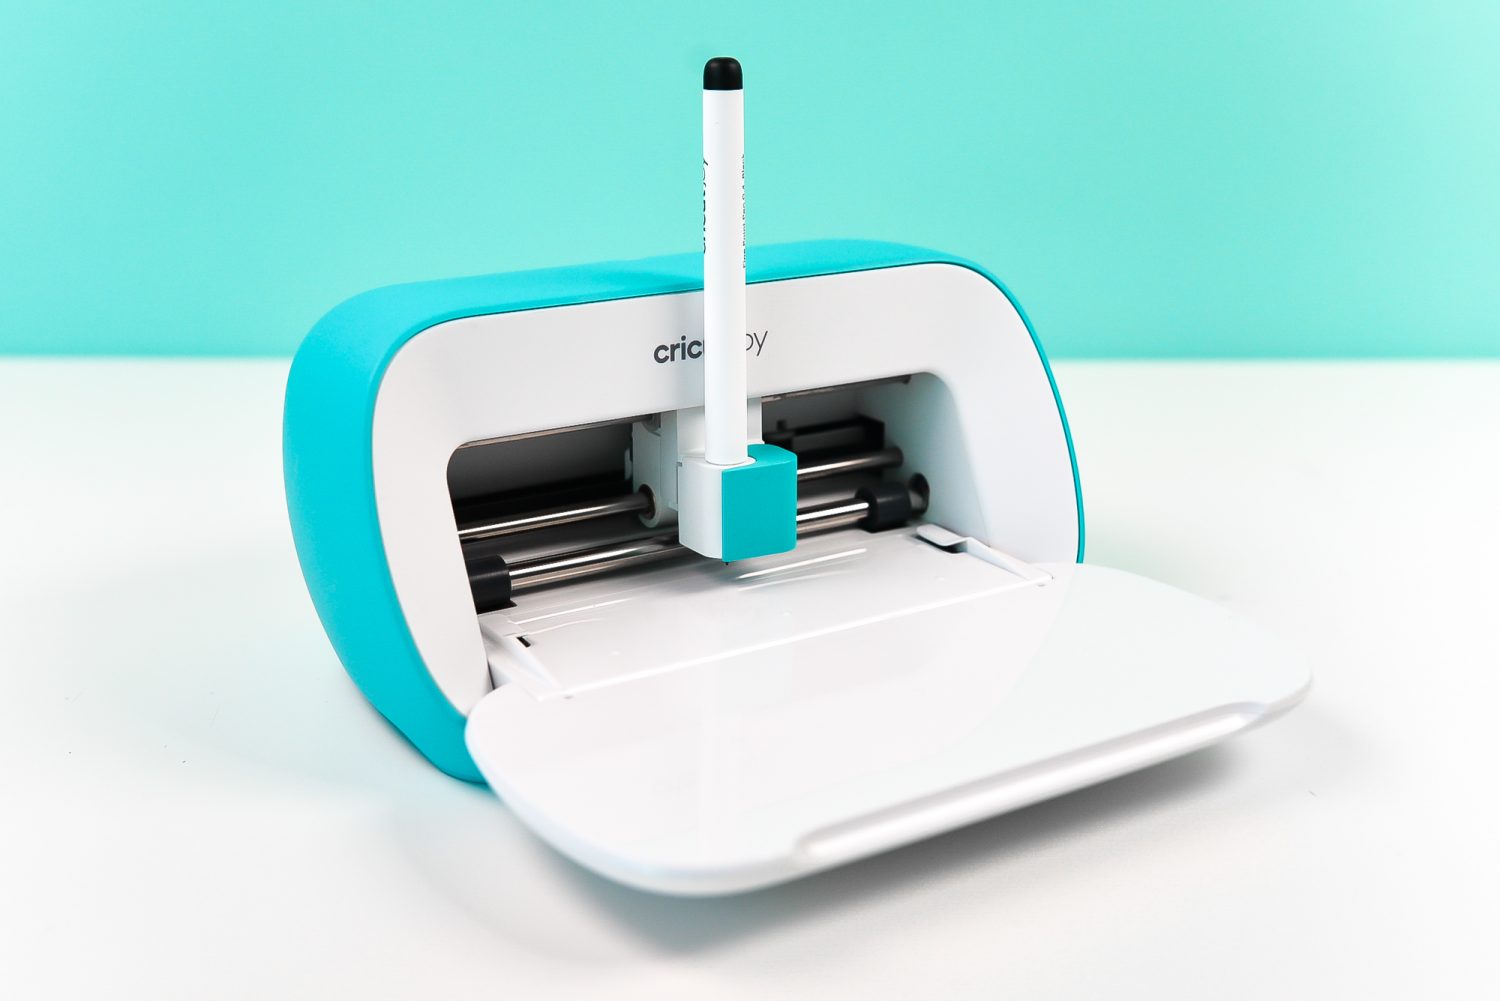
Cricut Maker and Cricut Explore have interchangeable pens—you can use all of the pens in both machines. Cricut Joy, however, has its own line of smaller pens. You cannot use Cricut Joy pens in the other machines and vice versa. Cricut Joy pens say Cricut Joy on them and they are smaller while pens for the other machines just say Cricut.
What Types of Pens Work With My Cricut?
Cricut makes a huge assortment of pens and markers to use with your Cricut. They have subtly designed the barrels and end caps of the pens to help you distinguish the pens at a glance. I find this SUPER helpful because I store my pens upside down in opaque containers—it allows me to sort through and find what I need more quickly.
Fine Point Pens
Cricut pens have a white barrel have an “F” stamped on the end for “fine.” They have a 0.4mm tip and come in a huge range of colors.
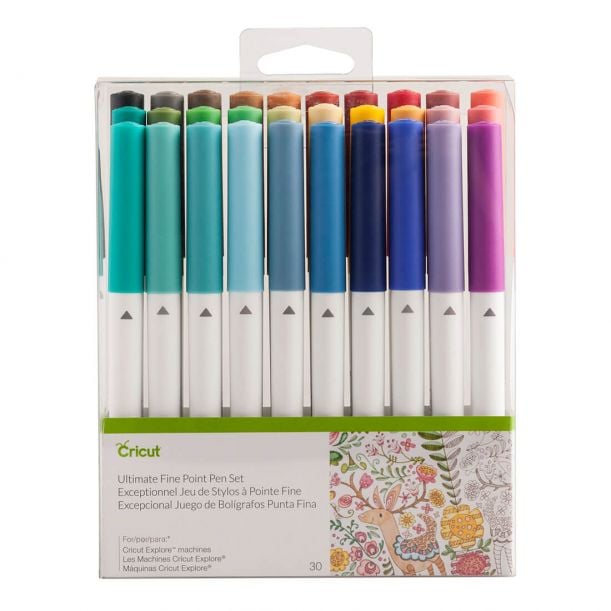
Cricut Maker & Cricut Explore: The Ultimate Fine Point Pen Set
Cricut Joy: Fine Point Pens
Extra Fine Point Pens
If you’re looking for something even finer, the extra fine point pens are just 0.3mm thick. They have a white barrel (older) or a clear barrel (newer) and have XF stamped on the end for “extra fine.” Some older extra fine point pens have just “F” stamped on the end but they are moving to XF on all new pens. These are my go-to pens for writing on cards and gift tags.
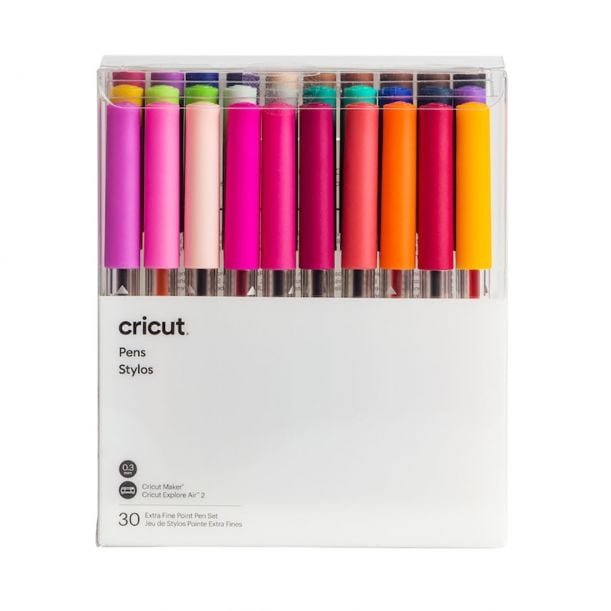
Cricut Maker & Cricut Explore: The Ultimate Extra Fine Point Pen Set
Cricut Joy: Extra Fine Point Pens
1.0 Pens / Markers
The 1.0 size is labeled both a pen and a marker, depending on the product. These pens / markers have a thicker felt tip and come in a range of colors and metallic versions. They have an M on the bottom, for “marker.” These are best for larger writing projects because the details can get easily lost when writing with the thicker felt tip.
I haven’t seen exclusive packs of these pens for Maker or Explore for a while (though they do exist in multi-packs), but they are making them for Cricut Joy.
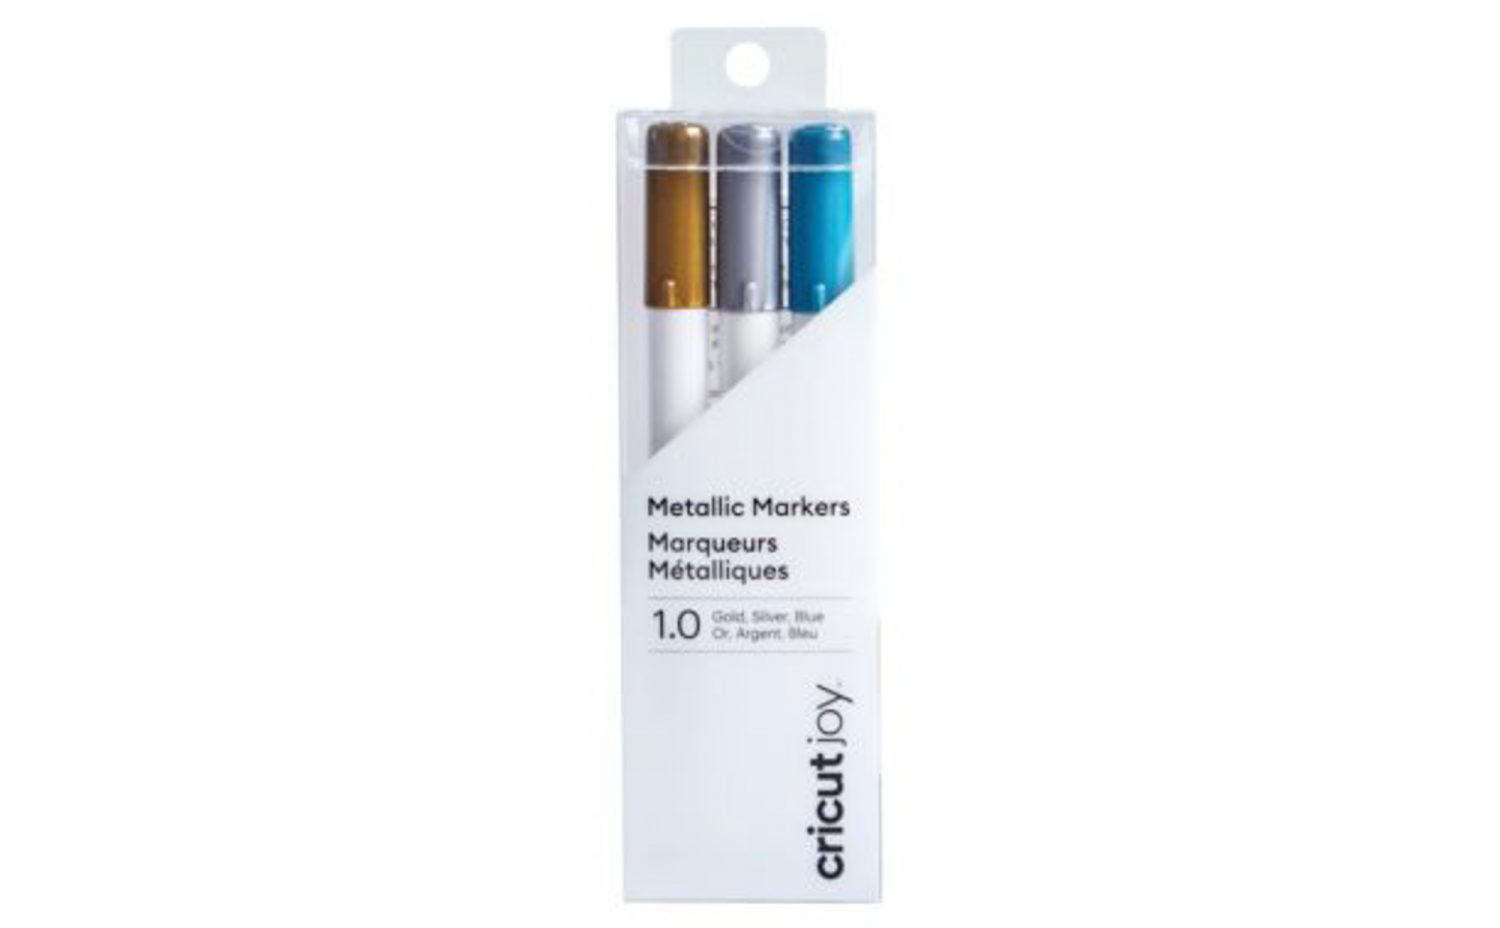
Cricut Maker & Cricut Explore: Metallic Pen Set
Cricut Joy: 1.0 Tip Markers
Gel Pens
Gel Pens have a roller ball instead of a felt tip. They come in 0.8mm size. They have a white barrel and have “G” stamped on the end for “gel.” I personally like how bold the ink is in gel pens—it looks very vibrant. I like these for paper projects that have doodles. These are not recommended on glossy or textured materials.
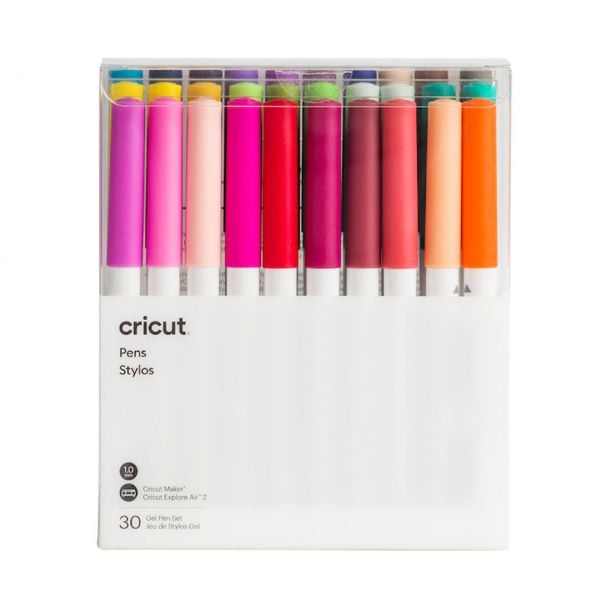
Cricut Maker & Cricut Explore: The Ultimate Gel Pen Set
Cricut Joy: Gel Pens
Glitter Gel Pens
Like their regular gel counterparts above, glitter gel pens have a roller ball and come in a 0.8mm size. They have a clear barrel, sparkly lid, and have “G” or “GG” (for “glitter gel”) stamped on the end cap. These are not recommended on glossy or textured materials.
Cricut Maker & Cricut Explore: Glitter Gel Pens
Cricut Joy: Glitter Gel Pens
Calligraphy Pens
Cricut pens have a gray barrel and have a “C” stamped on the end for calligraphy. Calligraphy markers have an angled tip and need to be inserted into your Cricut clamp at a 45° angle to write properly. There are no calligraphy pens for Cricut Joy.
Calligraphy pens are only found as part of multi-packs as far as I can tell.
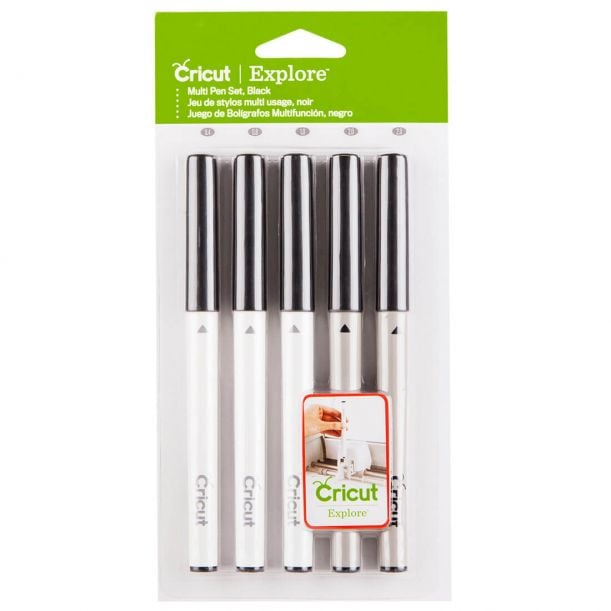
Cricut Maker & Cricut Explore: Multi Black Pen Set
Fabric Marker
The fabric marker was designed to work in conjunction with the Cricut Maker’s sewing patterns. It has a white barrel and a clear blue cap with an “M” stamped on the end. Learn more about specifically Using the Fabric Marker. Note that you’ll find this marker in the color dropdown under Marker > Blue (washable fabric).
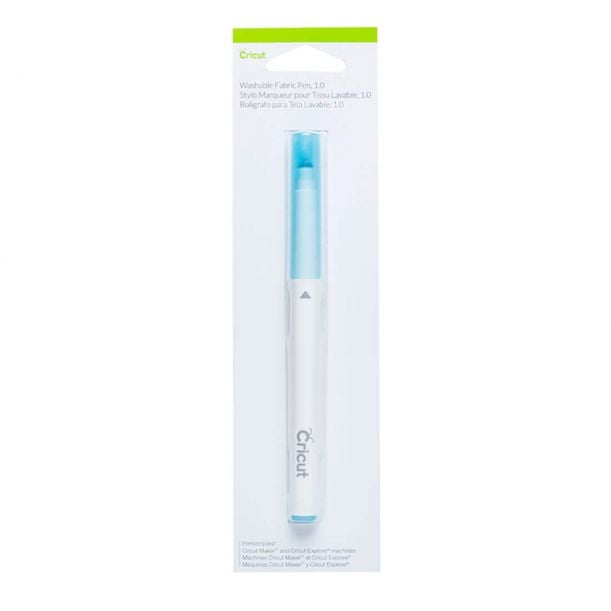
Cricut Maker: Fabric Pen
Infusible Ink Pens
Infusible Ink is a relatively new product from Cricut. It’s a sublimation product that infuses the ink into poly-coated surfaces. Cricut Infusible Ink pens have a 0.4mm tip. The barrels/caps of these pens are all a single color (vs. white or clear with a colored cap) with an “F” on the bottom for “fine.” You can read more about using the Cricut Infusible Ink Pens.
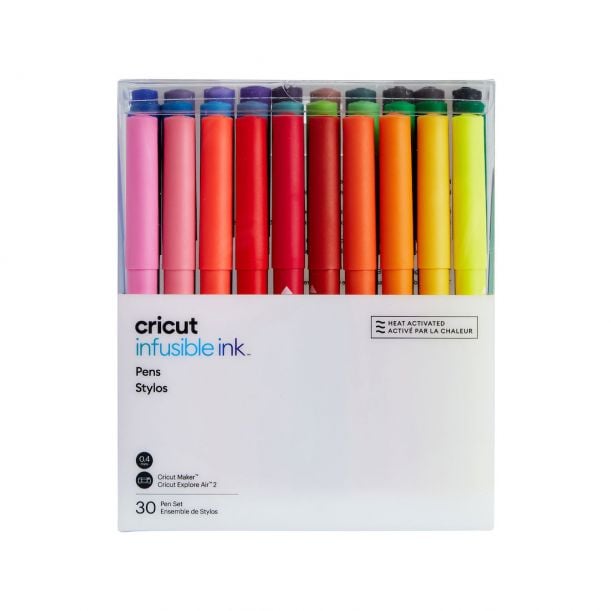
Cricut Maker & Cricut Explore: The Ultimate Infusible Ink Pen Set
Cricut Joy: Infusible Ink Pens
Infusible Ink Markers
Cricut Infusible Ink markers have a 1.0mm tip. The barrels/caps of these pens are all a single color (vs. white or clear with a colored cap) with an “m” on the bottom for “marker.” You can read more about using the Cricut Infusible Ink Pens.
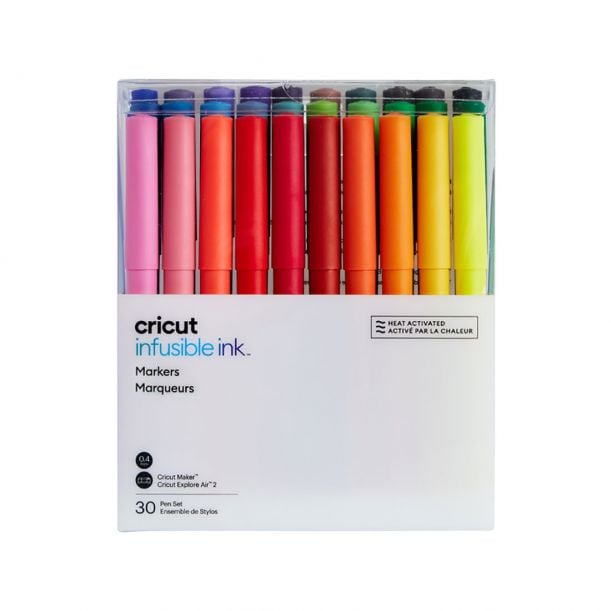
Cricut Maker & Cricut Explore: The Ultimate Infusible Ink Marker Set
Cricut Joy: Infusible Ink Markers
Cricut Pen Comparison
Here is a little comparison I did using the types of markers above on a relatively smooth piece of cardstock (though not as smooth as copy paper). I was pleasantly surprised that I had good coverage for all the pens. This isn’t always the case—I’ve had my fair share of skipping pens in the past (see the troubleshooting section at the bottom of this post).
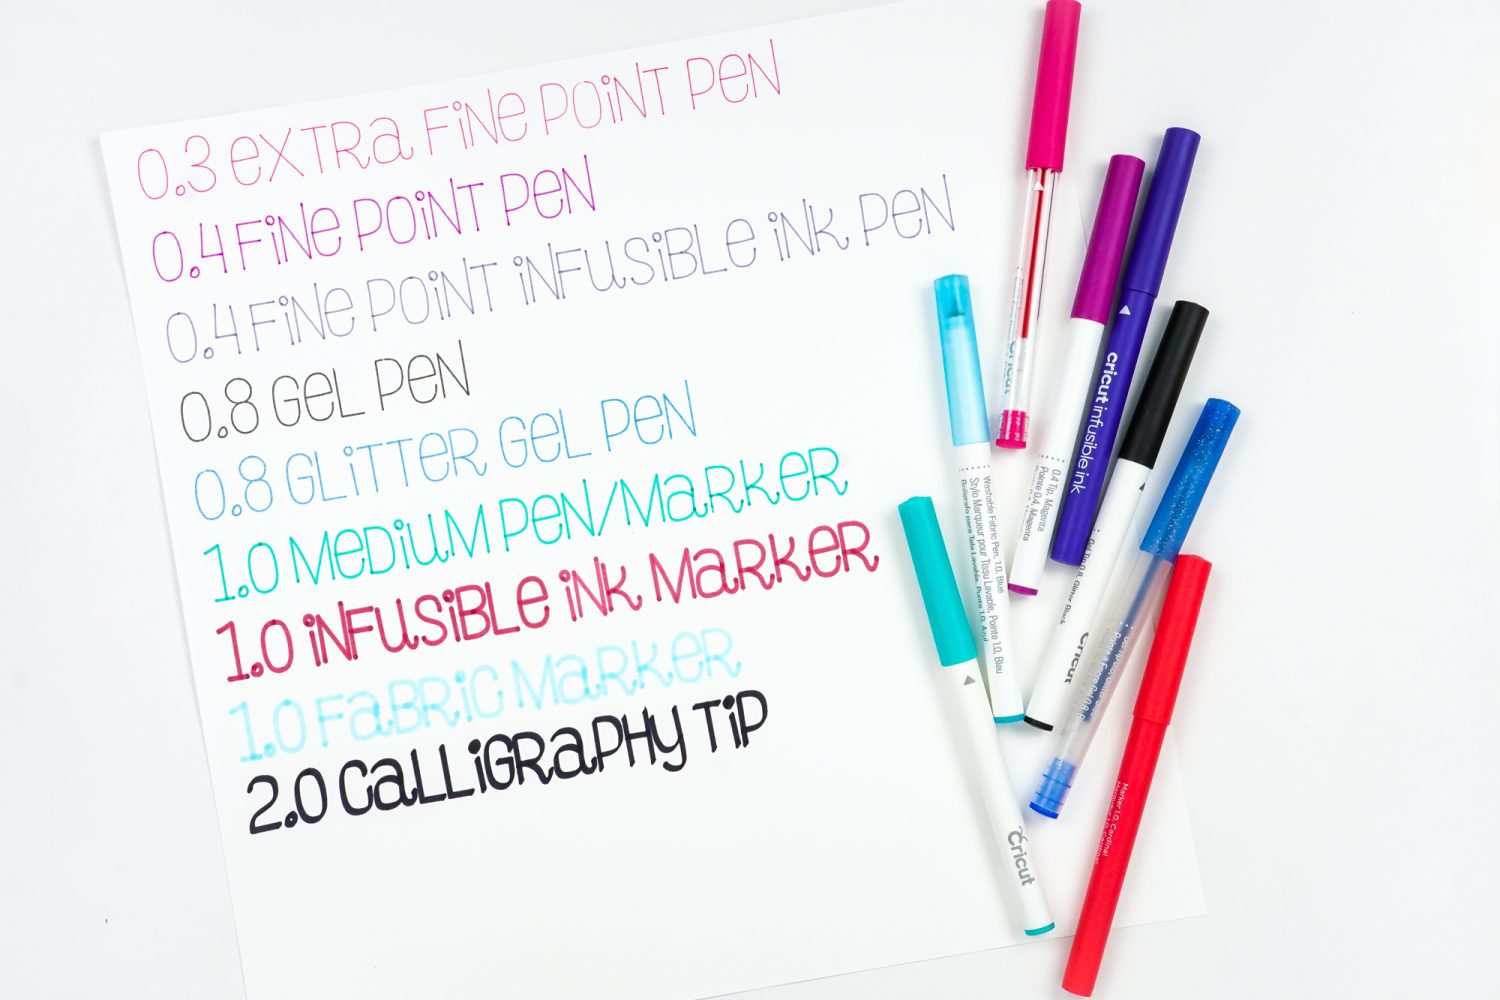
You will notice, however, how thick those bottom markers are. These letters are 1″ tall—any smaller and letters will start to run into each other a bit more. For the most part, I stick to the pens vs. the markers for almost all of my projects.
Can I Use Non-Cricut Pens in My Cricut?
Yes! There are quite a few non-Cricut pens that people have made work with their Explore and Maker machines using specialized adapters. I am working on a post showcasing some of these and will link back when it’s up!
UPDATE: Here it is: How to Use Non-Cricut Pens in your Cricut using Pen Adapters!
How to Load the Pen into a Cricut Machine
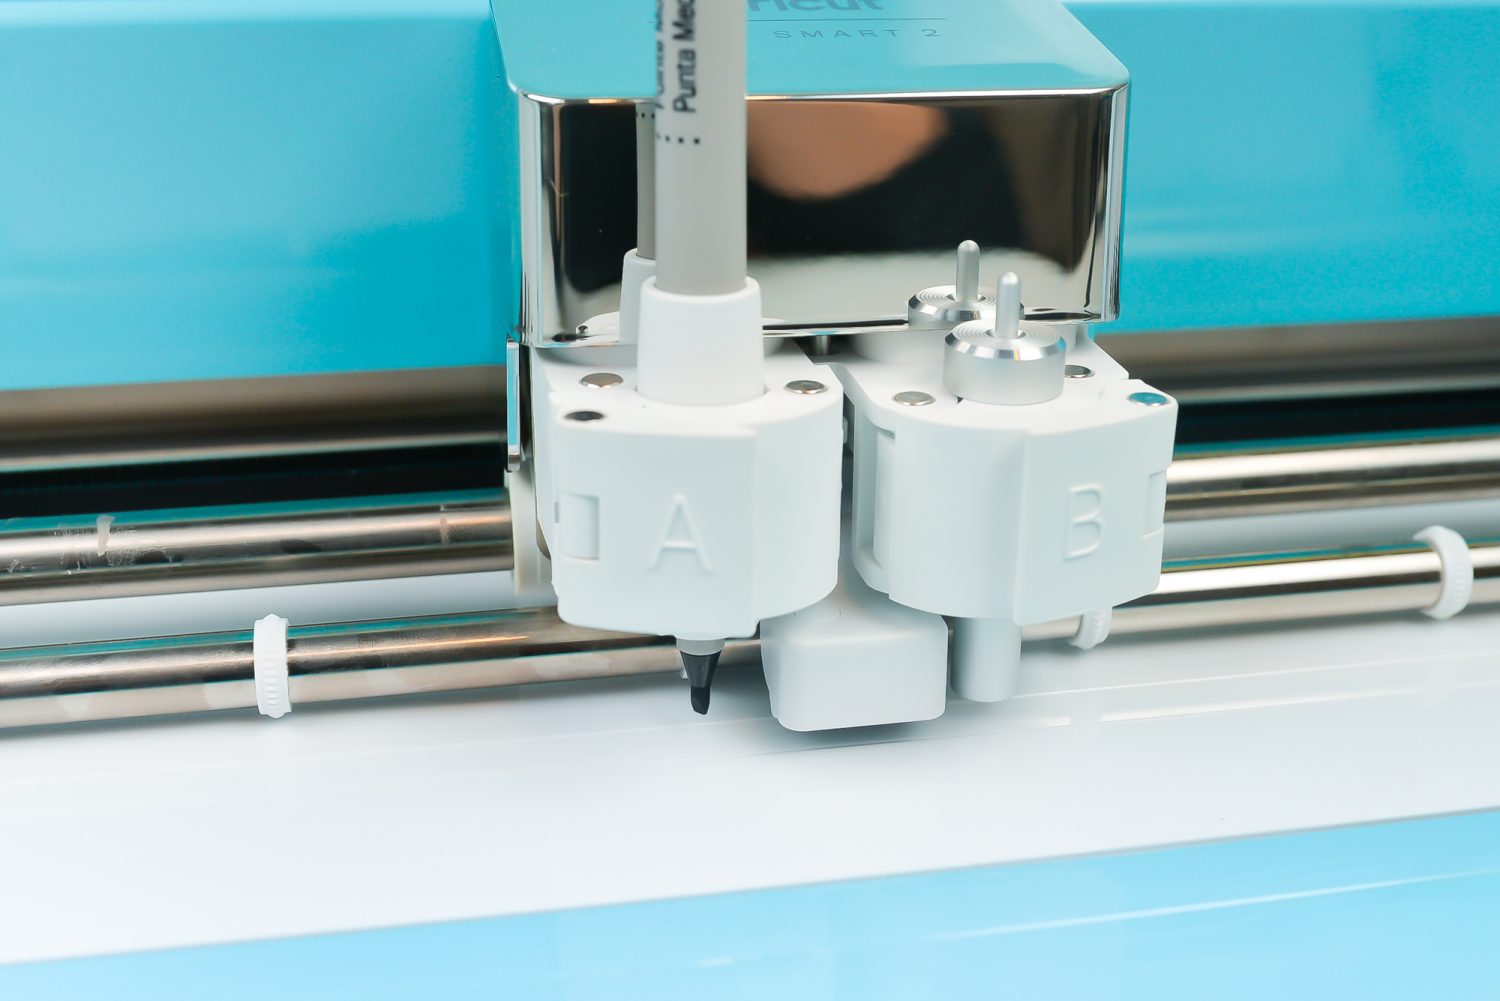
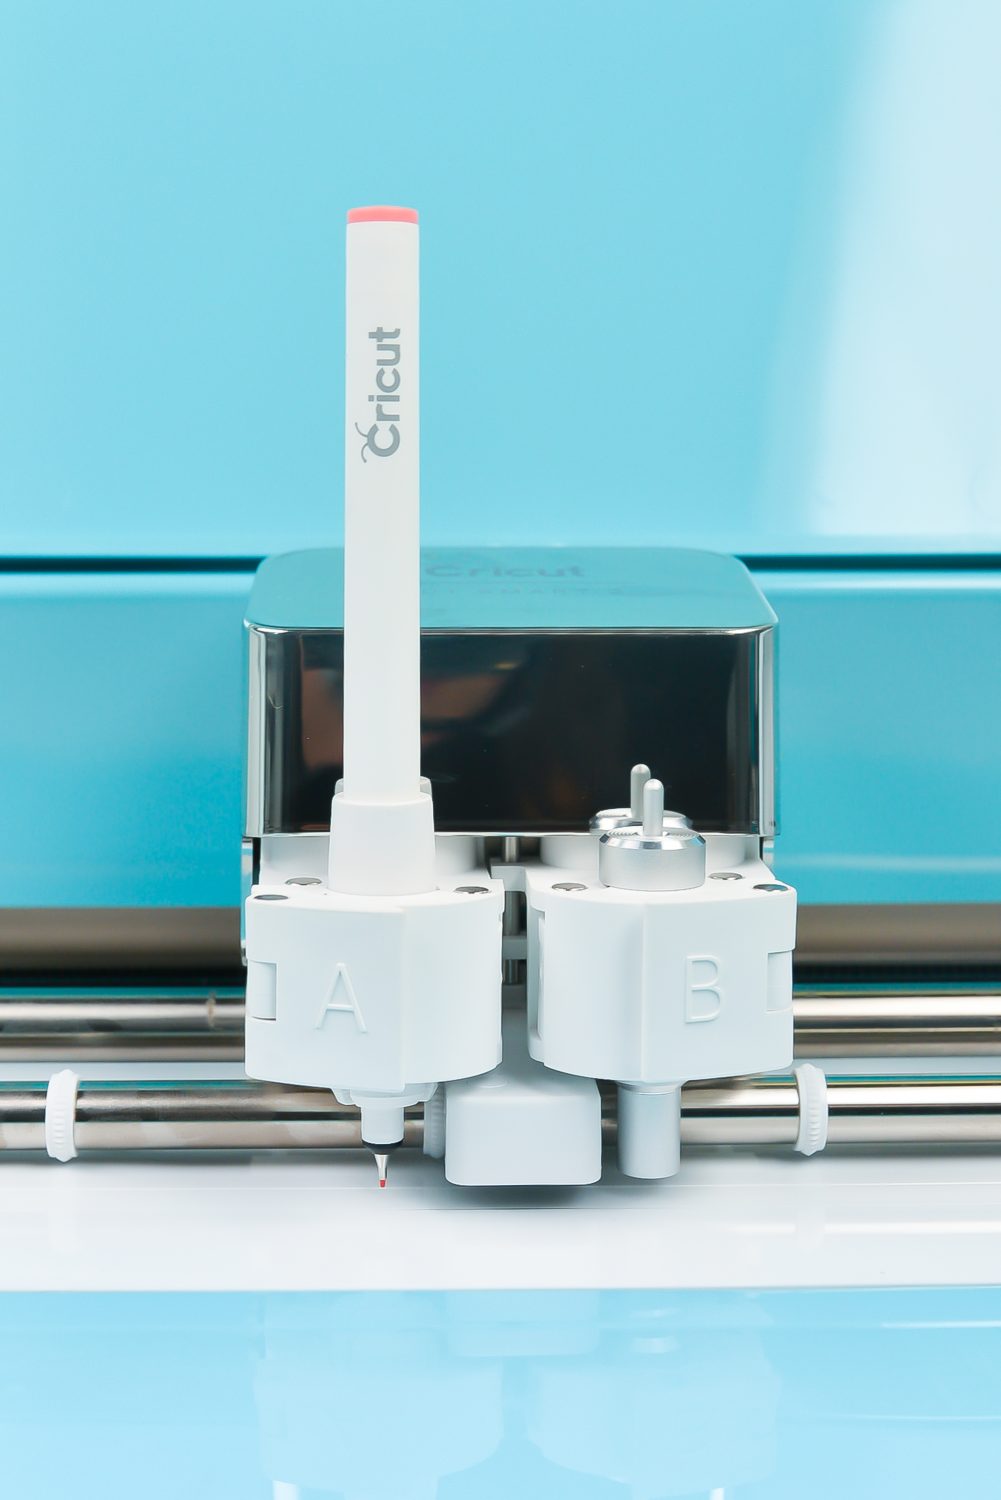
Cricut Explore and Maker: Insert an uncapped pen in the auxiliary Clamp A. Hold the bottom of the tool holder as you insert the pen, and push down on the pen until it clicks. Make sure your pen is snapped into the housing—it won’t draw unless you hear that click!
Cricut Joy: There isn’t a separate clamp on Cricut Joy for the pen. So you’ll have to unclamp and remove the blade and then set the pen inside. Unlike the other machines, you do NOT need to press the pen down (in fact, you could damage the machine if you do). Just set the pen in and close the clamp and you’re good to write.

Using the Cricut Pens
Whew! That was a lot of information on the pens themselves. Now let’s put them to work by setting up a gift tag file in Cricut Design Space. We’ll draw a picture AND write text to show you how to do both.
How to Draw Images with the Cricut Pen
The Cricut Design Space library has a ton of images that are designed as “writing” images. When searching, you can use the “Draw Only” filter to show images that are designed to be drawn using the pen. You’ll see that Cricut Design Space has three results for hedgehogs drawn with the pen.
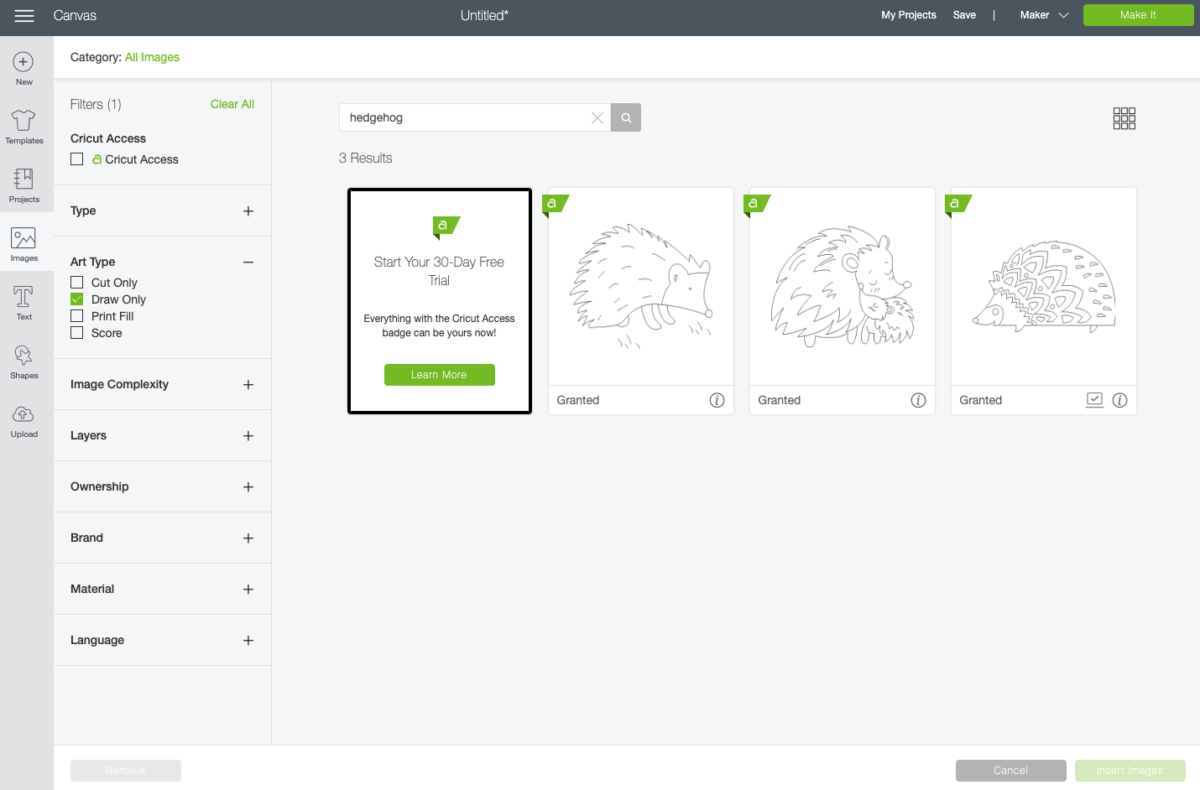
We’re going to use the friendly little guy on the left for this example (Cricut Design Space #MF27BE5).
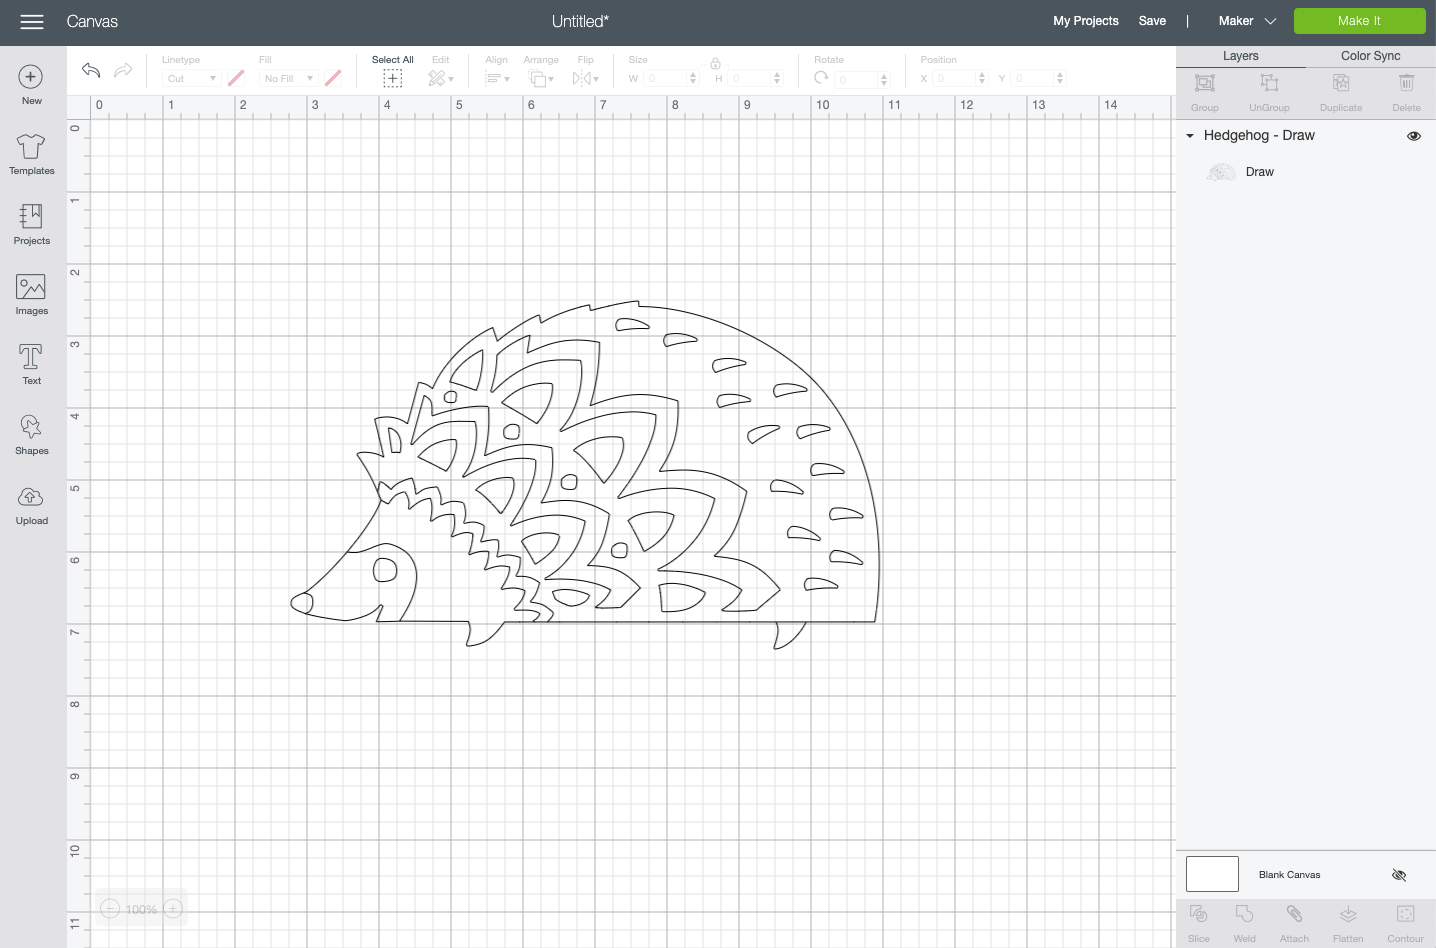
Because he’s a drawing image, you’ll notice it says “draw” in the Layers Panel on the left, as well as in the linetype selection dropdown at the top in the Edit Toolbar.


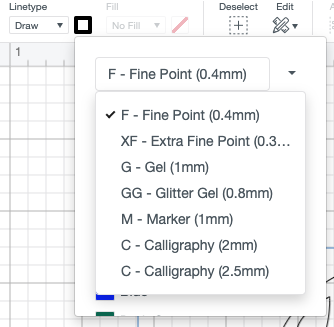
When you click the colored square box next to the linetype dropdown, you can select the type of pen you’re using. You’ll notice that these letters match up to the pen end-cap labels I talked about earlier in this post.
And that’s it for now—we’ll get to attaching this guy to a label shape and draw him in a bit.
How to Write Text with the Cricut Pen
Before we begin, if you love fonts and writing, check out these posts:
- All About Cricut Design Space Fonts (even more about what we’re talking about here!)
- How to Upload Fonts to Cricut Design Space
- Working with Script Fonts in Cricut Design Space
- Where to Find Cheap and Free Fonts for the Cricut
- 101 Fonts for Cutting Machines
- How to Curve Text in Design Space
Writing text can be a big source of frustration to Cricut users. We all want to be able to use our amazing system fonts in Cricut Design Space. System fonts are ones that are on your computer outside of Design Space.
Writing with System Fonts
I added a bit of text below the hedgehog using a system font on my computer called Anything Goes.
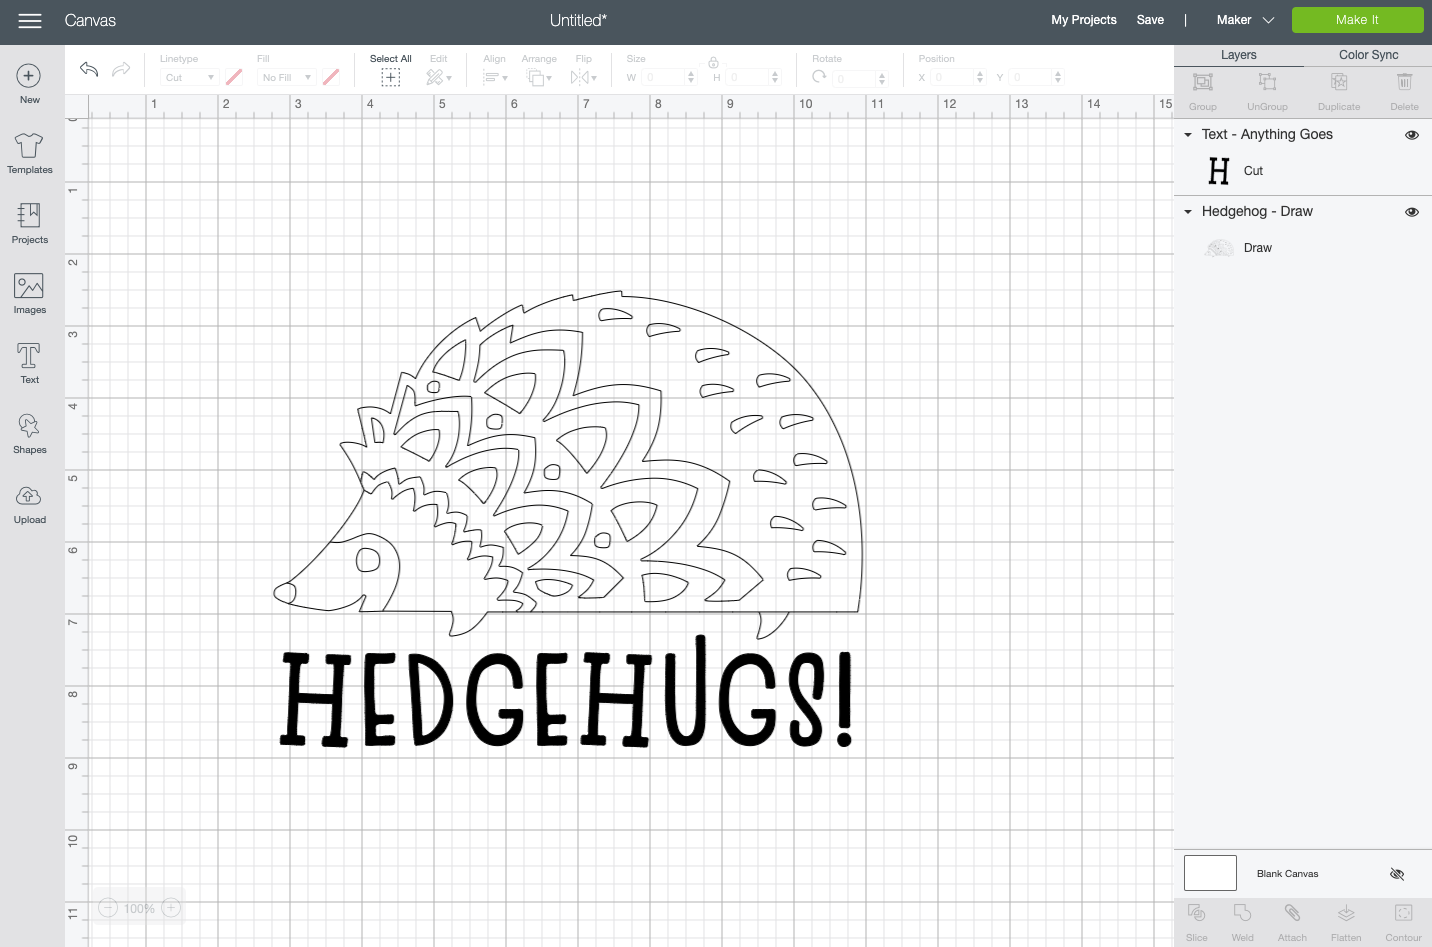
But once we change those fonts from a cut image to a write image in the linetype dropdown at the top, things look like this:
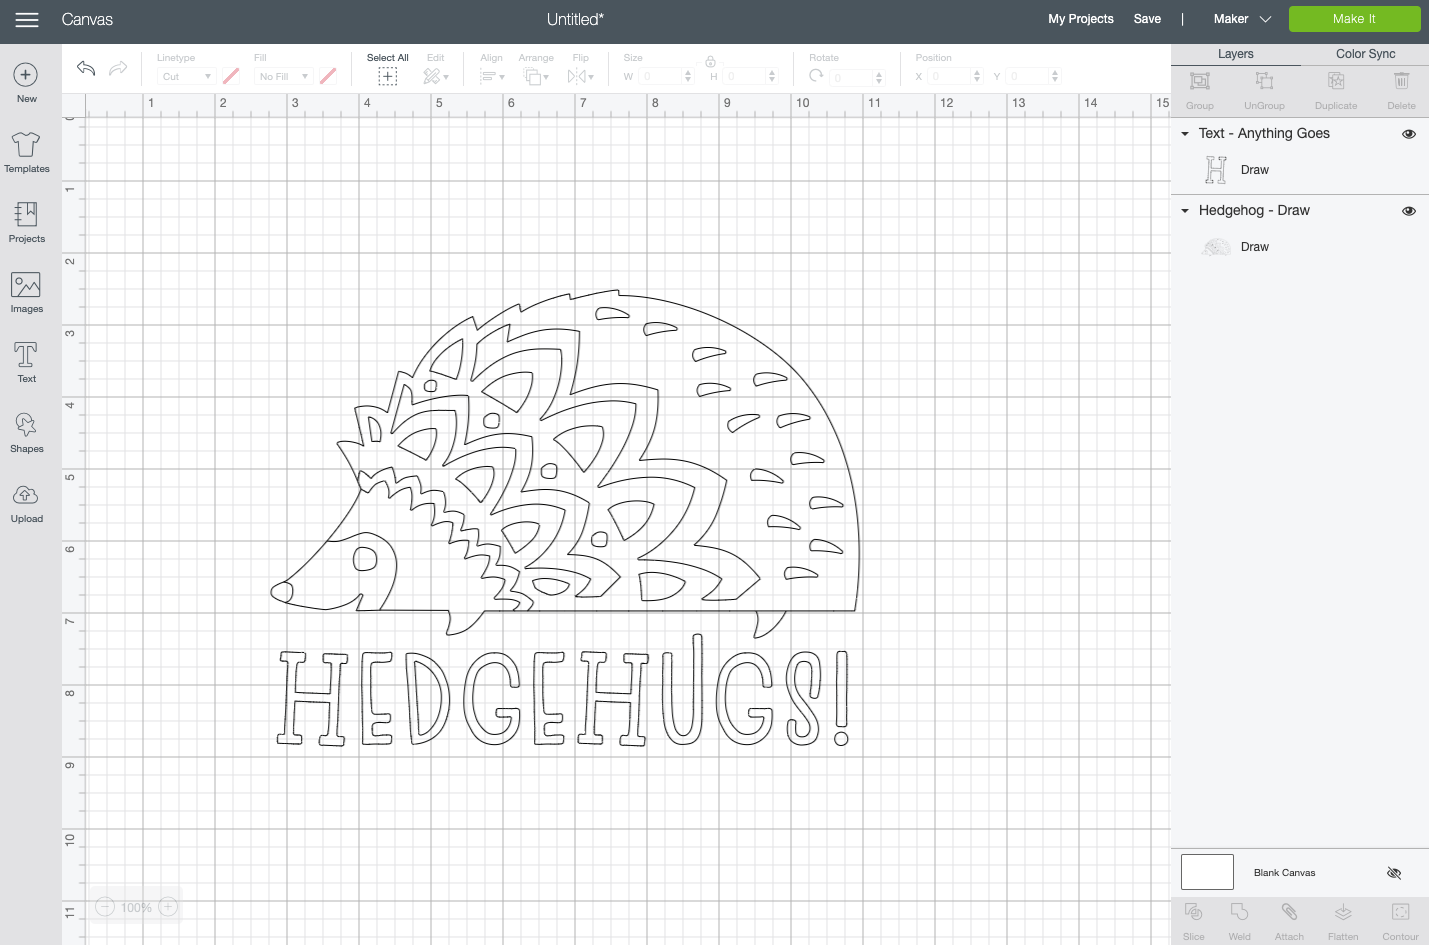
The font outlines. Depending on what you’re going for, it’s not the worst thing in the world—but it’s not the best either. I would LOVE for Cricut to come up with a way for their software to fill in those writing lines so the text is colored, but that’s not an option right now.
So here are a few workarounds:
- Keep the outlines as is—it’s not so bad in a case like this when the whole project is drawn.
- Color in the text by hand after it’s been drawn by your Cricut
- Choose a Cricut “writing” style font, which is a font that has been specifically designed to be used with the Cricut pen
Writing with Writing-Style Cricut Fonts
Cricut’s writing style fonts feature letters with single strokes that look the most like a hand-written text.
In the Font Menu, you can filter by Cricut Writing Fonts. This will narrow it down to just the Cricut fonts that already have a writing style built into the font. The writing style will not be available for any of your System Fonts (which are fonts you’ve downloaded outside of Cricut Design Space and can be used in other programs).
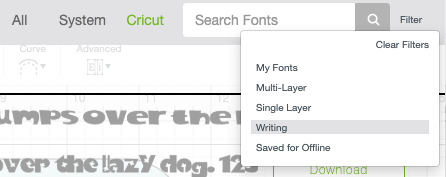
Once you’ve set that filter, you have a range of fonts to select from that will write more like hand-written text as opposed to outlined text. I chose the Cricut font Felix, which you can see looks like single-line writing.
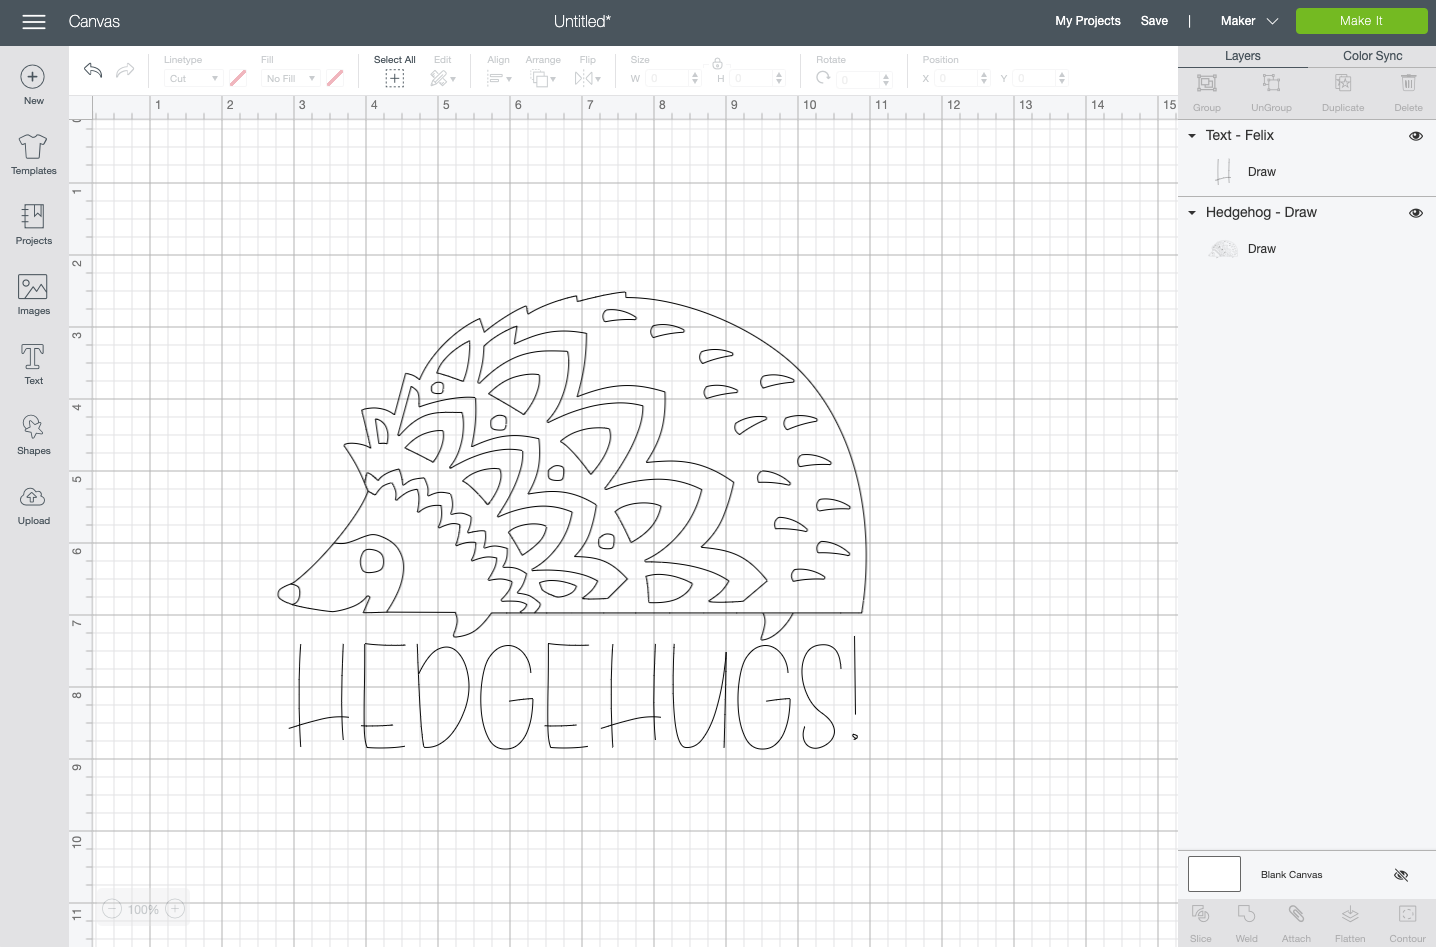
Using Attach to Write and Draw Properly
One of the most important things you need to know about using the Pen with your Cricut is that your drawing/writing layer MUST be attached to the layer you want to draw/write on.
Right now, our hedgehog and text don’t have a layer to write on. So let’s create one.
I inserted a tag shape into my Canvas (Cricut Design Space #M3E1F1). From there I changed the size, changed the color, and moved it to the back of my Canvas using the Align tool so I could see the hedgehog and text.
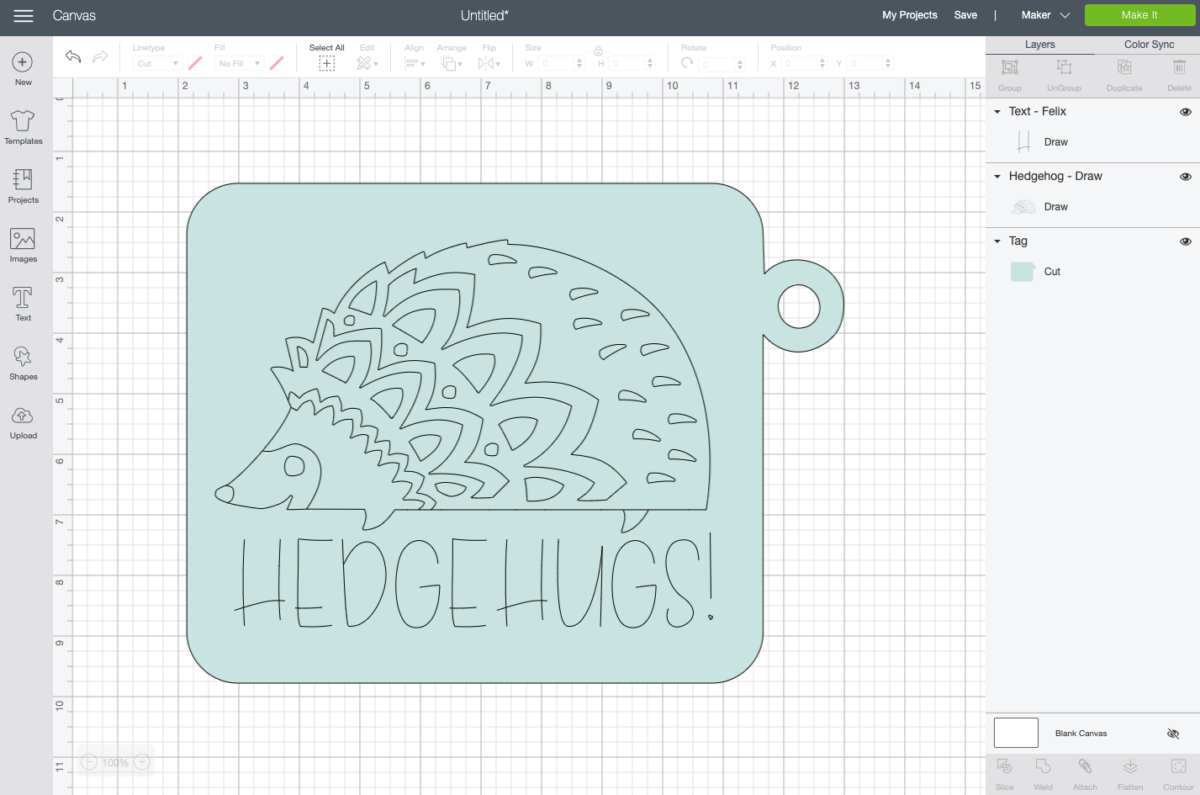
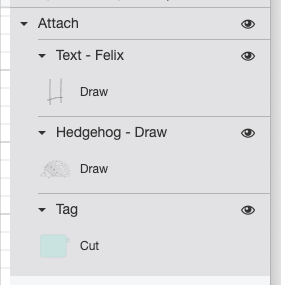
Now let’s attach the hedgehog and the text to the tag. This is pretty easy to do—just select your drawing/writing layers and your base layer and click “Attach” in the lower right-hand side of the Layers Panel.
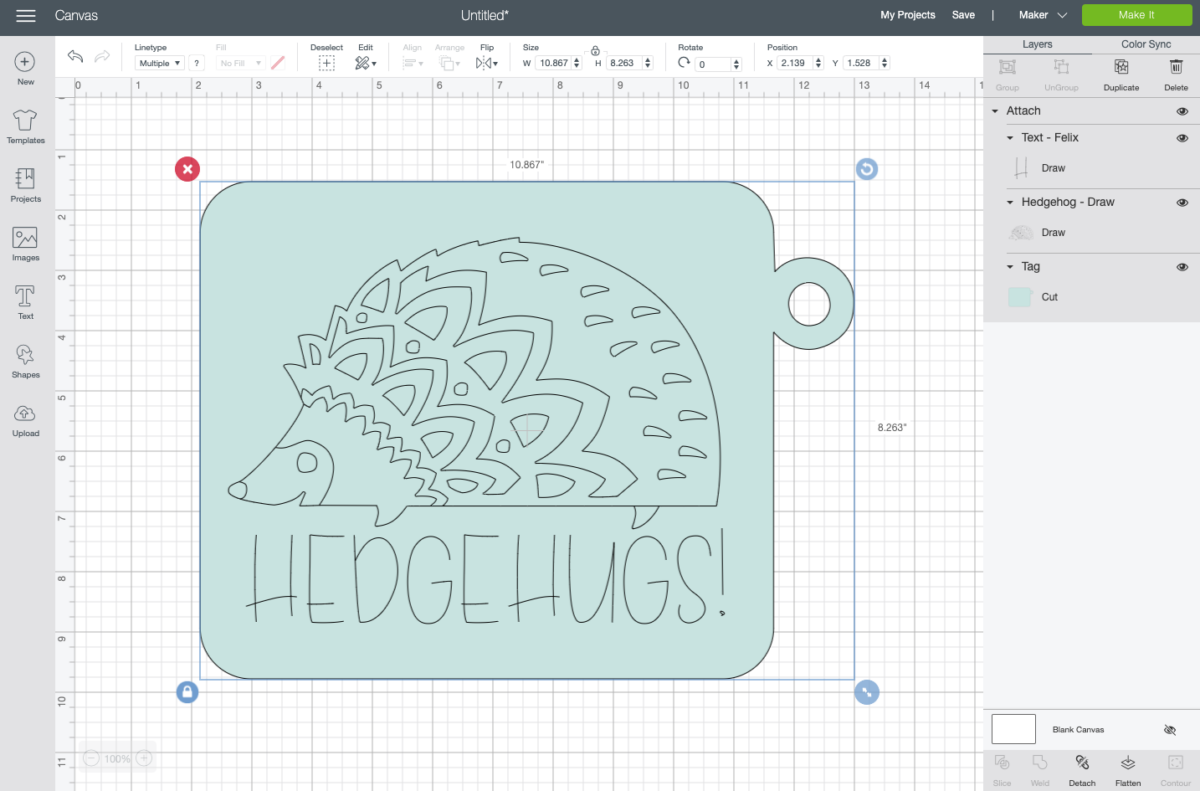
You’ll see that the three layers are now nested under a title that says “Attach” in the Layers Panel.
Using the Cricut Pen to Make a Gift Tag
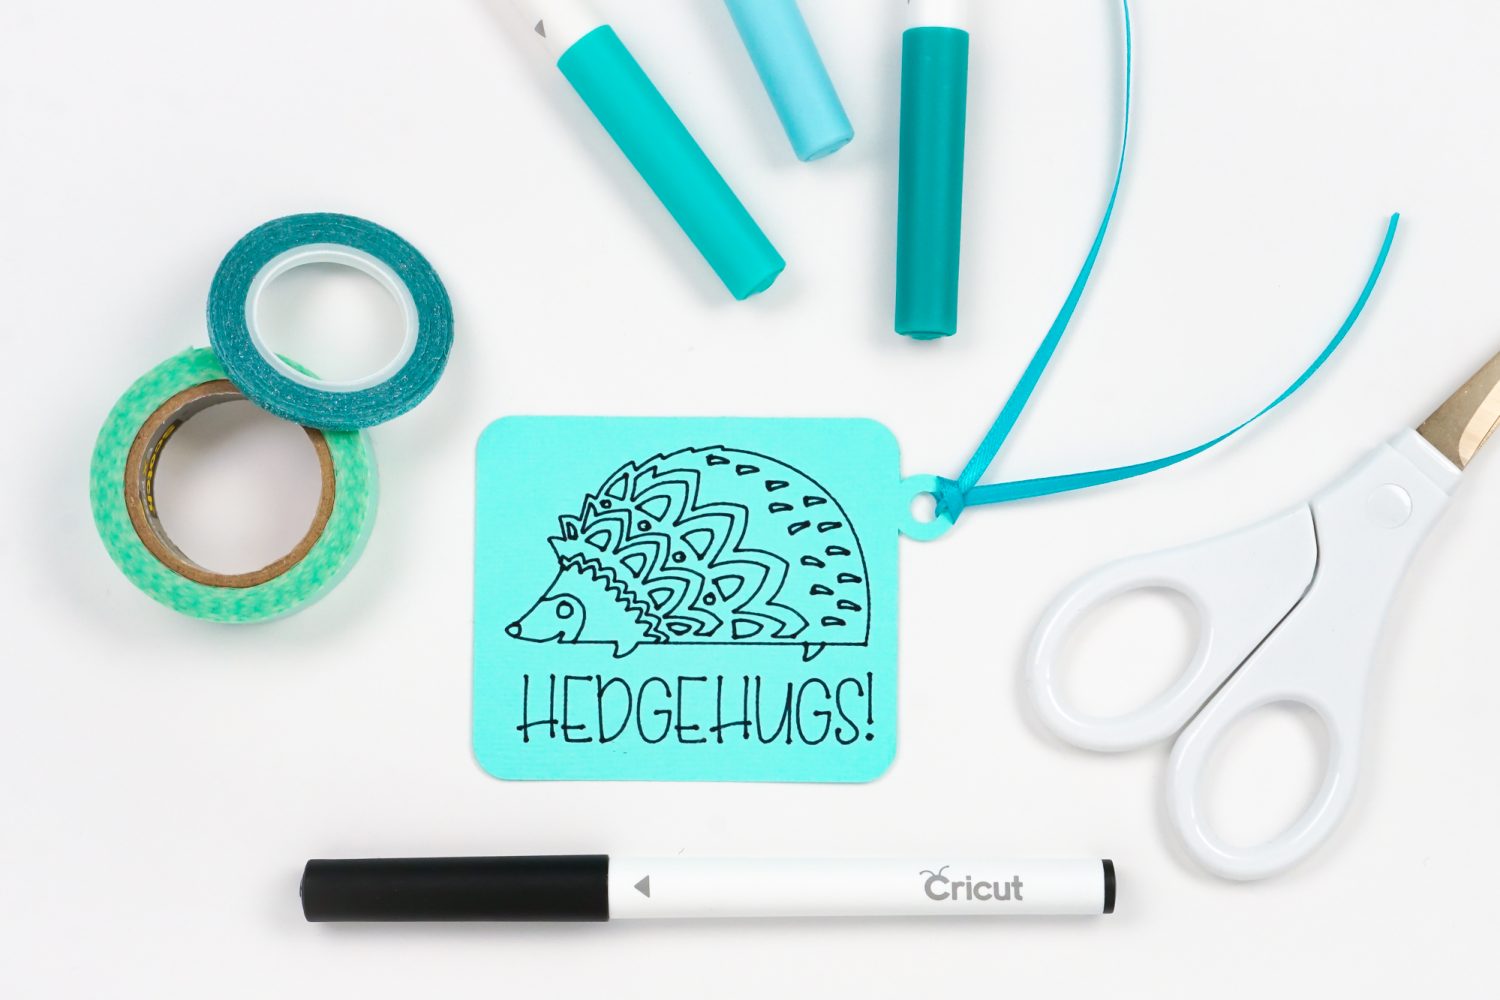
Now let’s make the gift tag! Make sure the tag is the size you want it (mine ended up being 10″ wide so you could easily see it in the screenshots—I shrunk it down to 3″ wide!) and click Make It in the upper right.
In the Prepare Screen you will see your image on the mat. If the drawing layer is on a white mat that is different from your tag layer, go back to your canvas and make sure everything is attached properly.
Click continue. In the Make Screen, you’ll select your material. In most cases it will be some sort of paper. I chose medium cardstock and a 0.4 pen. Cricut Design Space will prompt you to insert your pen and fine point blade. Insert your mat into your machine and your Cricut will draw and cut your tag!
Turning a Cut Image into a Draw Image
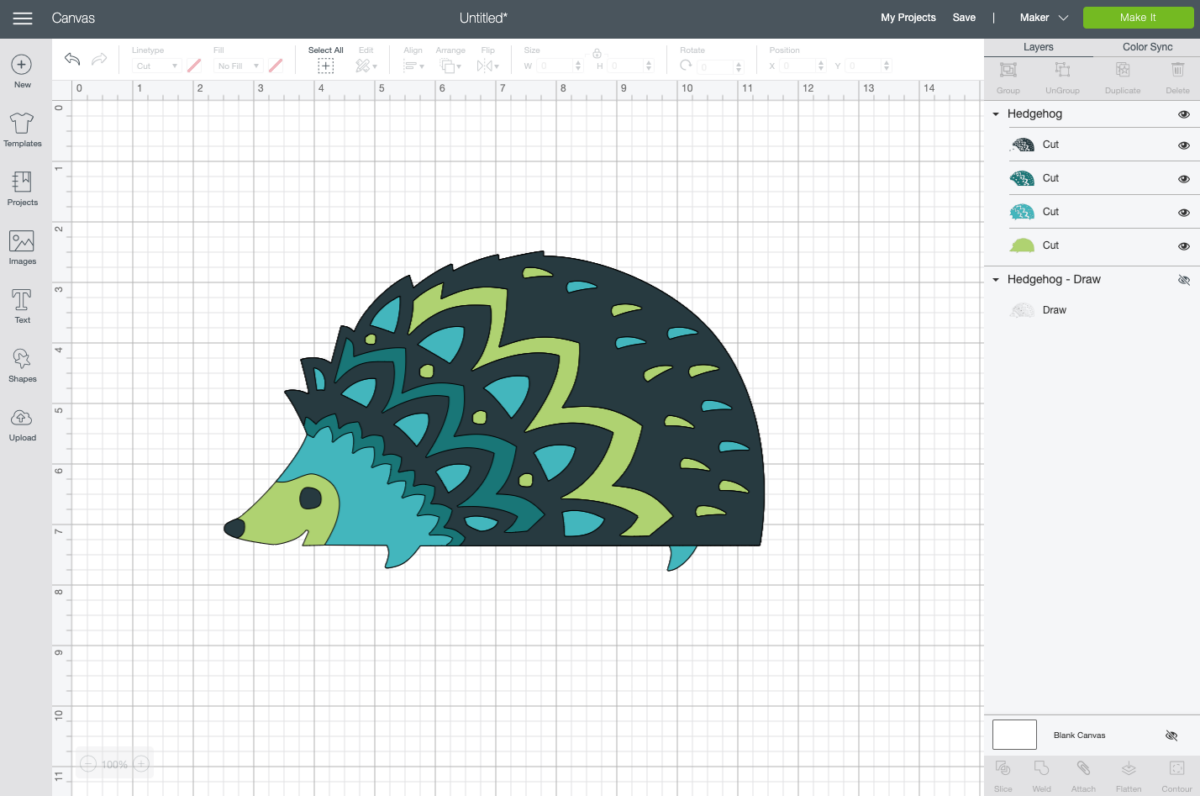
Additionally, you can take pretty much any image in Cricut Design Space and make it a drawing image by changing it from a Cut to a Write image in the Layer Attributes panel for that image. For example, this hedgehog also comes in a layered cut file (Cricut Design Space #MF27D4D):
We can turn him into a draw file by changing the linetype dropdown to “draw.” You’ll see all four layers in the Layers Panel are now set to draw.
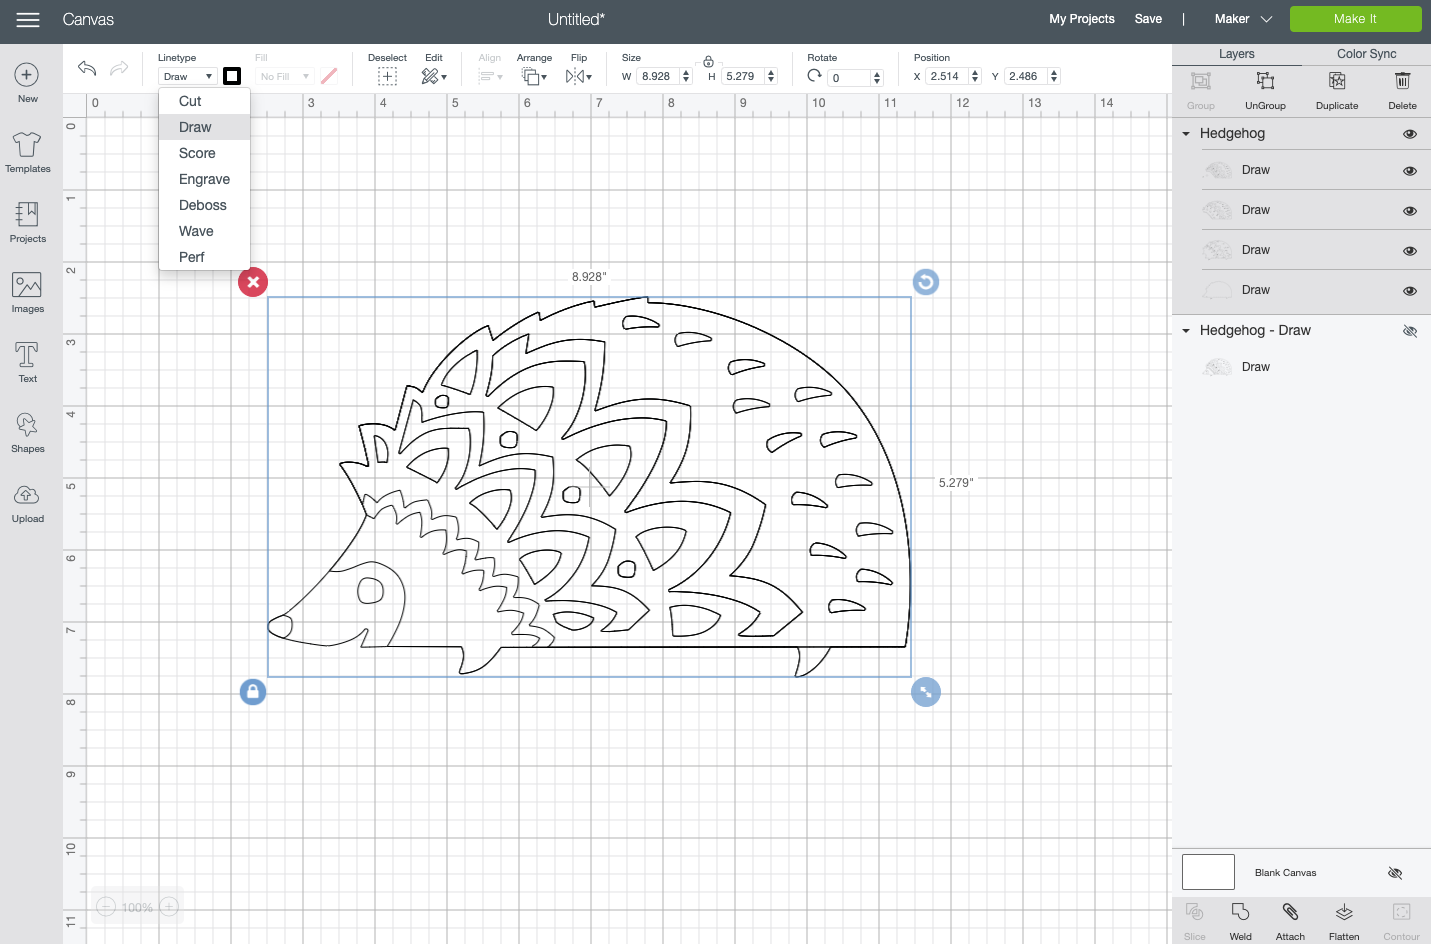
You’ll now see that the hedgehog looks like the original drawing image we started with…but there’s one key difference.
There are now four layers to this drawing file. Some of the lines in this file are duplicated, like the line around the shape of the hedgehog. If I ungroup the layers (using Ungroup in the Layers Panel) you can see the layers more clearly.
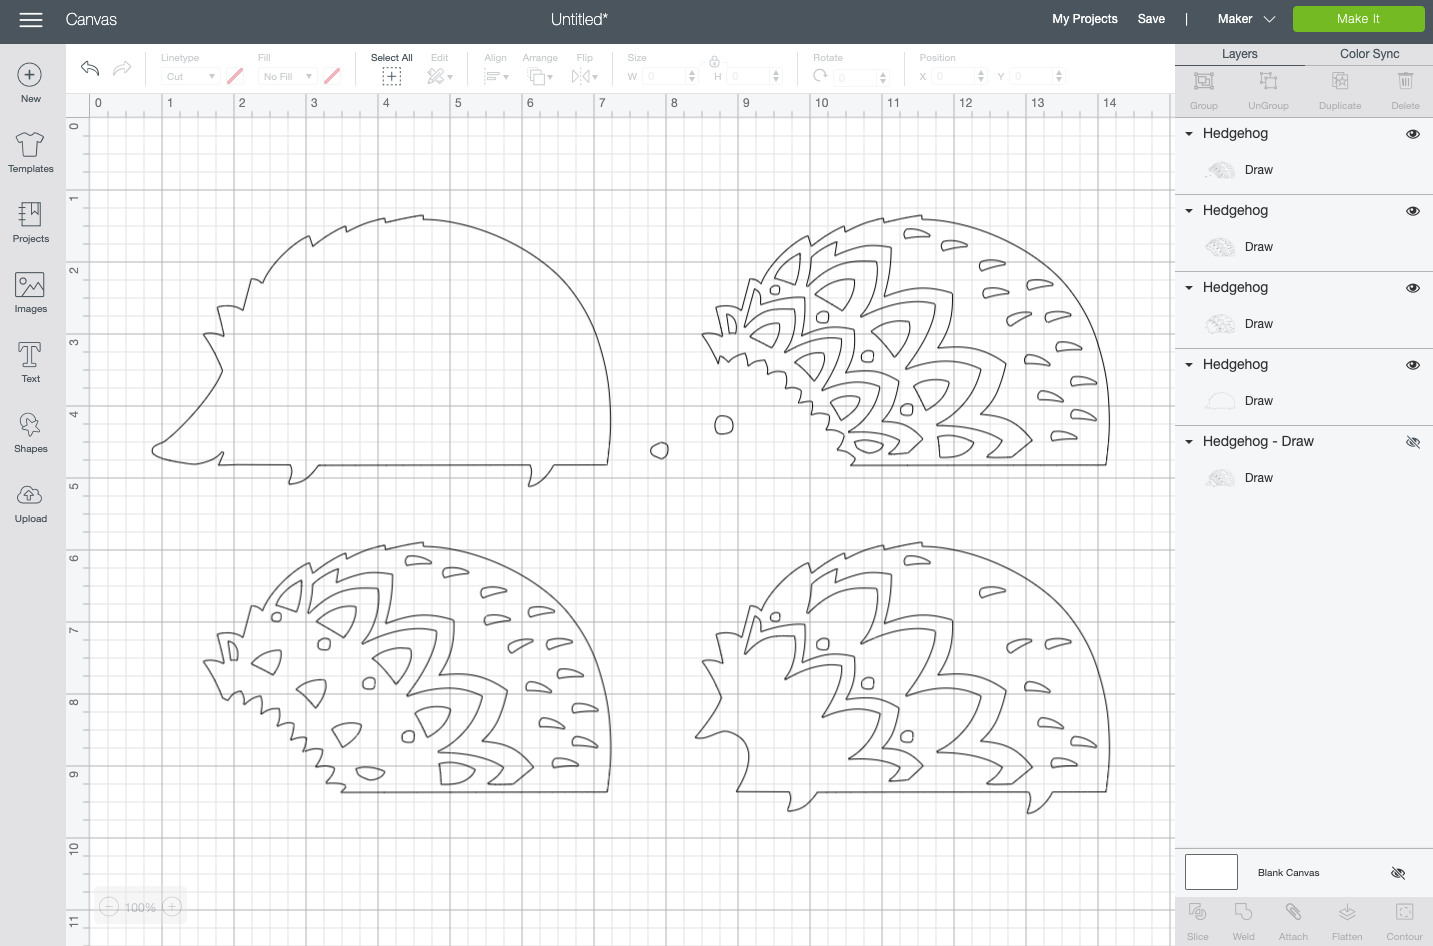
The original “writing” hedgehog we used doesn’t have these duplicated layers—it’s all a single layer. Because of this, in the layered example the Cricut will draw around those duplicated lines and you’ll end up with some heavier lines because the Cricut has drawn them multiple times. So it’s totally possible to change almost any image in Cricut Design Space to a writing/drawing image, just be aware that you may run across thicker/heavier lines if some of your layers contain duplicate lines.
All that is to say—if you can find an image that is “natively” a draw image (it imports into Cricut Design Space directly as a draw image and not a cut image), you’ll probably get better results!
What Else Can I Draw with my Cricut Pens?
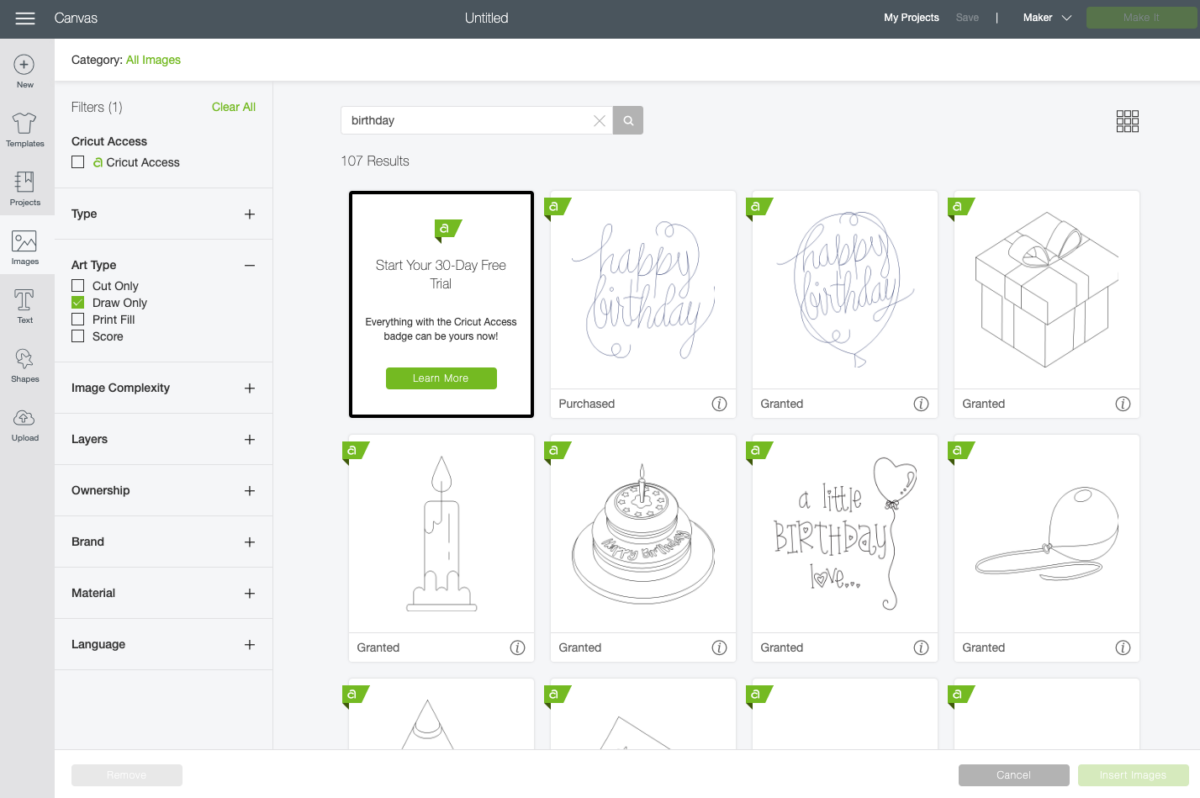
In addition to writing text, there are so many fun options for drawing illustrations, doodles, embellishments, coloring pages and more. You’ll find a lot of these in Cricut Design Space by searching for an image and then clicking “Draw Only” in the sidebar under Art Type.
How Should I Store Cricut Pens?
I suggest storing your pens with the top facing down. This helps SO MUCH with ink flow and making your pens last as long as possible.
Troubleshooting the Cricut Pens
Ink is Skipping or Bleeds
Always do a practice scribble on a piece of the material you’re going to be using so you can make sure your drawing/writing is legible and looks how you want it to look. I often find that just a bit of a scribble lets me know if my pen’s ink is flowing, and using the project material gives. mea good idea if the ink is going to bleed or spread.
Pen is Not Writing
First, make sure that your pens has ink. Then make sure that it has seated all the way into the Cricut clamp, double checking that it has “clicked” if you’re using an Explore or Maker.
Pen Not Supported by Cricut Error
Sometimes you’ll get an error that the pen you have chosen isn’t available. Just select that layer and change to a pen type. If your pen doesn’t exist in the list, choose something similar.
WHEW! I hope you found this tutorial on Cricut’s pens helpful and inspiring! If you have any questions, as always just leave them int he comments and I’ll do my best to reply!
Interested in using Non-Cricut pens for your crafting designs? Check out my blog on How to Use Non-Cricut Pens in your Cricut using Pen Adapters!


Comments & Reviews
Jan says
Very nice tutorial! Thank You! I’m brand new to Cricut Joy.
Amy says
Thank you so much for a very thorough and clear (great screen shots) explanation of using pens
Cori says
Hi Amy,
You are so welcome! I’m thrilled you found the tutorial helpful! :)
Mici says
What I am needing to do is put cut lines on a svg file. Would I draw the lines and assign cut or what?