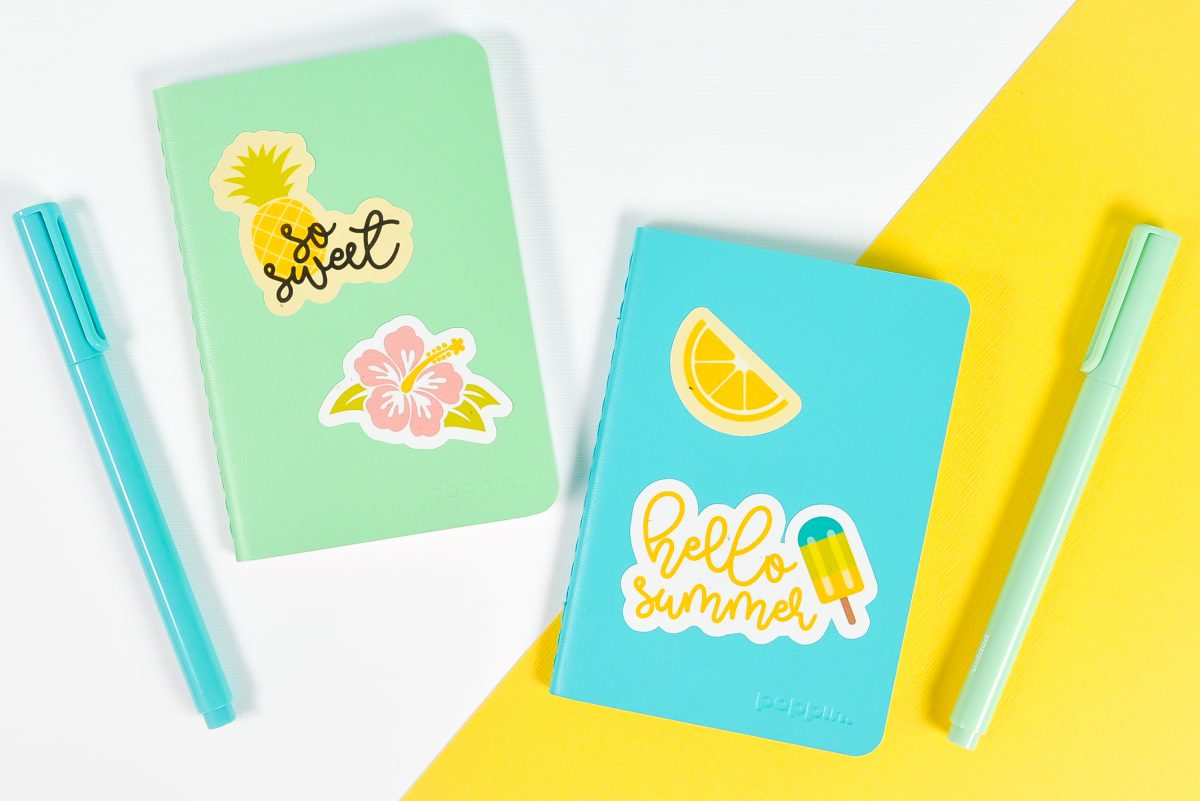
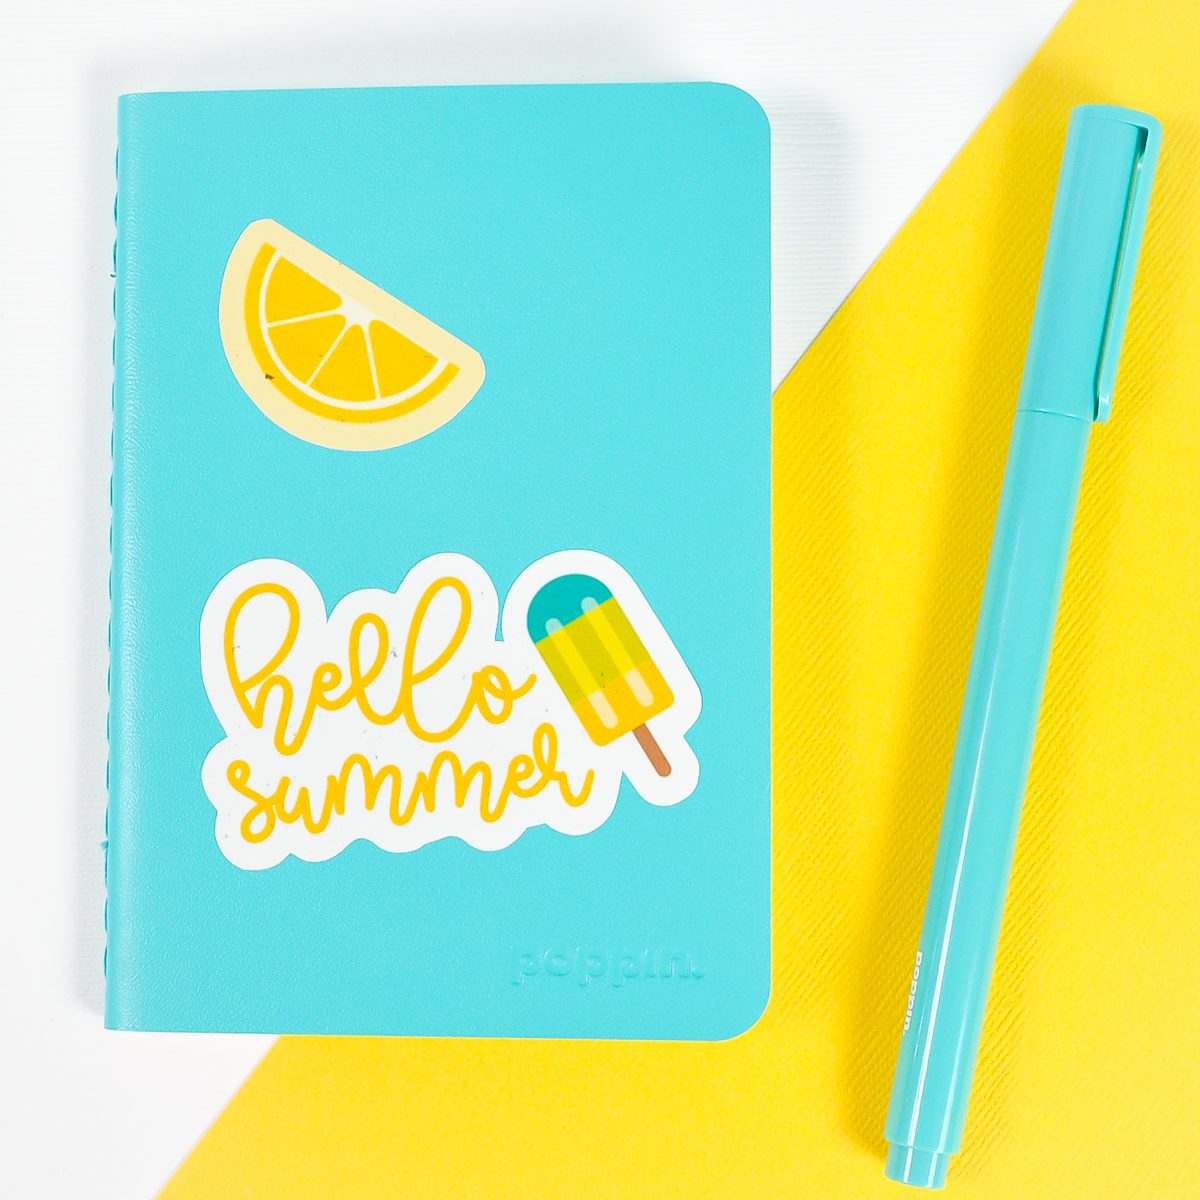
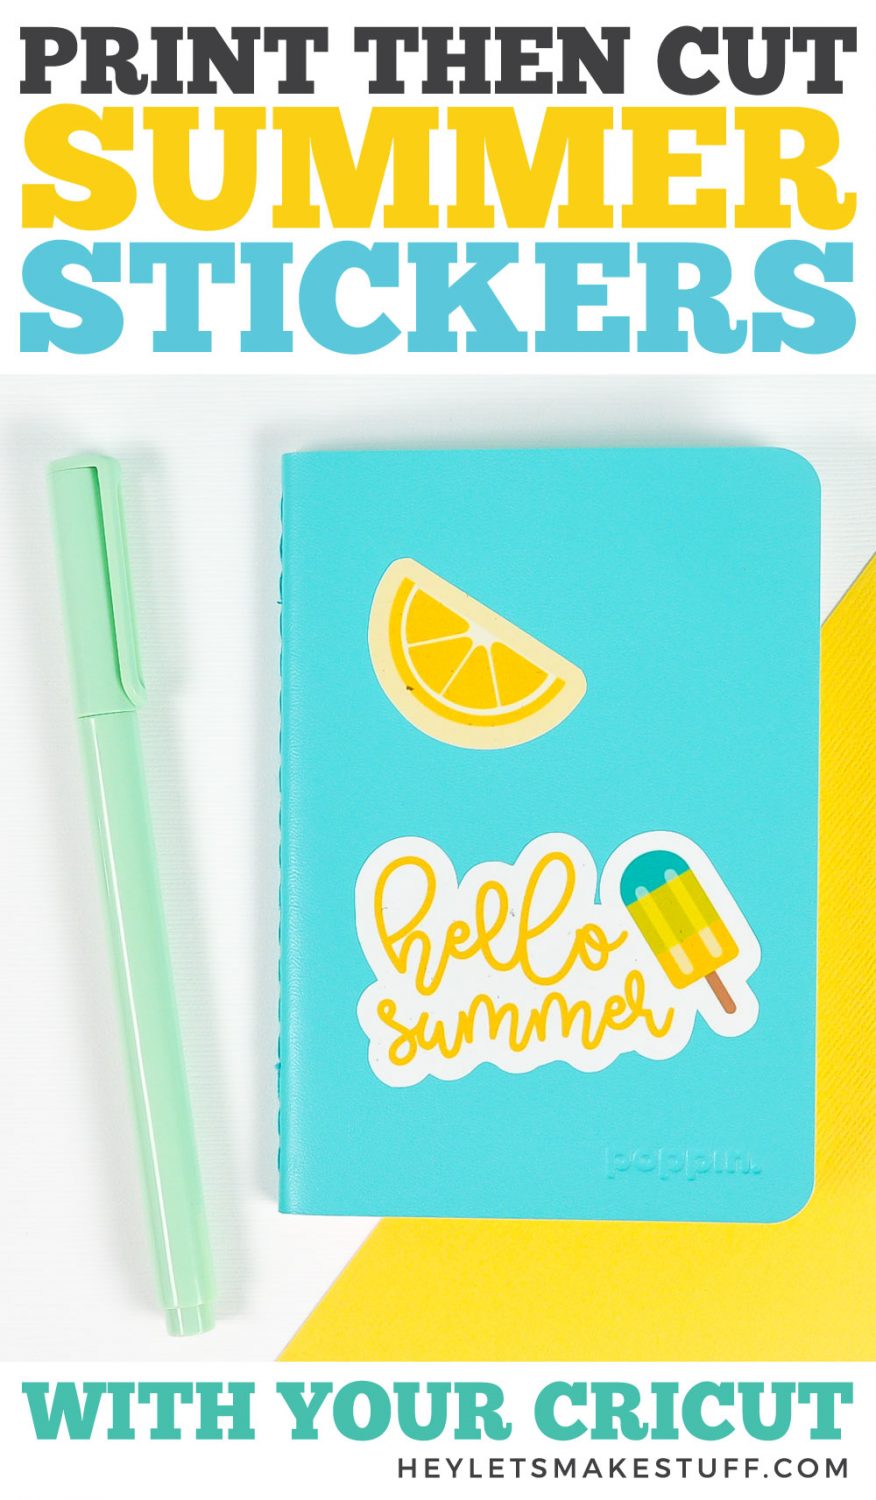
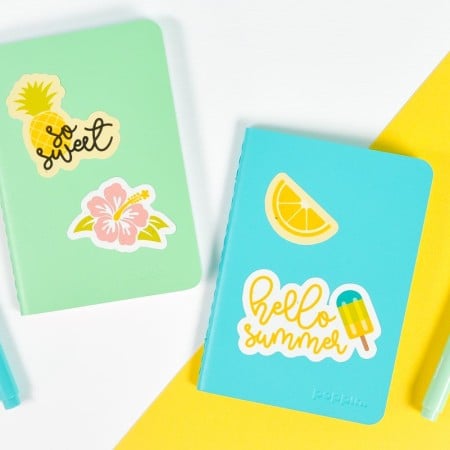
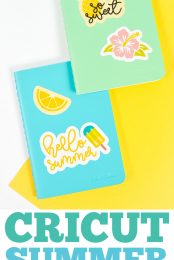
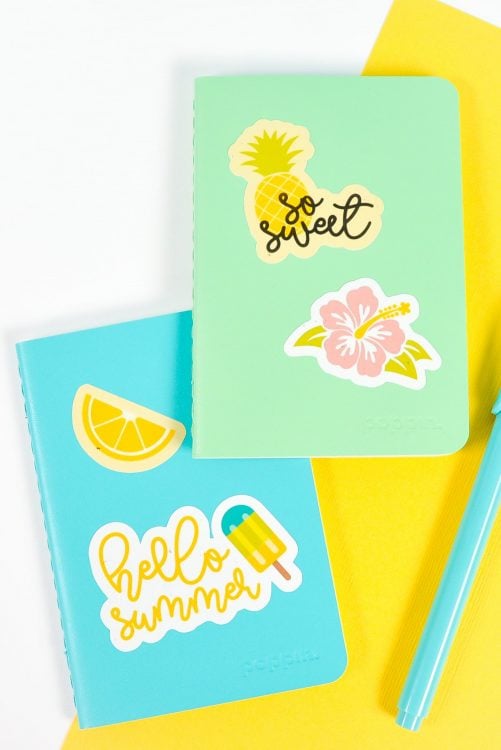
Cricut’s Print then Cut feature makes it super easy to make stickers using your Cricut machine! Here’s how to make fun summer stickers for your notebook, water bottle, and more!
Welcome to Day 11 of the 15 Days of Cricut Summer Fun!
Stickers never seem to go out of style—I remember collecting them in 90s and their popularity doesn’t seem to have slowed! You can easily make stickers using your Cricut and the Print then Cut feature.
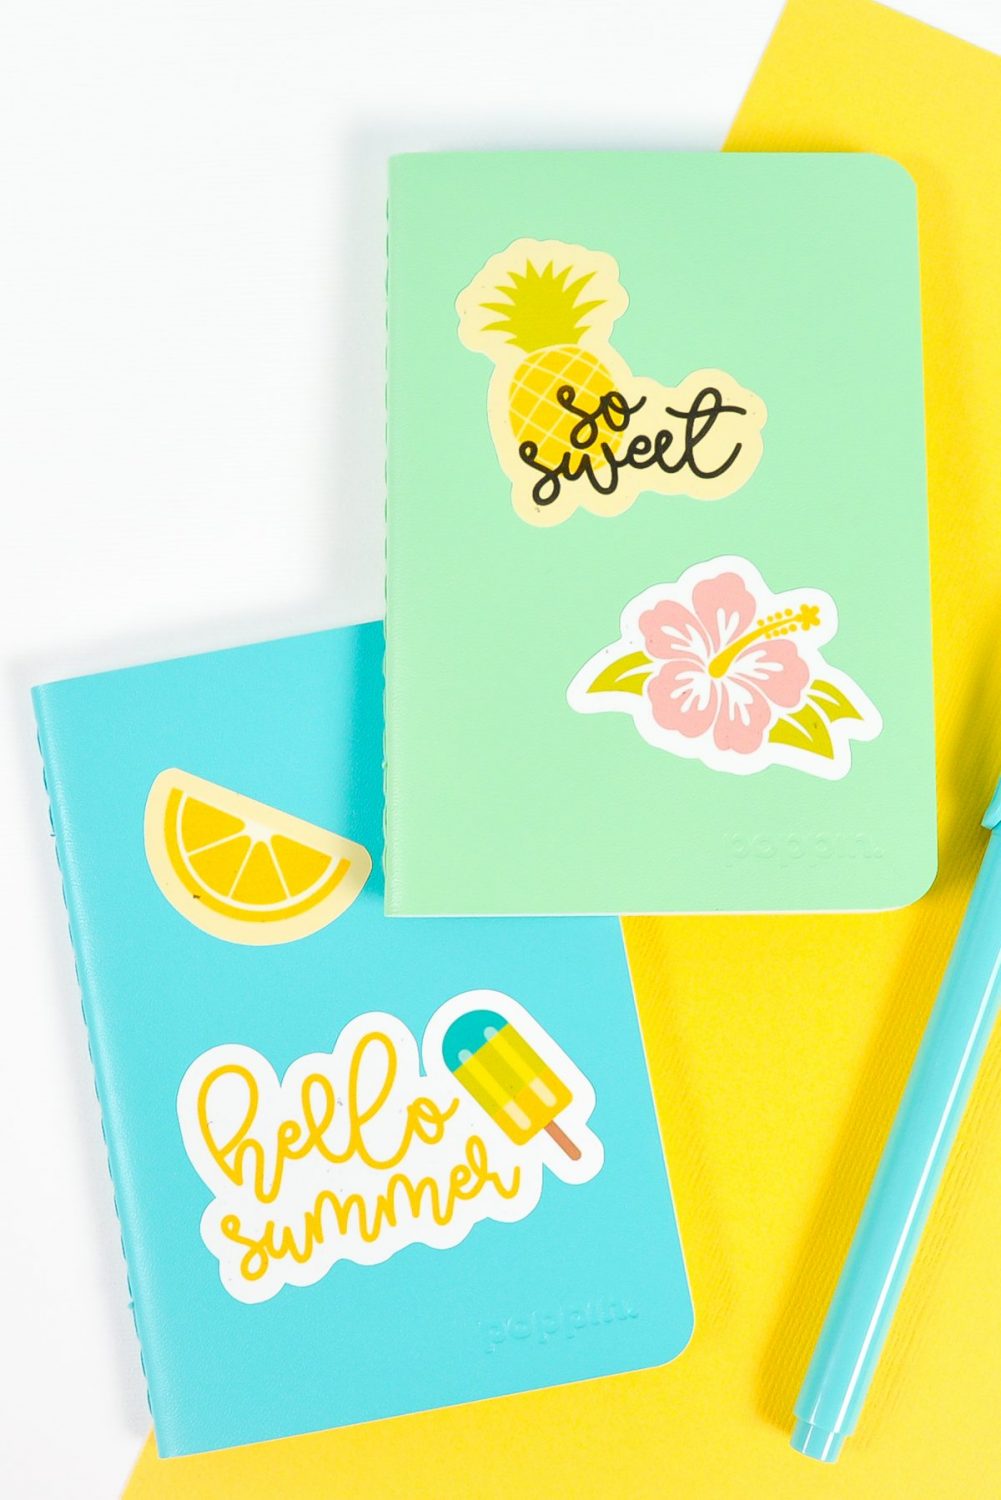
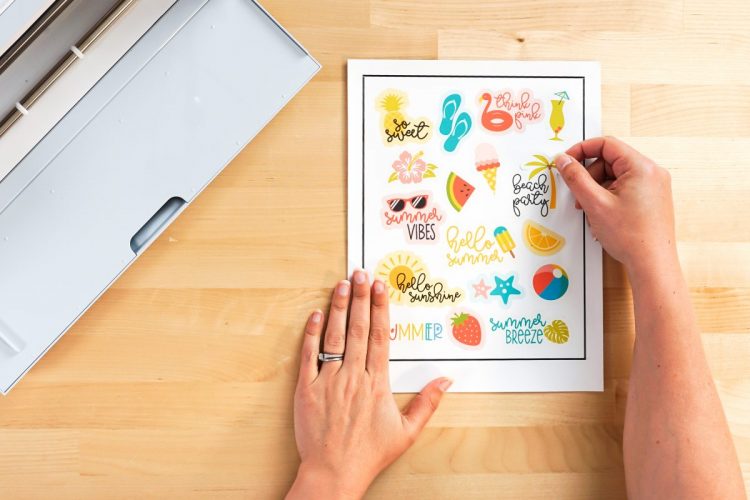
Today we’re crafting summer stickers for your notebook, laptop, water bottle, or wherever you feel like adding summer vibes! You can print these colorful summer stickers on your home printer, and then your Cricut will perfectly cut around the edges. From flamingos to watermelons, palm trees to fruity drinks, there’s something here for everyone to love. It’s time to say “hello summer!”
If you’d like to get this series in an ebook format PLUS all of the SVGs needed to make all 15 projects check out the 15 Days of Cricut Summer Fun eBook Bundle!
Print then Cut makes this project super easy—stickers are a great way to give Print then Cut a shot if you’ve been intimidated by that feature in the past.
I’m using Cricut Printable Vinyl for this project, since I like it a lot better than the sticker paper. It’s not waterproof, however, so if you may want to try something like these waterproof labels if you’re using these stickers on something that will be washed.
Note that Print then Cut does not work with Cricut Joy. Joy doesn’t have the sensors that read your image. So you’ll need a Cricut Maker 3, Cricut Explore 3, Cricut Maker, Cricut Explore Air 2, or other Cricut Explore machine. Need help using your Cricut? Check out my Cricut Basics eBook!
Love the font I’ve used in these stickers? It’s called Millesh Script!
Summer Stickers Supplies
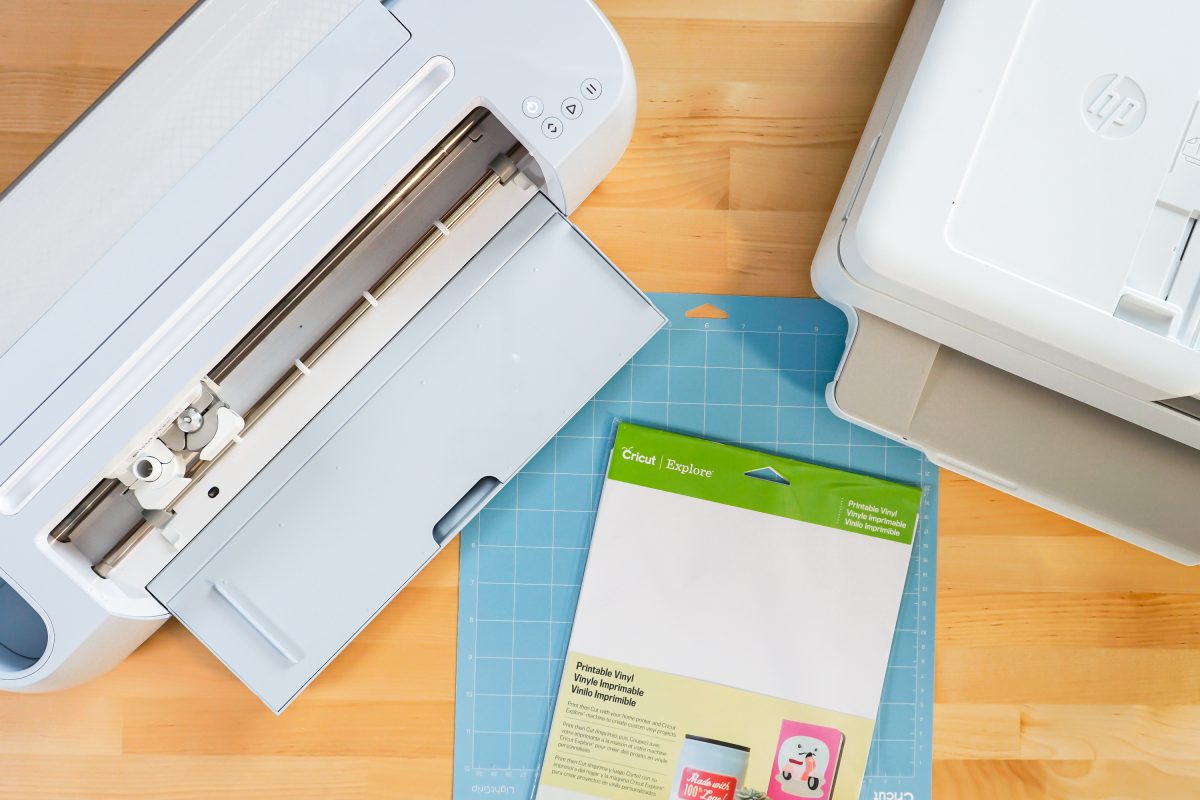
- Cricut Maker or Maker 3 or Cricut Explore or Explore 3
- Home printer
- Cricut Printable Vinyl
- Blue LightGrip mat
- Fine Point Blade
- Summer Stickers PNG File
Grab the PNG for this Project
Get the summer sticker PNG here. If you’re interested in making more projects in this summer series, our Cricut Summer Fun eBook and SVG/PNG Bundle is a great deal!
Cricut Summer Sticker Instructions
Upload the Summer Sticker PNG to Cricut Design Space
We will start by uploading the PNG file to Cricut Design Space. All of the other files in this series are SVG files, but when you’re using print then cut, I find a PNG works best so that’s what I’ve included!
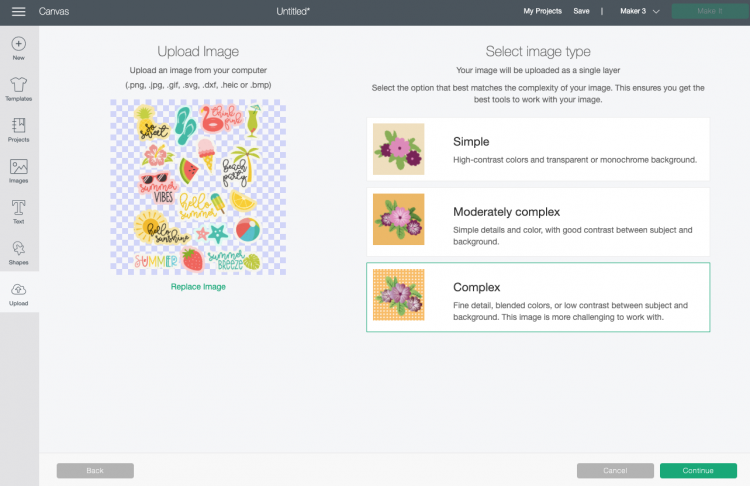
When you upload the PNG, Cricut Design Space will ask you to choose an image type: simple, moderately complex, or complex. For this project, choose complex and click continue.
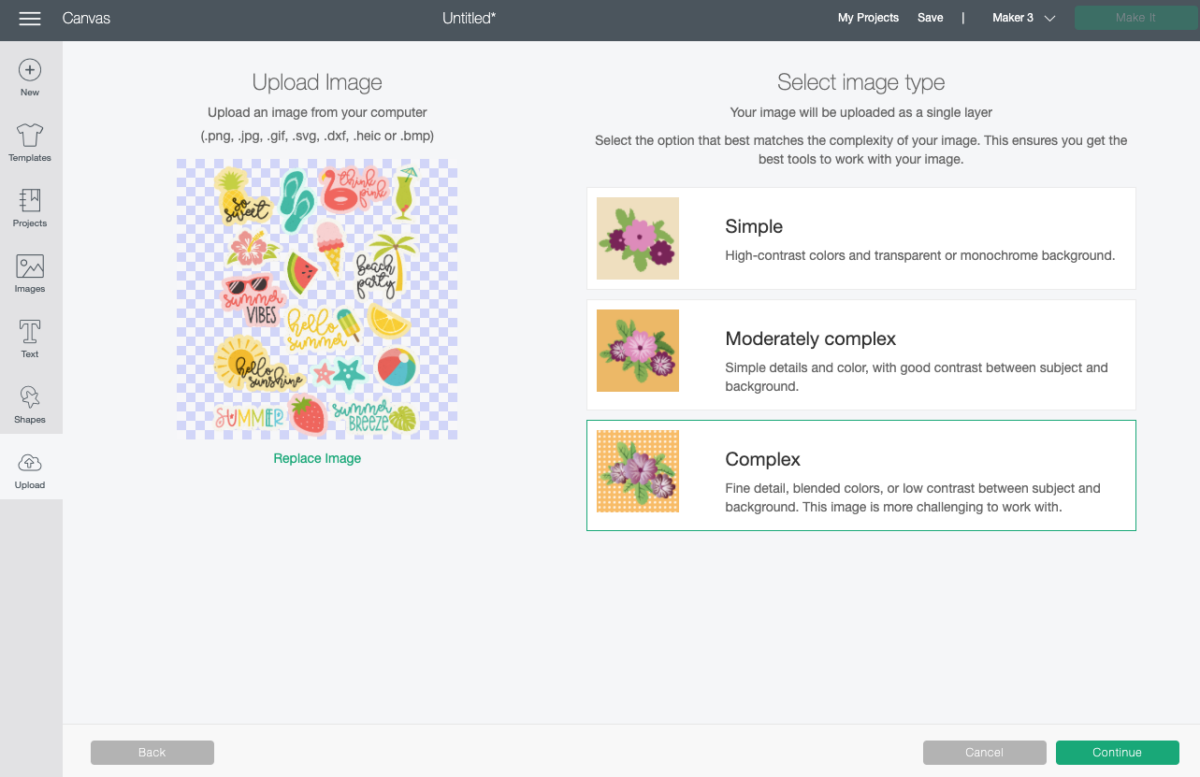
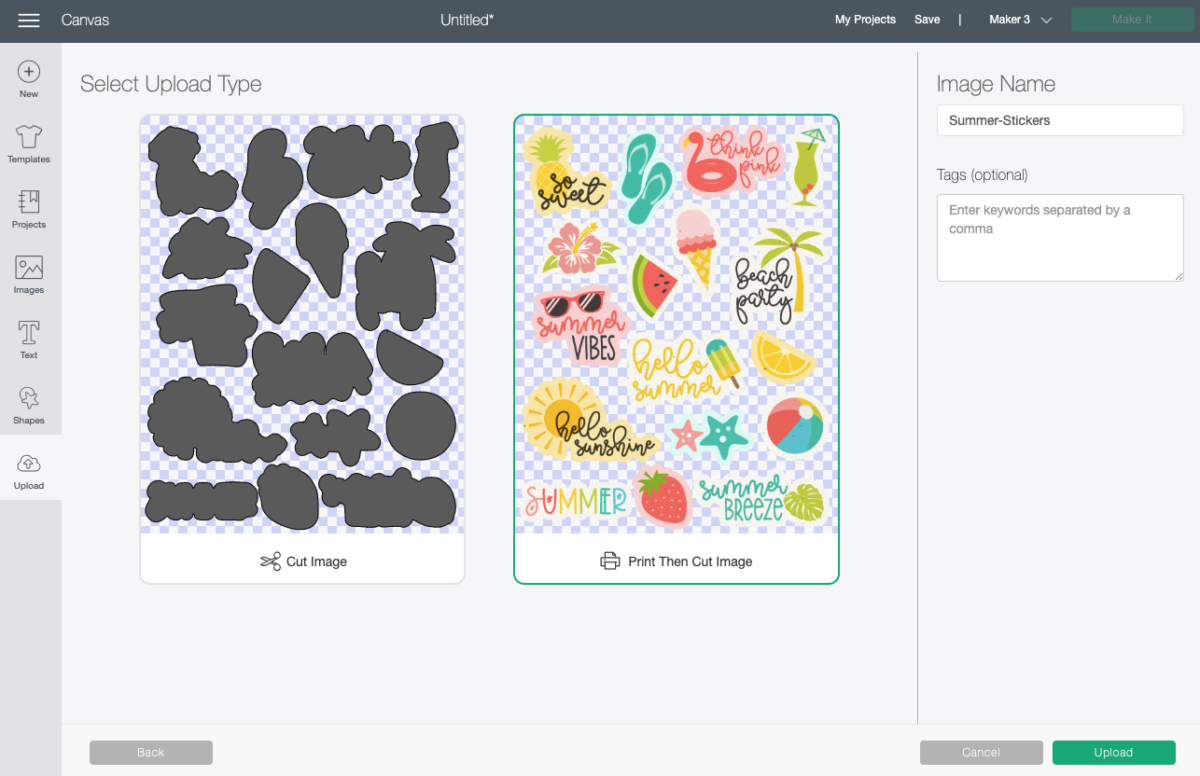
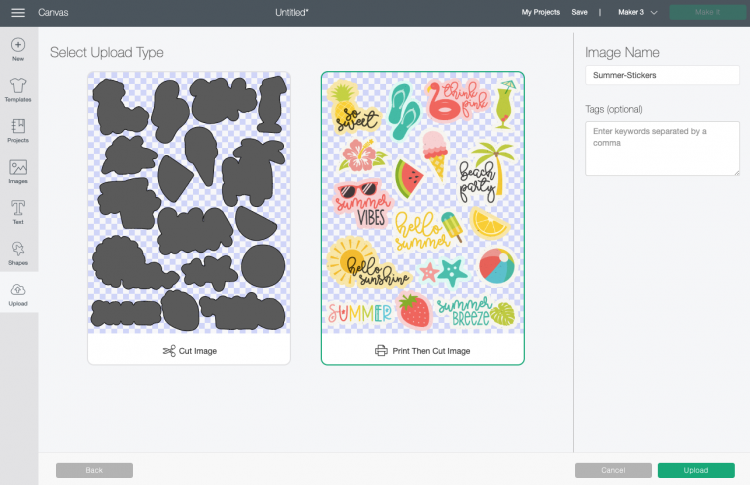
In the next screen, you’ll choose your upload type: Cut image or Print then Cut image. Choose Print then Cut image for this project and click Upload.
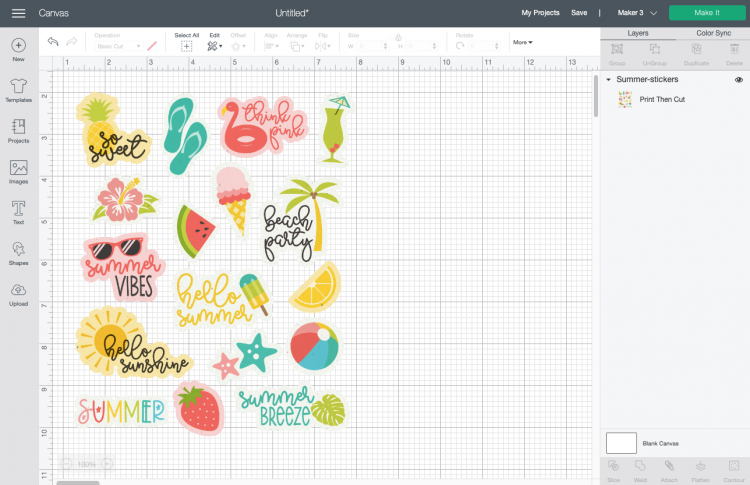
Once you have your image on the canvas, take advantage of the maximum cut area of Print then Cut area (6.75″ wide by 9.25″ tall) by changing the width to 6.75″.
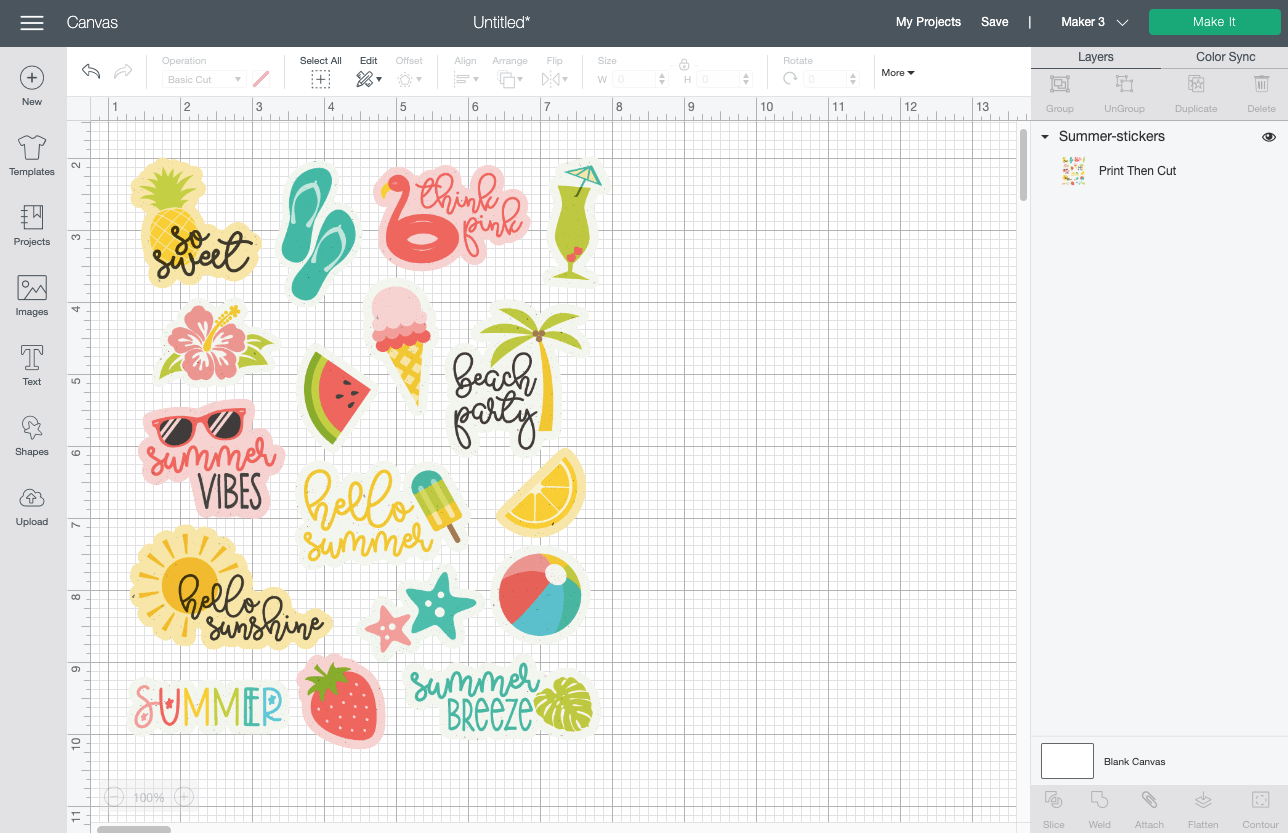
You’re ready to make these stickers! Click Make It in the upper right.
Print Your Cricut Summer Stickers
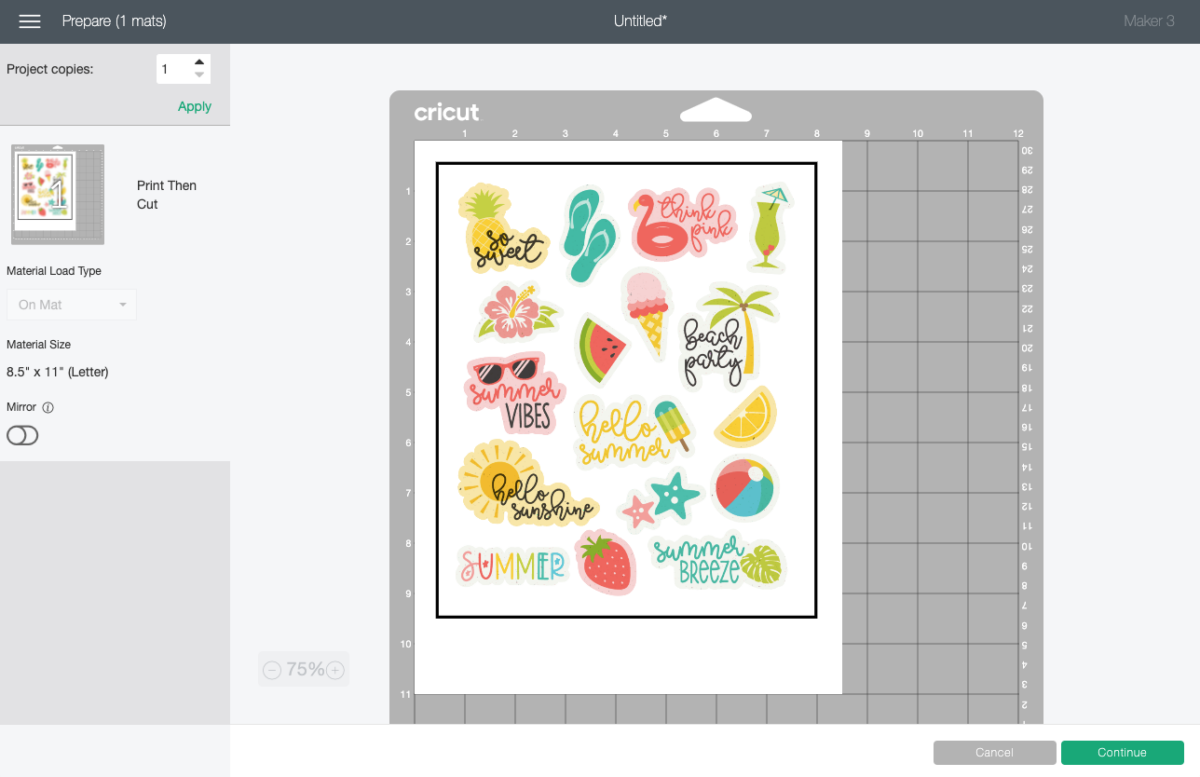
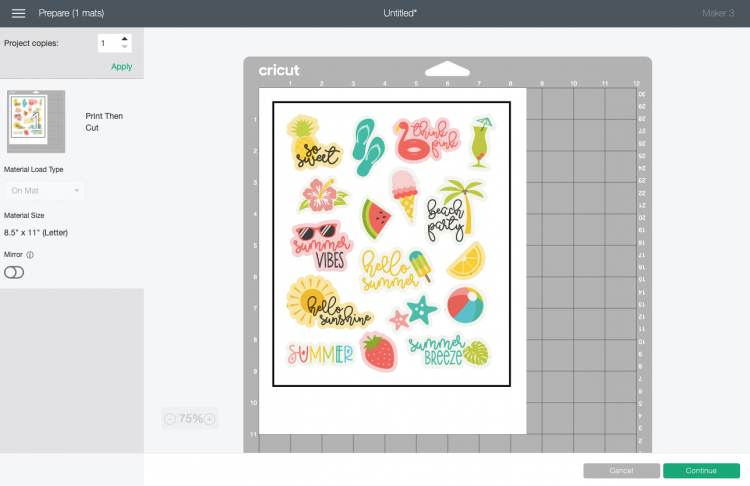
In the Prepare Screen, you’ll see a rendering of the stickers on a piece of printable vinyl on a Cricut mat. Click continue.
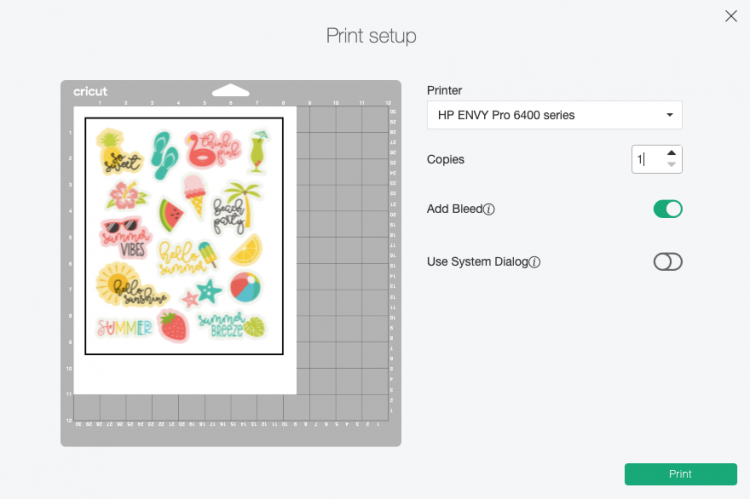
Before we can get to actually cutting the stickers, we need to print them first. Click Send to Printer and your computer will open up the Print setup menu. Select your printer and click Print.
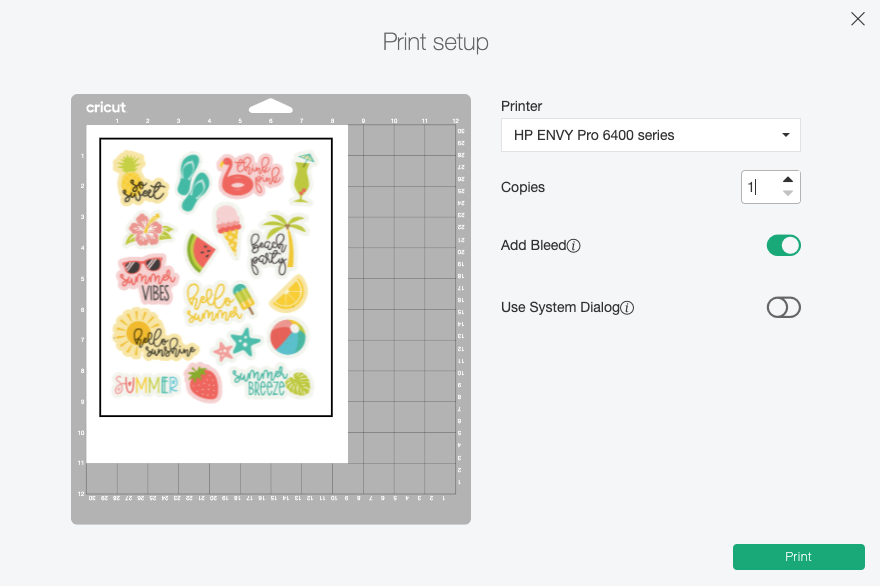
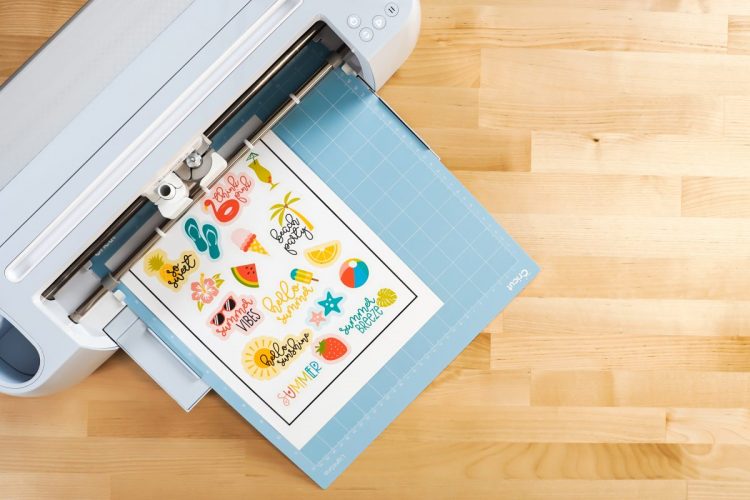
Once you have your printed stickers, place the sheet on your mat’s upper left corner as shown above.
Cut Your Summer Stickers
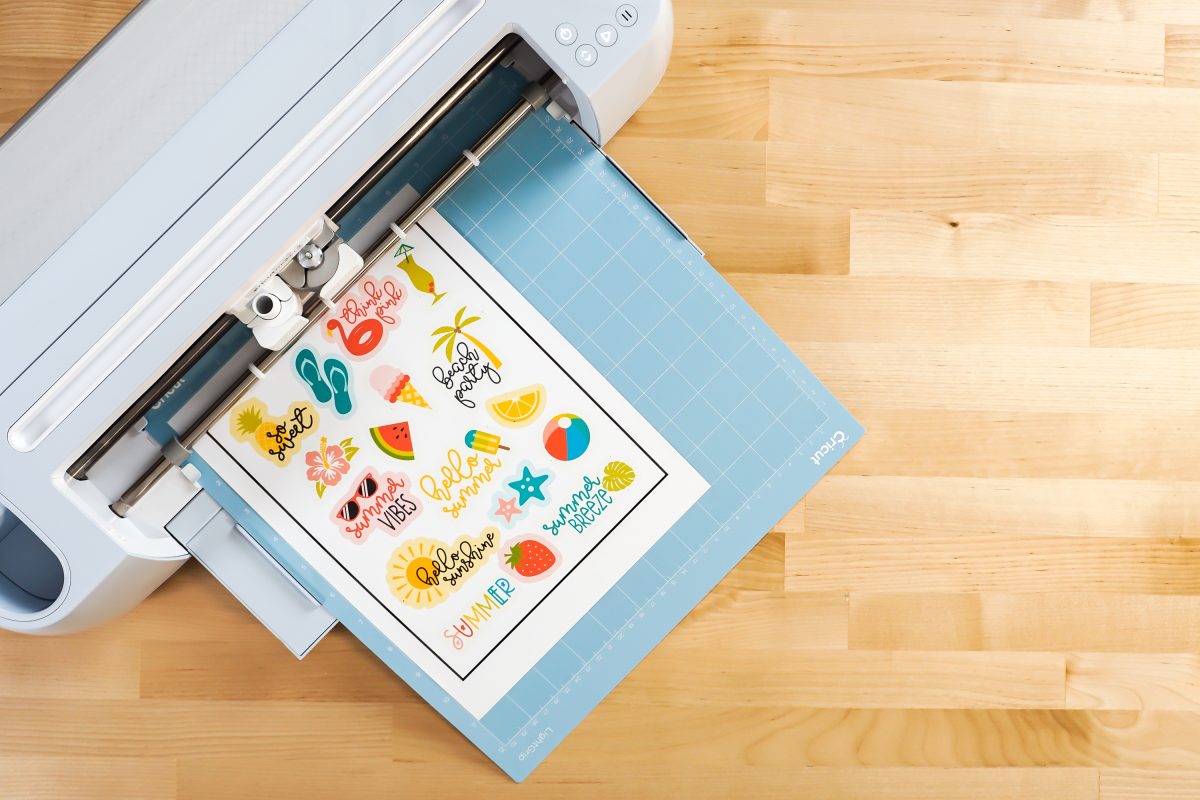
On the Make Screen, set your material to Cricut Printable Vinyl. Make sure you have your fine point blade in your machine, insert your mat, and your Cricut will cut around the edges of your stickers!
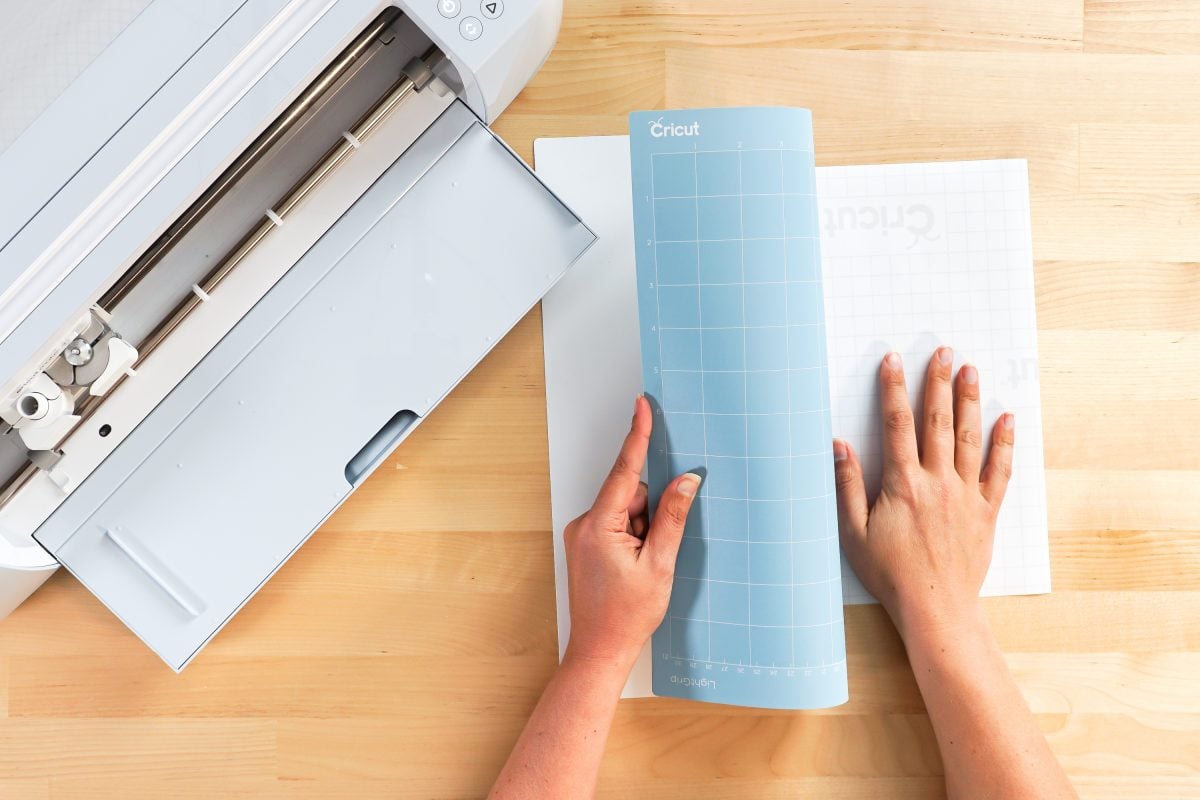
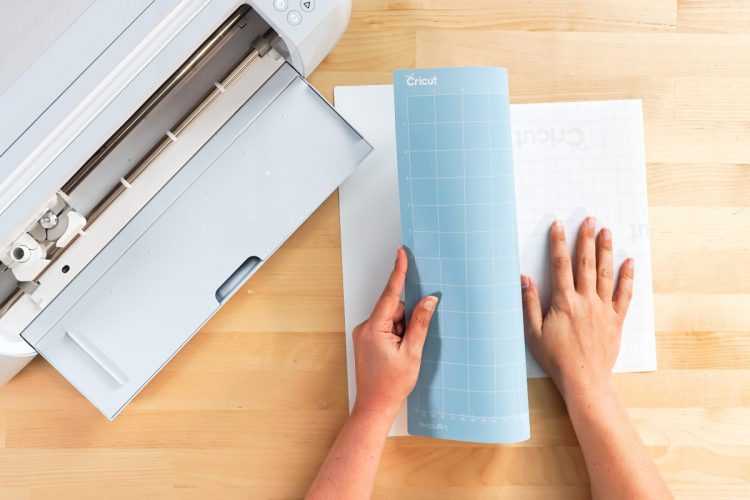
Once it’s done, remove the sticker sheet from the mat by placing it facedown on your table and peeling the mat away from the sticker sheet.
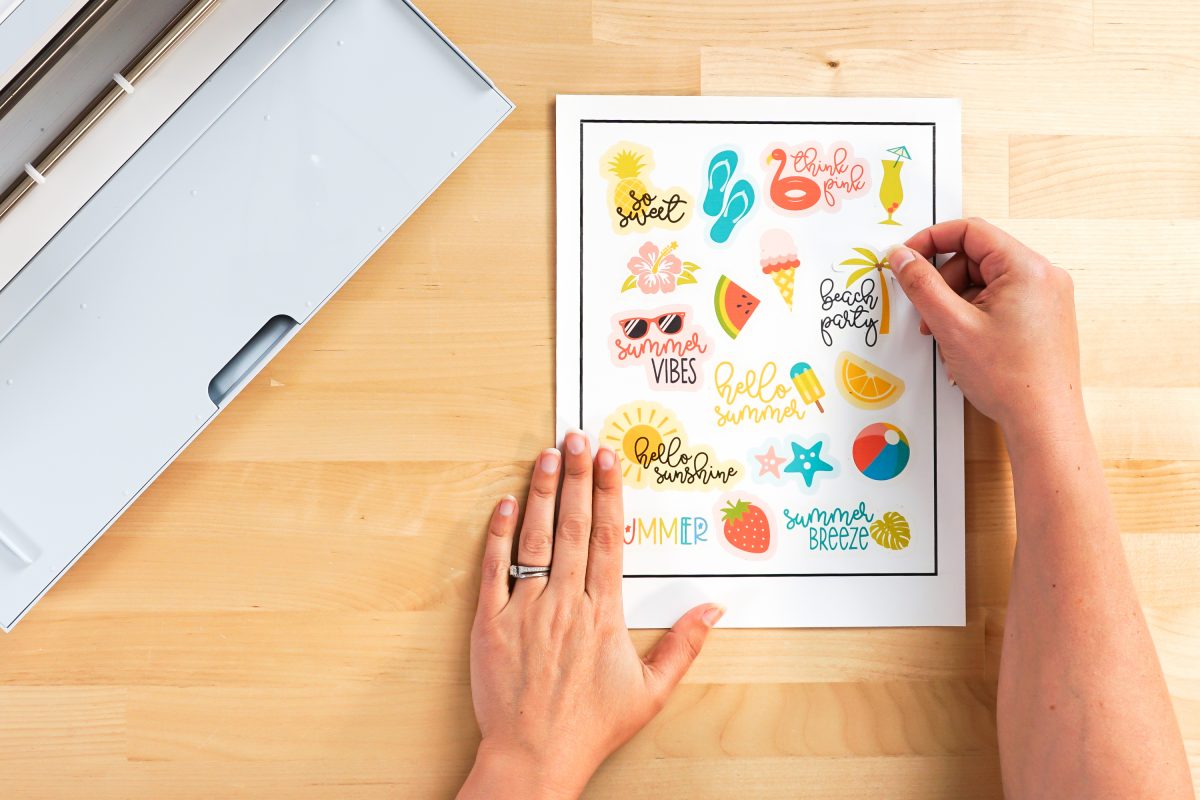
Then you can just peel the Cricut summer stickers off of the backing paper like you would any other sticker!
Make All the 15 Days of Cricut Summer Fun Projects!
We’ll be adding links as each day goes live! Grab the full bundle with all of the projects and SVGs in our 15 Days of Cricut Summer Fun eBook Bundle!
- Summer Bucket List Sign
- Spinning Paper Pinwheels
- Summer Vibes T-Shirt
- Funny Flower Pots
- Beach Life Pennant
- Barbecue Labels Two Ways
- Summer Coasters
- Picnic Caddy
- Personalized Ice Pop Holders
- Fruit Slice Banner
- Summer Stickers
- Beach Shadow Box
- Lemonade Stand Sign
- Popsicle Bookmarks
- Ice Cooler Decals
PRINT THEN CUT SUMMER STICKERS
Instructions
- Upload the Summer Sticker PNG to Cricut Design SpaceUpload the PNG file to Cricut Design Space.When you upload the PNG, Cricut Design Space will ask you to choose an image type: simple, moderately complex, or complex. For this project, choose complex and click continue.

- In the next screen, you'll choose your upload type: Cut image or Print then Cut image. Choose Print then Cut image for this project and click Upload.

- Once you have your image on the canvas, take advantage of the maximum cut area of Print then Cut area (6.75" wide by 9.25" tall) by changing the width to 6.75".You're ready to make these stickers! Click Make It in the upper right.

- Print Your Cricut Summer StickersIn the Prepare Screen, you'll see a rendering of the stickers on a piece of printable vinyl on a Cricut mat. Click continue.

- Before we can get to actually cutting the stickers, we need to print them first. Click Send to Printer and your computer will open up the Print setup menu. Select your printer and click Print.Once you have your printed stickers, place the sheet on your mat's upper left corner as shown.

- Cut Your Summer StickersOn the Make Screen, set your material to Cricut Printable Vinyl. Make sure you have your fine point blade in your machine, insert your mat, and your Cricut will cut around the edges of your stickers!

- Once it's done, remove the sticker sheet from the mat by placing it facedown on your table and peeling the mat away from the sticker sheet.

- Then you can just peel the Cricut summer stickers off of the backing paper like you would any other sticker!




Leave A Reply!