PRINT THEN CUT SUMMER STICKERS
Cricut's Print then Cut feature makes it super easy to make stickers using your Cricut machine! Here's how to make fun summer stickers for your notebook, water bottle, and more!
Instructions
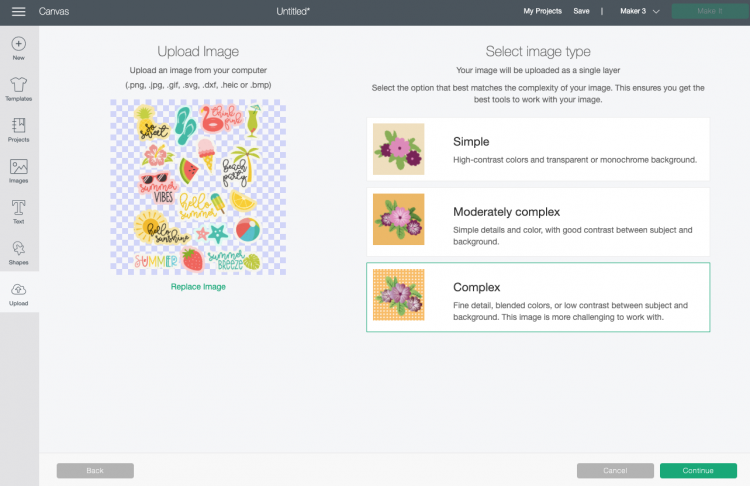
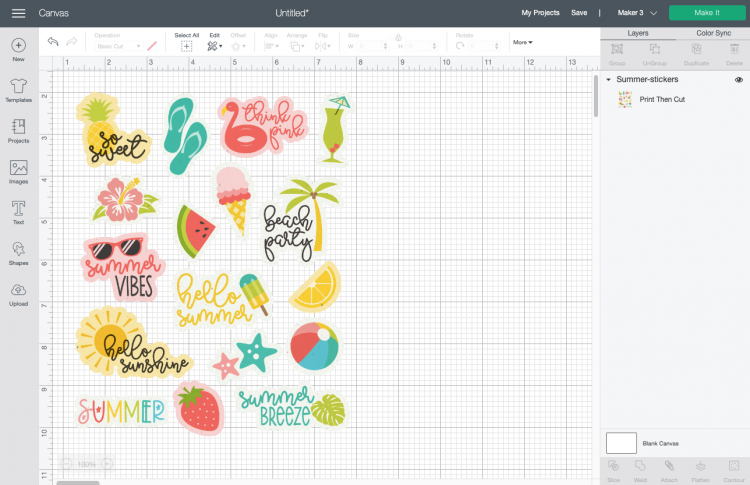
- Upload the Summer Sticker PNG to Cricut Design SpaceUpload the PNG file to Cricut Design Space.When you upload the PNG, Cricut Design Space will ask you to choose an image type: simple, moderately complex, or complex. For this project, choose complex and click continue.
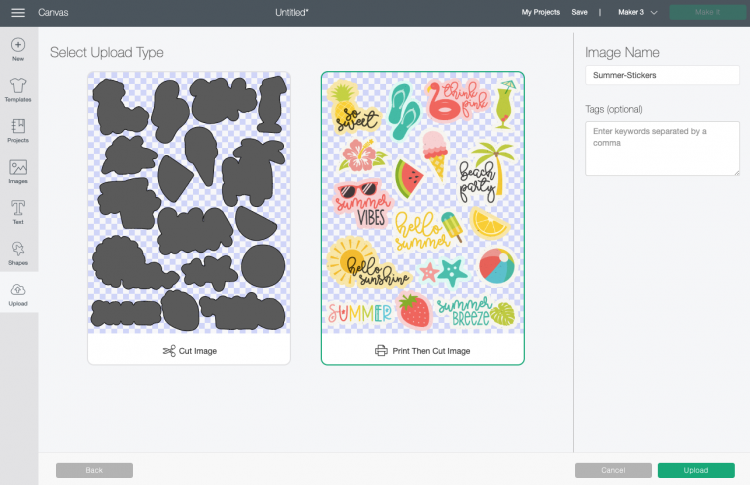
- In the next screen, you'll choose your upload type: Cut image or Print then Cut image. Choose Print then Cut image for this project and click Upload.
- Once you have your image on the canvas, take advantage of the maximum cut area of Print then Cut area (6.75" wide by 9.25" tall) by changing the width to 6.75".You're ready to make these stickers! Click Make It in the upper right.
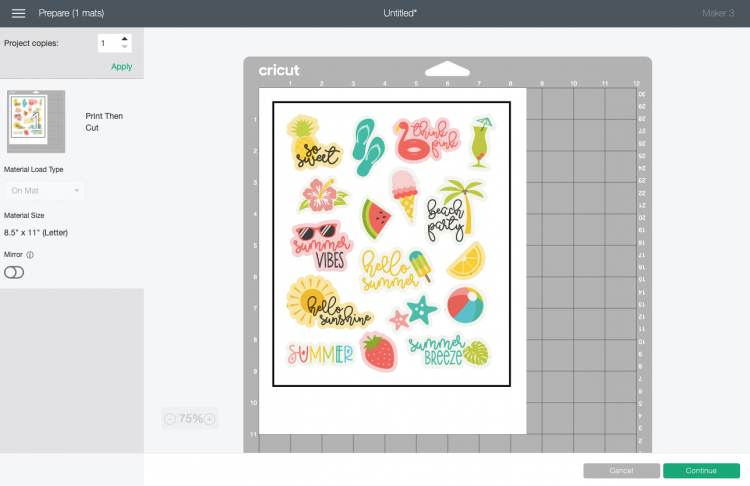
- Print Your Cricut Summer StickersIn the Prepare Screen, you'll see a rendering of the stickers on a piece of printable vinyl on a Cricut mat. Click continue.
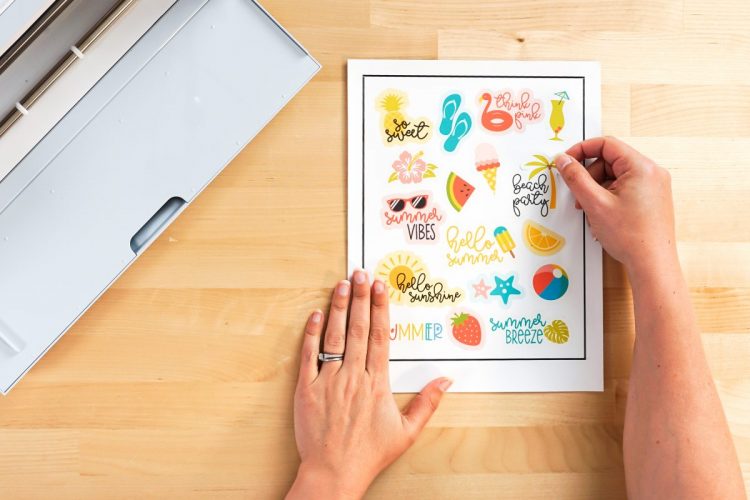
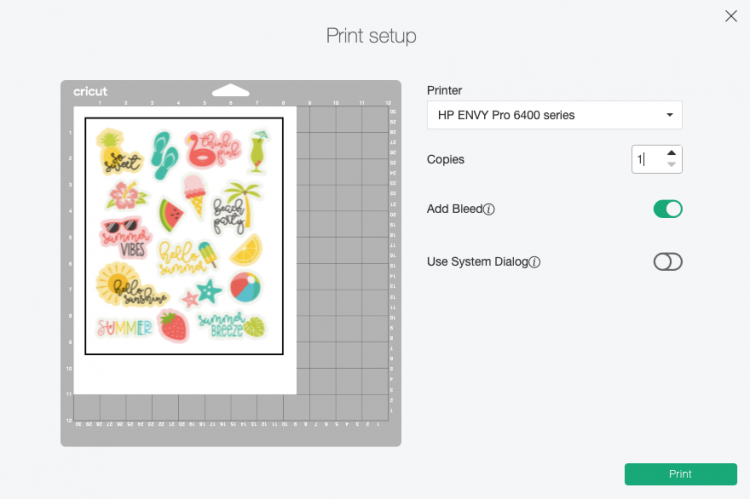
- Before we can get to actually cutting the stickers, we need to print them first. Click Send to Printer and your computer will open up the Print setup menu. Select your printer and click Print.Once you have your printed stickers, place the sheet on your mat's upper left corner as shown.
- Cut Your Summer StickersOn the Make Screen, set your material to Cricut Printable Vinyl. Make sure you have your fine point blade in your machine, insert your mat, and your Cricut will cut around the edges of your stickers!

- Once it's done, remove the sticker sheet from the mat by placing it facedown on your table and peeling the mat away from the sticker sheet.

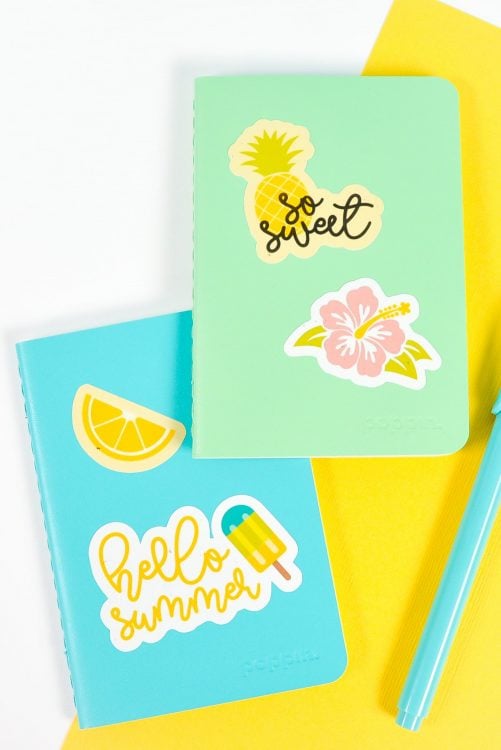
- Then you can just peel the Cricut summer stickers off of the backing paper like you would any other sticker!