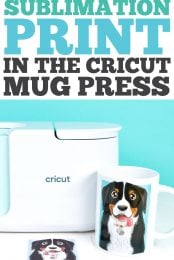
Does the Cricut Mug Press only work with Cricut Infusible Ink? Nope! You can use regular sublimation prints with the Cricut Mug Press, including photos—no Cricut cutting machine needed. Here’s how to do it!
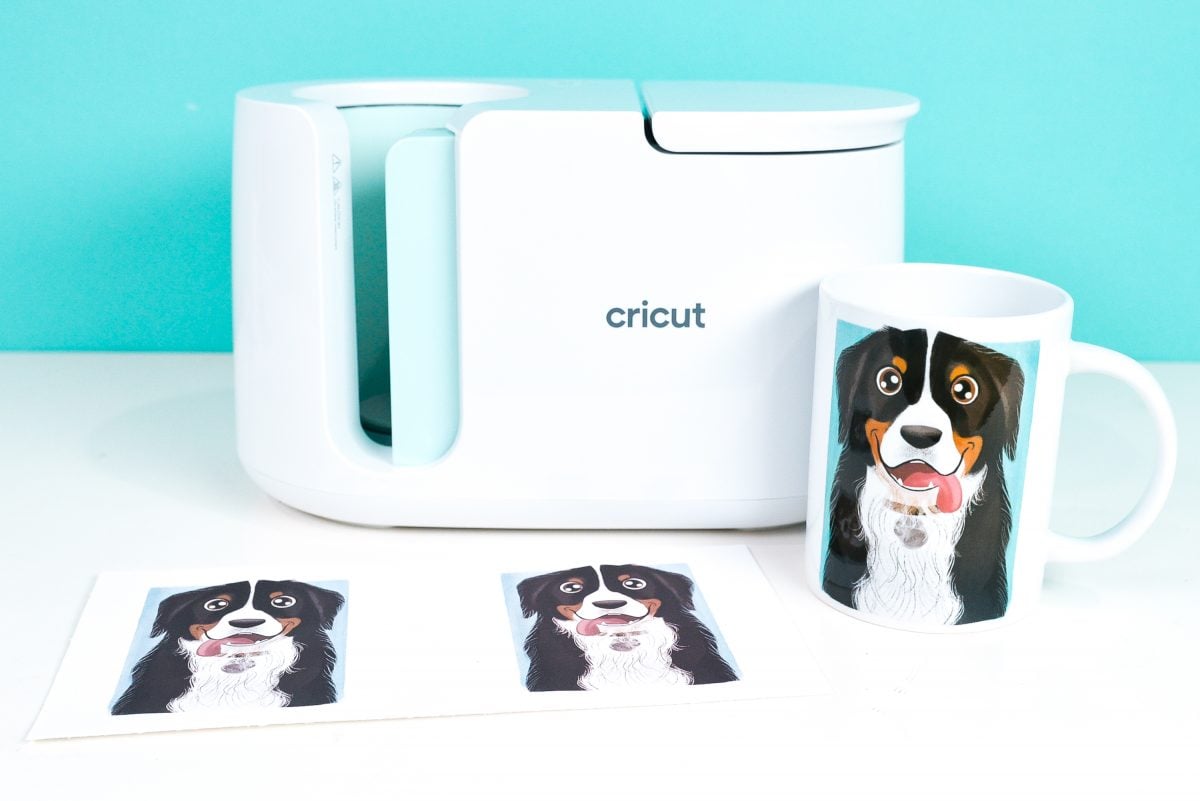
My Cricut Mug Press got a little vacation while we were riding that latest heat wave, but I’m back at it again now that things have cooled off a bit! Today I wanted to show you how easy it is to use your Cricut Mug Press with any sublimation print—you don’t need to use a Cricut or Infusible Ink!
The difference between using Infusible Ink and a printed transfer is that there is so many more possibilities in a transfer. With Infusible Ink, you are limited to the colors that Cricut sells. With a sublimation print, however, the color behaves like any four-color printer ink. You can use as many colors as you’d like, including gradients and patterns.
You are also limited in intricacy with Infusible Ink—your Cricut can only cut so small and detailed before designs start to fall apart or get mangled. But with a print, you can create grunge effects, delicate watercolors, pretty lace, detailed florals, etc. The possibilities are endless.
I’ve talked quite a but about the sublimation process and using the Cricut Mug Press in other posts. Make sure to read up on how the Mug Press works, as well as the troubleshooting post so you can avoid problems before you even begin!
You can check out all of the posts in my Cricut Mug series here (this list is updated as more posts are added):
- The Ultimate Guide to the Cricut Mug Press
- Making a Simple, One-Color Mug with the Cricut Mug Press
- Using Mug Wrap Designs on a Mug
- Using Infusible Ink Pens & Markers on a Mug
- Using Sublimation Prints with the Cricut Mug Press
- 15 Free Mug SVGs for Cricut and Silhouette
- Troubleshooting the Cricut Mug Press
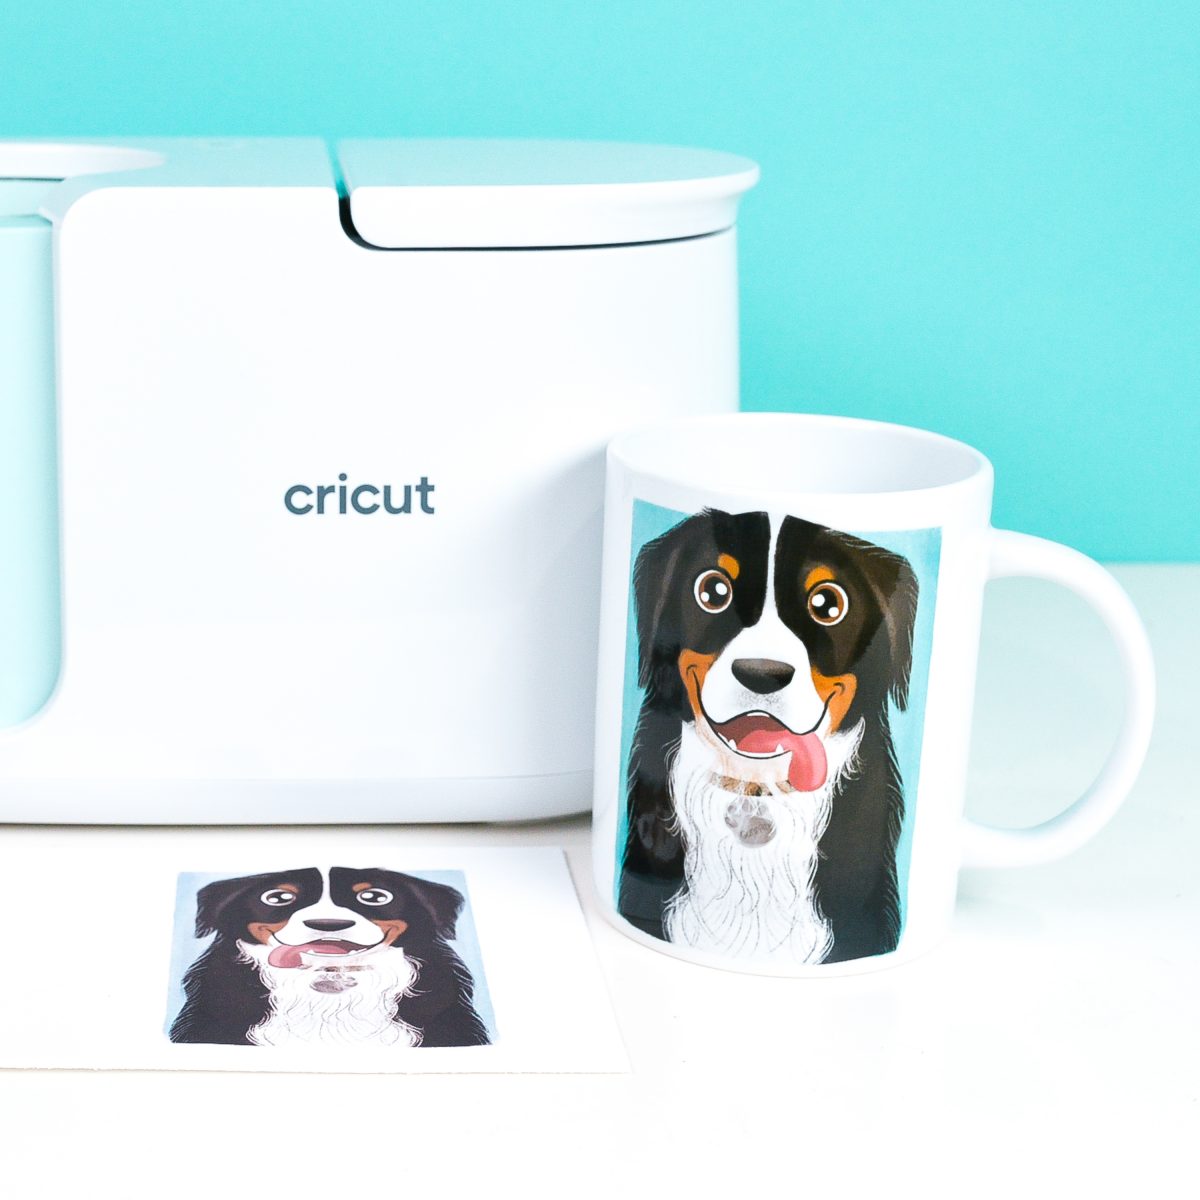
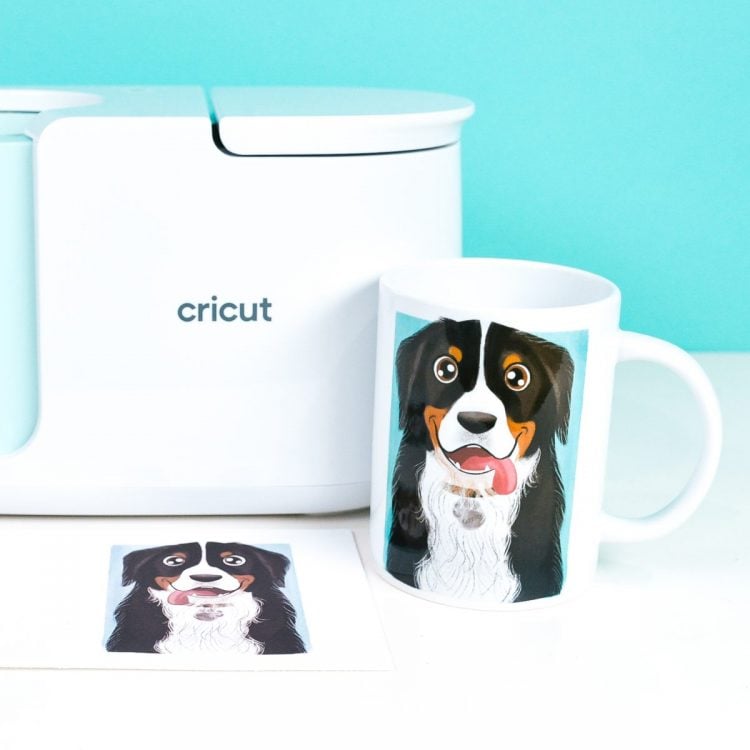
For this project I’m using a sublimation illustration of my dog, Gunnar. He died last December and I had Liz Mac draw this sweet, goofy illustration of him for me (seriously, she draws the sweetest pet illustrations—check them out!). I miss him SO much, and it’ll be nice to have this mug to remind me of him. The transfer was printed on a Sawgrass Virtuoso SG500 sublimation printer and today I’m going to add it to a mug using my Cricut Mug Press!
Not sure which heat press is for you? Check out our e-course Heat Press Roadmap! This extensive course is designed to guide you on your journey to deciding on the best heat press for your needs, space, and budget. Check out all the details about Heat Press Roadmap here!
This particular print was given to me by a friend who has a sublimation printer. I am currently working on my own Sublimation Series (stay tuned!), but if you have questions in the meantime, check out my friend Angie’s Sublimation for Beginners Guide.
Supplies for a Sublimation Mug
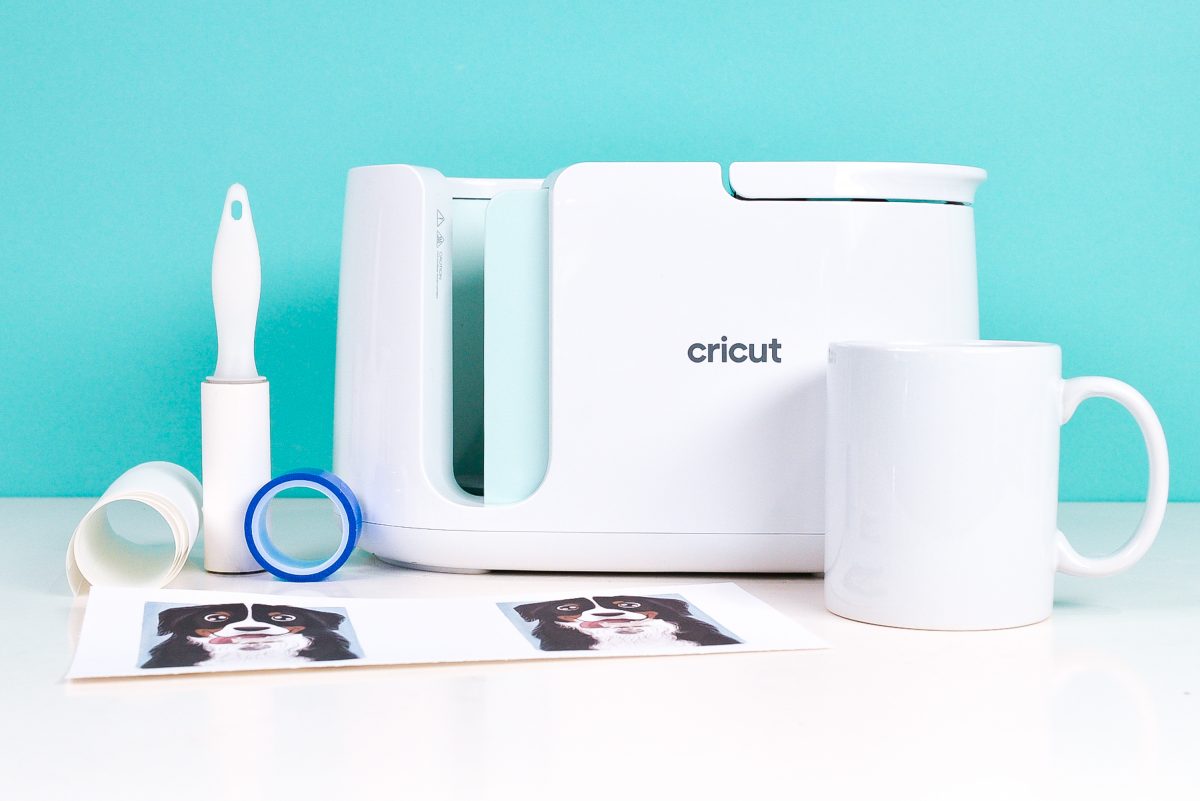
- Printed sublimation transfer
- Sublimation mug
- Lint roller
- Heat-resistant tape
- Butcher paper
- Cricut Mug Press
- Cricut EasyPress Mat or other heat-resistant surface
Before we get into the actual making of this mug, let’s go into more detail on some of these supplies.
Sublimation Transfer
If you’re not printing your own transfer, there are several places you can look to buy sublimation mug transfers online. My favorite place is Etsy—I got this cute Good Vibes Only sublimation transfer there. You want to make sure you’re purchasing the actual transfer for pressing—not just the image to print yourself.
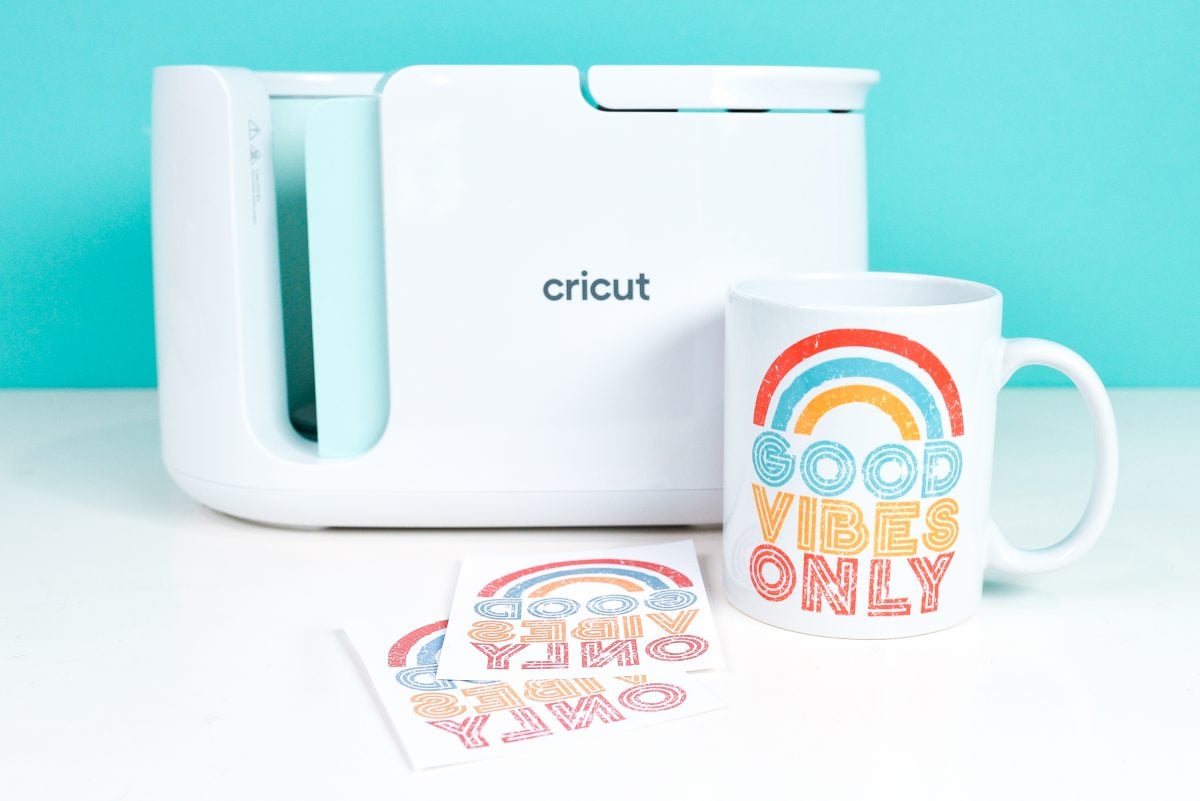
(You can see what I mean about the intricacy of prints in this one—there’s no way a Cricut could cut Infusible Ink in that grunge style!)
You can also ask a friend or in a neighborhood group if anyone has a sublimation printer—they are becoming really popular! Or you can convert a printer yourself.
You want to make sure that the transfer is printed on a sublimation printer with sublimation ink. You’ll notice that the sublimation ink looks much lighter than the final transfer will be. That’s totally normal.
It also needs to be mirrored so that it shows up on your mug correctly—this is most important with images that need to face one direction, like text.
Sublimation Mug
Sublimation mugs have a special poly coating applied to the outside—a regular ceramic mug will not work. When you are shopping for mugs, confirm they are sublimation/poly coated. To fit in the Cricut Mug Press, you want the outer diameter to be between 3.2″ and 3.4″. For this project, I’m using a 11oz Cricut sublimation mug.
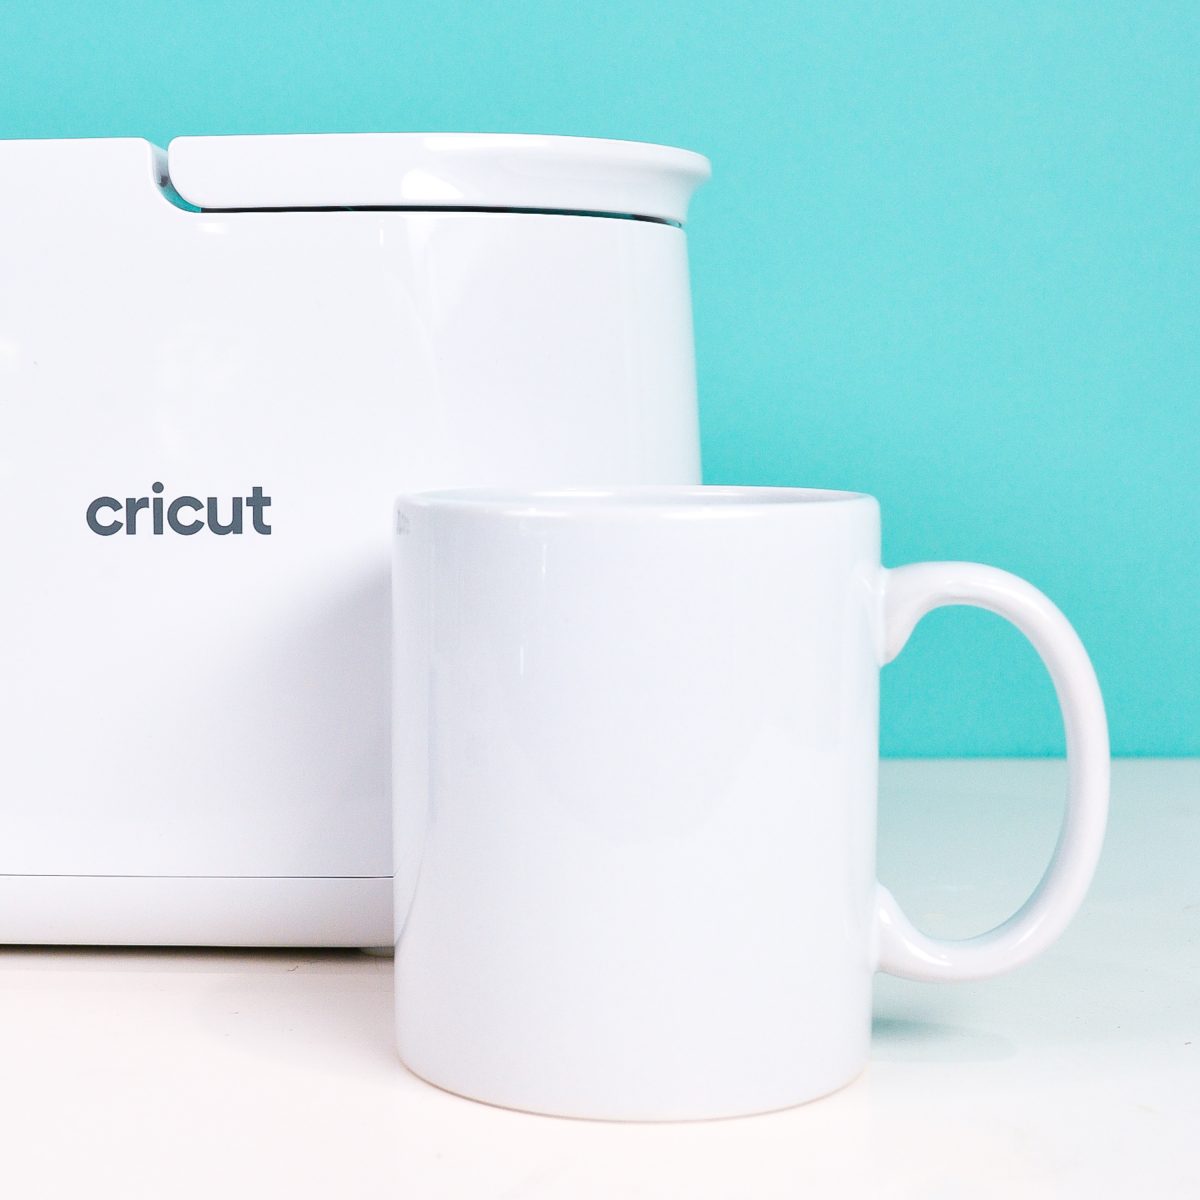
You’ll also want to look for straight walls on your sublimation mug, since the press is designed to apply even pressure from top to bottom. An image on a tapered mug may not transfer fully, and you may risk breaking a tapered mug from the pressure of the press.
Using a Sublimation Print with the Cricut Mug Press
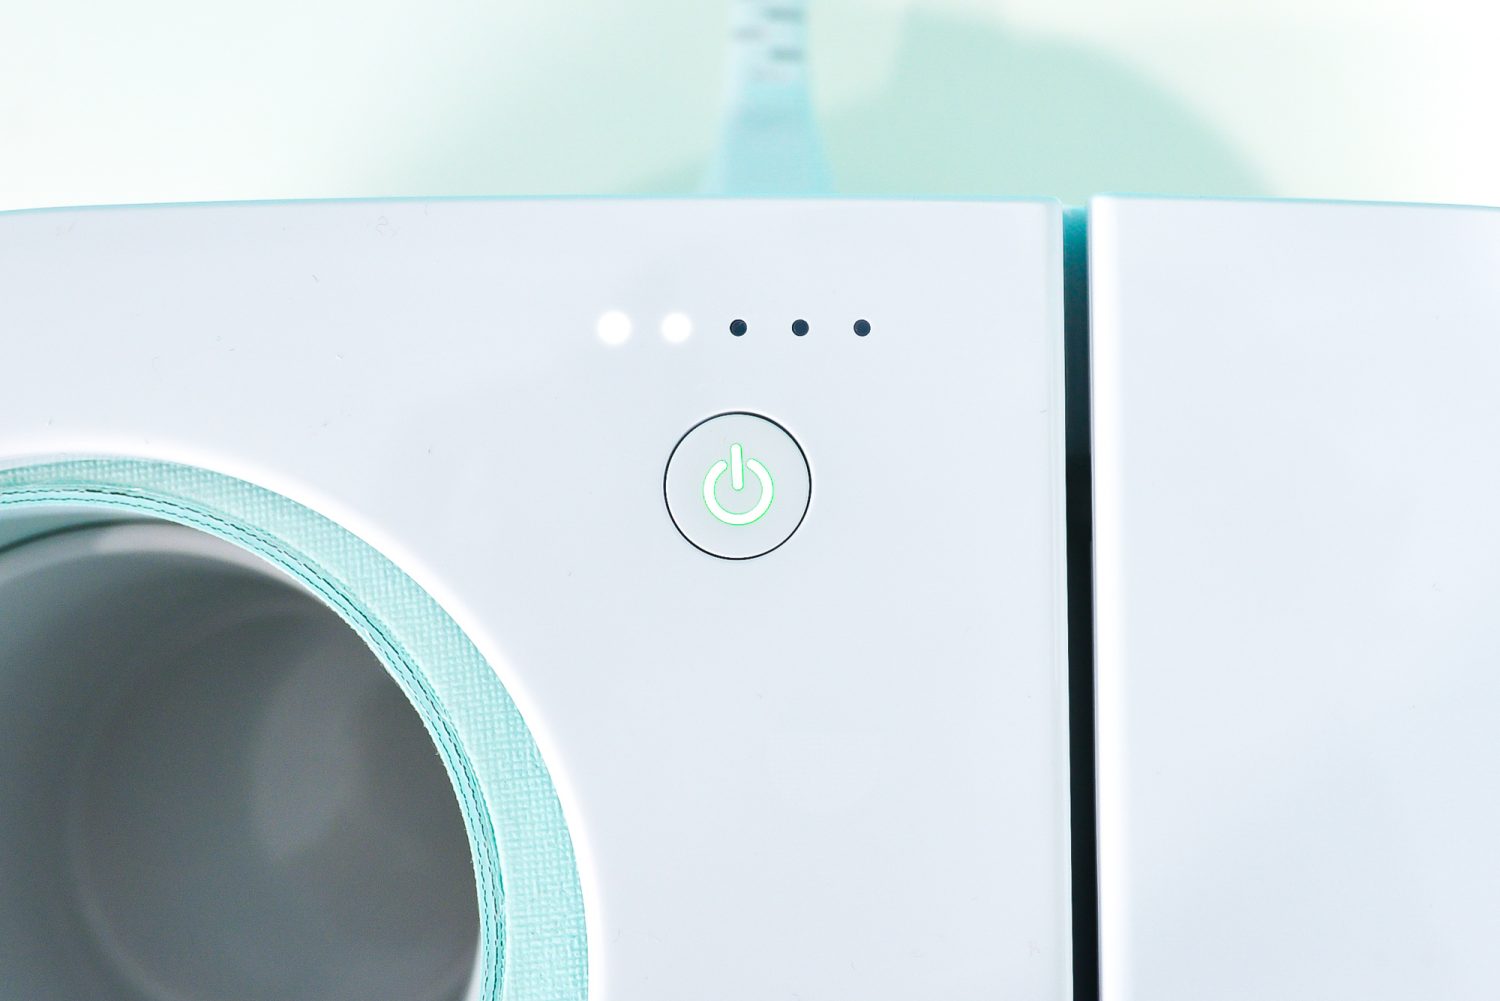
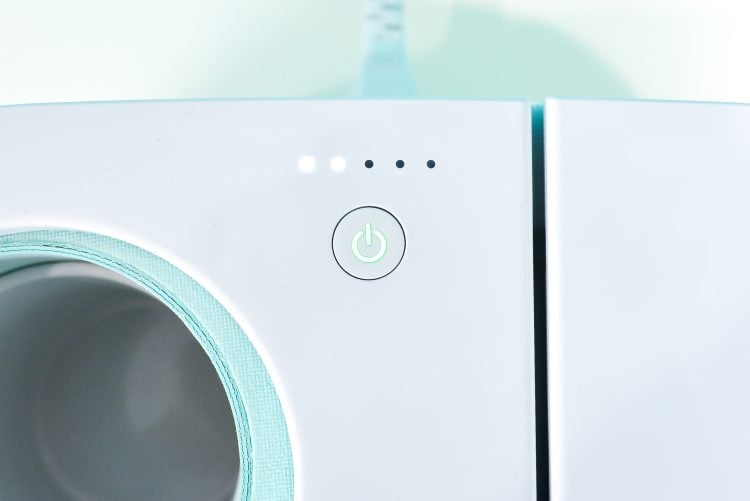
Okay, let’s make our mug! You’ll see just how easy it is to make a sublimation mug using a transfer. Turn on your Cricut Mug Press so it will heat up while you prepare your mug. The light will turn green when it’s ready to go.
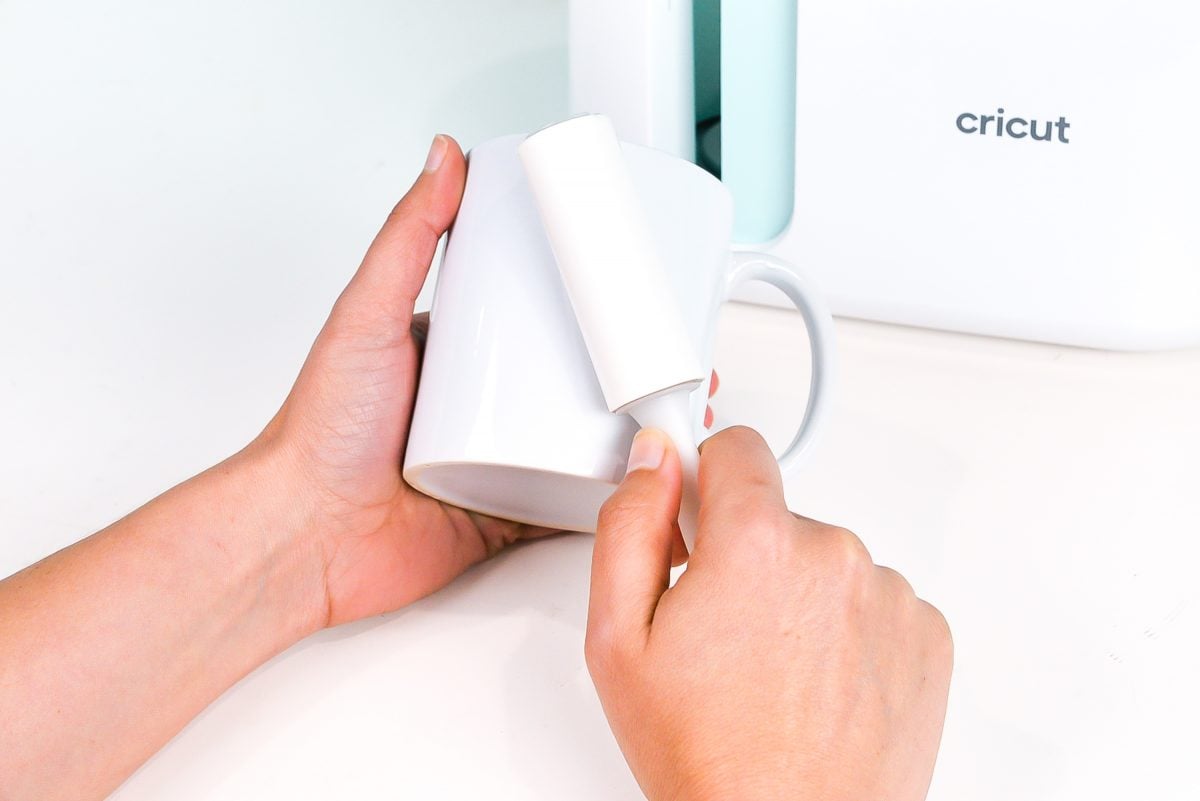
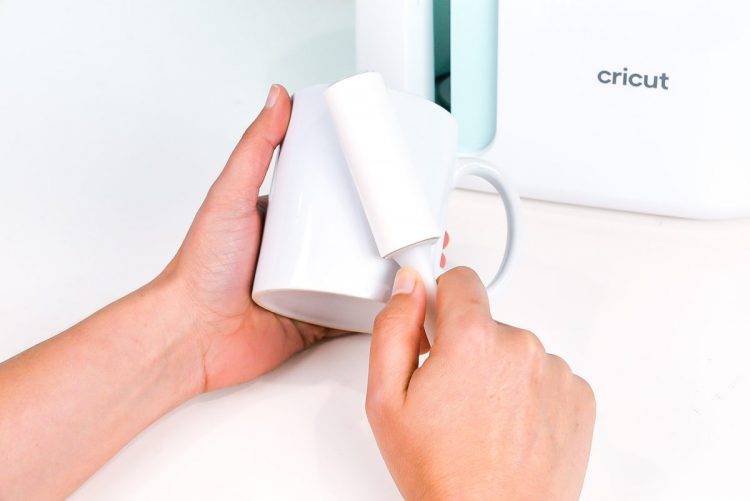
Clean the mug using a lint roller. Any pieces of lint or dust can sublimate onto the mug and leave spots.
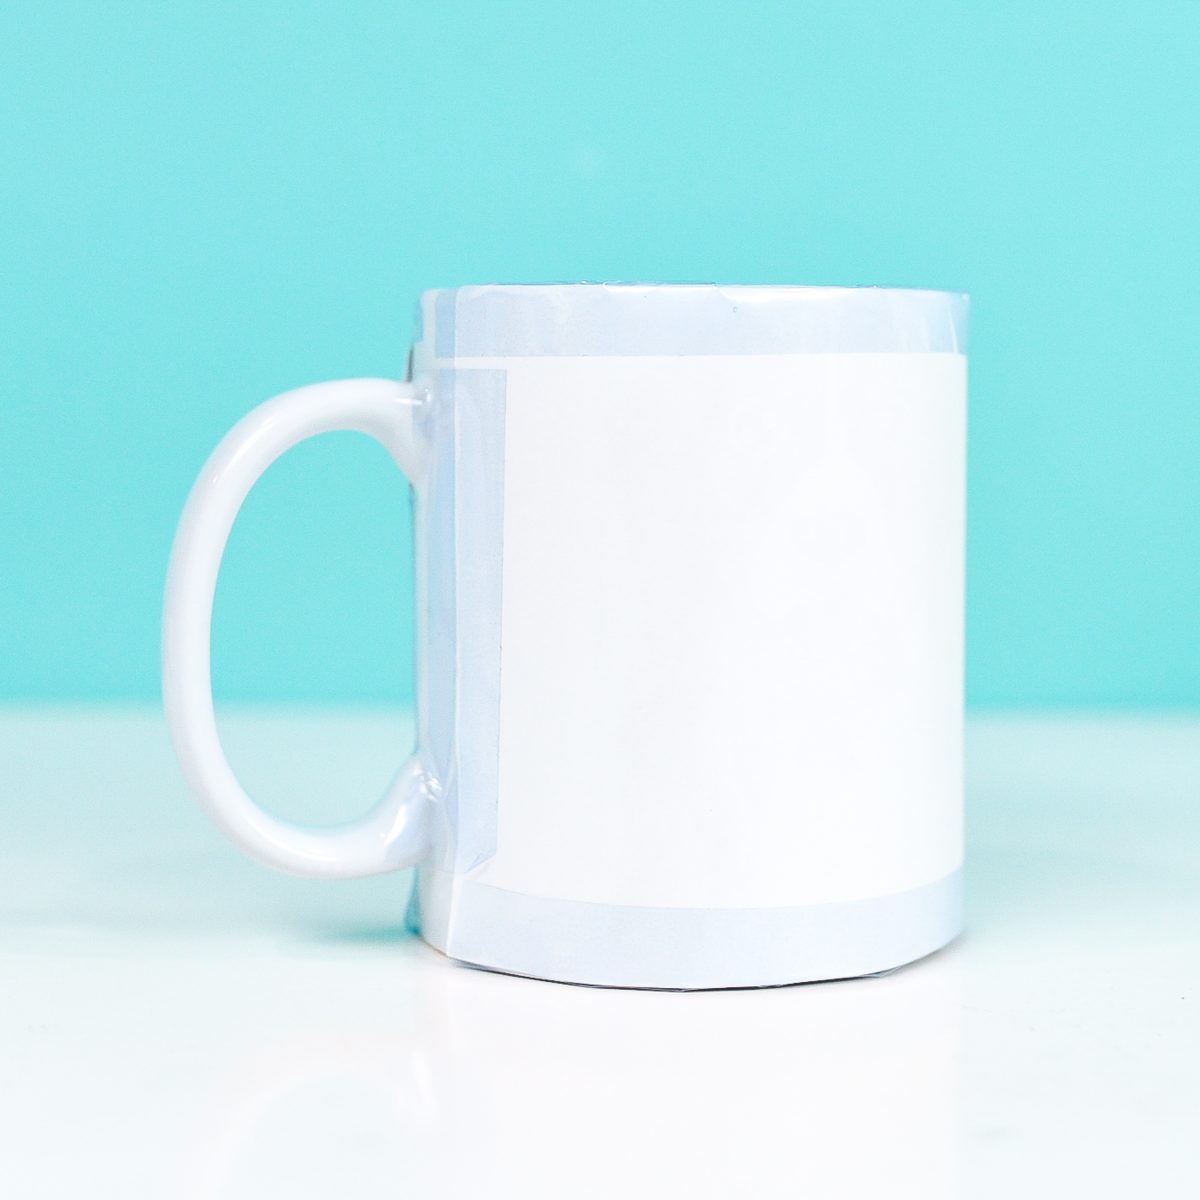
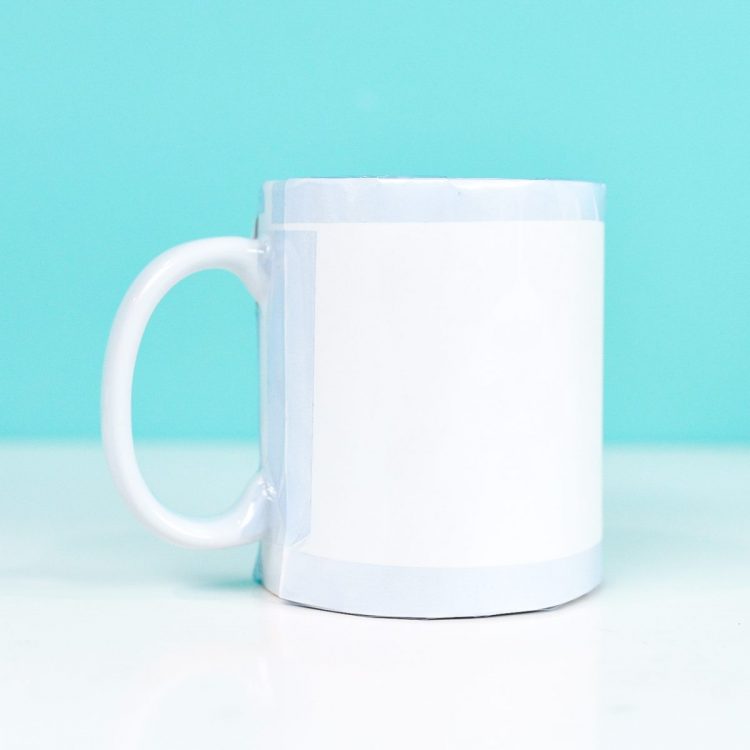
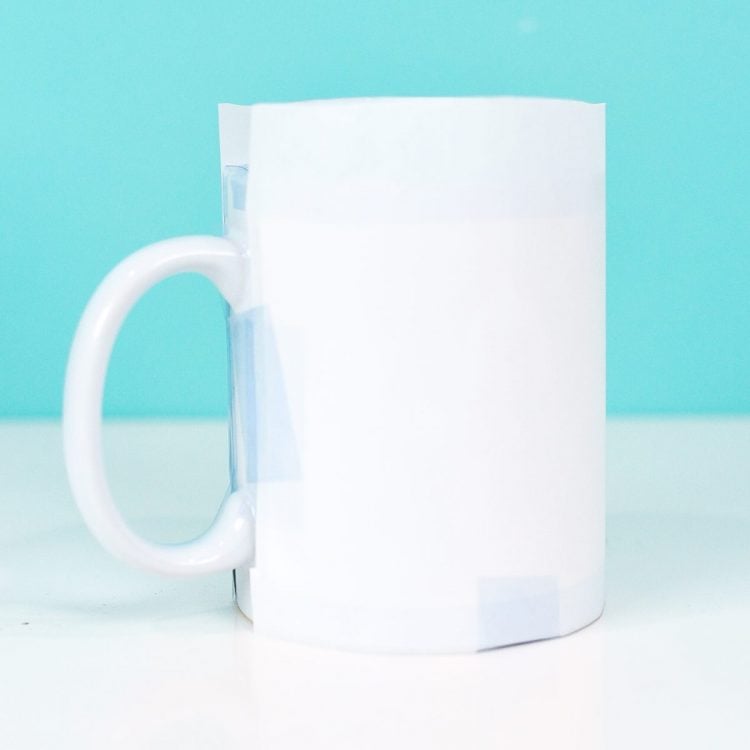
If needed, trim your designs to fit on your mug. Then center the design on your mug and tape your designs down using heat-resistant tape. You want the designs to be as flat as possible against the mug—any gaps and you risk an uneven transfer. Tape on all the edges, so that nothing shifts while it’s being inserted or released out of the mug press.
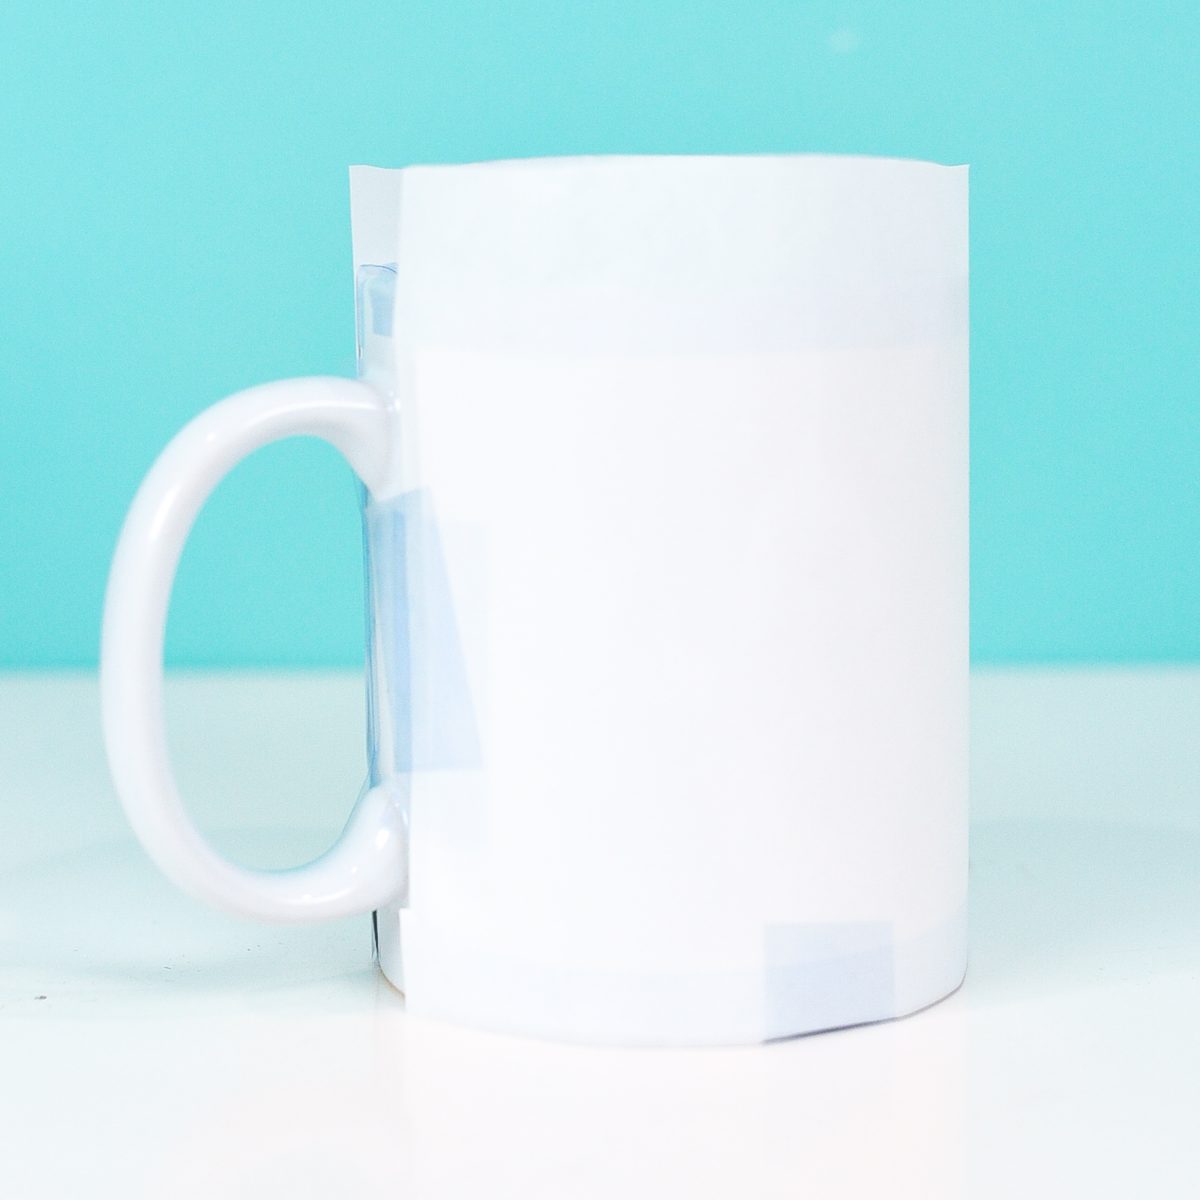
Finally, wrap your mug in two layers of butcher paper and tape down before pressing. This helps protect your mug press from any unwanted sublimation ink actually getting on the press itself…and then transferring to the next mug you make (not good!).
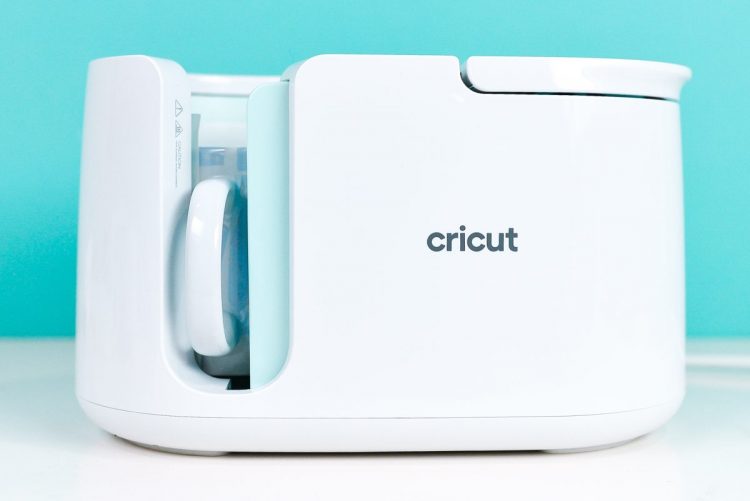
Once your mug press is to temperature, add your mug and press down the lever. The Cricut Mug Press has a built-in timer, so just wait until it beeps.
When it beeps, lift up the lever and carefully pull out the mug. It will be HOT. Like…400° hot. Do not touch the mug itself. Set it down on a heat resistant surface (like Cricut EasyPress mat) and wait for at least 20 minutes before touching it. Then peel back the tape, paper, and transfer and see your finished mug!
If you’re having trouble with any part of this process, check out my Troubleshooting Cricut Mug Press Problems—it has a lot of helpful information!
Get a Cricut Mug Press
USING SUBLIMATION PRINTS WITH THE CRICUT MUG PRESS
Equipment
- Cricut EasyPress Mat or other heat-resistant surface
Supplies
- Printed sublimation transfer
- Sublimation mug sublimation/poly coated mug
Instructions
- Turn on your Cricut Mug Press so it will heat up while you prepare your mug. The light will turn green when it's ready to go.

- Clean the mug using a lint roller. Any pieces of lint or dust can sublimate onto the mug and leave spots.

- If needed, trim your designs to fit on your mug. Then center the design on your mug and tape your designs down using heat-resistant tape. You want the designs to be as flat as possible against the mug—any gaps and you risk an uneven transfer. Tape on all the edges, so that nothing shifts while it's being inserted or released out of the mug press.

- Finally, wrap your mug in two layers of butcher paper and tape down before pressing. This helps protect your mug press from any unwanted sublimation ink actually getting on the press itself…and then transferring to the next mug you make (not good!).

- Once your mug press is to temperature, add your mug and press down the lever. The Cricut Mug Press has a built-in timer, so just wait until it beeps.

- When it beeps, lift up the lever and carefully pull out the mug. It will be HOT. Like…400° hot. Do not touch the mug itself. Set it down on a heat resistant surface (like Cricut EasyPress mat) and wait for at least 20 minutes before touching it. Then peel back the tape, paper, and transfer and see your finished mug!If you're having trouble with any part of this process, check out this post on Troubleshooting Cricut Mug Press Problems—it has a lot of helpful information!



Comments & Reviews
Maribeth Bieber says
Can you sublimate photos on mug with mug press with out sublimation printer but use transfer paper?
Crystal Summers says
Hi Maribeth,
In order to sublimate on a mug, you’ll need to print using sublimation ink. Regular ink wouldn’t work. I hope this helps!
Happy crafting,
Crystal, HLMS Community Manager
Tina says
Hi! I have an Epson WF7720 and I used to sublimated with it but with another machine than cricut. Now I got a cricut mug press, using the same paper (as I read it doesn’t matter which paper as long as it’s made for sublimation) I put it in the machine and nothing happens. The image isn’t sublimating. Would you know what am I doing wrong?
Thank you
Brooklyn Thompson says
I’m having a problem with my EPSON 4700 that I converted to a sublimation printer. I filled the sublimation ink one time 6 months ago and it keeps popping up and telling me to refill my ink. Outwardly the ink window looks full, but it could be stained and always looks full too. So, when I go to refill my ink using my syringe, barely any goes down before it starts to bubble up. Now I put it in very slowly but still it bubbles up and therefore won’t allow me to put anymore ink in. This is the same with each color. It’s the same thing. I thought maybe it’s because they were too full and couldn’t handle anymore ink BUT now my prints are coming out with lines and fading ink, which tells me I’m very low ink. But it’s not letting me get hardly any in there without it bubbling up. HELP!
Cori says
Hi Brooklyn,
So my thought is that the ink IS clogged. The ink that worked for your mugs was the ink already in the lines, and the clog is now preventing the ink from leaving the tanks. If you haven’t already, I’d try the power clean to see if you can get that ink flowing again.
https://files.support.epson.com/docid/cpd5/cpd57083/source/printers/source/ink_functions/concepts/power_cleaning.html
JOY COLBERT says
I JUST PURCHASED A CRICUT MUG PRESS BUT I DONT USE CRICUT MACHINES. I KNOW FROM YOUR ANSWEER ABOVE I CAN USE IT TO SUBLIMAT. MY QUESTION IS DO I HAVE TO DO ANY TYPE OF PROGRAMING ONCE I OPEN IT TO USE THEMACHINE SINCE IM NOT GOING TO USE IT THROUGH THE CRICUT DESIGN SPACE? BASICALLY I WAN TOT JUST USE IT AS A PRESS. I HOPE I EXPLAINED MY QUESTION, THANKS
Cori says
Hi Joy,
Thank you for reaching out to us! Your Cricut Mug Press will need to be connected to Cricut Design Space for activation and firmware updates :)
Jimmer says
What would you recommend for putting an image/writing on the bottom (outside) of the mug?
Crystal Summers says
Hi,
Not sure you would be able to print an image on the bottom of the mug, as it’s likely not coated with the special poly coating needed for sublimation. It would also be a tricky spot to apply enough heat to. If you’d like to add something to the bottom, you could try permanent vinyl?
Hope this helps!
Crystal, HLMS Community Manager
Karolee Garlock says
I am curious if you would know, can sublimation ink be used for documents that you just need to print? I am not sure I really want two different printers and if I can get away with just one that would make me happy.
Thank you
Crystal Summers says
Hi Karolee,
No, you wouldn’t want to use sublimation ink for general printing. It’s more expensive than typical ink and not recommended for inket paper. You need to use a special sublimation paper with it, as well.
I hope this helps!
Crystal, HLMS Community Manager