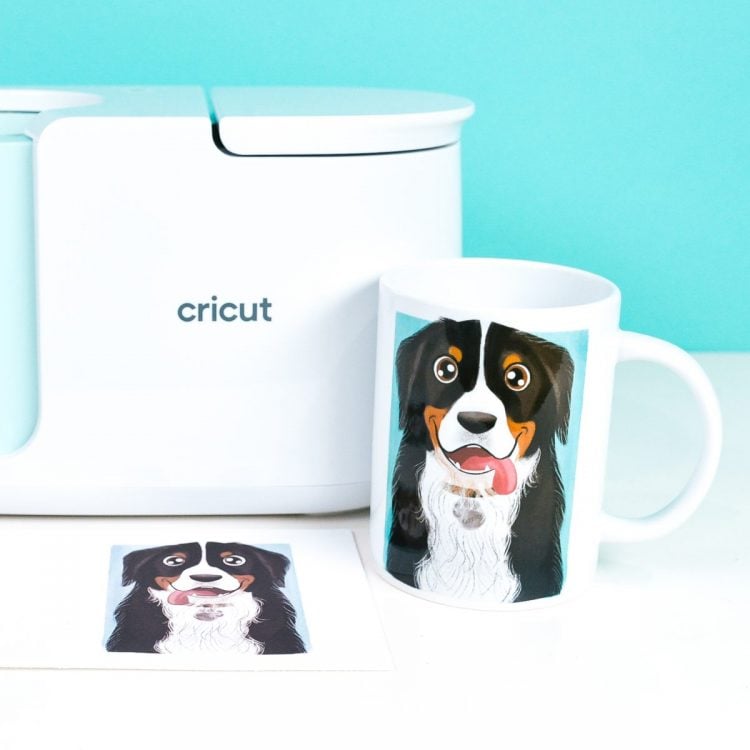
USING SUBLIMATION PRINTS WITH THE CRICUT MUG PRESS
Does the Cricut Mug Press only work with Cricut Infusible Ink? Nope! You can use regular sublimation prints with the Cricut Mug Press, including photos—no Cricut cutting machine needed. Here's how to do it!
Equipment
- Cricut EasyPress Mat or other heat-resistant surface
Ingredients
- Printed sublimation transfer
- Sublimation mug sublimation/poly coated mug
Instructions
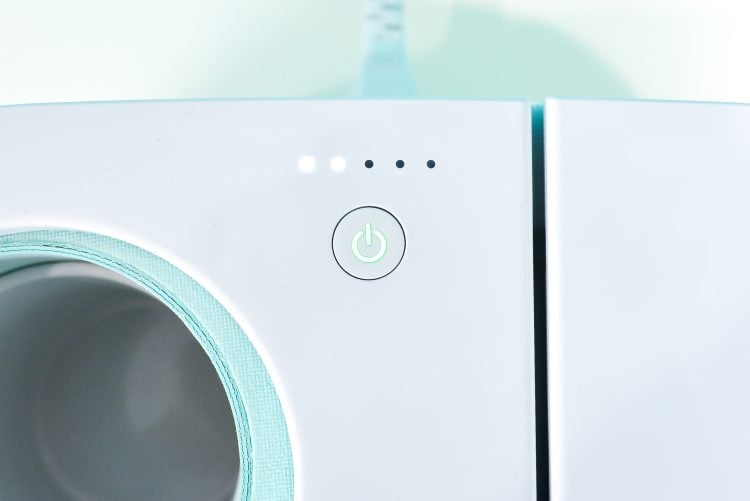
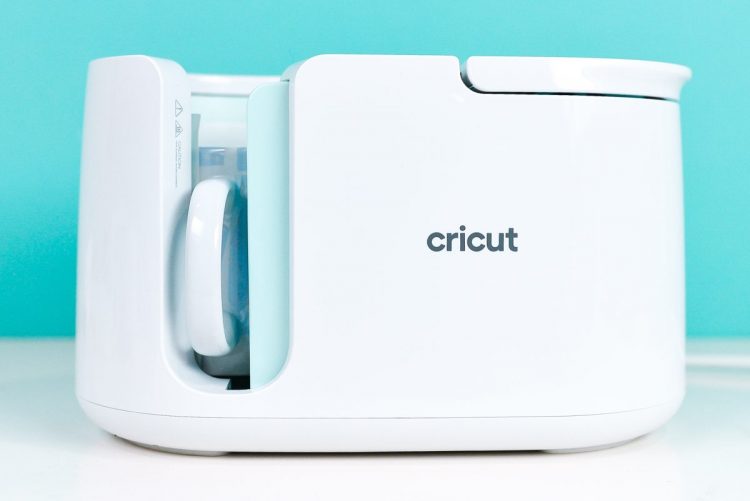
- Turn on your Cricut Mug Press so it will heat up while you prepare your mug. The light will turn green when it's ready to go.
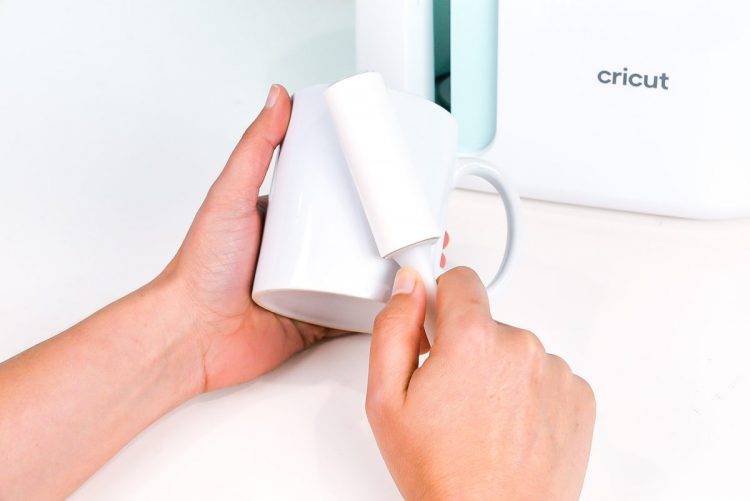
- Clean the mug using a lint roller. Any pieces of lint or dust can sublimate onto the mug and leave spots.
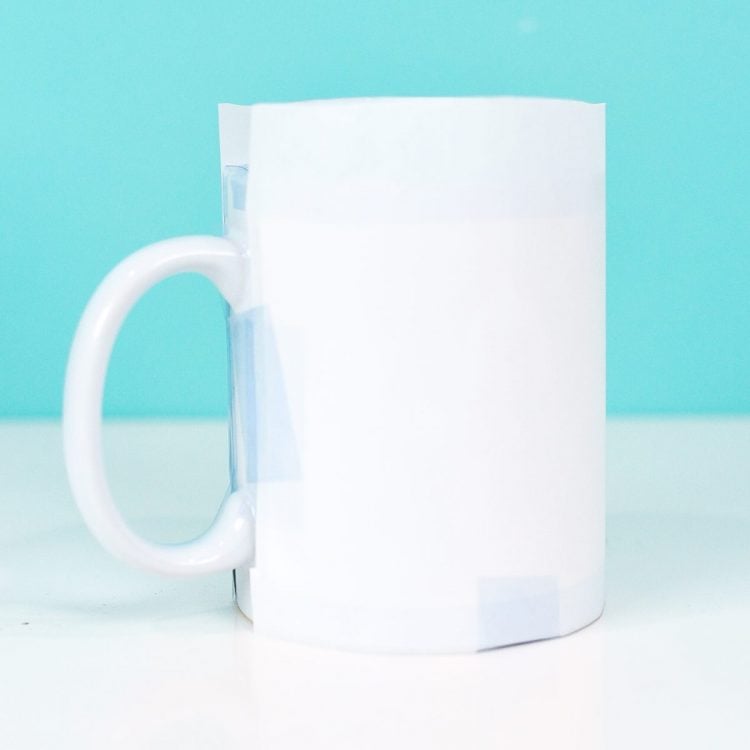
- If needed, trim your designs to fit on your mug. Then center the design on your mug and tape your designs down using heat-resistant tape. You want the designs to be as flat as possible against the mug—any gaps and you risk an uneven transfer. Tape on all the edges, so that nothing shifts while it's being inserted or released out of the mug press.

- Finally, wrap your mug in two layers of butcher paper and tape down before pressing. This helps protect your mug press from any unwanted sublimation ink actually getting on the press itself...and then transferring to the next mug you make (not good!).
- Once your mug press is to temperature, add your mug and press down the lever. The Cricut Mug Press has a built-in timer, so just wait until it beeps.
- When it beeps, lift up the lever and carefully pull out the mug. It will be HOT. Like...400° hot. Do not touch the mug itself. Set it down on a heat resistant surface (like Cricut EasyPress mat) and wait for at least 20 minutes before touching it. Then peel back the tape, paper, and transfer and see your finished mug!If you're having trouble with any part of this process, check out this post on Troubleshooting Cricut Mug Press Problems—it has a lot of helpful information!