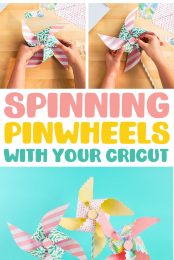
Dress up any picnic or summer party with spinning paper pinwheels, made with your Cricut! Get the tutorial for cutting and assembling these fun pinwheels that actually spin in the wind!
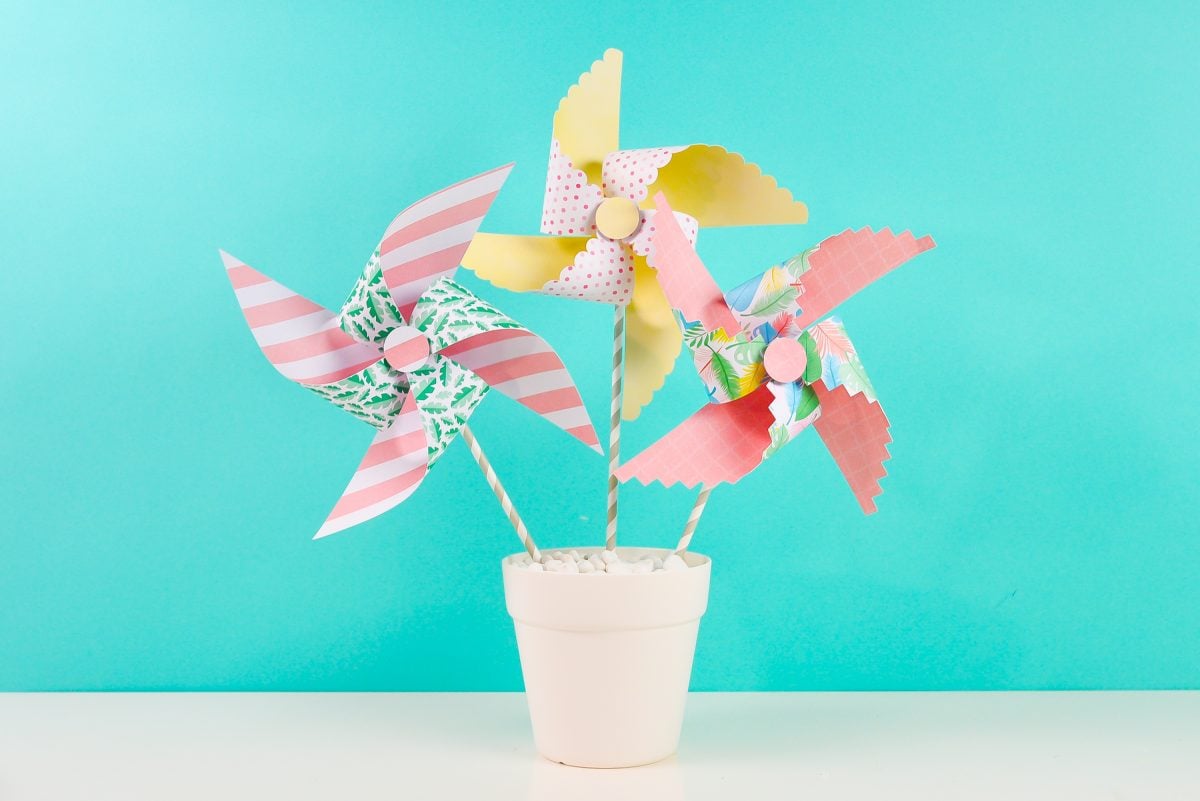
Welcome to Day 2 of the 15 Days of Cricut Summer Fun!
We’re just getting started with fifteen days of Cricut crafting summer fun, and today we’re making SPINNING pinwheels! I love designing pinwheels for the Cricut (my patriotic pinwheels are a big favorite around here!), but this is the first time I’ve made pinwheels that actually spin in the wind. You’ll find out my magic trick later in this post!
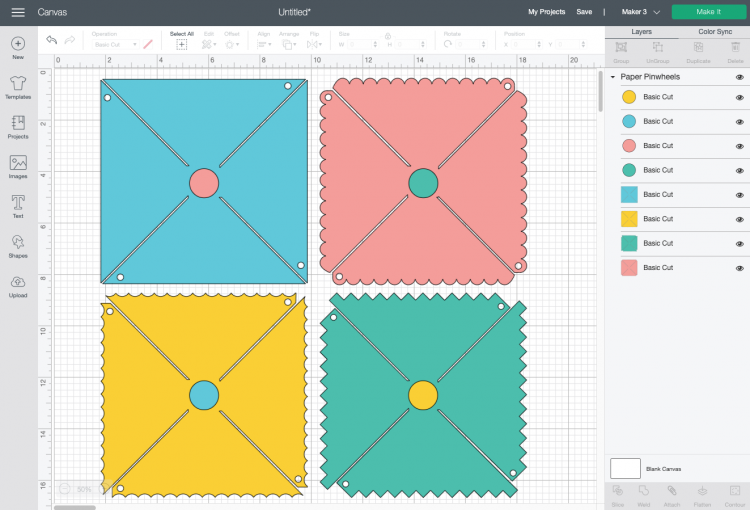
This pinwheel SVG for this post has four different decorative edges. A regular smooth edge, a scalloped edge, a wave edge, and a pinked edge. Choose your favorite or make them all!
If you’d like to get this series in an ebook format PLUS all of the SVGs needed to make all 15 projects check out the 15 Days of Cricut Summer Fun eBook Bundle!
For your material, the best choice is double-sided scrapbook paper. It comes in endless colors and patterns and it’s easy to bend into the pinwheel shape. Metallic paper is another good option for solid pinwheels, but it does limit the size of your pinwheels a bit. Stardream Metallics are my favorite! Cardstock can be a bit heavy for these and they won’t bend into the pinwheel shape as well, and they may have a harder time spinning.
These pinwheels are designed to be cut with your Cricut Maker 3, Cricut Explore 3, Cricut Maker, Cricut Explore Air 2, or other Cricut Explore machine. This project is too large to cut on your Cricut Joy. Need help using your Cricut? Check out my Cricut Basics eBook!

Paper Pinwheel Supplies
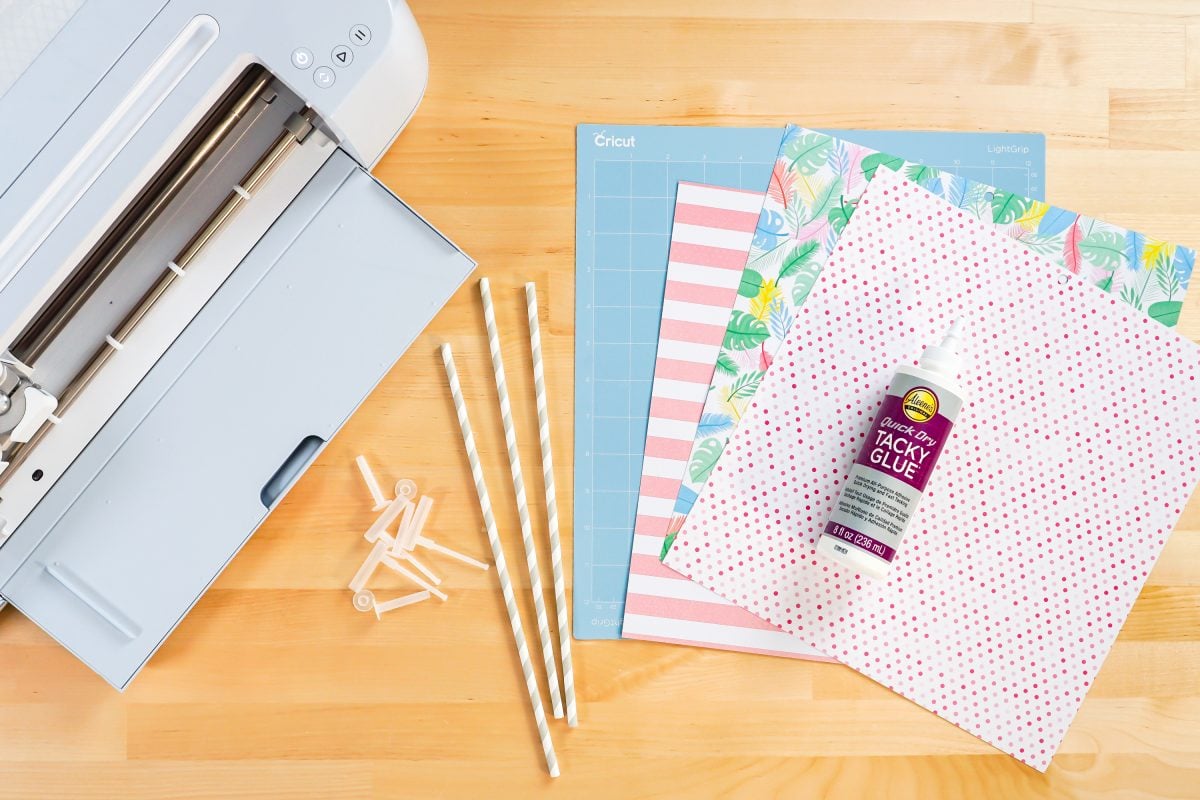
- Cricut Explore or Cricut Maker
- Blue LightGrip
- Fine Point Blade
- Scrapbook paper or metallic paper
- Pinwheel attachments
- Glue
Grab the Pinwheel SVG for this Project
Get the pinwheel SVG here. If you’re interested in making more projects in this summer series, our Cricut Summer Fun eBook and SVG Bundle is a great deal!
Spinning Pinwheel Instructions
Upload the Pinwheel File to Cricut Design Space
We will start by uploading the SVG file to Cricut Design Space (see Uploading SVG Files to Cricut Design Space if you need help). You can resize them—making them 8″ wide each fits the pinwheel attachments the best. The circles are for the centers of your pinwheels to cover the pinwheel attachment. If you don’t want to use them, you can hide them using the “eye” in the layers panel.
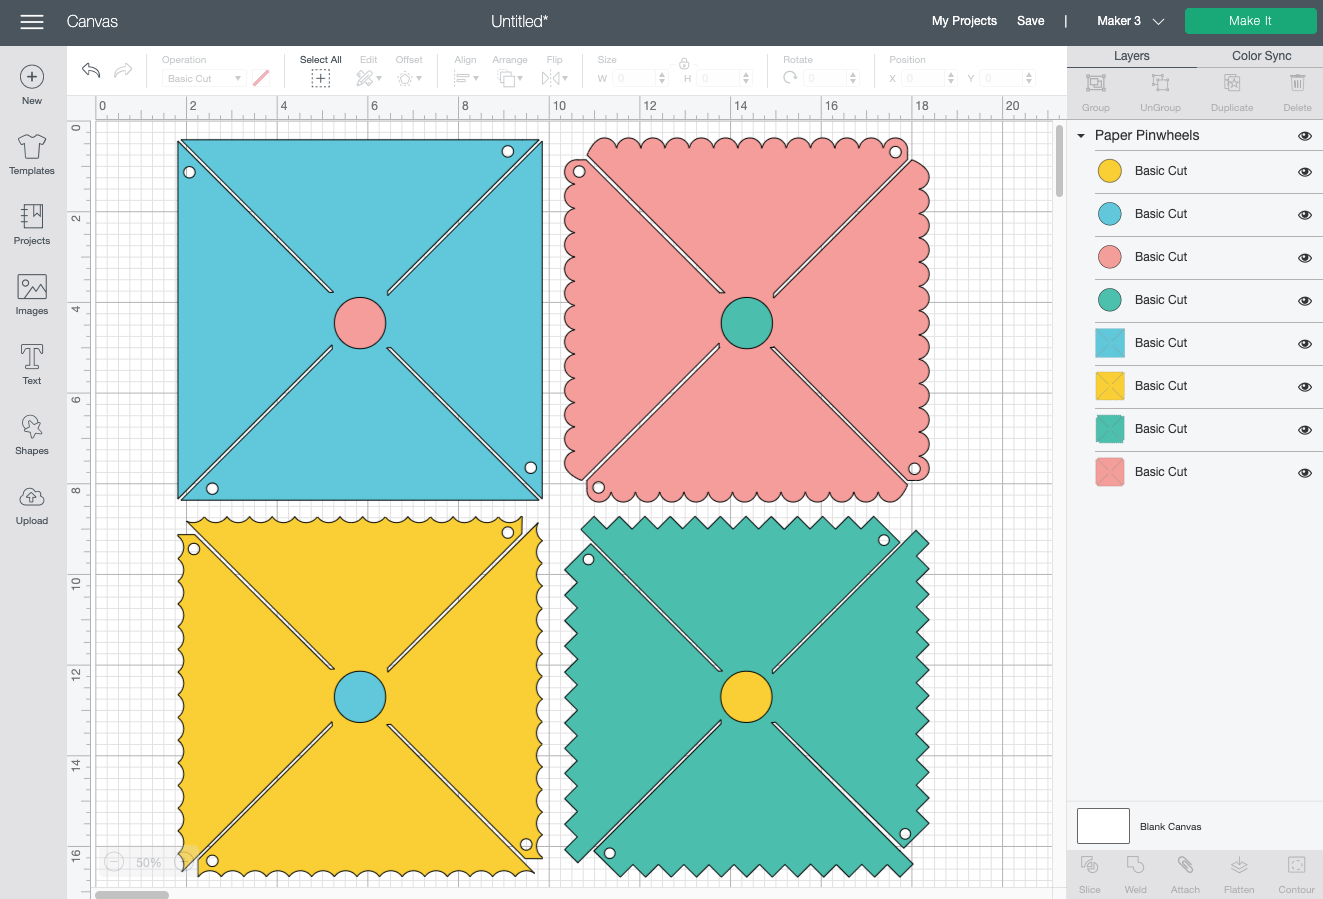
If you’d like, change the colors to more closely match your paper. That’s it! You’re ready to hit Make It in the upper right.
Cut Your Paper for Your Pinwheels
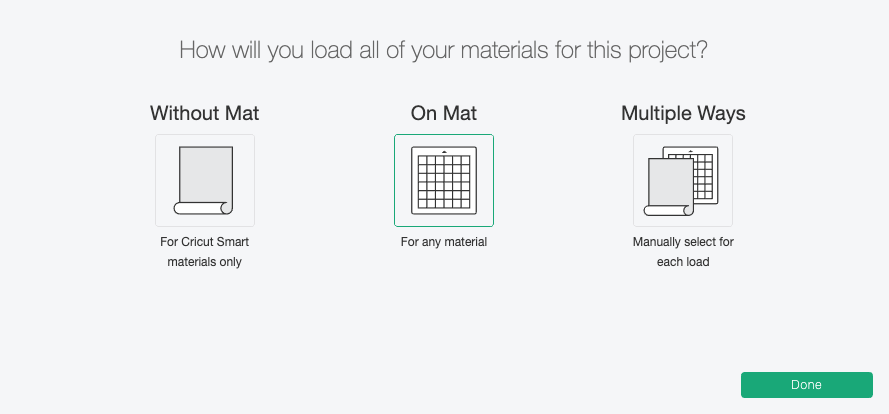
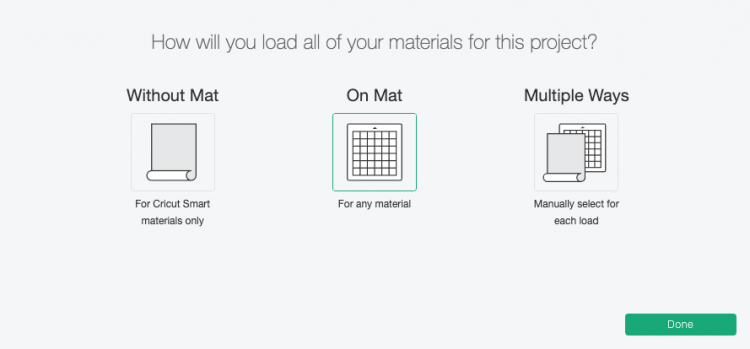
If you have a Cricut Maker 3 or Cricut Explore 3, you’ll see a Mat Selection window. Because we are cutting paper, choose On Mat. If you do not have one of these newer machines, you won’t see this screen.
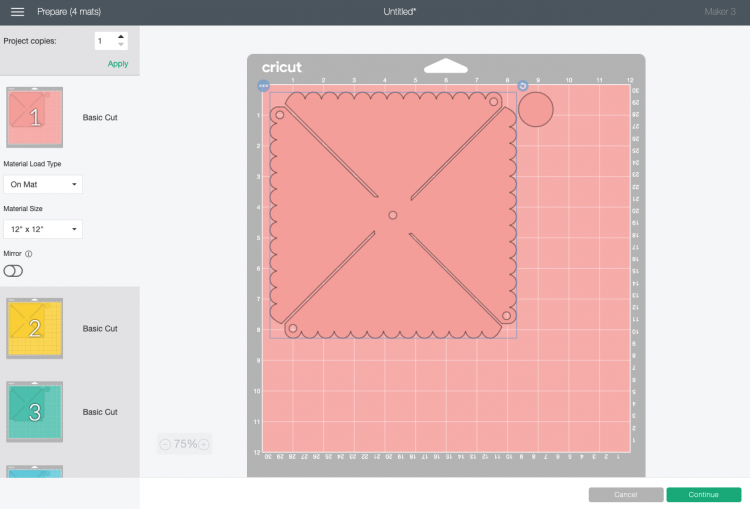
On the next Prepare Screen, you’ll see all of your images laid out on their respective mats.
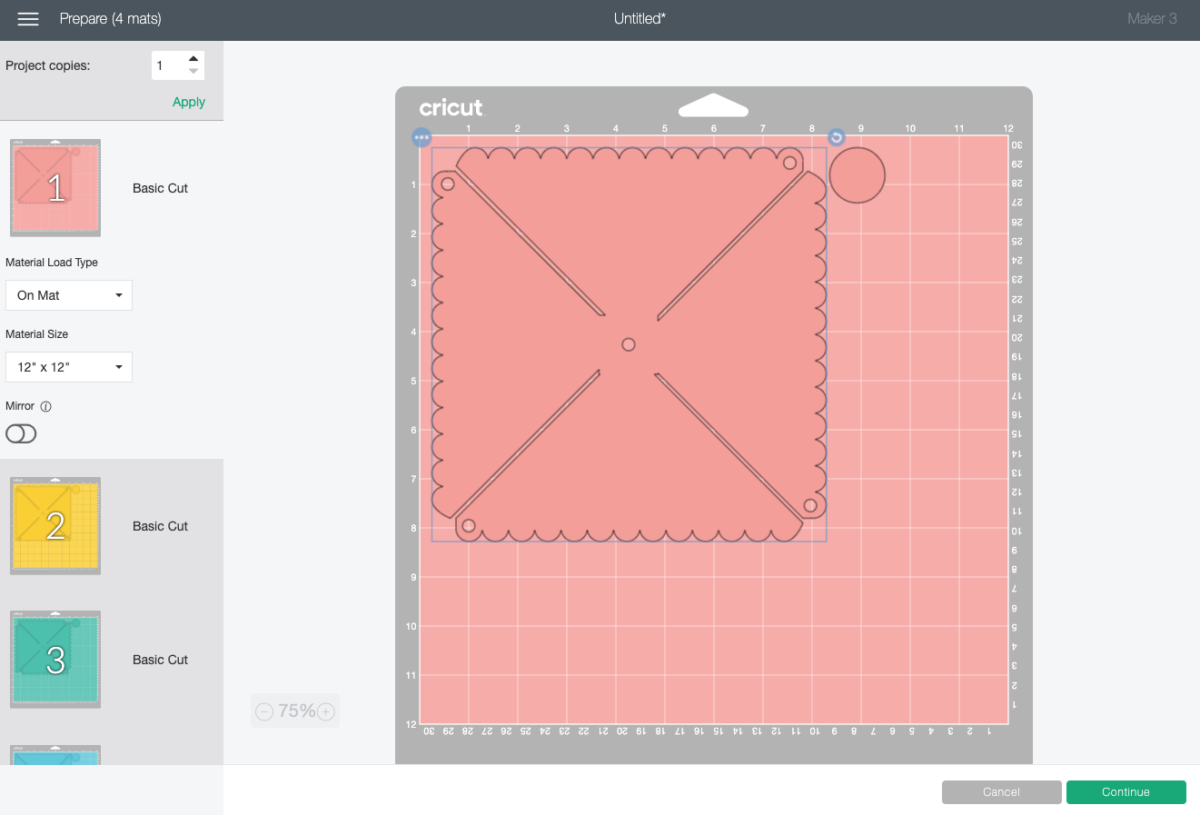
On the Make Screen, you’ll set your material to Deluxe Paper (I find it’s a good setting for most papers!). Make sure you have your fine point blade in your machine, insert your mat, and your Cricut will cut your project!
Assemble Your Pinwheels
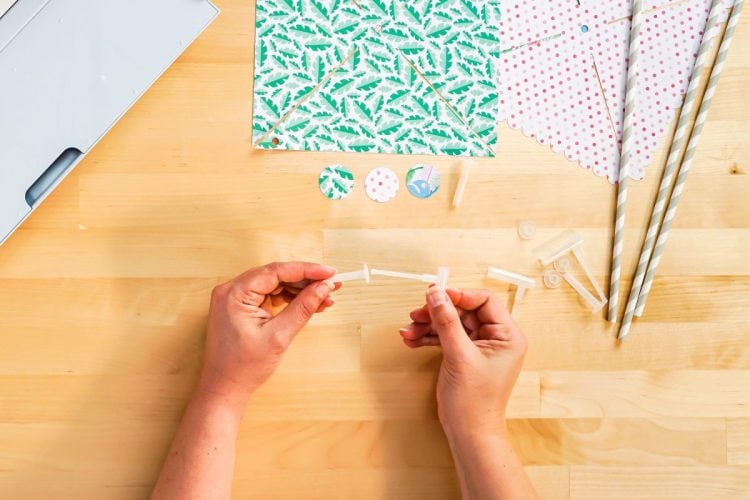
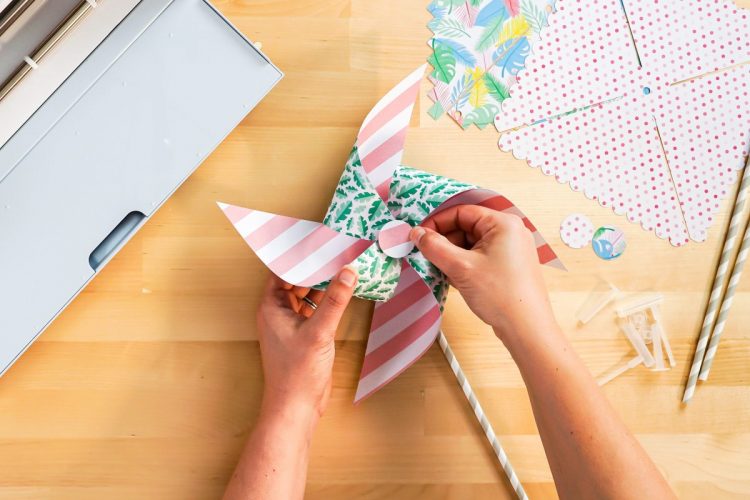
The pinwheel assembly is pretty easy, and the instructions are included on the packaging. Slide the two longer pieces together until they snap, which gives the pinwheel its ability to spin.
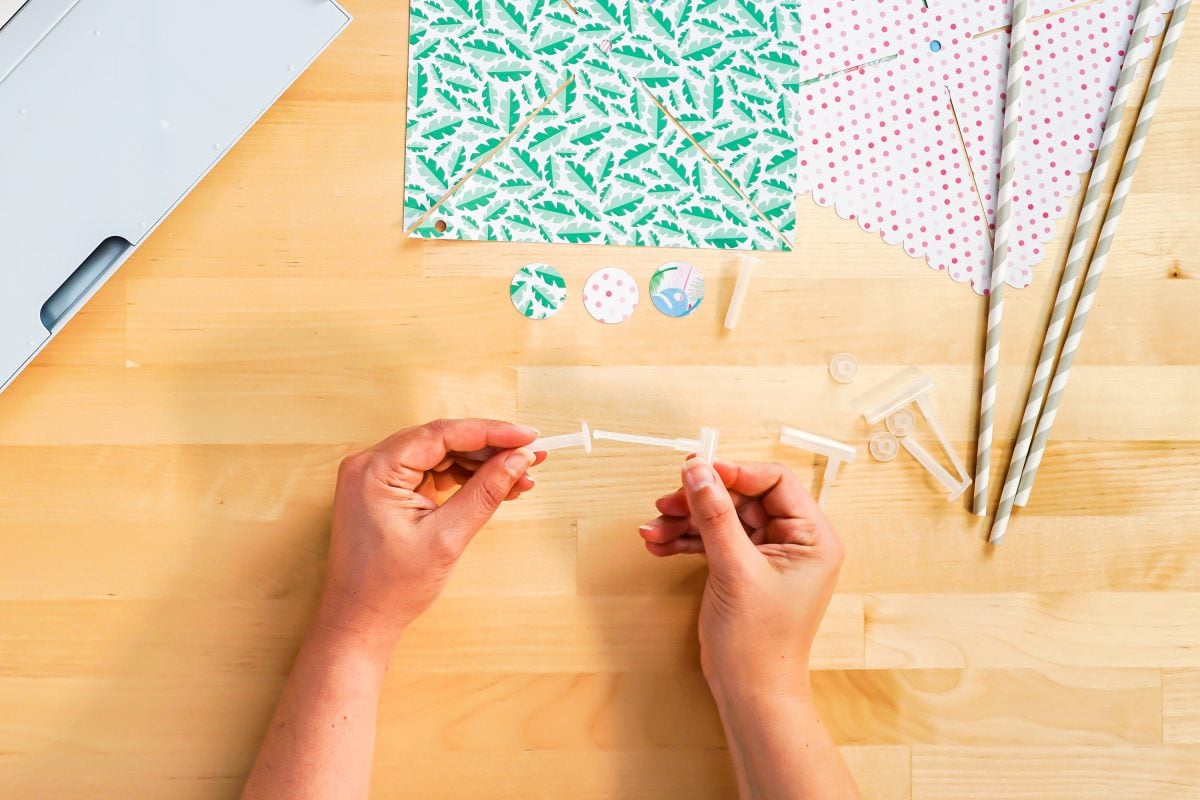
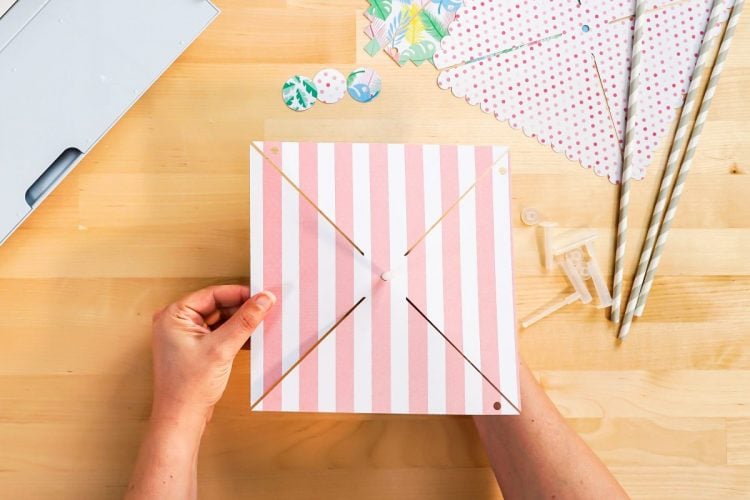
Then place that attachment through the center hole of the pinwheel.
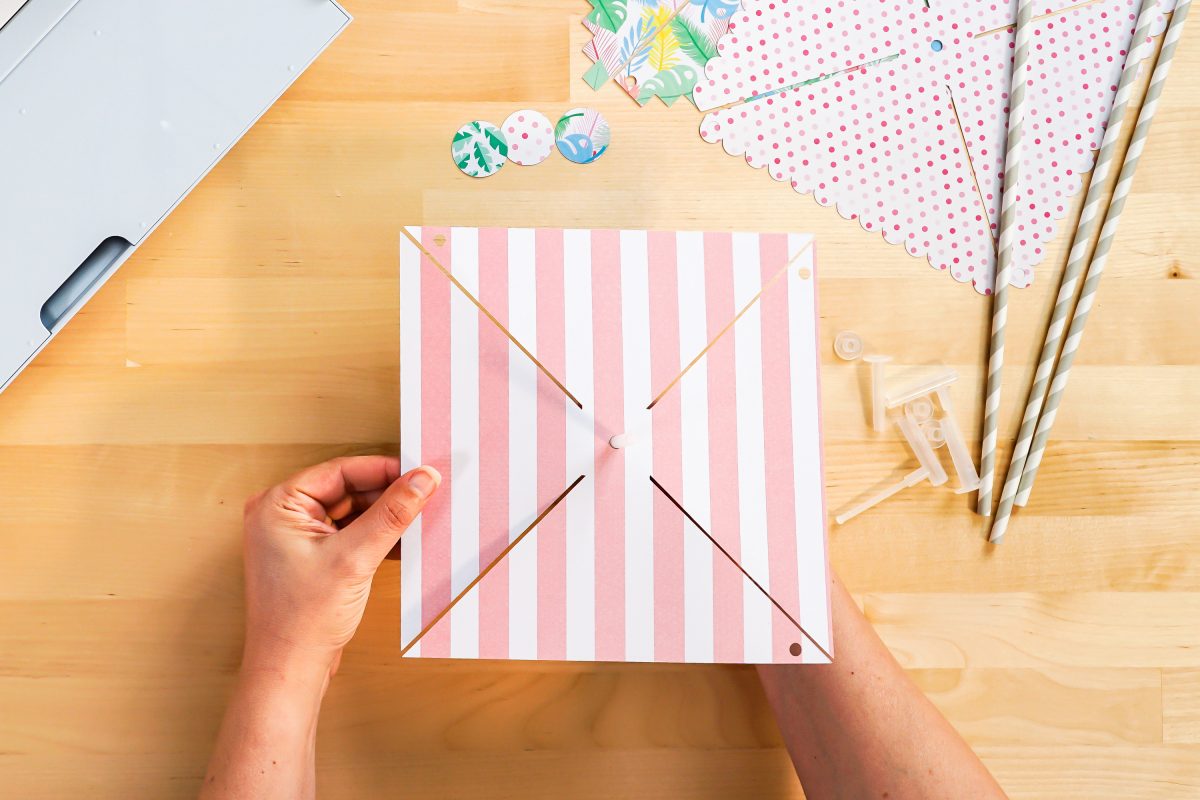
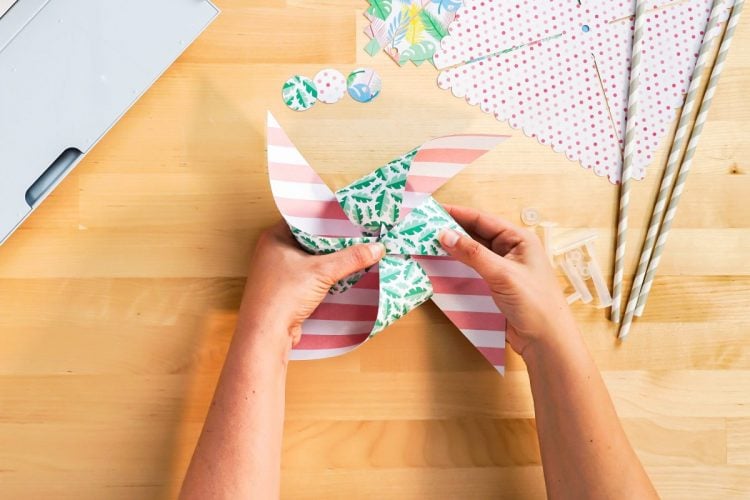
Then bend down the petals of the pinwheel and slide the attachment through each hole.
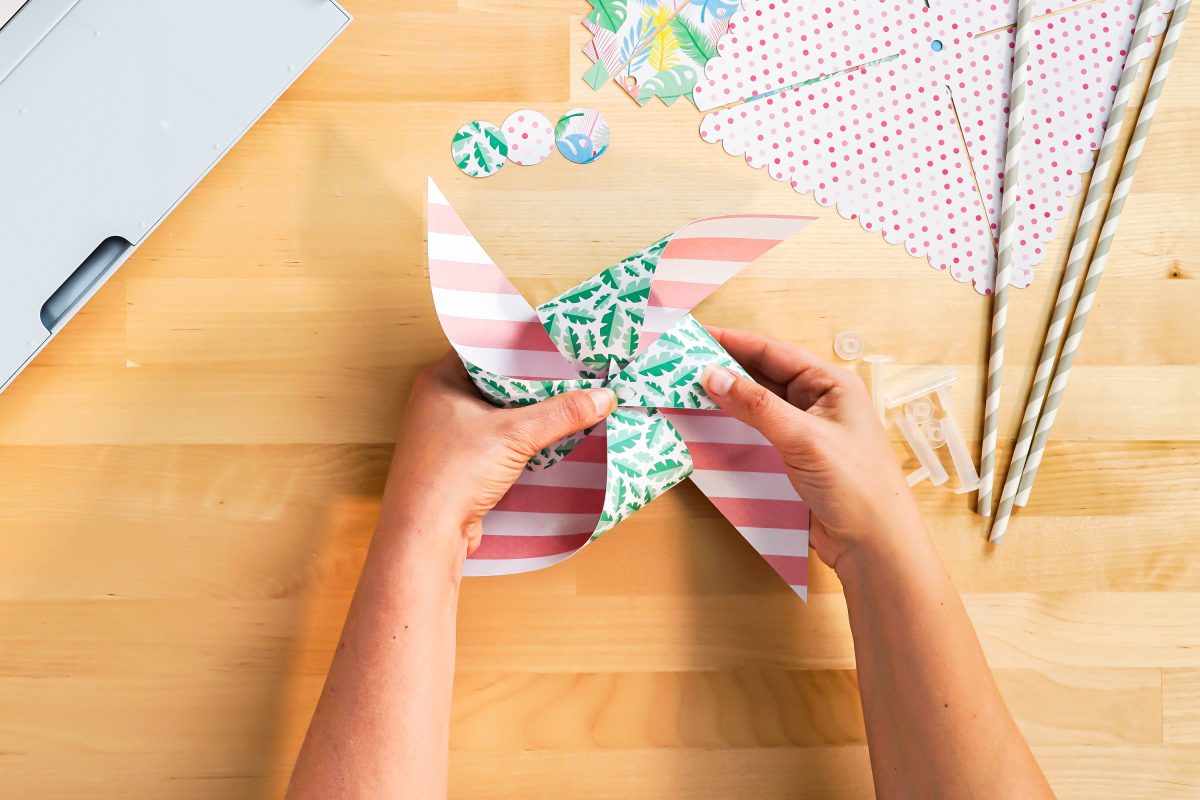
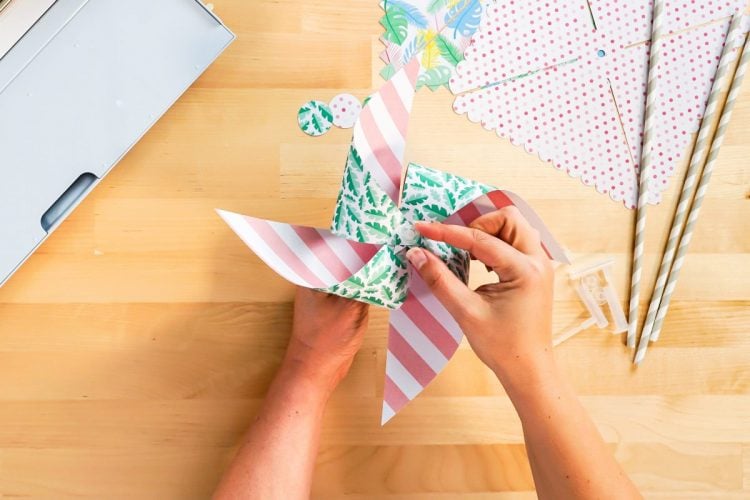
Snap the plastic button to the front of the pinwheel.
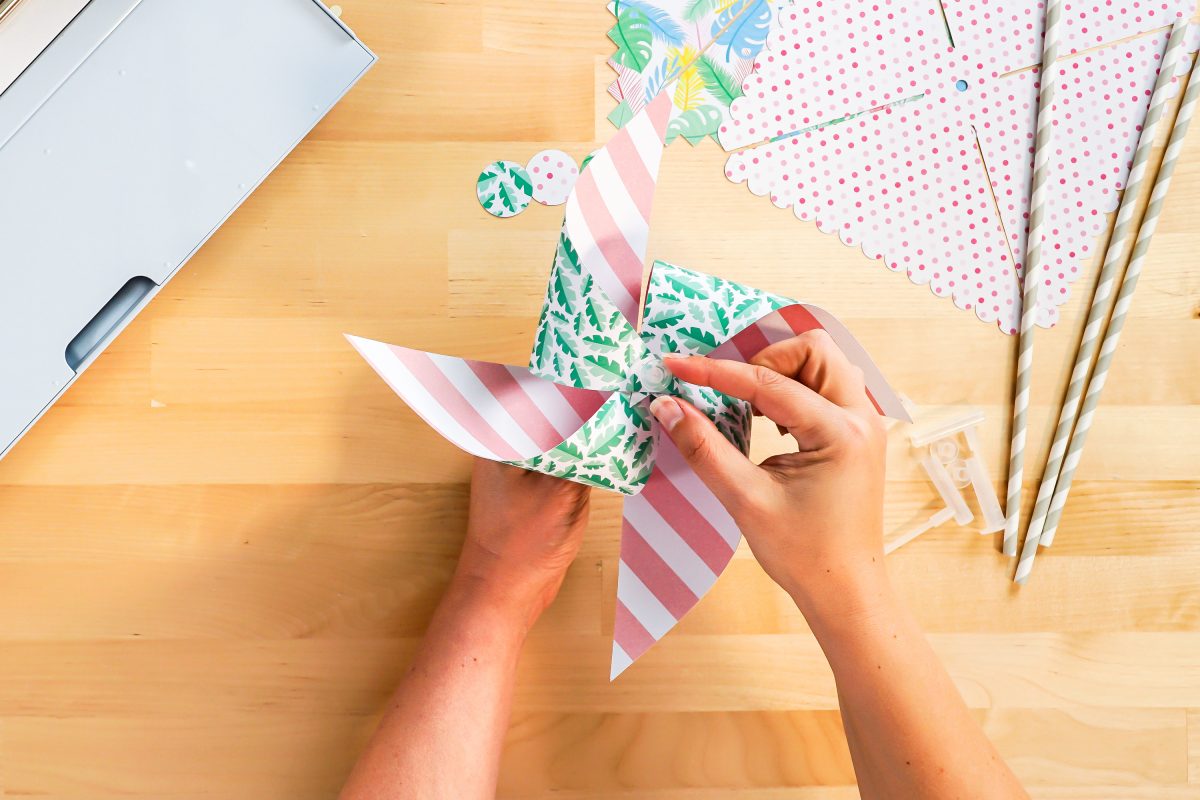
Glue the cardstock circle on top if you’d like.
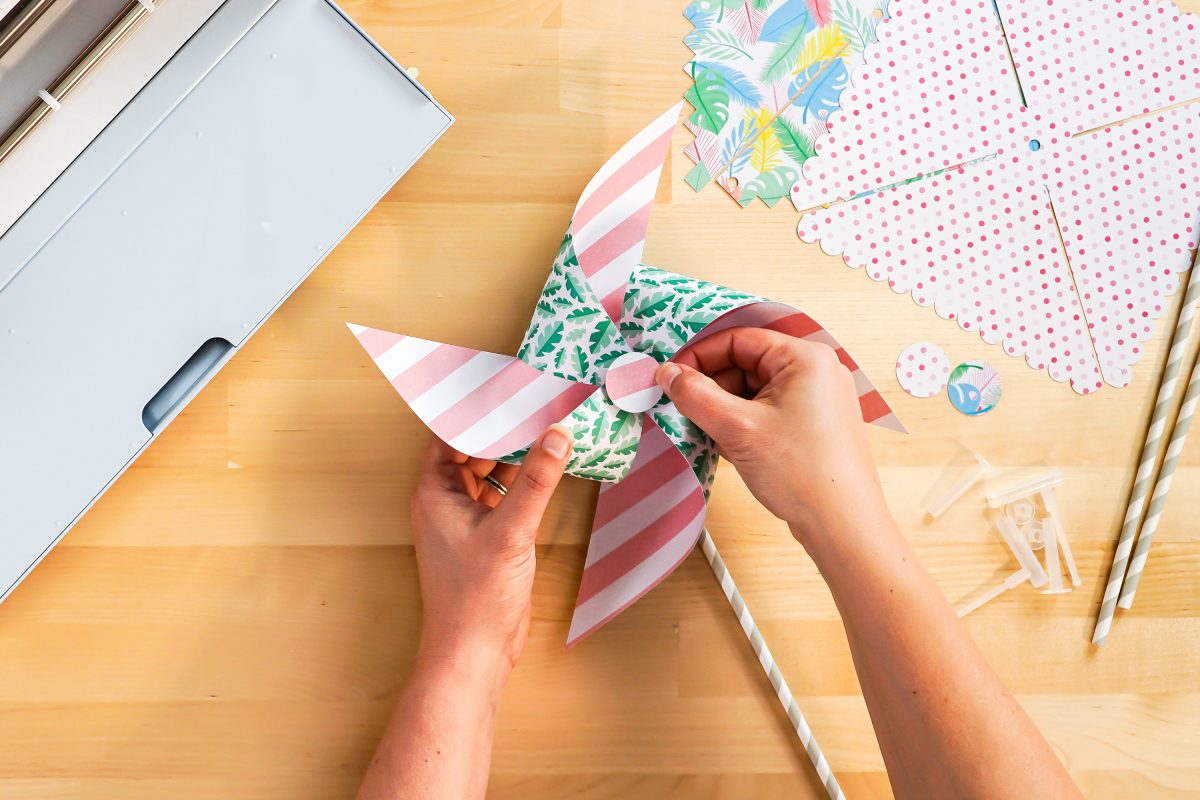
Then add the straw that comes with the pinwheel attachments and you’re done! You’ve made spinning paper pinwheels that actually move!

Make All the 15 Days of Cricut Summer Fun Projects!
We’ll be adding links as each day goes live! Grab the full bundle with all of the projects and SVGs in our 15 Days of Cricut Summer Fun eBook Bundle!
- Summer Bucket List Sign
- Spinning Paper Pinwheels
- Summer Vibes T-Shirt
- Funny Flower Pots
- Beach Life Pennant
- Barbecue Labels Two Ways
- Summer Coasters
- Picnic Caddy
- Personalized Ice Pop Holders
- Fruit Slice Banner
- Summer Stickers
- Beach Shadow Box
- Lemonade Stand Sign
- Popsicle Bookmarks
- Ice Cooler Decals
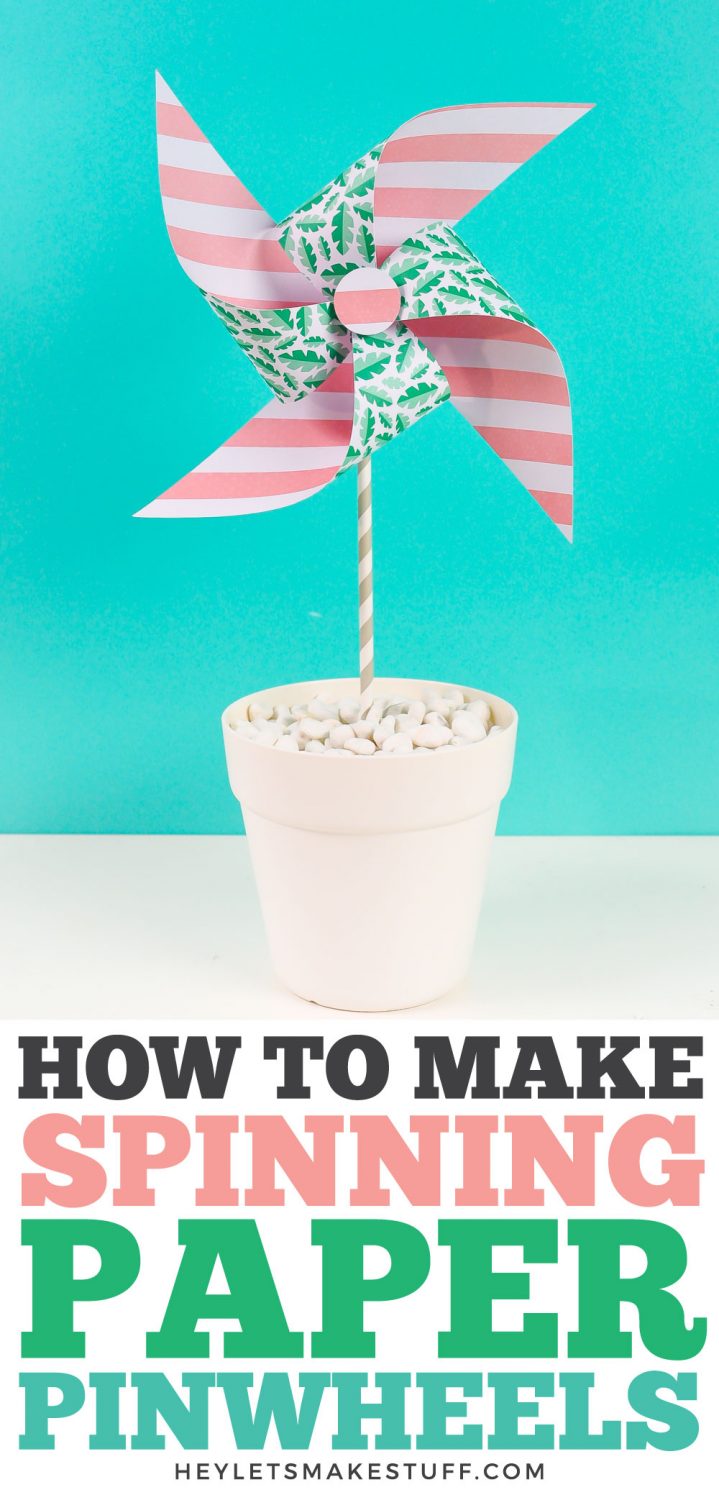
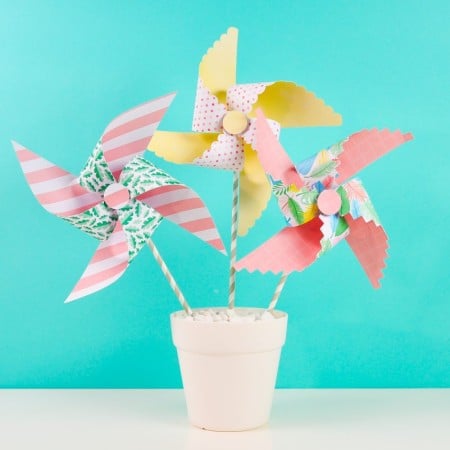
SPINNING PINWHEELS
Instructions
- Upload the Pinwheel File to Cricut Design SpaceUpload the SVG file to Cricut Design Space (see Uploading SVG Files to Cricut Design Space if you need help). You can resize them—making them 8" wide each fits the pinwheel attachments the best. The circles are for the centers of your pinwheels to cover the pinwheel attachment. If you don't want to use them, you can hide them using the "eye" in the layers panel.If you'd like, change the colors to more closely match your paper. That's it! You're ready to hit Make It in the upper right.

- Cut Your Paper for Your PinwheelsIf you have a Cricut Maker 3 or Cricut Explore 3, you'll see a Mat Selection window. Because we are cutting paper, choose On Mat. If you do not have one of these newer machines, you won't see this screen.

- On the next Prepare Screen, you'll see all of your images laid out on their respective mats.On the Make Screen, you'll set your material to Deluxe Paper (This is a good setting for most papers!). Make sure you have your fine point blade in your machine, insert your mat, and your Cricut will cut your project!

- Assemble Your PinwheelsThe pinwheel assembly is pretty easy, and the instructions are included on the packaging. Slide the two longer pieces together until they snap, which gives the pinwheel its ability to spin.

- Then place that attachment through the center hole of the pinwheel.

- Then bend down the petals of the pinwheel and slide the attachment through each hole.

- Snap the plastic button to the front of the pinwheel.

- Glue the cardstock circle on top if you'd like.

- Then add the straw that comes with the pinwheel attachments and you're done! You've made spinning paper pinwheels that actually move!






Comments & Reviews
Remy says
Hi there when I click “Make it” the pinwheels don’t show the small circles on the edges to cut out, also the circles on each paper. Any idea what’s happening Thanks!
Cori says
Hi Remy, We just tested it, and they are showing for us on the Make It screen.Can you please try again and reach out to us by email if you are still haveing dificulty?
stephanie says
Purchased the SVG file but it showed up as a HTML file :(
Cori says
Hi Stephanie,
Yes, some computer software changes the file type name to HTMl but it is the .svg file you are looking for and will work correctly when you upload it into Cricut Design Space :)