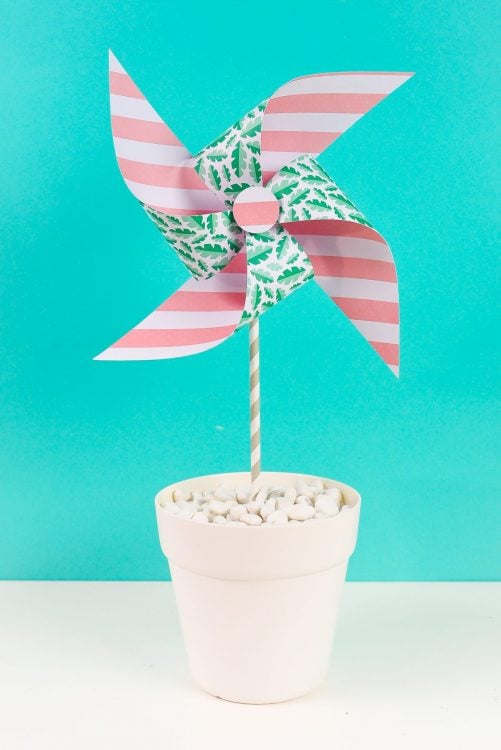
SPINNING PINWHEELS
Dress up any picnic or summer party with spinning paper pinwheels, made with your Cricut! Get the tutorial for cutting and assembling these fun pinwheels that actually spin in the wind!
Instructions
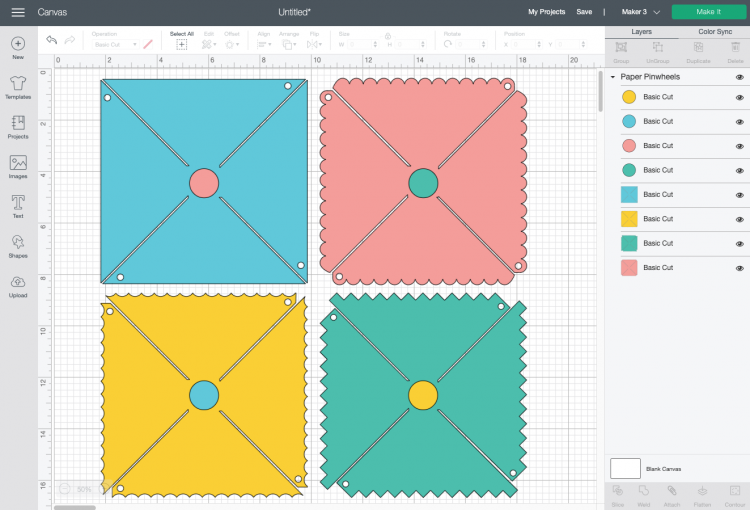
- Upload the Pinwheel File to Cricut Design SpaceUpload the SVG file to Cricut Design Space (see Uploading SVG Files to Cricut Design Space if you need help). You can resize them—making them 8" wide each fits the pinwheel attachments the best. The circles are for the centers of your pinwheels to cover the pinwheel attachment. If you don't want to use them, you can hide them using the "eye" in the layers panel.If you'd like, change the colors to more closely match your paper. That's it! You're ready to hit Make It in the upper right.
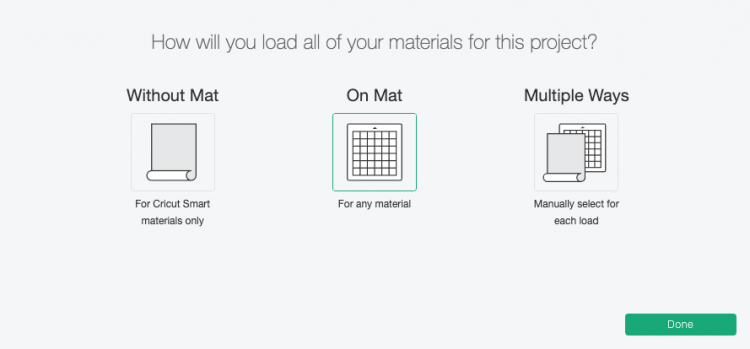
- Cut Your Paper for Your PinwheelsIf you have a Cricut Maker 3 or Cricut Explore 3, you'll see a Mat Selection window. Because we are cutting paper, choose On Mat. If you do not have one of these newer machines, you won't see this screen.
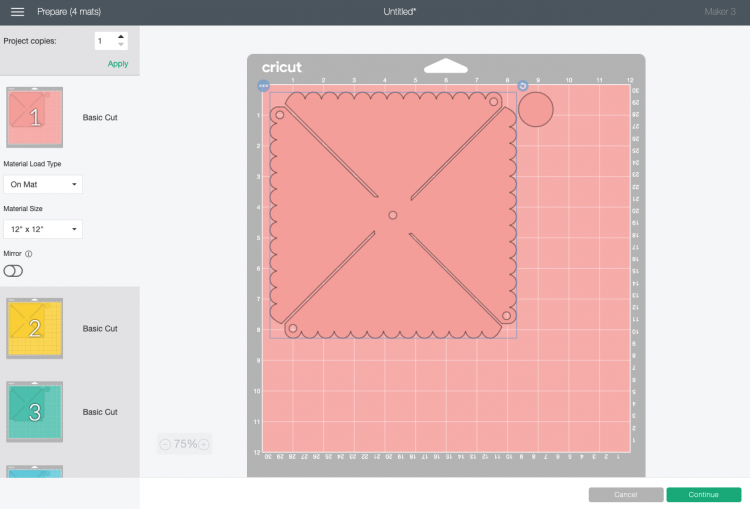
- On the next Prepare Screen, you'll see all of your images laid out on their respective mats.On the Make Screen, you'll set your material to Deluxe Paper (This is a good setting for most papers!). Make sure you have your fine point blade in your machine, insert your mat, and your Cricut will cut your project!
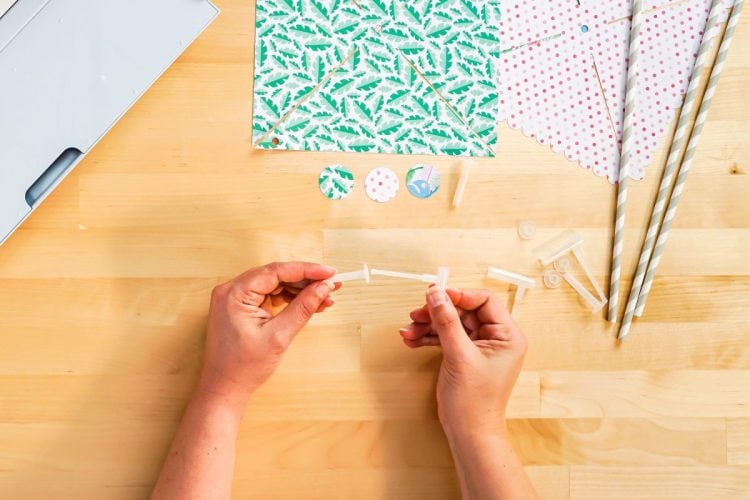
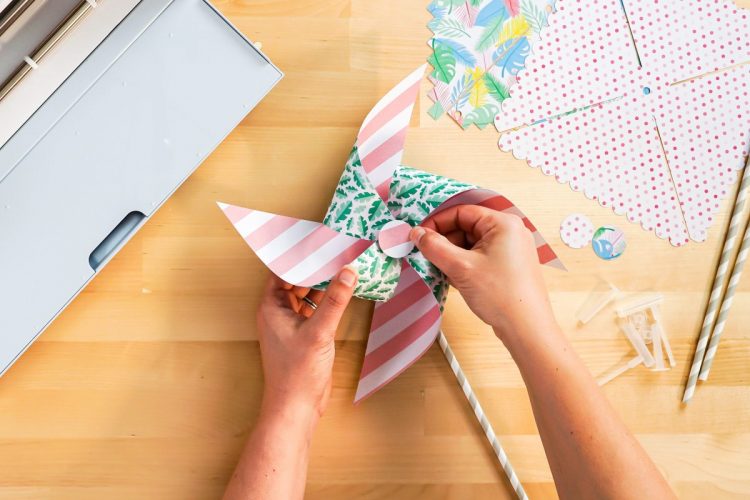
- Assemble Your PinwheelsThe pinwheel assembly is pretty easy, and the instructions are included on the packaging. Slide the two longer pieces together until they snap, which gives the pinwheel its ability to spin.
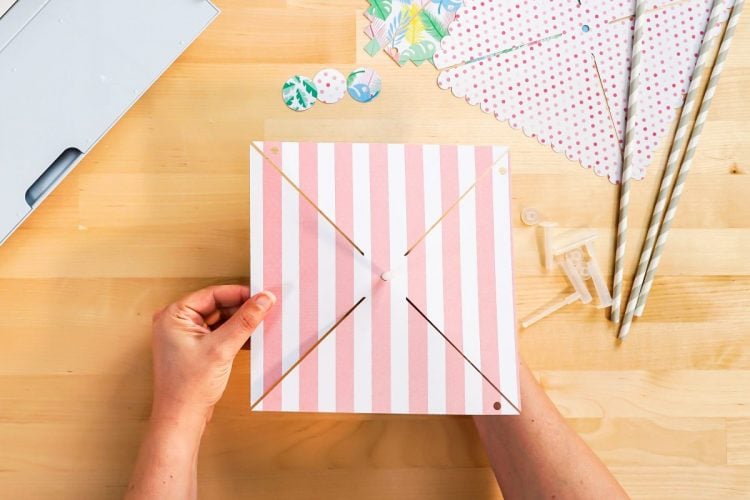
- Then place that attachment through the center hole of the pinwheel.
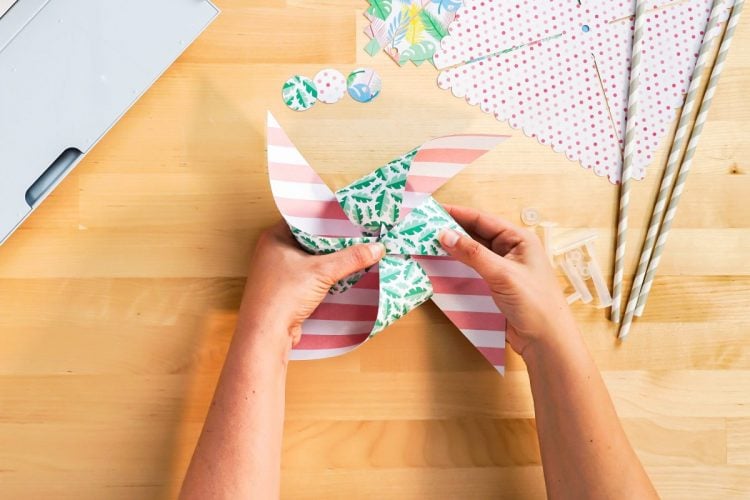
- Then bend down the petals of the pinwheel and slide the attachment through each hole.
- Snap the plastic button to the front of the pinwheel.
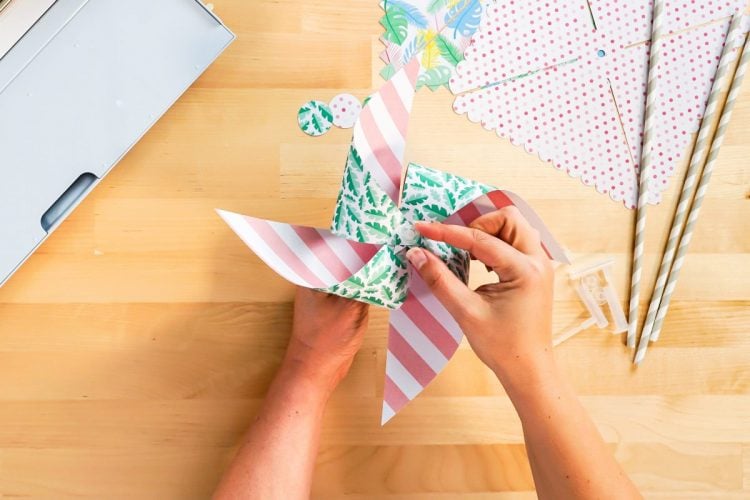
- Glue the cardstock circle on top if you'd like.
- Then add the straw that comes with the pinwheel attachments and you're done! You've made spinning paper pinwheels that actually move!