Your imagination is the only limit when it comes to printable iron on vinyl! Print out a design on printable iron on using your home printer and adhere to t-shirts, onesies, hats, and more!
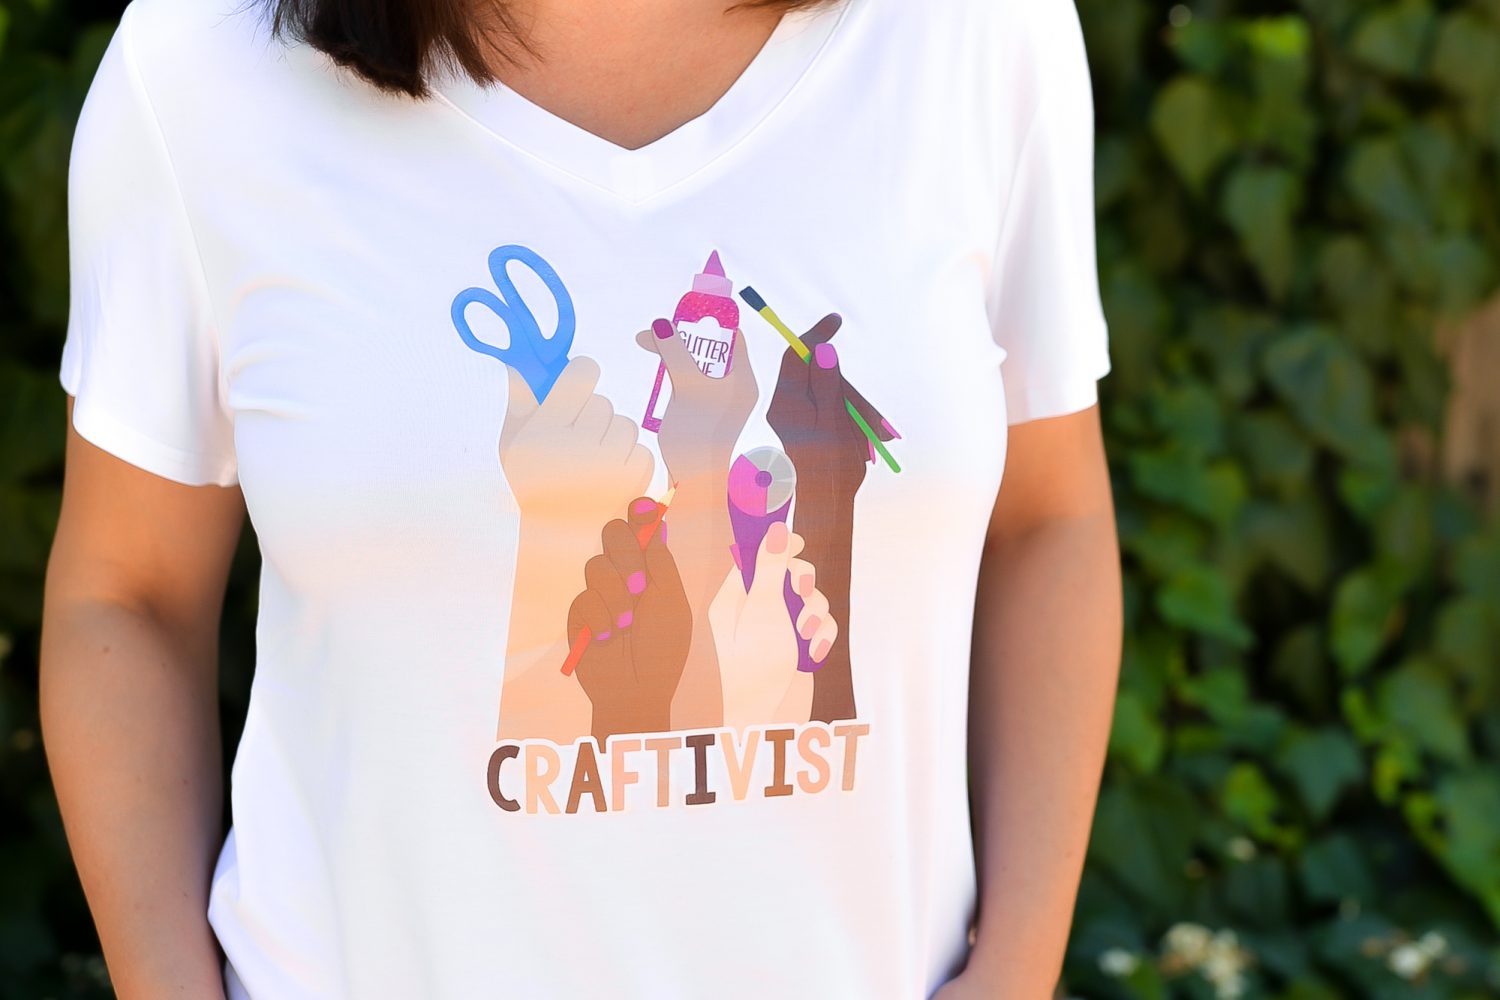
If you’ve ever been frustrated by the limited colors of iron on vinyl, or wished you could put a complex, multi-colored image on a shirt or tote bag, you’re going to want to get to know one of my favorite cutting machine materials—printable iron on! With printable iron on, you’ll print once, cut once, and apply once. Easy!
Today we’re taking a closer look at printable iron on and answering all of your questions about this material—then we’re going to make a shirt to show you, step-by-step, how to use it!
Frequently Asked Questions About Printable Iron On
Let’s start out by covering some of the most frequently asked questions about Printable Iron On. Have additional questions? Let me know in the comments!
What is Printable Iron On?
Printable iron on is a heat transfer material on which you can print an image. It has an adhesive on the back that is activated by heat (using a Cricut EasyPress (my favorite) or traditional heat press. You can use it on many types of fabric blanks, as seen below.
You can use your Cricut Explore, Cricut Maker, or other cutting machine with printing/cutting capabilities to cut around the edge of your design. (Note that a Cricut Joy does not do Print then Cut.) If the design is simple enough, though, you can even use scissors and skip the cutting machine step entirely!
What Type of Printable Iron On is the Best?
There are a number of printable iron on brands on the market. I’ve used several, but I always come back to the JetPro Soft Stretch. I have found that because it has a slight stretch to it, it wears really well and resists peeling. Cricut does make a printable iron on, but I haven’t been as lucky with it.
Here are a few brands you might want to try, since each material, base, and heating device is different. These are for white/light fabrics (see the next section for dark/colored fabrics):
- JetPro Soft Stretch
- Avery Printable Heat Transfer Paper for Light Fabrics
- Koala Transfer Paper for Light Fabrics
Can I Use Printable Iron On on Dark Fabric?
Yes! But you’ll need to make sure that the printable iron on you are using is meant for dark or colored fabrics. Here are a few brands to try, with my favorite listed first:
- Jolee’s Easy Image for Colored Fabrics
- Avery Printable Heat Transfer Paper for Dark Fabrics
- Printworks T-Shirt Transfers for Dark Fabrics
What Type of Printer Do I Need for Iron On?
To get the best results, most printable iron on uses an ink jet printer. I’m still on the hunt for an ink jet printer that I really like (the current one I have is an HP Envy 6455…it’s decent, but sometimes I can see the printer ink “stripes”)—I actually have a new one coming in the mail soon and I’ll report back!
A laser printer gets to very high temperatures and could melt the transfer inside your printer—nightmare! That being said, they do make laser-safe printable iron on, like this:
What is the Maximum Print then Cut Size?
If you are using a Cricut, you are limited to 9.25″ x 6.75″. I know that other machines, like the Silhouette Cameo, have a larger area, though I haven’t tried it. Learn more about print then cut.
How are Printable Iron On Vinyl and Printable Vinyl Different?
There are two other printable material you may run across—printable vinyl and printable sticker paper.
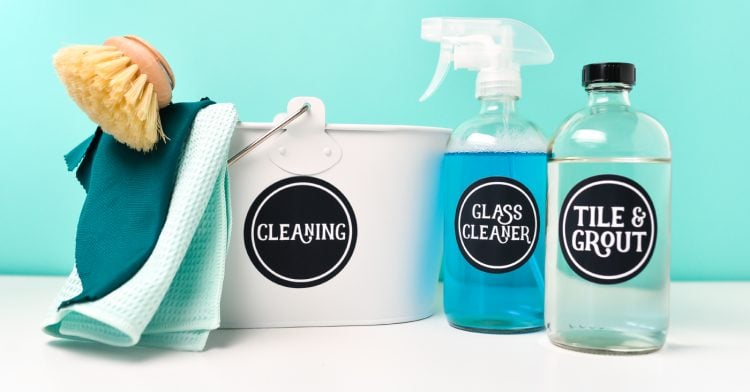
All of these printable materials use your printer to create your design, but the main difference is how they are applied to your base surface. Printable vinyl and sticker paper applies more like a sticker whereas you’ll need a heat source (like an iron, Cricut EasyPress, or heat press) for printable iron on vinyl as shown in this post.
Printable iron on is primarily used on fabric, while printable vinyl/sticker paper is best for smooth surfaces, like glass, plastic, metal, notebook covers, and even paper.
Want to learn more about printable vinyl? Check out my How to Use Printable Vinyl post!
What Image Types Work for Iron On Vinyl
One of the best things about printable vinyl is that the sky is the limit when you’re deciding on a design, since you are limited to the colors of iron on vinyl you have on hand. You can make projects with beautiful, multi-colored images, like this:
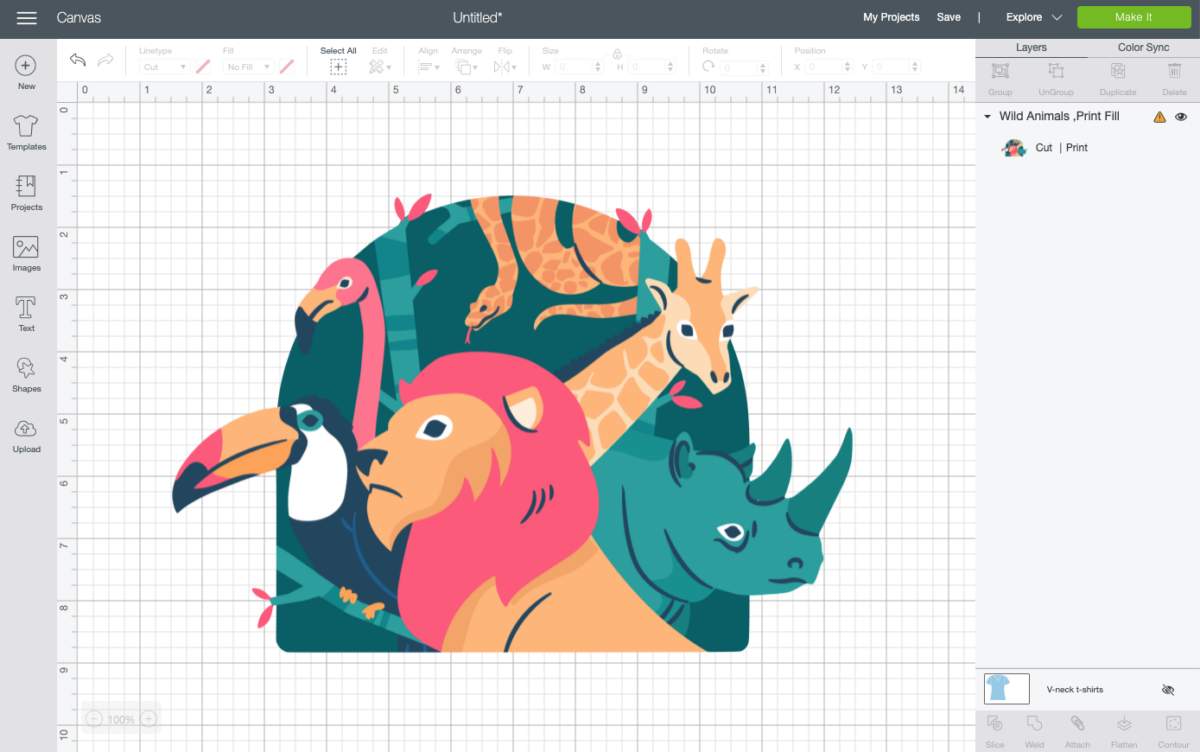
When working with most Cricut materials, I always suggest using an SVG file. But with printable iron on, you can easily use PNG and JPG as well—which are normally more difficult to work with when using a Cricut. Just upload your image, print, then cut as show below.
What Types of Blanks Work with Printable Iron On?
You can use printable iron on with all sorts of fabric blanks, including t-shirts, tote bags, onsies, and more. You can even use it on wood—I have a tutorial for that coming soon!
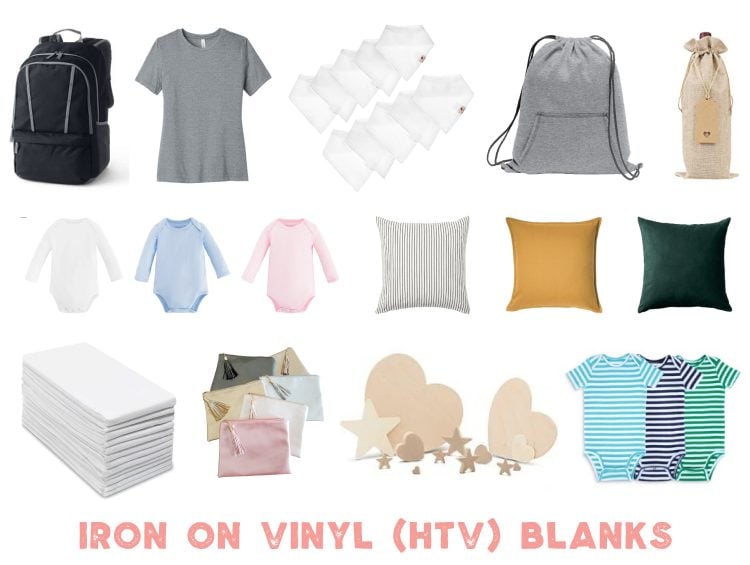
I have found that the “smoother” the material, the better the transfer. For example, a cotton onesie works better than a tote bag with a wide canvas weave. But with such a wide variety of printable iron on brands and an even wider number of possible blanks, you can find what works for you.
I also recommend pre-washing your item if possible.
Check out my giant Best Blanks for Crafting post for more ideas!
Now that we know A LOT about printable iron on, let’s make a shirt!
How to Use Printable Iron On with a Cricut
Supplies for Printable Iron on Shirt
- Cricut Explore, Cricut Maker, or other cutting machine
- Printable Iron On
- Ink Jet Printer
- Cricut EasyPress, heat press, or household iron
- Teflon sheet or pressing cloth
- Blank
- Craftivist PNG or other PNG design
This Craftivist image was created by the amazing Amber at Damask Love / YayDay Paper Co. One reason she recently started YayDay was to bring more diversity and representation to the crafting world (can I get an AMEN!)! You can find all sorts of awesome crafting projects, stationery, planner ideas, and other resources at YayDay—check it out!
Instructions for Printable Iron On Shirt
To make our shirt, we’re going to use Cricut’s Print-then-Cut feature. This process allows us to print a design on our home ink jet printer, cut around the edge of the image using the Cricut, and then adhere to a blank using heat. Let’s get started!
Setting Up Your Image in Design Space
Start by uploading your PNG to Cricut Design Space.
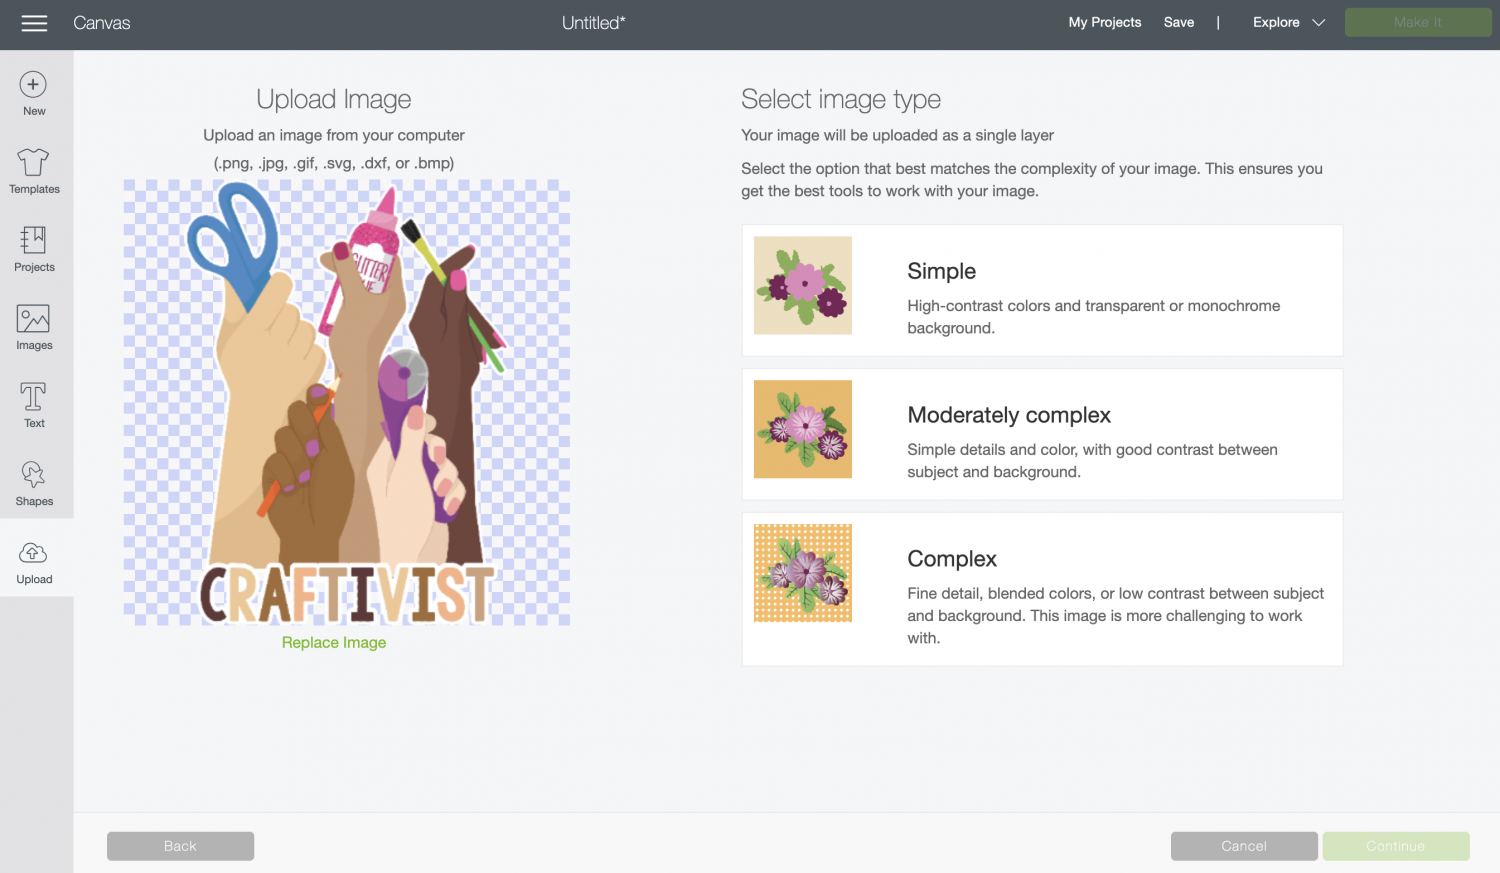
In the Select Image Type menu on the right, choose “Complex” image.
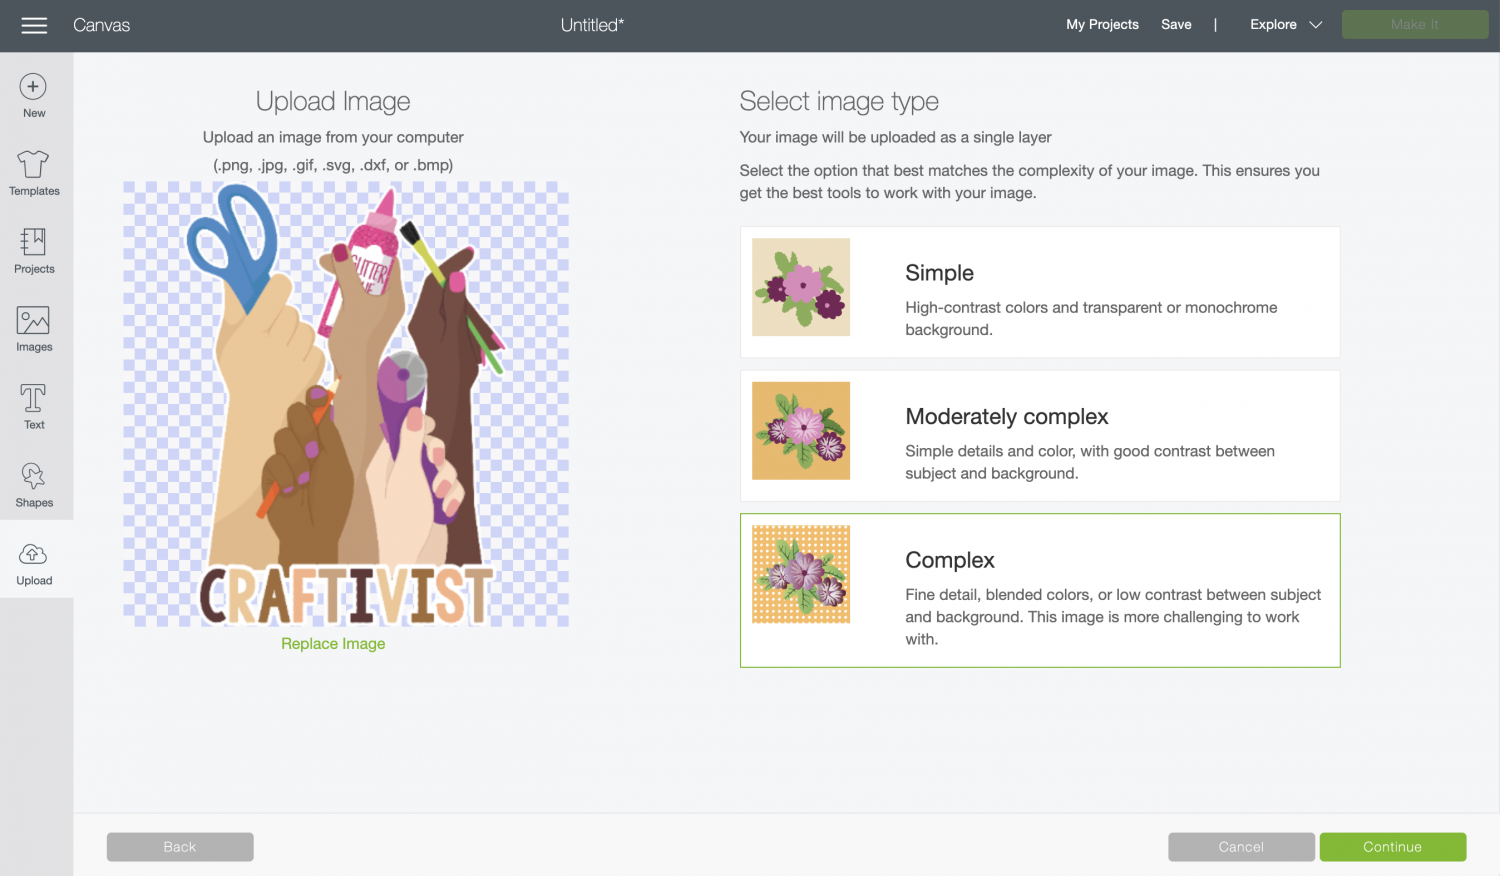
On the next screen, you’ll be able to erase any parts of your image you do not want (often a white background if you’re uploading a JPG file). In this case, you do not need to delete anything because the PNG is created with a nice border around it. But if you need to delete the background of your image, see my post Uploading PNG and JPG Images to Cricut Design Space.
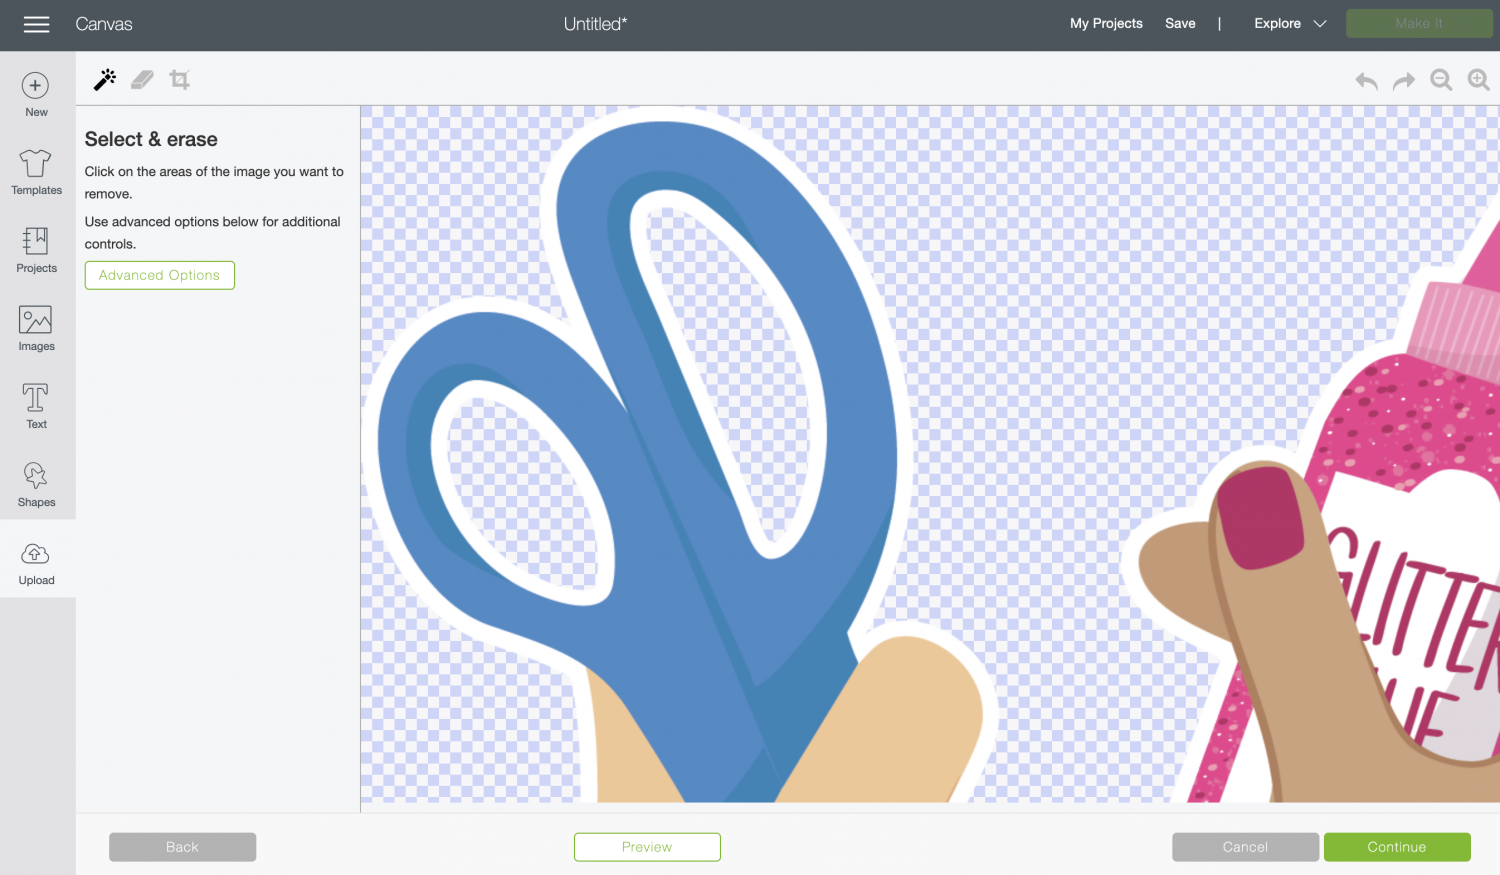
In the next screen, you’ll be able to choose if you want to Print then Cut or a regular Cut image. In this case, choose Print then Cut.
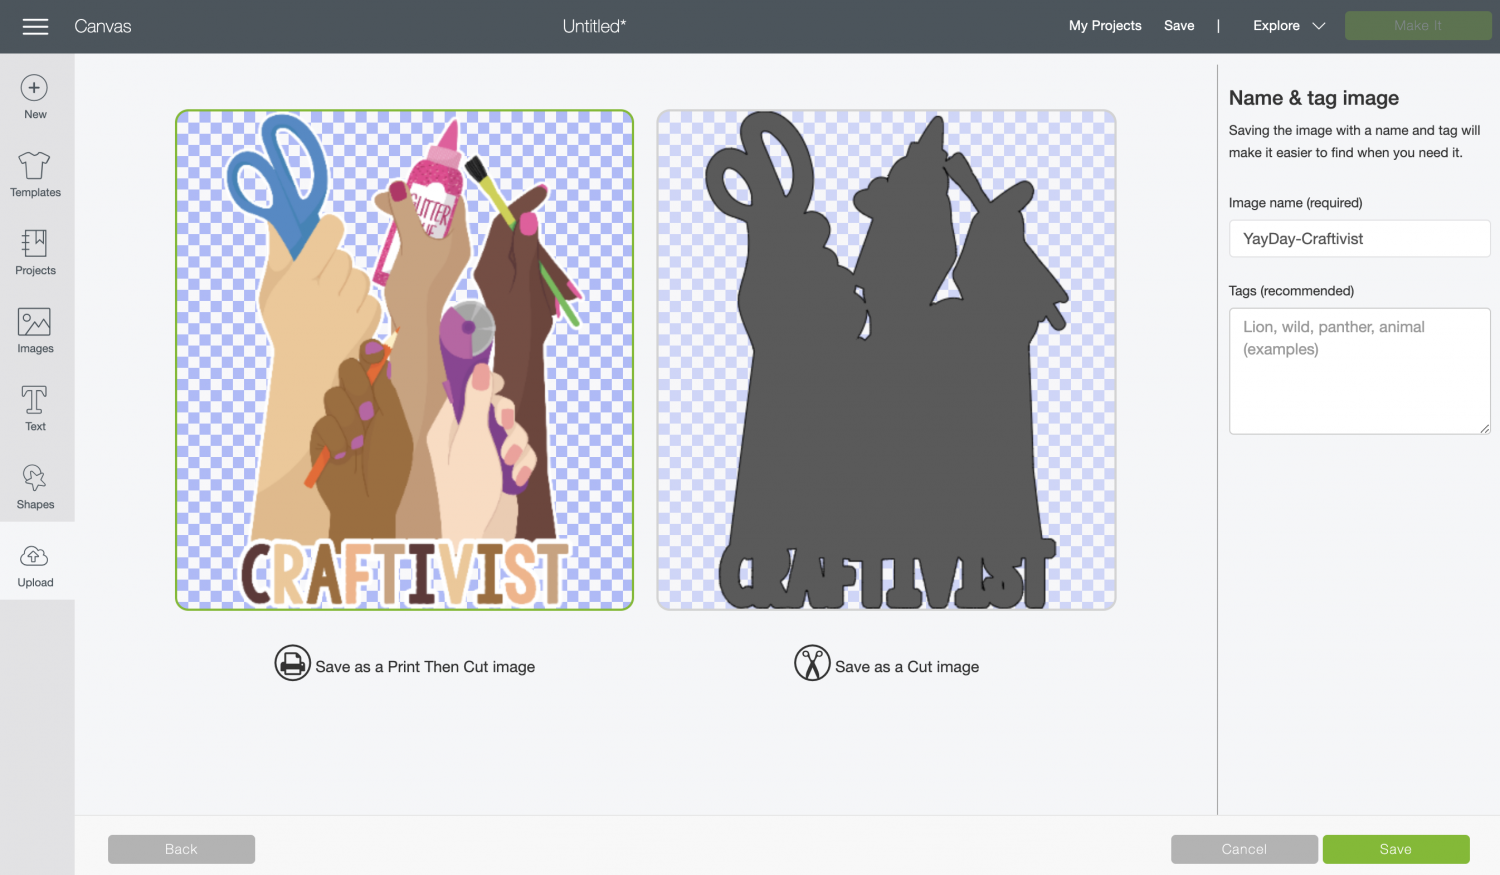
Finally, bring your image into Design Space.
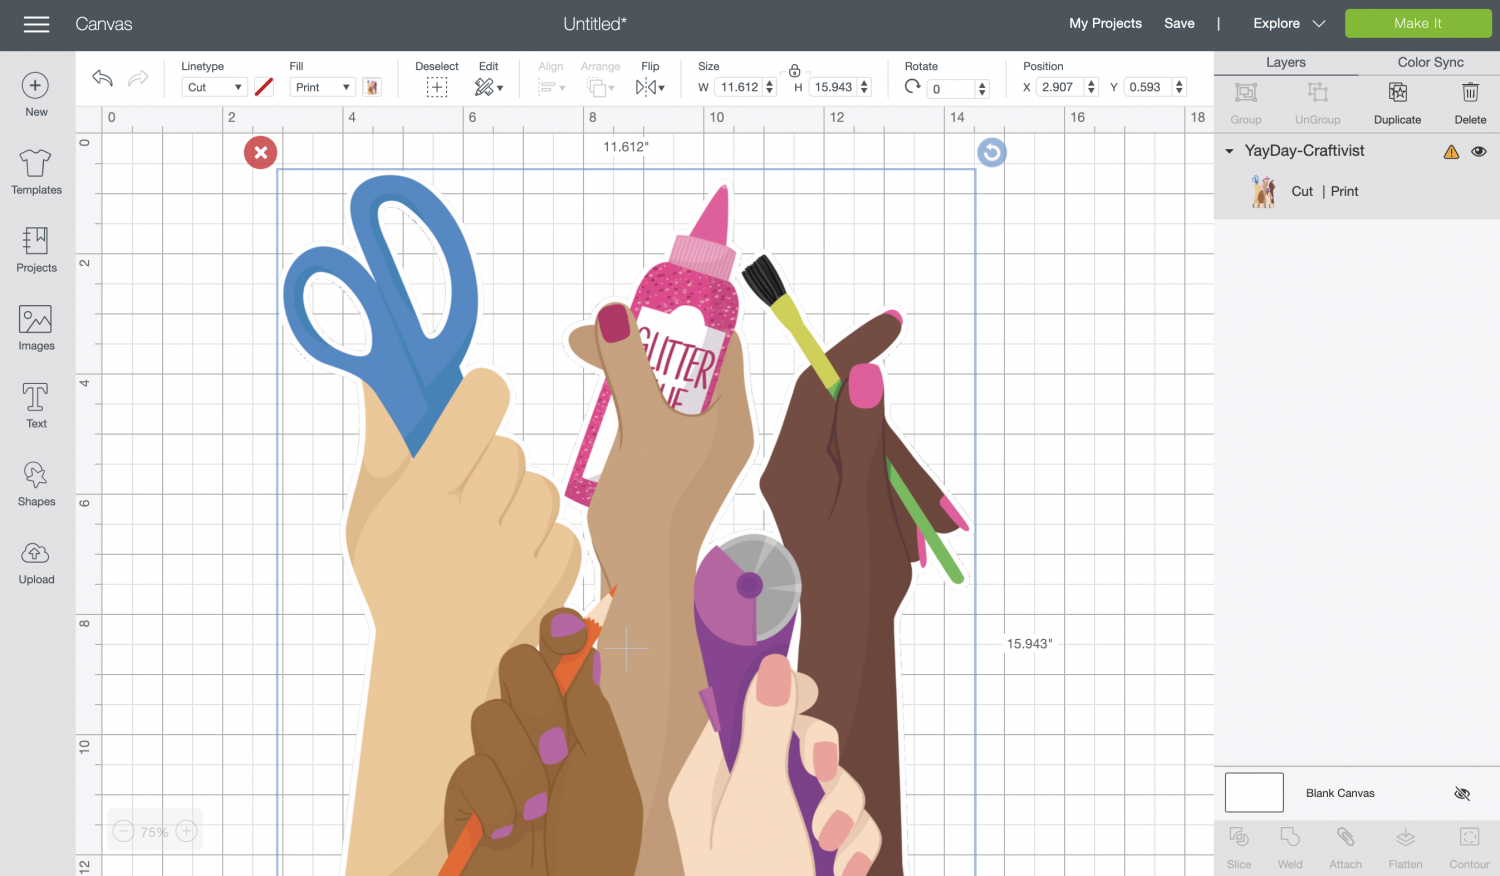
Finally, you’ll need to resize your image to fit on your shirt. I like using templates when making shirts—they help me determine how big my image should be. You can learn more about Using Templates in Design Space.
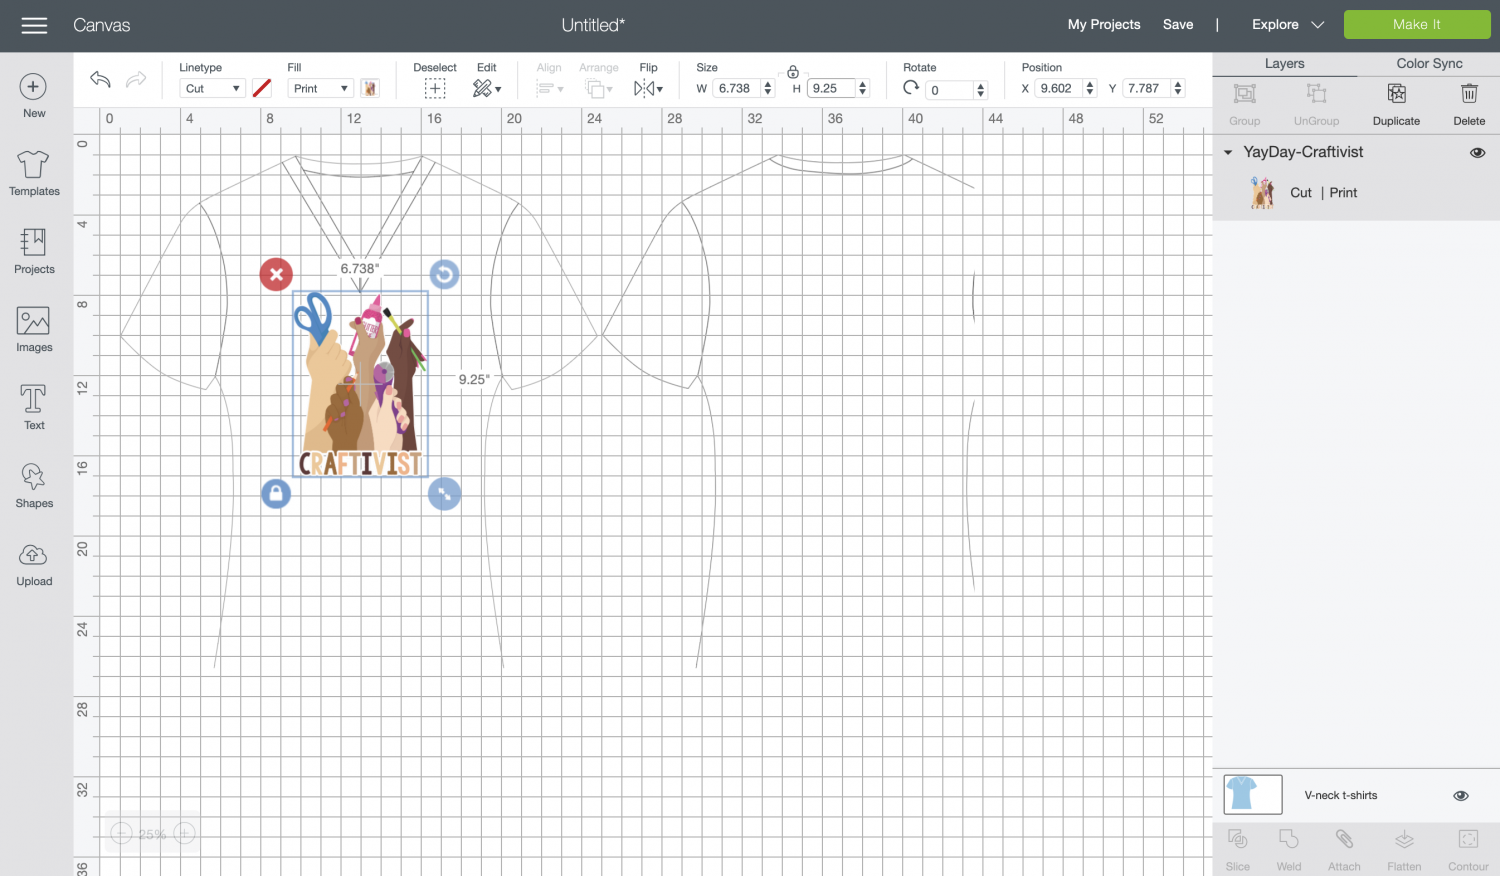
In this case, I ended up making my image 9.25″ tall, the maximum size for print then cut, but obviously, you’ll need to resize to fit your blank.
Then click Make It in the upper right.
Cutting Your Image
The next screen will change depending on your material. This is IMPORTANT. Not all printable iron on is the same. Some requires you to reverse your image (this is the case with the JetPro) and some does not. READ THE INSTRUCTIONS for your particular material! The stuff isn’t cheap (and neither is ink) so you want to get it right.
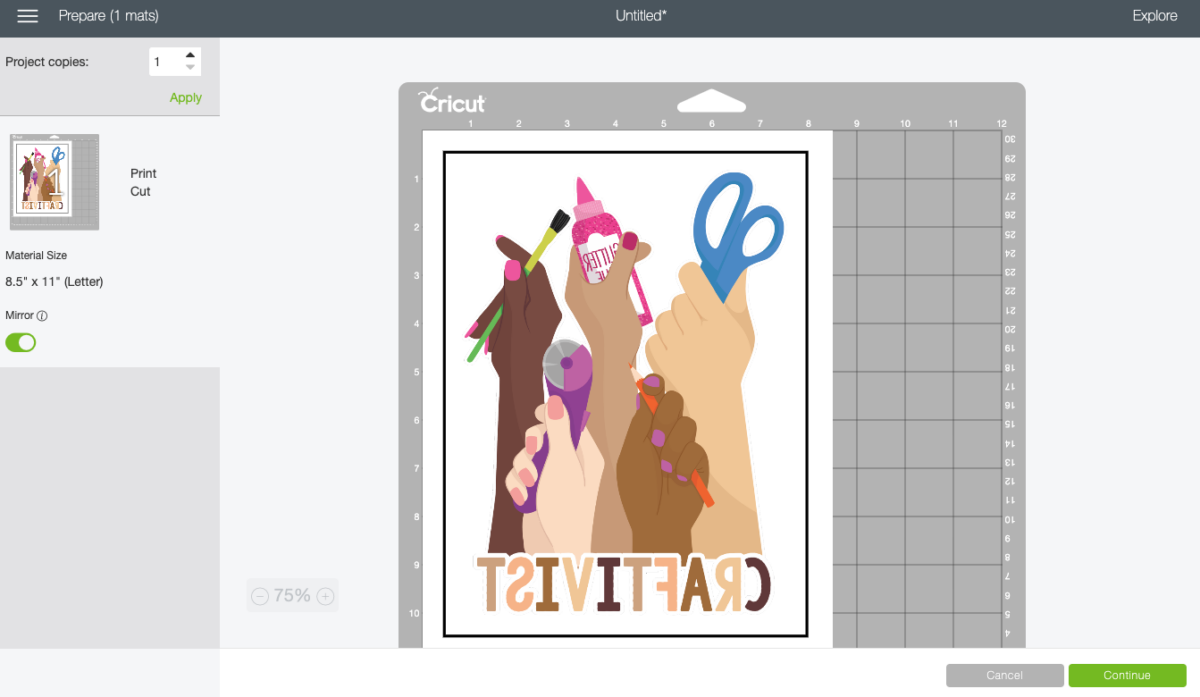
Also note that Cricut Design Space will put a black registration box around your image—the sensors in your Cricut will use that registration box to sense your image and cut around it.
Then click Continue. You’ll be prompted to print your project using your home printer. In most cases, you’ll want to select “bleed,” which puts a bit of a border on your project. This helps keeps your project from having a white line around the edge if your Cricut doesn’t cut exactly around the edge (note that this particular file is designed with a white border, so the bleed isn’t necessary here, though it doesn’t hurt to have it either).
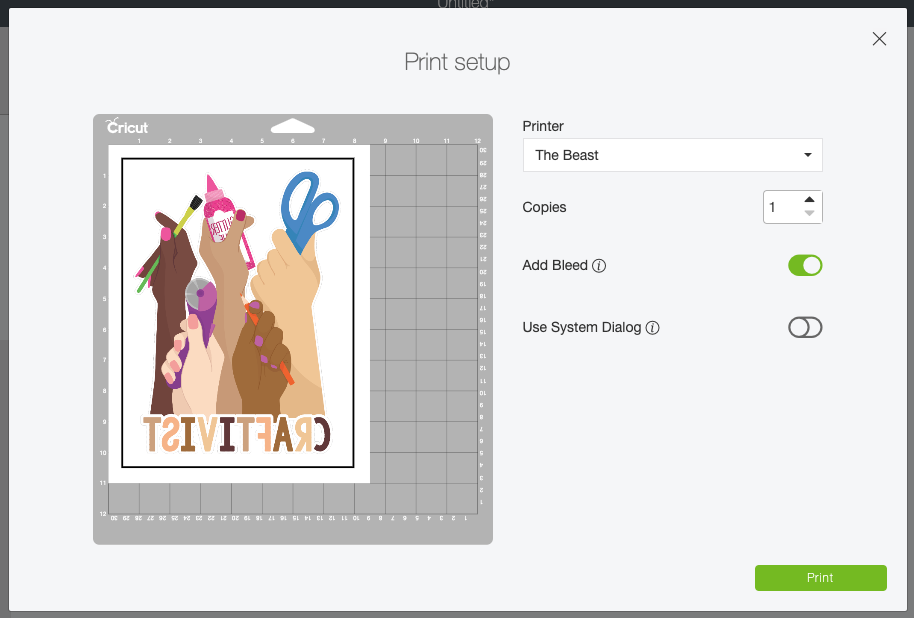
Every printer is different, so make sure you have your paper loaded properly. Then print your image.
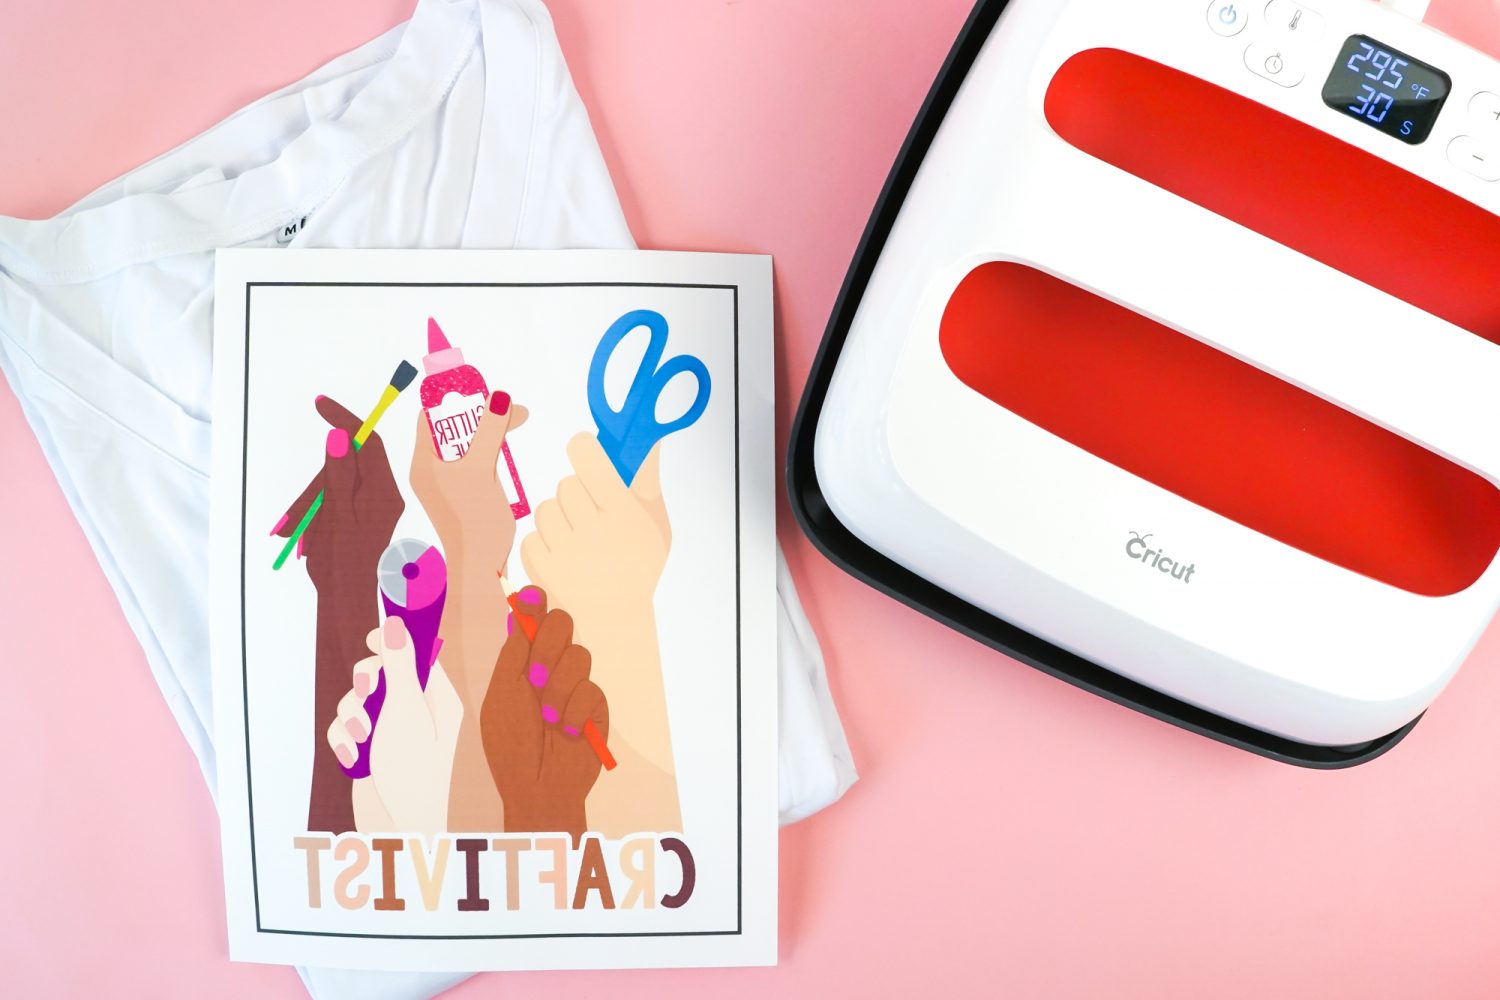
Adhering Your Image to a T-Shirt
Then place your printed image on a Cricut cutting mat.
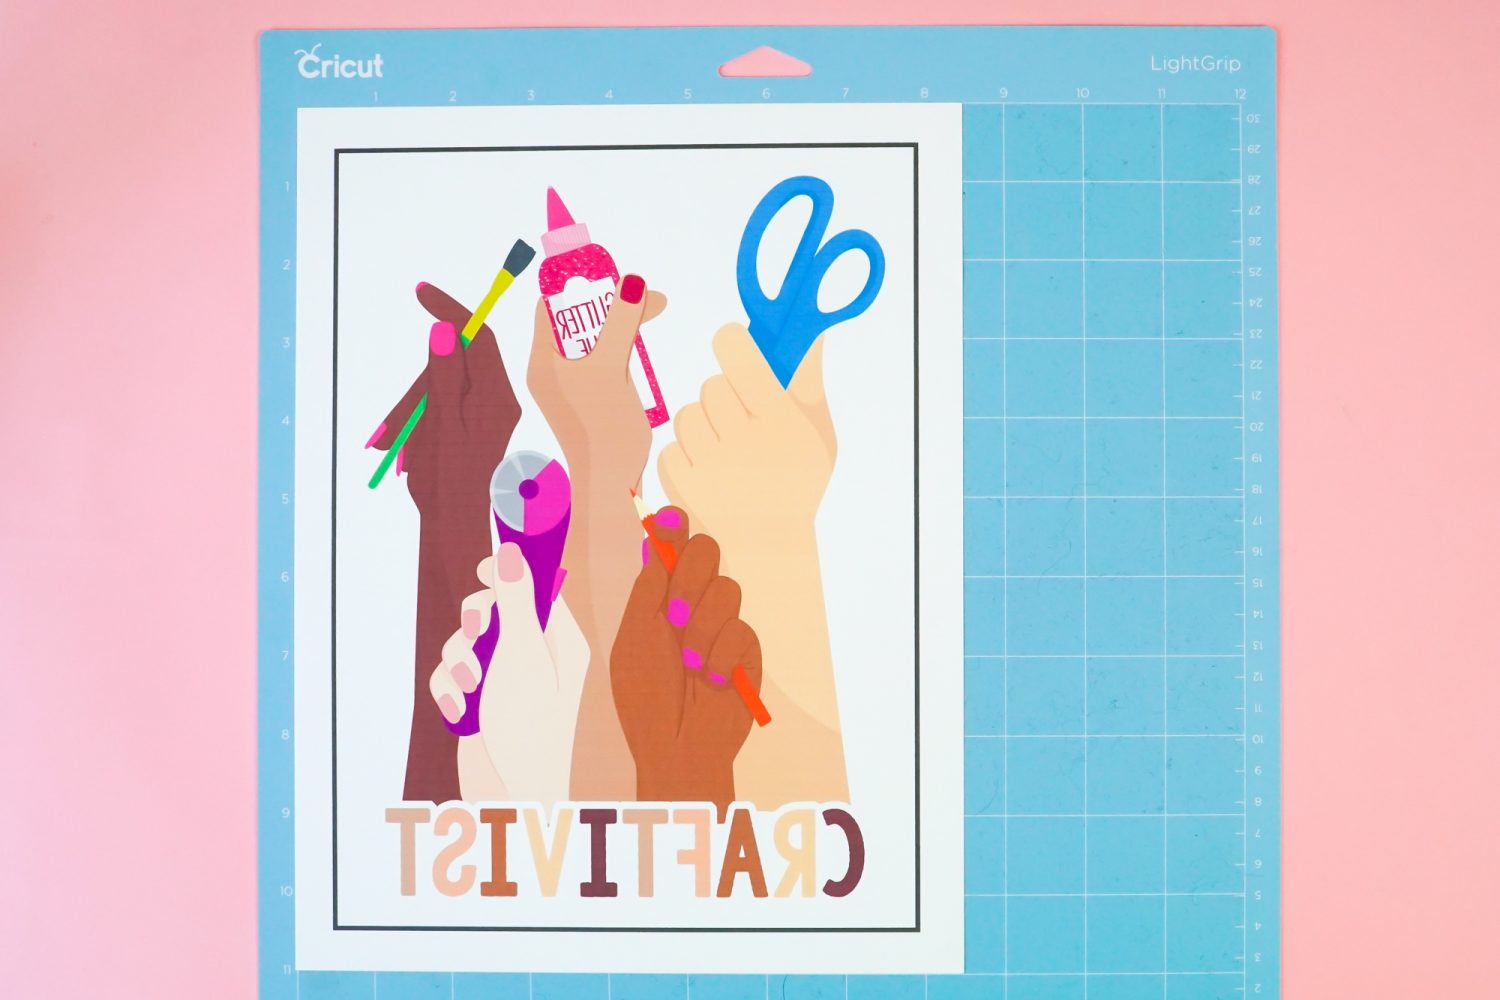
The next steps will change based on the type of printable iron on you are using.
For the JetPro Soft Stretch, you want it to cut all the way through your material. But for others, like the Cricut brand printable iron on, you want to use their Printable Iron On material setting, which will “kiss cut” the material and you will peel it up and place it on your shirt.
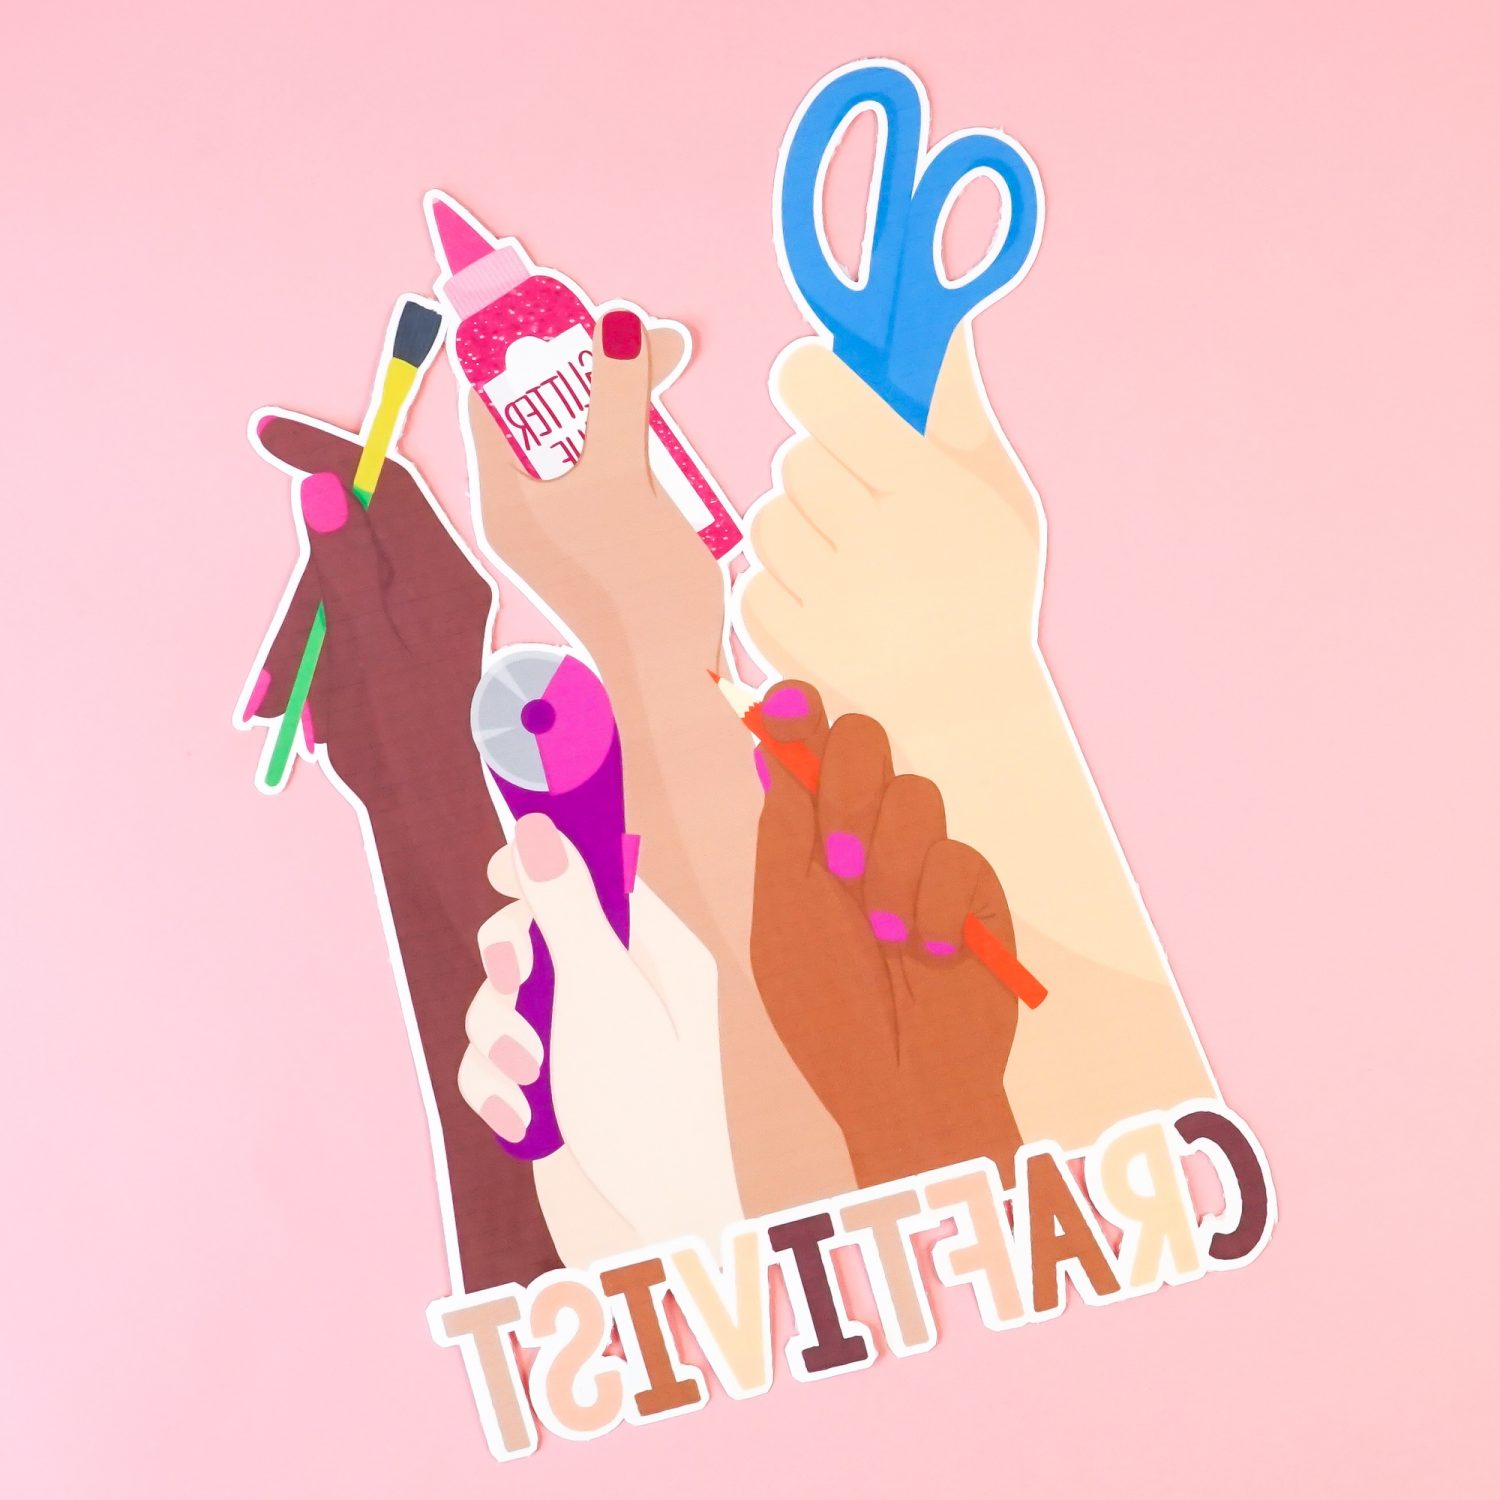
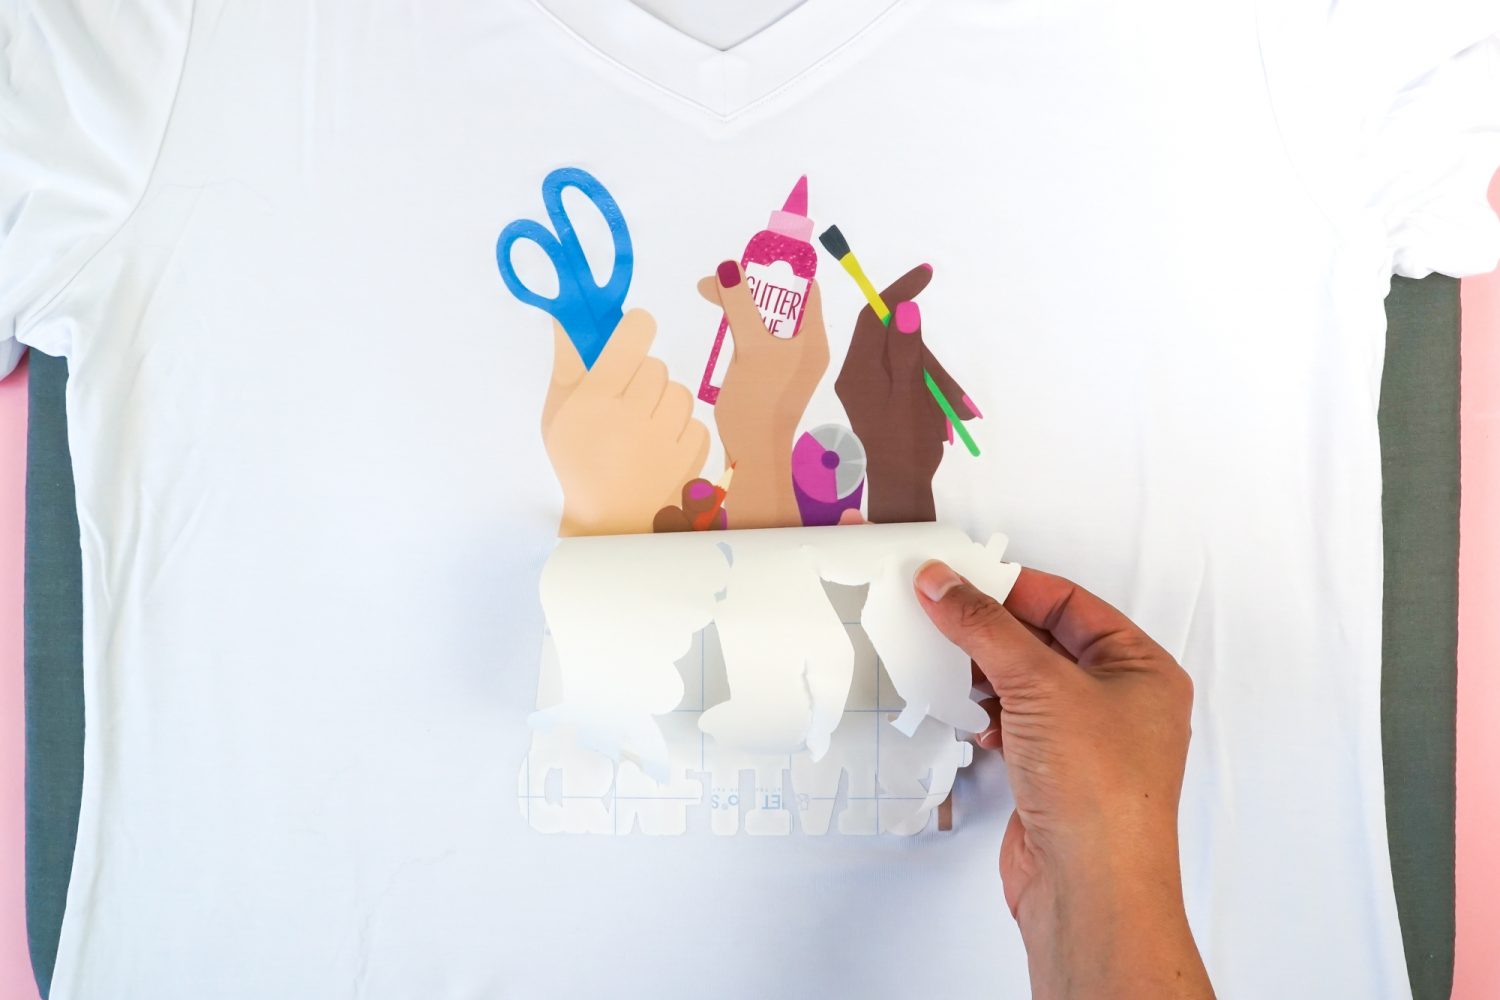
For the Jet Pro, place your image face-down on your shirt (this is why you mirrored it before cutting) and iron it on. For other brands, you may place it face up and iron it on. It really depends on the brand, so read the instructions carefully as you are creating, printing, cutting, and adhering your image.
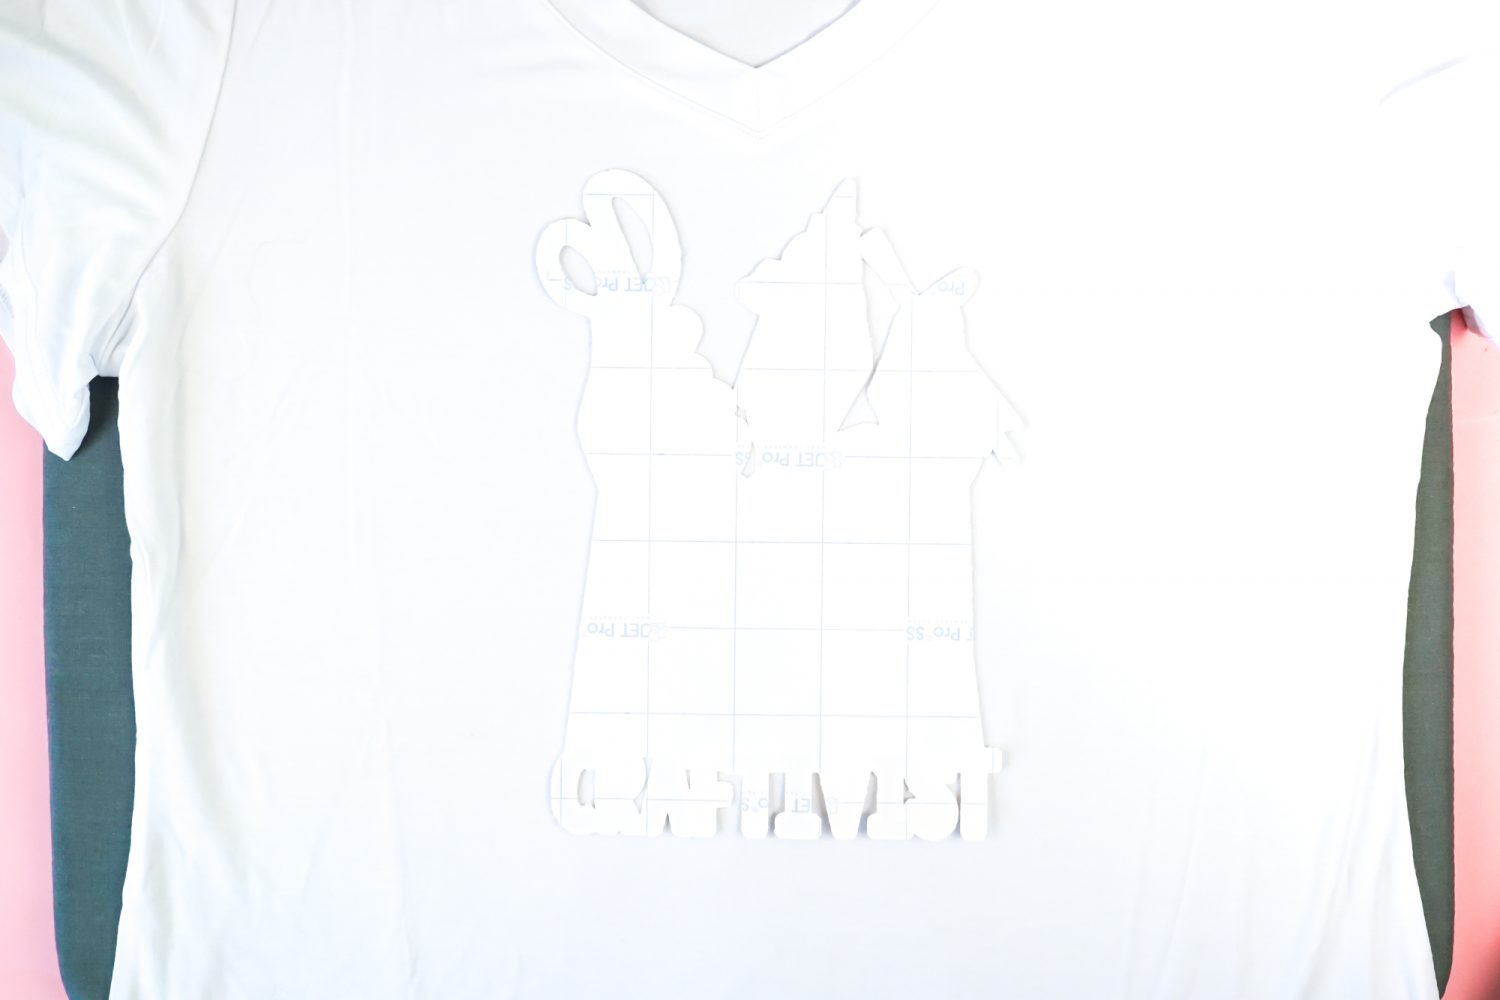
Let’s continue with the Jet Pro instructions, keeping in mind you may need to do things differently. Place your image face-down on your shirt, making sure it’s centered.
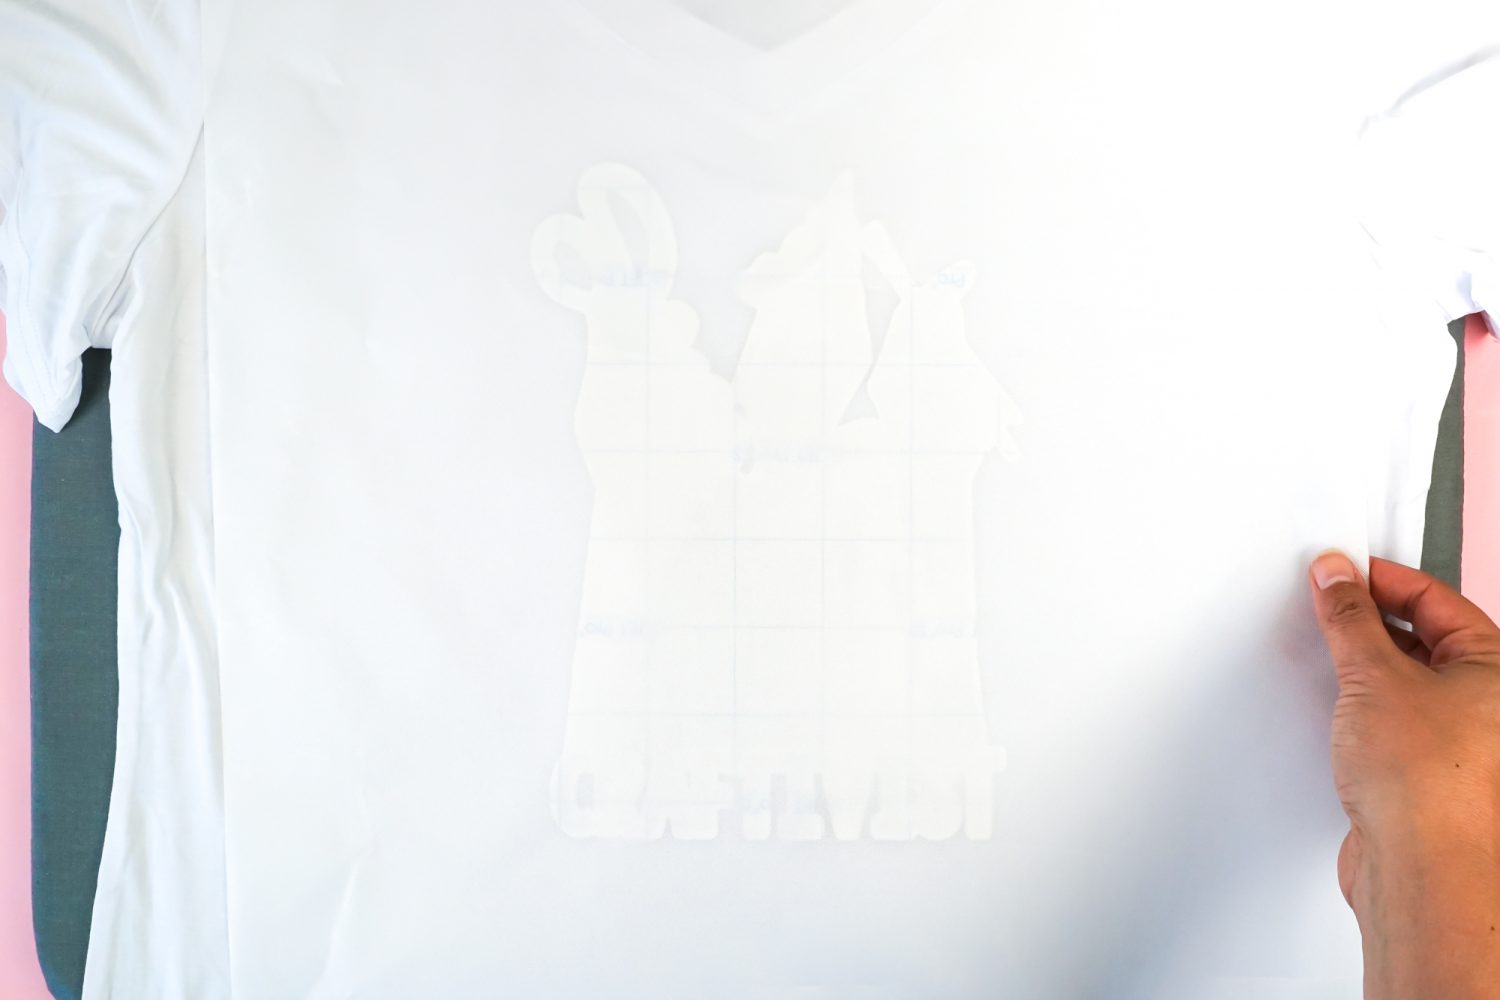
Then place a teflon sheet or pressing cloth over the image. This protects the image from the heat of your press.
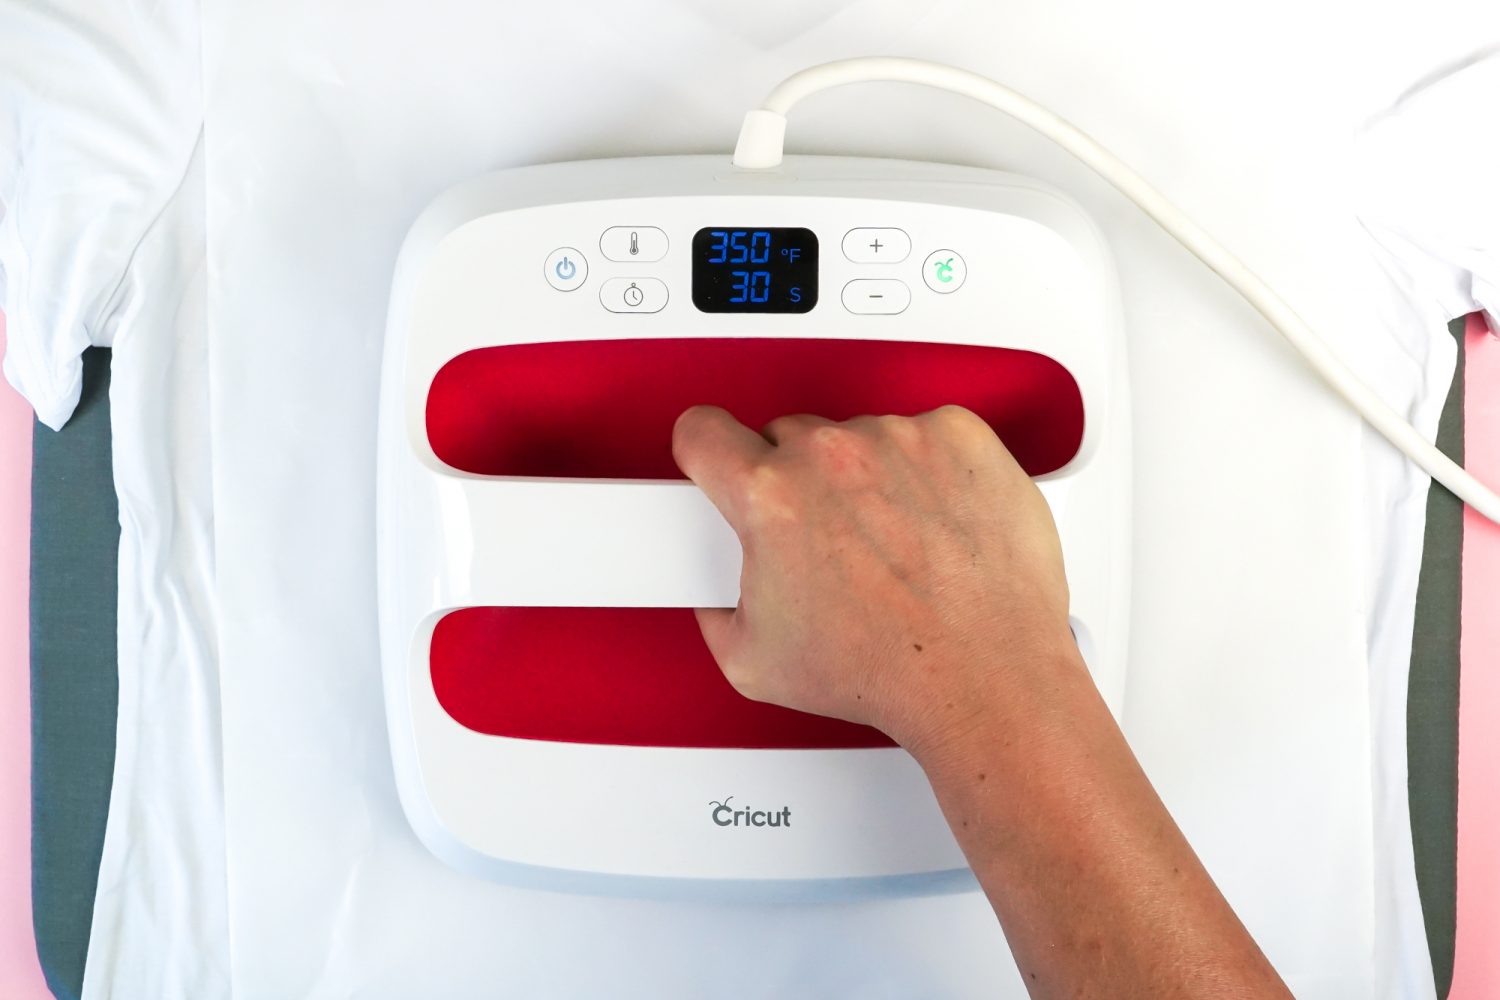
Then press for 30 seconds on 375° (check and use the settings for your particular brand!).
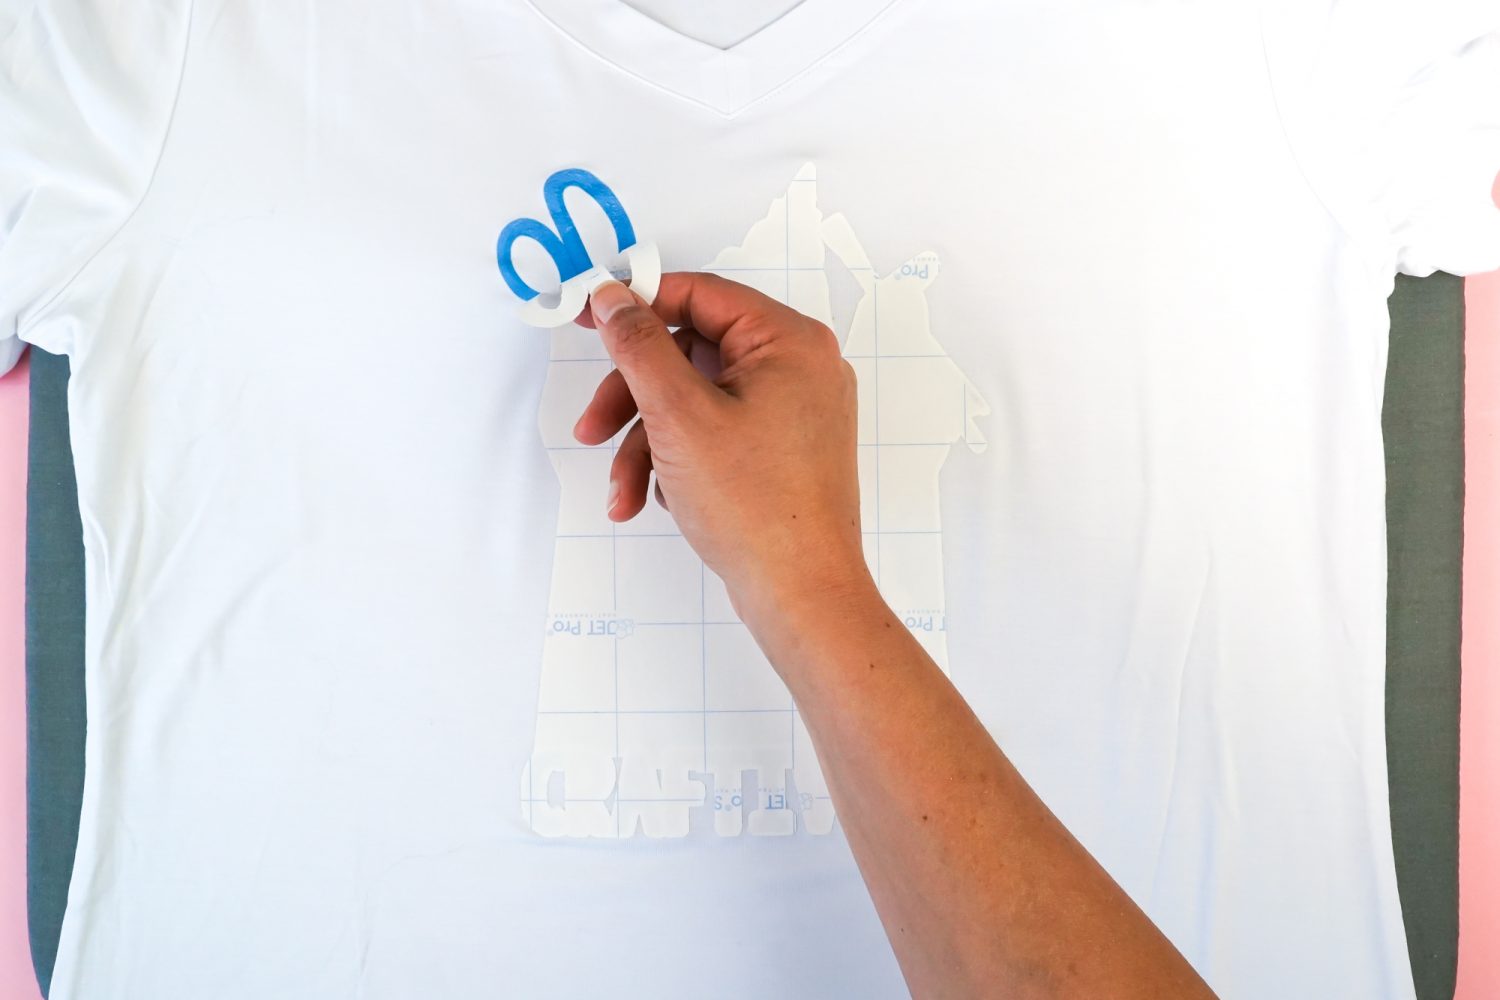
Let it cool for about 20 seconds and then peel back the transfer paper. Peel it back as smoothly as possible (not in fits and starts) for the smoothest transfer.
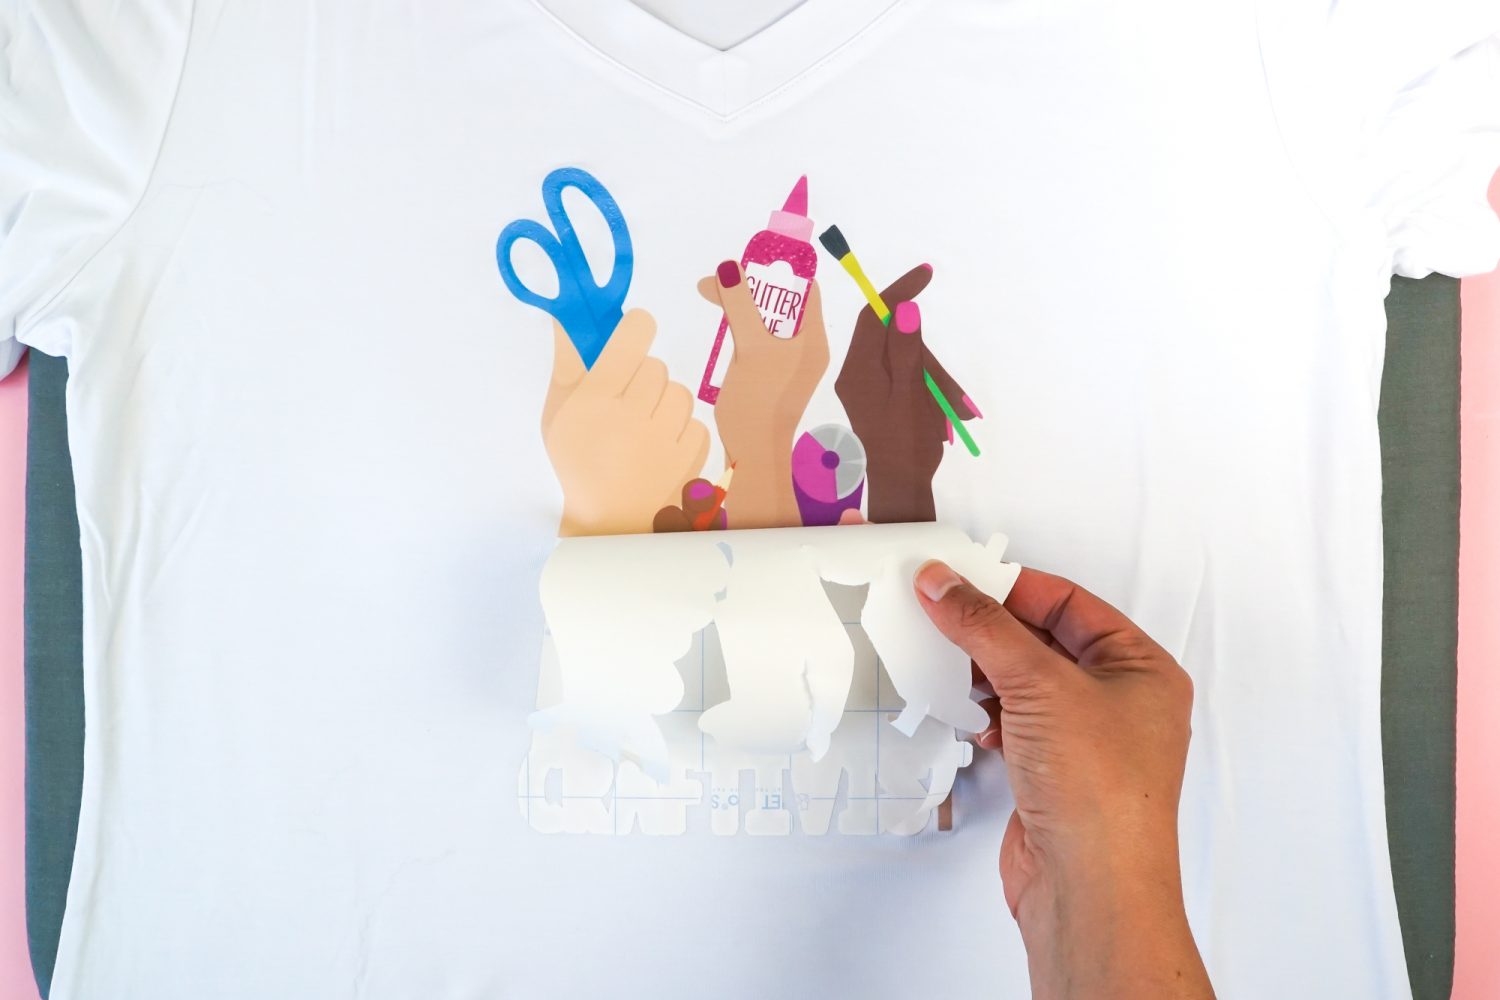
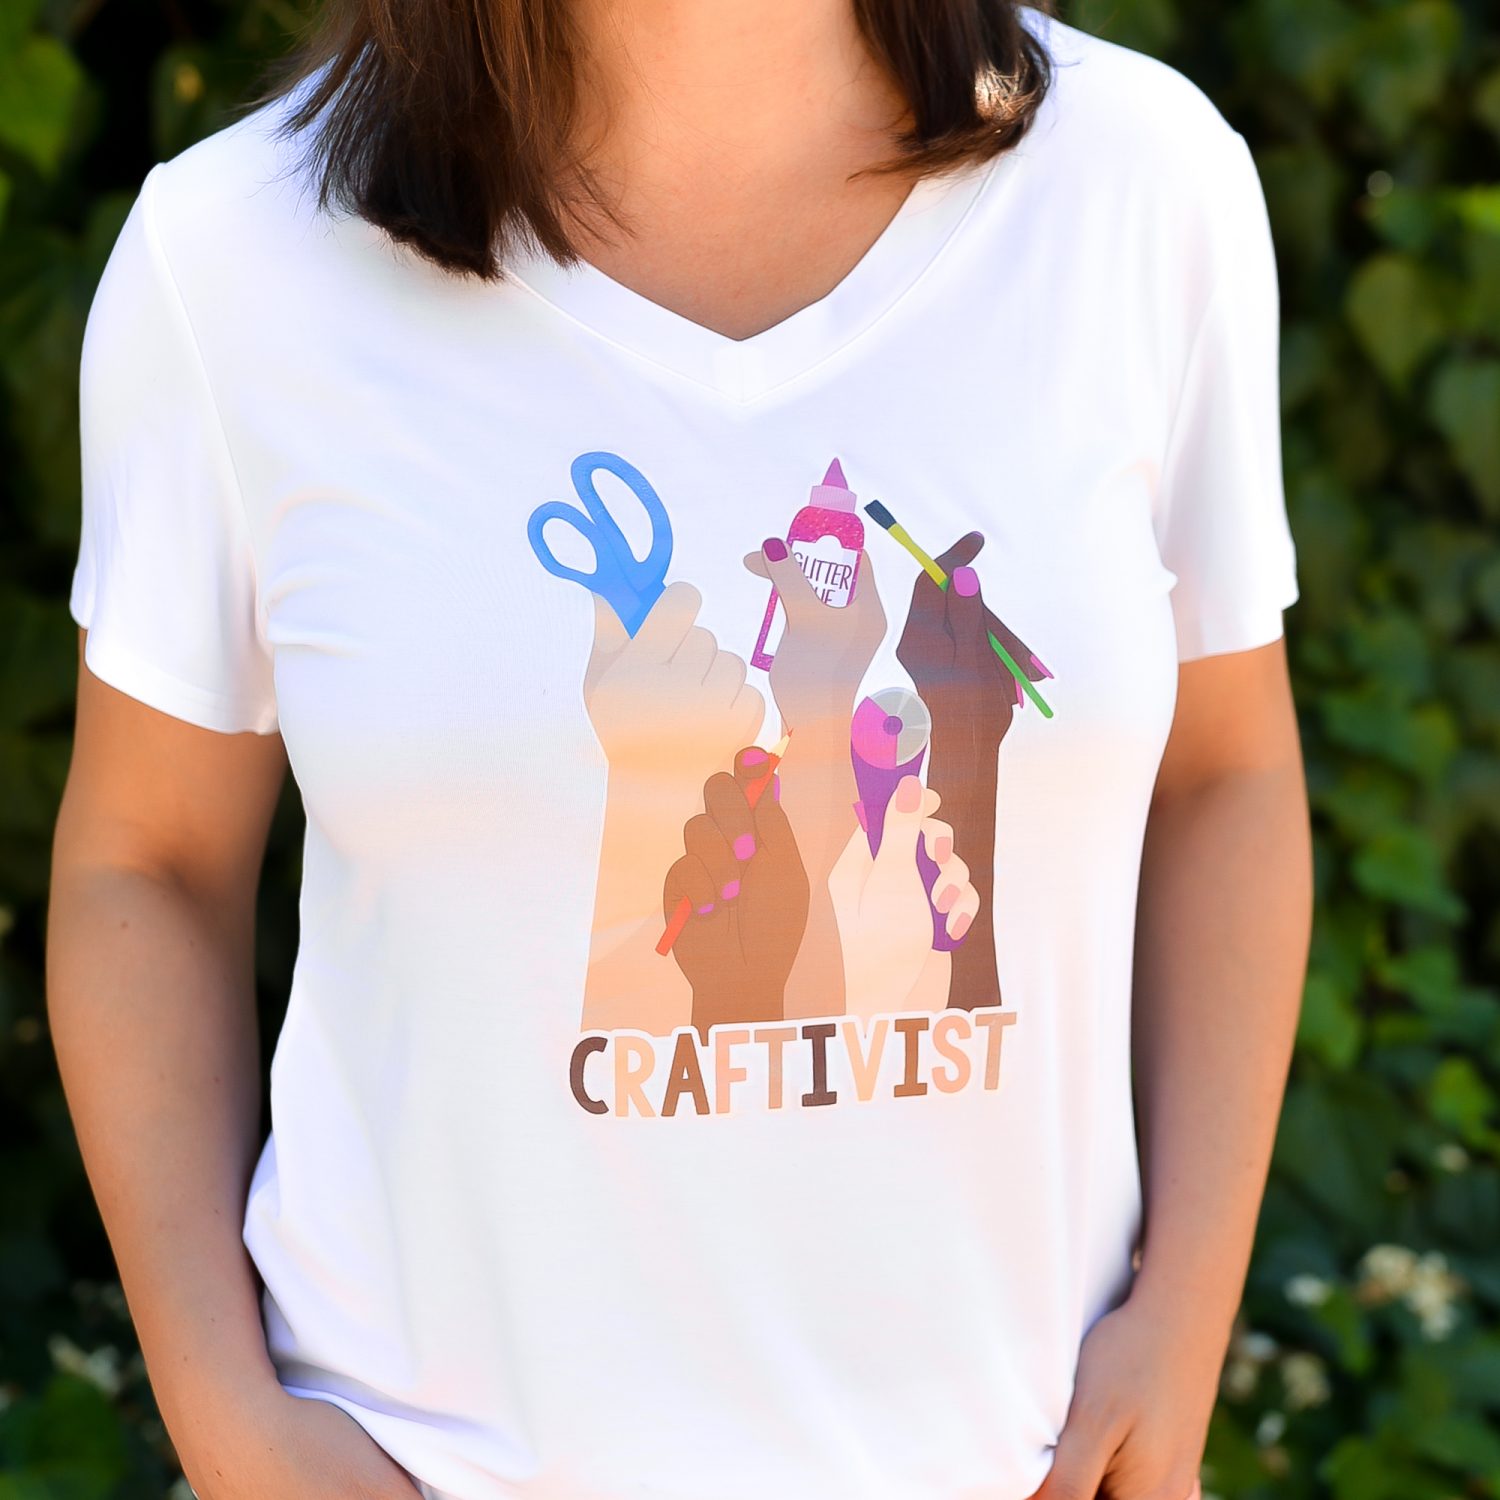
That’s it! Look at the huge array of colors on this shirt, all with a single press.
How to Care for Printable HTV Projects
To keep your printable iron on vinyl project from peeling, wait 24 hours before laundering. Wash inside out and line dry.
Stop pulling your hair out and start creating confidently with your Cricut! Finally understand how to use your Cricut with my Learn Your Cricut eBooks!


Comments & Reviews
Pam says
Do you have a recommendation on what Teflon sheets to buy for a printable iron on shirt project?
Crystal Summers says
Hi Pam,
Yep! Here’s a link (affiliate) to the teflon sheet Cori recommends: https://heyletsmakestuff.com/recommends/teflon-sheet-amazon/
Happy crafting!
Crystal, HLMS Community Manager
Jordyn says
Hello! Thank you for the blog post about this. But I do have a question since I’m a bit confused. So if I want to use a logo or picture and print it on the inkjet (for htv), I have to upload it to the cricut design space to be able to print it…from my inkjet? I’m just confused as to why, or how, I would use my design space to print from my inkjet. I hope this question makes sense. I’ve been on the hunt for instructions like this for forever and I’m almost there!!! Haha. I’m just a bit confused as to how I actually print out my logo using my home printer, then get design space to recognize what it is to be able to cut it. (Newbie, :) )
Crystal Summers says
Hi Jordyn,
Yes, in order for your Cricut machine to cut the printed logo/image, you need to print from Design Space. The print then cut feature prints a black box around the design so the machine sensors can read where to cut. If you want to cut by hand, you wouldn’t need to print through Design Space. I hope that helps!
Happy crafting,
Crystal, HLMS Community Manager
Jodi Lapping says
Hello, I was wondering vid I needed to set the colour at all on printable iron on vinyl? I previously used this for a onesie and was fine but then I used it on a T Shirt and after washing, some of the colour had rubbed off! I waited 24 hours before washing and followed the instructions. Is there anything else I should have done?
Elizabeth says
Please Please I need help. I am printing a PNG design onto Dark Printable Transfer Sheets. As long as I print a design with no text, I’m good, But the second that the print has any type of text, the text gets chewed up. The cut setting is currently at 99. Should I lower it? I don’t want to keep wasting paper. Thank you in advance for your help.
Crystal Summers says
Hi Elizabeth,
How large is the text you’re cutting? Transfer paper isn’t a Cricut product, so the machines aren’t totally calibrated to support it. You may notice it not cut as precisely with smaller text, as well. Are you cutting individual letters? Is there a reason you’re choosing to use transfer paper instead of iron on vinyl? If the text is one color, iron on may be better suited for your project. Feel free to email us back at hello@heyletsmakestuff.com and we can troubleshoot.
Happy crafting,
Crystal, HLMS Community Manager
Sara says
I am trying to print a row of hearts in different skin tones. If I do a kiss cut and peel them all up, will I have to place them all on the shirt separately? Is there a way to transfer them all at once?
Crystal Summers says
Hi Sara,
You can absolutely transfer them all at the same time! When you peel away the excess vinyl, just make sure to leave all of the hearts. Do not separate them. You can press them on together as one image. I hope this helps!
Happy crafting,
Crystal, HLMS Community Manager
Natalia says
I am so obsessed with this svg!
Do you have a link to share the craftavist photo referenced above !??
Amy Motroni says
Yes, the craftivist image is here: https://yaydaypaper.com/product/craftivist-print/
Happy Crafting
Amy, HLMS Support
Luz says
Do you have a youtube tutorial on how to do this printable iron on
Lindsay Frederiksen says
What setting did you use to make it cut all the way through?
Crystal Summers says
Hi Lindsay,
Are you using JetPro Stretch? I often use a setting between iron-on and vinyl when cutting all the way through. You may want to do a test cut first to determine which setting is best for you and your machine. If you are using Cricut printable iron on, you’ll want to create a “kiss cut” and use the custom setting for Cricut Iron-On. Hope this helps!
Happy crafting!
Crystal, HLMS Community Manager
Crystal Summers says
Hi Sonia,
Have you checked the total size of your designs? While printable vinyl comes in 8.5×11 sheets, the actual printable area for print then cut in Cricut is only 6.75″x9.25″. Your duplicate item may be moving to the second mat because the total print area is larger than the print then cut feature allows. You may need to adjust the size of your design. Sometimes, I actually create a 6.75″x9.25″ box as a sort of template for myself, then make sure my design fits inside of it within Design Space. I hope this helps. Let me know if you have any other questions.
Happy crafting!
Crystal, HLMS Community Manager
sonia womack says
I would like to use this paper for ironing but even though my images would fit on one page to print on transfer sheet, one duplicate item goes to a second mat and I have no option to move to first mat. Usually with other things I click on second item and get the three dots and can move or edit to another mat. what is wrong?