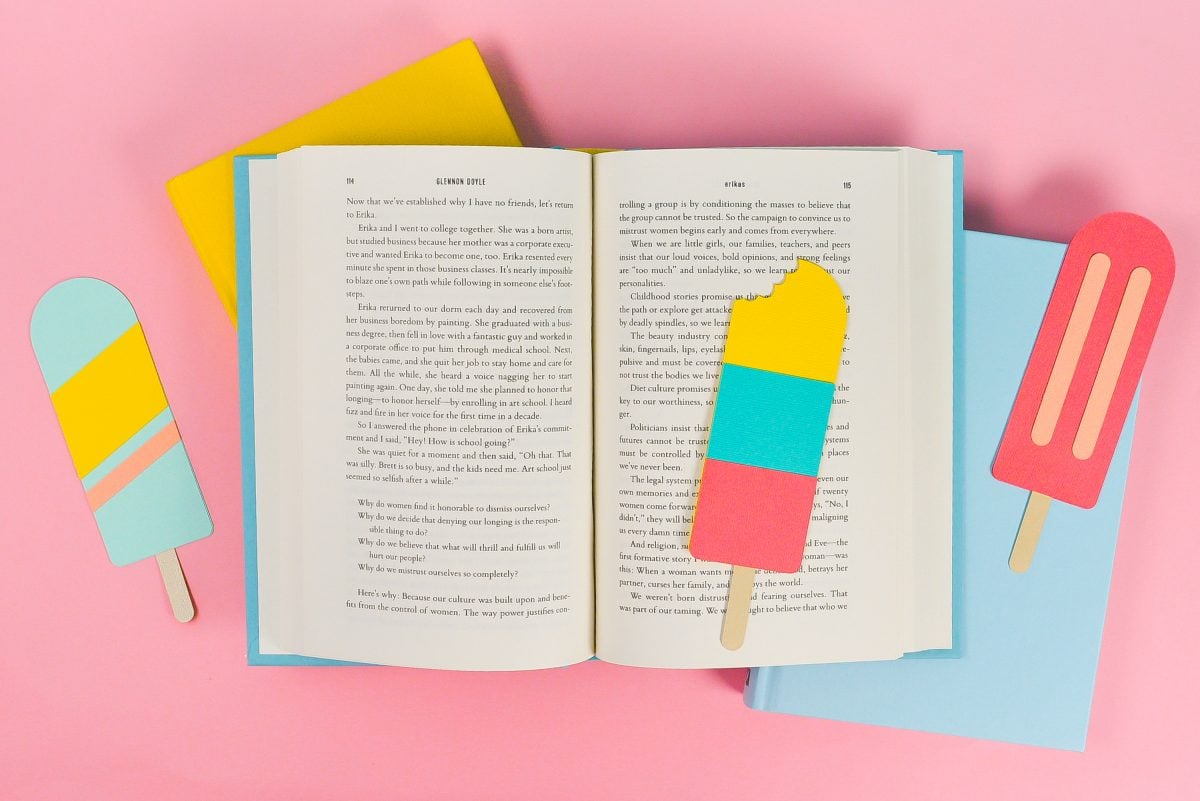
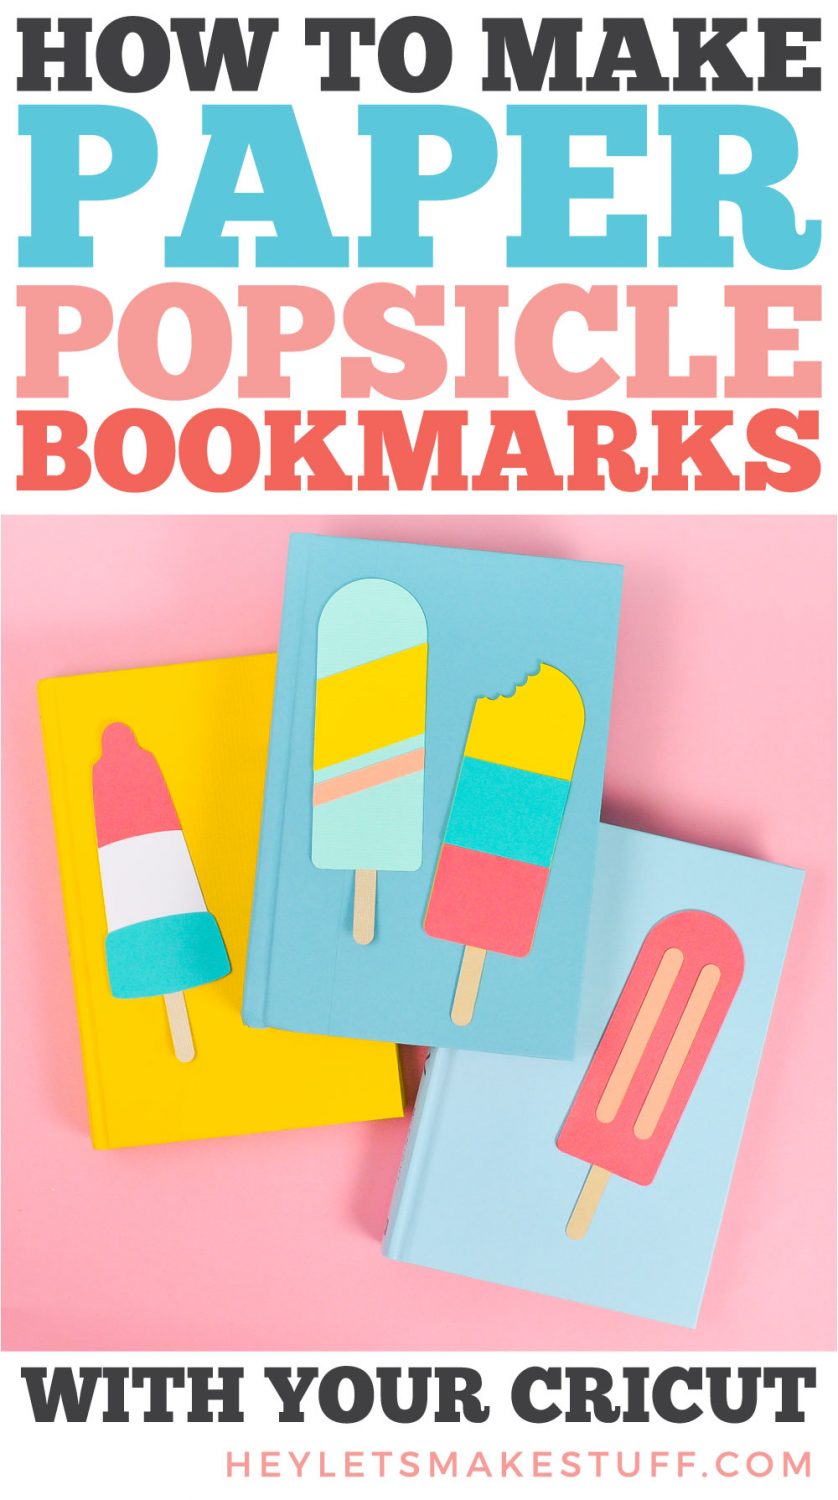
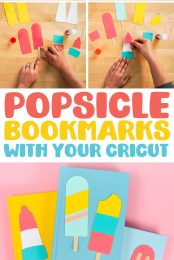
Use your Cricut to create these cute popsicle bookmarks! An easy summer project that saves your spot in your favorite summer beach read.
Welcome to Day 14 of the 15 Days of Cricut Summer Fun!
We’re almost to the end of this Cricut Summer Fun series and today we’re crafting bookmarks! I was always the kid who had her nose in a book all summer, sitting in the shade. If you also love summer reading, this adorable popsicle bookmarks are an easy craft that will help you keep your place in your favorite beach read!
If you’d like to get this series in an ebook format PLUS all of the SVGs needed to make all 15 projects check out the 15 Days of Cricut Summer Fun eBook Bundle!
I’m using paper for the popsicle sticks for these bookmarks. If you want, you can use real popsicle sticks! You will need a stronger glue than a glue stick—a thin coat of quick-dry tacky glue should do the trick.
This project is small enough to cut on your Cricut Joy, though of course you can also cut these bookmarks with your Cricut Maker 3, Cricut Explore 3, Cricut Maker, Cricut Explore Air 2, or other Cricut Explore machine. Need help using your Cricut? Check out my Cricut Basics eBook!
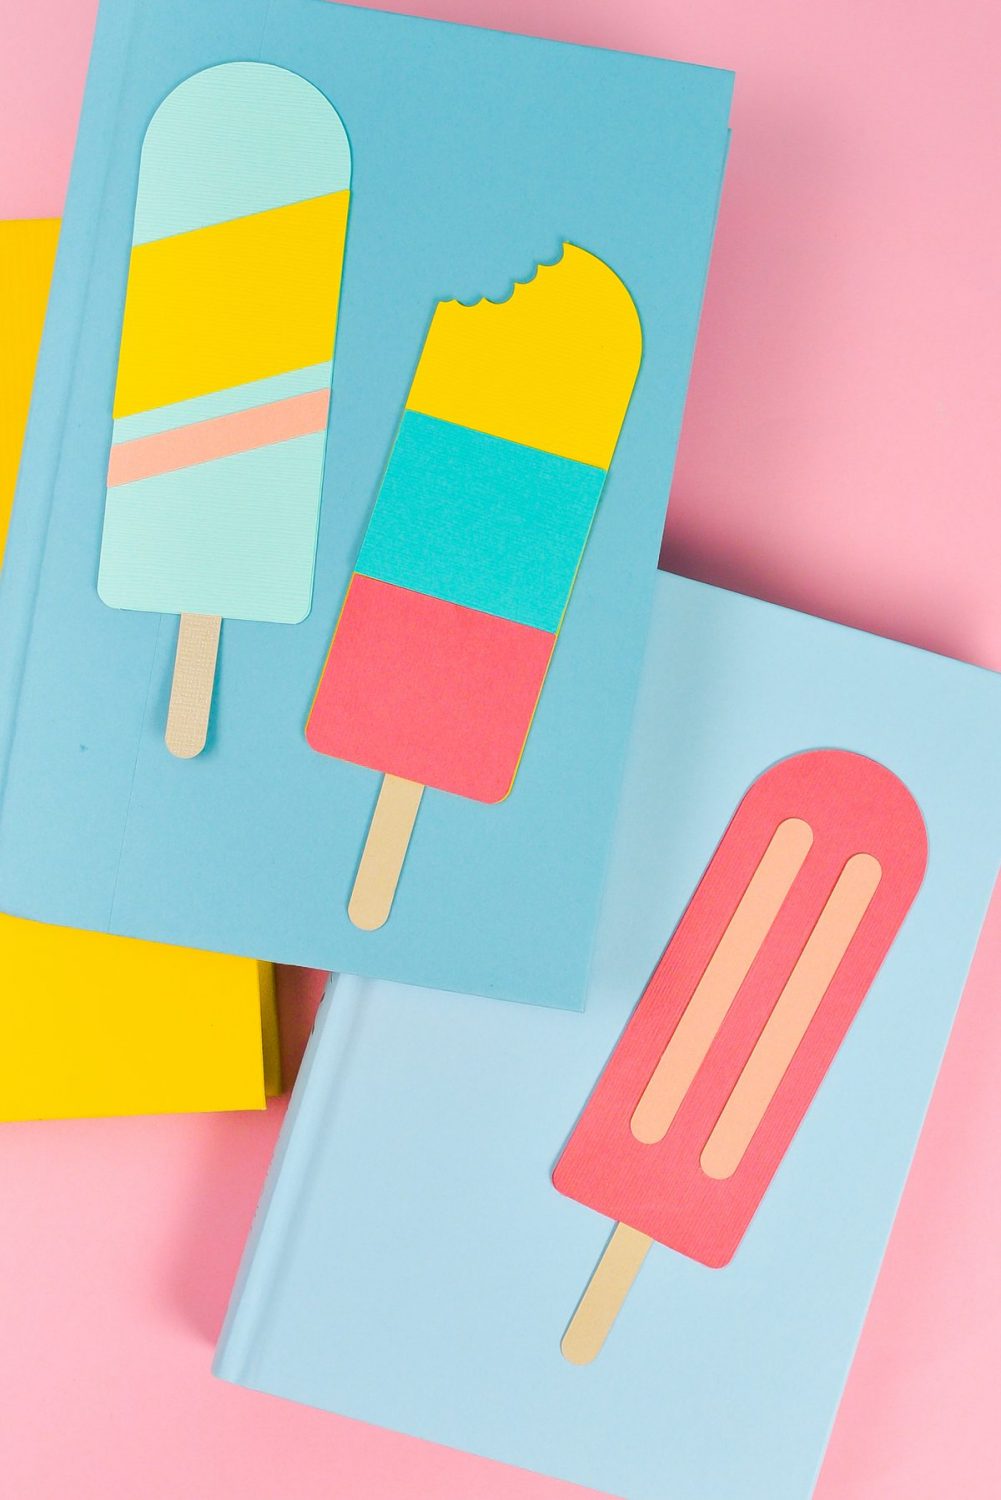
Popsicle Bookmark Supplies
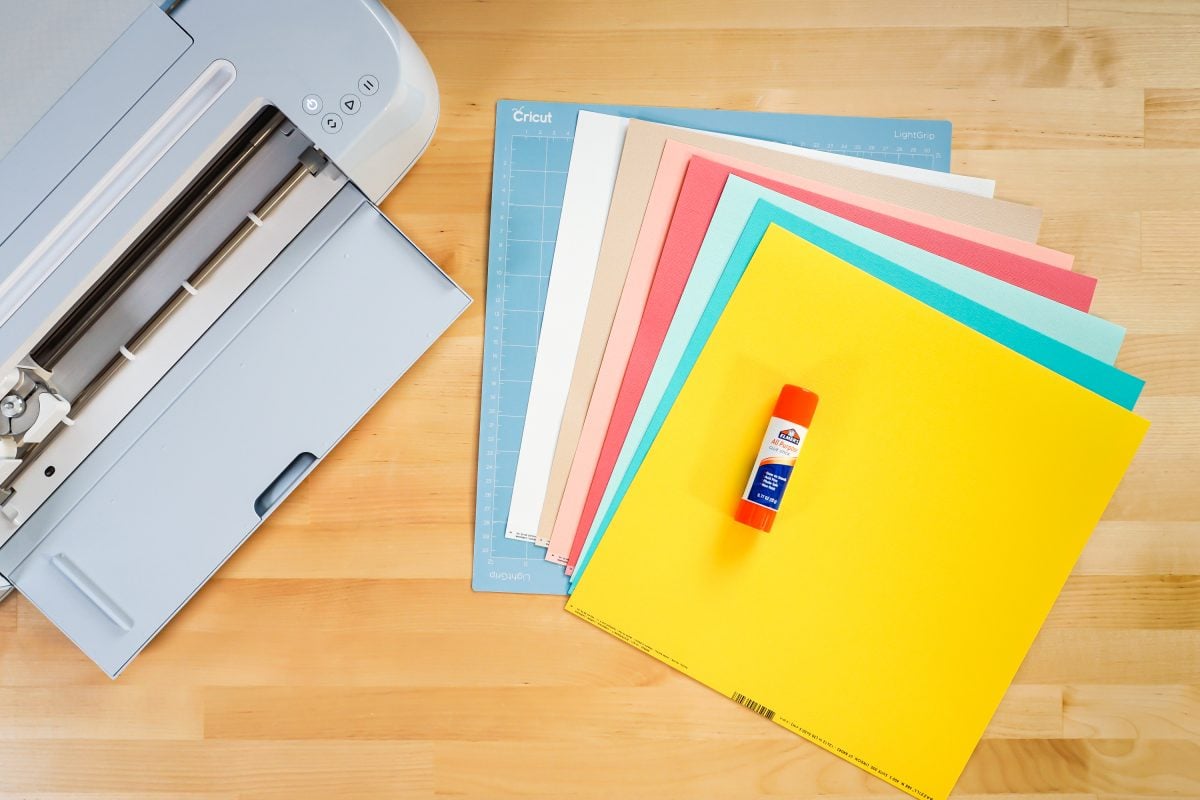
- Cricut Maker 3, Cricut Explore 3, Cricut Maker, Cricut Explore or Cricut Joy
- Blue LightGrip Mat
- Fine Point Blade
- Scrapbook paper or cardstock
- Popsicle sticks (optional)
- Glue stick or tacky glue
- Popsicle SVG file (see below)
Grab the Popsicle Bookmark SVG for this Project
Get the popsicle bookmark SVG here. If you’re interested in making more projects in this summer series, our Cricut Summer Fun eBook and SVG Bundle is a great deal!
Popsicle Bookmark Instructions
Upload the Popsicle File to Cricut Design Space
We will start by uploading the SVG file to Cricut Design Space (see Uploading SVG Files to Cricut Design Space if you need help).
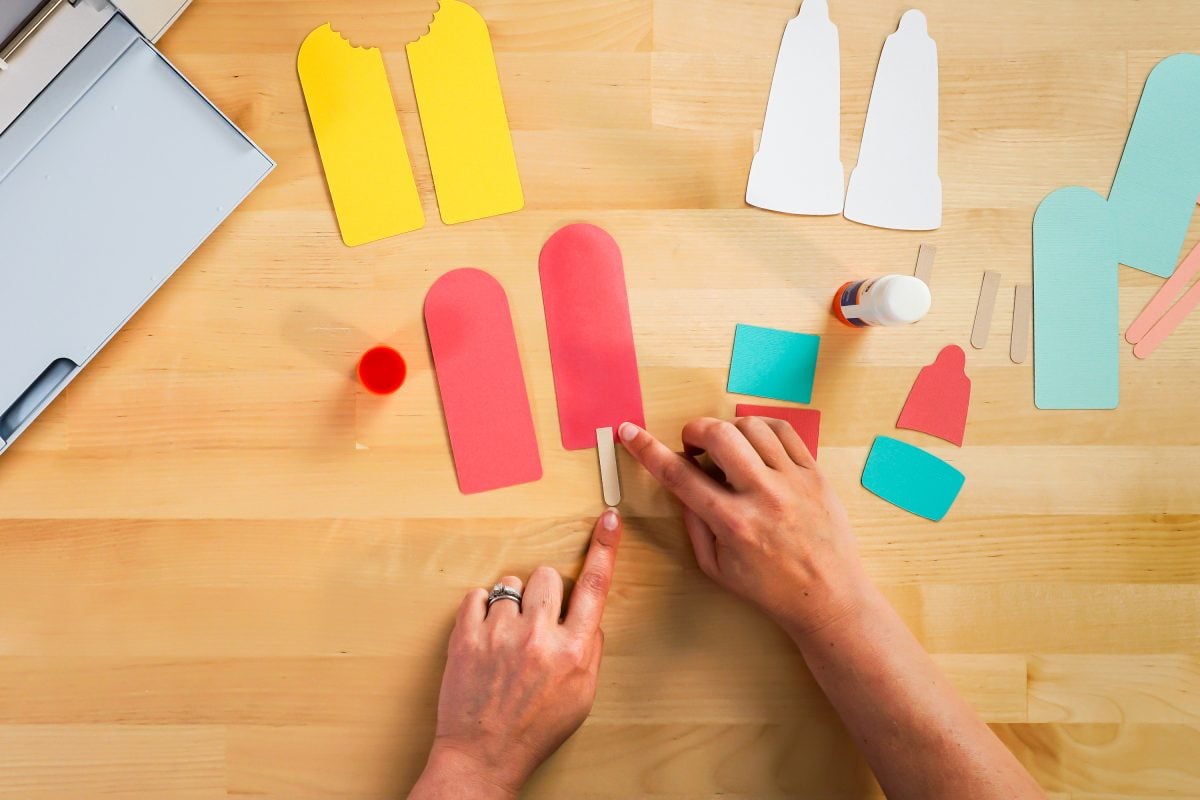
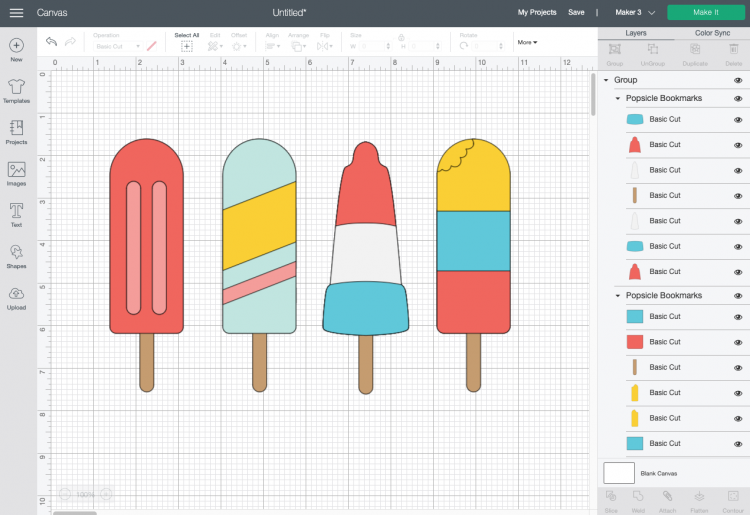
There are enough pieces to make both sides of the popsicle. For the popsicle with the bite, the back piece has been reversed so that you can cut it from the same piece of paper as the front piece, which is good if you have textured or patterned paper.
You can resize them if you’d like—I made them all 6″ tall, which is about standard for a bookmark.
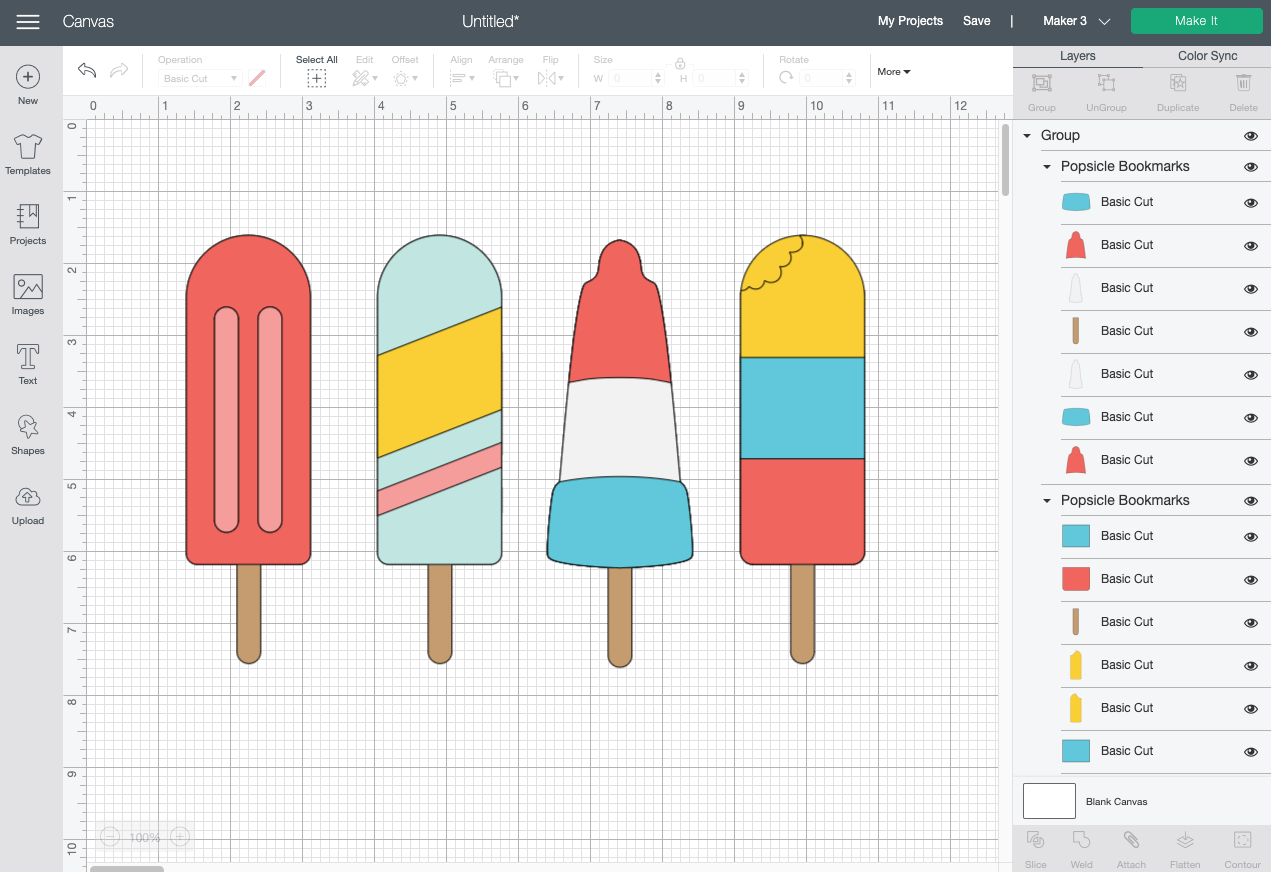
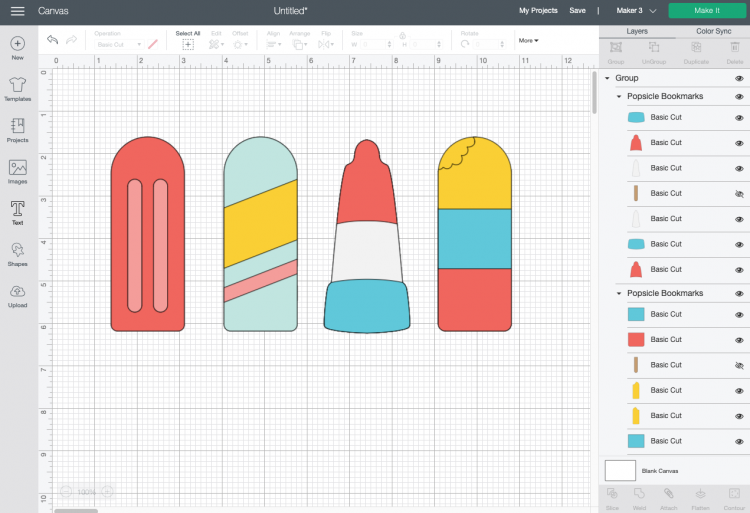
If you are using wood popsicle sticks instead of brown cardstock, you can click the “eye” next to each popsicle stick piece in the Layers Panel to hide it. That way it won’t cut. Skip this step if you’re cutting the sticks from paper.
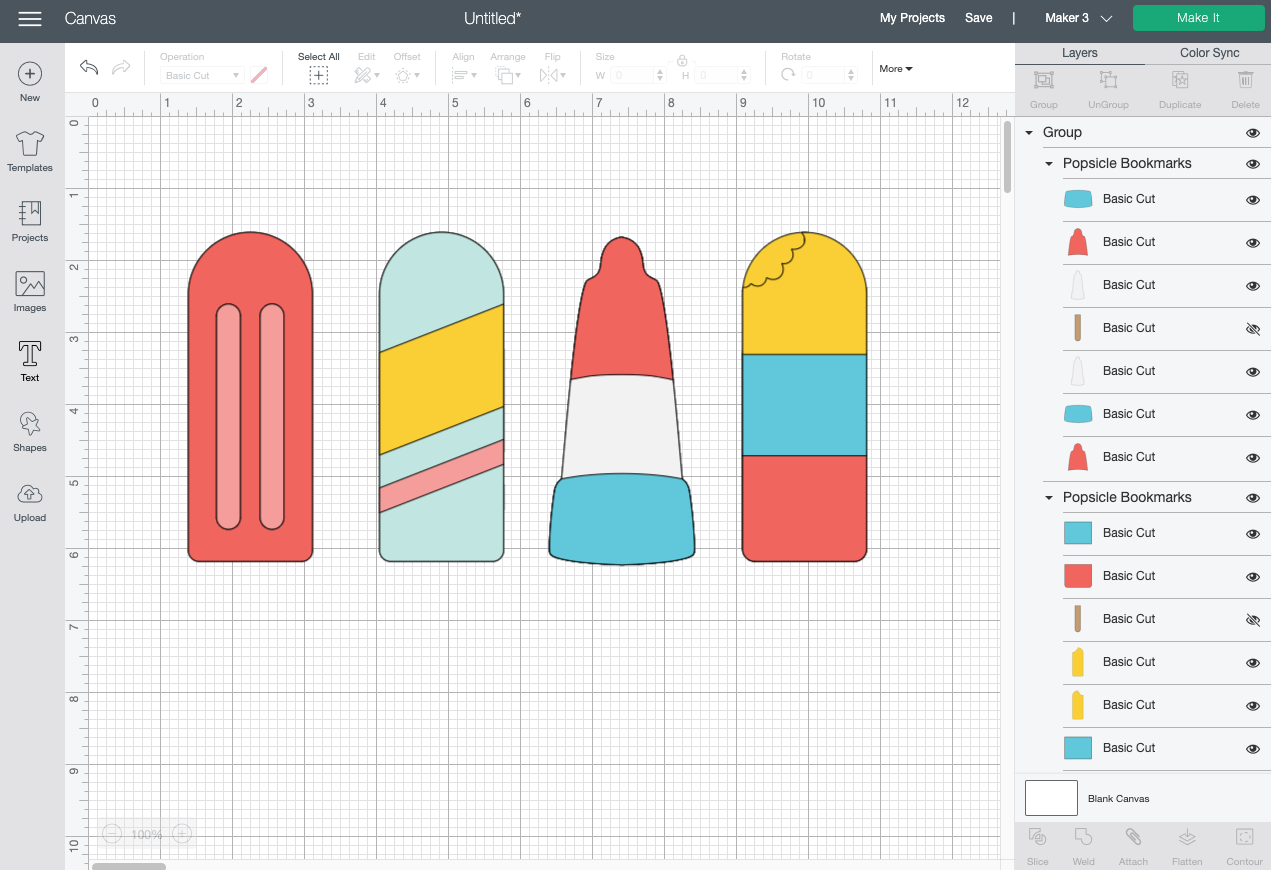
That’s it! You’re ready to cut your popsicle bookmarks. Click Make It in the upper right.
Cut Your Cardstock for Your Popsicle Bookmarks
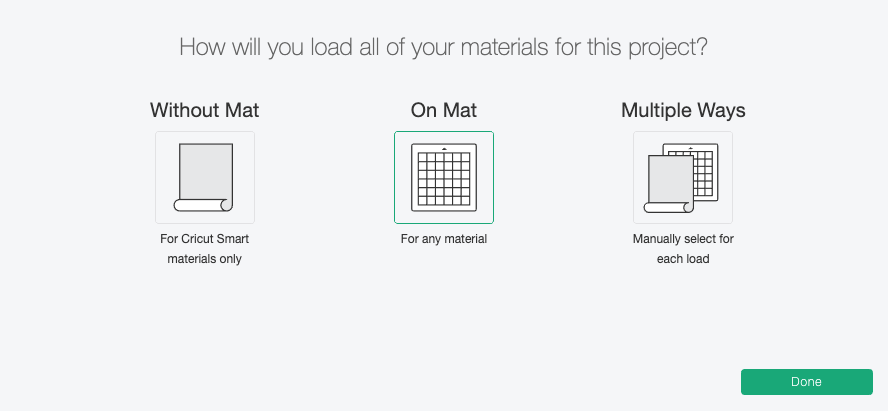
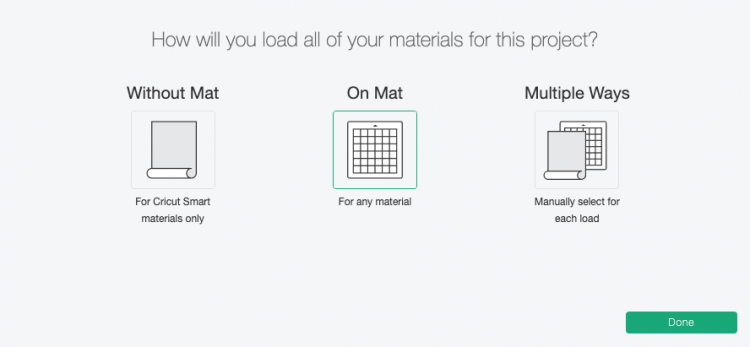
If you have a Cricut Maker 3 or Cricut Explore 3, you’ll see a Mat Selection window. Because we are cutting on cardstock, choose On Mat. If you do not have one of these newer machines, you won’t see this screen.
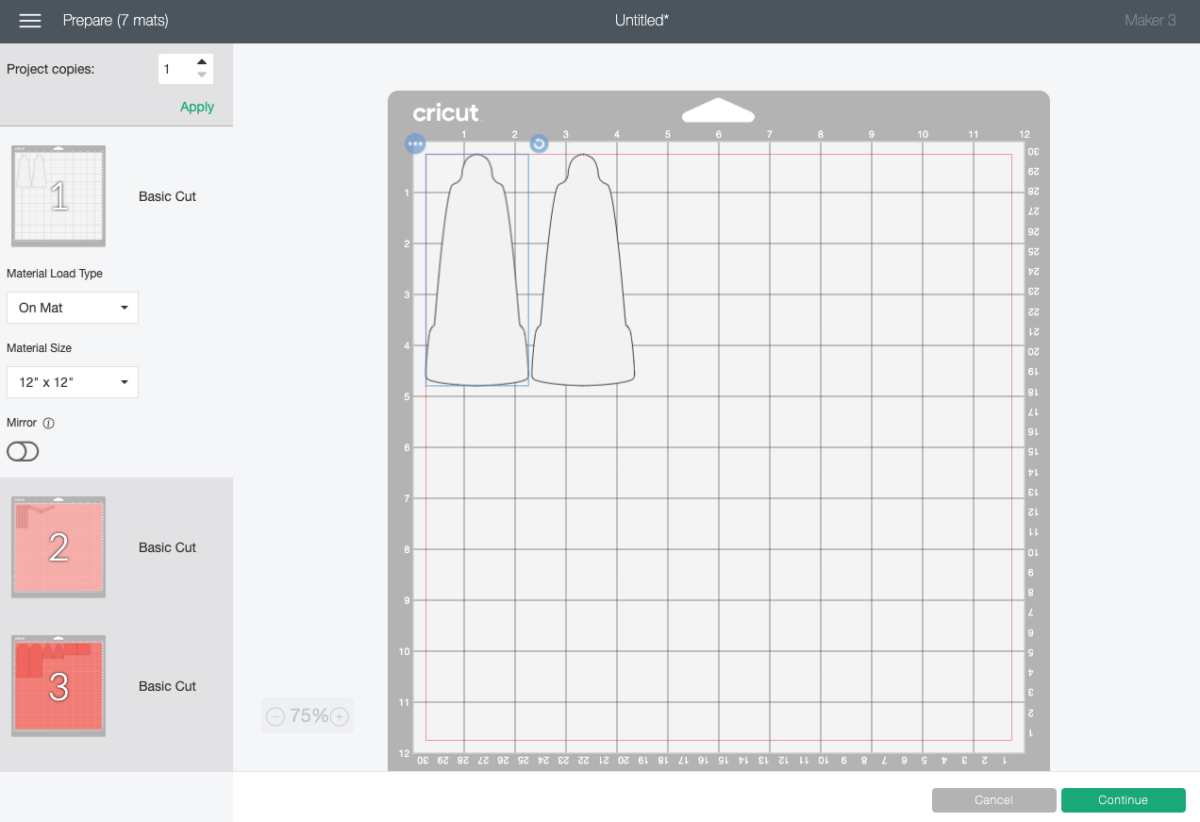
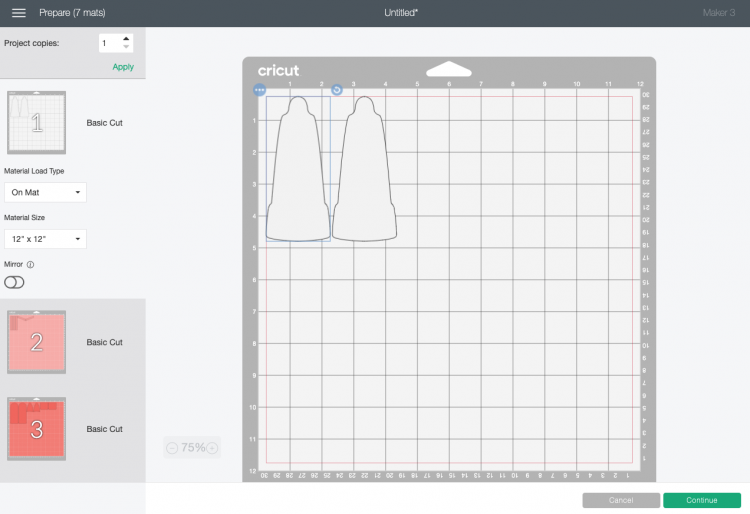
On the next Prepare Screen, you’ll see all of your images laid out on their respective mats. You can also learn How to Fit More on a Cricut Mat and Save Material if you’d like!
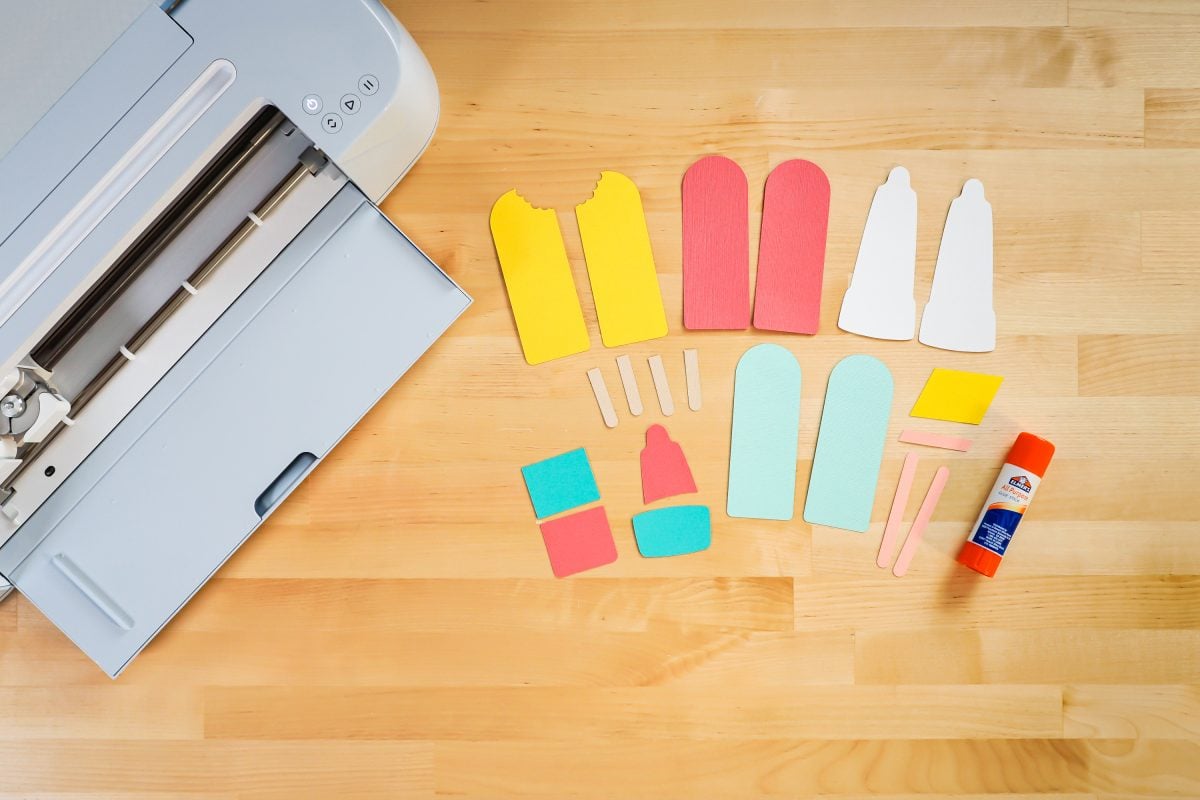
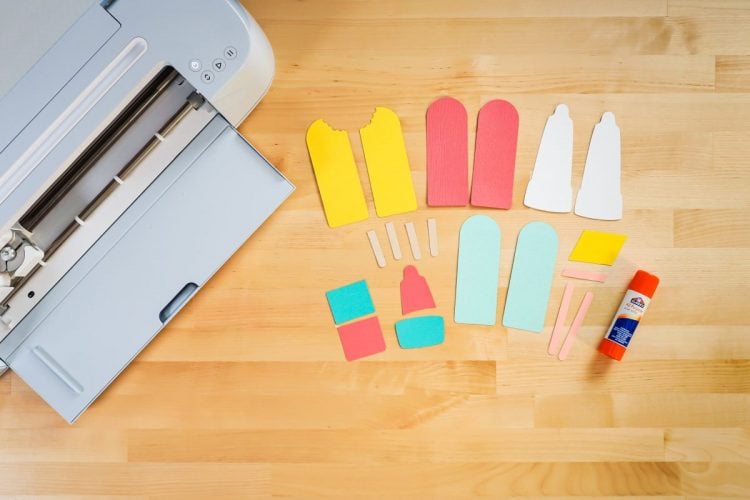
On the Make Screen, you’ll set your material to cardstock. Make sure you have your fine point blade in your machine, insert your mat, and your Cricut will cut your project! Cut all the mats for your popsicles until you have a pile of popsicle puzzle pieces.
Glue Your Popsicle Bookmarks Together
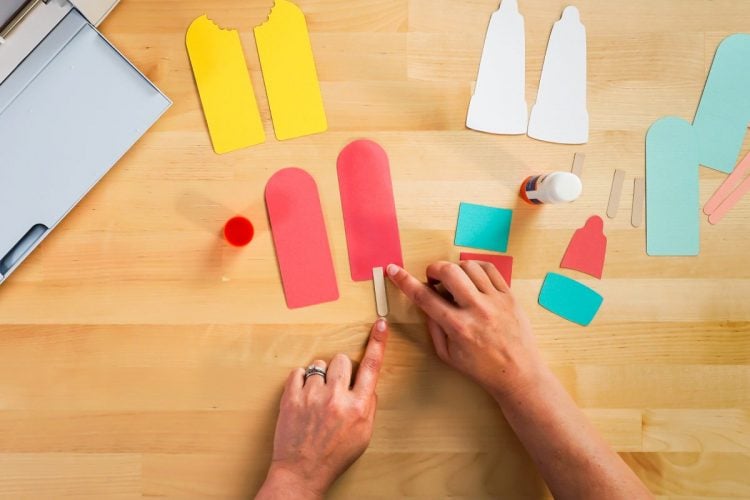
Now we just need to assemble the popsicles. You’ll see that there are two main pieces for each popsicle. Glue these together, sandwiching the popsicle stick (wood or cardstock) between the two to create a “sandwich.”
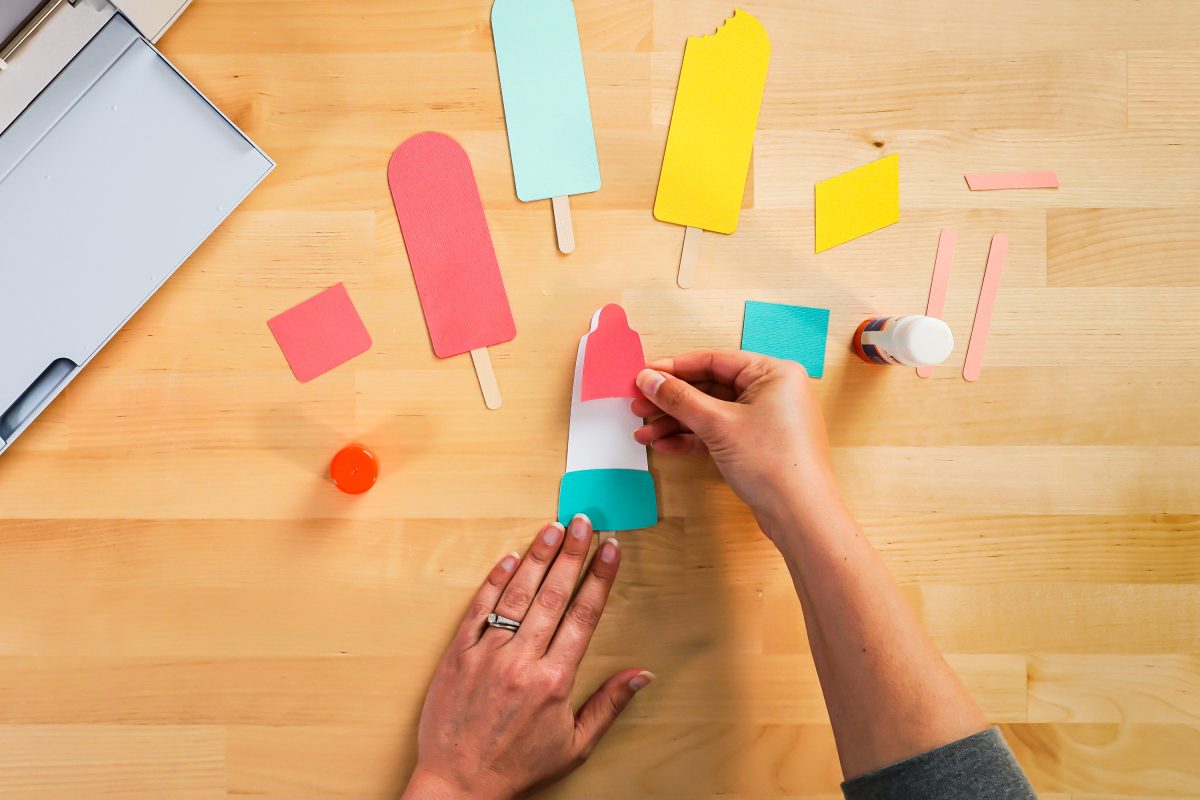
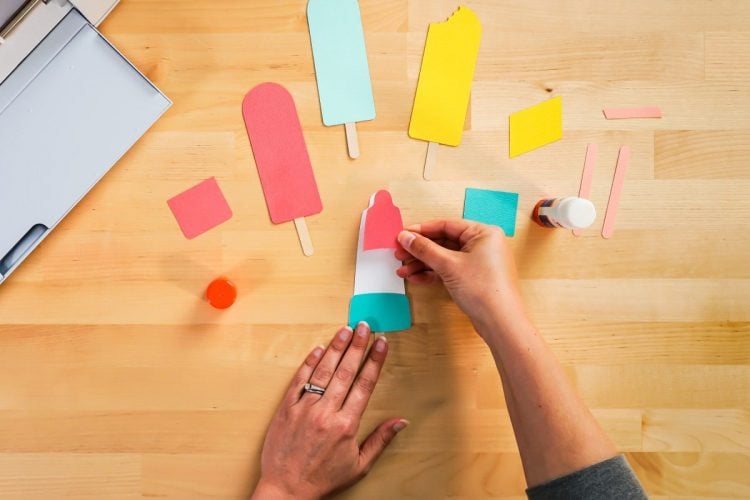
Then glue on the decorative popsicle layer pieces to create your final popsicle bookmarks!
Make All the 15 Days of Cricut Summer Fun Projects!
We’ll be adding links as each day goes live! Grab the full bundle with all of the projects and SVGs in our 15 Days of Cricut Summer Fun eBook Bundle!
- Summer Bucket List Sign
- Spinning Paper Pinwheels
- Summer Vibes T-Shirt
- Funny Flower Pots
- Beach Life Pennant
- Barbecue Labels Two Ways
- Summer Coasters
- Picnic Caddy
- Personalized Ice Pop Holders
- Fruit Slice Banner
- Summer Stickers
- Beach Shadow Box
- Lemonade Stand Sign
- Popsicle Bookmarks
- Ice Cooler Decals
Also check out my round up of fun and easy Cricut bookmark tutorials!
EASY POPSICLE BOOKMARKS
Equipment
- Cricut Maker or
- Glue Stick or
Supplies
Instructions
- Upload the Popsicle File to Cricut Design SpaceWe will start by uploading the SVG file to Cricut Design Space (see Uploading SVG Files to Cricut Design Space if you need help). There are enough pieces to make both sides of the popsicle. For the popsicle with the bite, the back piece has been reversed so that you can cut it from the same piece of paper as the front piece, which is good if you have textured or patterned paper.You can resize them if you'd like—For this project they were all made 6" tall, which is about standard for a bookmark.

- If you are using wood popsicle sticks instead of brown cardstock, you can click the "eye" next to each popsicle stick piece in the Layers Panel to hide it. That way it won't cut. Skip this step if you're cutting the sticks from paper.That's it! You're ready to cut your popsicle bookmarks. Click Make It in the upper right.

- Cut Your Cardstock for Your Popsicle BookmarksIf you have a Cricut Maker 3 or Cricut Explore 3, you'll see a Mat Selection window. Because we are cutting on cardstock, choose On Mat. If you do not have one of these newer machines, you won't see this screen.

- On the next Prepare Screen, you'll see all of your images laid out on their respective mats. You can also learn How to Fit More on a Cricut Mat and Save Material if you'd like!

- On the Make Screen, you'll set your material to cardstock. Make sure you have your fine point blade in your machine, insert your mat, and your Cricut will cut your project! Cut all the mats for your popsicles until you have a pile of popsicle puzzle pieces.

- Glue Your Popsicle Bookmarks TogetherNow we just need to assemble the popsicles. You'll see that there are two main pieces for each popsicle. Glue these together, sandwiching the popsicle stick (wood or cardstock) between the two to create a "sandwich."

- Then glue on the decorative popsicle layer pieces to create your final popsicle bookmarks!





Comments & Reviews
SandLoopGuide says
These popsicle bookmarks are so adorable! I love how you included the option to use either paper or real popsicle sticks – that’s really thoughtful for different skill levels. The sandwich method for assembling them makes total sense and seems pretty foolproof. I’m definitely going to try this project with my kids this summer. The fact that they’re sized at 6 inches is perfect for standard books. Thanks for including the SVG file and such detailed instructions! Can’t wait to see how they turn out! https://www.sandloopguide.org/
sand loop guide says
These popsicle bookmarks look so fun for summer reading! Speaking of fun, I recently got hooked on Sand Loop and found a great sand loop walkthrough that helped me beat tricky levels. Maybe I’ll craft while taking a break from the game!
szinezo says
What a clever idea — popsicle bookmarks made with a Cricut are such a fun way to bring summer vibes into reading time! The step-by-step photos make it feel totally doable even for beginners. After crafting something like this, I love to continue the creative energy with a calm, artistic break. One way I do that is by exploring the free printable coloring pages at Szinezokvilaga.com — they’re great for a relaxing moment of color after a hands-on project.
cowboy safari says
Cute idea for bookmarks. Still, if you want to give it a shot, check out this handy resource for ideas and games! cowboy safari
Hugh says
good ideas I can make for my nieces. labubu clicker