EASY POPSICLE BOOKMARKS
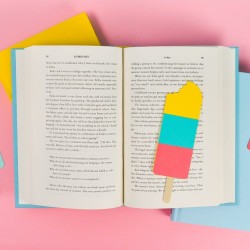
Use your Cricut to create these cute popsicle bookmarks! An easy summer project that saves your spot in your favorite summer beach read.
Equipment
- Cricut Maker or
- Glue Stick or
Ingredients
Instructions
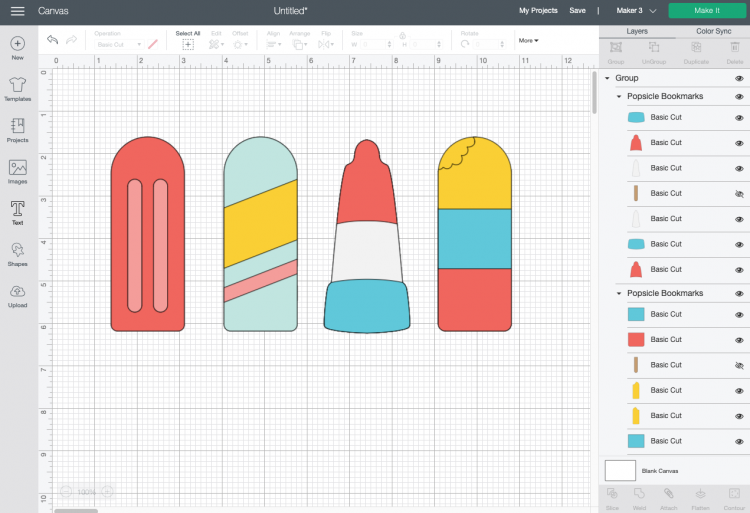
- Upload the Popsicle File to Cricut Design SpaceWe will start by uploading the SVG file to Cricut Design Space (see Uploading SVG Files to Cricut Design Space if you need help). There are enough pieces to make both sides of the popsicle. For the popsicle with the bite, the back piece has been reversed so that you can cut it from the same piece of paper as the front piece, which is good if you have textured or patterned paper.You can resize them if you'd like—For this project they were all made 6" tall, which is about standard for a bookmark.

- If you are using wood popsicle sticks instead of brown cardstock, you can click the "eye" next to each popsicle stick piece in the Layers Panel to hide it. That way it won't cut. Skip this step if you're cutting the sticks from paper.That's it! You're ready to cut your popsicle bookmarks. Click Make It in the upper right.
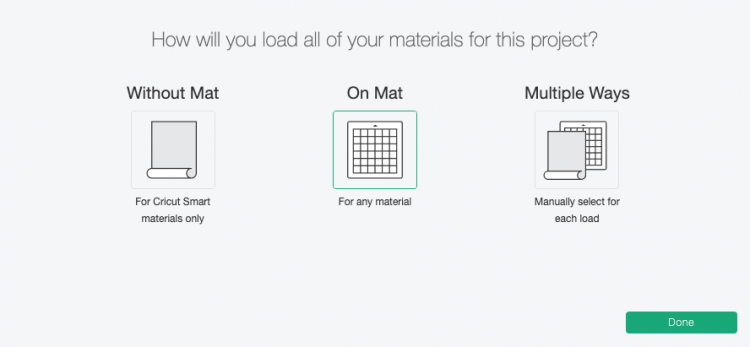
- Cut Your Cardstock for Your Popsicle BookmarksIf you have a Cricut Maker 3 or Cricut Explore 3, you'll see a Mat Selection window. Because we are cutting on cardstock, choose On Mat. If you do not have one of these newer machines, you won't see this screen.
- On the next Prepare Screen, you'll see all of your images laid out on their respective mats. You can also learn How to Fit More on a Cricut Mat and Save Material if you'd like!
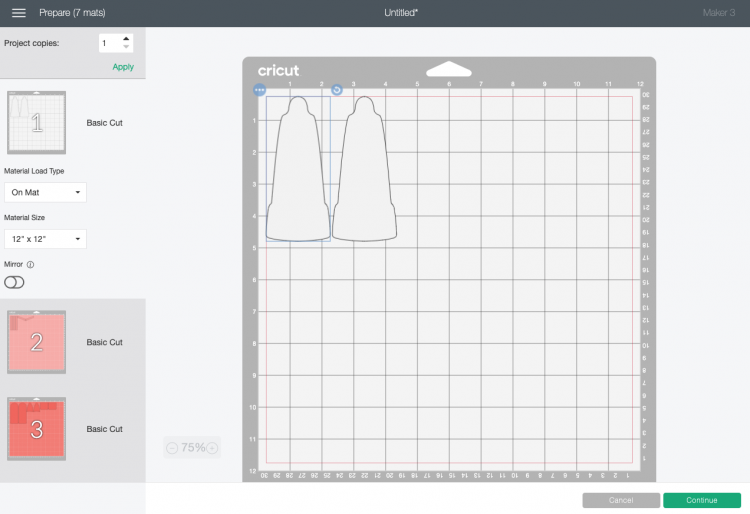
- On the Make Screen, you'll set your material to cardstock. Make sure you have your fine point blade in your machine, insert your mat, and your Cricut will cut your project! Cut all the mats for your popsicles until you have a pile of popsicle puzzle pieces.
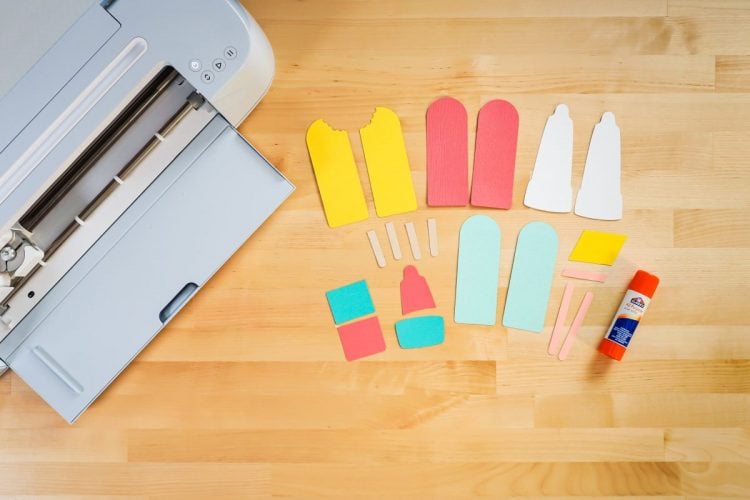
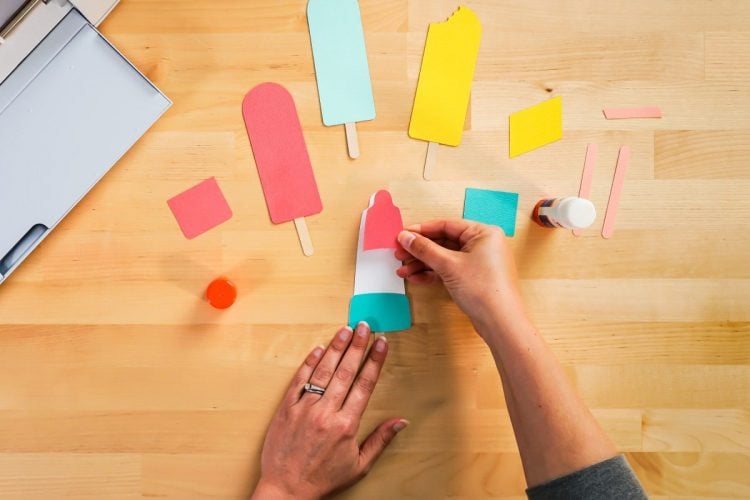
- Glue Your Popsicle Bookmarks TogetherNow we just need to assemble the popsicles. You'll see that there are two main pieces for each popsicle. Glue these together, sandwiching the popsicle stick (wood or cardstock) between the two to create a "sandwich."

- Then glue on the decorative popsicle layer pieces to create your final popsicle bookmarks!