Bring new dimension to your projects with this tutorial on how to layer iron on vinyl! Get step by step instructions as well as tips and tricks for getting the best results!

I’ve written before about a method I use for layering vinyl using the Slice tool in Cricut Design Space. I like that method because it means you aren’t putting layer upon layer of iron on vinyl on top of each other, which generally makes for a cleaner project.
But that doesn’t mean you can’t layer vinyl on top of vinyl! But first, there are some rules you need to know.
Rules for Layering Iron On Vinyl
There are some basic guidelines that you should follow to get the best results when layering vinyl. You can, of course, break the rules, but you may end up with vinyl that doesn’t last as long or that bubbles or warps.
In the below rules, “regular iron on” refers to basic iron on, like Cricut Everyday Iron On or Siser EasyWeed, and “specialty vinyl” refers to iron on vinyls like glitter, foil, SportFlex, etc.
- Regular iron on can be layered up to four layers.
- Regular iron on can be used as a base for specialty iron on.
- Specialty iron on can only be the TOP layer—you shouldn’t put more vinyl on top of glitter iron on, for instance.
- Try to place the vinyl with the hottest temperature setting at the bottom of your project if possible.
- If you want to layer specialty vinyl, use the “Slice” method.
Layering Regular Iron On Vinyl
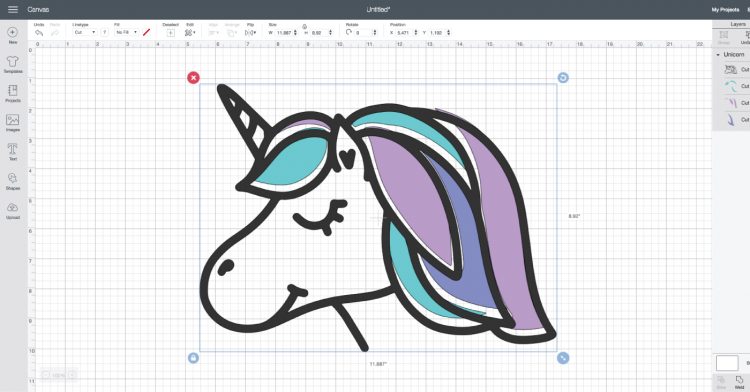
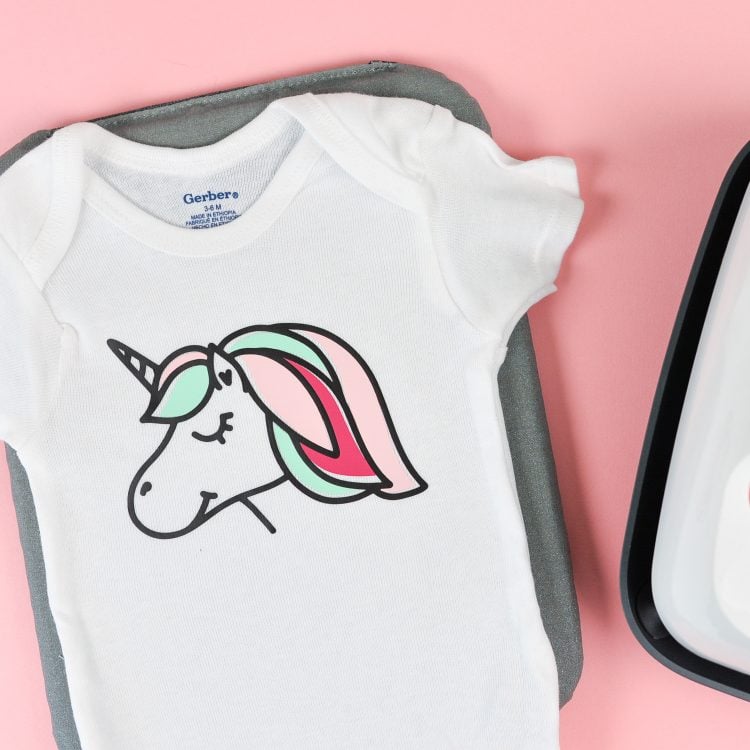
Let’s make an easy project using four colors of iron on vinyl and the EasyPress. I’m using this adorable unicorn, Design Space #M6D64911. Start by cutting each layer of your design with your Cricut and weeding out the negative material. (Learn more about cutting and weeding iron on vinyl.)

Then stack your iron on layers to see how your final project is going to turn out. This helps you make sure your first layer is centered properly. Note that in this particular design, the “mane” layers do not line up perfectly with the black outline. It’s meant to be that way.

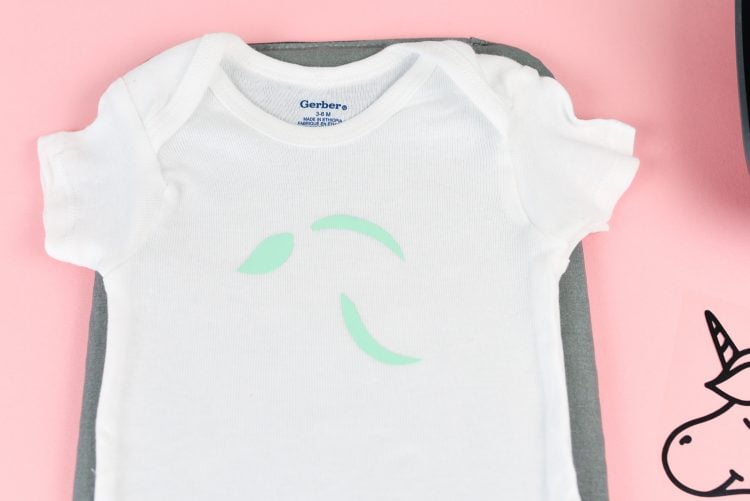
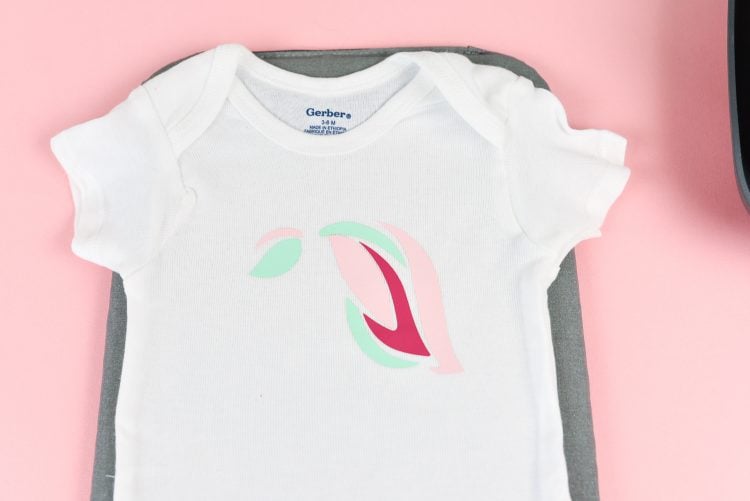
Then peel up all but that bottom layer. In this case, I made the teal the bottom layer. If you’re layering several colors and it doesn’t really matter what order they go in (like the “mane’ colors here), I like to start with the lightest color. This ensures that I am not putting a light color over a dark color and risking a bit of color bleed.

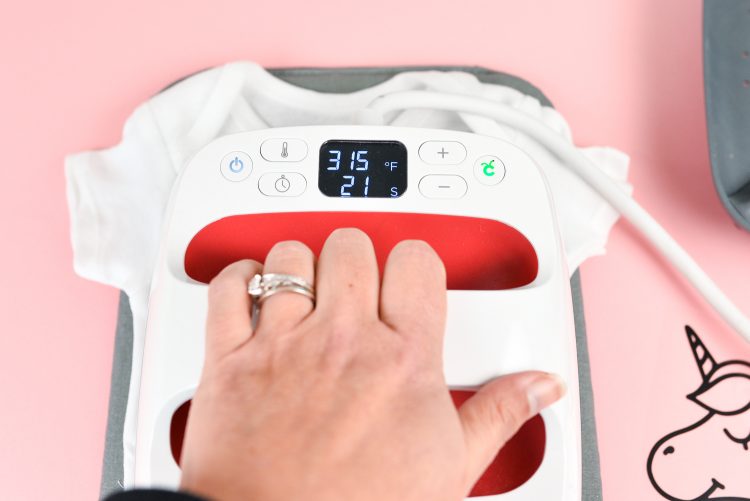
Using the EasyPress or other heating method, adhere this bottom layer using the recommended temperature for regular iron on, which is 315°. I do a shorter press here—usually 15 seconds.

Then carefully peel off the carrier sheet (remember to check whether your iron on is warm or cool peel). It won’t be as “set” as it would if you used a longer press. But this is okay—you will press three more times and it’ll be perfectly set at the end. If it doesn’t peel, however, give it another 10-15 seconds under the press.

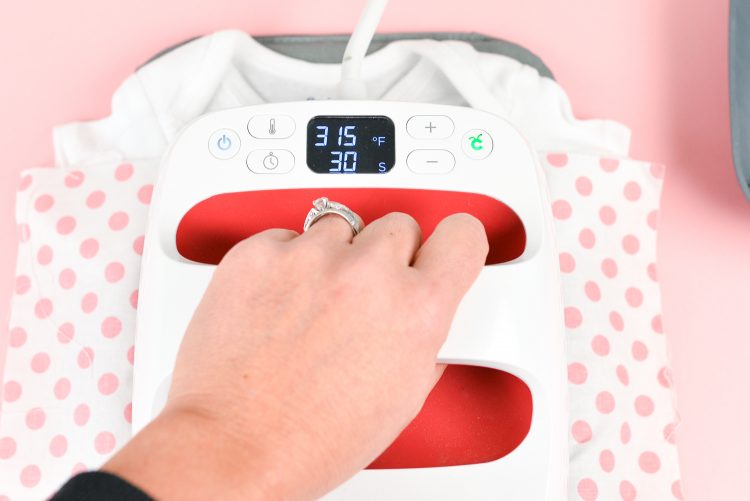
Place your second color on top of the first. From here on out, I like using a pressing cloth between my vinyl and my EasyPress—I don’t like what happens if the press’s plate touches iron on vinyl that doesn’t have the protective carrier sheet on it—it can bubble and warp. Press for 15 seconds.

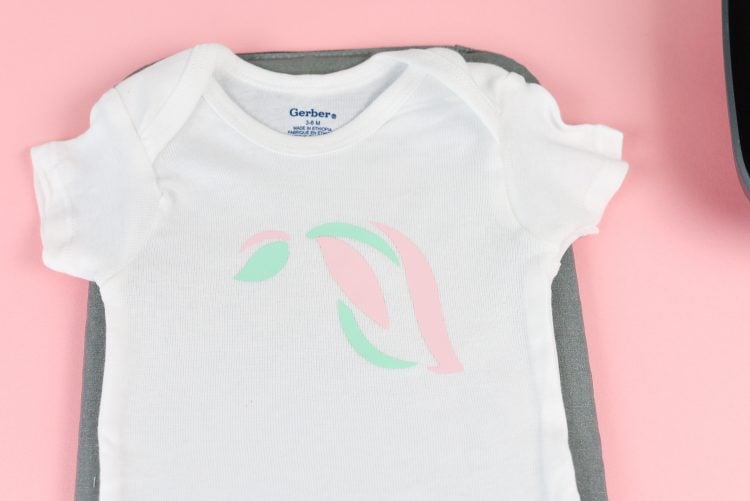
After the press, peel off the carrier sheet.

Then do the same for the third color, pressing for 15 seconds. Peel off the carrier sheet.

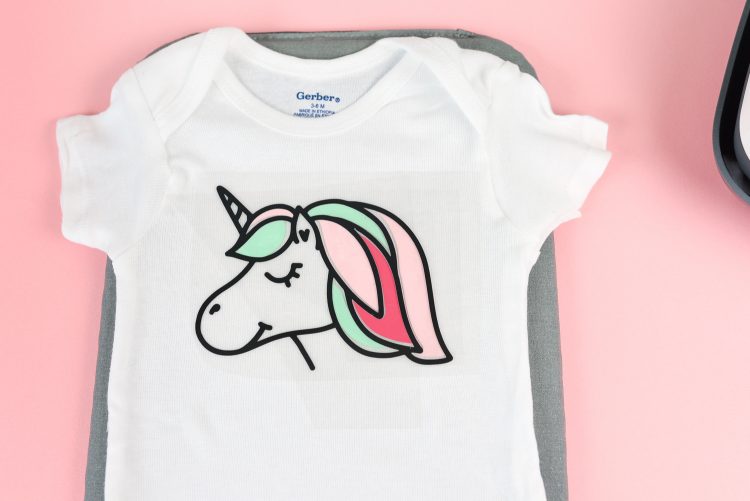
For the final color, do a longer press—the full 30 seconds recommended by Cricut. Then flip the project over and press from the back for 15 seconds to really get that iron on vinyl to adhere to the material.

And you’re done! I hear a lot that people are scared to layer iron on vinyl, but it’s actually really easy!!
If you found this tutorial helpful, you’ll want to check out my Cricut eCourse! You’ll get more than 150 lessons and tutorials to help you conquer your Cricut!


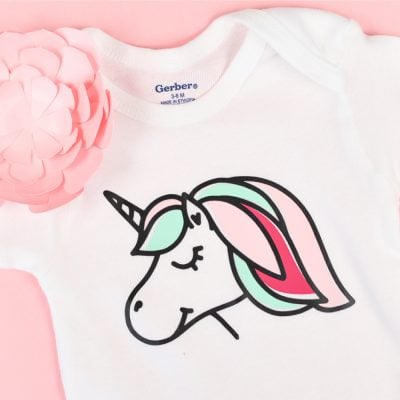
LAYERING REGULAR IRON ON VINYL
Equipment
- Cricut Maker or
Supplies
- Iron on Vinyl 4 Colors
Instructions
- Design for this project: Unicorn, Design Space #M6D64911Start by cutting each layer of your design with your Cricut and weeding out the negative material. (Learn more about cutting and weeding iron on vinyl.)

- Then stack your iron on layers to see how your final project is going to turn out. This helps you make sure your first layer is centered properly. Note that in this particular design, the "mane" layers do not line up perfectly with the black outline. It's meant to be that way.

- Then peel up all but that bottom layer. In this case, the bottom layer was made teal. If you're layering several colors and it doesn't really matter what order they go in (like the "mane' colors here), Start with the lightest color. This ensures that you are not putting a light color over a dark color and risking a bit of color bleed.

- Using the EasyPress or other heating method, adhere this bottom layer using the recommended temperature for regular iron on, which is 315°. Do a shorter press here—usually 15 seconds.

- Then carefully peel off the carrier sheet (remember to check whether your iron on is warm or cool peel). It won't be as "set" as it would if you used a longer press. But this is okay—you will press three more times and it'll be perfectly set at the end. If it doesn't peel, however, give it another 10-15 seconds under the press.

- Place your second color on top of the first. From here on out, use a pressing cloth between the vinyl and the EasyPress—Don't like what happens if the press's plate touches iron on vinyl that doesn't have the protective carrier sheet on it—it can bubble and warp. Press for 15 seconds.

- After the press, peel off the carrier sheet.

- Then do the same for the third color, pressing for 15 seconds. Peel off the carrier sheet.

- For the final color, do a longer press—the full 30 seconds recommended by Cricut. Then flip the project over and press from the back for 15 seconds to really get that iron on vinyl to adhere to the material.And you're done!




Comments & Reviews
Michelle says
I don’t see in this tutorial how to actually cut the different colors – what is that process
Dani says
You’ll be using your cricut or other cutting machine to do this.
Teresa a says
I’m new to this but, why can’t you just put all the pieces down and heat once, unless the temperatures or times are different, which I understand, I think. I don’t have any of the machines, so I’m trying to learn as much as I can.
Amy Motroni says
Hi Teresa,
You can’t stack iron on all at the same time because the carrier sheets would overlap.
Hope that helps!
Amy, HLMS Reader Support
Nat says
Hi! Can you tell me what you use for pressing cloths? I’ve got the first layer down, but I’m not sure what to use next and I’m so nervous to ruin my design!
Cori George says
I just use a piece of cotton fabric, but you can also use a thin kitchen towel or a teflon sheet :)
Sky says
Will the first layer of vinyl adhere to the pressing cloth though?
Sarah says
You mentioned the colors in the mane having gaps, which i can see, how do you avoid this?
Liz, HLMS Reader Support says
In this case, this is the actual design and it is meant to have gaps.
You will notice in other projects that there will sometimes be gaps in the finished product, but that is because iron on will shrink slightly when applying heat several times for layered projects.
You can try enlarging the colored pieces slightly to account for shrinking.
Happy Crafting!!
Liz, HLMS Reader Support