LAYERING REGULAR IRON ON VINYL
Bring new dimension to your projects with this tutorial on how to layer iron on vinyl!
Equipment
- Cricut Maker or
Ingredients
- Iron on Vinyl 4 Colors
Instructions
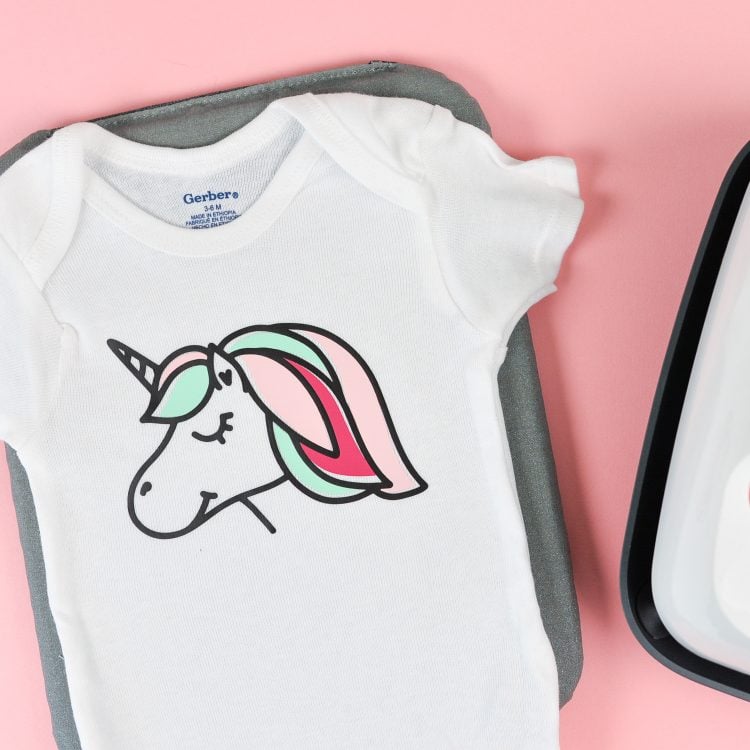
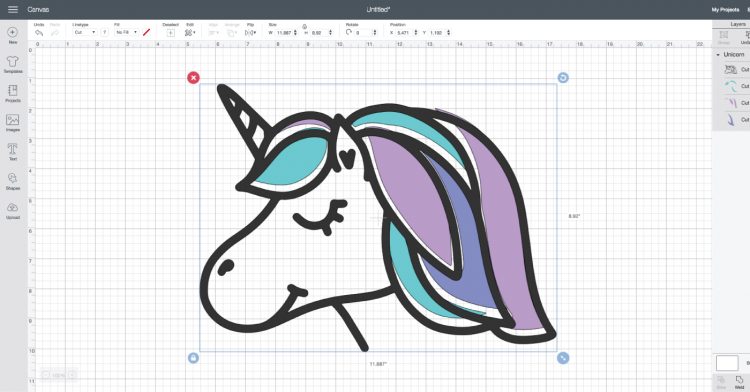
- Design for this project: Unicorn, Design Space #M6D64911Start by cutting each layer of your design with your Cricut and weeding out the negative material. (Learn more about cutting and weeding iron on vinyl.)
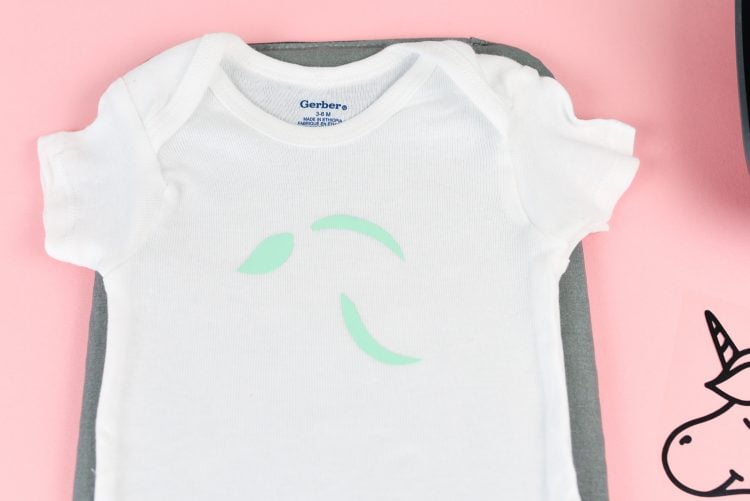
- Then stack your iron on layers to see how your final project is going to turn out. This helps you make sure your first layer is centered properly. Note that in this particular design, the "mane" layers do not line up perfectly with the black outline. It's meant to be that way.
- Then peel up all but that bottom layer. In this case, the bottom layer was made teal. If you're layering several colors and it doesn't really matter what order they go in (like the "mane' colors here), Start with the lightest color. This ensures that you are not putting a light color over a dark color and risking a bit of color bleed.

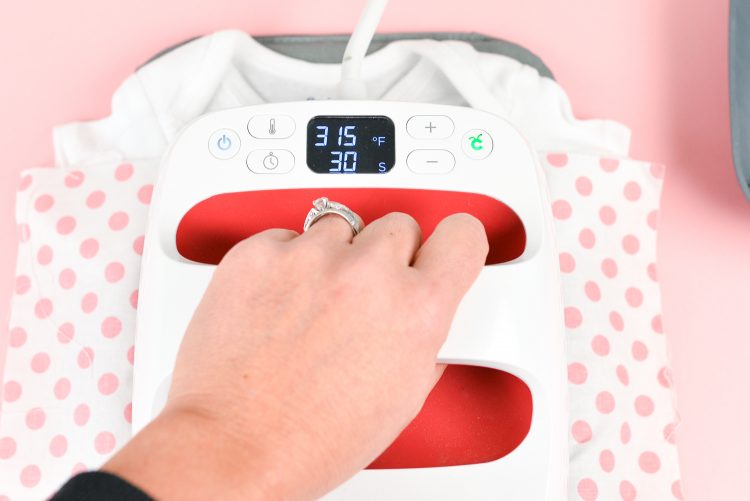
- Using the EasyPress or other heating method, adhere this bottom layer using the recommended temperature for regular iron on, which is 315°. Do a shorter press here—usually 15 seconds.
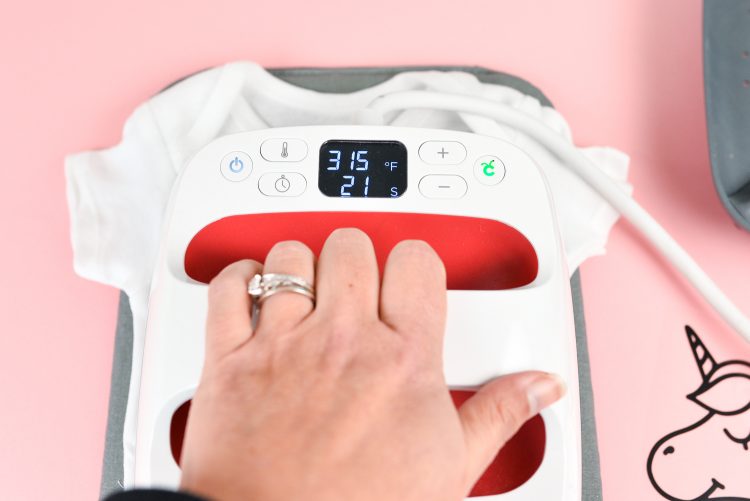
- Then carefully peel off the carrier sheet (remember to check whether your iron on is warm or cool peel). It won't be as "set" as it would if you used a longer press. But this is okay—you will press three more times and it'll be perfectly set at the end. If it doesn't peel, however, give it another 10-15 seconds under the press.
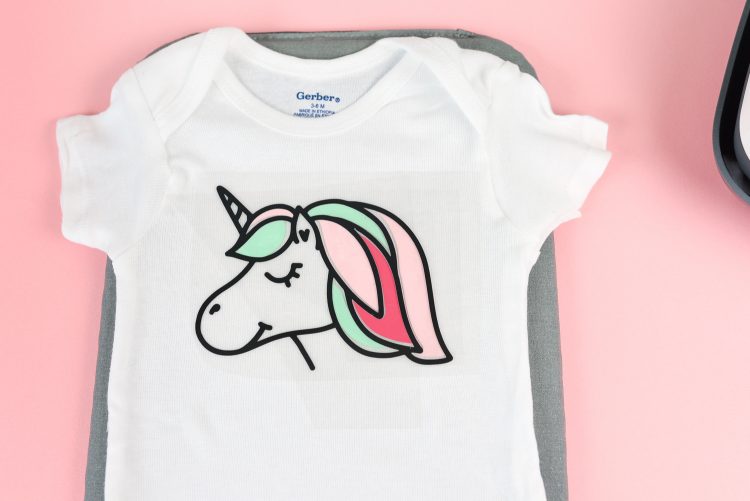
- Place your second color on top of the first. From here on out, use a pressing cloth between the vinyl and the EasyPress—Don't like what happens if the press's plate touches iron on vinyl that doesn't have the protective carrier sheet on it—it can bubble and warp. Press for 15 seconds.
- After the press, peel off the carrier sheet.
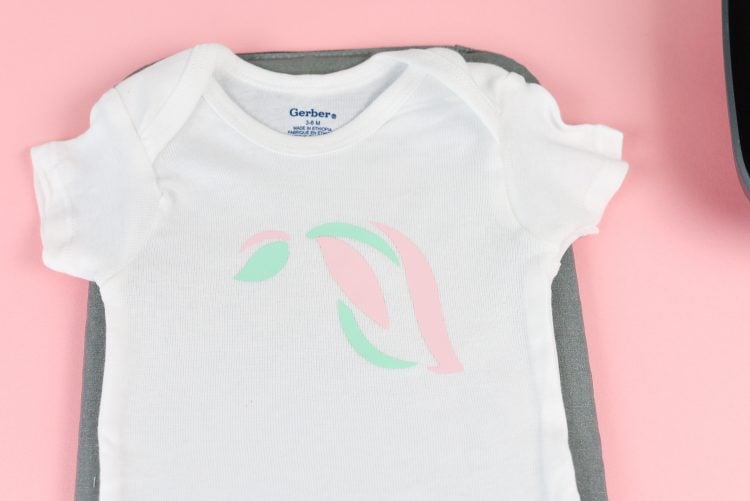
- Then do the same for the third color, pressing for 15 seconds. Peel off the carrier sheet.
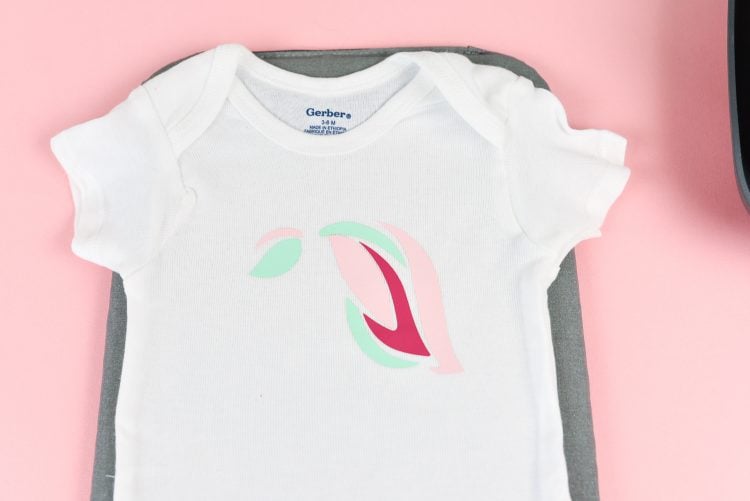
- For the final color, do a longer press—the full 30 seconds recommended by Cricut. Then flip the project over and press from the back for 15 seconds to really get that iron on vinyl to adhere to the material.And you're done!