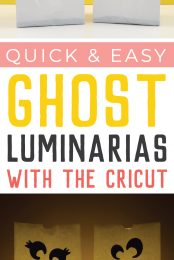
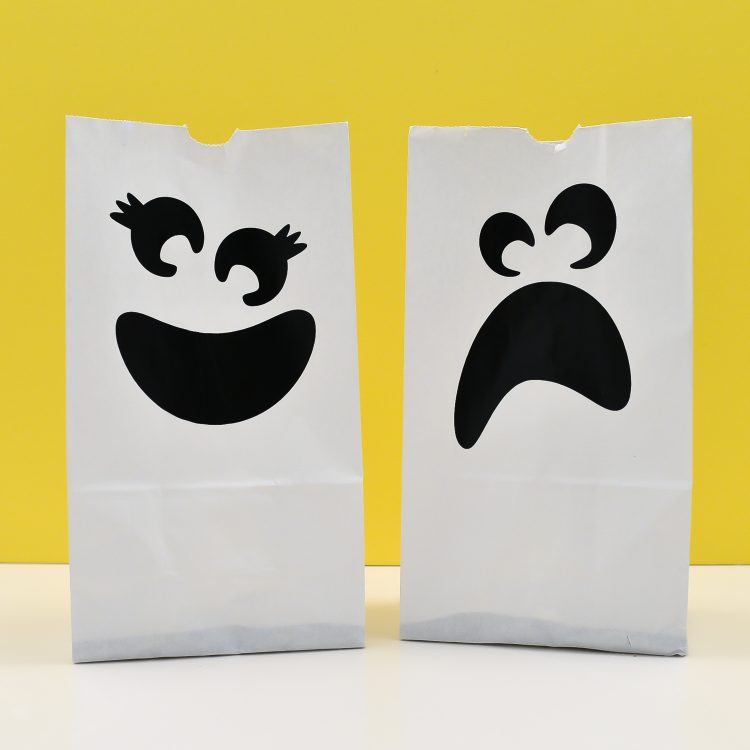
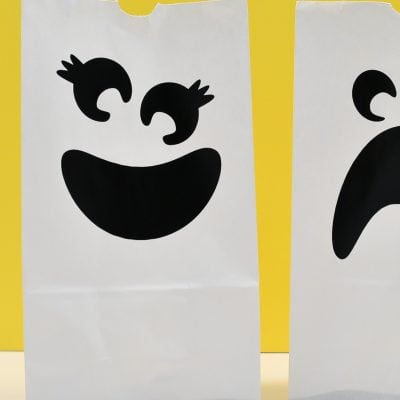
Whether you call them luminarias or luminaries, these ghosts are a quick and easy Halloween decoration! Make these cute ghost luminarias using your Cricut and black iron on!

Welcome to Day 2 of Craft Lighting and a huge round up of party ideas that take less than 15 minutes to make! I’m throwing a Halloween party over here. Get ready for some fun ideas! Check out all the posts in this series (links will be updated as we go along this week!):
- Bat Place Cards
- Ghost Luminarias
- Sprinkle Pumpkins
- Felt Halloween Banner
- Graveyard Halloween Cake Topper
Next up are these easy (and I mean EASY) ghost luminarias! (Some people call them luminaries, but I swear, my editor brain cannot make that work—luminaries are wise people!). Line your driveway on Halloween for trick or treaters, or place in your windows or on your mantel.

I am, of course, using my Cricut. I am also using iron on vinyl—I find it’s faster than regular adhesive vinyl and you don’t have to mess with transfer tape. Learn more about using iron on vinyl on paper.
Supplies for Ghost Luminarias (Luminaries)
- White paper bags
- Black iron on vinyl (I’m using vinyl from Expressions Vinyl)
- Cricut Explore or Cricut Maker
- Cricut EasyPress or iron + EasyPress Mat
- Weeding tool
- Sand
- Flameless tea light
- Ghost SVG files
Get the Free File
Want access to this free file? Join my FREE craft library! All you need is the password to get in, which you can get by filling out the form below. The file number is: C231.
Instructions
Ready to get crafting…quickly?
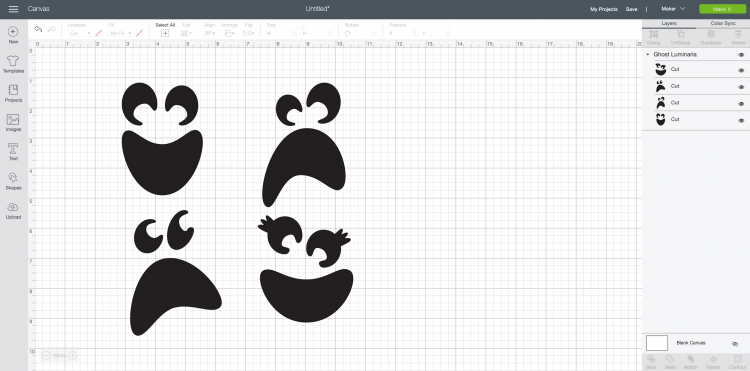
Start by uploading the ghost SVG to Cricut Design Space. Need help uploading your file? This post will help!
You may need to resize your file based on the size of your paper bags. Use the icon in the bottom left corner to resize your project.

Now you’re ready to cut your file! Hit Make It in the upper right.
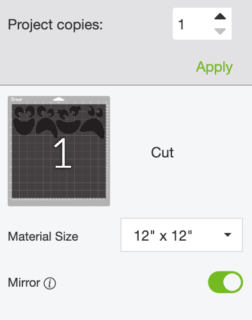
In the Prepare Screen, click the “mirror” option. This isn’t quite as important with these ghosts (if their faces are backward, it doesn’t really matter), but it’s good to be in the habit of mirroring all of your iron on projects.
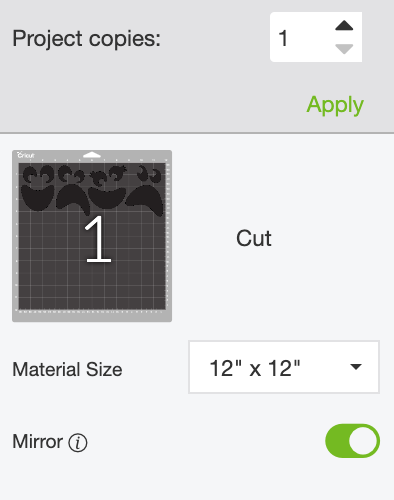
Then cut your project in black iron on vinyl. Need help cutting iron on vinyl? I’ve got a post for that!
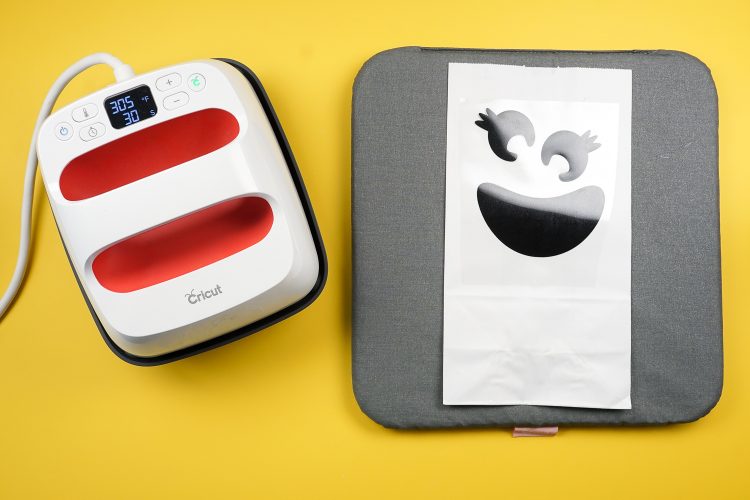
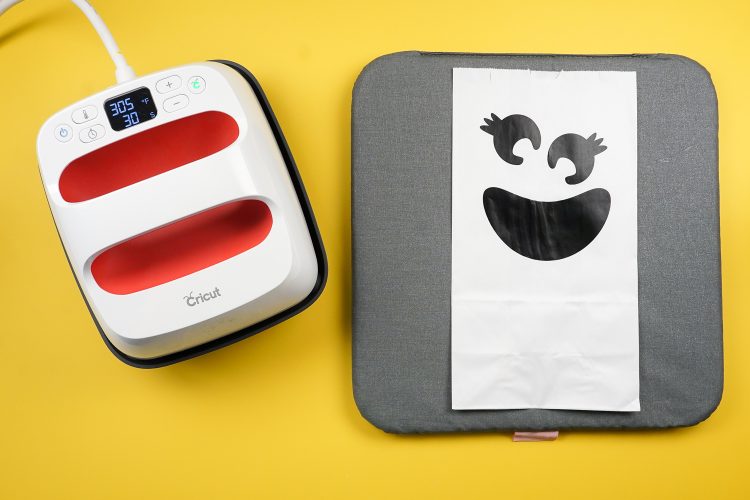
While your ghost faces are cutting, turn on your EasyPress and set it to 305° and 30 seconds. This allows it to heat up while you complete the next step.
Grab your weeding tool and weed off the excess iron on vinyl (everything that’s not ghost face). These are big pieces, so weeding should be pretty easy. Check out my weeding tips and tricks if you’re having trouble.

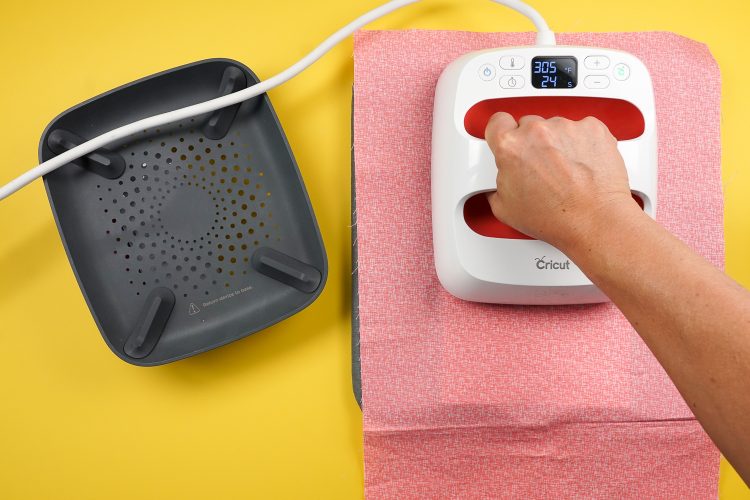
Then place a white paper bag on your EasyPress mat, and then lay down the iron on vinyl on top. I like using a pressing cloth (a piece of quilting cotton or a teflon sheet) because I don’t love the idea of the hot EasyPress plate directly on paper. Then press for 30 seconds.

Once you’ve pressed, allow to cool for 30 seconds and peel back the liner piece. Repeat with the other bags!

When you’re ready to use your luminarias, place a cup of sand in the bottom of each and nest a flameless tea light in the sand. You’re done!

More Quick and Easy Party Ideas
Check out these other Craft Lightning party ideas, and check back all week for even more easy party projects!
- Printable Halloween Stickers – Mad In Crafts
- Printable Halloween Bookmarks – Carla Schauer
- DIY Marble Coasters – Country Hill Cottage
- Toy Story Favor Bags – See Lindsay
- DIY Party Blowers – Liz On Call
- Halloween Skull Wreath – Tried & True
- Halloween Pillow Boxes – 5 Little Monsters
- Printable Halloween Banner – Pineapple Paper Co
- Felt Balloon Banner – Creatively Beth
- Ghost Decorations – Everyday Party Magazine
- Pom Pom Pumpkins – Things Small and Simple
- Caramel Apples – Our Crafty Mom
- Boo Cake Topper – Gingersnap Crafts
- Free Birthday Cut File – Happy Go Lucky
- Pumpkin Squishy – A Sweet Berry Designs
- Halloween Candy Bar Wrappers – Happiness is Homemade
- Kindness Favors – Me and My Inklings
- Rustic Wood Slice Cake Stand – Doodlecraft
- Halloween Tote Bags – Burton Avenue
- Paper Halloween Quilt Blocks – Hey Let’s Make Stuff

Get a Cricut
GHOST LUMINARIAS
Equipment
- Cricut Maker or
Instructions
- Start by uploading the ghost SVG to Cricut Design Space. Need help uploading your file? This post will help!You may need to resize your file based on the size of your paper bags. Use the icon in the bottom left corner to resize your project.Now you're ready to cut your file! Hit Make It in the upper right.

- In the Prepare Screen, click the "mirror" option. This isn't quite as important with these ghosts (if their faces are backward, it doesn't really matter), but it's good to be in the habit of mirroring all of your iron on projects.Then cut your project in black iron on vinyl. Need help cutting iron on vinyl? I've got a post for that!

- While your ghost faces are cutting, turn on your EasyPress and set it to 305° and 30 seconds. This allows it to heat up while you complete the next step.Grab your weeding tool and weed off the excess iron on vinyl (everything that's not ghost face). These are big pieces, so weeding should be pretty easy. Check out these weeding tips and tricks if you're having trouble.

- Then place a white paper bag on your EasyPress mat, and then lay down the iron on vinyl on top. Use a pressing cloth (a piece of quilting cotton or a teflon sheet) so the hot EasyPress plate isn't directly on paper. Then press for 30 seconds.

- Once you've pressed, allow to cool for 30 seconds and peel back the liner piece. Repeat with the other bags!

- When you're ready to use your luminarias, place a cup of sand in the bottom of each and nest a flameless tea light in the sand. You're done!

