Add shimmer and shine to your Cricut projects with the Cricut Foil Transfer System! Learn how to foil with the Cricut to create a stunning projects, from start to finish.
This is a sponsored post written by me on behalf of Cricut. All opinions are 100% mine.
Cricut just released its newest product for both Cricut Maker AND Cricut Explore—the Cricut Foil Transfer System. This new foiling tool and material allow you to add stunning foil effects to your Cricut projects! I’m working on a number of posts about this new tool, so make sure to check them out as I post them:
- The Ultimate Guide to the Cricut Foil Transfer System
- Foiling with the Cricut Foil Transfer System
- Fonts for Writing, Foiling, Engraving and More
- What Foils Work with the Cricut Foil Transfer System
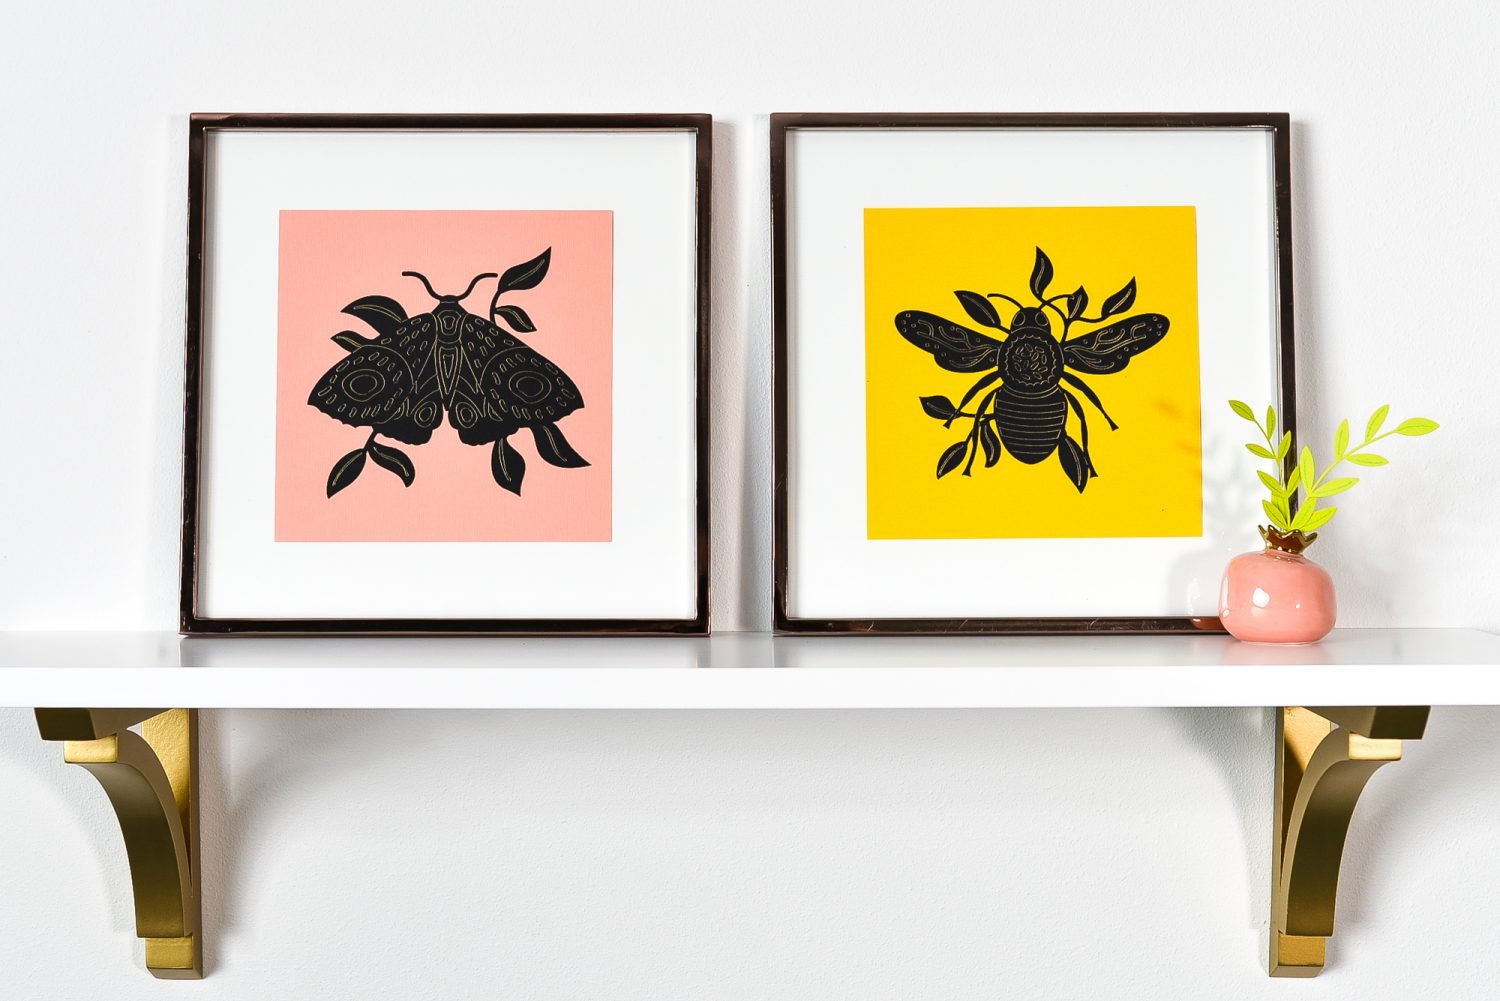
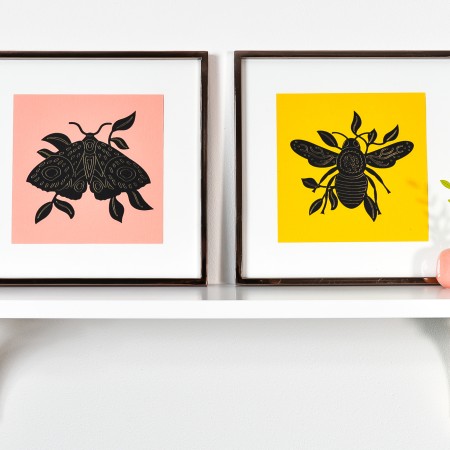
Today I’m sharing TWO foiled projects, both of which are designed to walk you through all of the steps in using the new tool. First up is some gorgeous foiled Cricut artwork, and second is a sweet little foiled plant, perfect for a bud vase.
I’ll also be sharing tips and tricks as I go along so that you can see exactly how to get the best results from this foiling system, the first time.
Stop pulling your hair out and start creating confidently with your Cricut! Finally understand how to use your Cricut with my Learn Your Cricut eBooks!
How to Foil Artwork with a Cricut
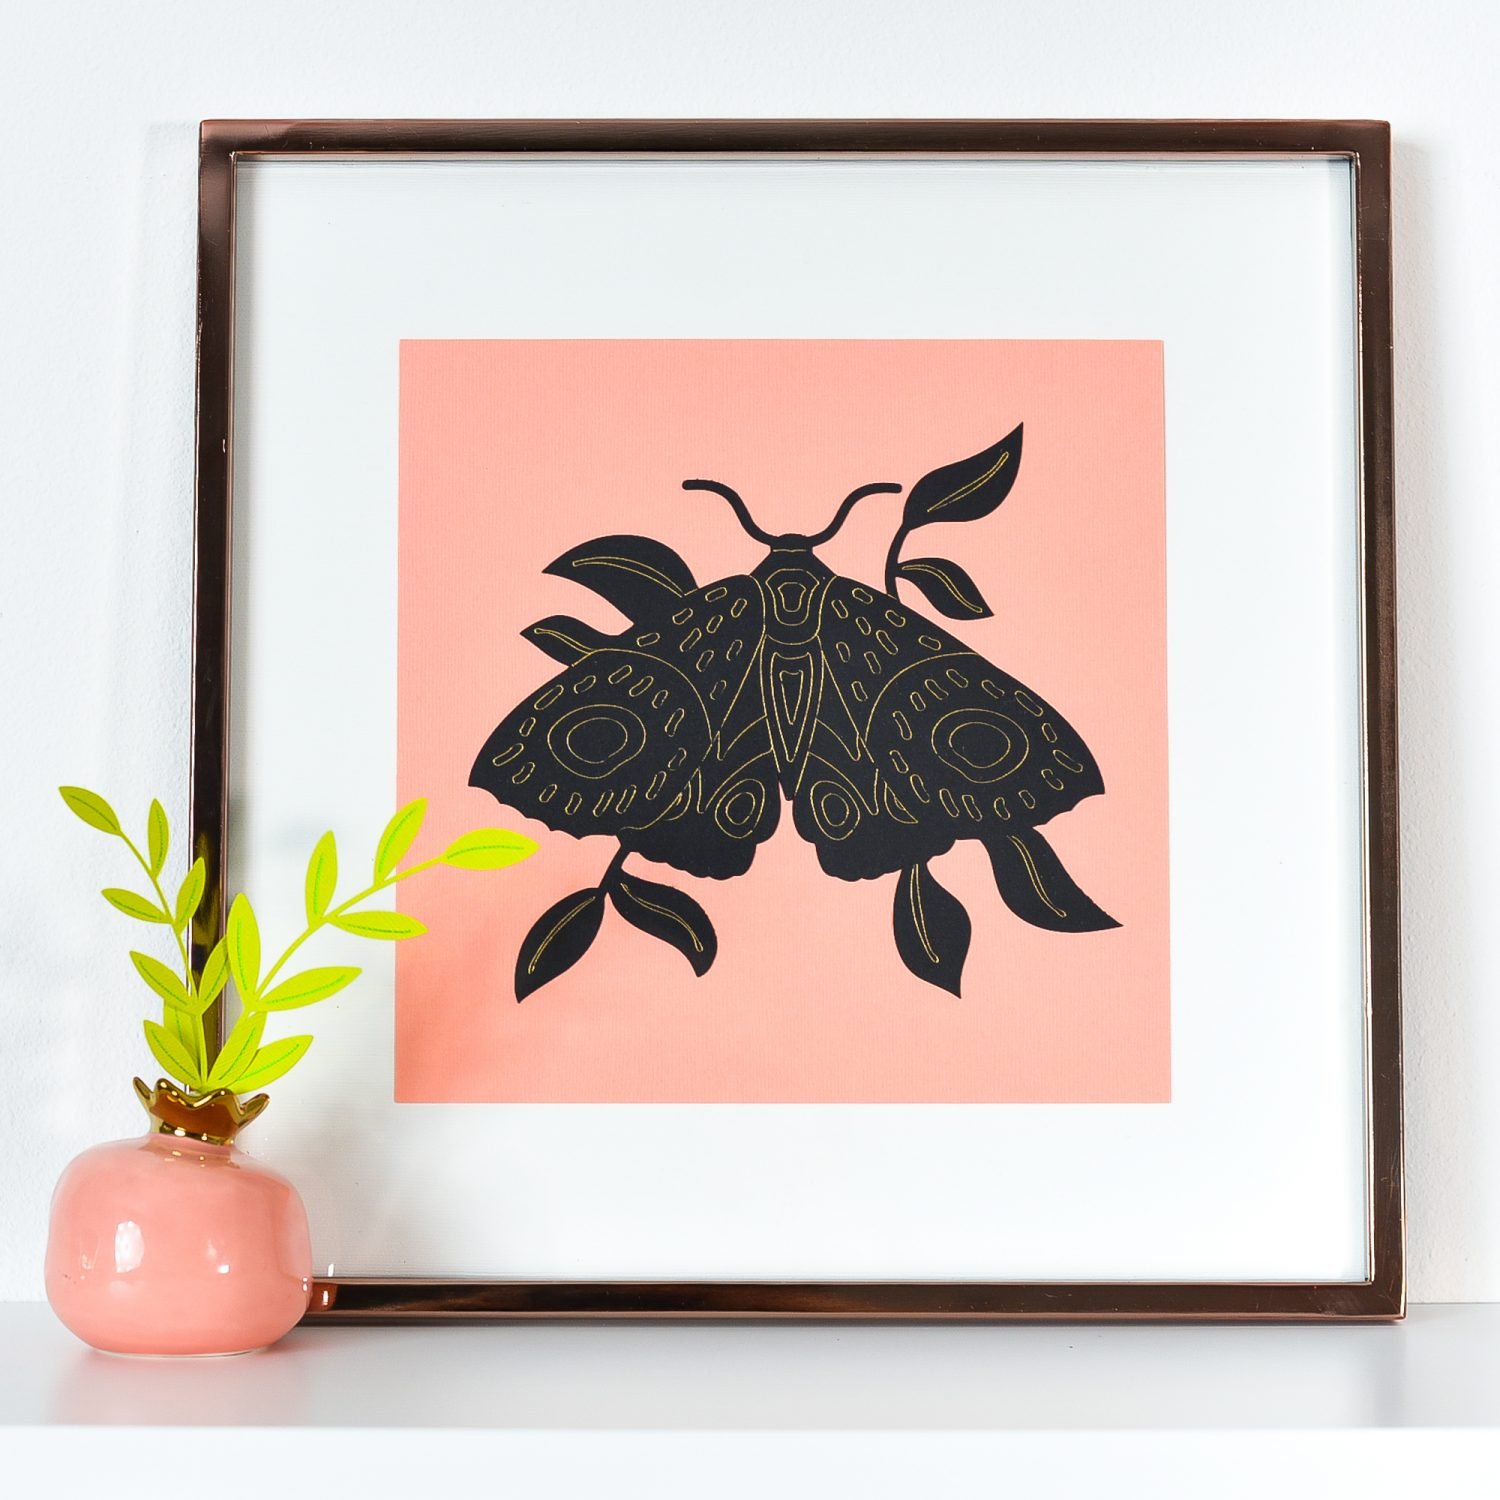
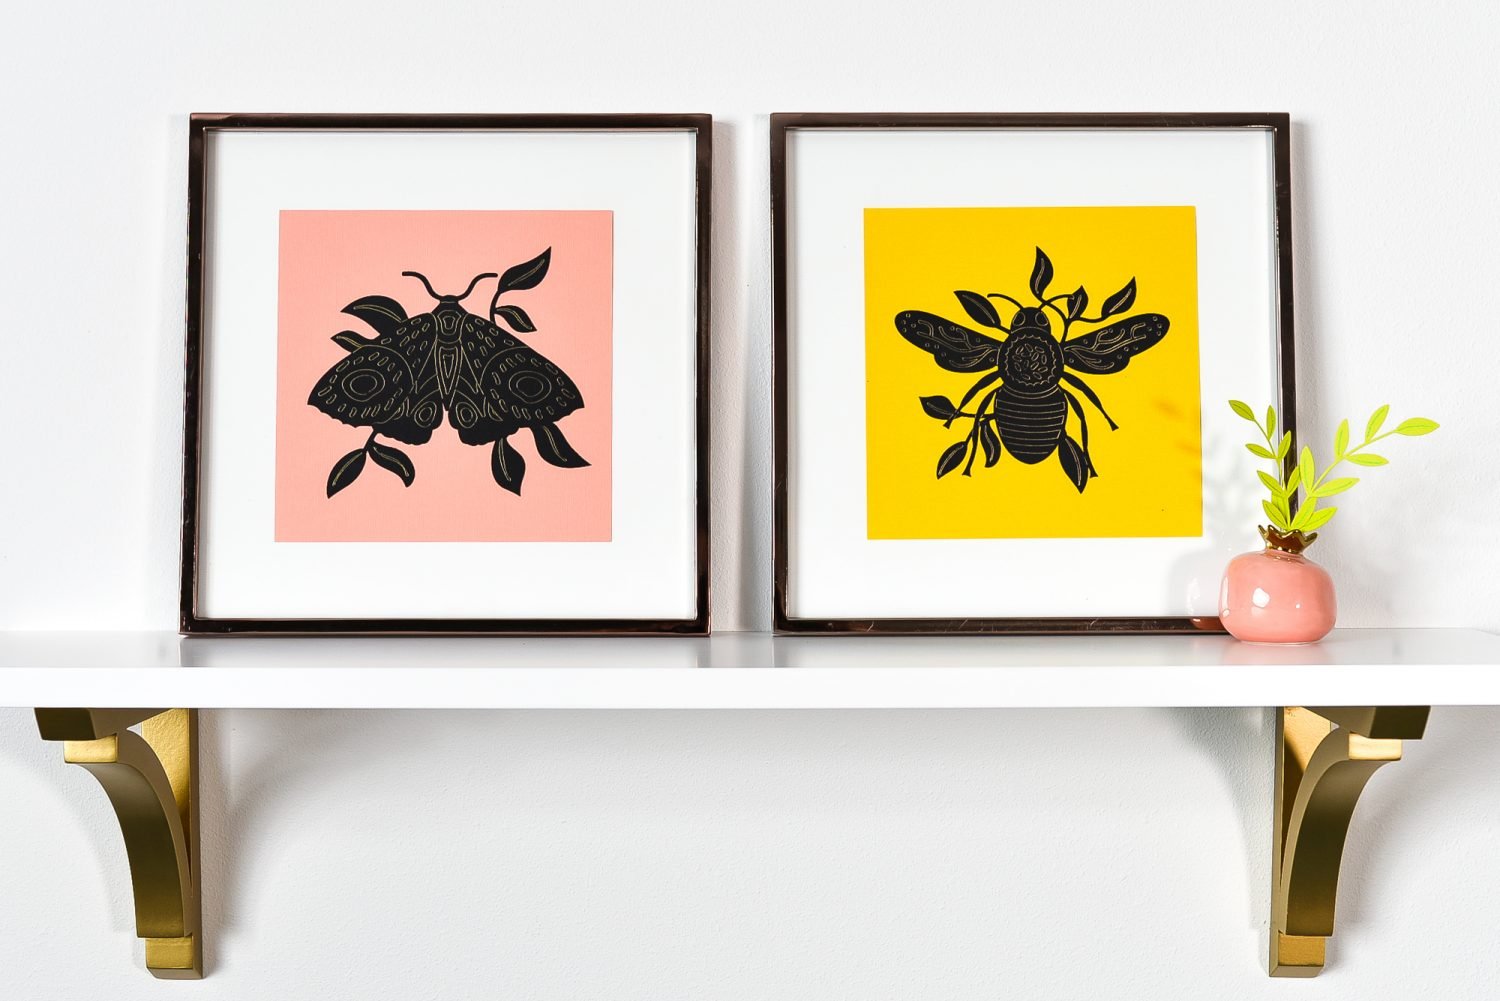
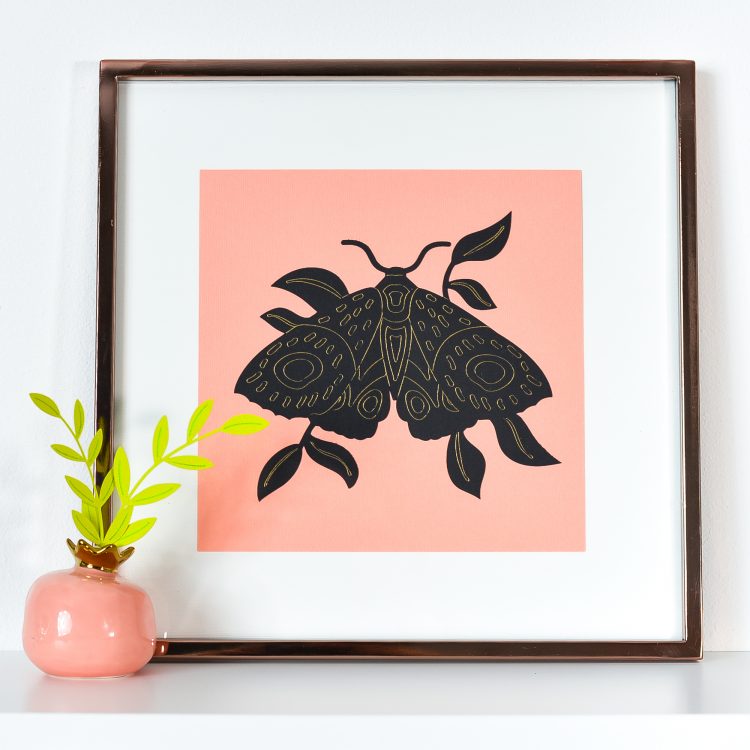
The first project is this entomological artwork—which is a fancy way to say “bugs.” I never thought I was someone who wanted bug artwork in her home, but when I saw these particular designs in Cricut Design Space, I knew that I could create some absolutely beautiful wall art.
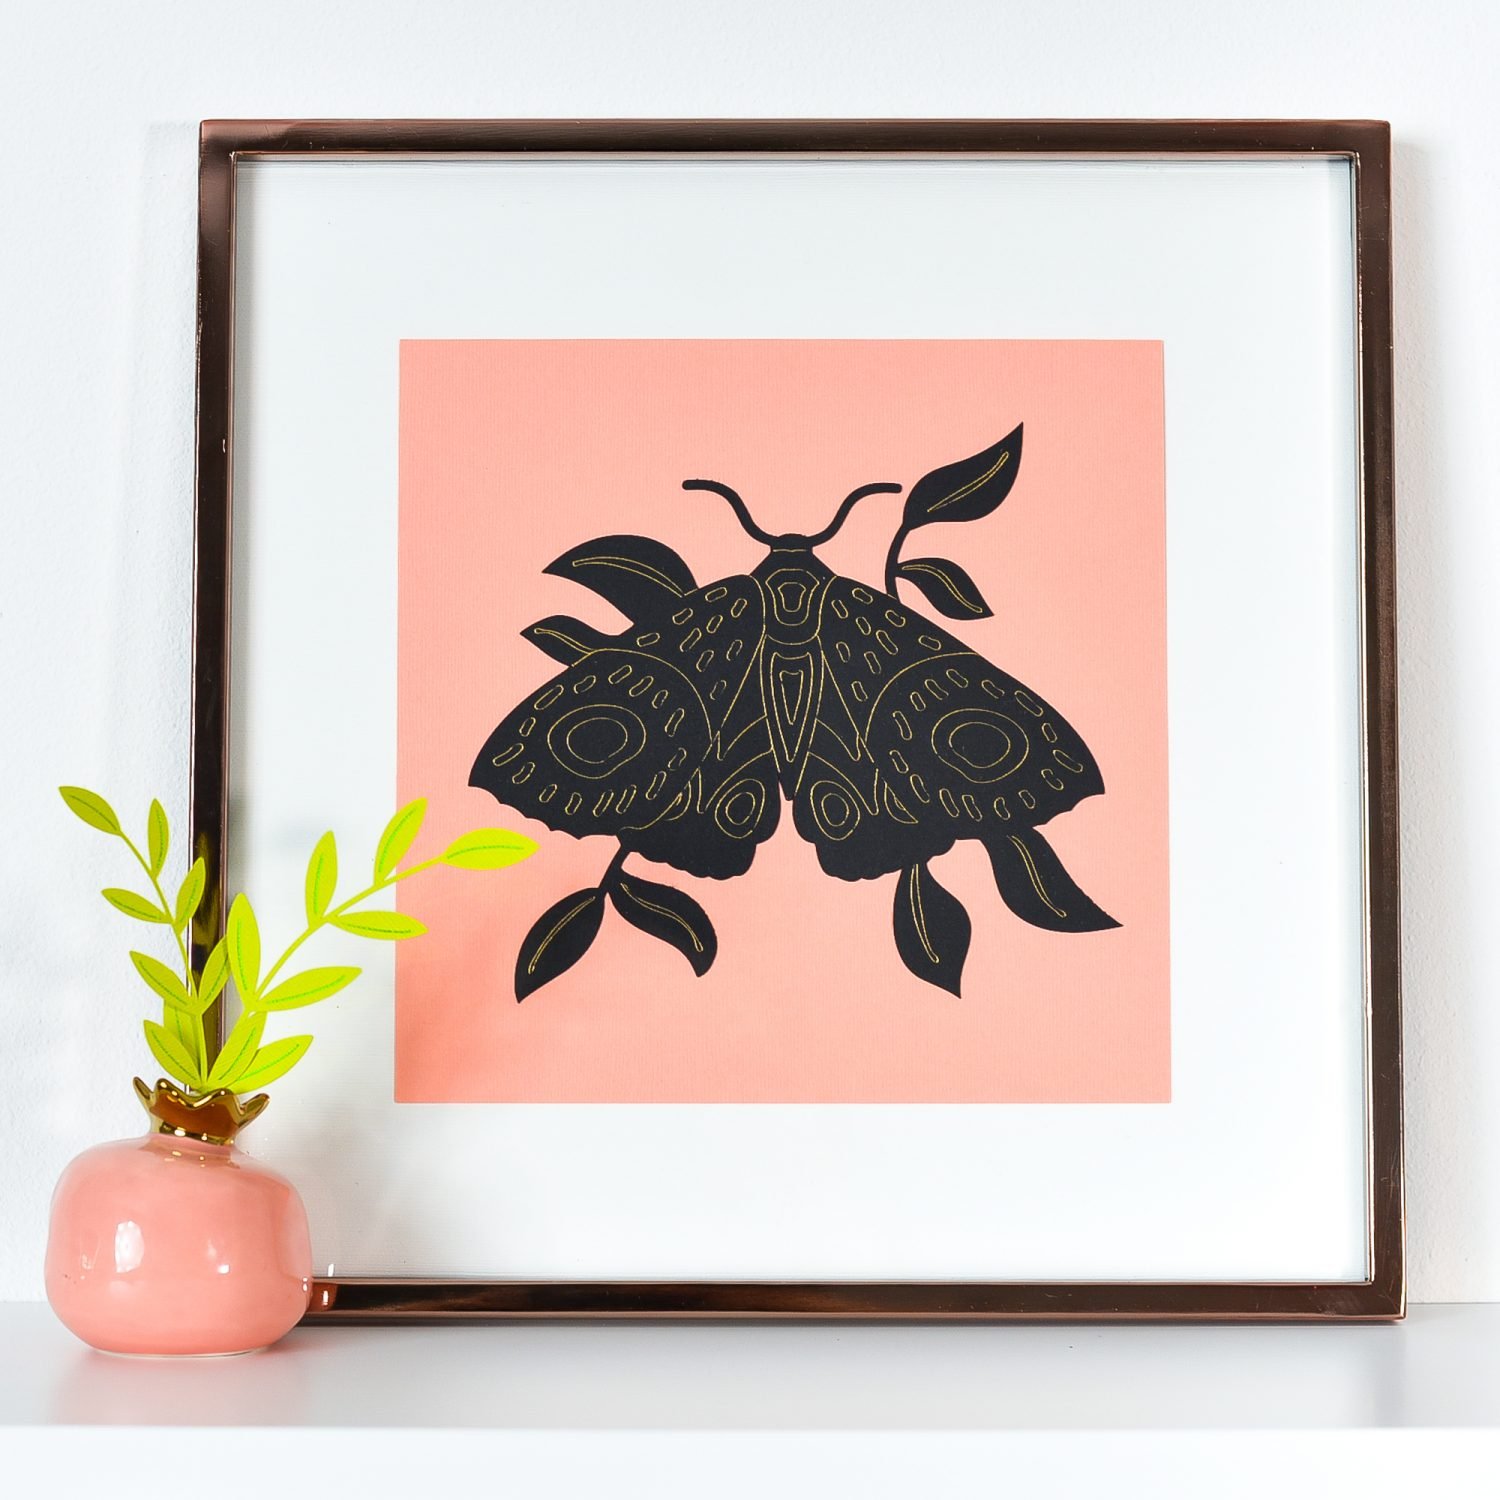
I mean, I am obsessed. I love these projects so much. Let’s learn how to foil with the Cricut!
Foiled Entomological Artwork Supplies
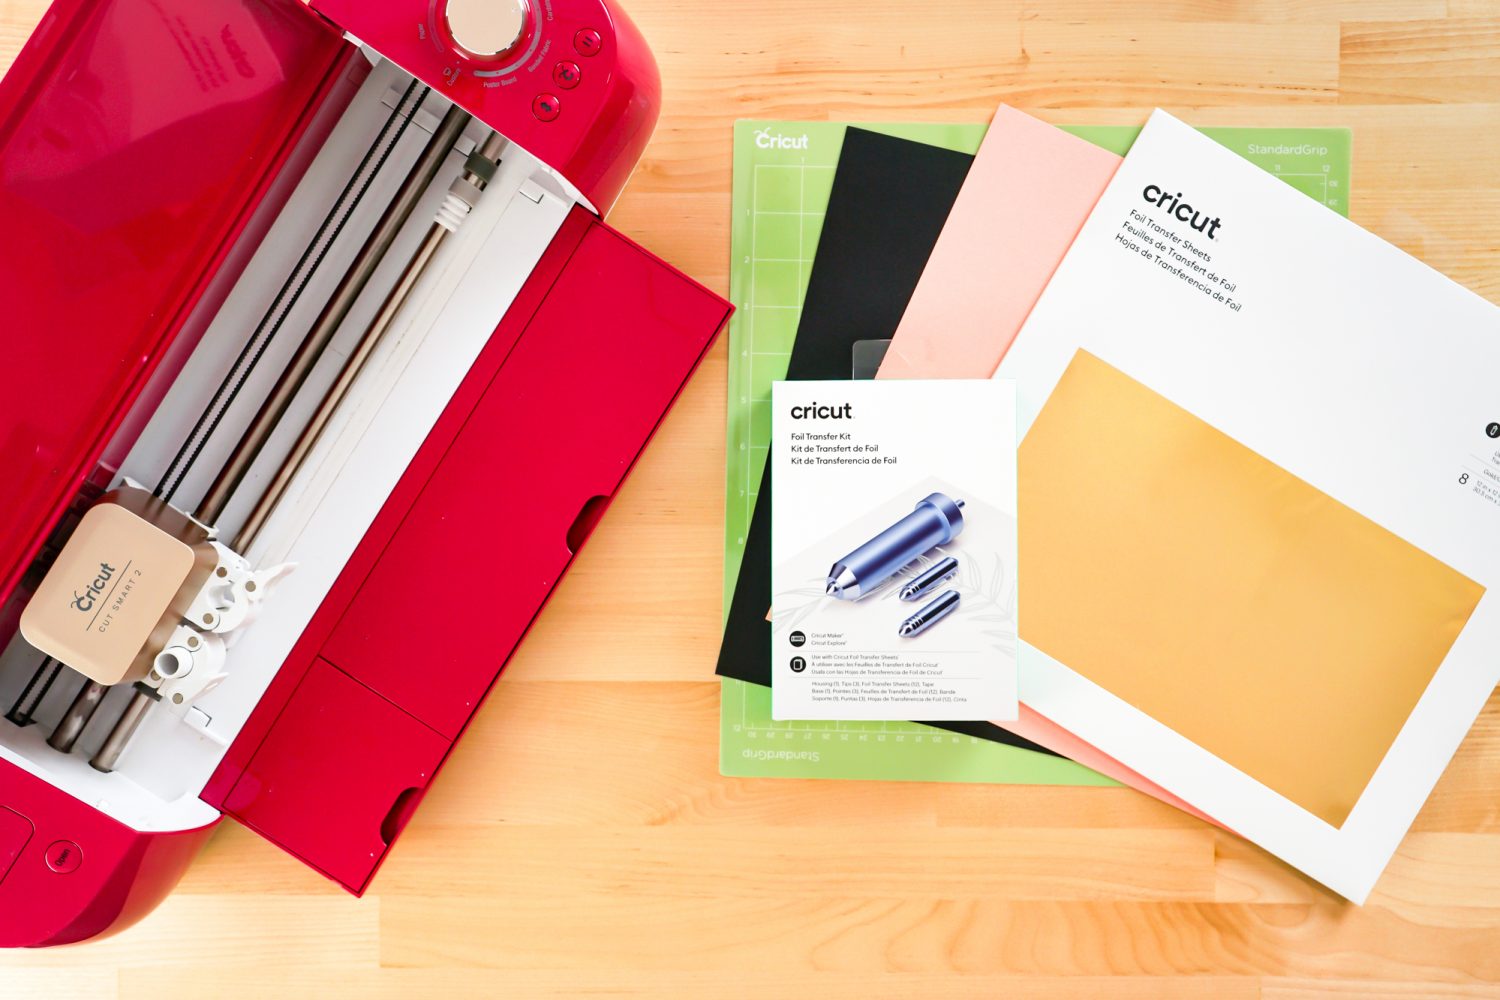
- Cricut Explore or Cricut Maker
- Blue LightGrip or Green StrongGrip mat
- Cricut Foil Transfer Tool
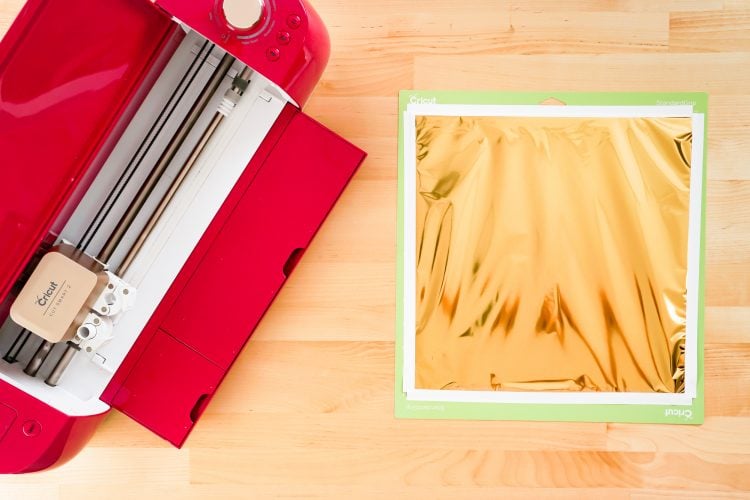
- 12″ x 12″ Cricut Foil in Gold + included tape
- Black cardstock
- Pink cardstock (or other color if you’d prefer)
- White cardstock
- 12″ x 12″ frames
- Double sided tape or glue stick
- Cricut Design Space File
Foiled Entomological Artwork Instructions
Start in Cricut Design Space
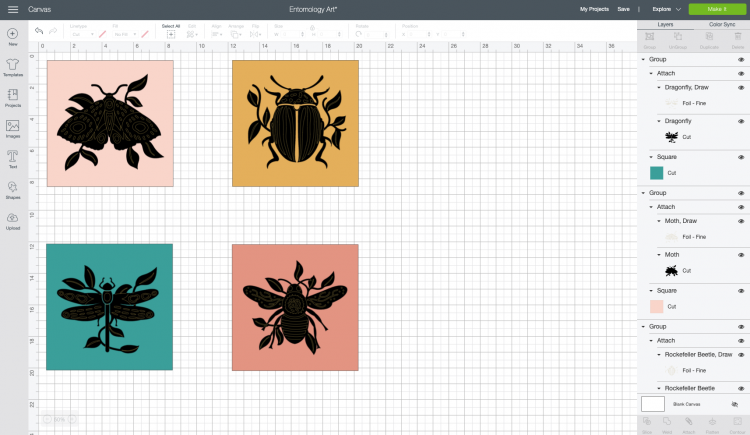
Open the Cricut Design Space file for this artwork. I’ve actually created four different versions for you—a moth, a bee, a dragonfly, and a beetle. These have been specifically designed to work perfectly with the Cricut Foil Transfer System!
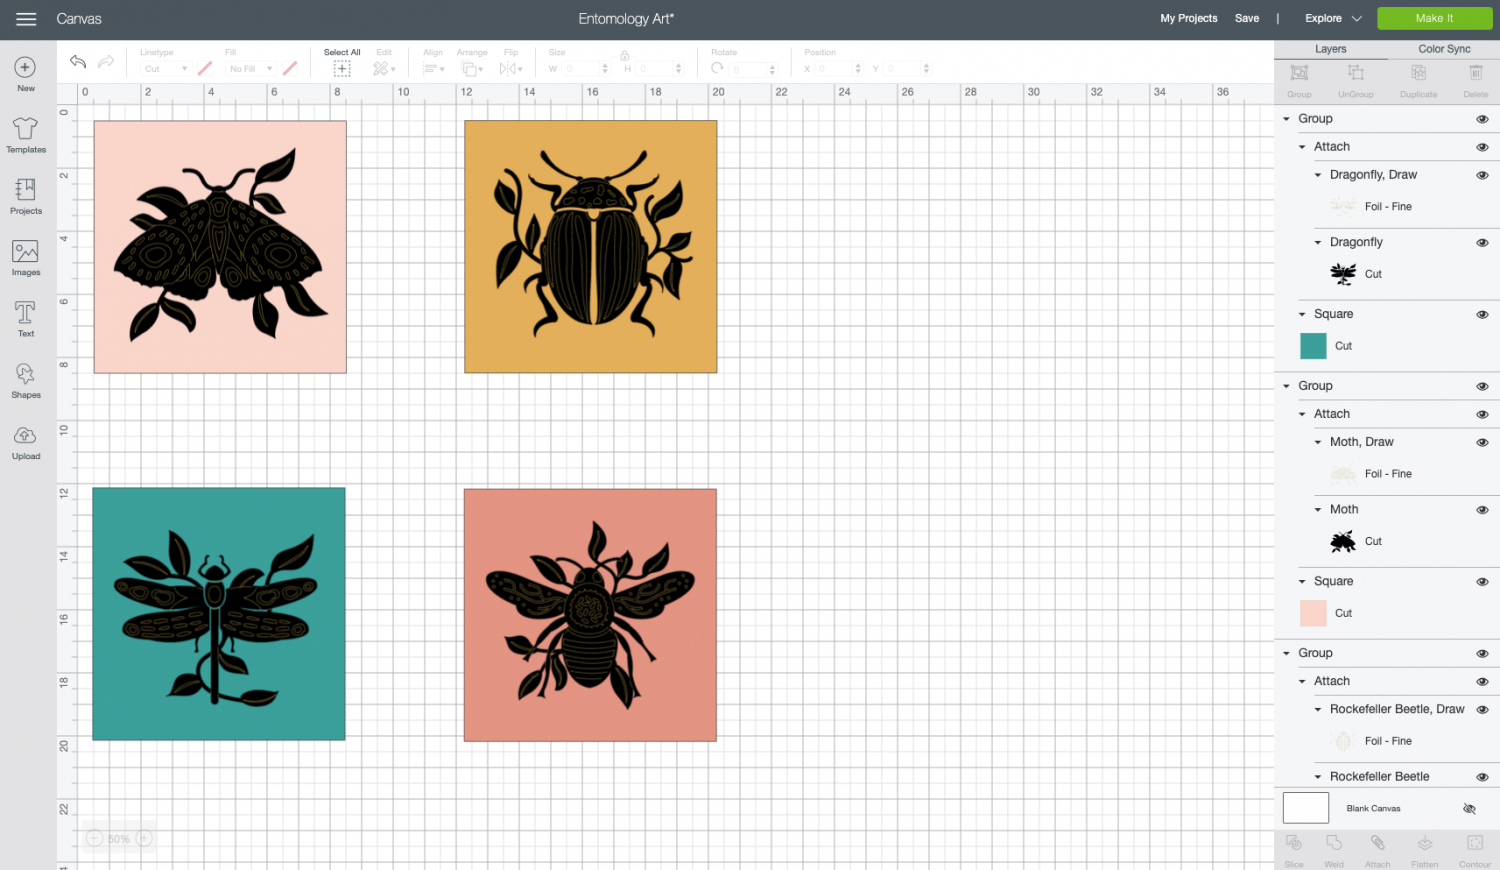
To simplify this tutorial, I am going to hide three of the images, and work with the moth only. Making the three other images is the same process. Click Make It in the upper right.
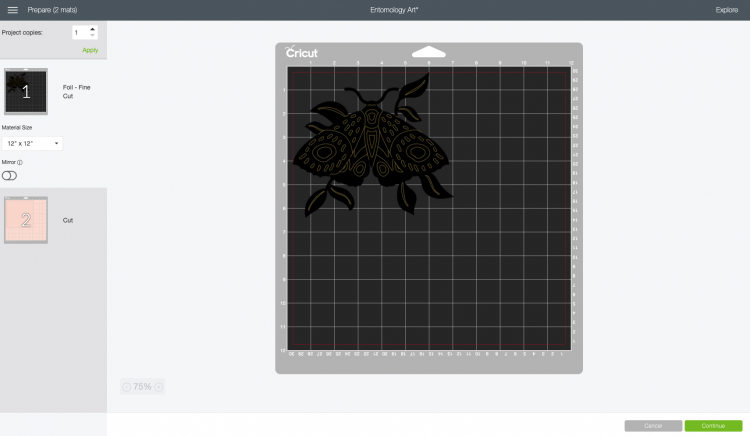
In the next screen, you’ll see the moth image attached to the black layer to cut on black cardstock. Then a separate cut for the colored square. Click Continue.
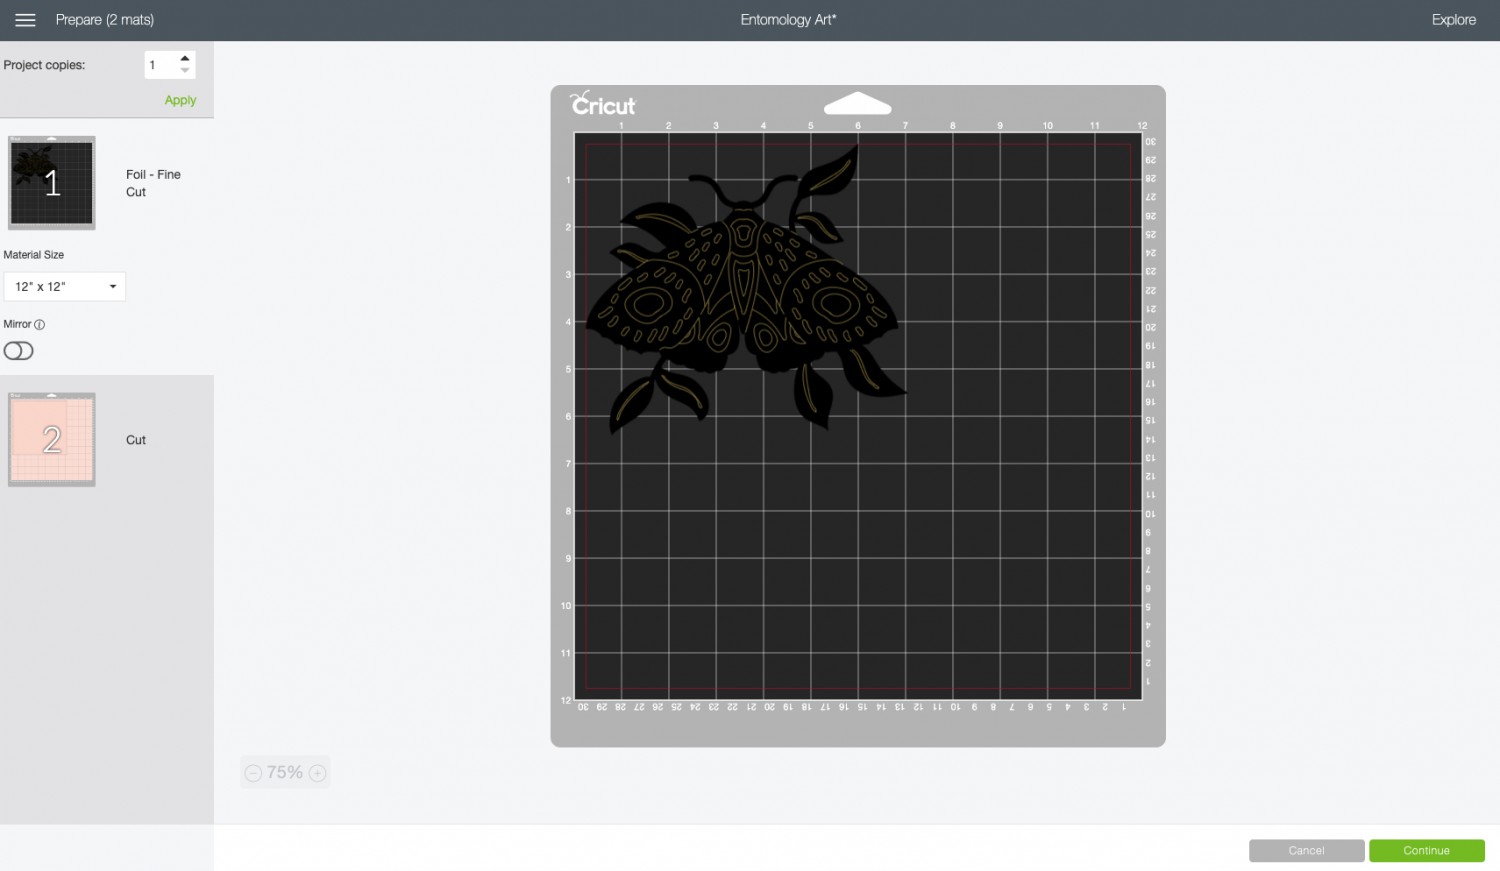
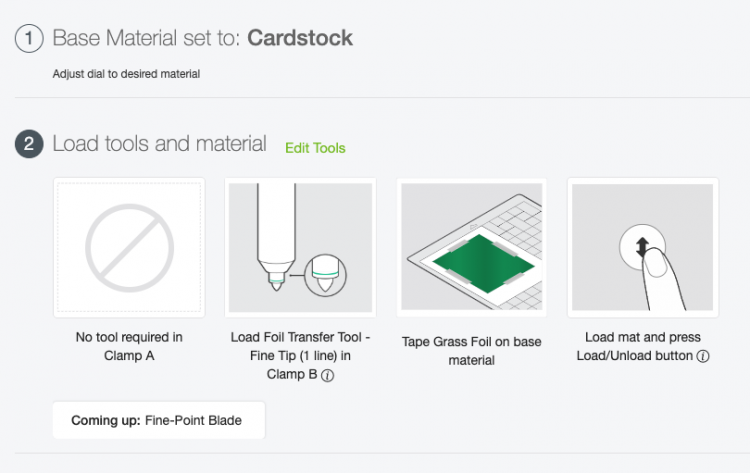
Finally, Cricut Design Space will ask you what type of material you are using—select the base material. In my case, cardstock. It will then give you a series of instructions. Load the Foil Transfer Tool, tape the gold foil on your cardstock, and load your mat. Let’s take a look at those steps in more detail.
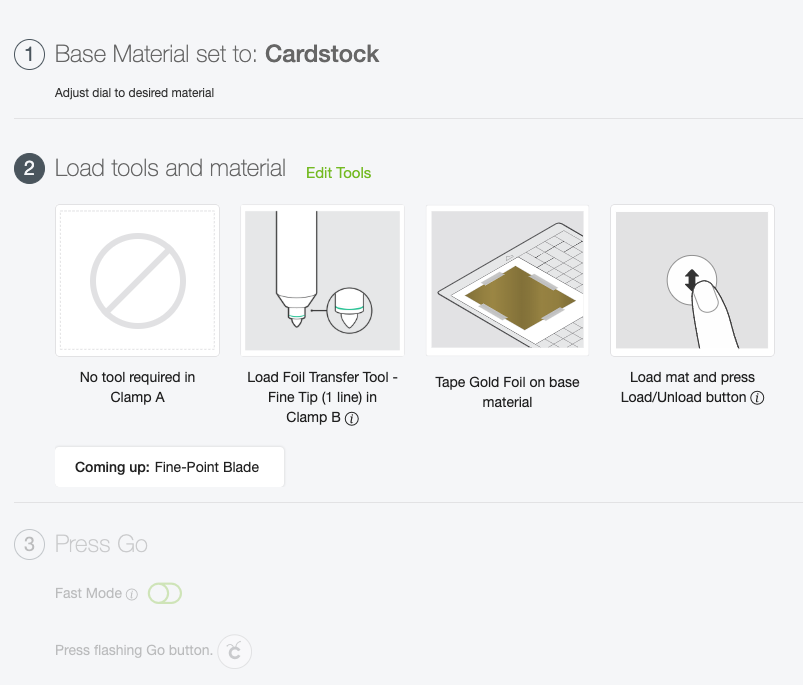
Foil Your Project
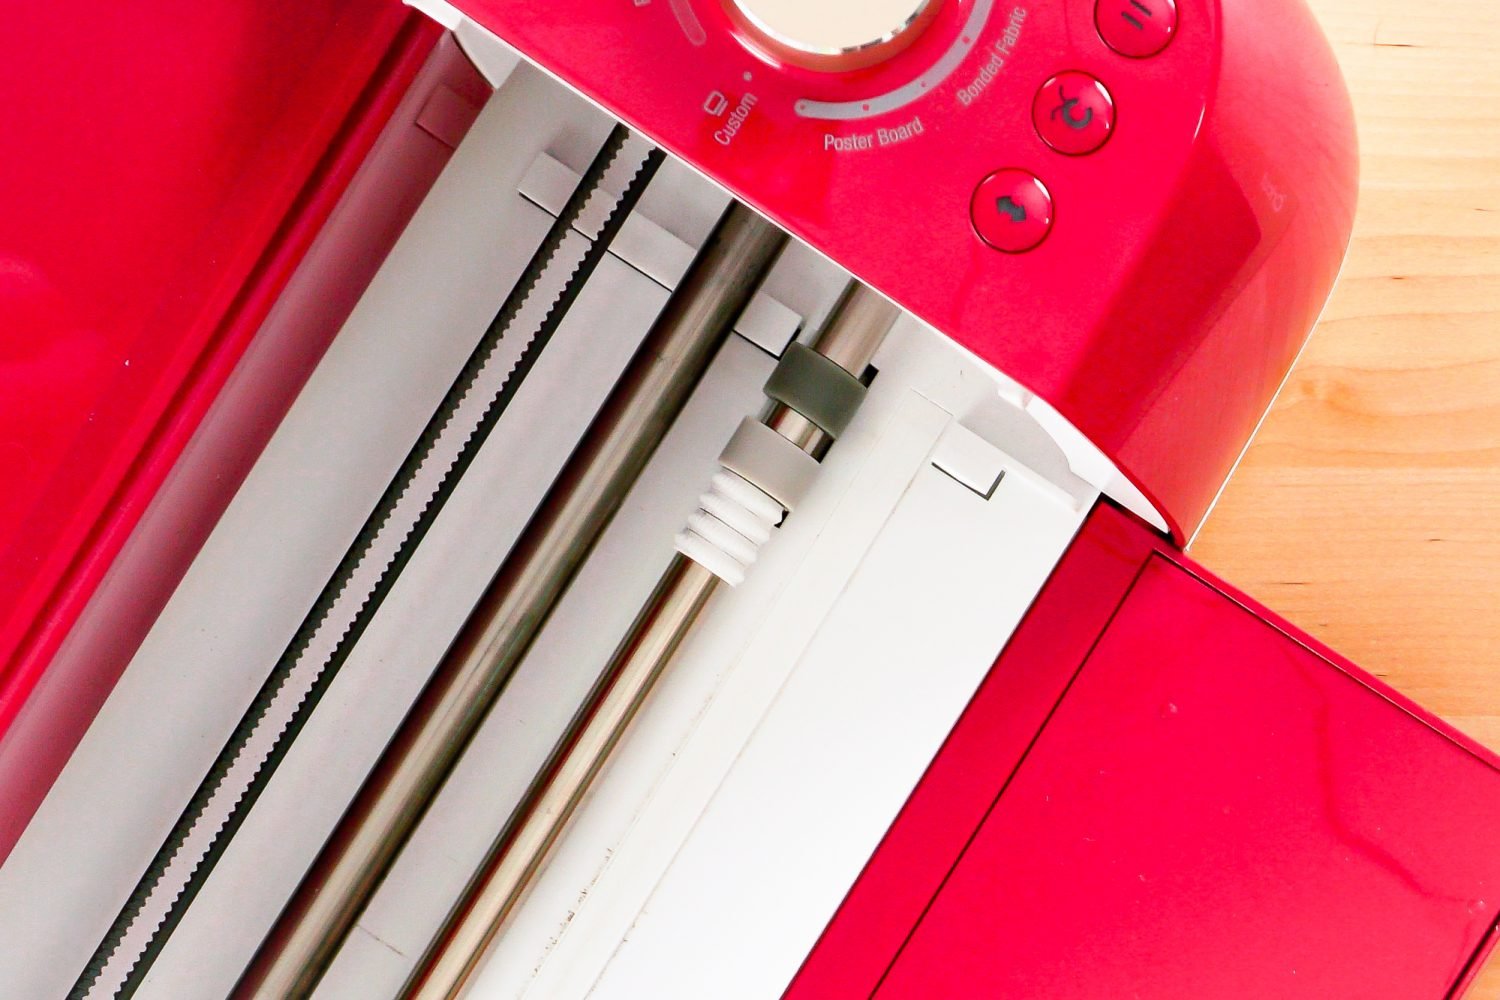
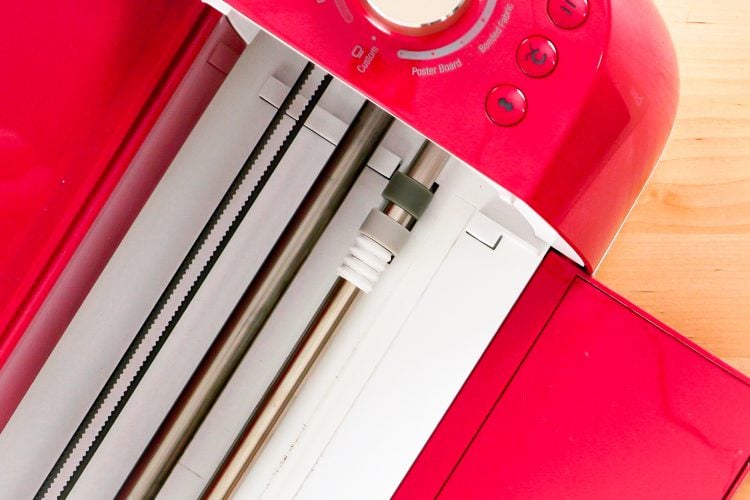
Before you cut, start by sliding the white star wheels of your Cricut Explore or Maker all the way to the right. This will help them from imprinting foil onto your image. This is Cricut’s suggestion—I actually made several projects before I remembered to slide those start wheels over and I didn’t have any foil transfer problems. But better to do it, just in case!
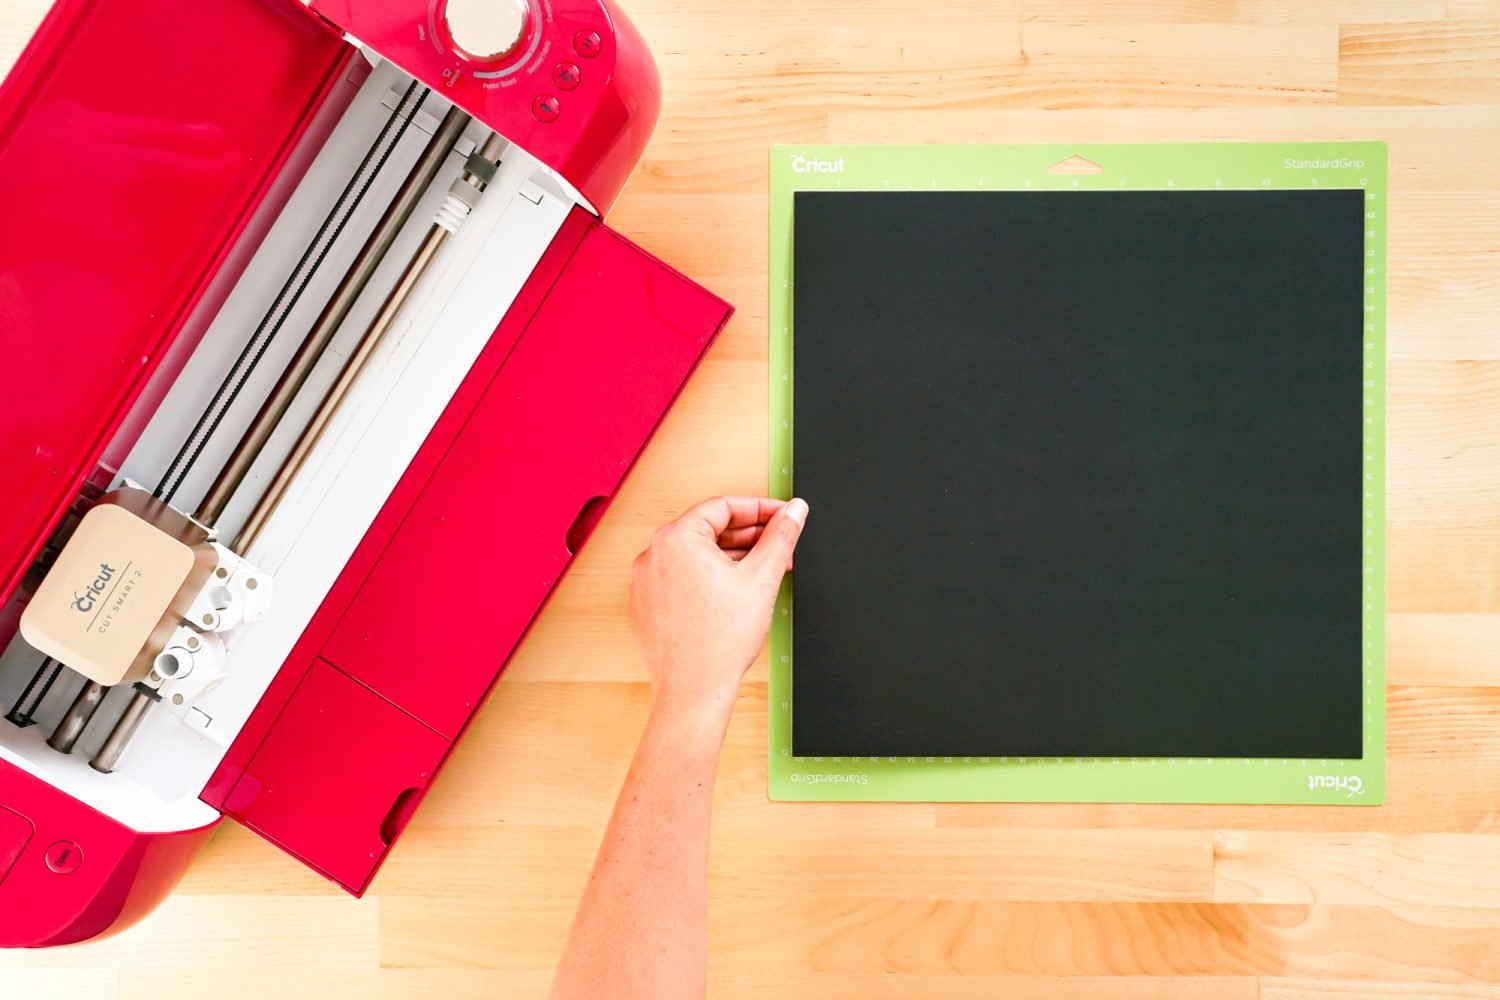
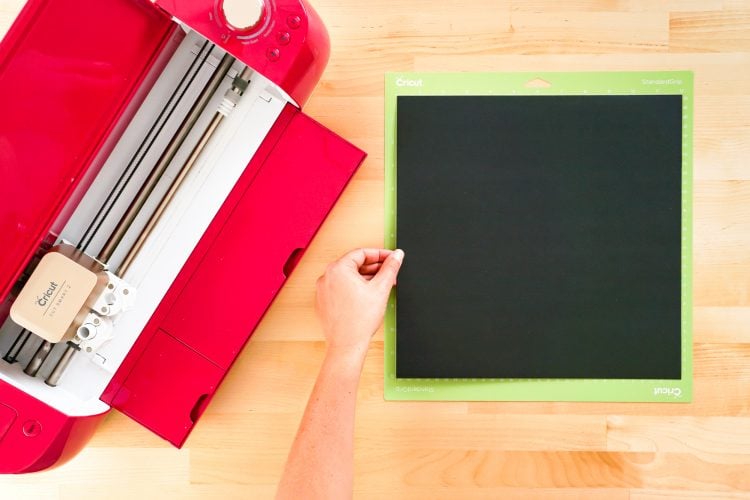
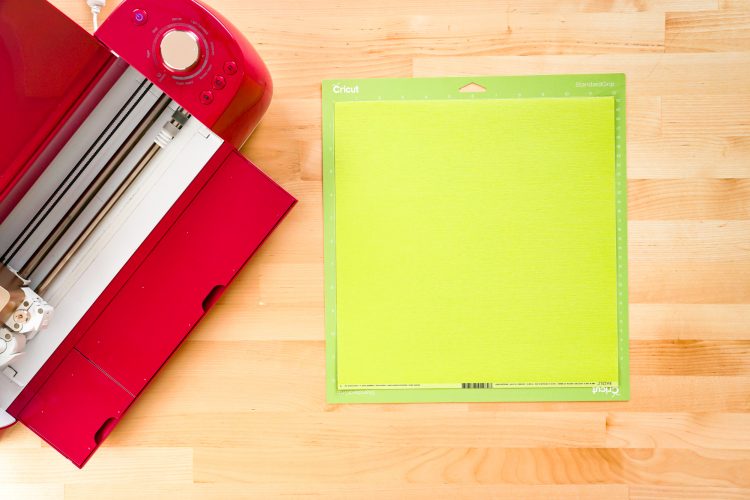
Then place the black cardstock on the cutting mat.
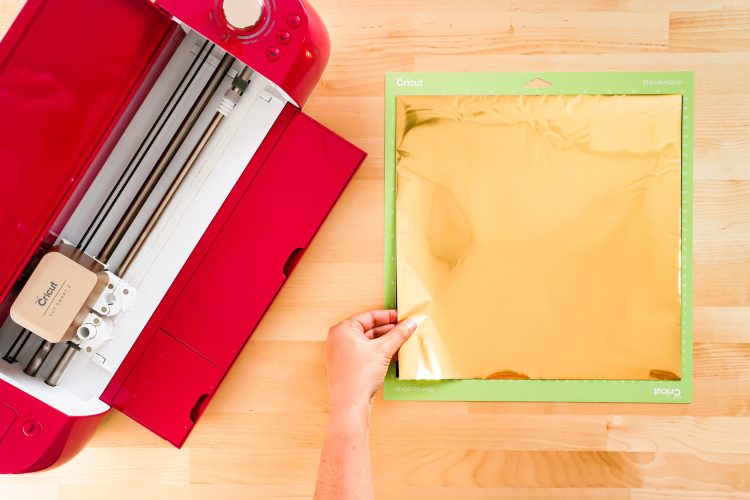
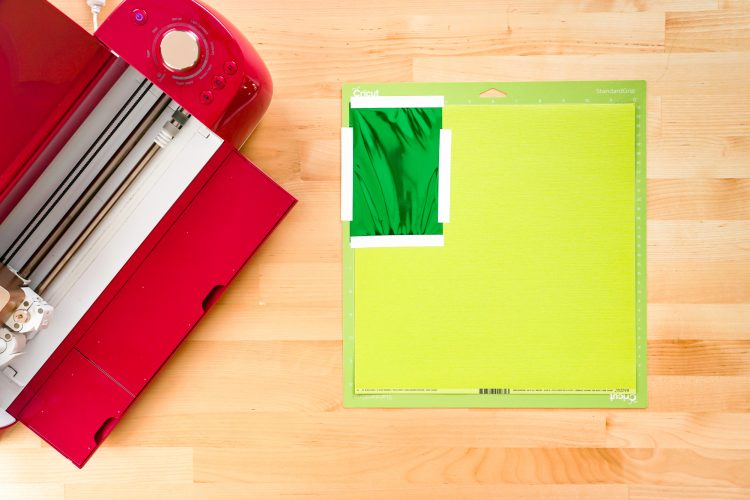
Now we’re going to tape the foil sheet over the black cardstock. Use the tape provided in the Cricut Foil Transfer Kit on each edge. Your foil doesn’t have to be perfectly smooth—just do your best.
You can cut your foil sheet down to size if you’d like but I actually have found that it’s easier to cover the whole sheet. I was actually able to make all four images in this set by rotating the foil and reusing the tape! Just be careful when you peel it up and you’ll be able to use it again.
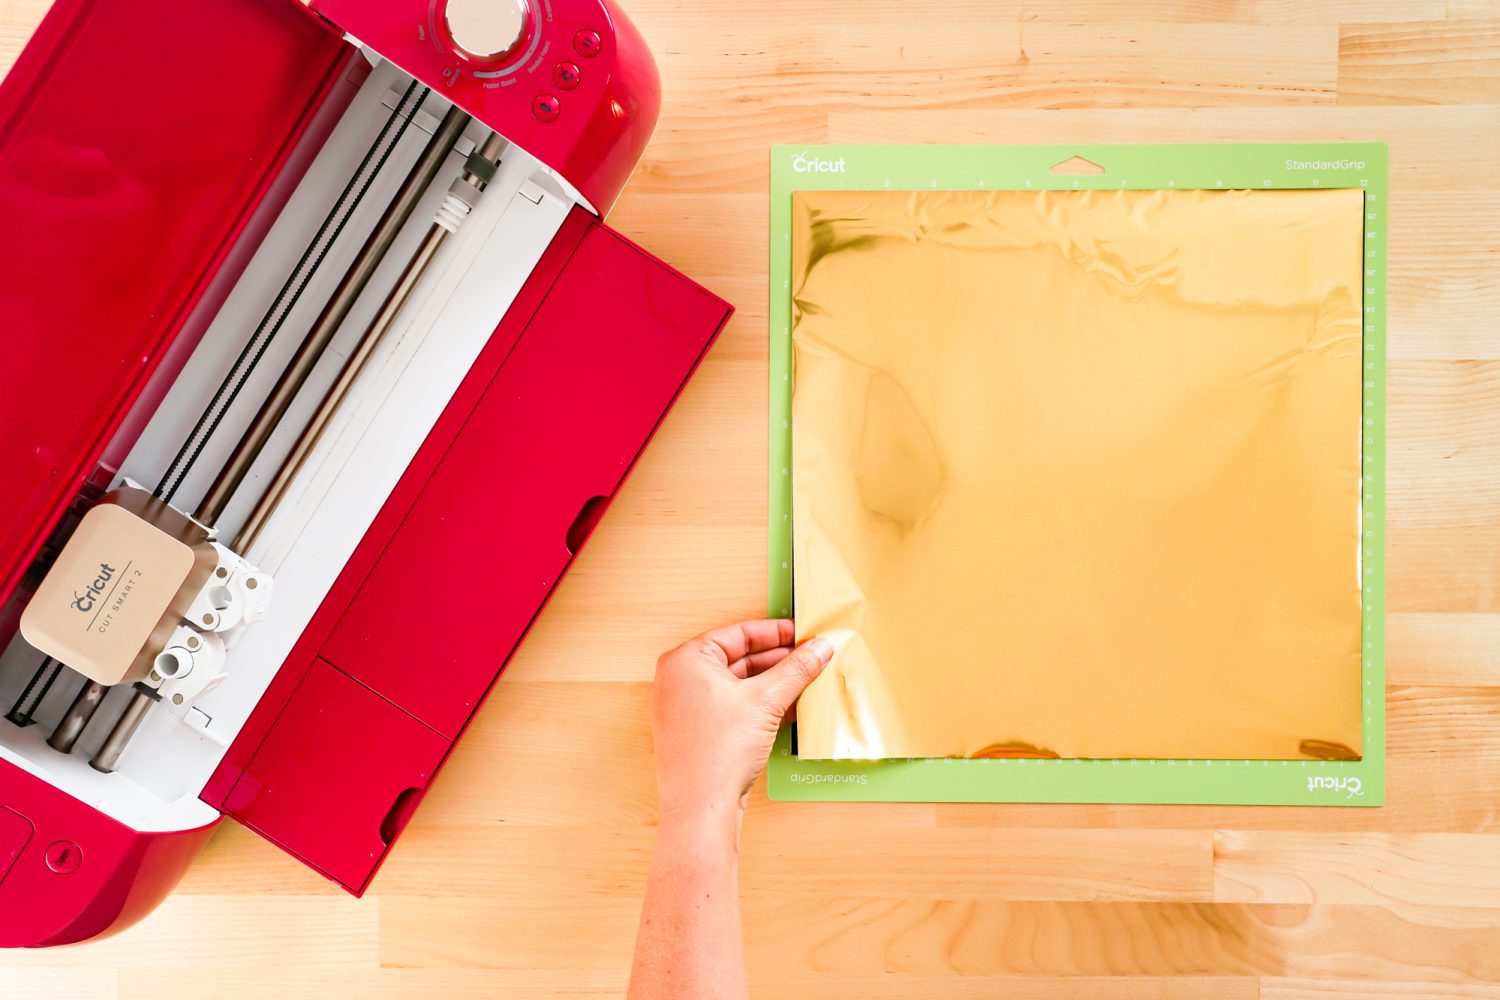
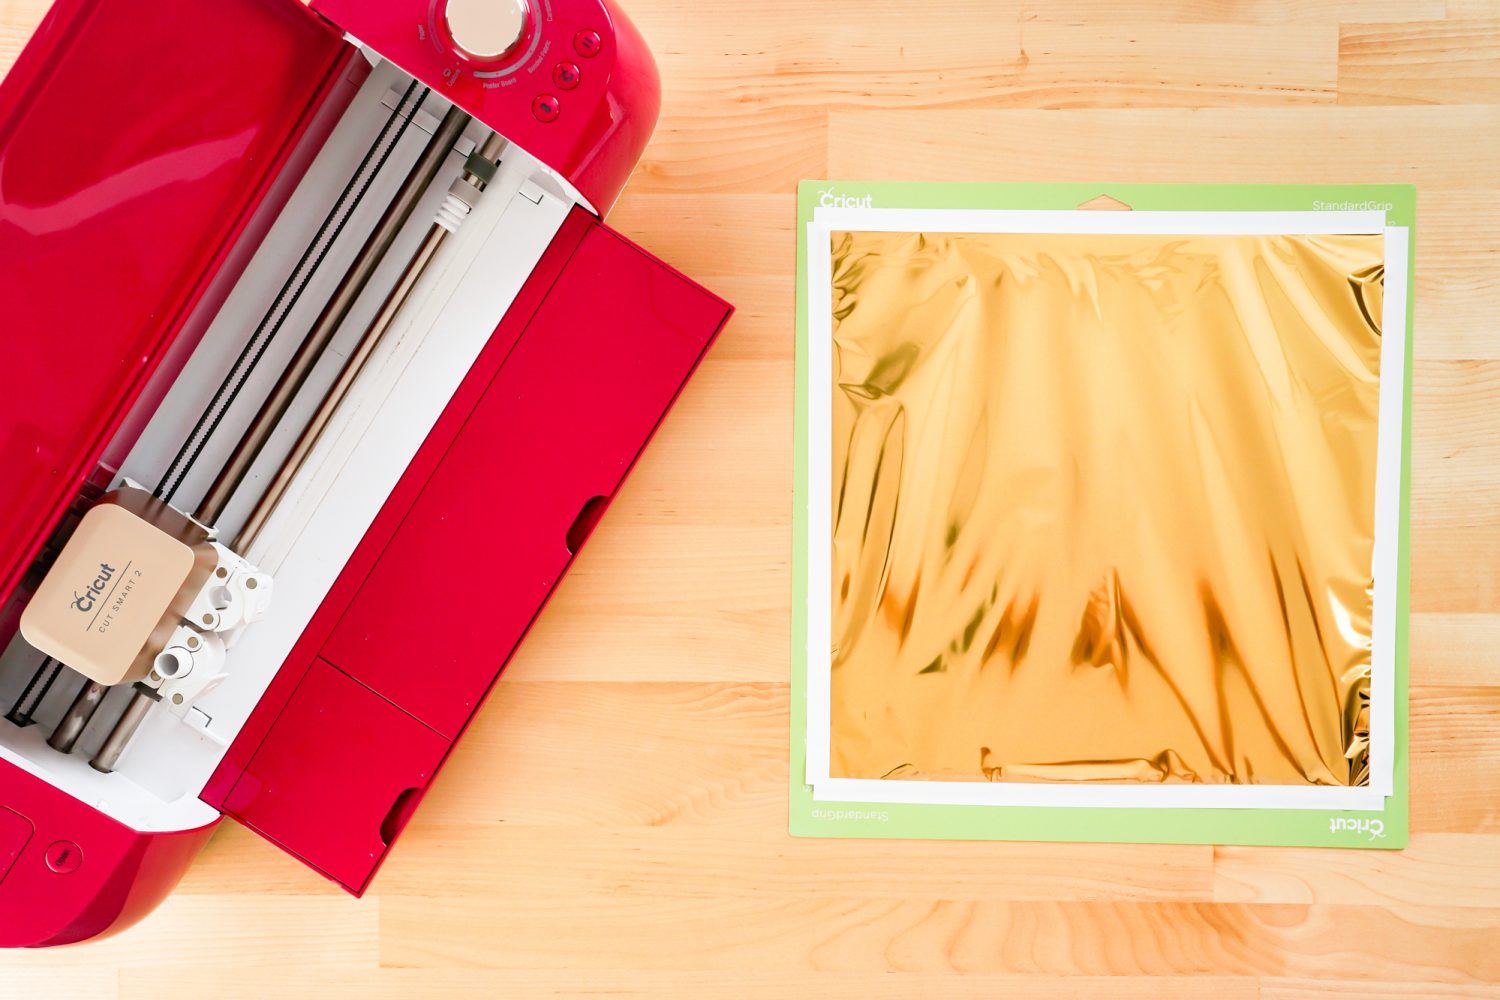
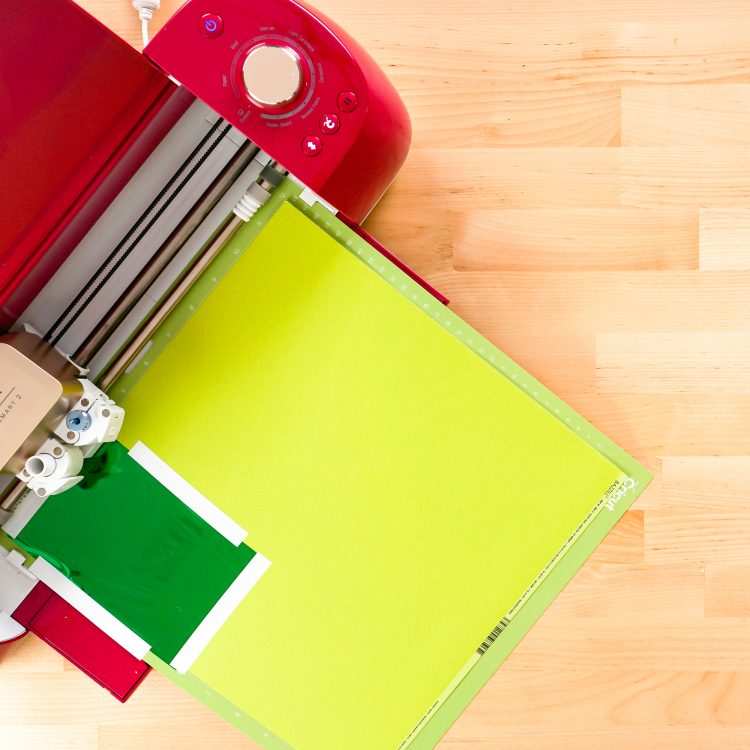
Then insert your mat into your machine and make sure you have the Foil Transfer Tool inserted into Clamp B.

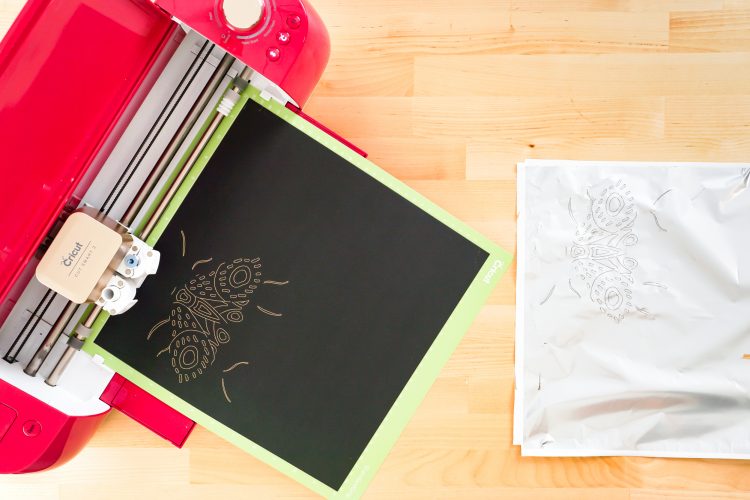
Once you’re all ready to go, click the flashing C on your Cricut, and your Cricut machine will foil the project.
Cut Your Cardstock
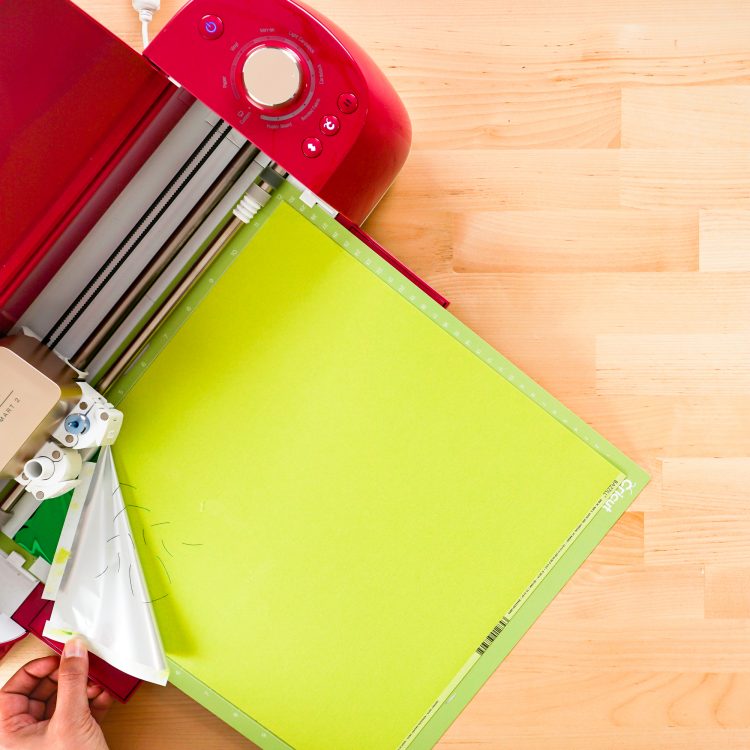
When your project is done foiling, DO NOT remove the mat. Instead, carefully peel up the tape around your project, making sure not to pull up the cardstock as you peel. Like I said above, if you are careful you can keep this foil and tape and use the non-used parts on other projects. Much less waste!

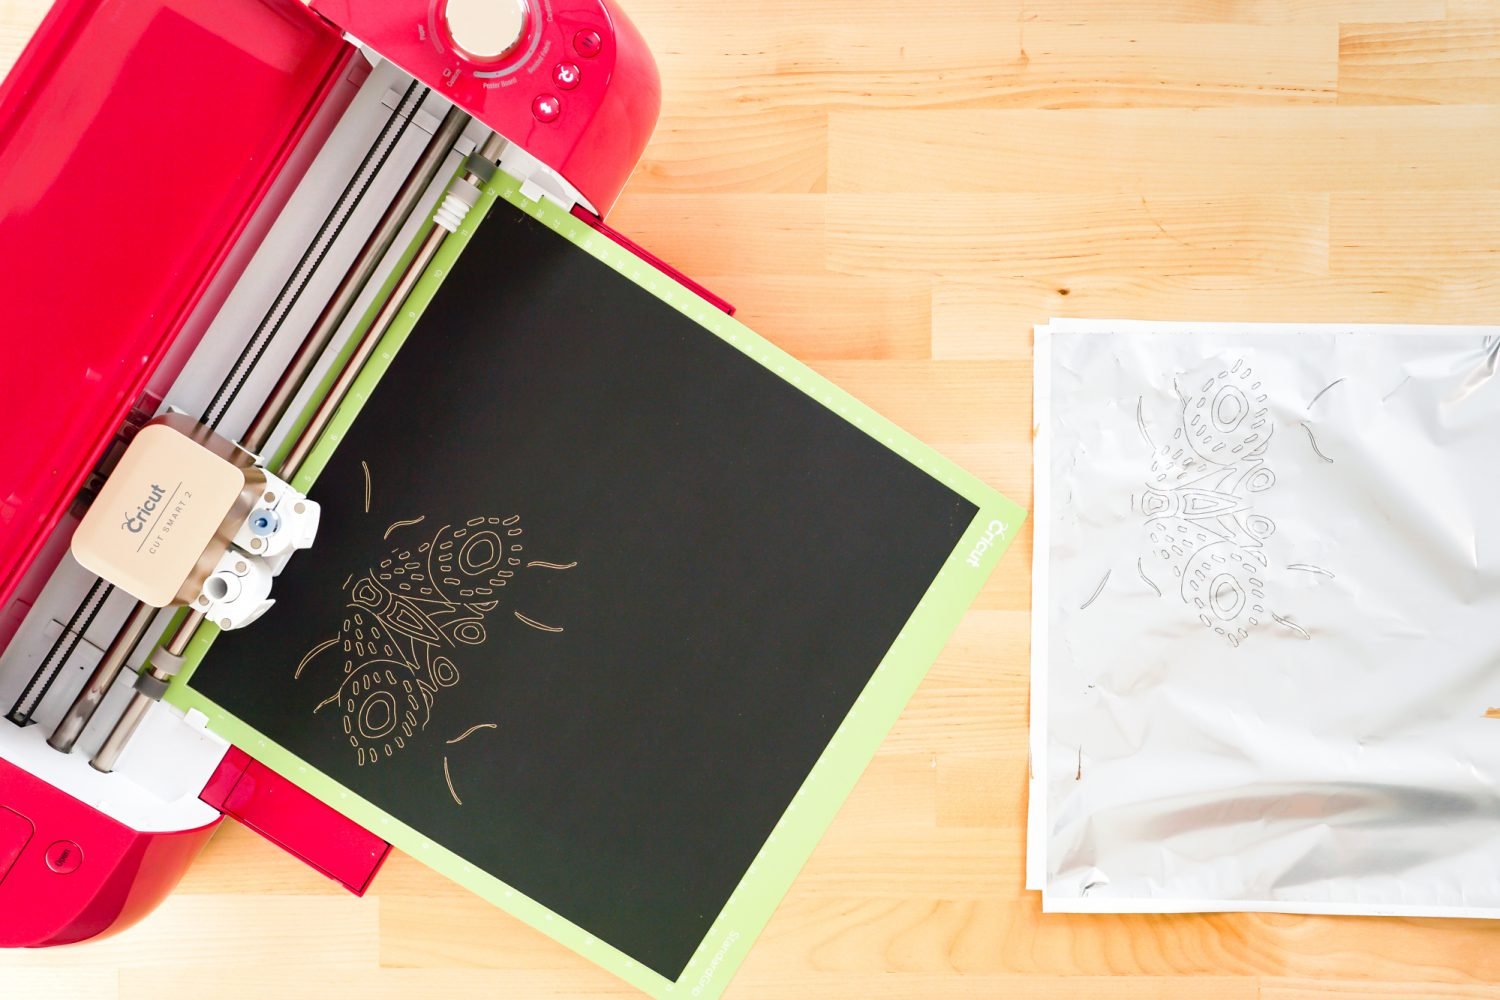
Then switch out your Foil Transfer Tool for the regular Fine Point blade and click the flashing C, and your Cricut will cut around the edge of your image.

Carefully peel your mat away from your project. Learn more about removing materials from Cricut mats.
Continue and cut out your colored square in cardstock. For the white cardstock, I didn’t cut this on my Cricut at all—I just used a 12″ x 12″ piece that fit perfectly in my frame.
Assemble Your Artwork
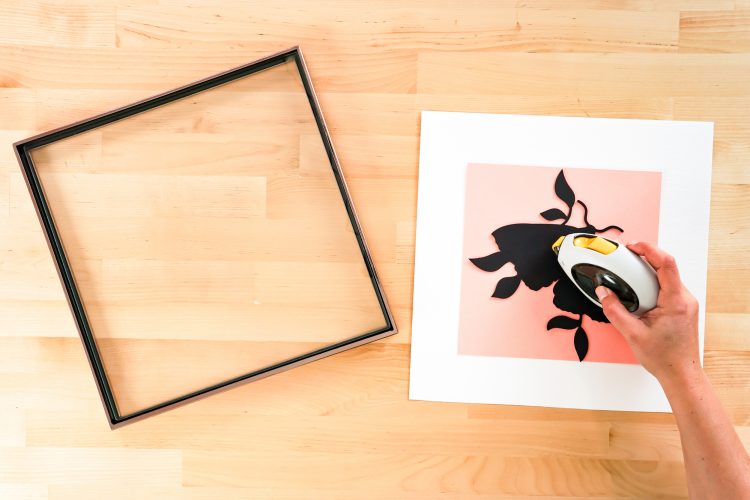
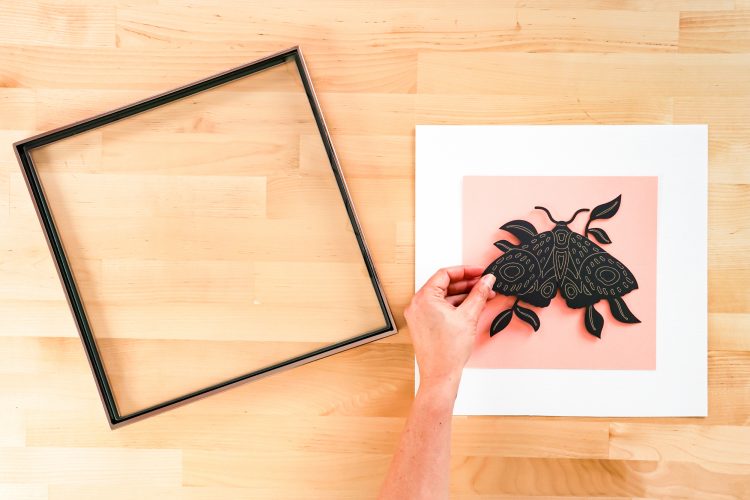
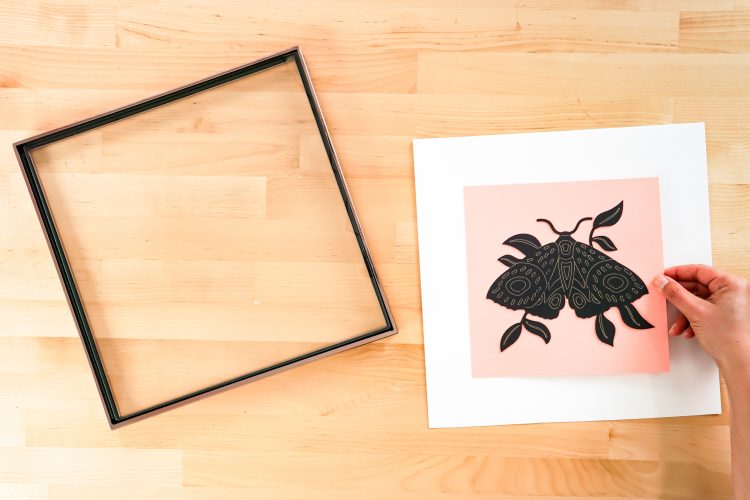
Now it’s time to assemble your artwork. You can use double-sided tape to glue your moth cutout to the colored square and the colored square to the white square.
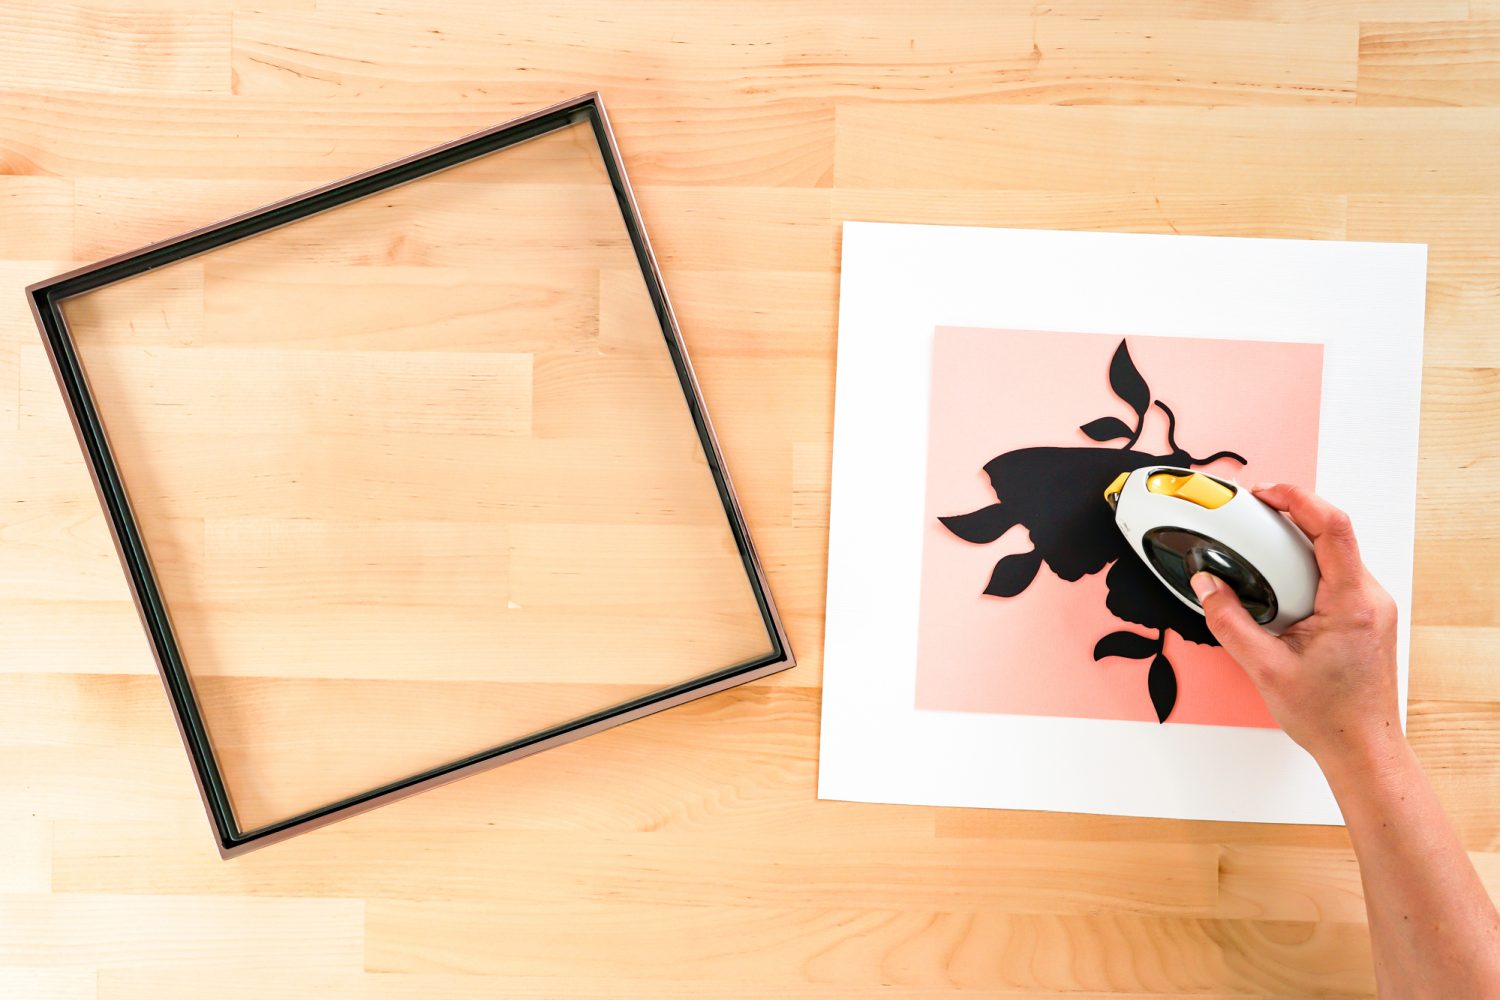
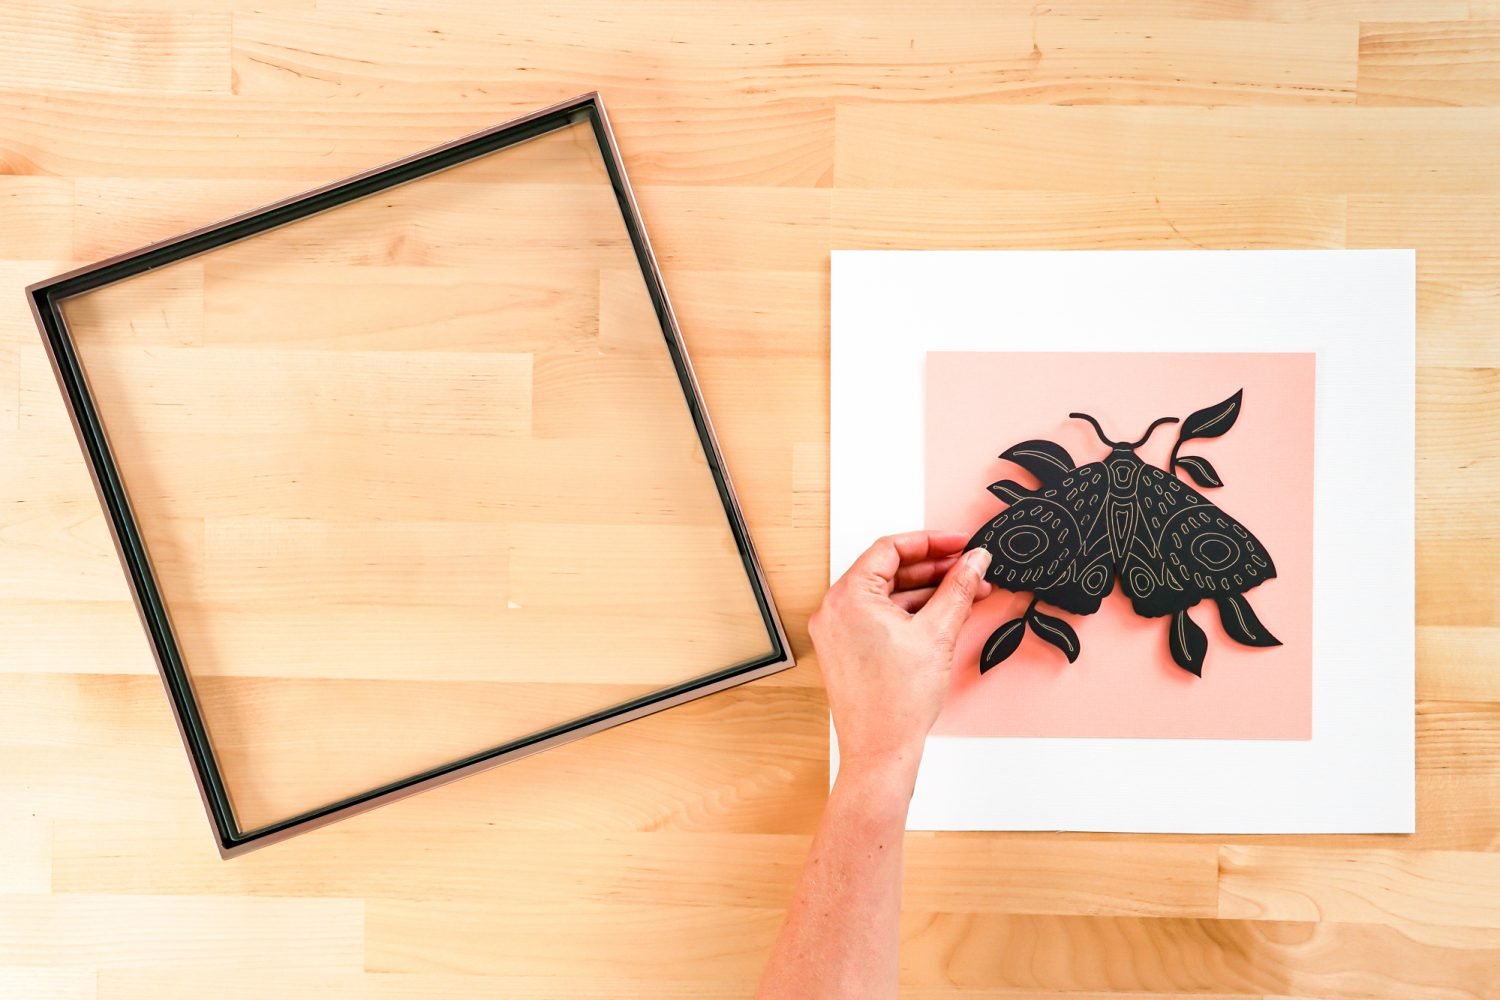
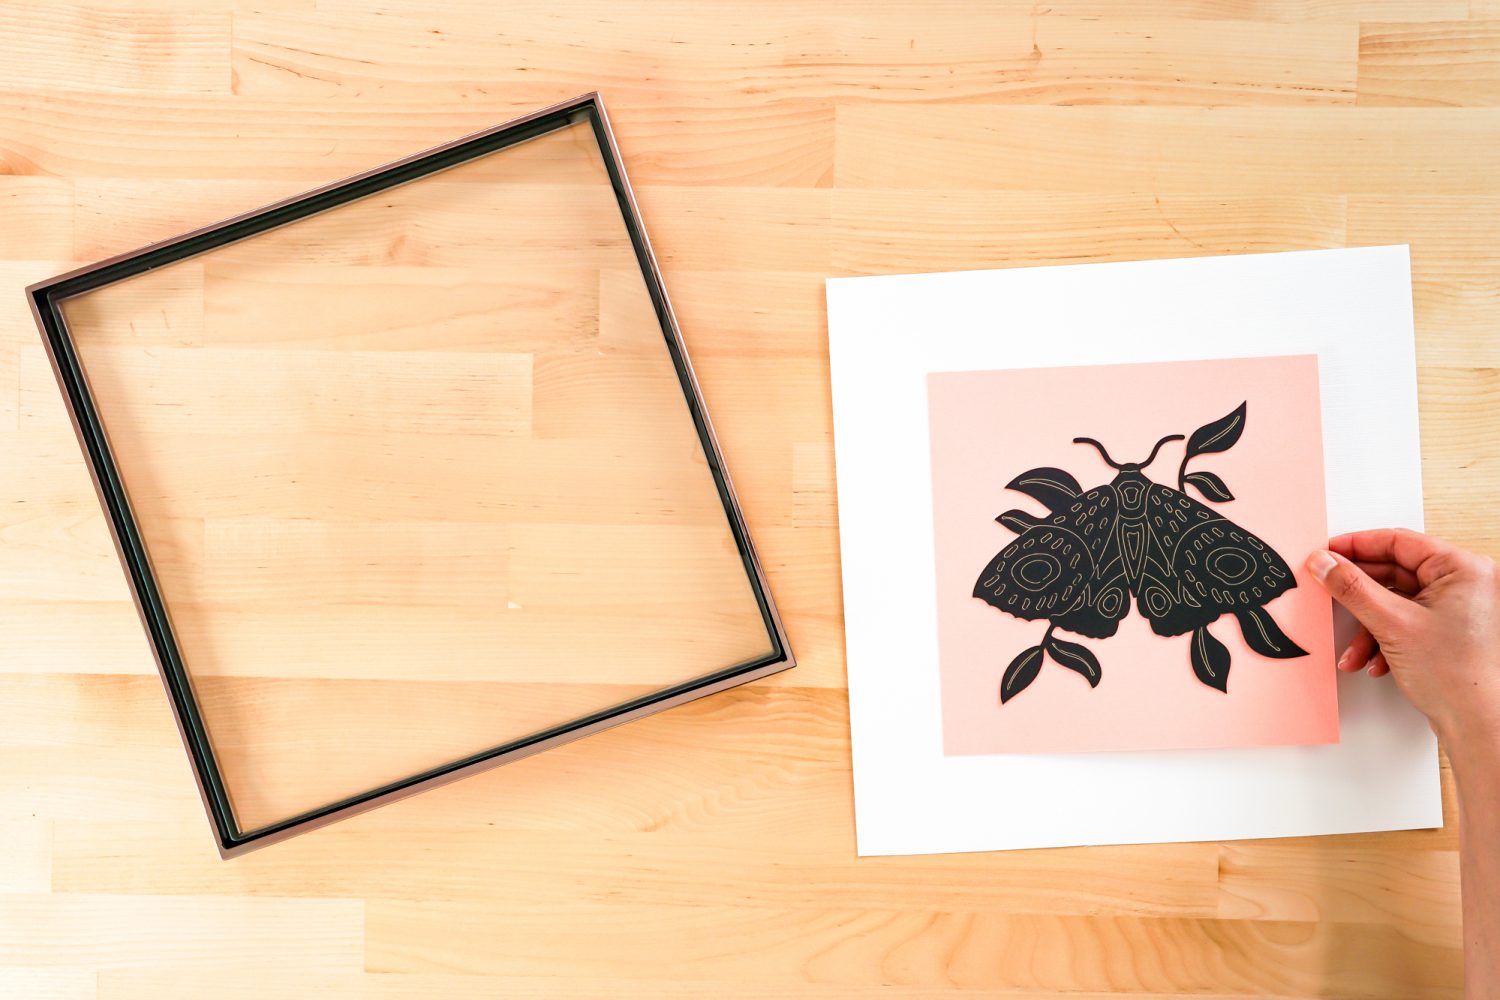
Reassemble your frame and your artwork is ready to display!
How to Foil a Paper Plant with a Cricut
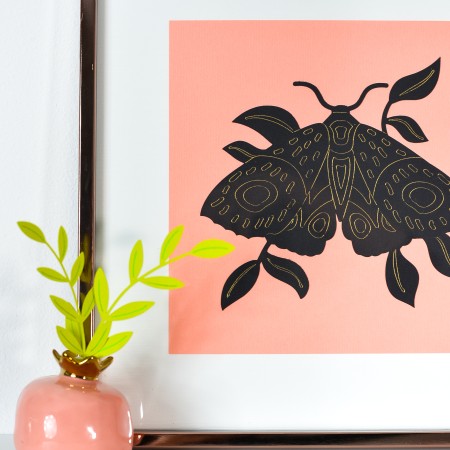
The next project is more simple, but I think it’s a cute way to add a pop of color to your shelf or desk. I also like how it pairs with the prints above, and it was fun to try out the emerald Cricut foil!

Foiled Paper Plant Supplies
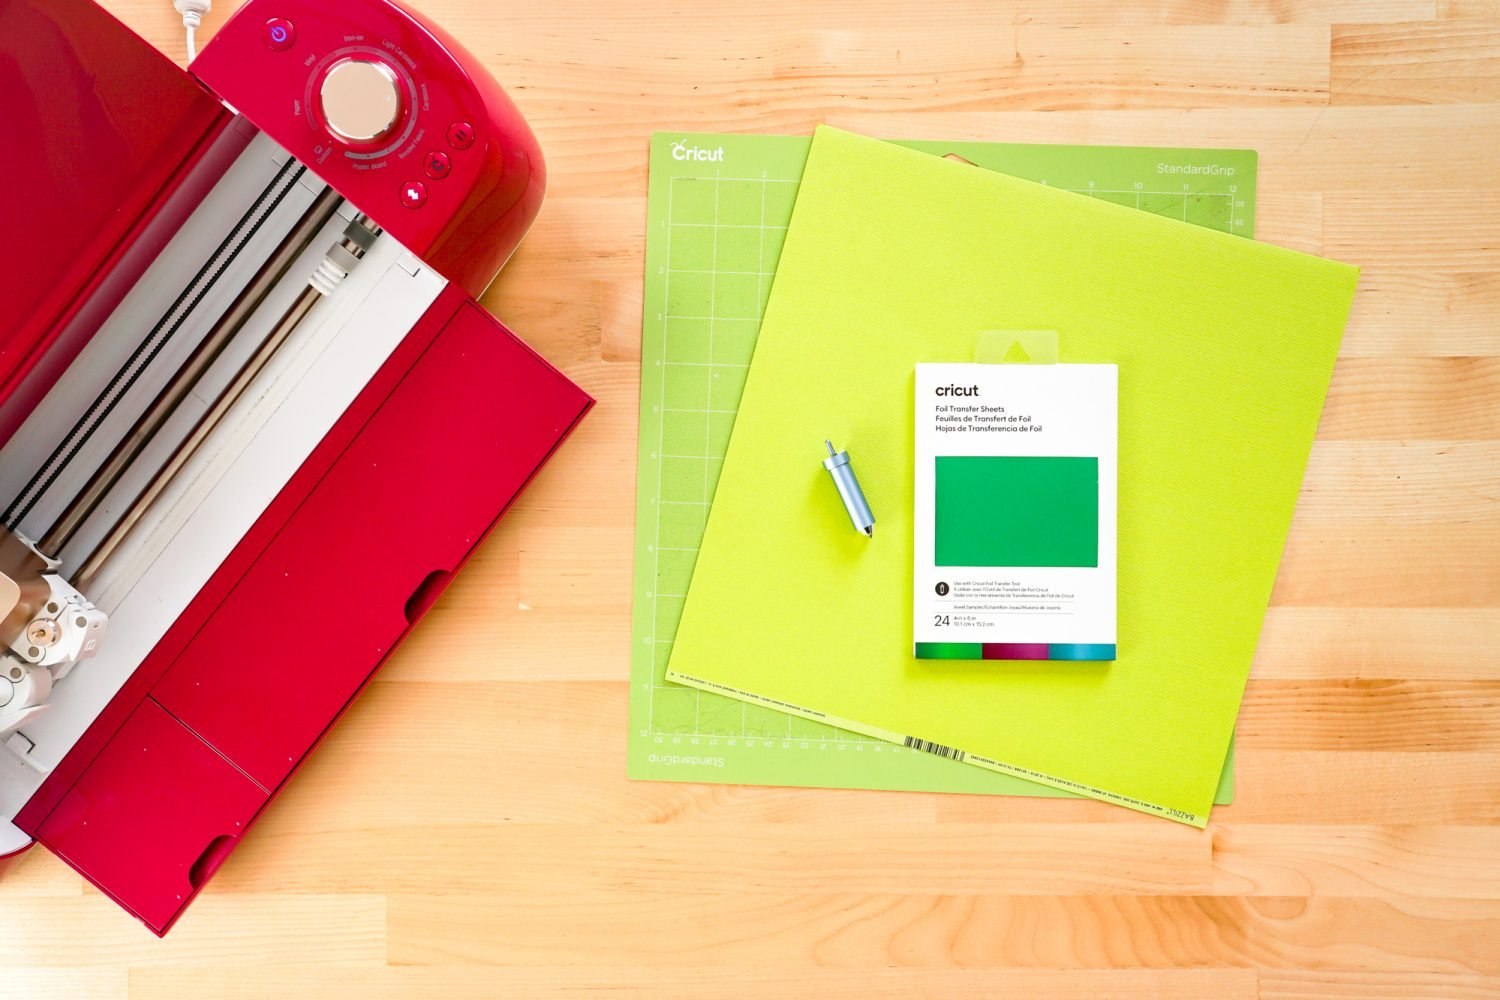
- Cricut Explore or Cricut Maker
- Blue LightGrip or Green StrongGrip mat
- Cricut Foil Transfer Tool
- 4″ x 6″ Cricut Foil in Emerald + included tape
- Green cardstock
- Bud vase
- Cricut Design Space File
Foiled Paper Plant Instructions
Start in Cricut Design Space
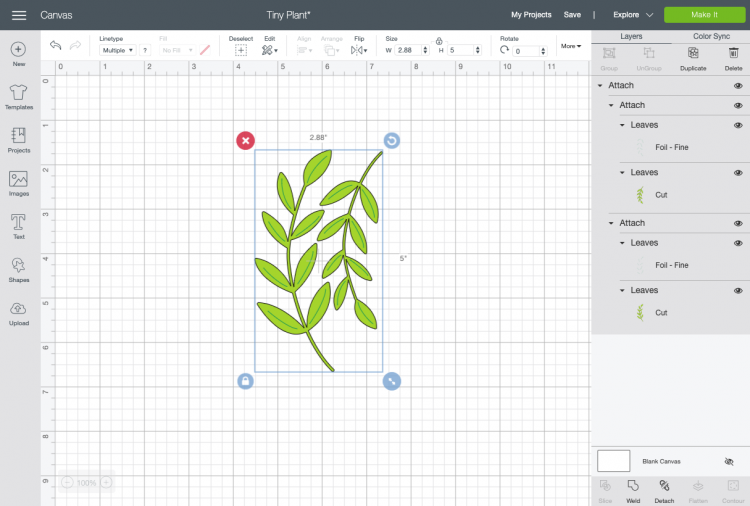
Open the Cricut Design Space file for this artwork. I’ve sized this artwork to fit perfectly with a 4″ x 6″ sheet of foil. It’s all ready to go, so click Make It in the upper right.
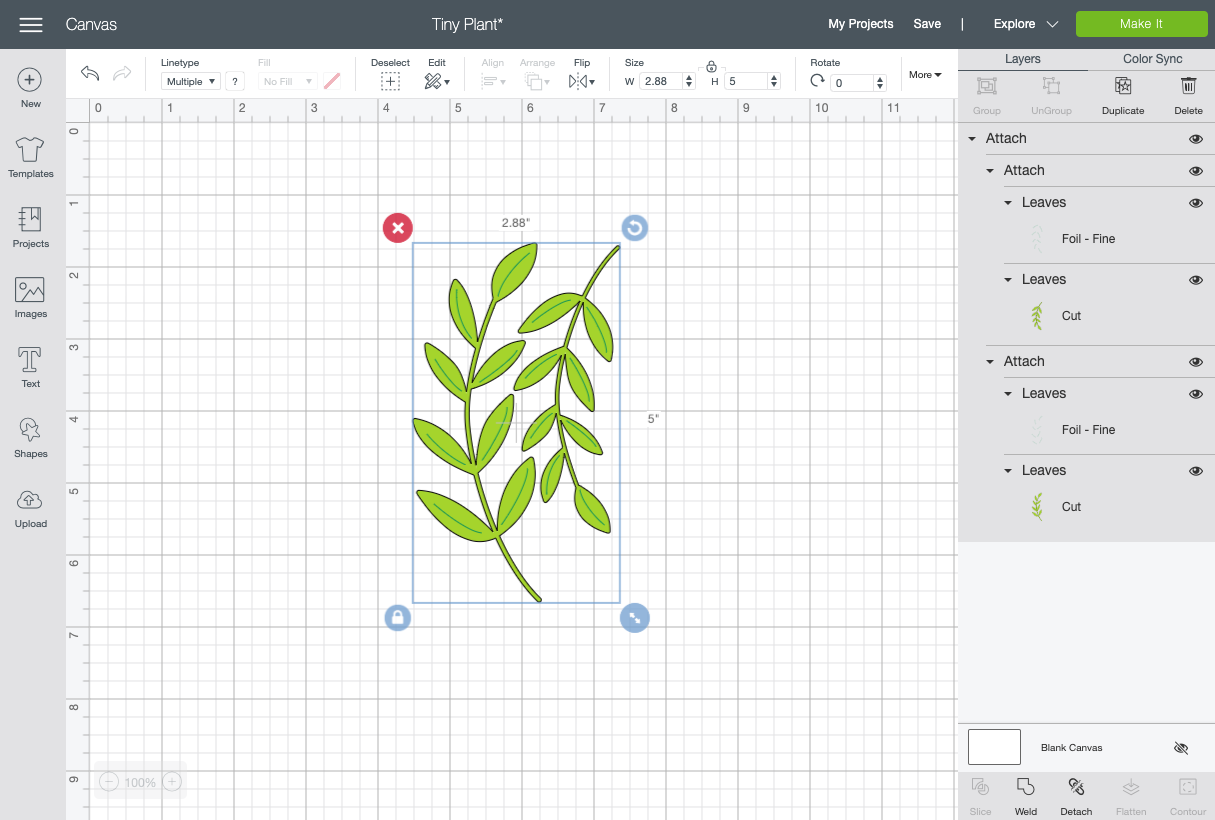
In the Prepare Screen, you’ll see that the foiled layer is attached to the green cardstock layer. Click Continue.
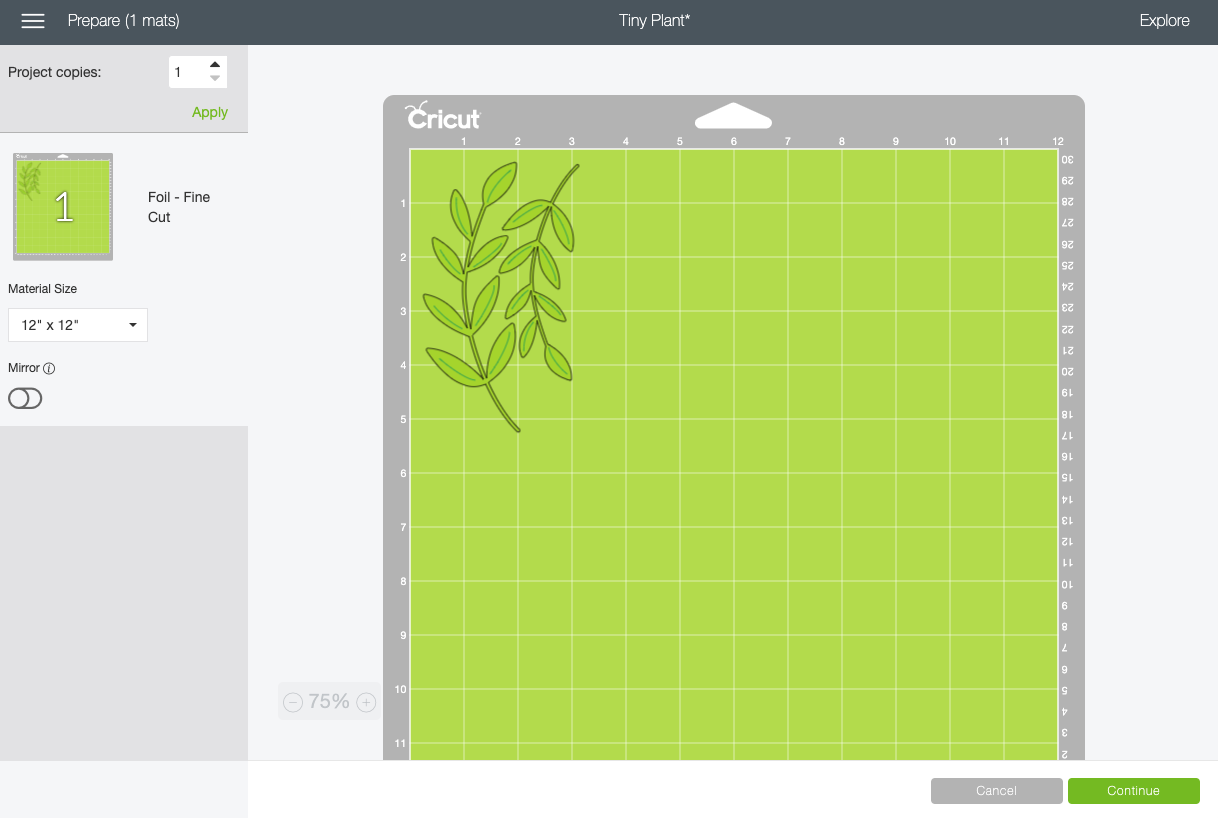
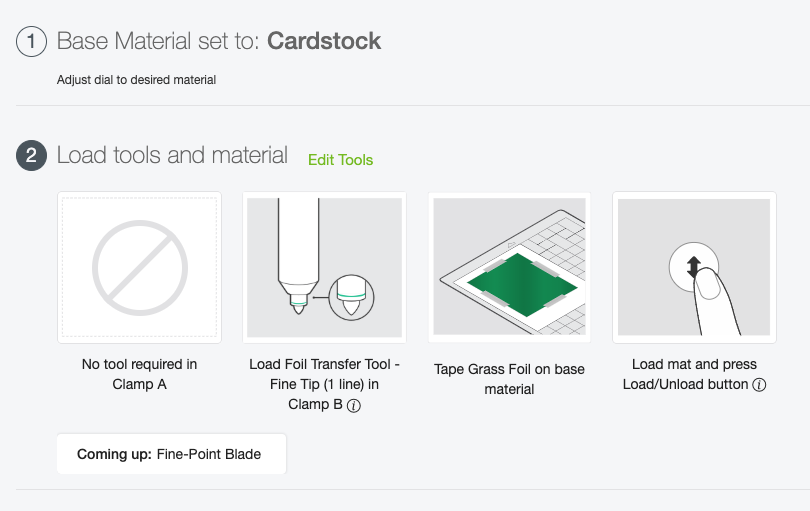
Like with the artwork, Cricut Design Space will ask you what type of material you are using—select the base material. In my case, cardstock. It will then give you a series of instructions. Load the Foil Transfer Tool, tape the green foil on your cardstock, and load your mat.
Foil Your Project
Place the green cardstock on the cutting mat.
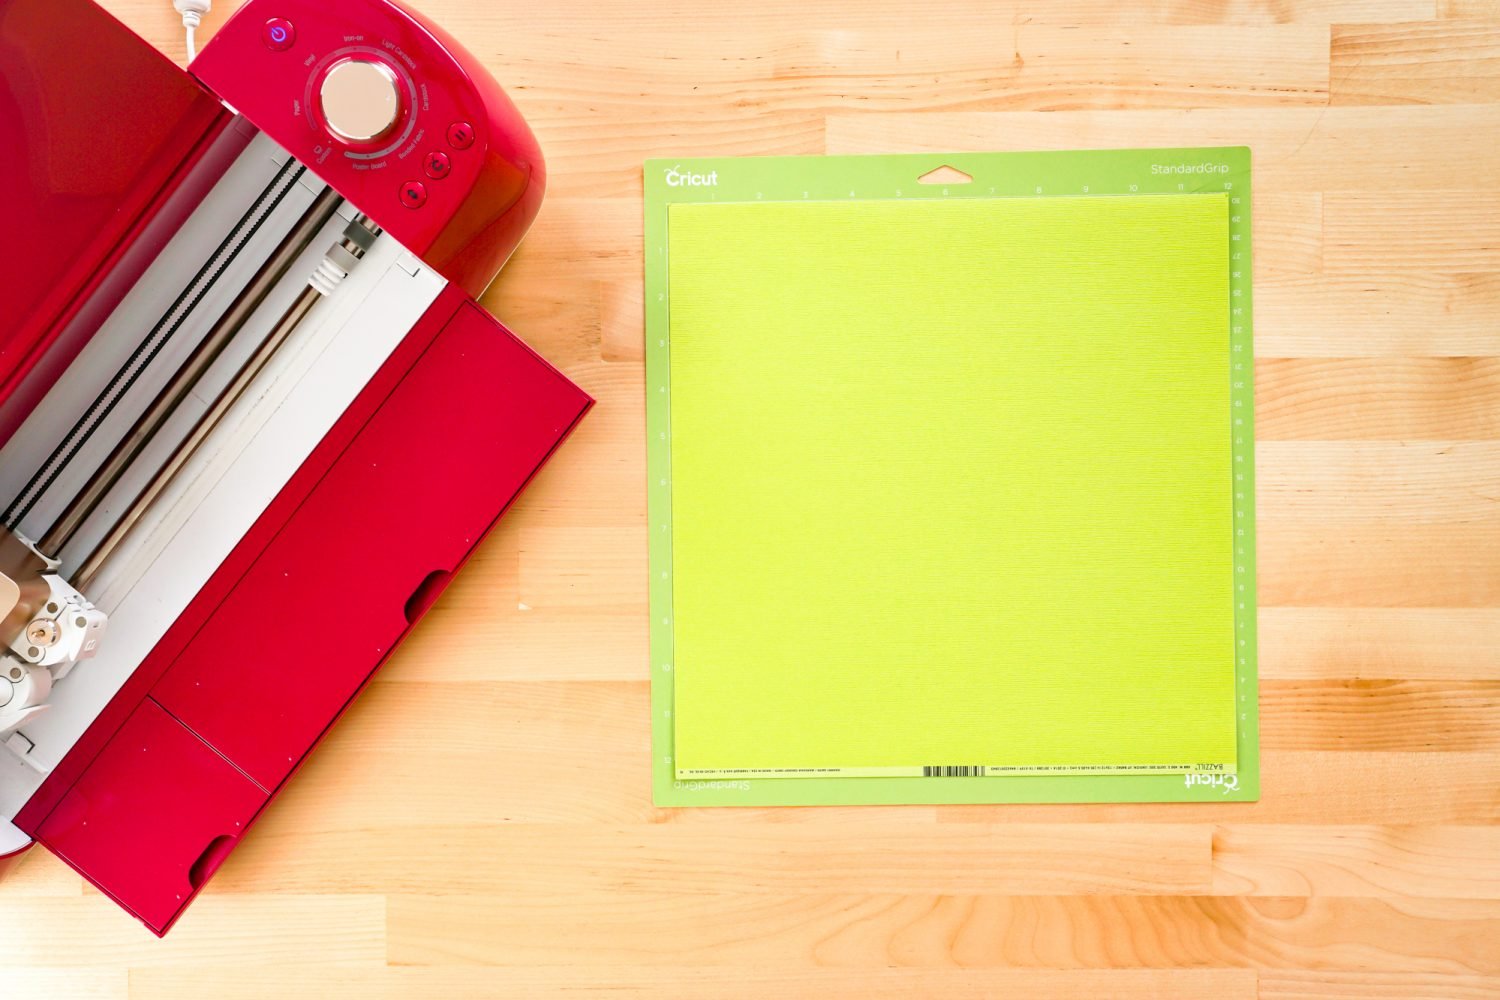
Now we’re going to tape the foil sheet over the green cardstock, this time using the 4″ x 6″ size sheet. Use the tape provided in the Cricut Foil Transfer Kit on each edge.
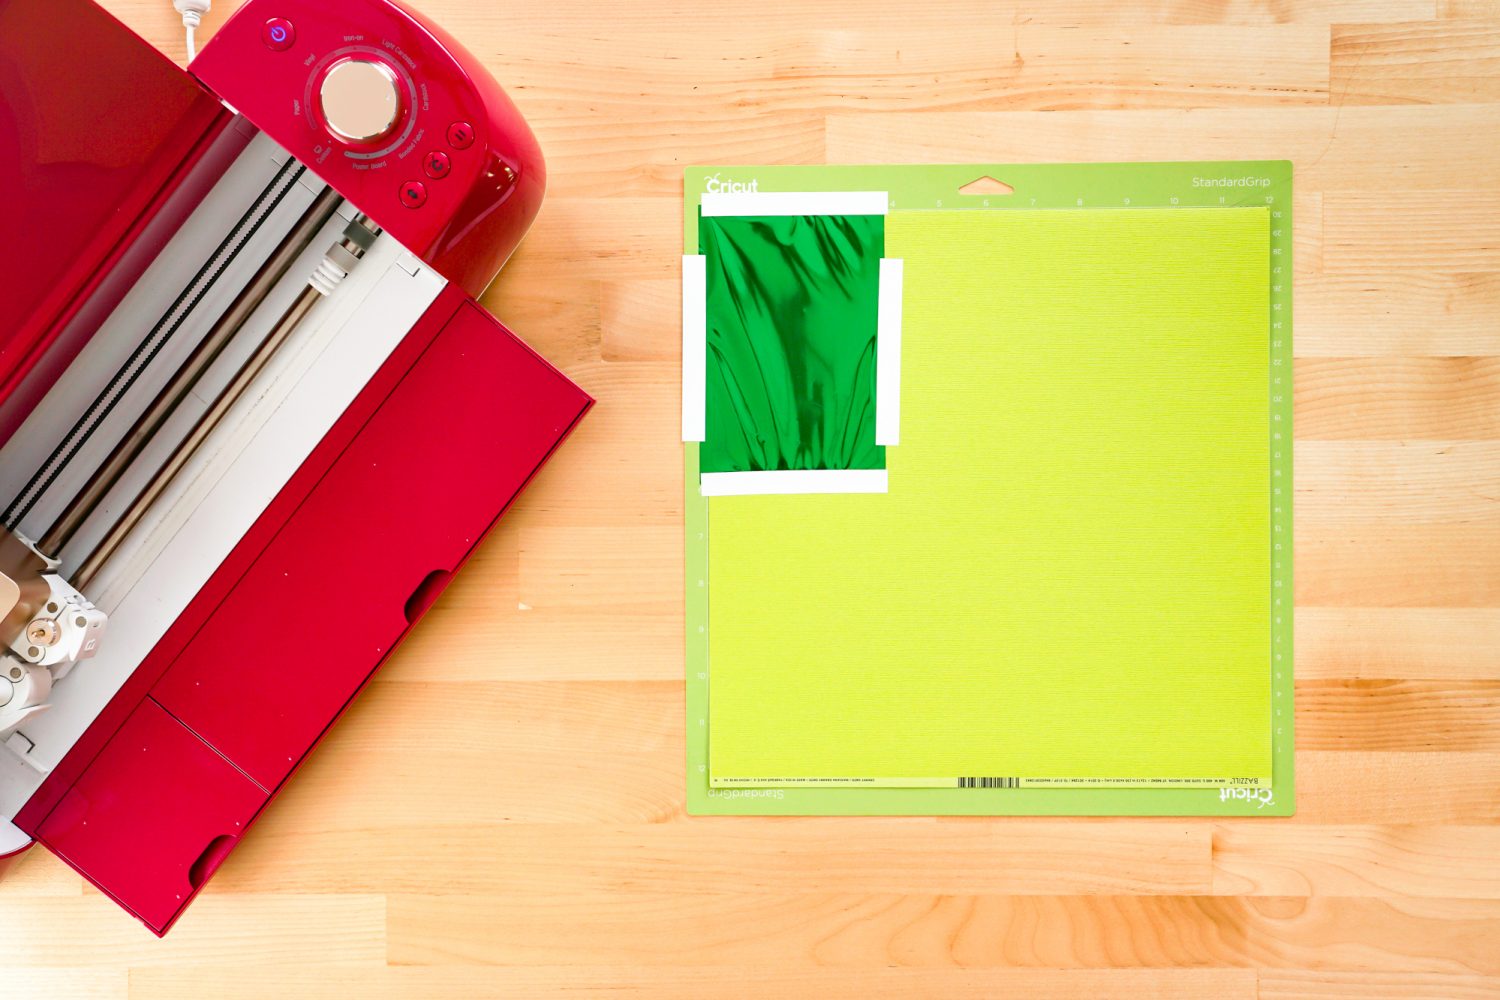
Then insert your mat into your machine and make sure you have the Foil Transfer Tool inserted into Clamp B.
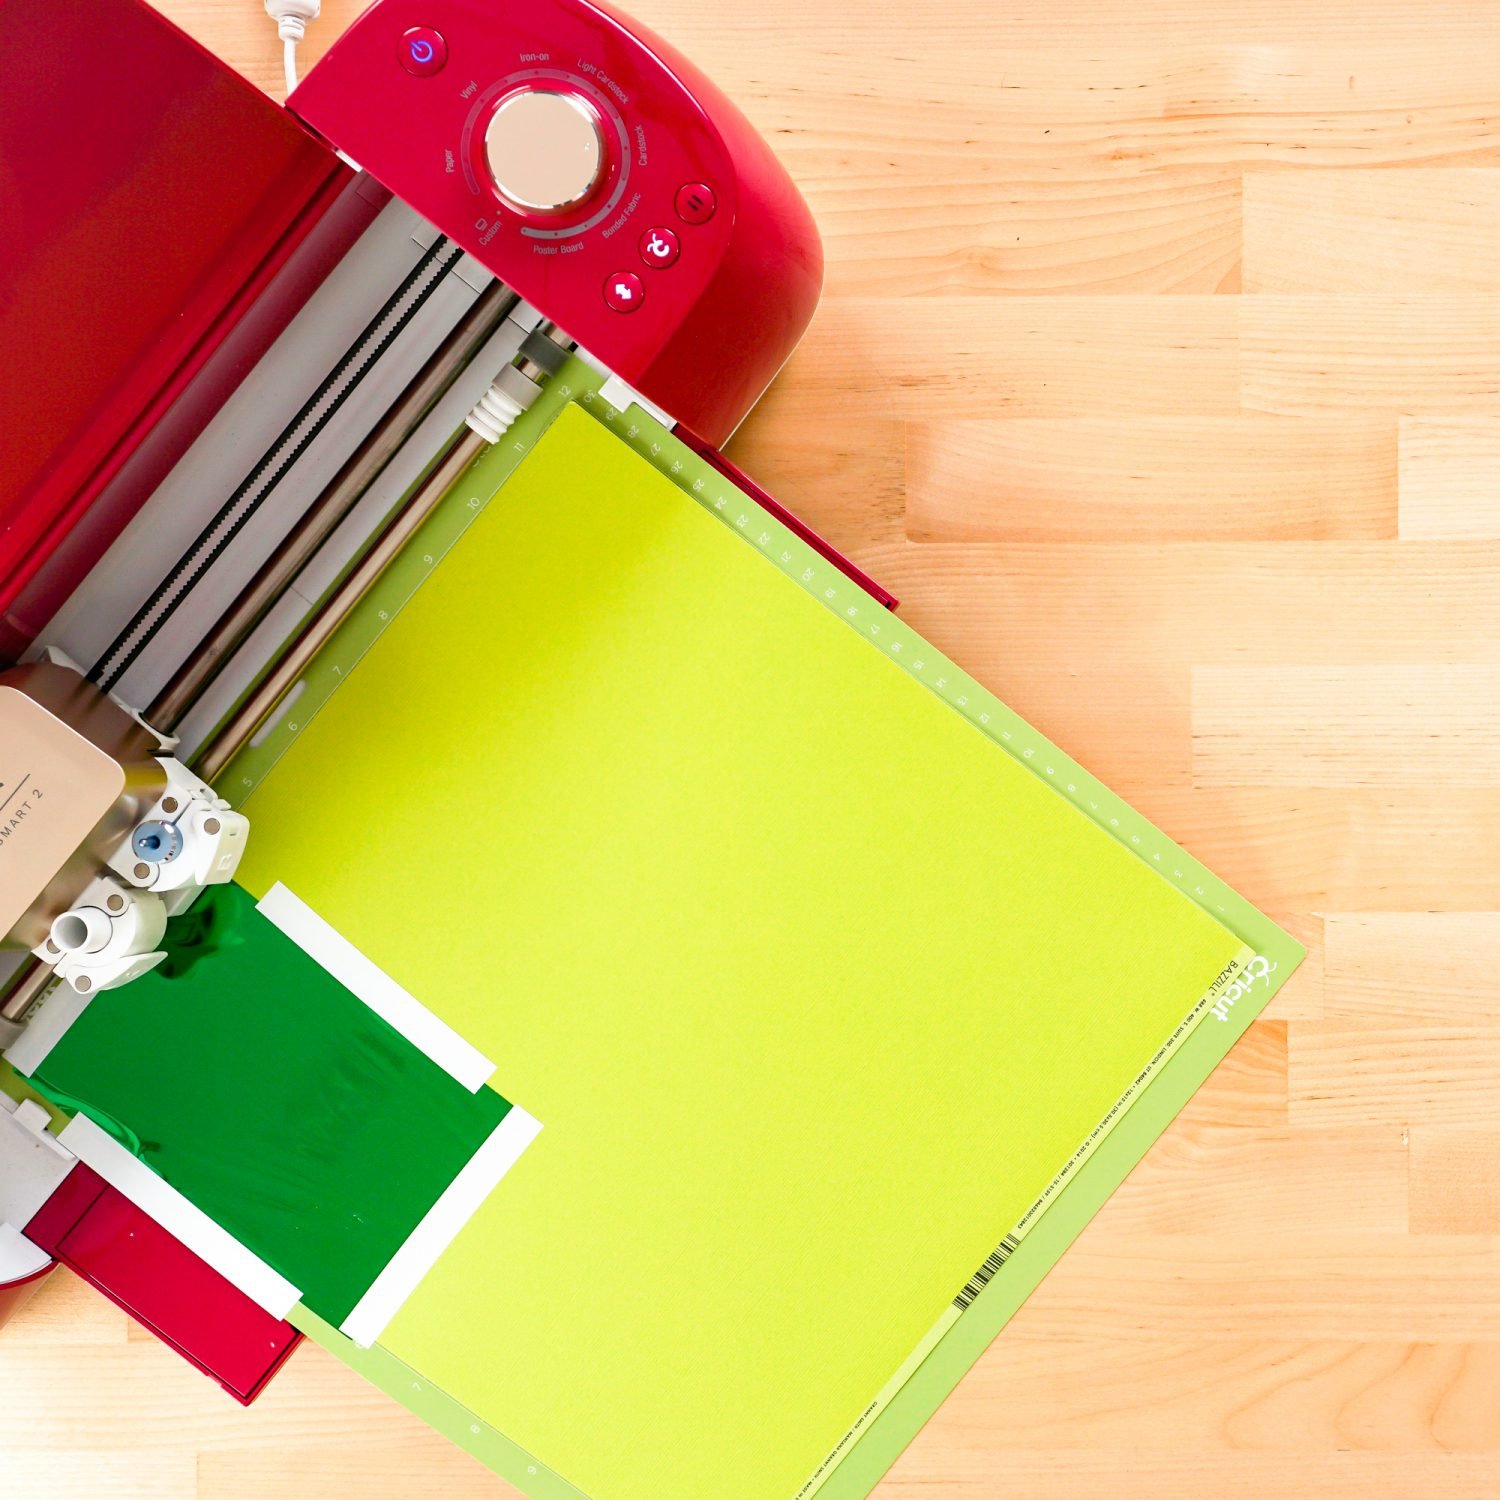
Once you’re all ready to go, click the flashing C on your Cricut, and your Cricut machine will foil the project.
Cut Your Cardstock
When your project is done foiling, DO NOT remove the mat. Instead, carefully peel up the tape around your project, making sure not to pull up the cardstock as you peel.

Then switch out your Foil Transfer Tool for the regular Fine Point blade and click the flashing C, and your Cricut will cut around the edge of the plant image. Carefully peel your mat away from your project, put in a cute little bud vase, and display!

I am absolutely in LOVE with both of these projects. I love how the Cricut Foil Transfer System adds a bit of glam and elegance to my projects, but I can still make them fun and bright like I love.
Have questions? I’d love to answer them in the comments!
HOW TO FOIL WITH THE CRICUT FOIL TRANSFER SYSTEM
Supplies
- 12" x 12" Cricut Foil in Gold + included tape
- Black cardstock
- Pink cardstock (or other color if you'd prefer)
- White cardstock
- 12" x 12" frames
- Cricut Design Space File
Instructions
- Foiled Entomological Artwork InstructionsStart in Cricut Design SpaceOpen the Cricut Design Space file for this artwork. There are four different versions for you—a moth, a bee, a dragonfly, and a beetle. These have been specifically designed to work perfectly with the Cricut Foil Transfer System!

- To simplify these instructions, three of the images are going to be hidden, and we will work with the moth only. Making the three other images is the same process. Click Make It in the upper right.In the next screen, you'll see the moth image attached to the black layer to cut on black cardstock. Then a separate cut for the colored square. Click Continue.

- Finally, Cricut Design Space will ask you what type of material you are using—select the base material. In this case, cardstock. It will then give you a series of instructions. Load the Foil Transfer Tool, tape the gold foil on your cardstock, and load your mat. Let's take a look at those steps in more detail.

- Foil Your ProjectBefore you cut, start by sliding the white star wheels of your Cricut Explore or Maker all the way to the right. This will help them from imprinting foil onto your image.

- Then place the black cardstock on the cutting mat.

- Now we're going to tape the foil sheet over the black cardstock. Use the tape provided in the Cricut Foil Transfer Kit on each edge. Your foil doesn't have to be perfectly smooth—just do your best.You can cut your foil sheet down to size if you'd like but have found that it's easier to cover the whole sheet. For this project was actually able to make all four images in this set by rotating the foil and reusing the tape! Just be careful when you peel it up and you'll be able to use it again.


- Then insert your mat into your machine and make sure you have the Foil Transfer Tool inserted into Clamp B.Once you're all ready to go, click the flashing C on your Cricut, and your Cricut machine will foil the project.

- Cut Your CardstockWhen your project is done foiling, DO NOT remove the mat. Instead, carefully peel up the tape around your project, making sure not to pull up the cardstock as you peel. As said above, if you are careful you can keep this foil and tape and use the non-used parts on other projects. Much less waste!


- Then switch out your Foil Transfer Tool for the regular Fine Point blade and click the flashing C, and your Cricut will cut around the edge of your image.Carefully peel your mat away from your project. Learn more about removing materials from Cricut mats.Continue and cut out your colored square in cardstock. For the white cardstock, it wasn't cut on the Cricut at all—a 12" x 12" piece was used that fit perfectly in the frame.

- Assemble Your ArtworkNow it's time to assemble your artwork. You can use double-sided tape to glue your moth cutout to the colored square and the colored square to the white square.


- Reassemble your frame and your artwork is ready to display!

HOW TO FOIL A PAPER PLANT
Equipment
Supplies
Instructions
- Start in Cricut Design SpaceOpen the Cricut Design Space file for this artwork. This artwork is sized to fit perfectly with a 4" x 6" sheet of foil. It's all ready to go, so click Make It in the upper right.

- In the Prepare Screen, you'll see that the foiled layer is attached to the green cardstock layer. Click Continue.

- Like with the artwork, Cricut Design Space will ask you what type of material you are using—select the base material. In this case, cardstock. It will then give you a series of instructions. Load the Foil Transfer Tool, tape the green foil on your cardstock, and load your mat.

- Foil Your ProjectPlace the green cardstock on the cutting mat.

- Now we're going to tape the foil sheet over the green cardstock, this time using the 4" x 6" size sheet. Use the tape provided in the Cricut Foil Transfer Kit on each edge.

- Then insert your mat into your machine and make sure you have the Foil Transfer Tool inserted into Clamp B.Once you're all ready to go, click the flashing C on your Cricut, and your Cricut machine will foil the project.

- Cut Your CardstockWhen your project is done foiling, DO NOT remove the mat. Instead, carefully peel up the tape around your project, making sure not to pull up the cardstock as you peel.

- Then switch out your Foil Transfer Tool for the regular Fine Point blade and click the flashing C, and your Cricut will cut around the edge of the plant image. Carefully peel your mat away from your project, put in a cute little bud vase, and display!









Comments & Reviews
Julie says
HI,
Very cute project! I just started with the foil transfer kit so I have a quick question. When I change the image to foil from cut, it includes the outline of the image to be foiled, but in your images, the outline isn’t foiled. How did you do that? Thanks!
Crystal Summers says
Hi Julie,
Be sure you have the image you’d like to foil set as “foil” and the shape as “cut”. If you are creating the insect pieces, be sure the insect is set to foil. The square shape would need to be cut. It sounds like you are switching the image you foiled to “cut”. Be sure you are switching the other piece. Hope this helps!
Happy crafting!
Crystal, HLMS Community Manager
Mel Cole says
The bug work is great, and I’d love to make it. I just got the foil and tool!, I don’t see the images in cricut design space – or in your shop SVG’s
I’d appreciate if can you provide a link to the patterns,
Crystal Summers says
Hi Mel,
The entomological (bug) files can actually be found in Design Space. You can search for “moth”, “beetle”, etc and find the foil projects there!
Happy crafting!
Crystal, HLMS Community Manager
Shirl says
Two great projects to get to know the foil tool! Cannot wait to get my kit from Cricut!!!
Ernie says
Are there other foil brands that will work or must I use the Cricut brand?
Crystal Summers says
Hi Ernie,
As of now, we aren’t aware of other foils that work with the new tool, as most brands require heat instead of pressure. In her first post about the Foil Transfer System, Cori mentions that she plans to test other brands and will follow up with a future post. Here’s a link in case you missed it: https://heyletsmakestuff.com/cricut-foil-transfer-system/
Happy crafting!
Crystal, HLMS Community Manager