HOW TO FOIL A PAPER PLANT
Add shimmer and shine to your Cricut projects with the Cricut Foil Transfer System!
Equipment
Ingredients
Instructions
- Start in Cricut Design SpaceOpen the Cricut Design Space file for this artwork. This artwork is sized to fit perfectly with a 4" x 6" sheet of foil. It's all ready to go, so click Make It in the upper right.
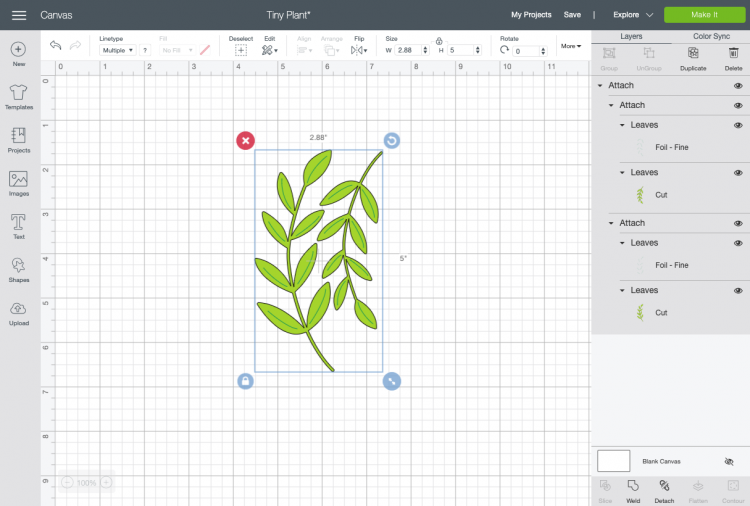
- In the Prepare Screen, you'll see that the foiled layer is attached to the green cardstock layer. Click Continue.

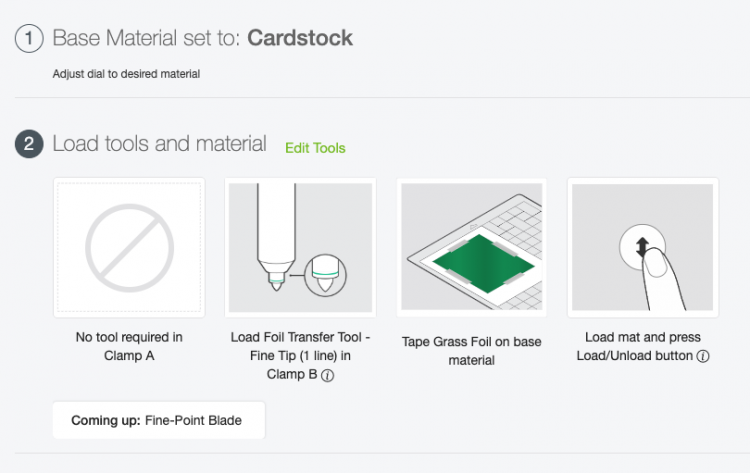
- Like with the artwork, Cricut Design Space will ask you what type of material you are using—select the base material. In this case, cardstock. It will then give you a series of instructions. Load the Foil Transfer Tool, tape the green foil on your cardstock, and load your mat.
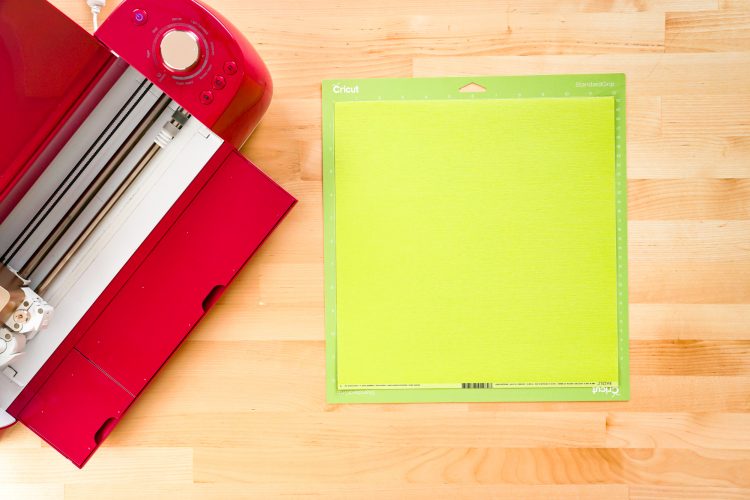
- Foil Your ProjectPlace the green cardstock on the cutting mat.
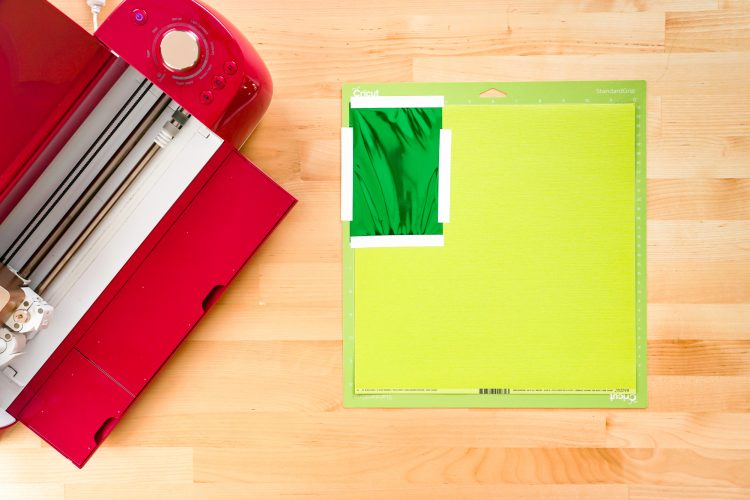
- Now we're going to tape the foil sheet over the green cardstock, this time using the 4" x 6" size sheet. Use the tape provided in the Cricut Foil Transfer Kit on each edge.
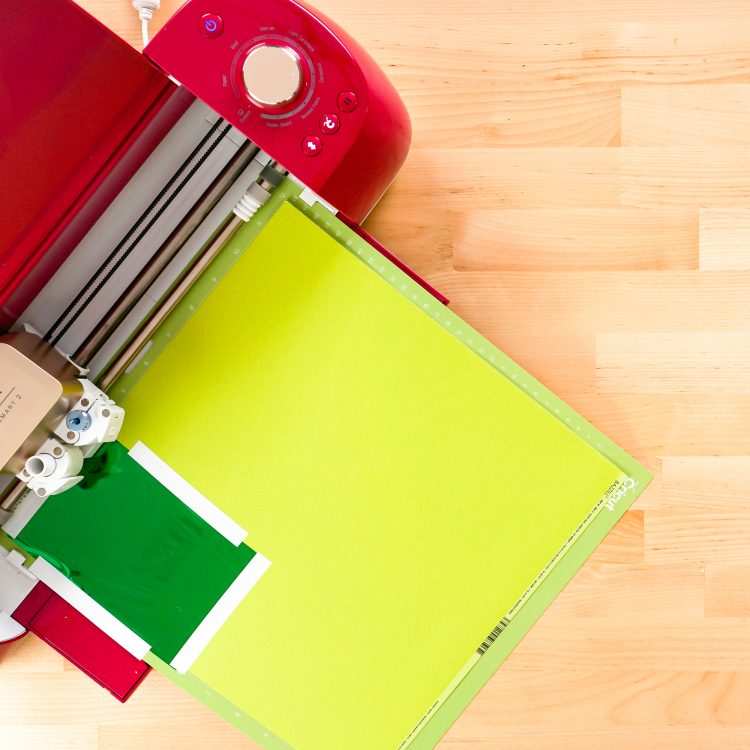
- Then insert your mat into your machine and make sure you have the Foil Transfer Tool inserted into Clamp B.Once you're all ready to go, click the flashing C on your Cricut, and your Cricut machine will foil the project.
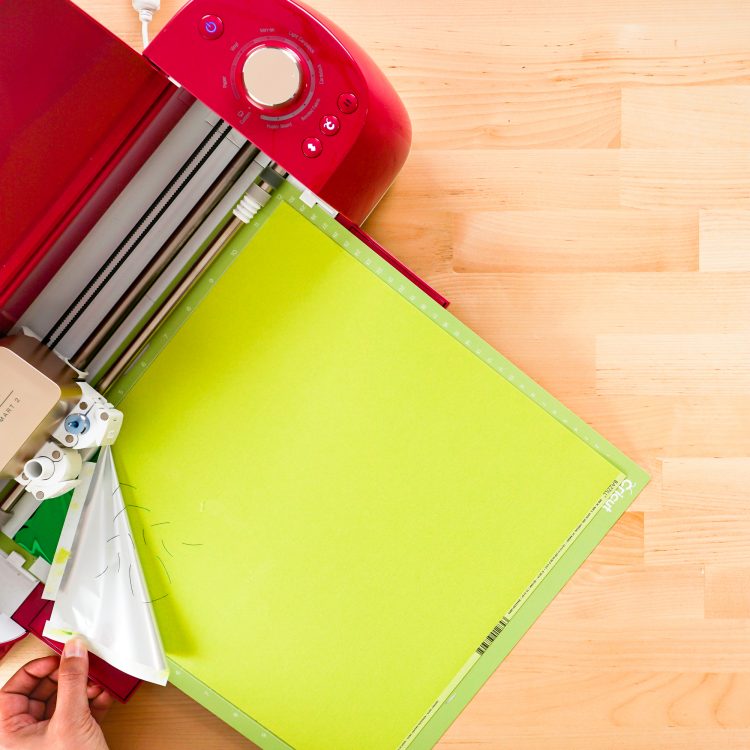
- Cut Your CardstockWhen your project is done foiling, DO NOT remove the mat. Instead, carefully peel up the tape around your project, making sure not to pull up the cardstock as you peel.
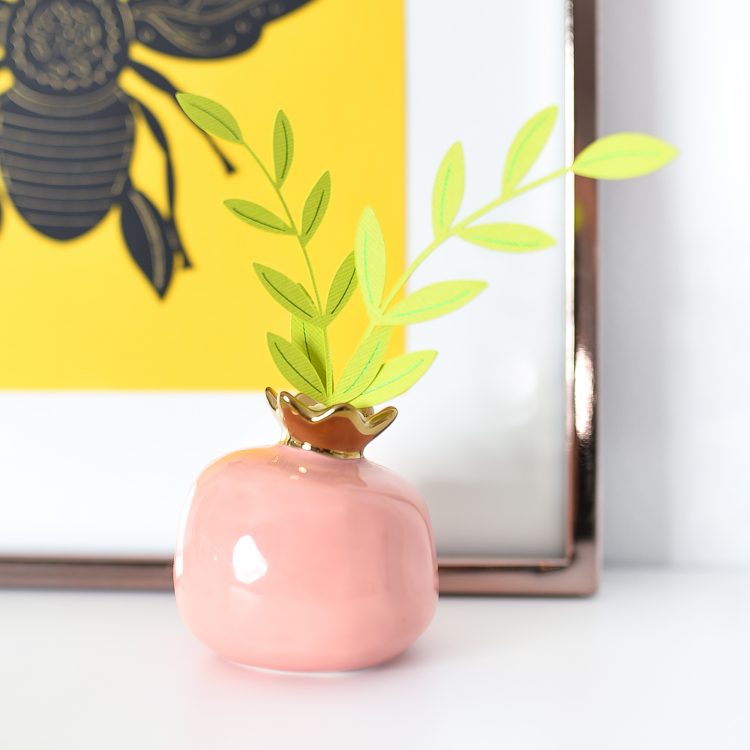
- Then switch out your Foil Transfer Tool for the regular Fine Point blade and click the flashing C, and your Cricut will cut around the edge of the plant image. Carefully peel your mat away from your project, put in a cute little bud vase, and display!