HOW TO FOIL WITH THE CRICUT FOIL TRANSFER SYSTEM
Add shimmer and shine to your Cricut projects with the Cricut Foil Transfer System! Learn how to foil with the Cricut to create a stunning projects, from start to finish.
Ingredients
- 12" x 12" Cricut Foil in Gold + included tape
- Black cardstock
- Pink cardstock (or other color if you'd prefer)
- White cardstock
- 12" x 12" frames
- Cricut Design Space File
Instructions
- Foiled Entomological Artwork InstructionsStart in Cricut Design SpaceOpen the Cricut Design Space file for this artwork. There are four different versions for you—a moth, a bee, a dragonfly, and a beetle. These have been specifically designed to work perfectly with the Cricut Foil Transfer System!
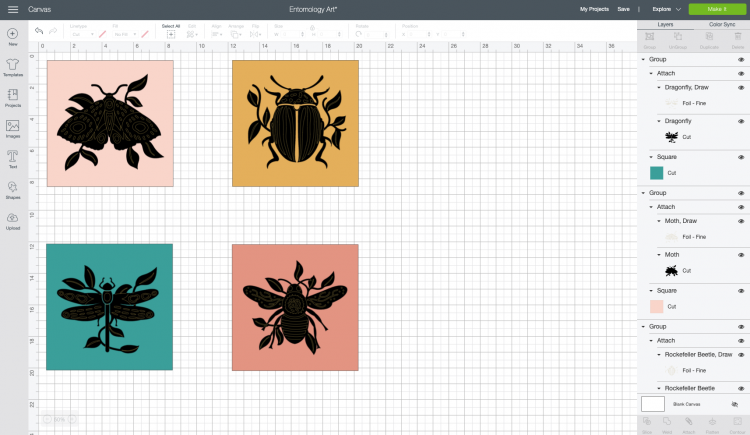
- To simplify these instructions, three of the images are going to be hidden, and we will work with the moth only. Making the three other images is the same process. Click Make It in the upper right.In the next screen, you'll see the moth image attached to the black layer to cut on black cardstock. Then a separate cut for the colored square. Click Continue.
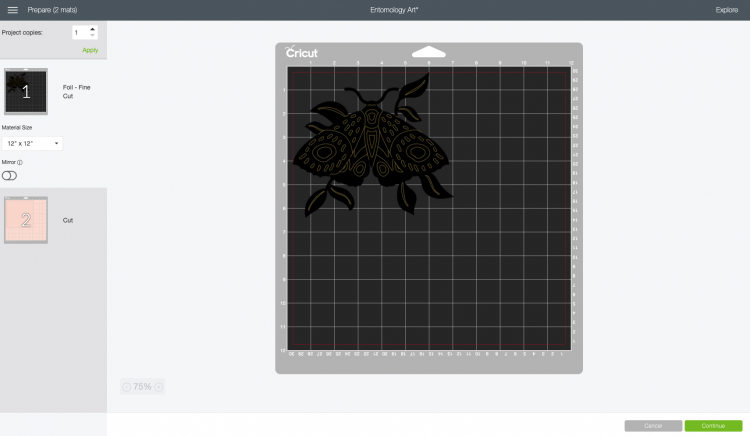
- Finally, Cricut Design Space will ask you what type of material you are using—select the base material. In this case, cardstock. It will then give you a series of instructions. Load the Foil Transfer Tool, tape the gold foil on your cardstock, and load your mat. Let's take a look at those steps in more detail.

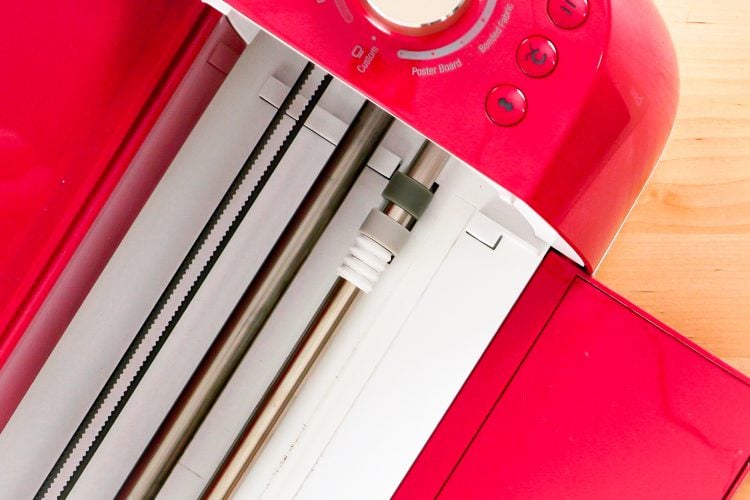
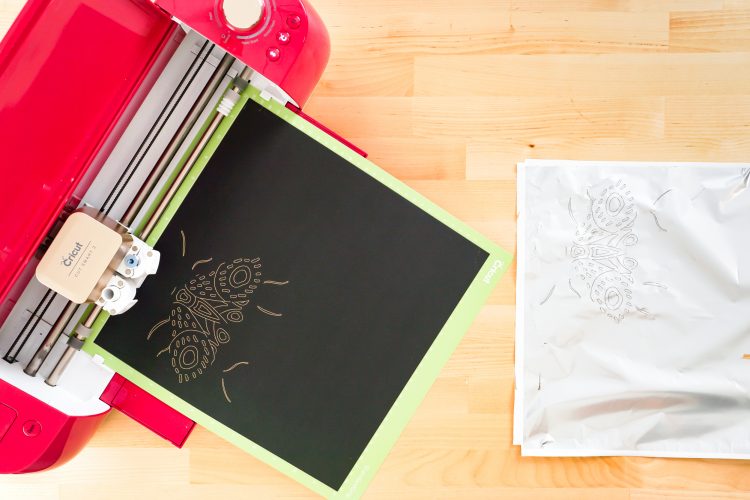
- Foil Your ProjectBefore you cut, start by sliding the white star wheels of your Cricut Explore or Maker all the way to the right. This will help them from imprinting foil onto your image.
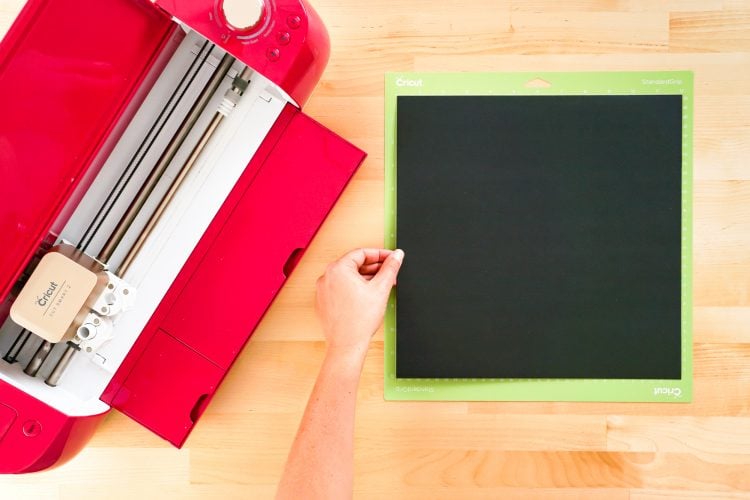
- Then place the black cardstock on the cutting mat.
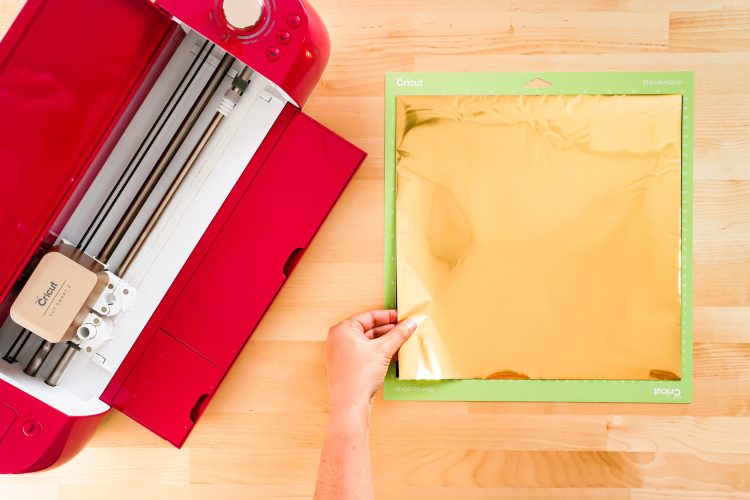
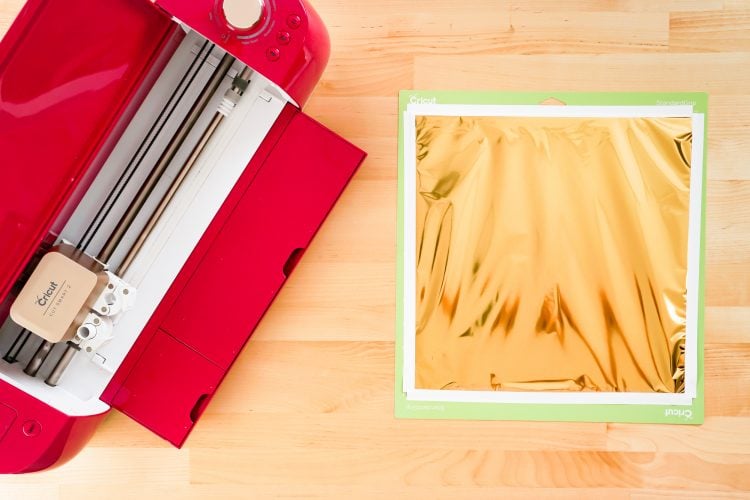
- Now we're going to tape the foil sheet over the black cardstock. Use the tape provided in the Cricut Foil Transfer Kit on each edge. Your foil doesn't have to be perfectly smooth—just do your best.You can cut your foil sheet down to size if you'd like but have found that it's easier to cover the whole sheet. For this project was actually able to make all four images in this set by rotating the foil and reusing the tape! Just be careful when you peel it up and you'll be able to use it again.
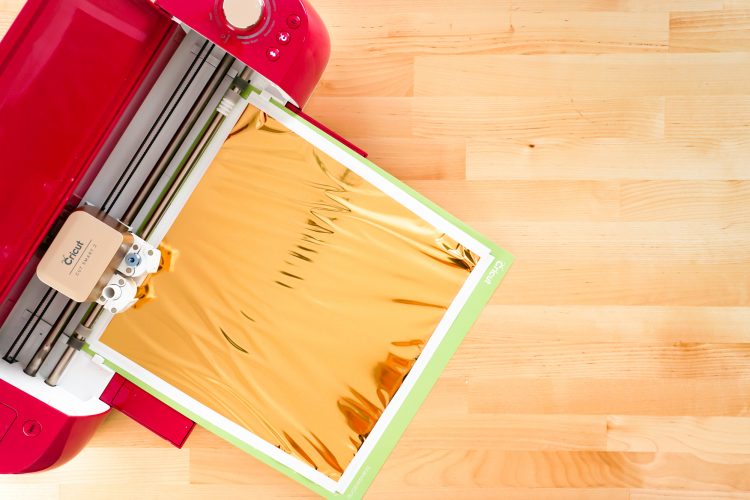
- Then insert your mat into your machine and make sure you have the Foil Transfer Tool inserted into Clamp B.Once you're all ready to go, click the flashing C on your Cricut, and your Cricut machine will foil the project.
- Cut Your CardstockWhen your project is done foiling, DO NOT remove the mat. Instead, carefully peel up the tape around your project, making sure not to pull up the cardstock as you peel. As said above, if you are careful you can keep this foil and tape and use the non-used parts on other projects. Much less waste!

- Then switch out your Foil Transfer Tool for the regular Fine Point blade and click the flashing C, and your Cricut will cut around the edge of your image.Carefully peel your mat away from your project. Learn more about removing materials from Cricut mats.Continue and cut out your colored square in cardstock. For the white cardstock, it wasn't cut on the Cricut at all—a 12" x 12" piece was used that fit perfectly in the frame.

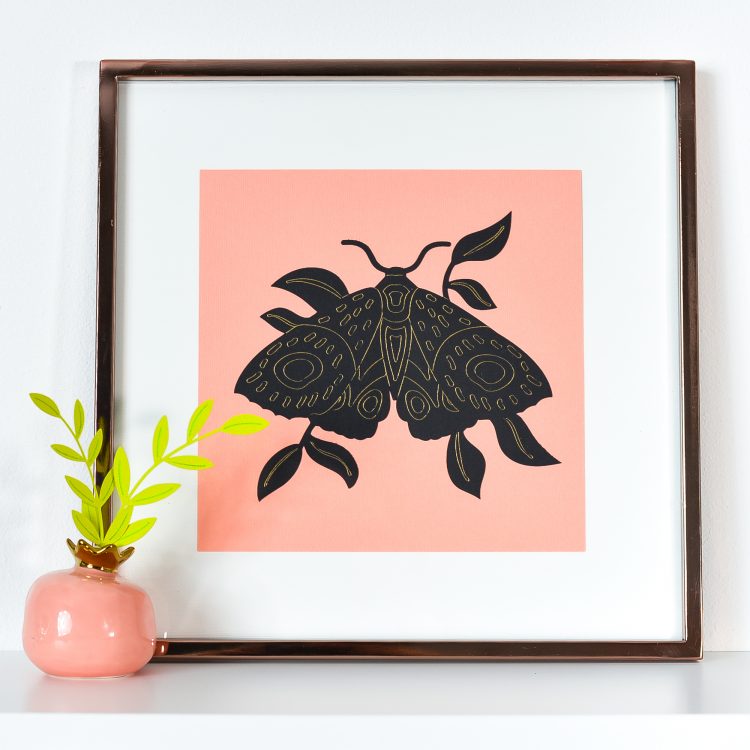
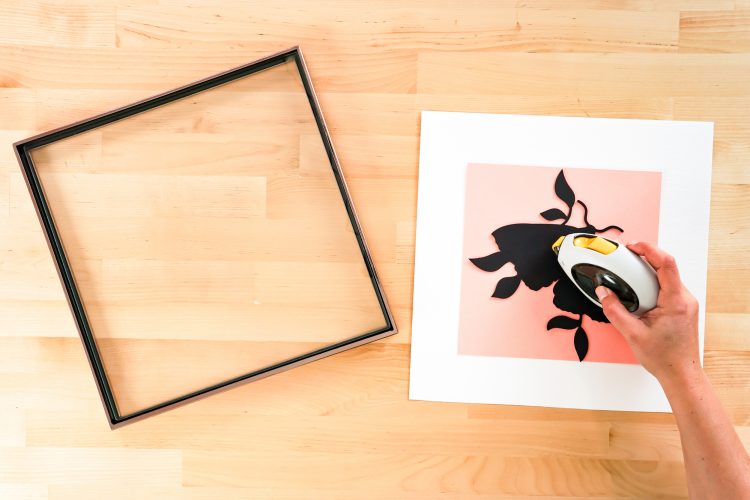
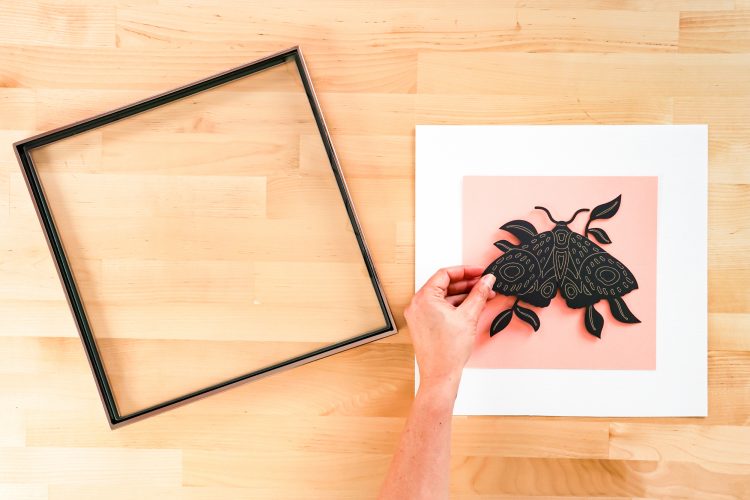
- Assemble Your ArtworkNow it's time to assemble your artwork. You can use double-sided tape to glue your moth cutout to the colored square and the colored square to the white square.
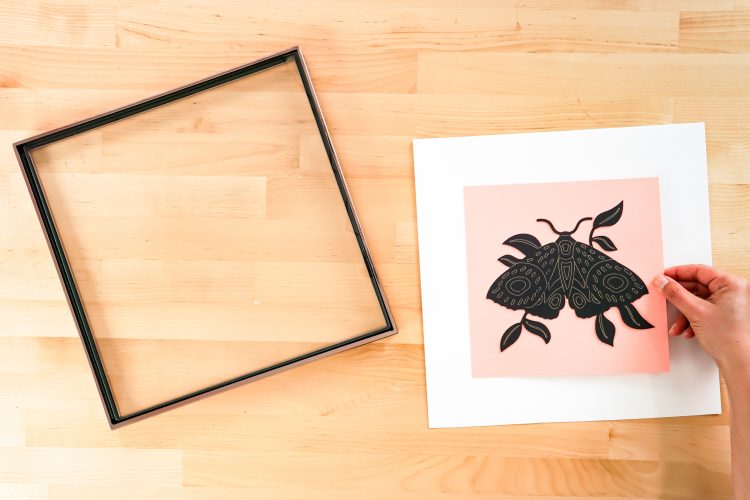
- Reassemble your frame and your artwork is ready to display!