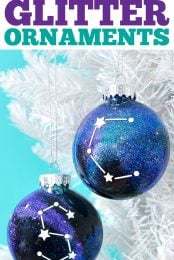
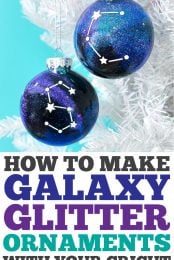
Use your Cricut to make beautiful constellation glitter ornaments! Get the best technique for making glitter ornaments, and embellish with vinyl letter constellations. These ornaments make a great gift!

Hello my friends and welcome back for Day 12 of the 25 Days of Cricut Christmas! Can you believe we’re already about halfway through?
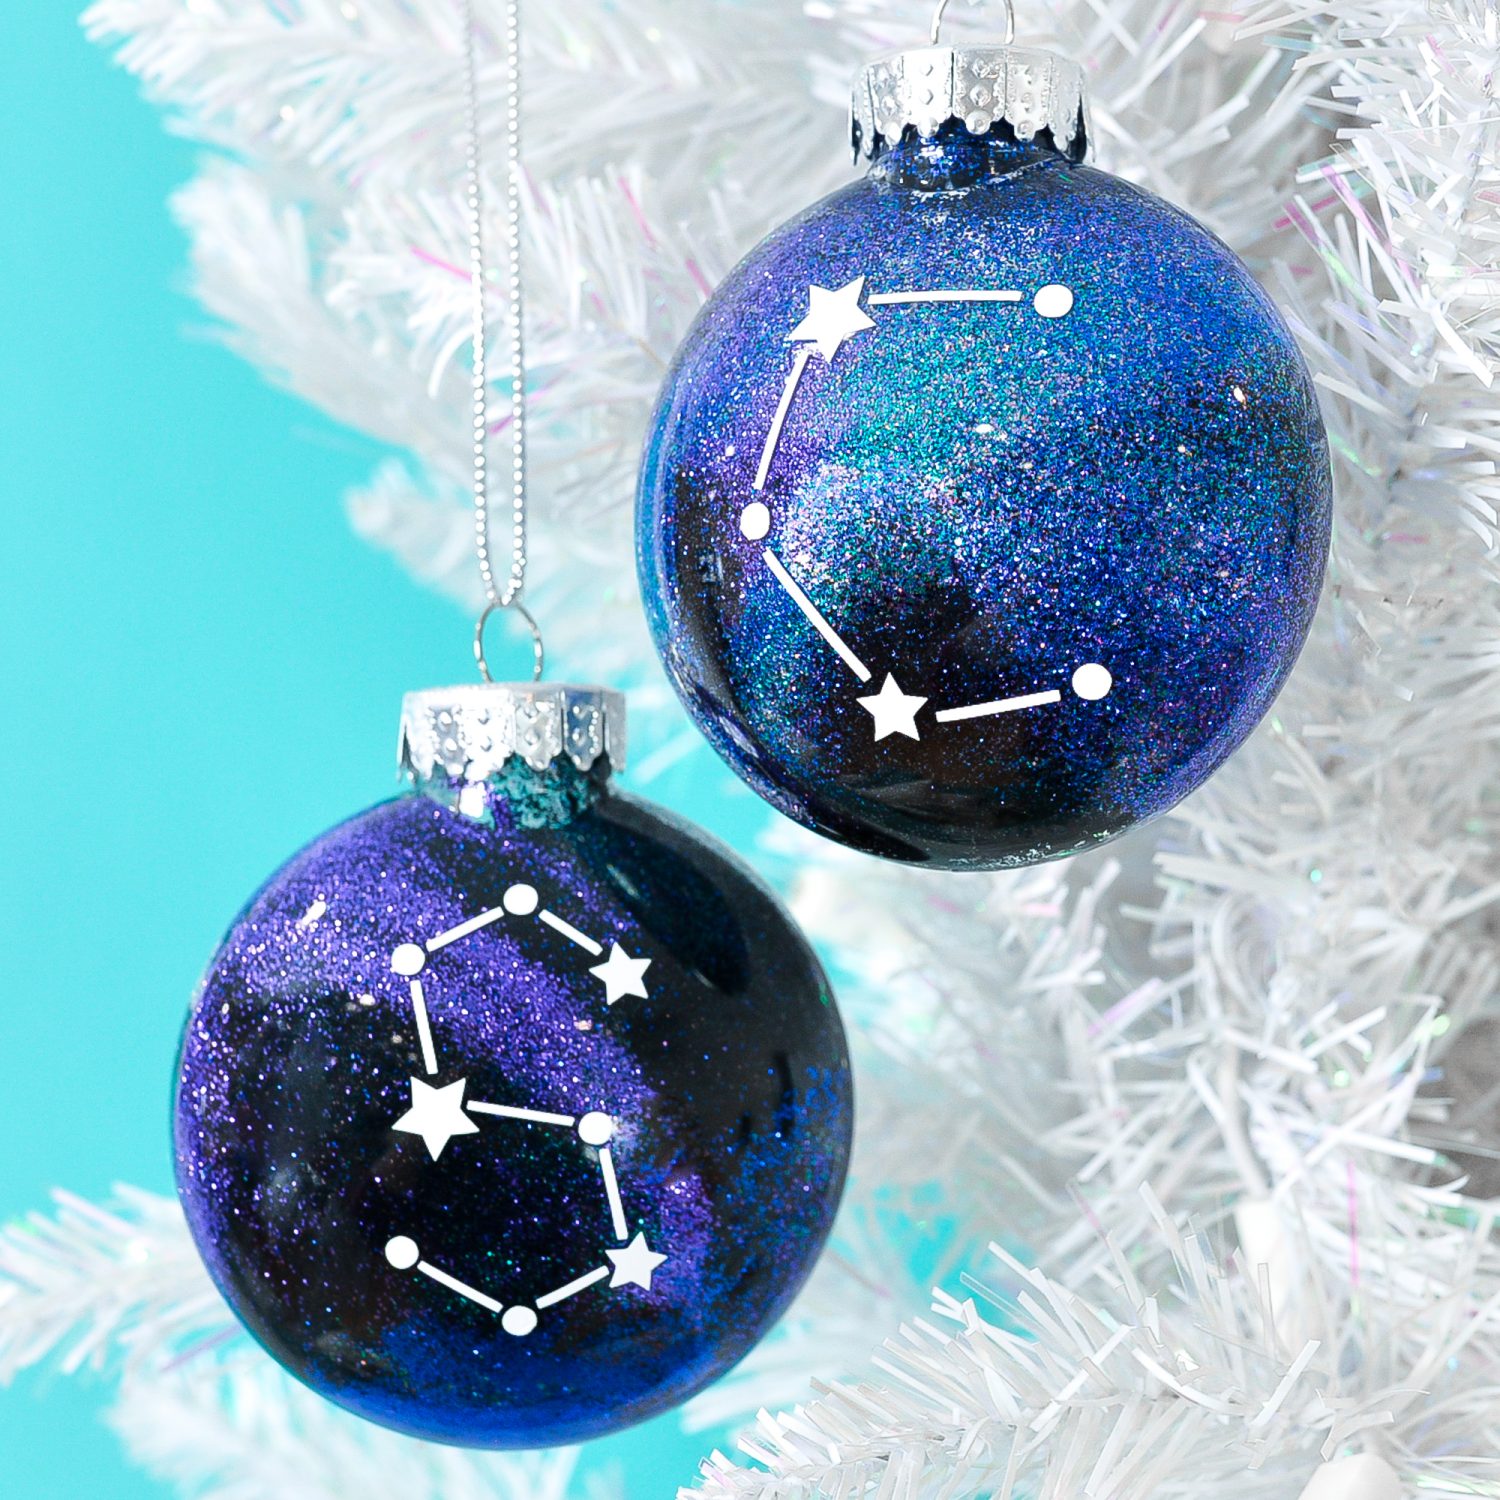
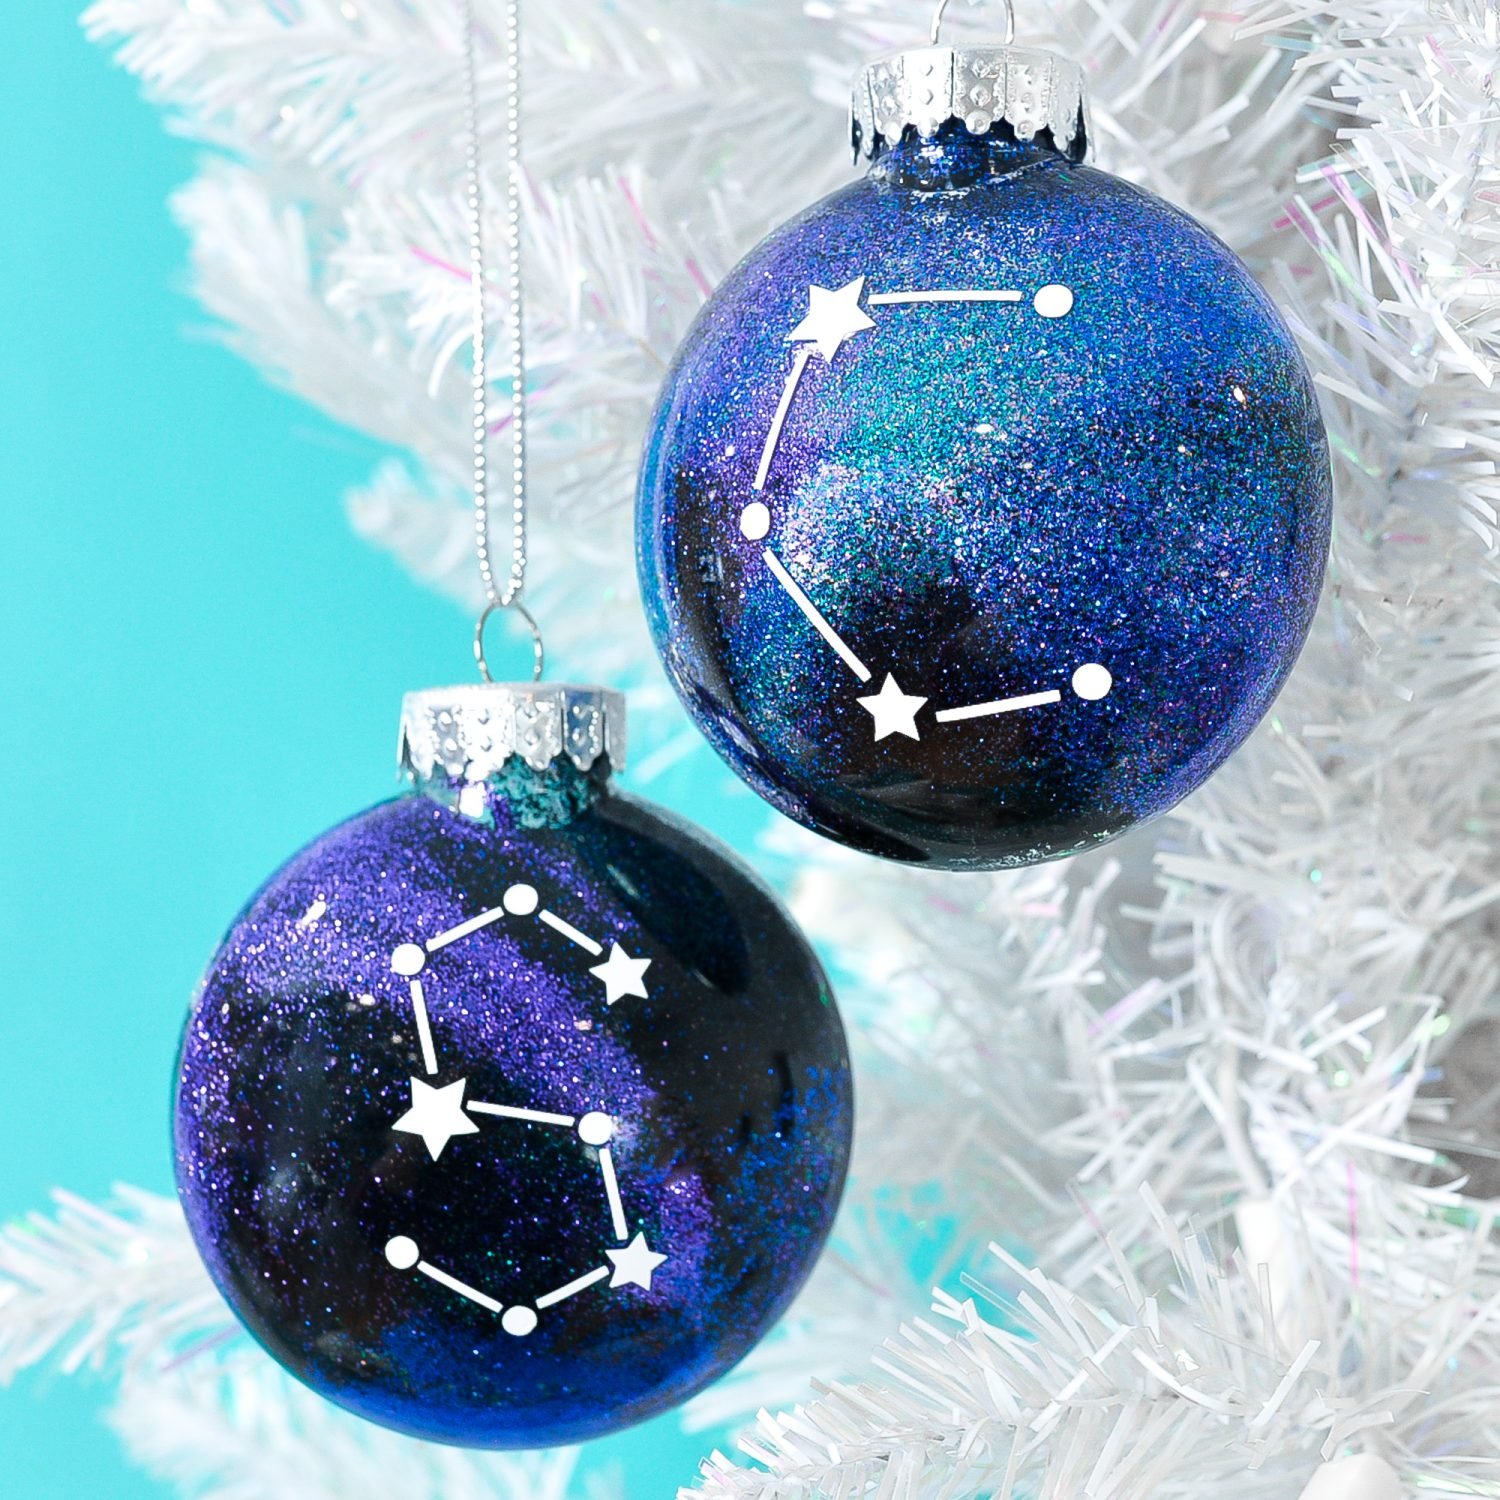
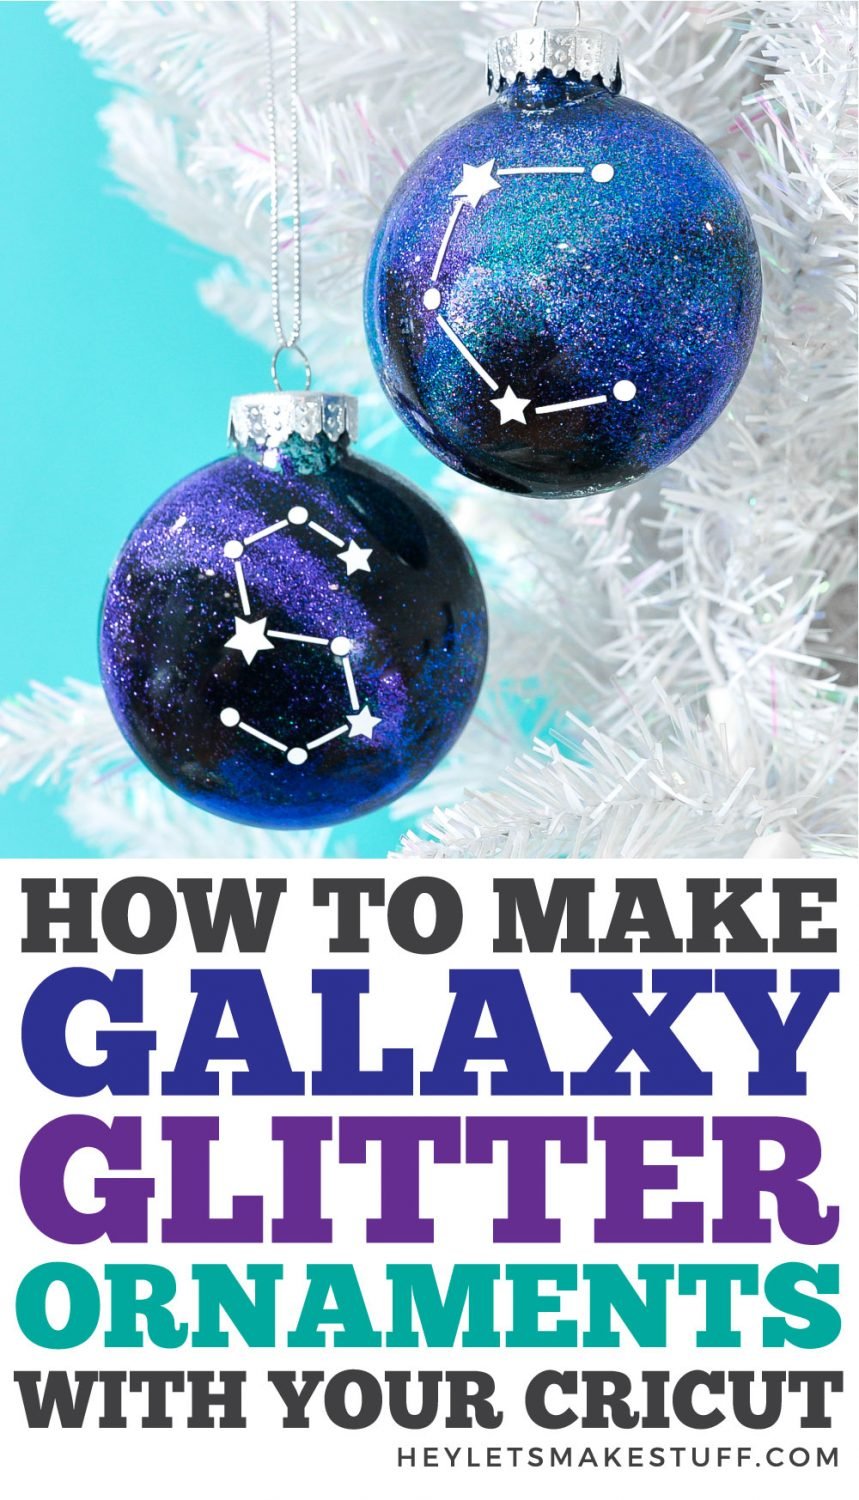
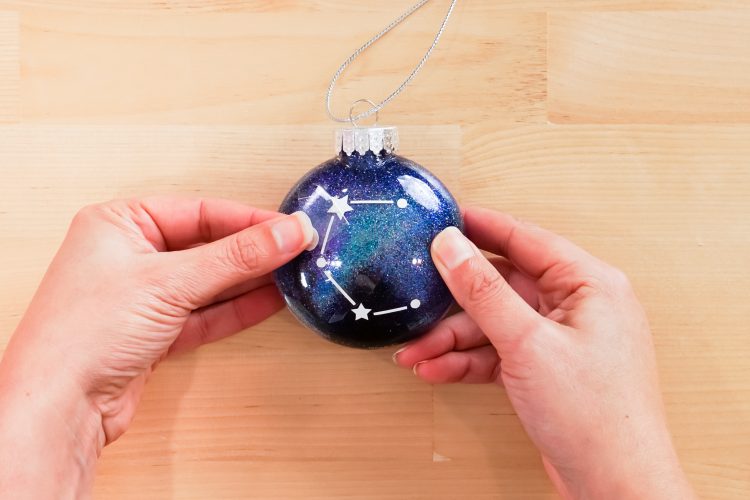
Christmas wouldn’t be Christmas without ornaments! Today we’re making these absolutely gorgeous galaxy glitter ornaments, embellished with white vinyl to make constellations.
These ornaments make great gifts—whip one up for each member of your family with their initial using the constellation alphabet SVG in this post!
If you’d like to get this series in an ebook format PLUS all of the SVGs needed to make all 25 projects check out the 25 Days of Cricut Christmas eBook Bundle!
The Best Way to Make Glitter Ornaments
I’ve been testing the best method to make glitter ornaments. The two big ways are using a glitter glue, like Aleene’s Glitter Coat Adhesive, and using Pledge Revive It floor wax (yes, floor wax).
When I first tried these two methods, I thought I got the same great coverage—both looked awesome.
But then I held them up to the light and saw the clear difference.
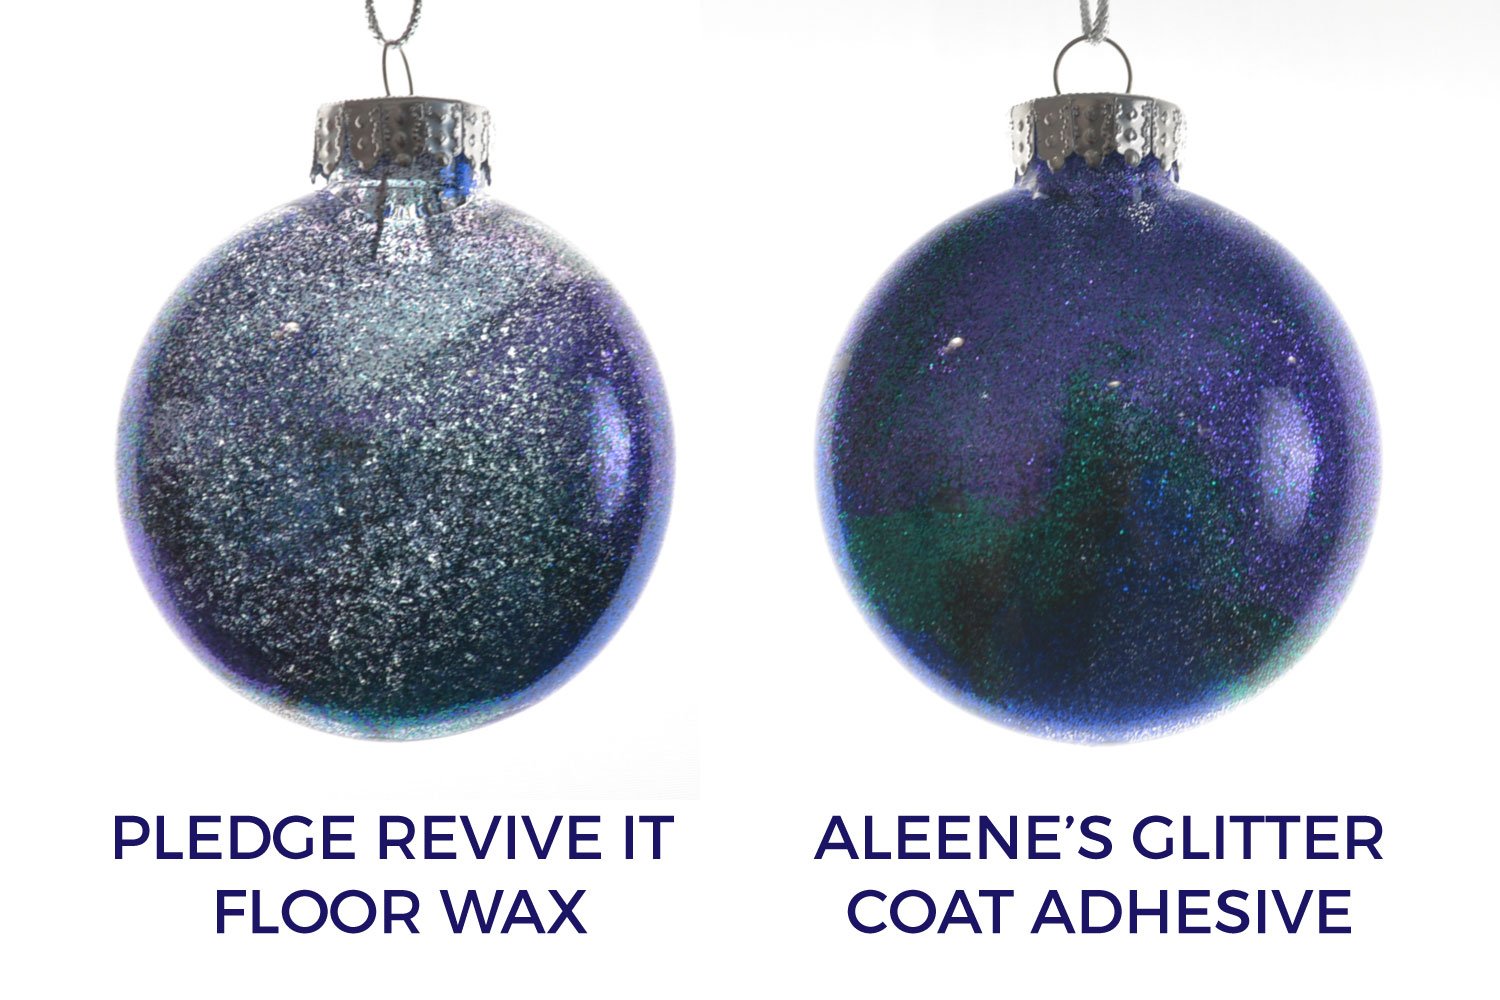
When I put the two ornaments up to my photography lights, you can see that the Pledge floor wax isn’t nearly as opaque as the glitter coat adhesive. This is not super noticeable without them being backlit, but if you have a Christmas tree that has a ton of lights—you’ll definitely notice the transparency of the Pledge.
[adthrive-in-post-video-player video-id=”4Zv0ymXX” upload-date=”2022-05-29T19:48:00.000Z” name=”Adhesive Vinyl Projects to Make with a Cricut” description=”Make all sorts of amazing adhesive vinyl projects using your Cricut, including tumblers, signs, mugs, ornaments, and more. ” player-type=”default” override-embed=”default”]
That being said, the glitter adhesive is, per ounce, MUCH more expensive than the Pledge. You can buy a huge bottle of Pledge for about $12, and a small bottle of the glitter adhesive may run you the same. So if you don’t mind the transparency of the ornament, you’ll get more bang for your buck with the Pledge.
The glittering technique is the same with both, so let’s get crafting!
Constellation Glitter Ornaments Supplies
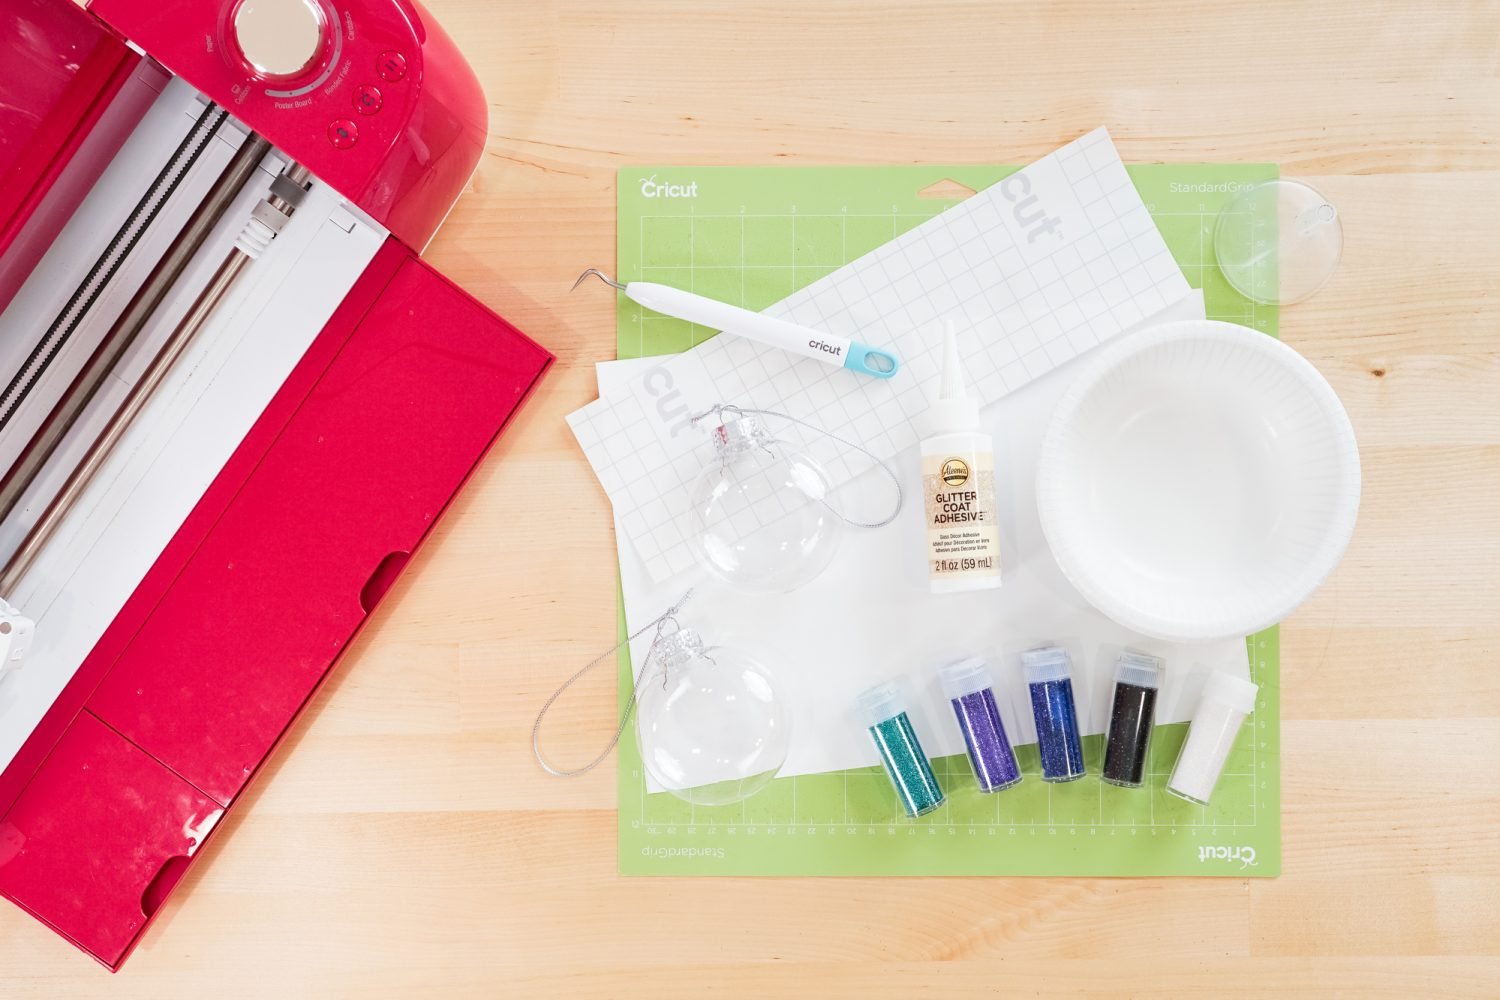
- Cricut Explore or Cricut Maker
- Blue LightGrip or Green StandardGrip mat
- Fine Point Blade
- White adhesive vinyl
- Weeding tool
- Transfer tape
- Clear ornaments
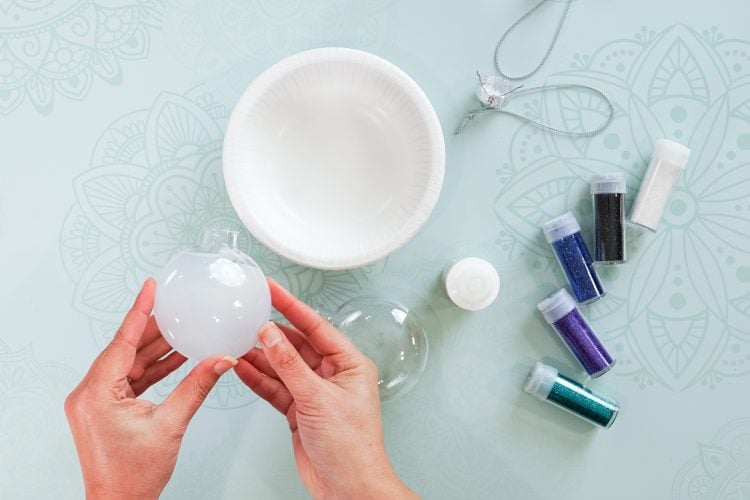
- Fine glitter (I used purple, blue, teal, black, and white)
- Funnel or paper curled into a funnel
- Disposable bowl or cup
- Aleene’s Glitter Coat Adhesive (see note above)
- Constellation Alphabet SVG
Grab the SVG for this Project
I’ve also got a few other constellation SVG files if you prefer!
Constellation Glitter Ornaments Instructions
Glitter the Inside of the Ornaments
I’m going to use the Aleene’s Glitter Coat Adhesive for these ornaments, but you’ll use the same technique with the Pledge Revive It floor wax or a different glitter glue.
Take the tops off the ornaments. Then add about a teaspoon of the glitter coat adhesive into the ornament. Roll it around until the ornament is fully coated, including the neck of the ornament.
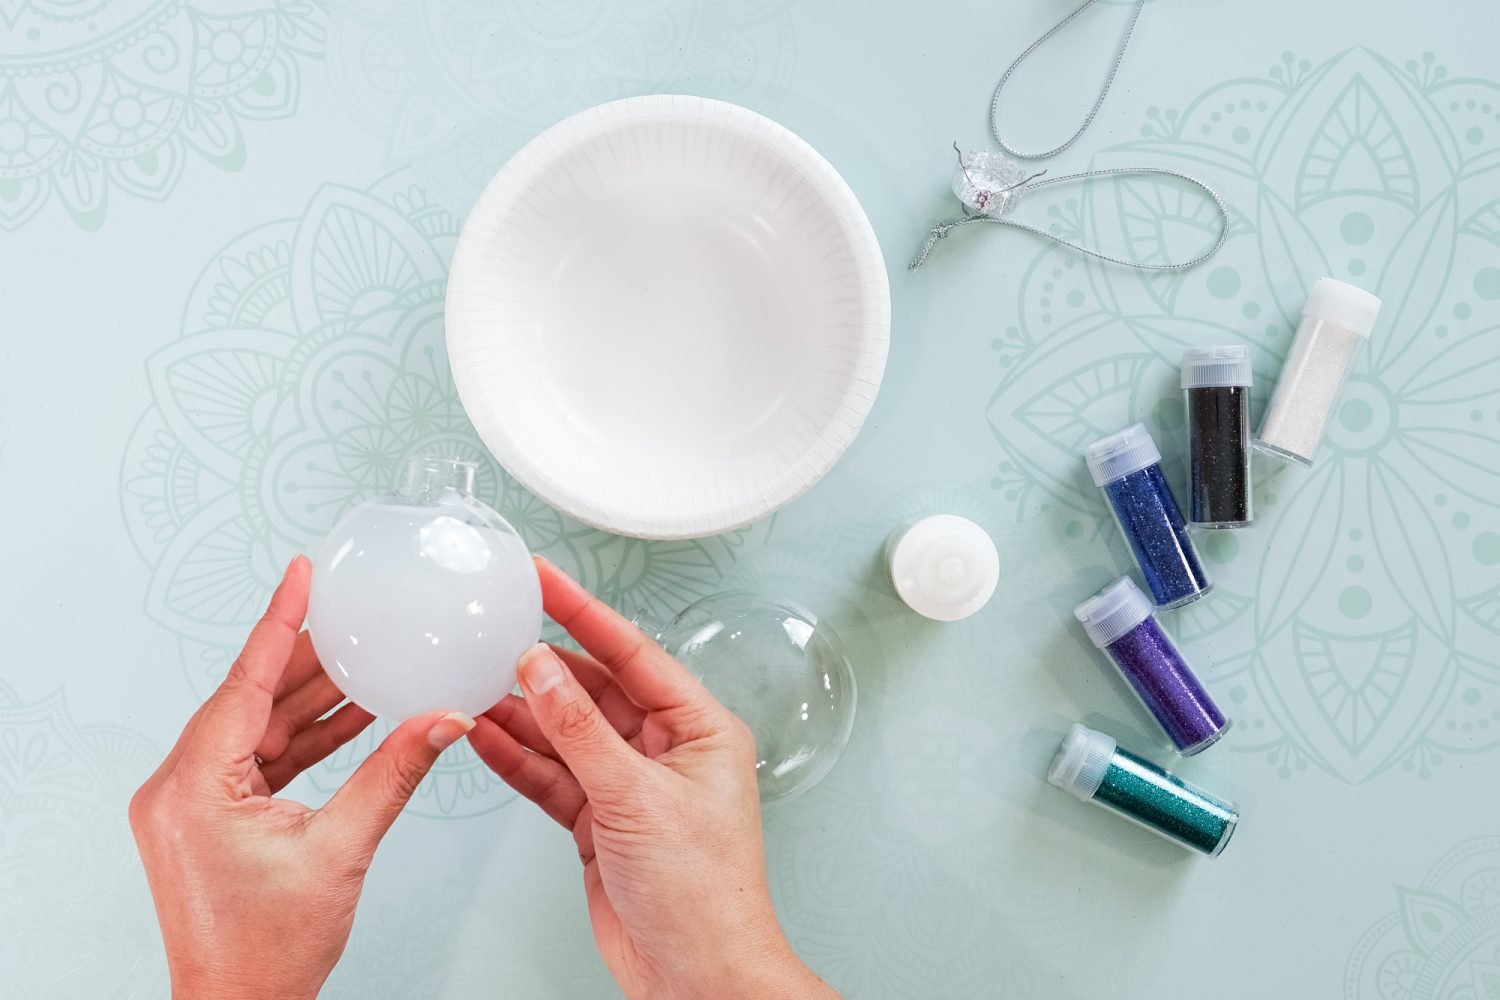
If you have a lot of extra adhesive in your ornament, you can pour that back in the bottle. Then turn the ornament over in a disposable bowl or cup and let drip for about 20 seconds.
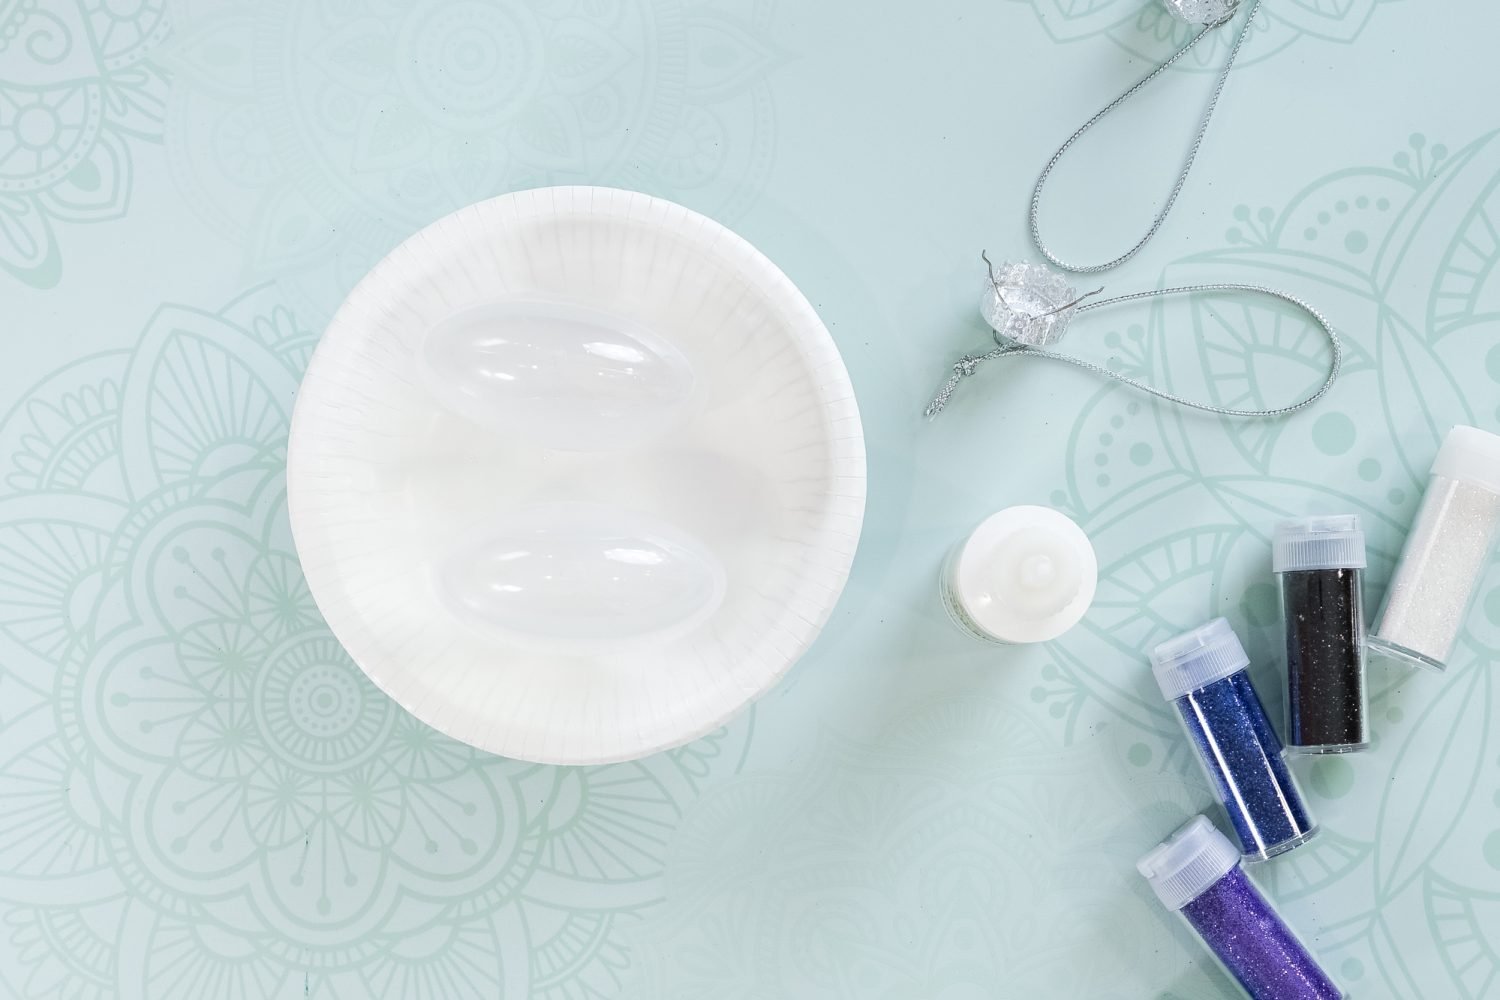
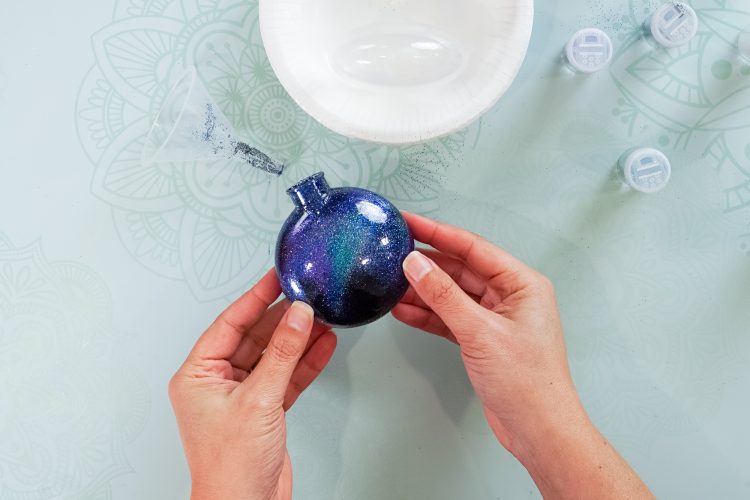
Use a funnel to add your first two colors—about a quarter teaspoon each. Then roll them around a bit to start to create some of the “streaks” in the galaxy.
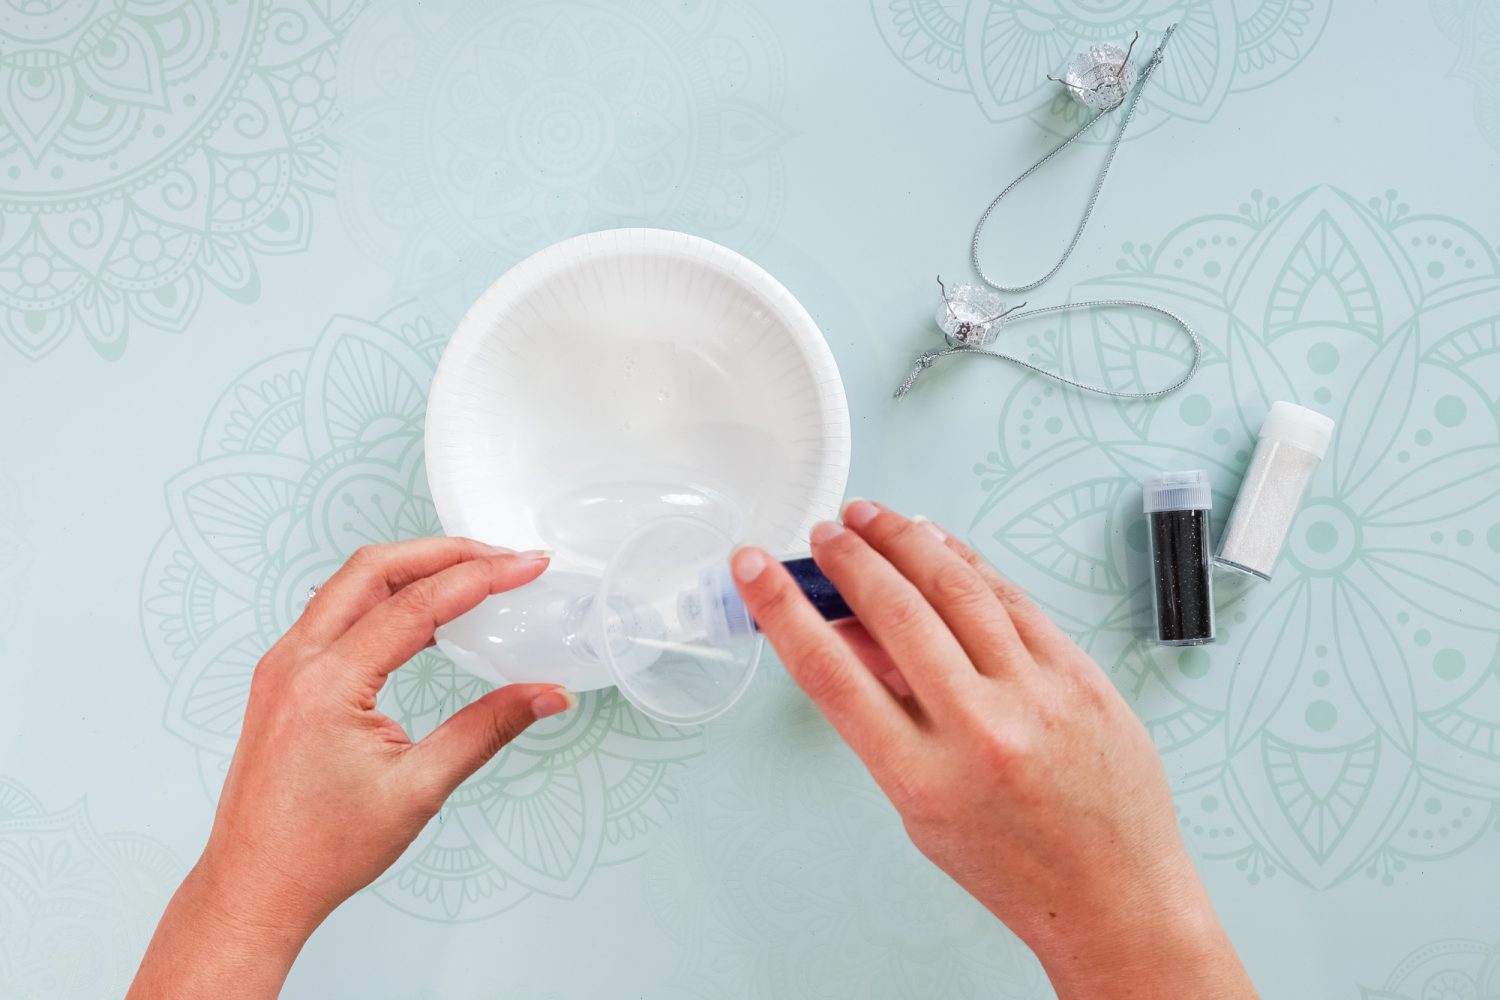
Repeat with the remaining colors.
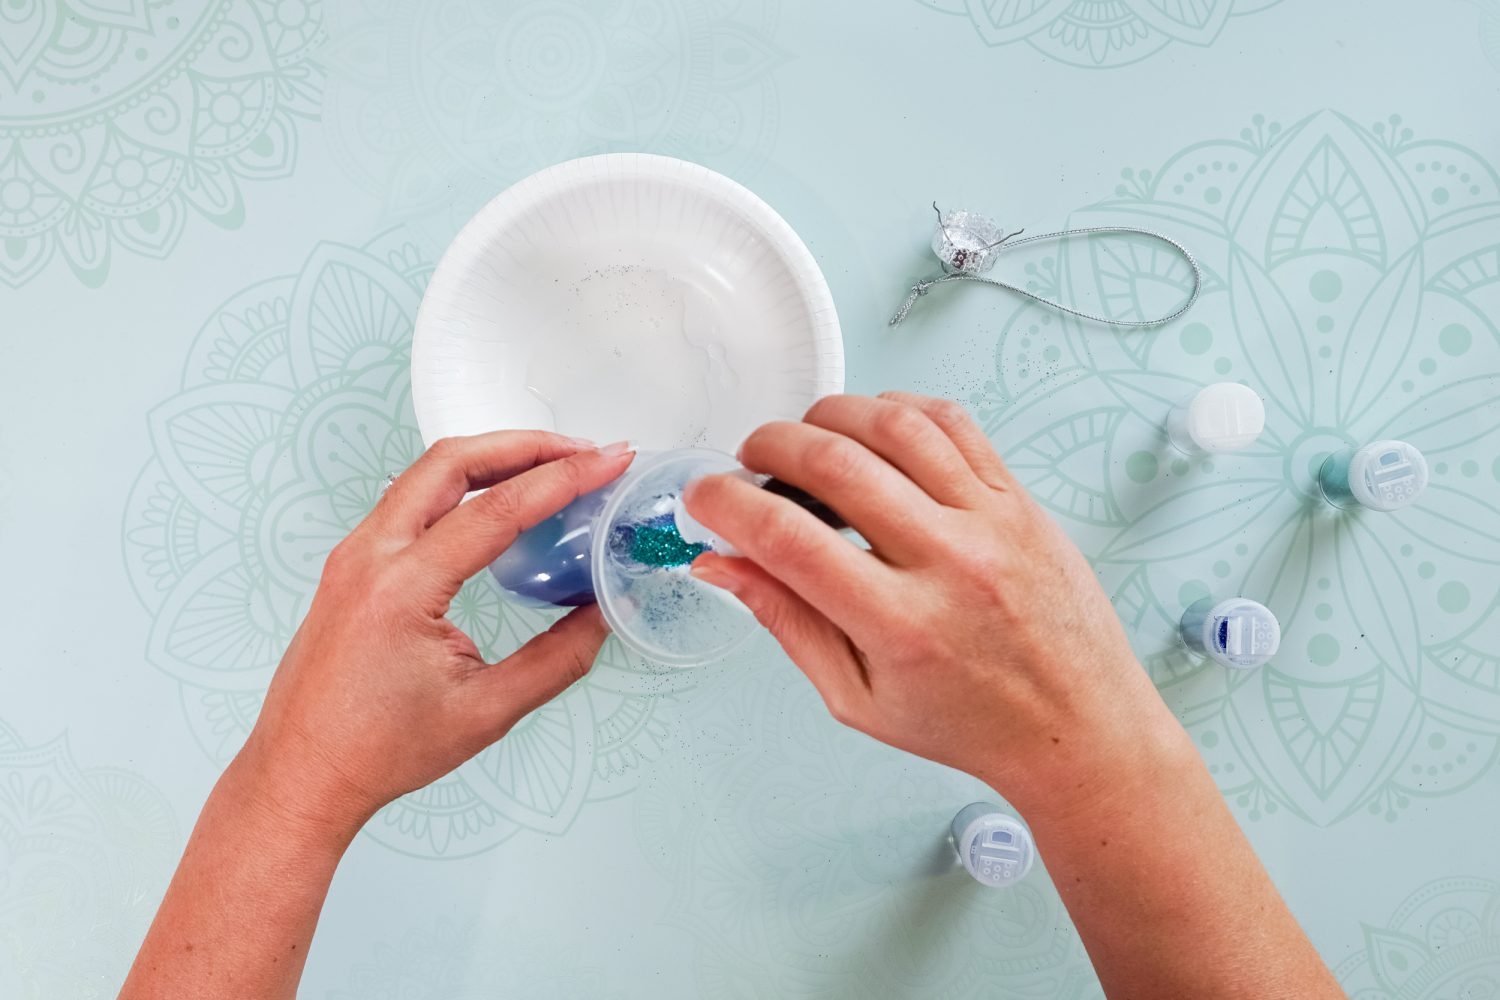
You’ll want to turn the ornament around in your hand vs. shaking it to get the galaxy effect. If you shake the ornament, all of the colors will mix together and you’ll just have a dark (albeit pretty!) single color.
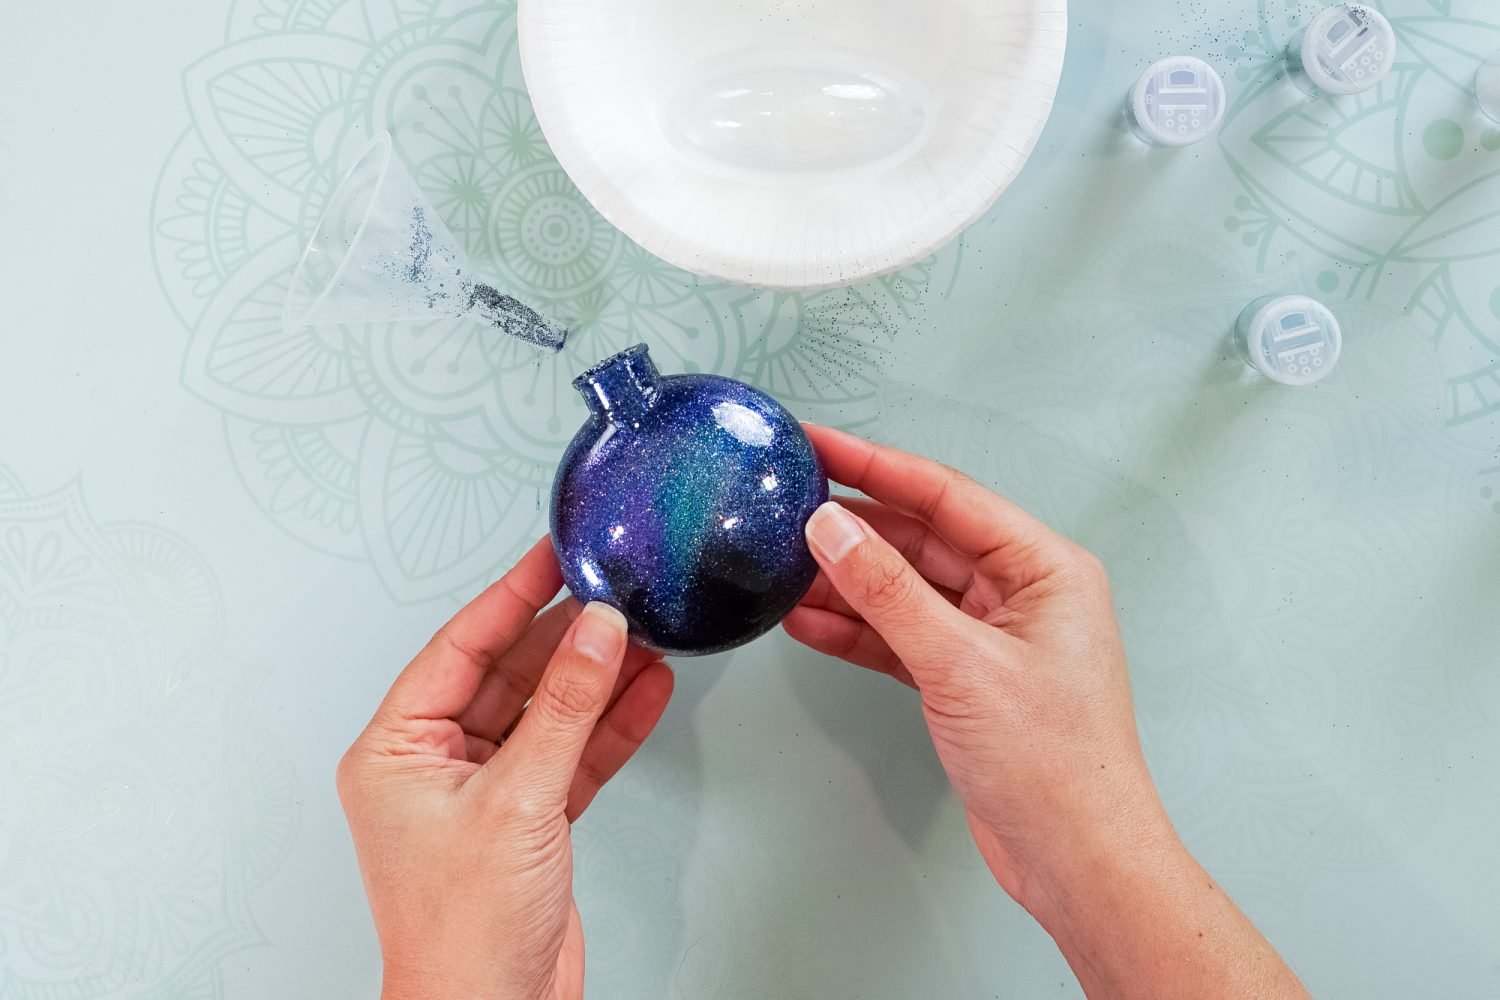
Once you have the ornament fully coated, THEN cover the opening with a paper towel and shake it to make sure everything is coated well. Dump any remaining glitter into the bowl, add the top back on the ornament, and you’ve got a gorgeous micro-galaxy!
Before we get started adding our constellations to our ornaments, make sure to check out my How to Apply Vinyl to an Ornament post. I go over the basics below, but that post has tons of helpful tips and tricks for adding adhesive vinyl to an ornament.
Upload the Constellation Alphabet File to Cricut Design Space
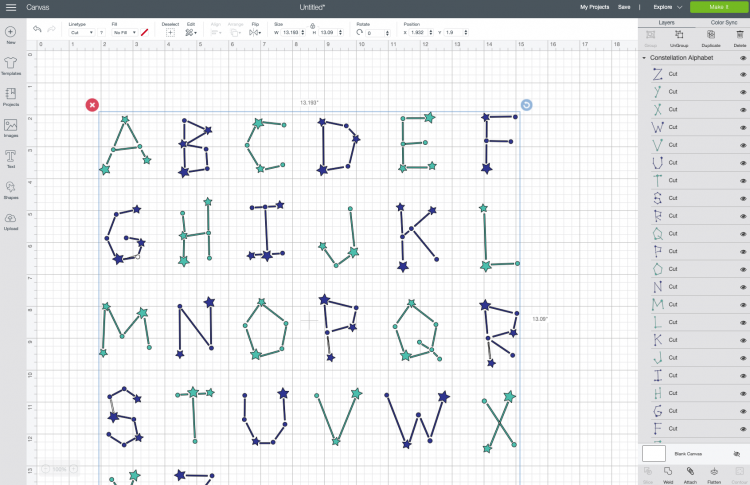
Next you can upload the constellation alphabet file to Cricut Design Space (see Uploading SVG Files to Cricut Design Space if you need help).
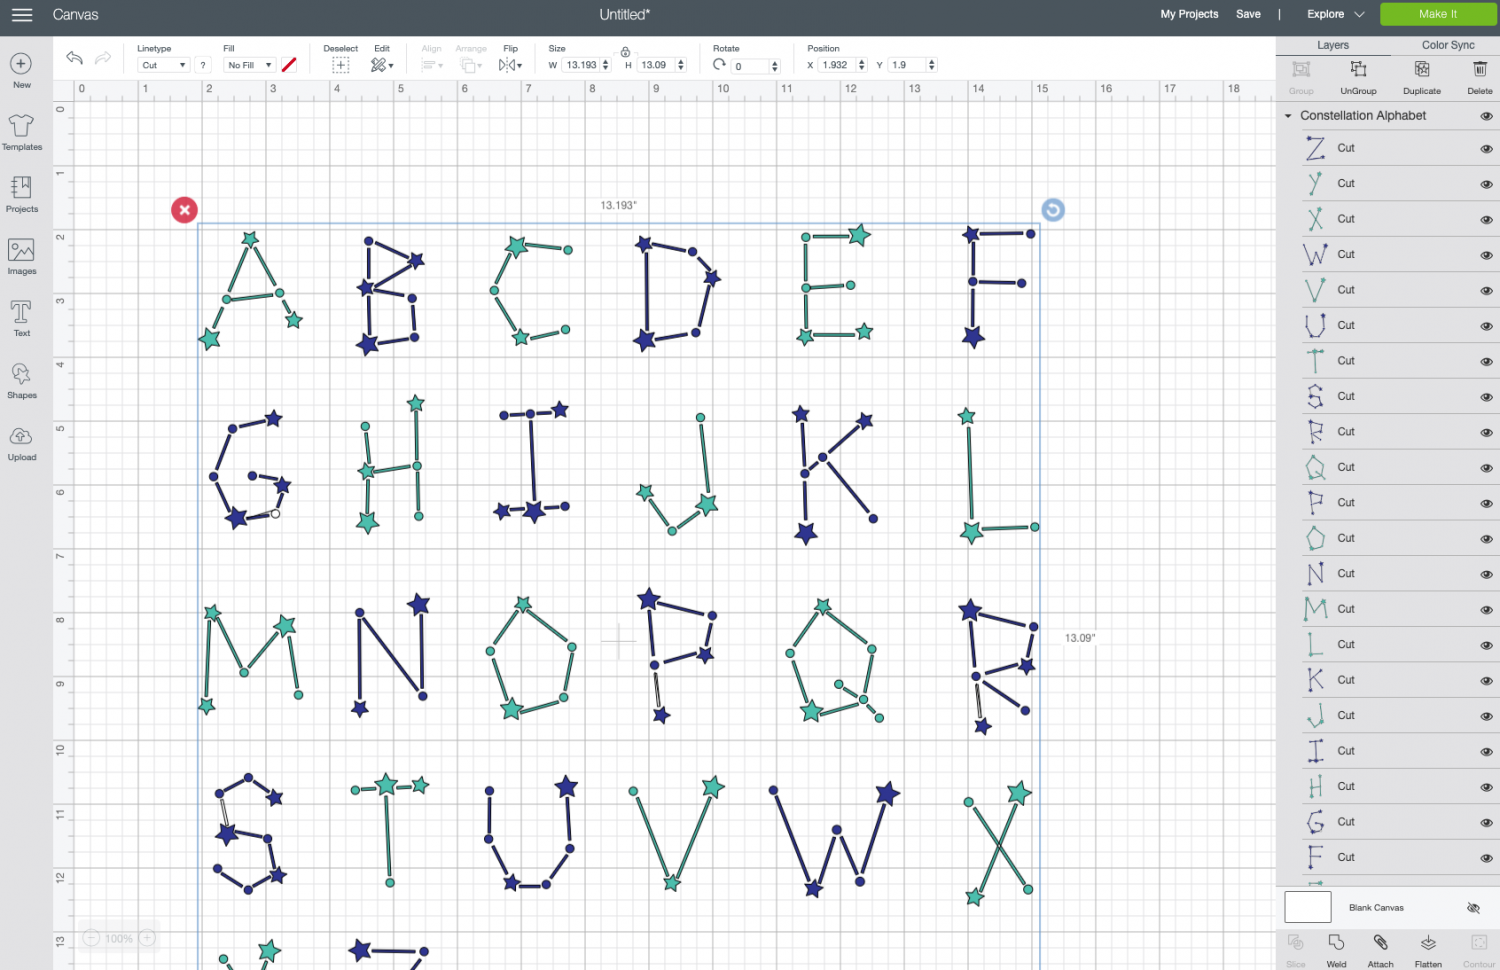
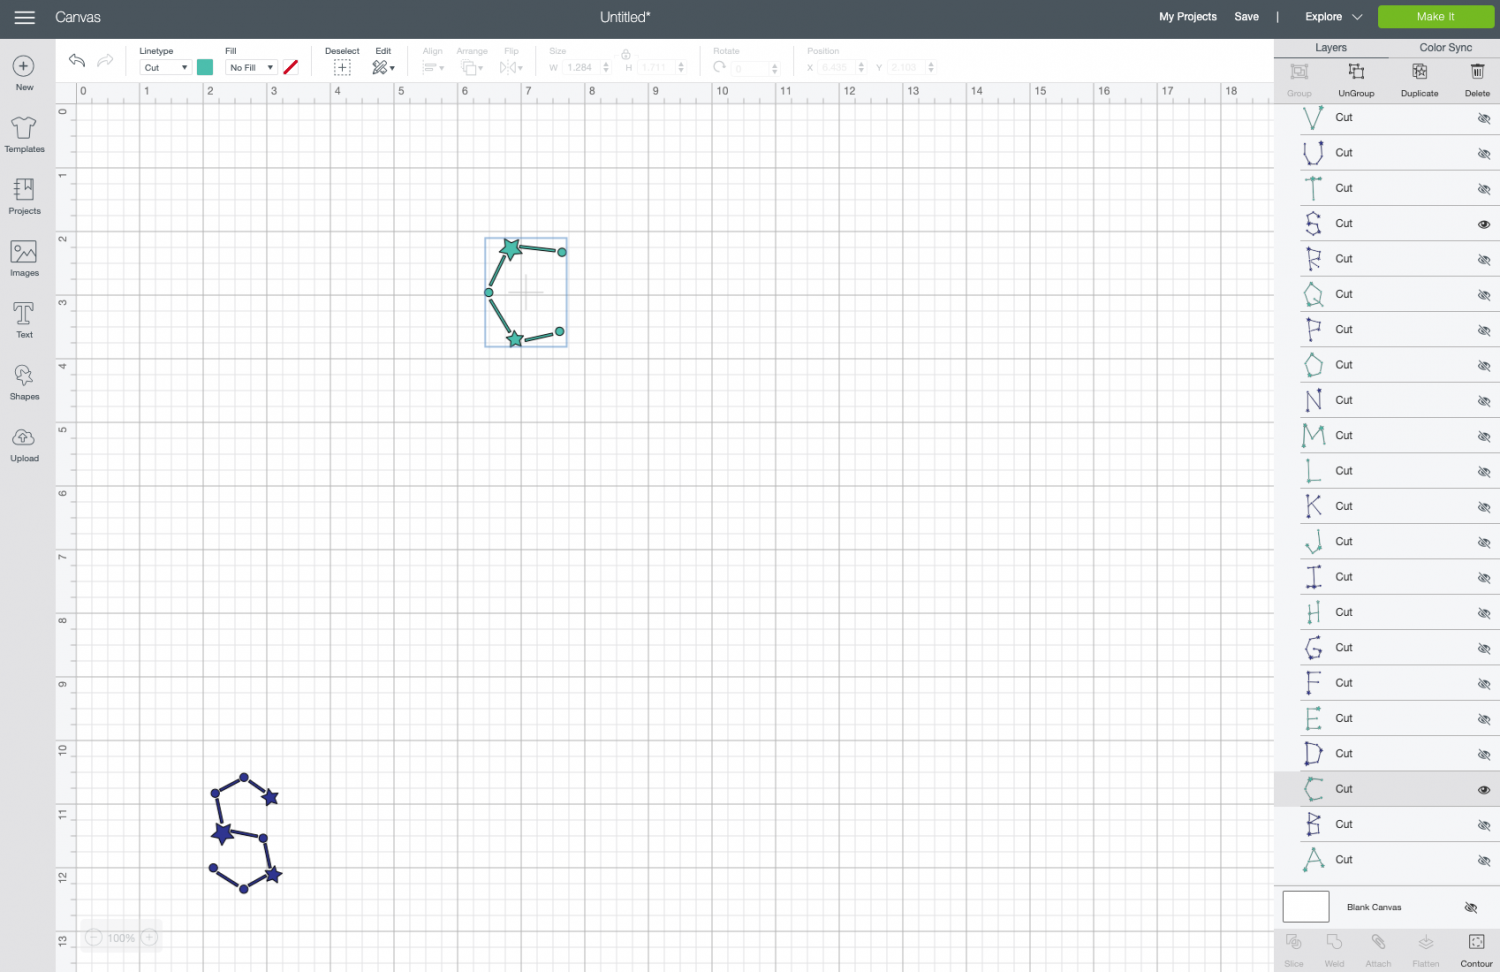
Use the eye-dropper on the left to hide any of the letters you don’t want to use.
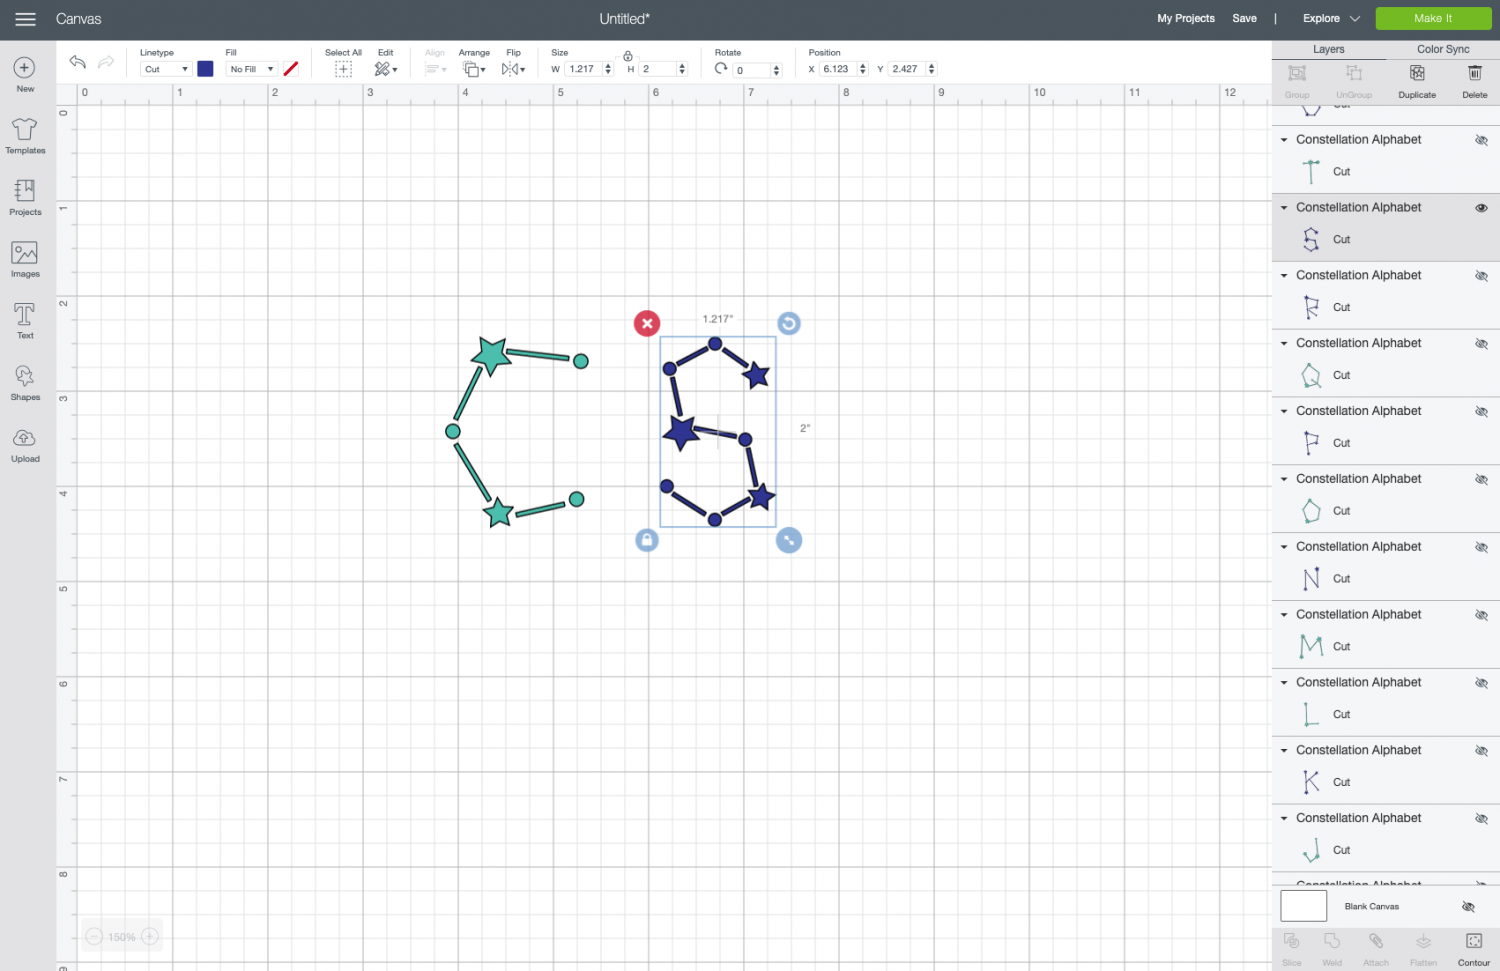
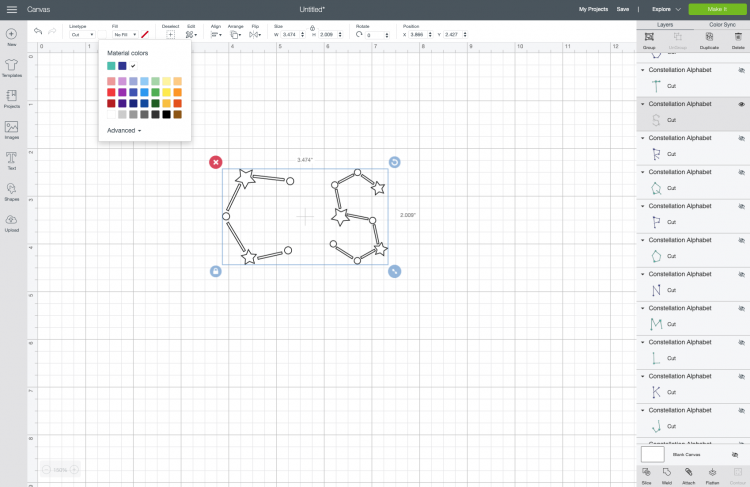
Then resize each letter to fit your ornament using the size tool in the Edit Toolbar at the top. I made mine 2″ tall, but yours will vary depending on the size of your ornament.
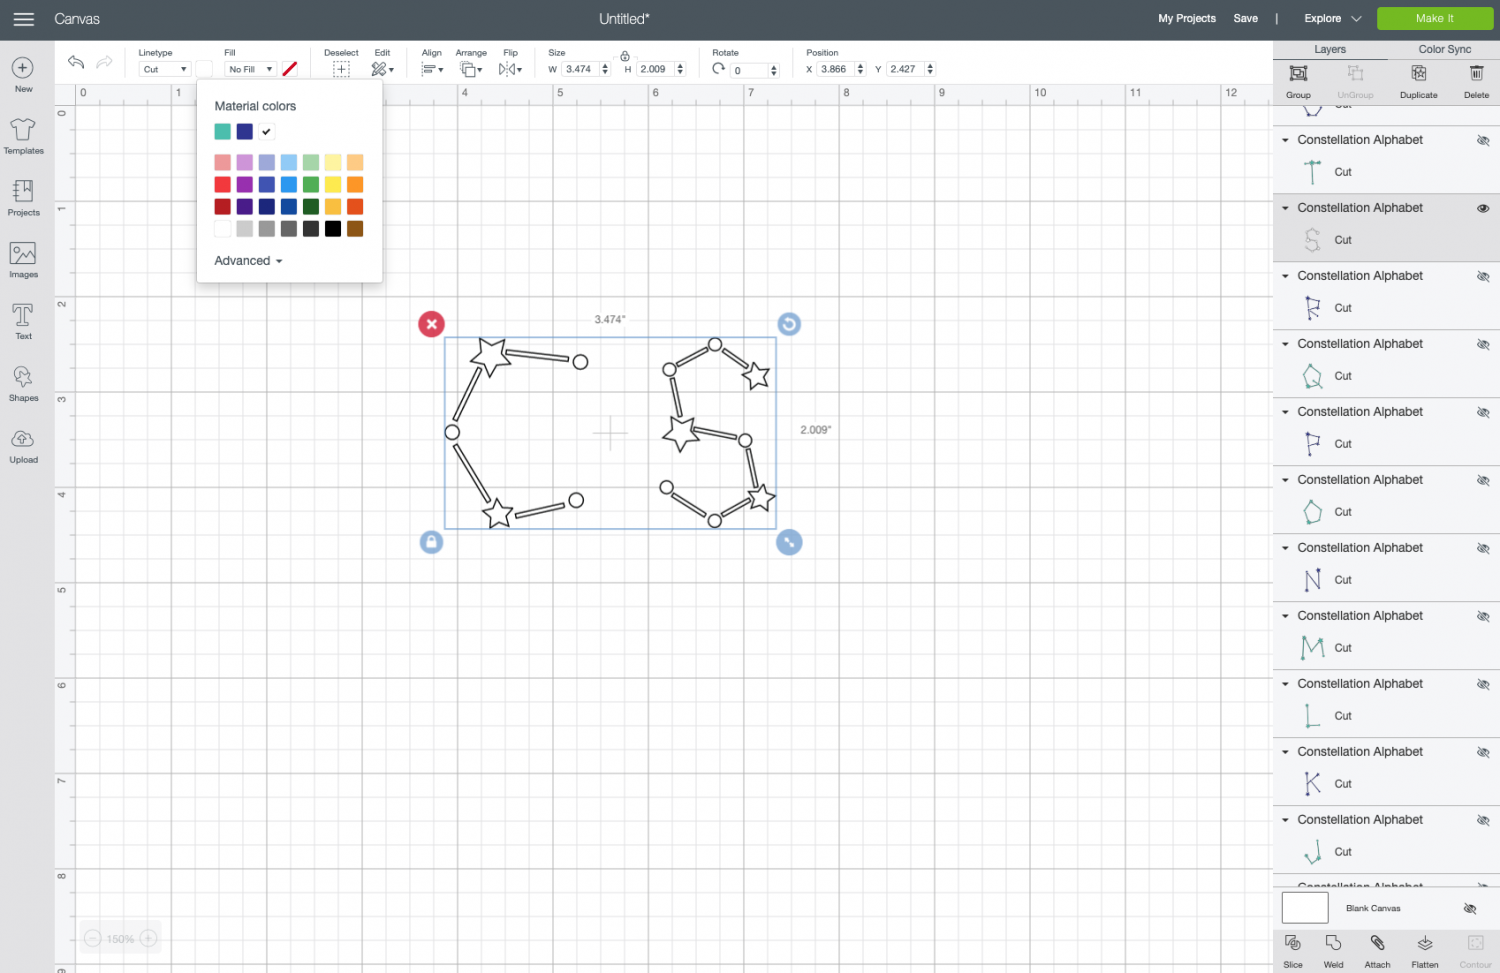
Then recolor the image to match the vinyl you are using.
You’re ready to cut, so click Make It in the upper right.
You won’t need to do anything in the Prepare Screen to your file—it’s regular vinyl so there’s no need to mirror the image.
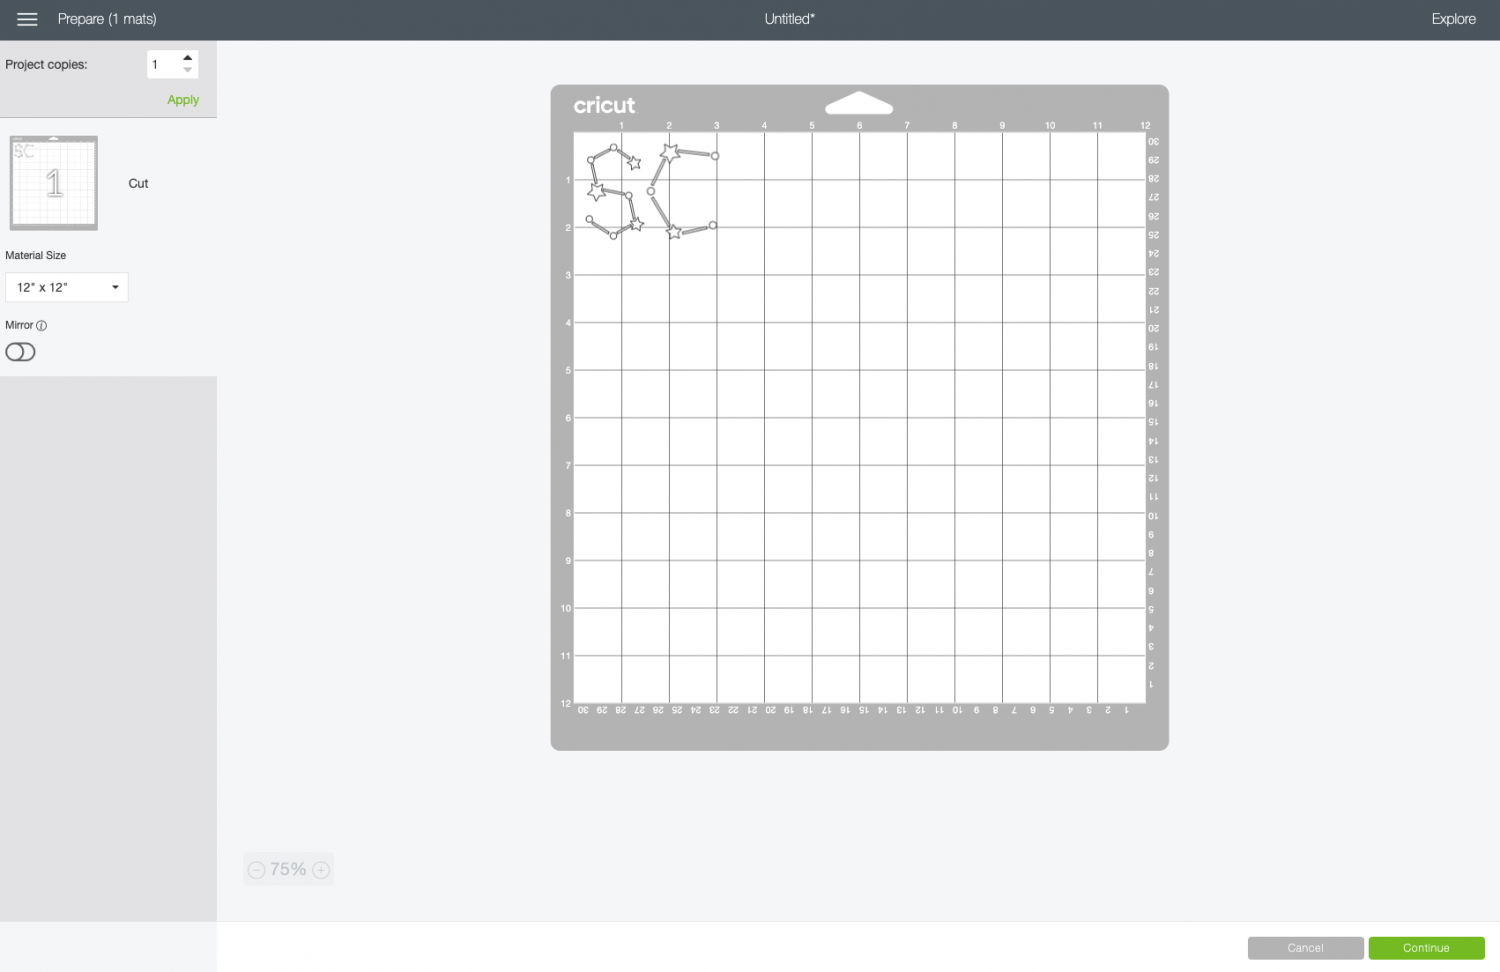
Click Continue and you’re ready to cut!
Cut Your Adhesive Vinyl for Your Constellation Letters
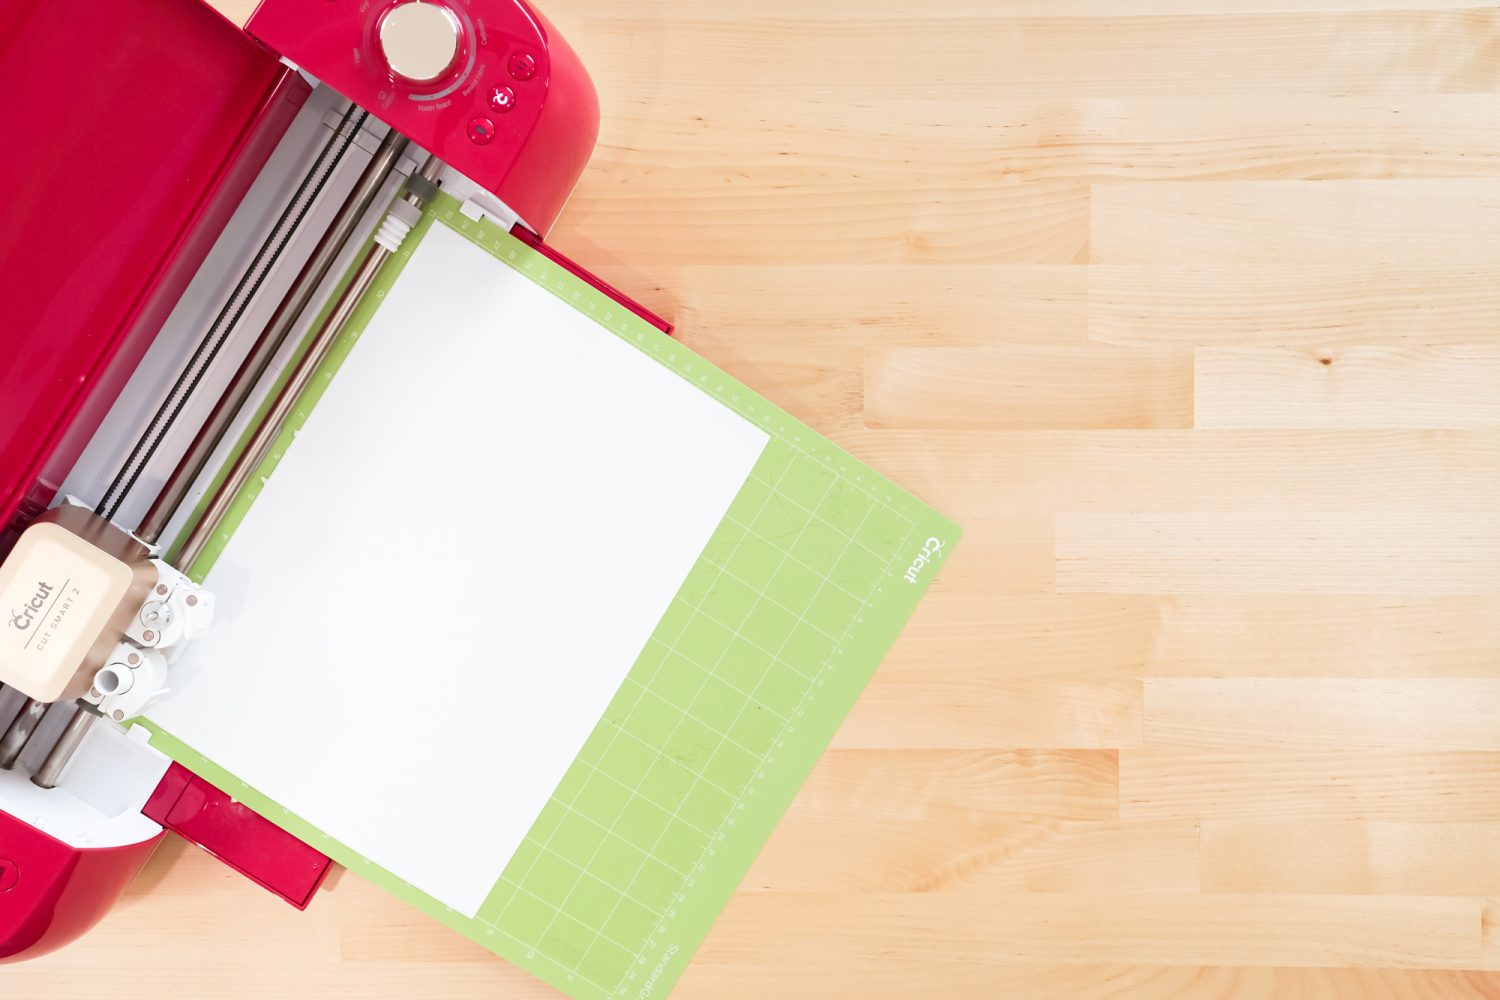
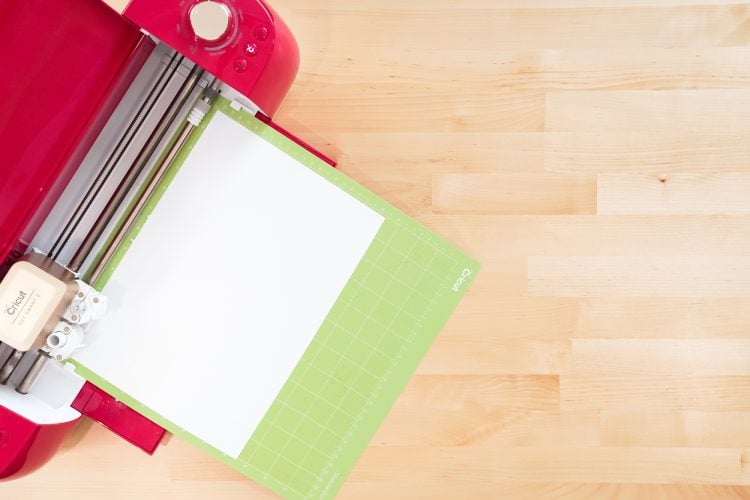
On the Make Screen, you’ll set your material to vinyl. Make sure you have your fine point blade in your machine, insert your mat, and your Cricut will cut your project!
Weed Your Adhesive Vinyl
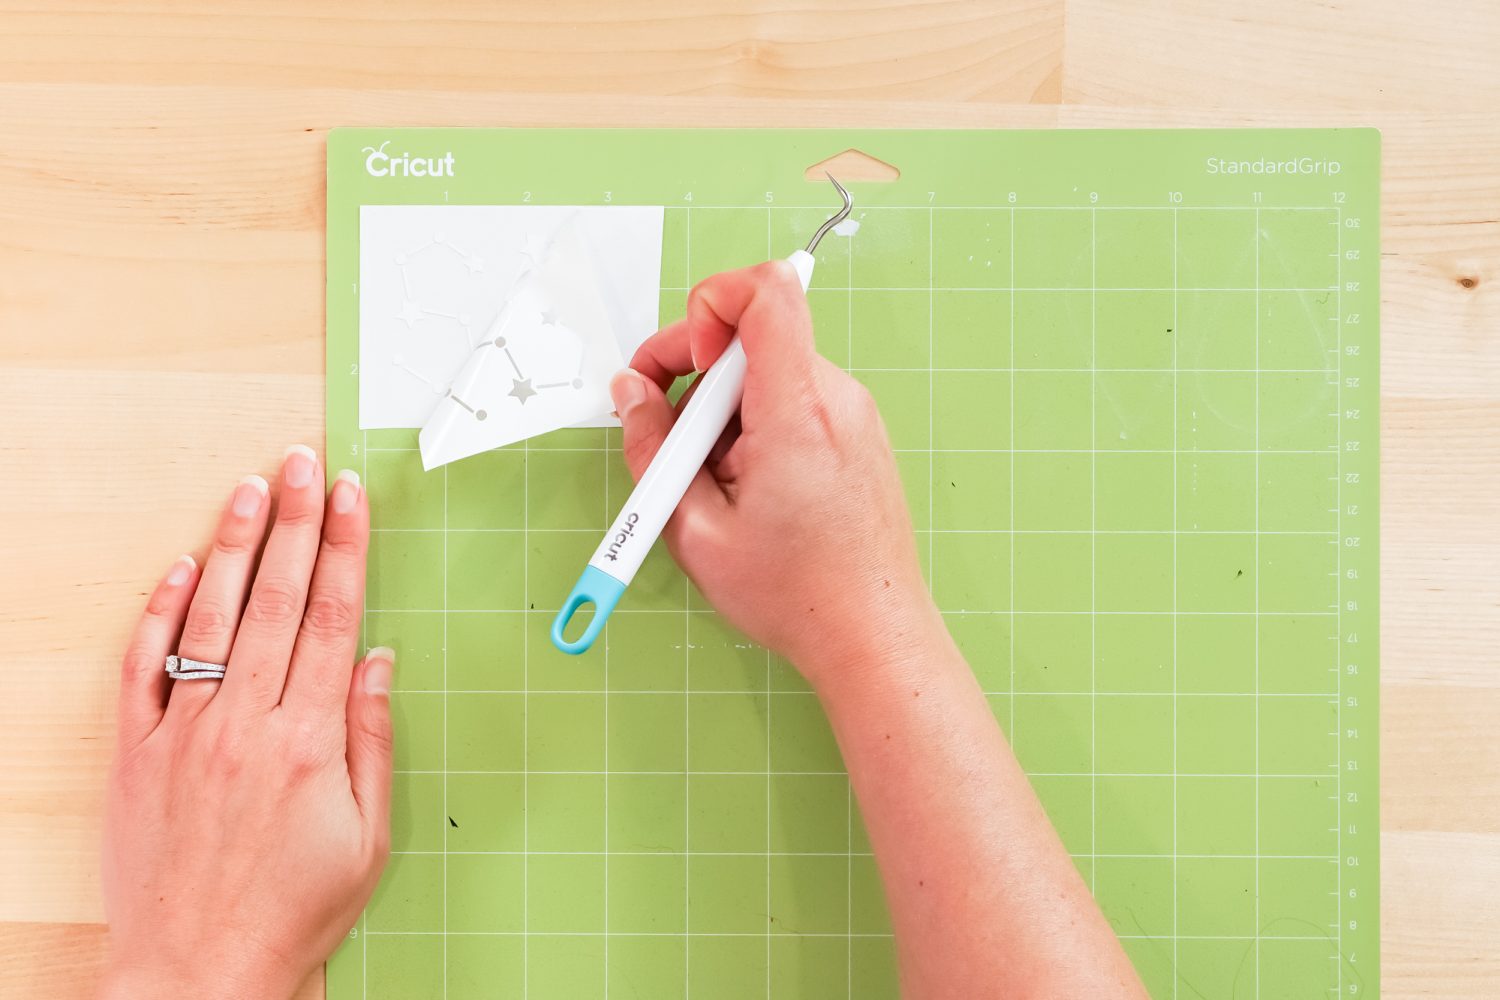
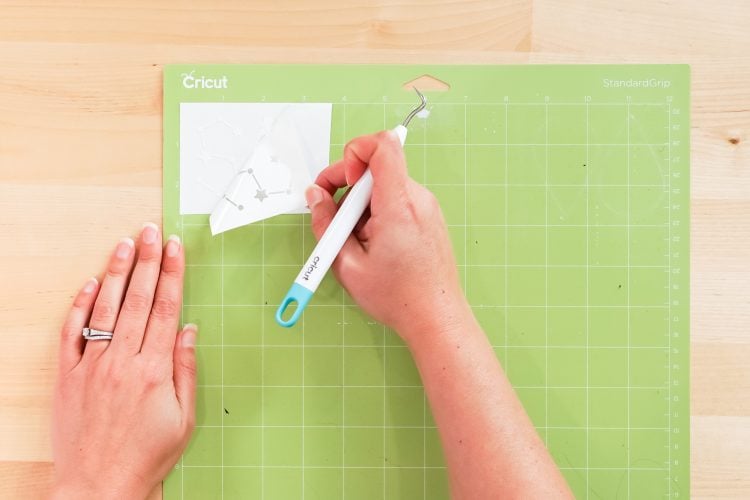
Next we’re going to “weed” the negative space from around each image. I have an extensive post about Weeding Adhesive Vinyl, which you’ll want to read—tons of tips and tricks to making it easier. This one should be pretty easy to weed.
Adhere Your Adhesive Vinyl to the Ornament Using Transfer Tape
Once all of your letters are weeded, it’s time to use transfer tape to adhere them to your ornaments. You can see an in-depth tutorial about Using Transfer Tape if you need it (plus troubleshooting tips if you’re struggling!).
Cut a piece of transfer tape the same size as your letter. Peel the backing sheet off the transfer tape and place the sticky side of the transfer tape down on your decal. Press well with your fingers or a scraper to burnish the transfer tape to the decal.
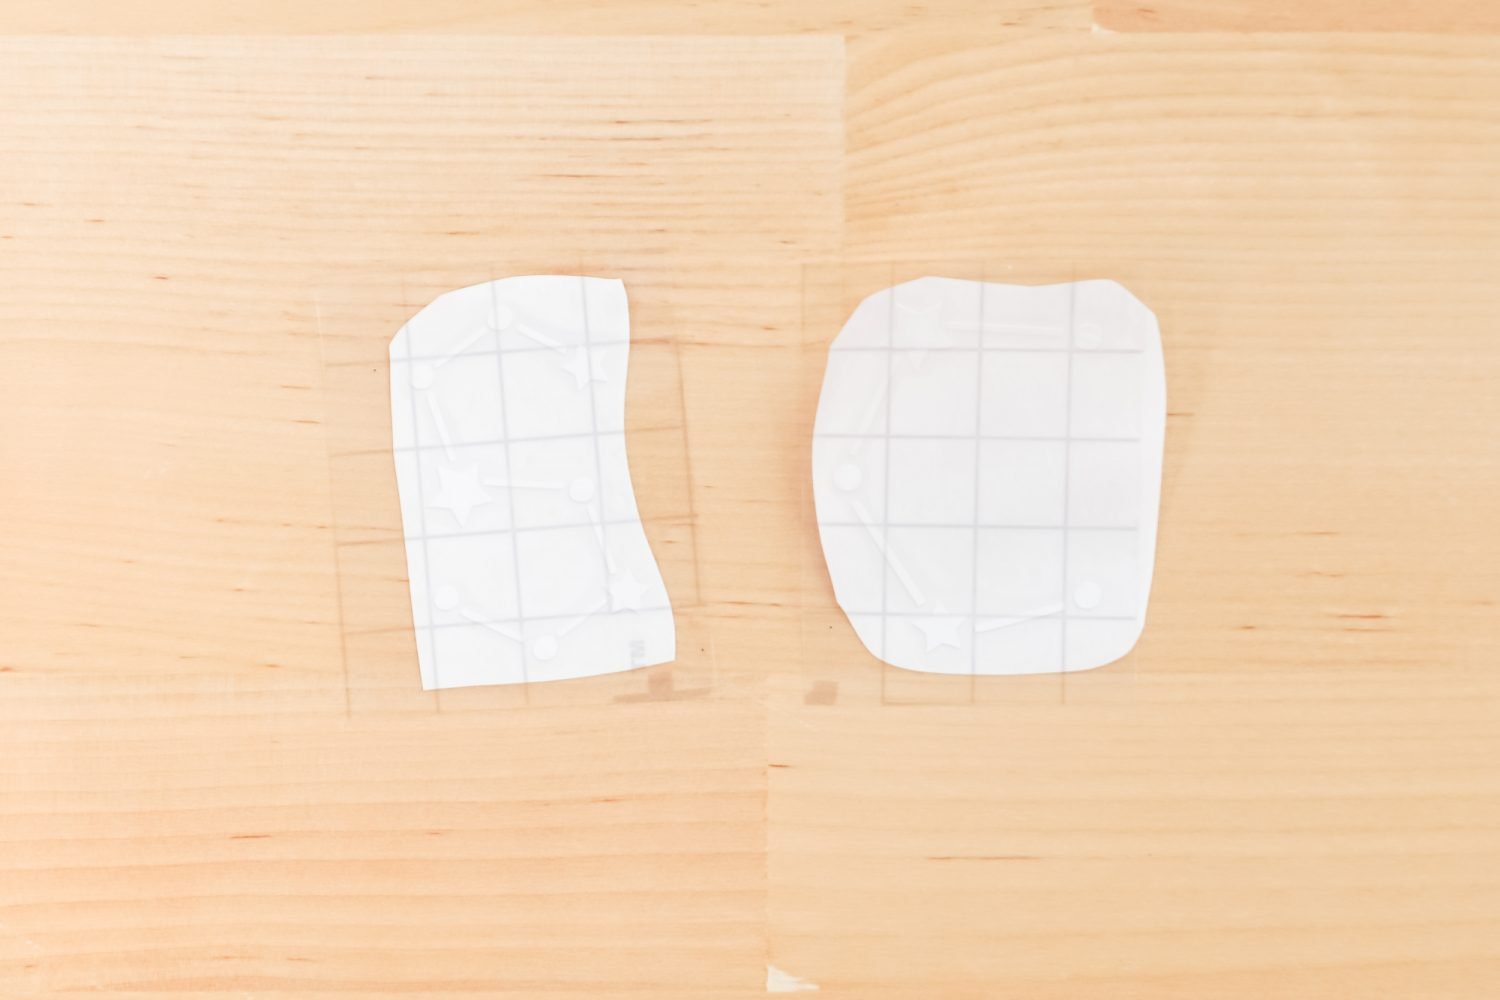
Use your scissors to make a few small cuts around the edge of your letters. This will make it easier to place the letters on a curved surface.
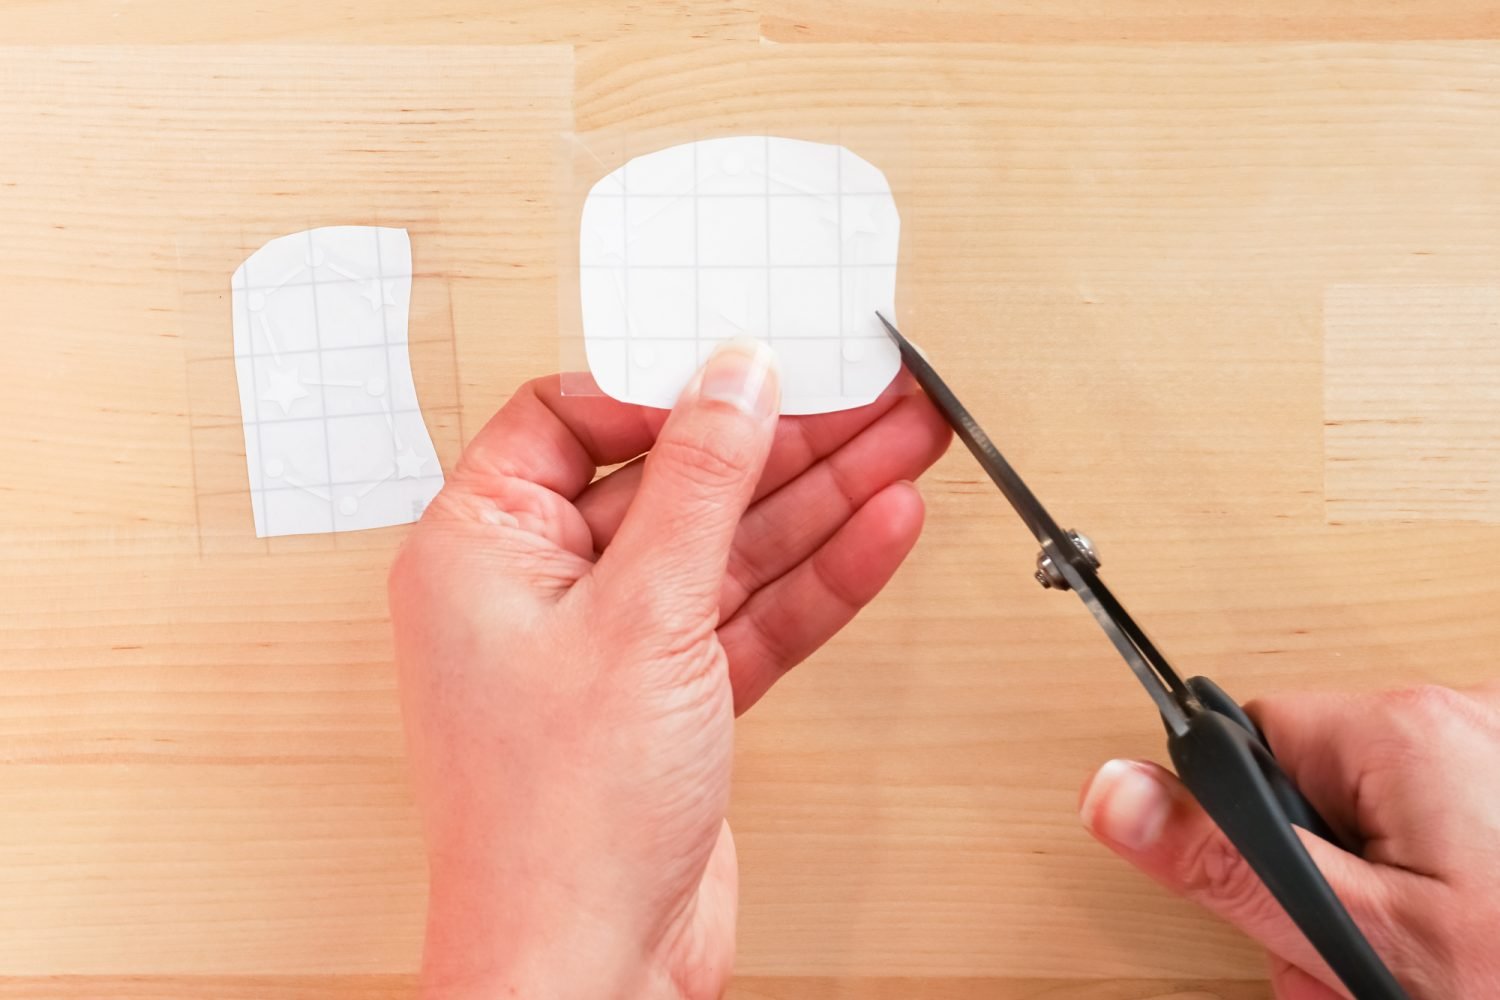
Then peel away the backing sheet and the vinyl should stick to the transfer tape.
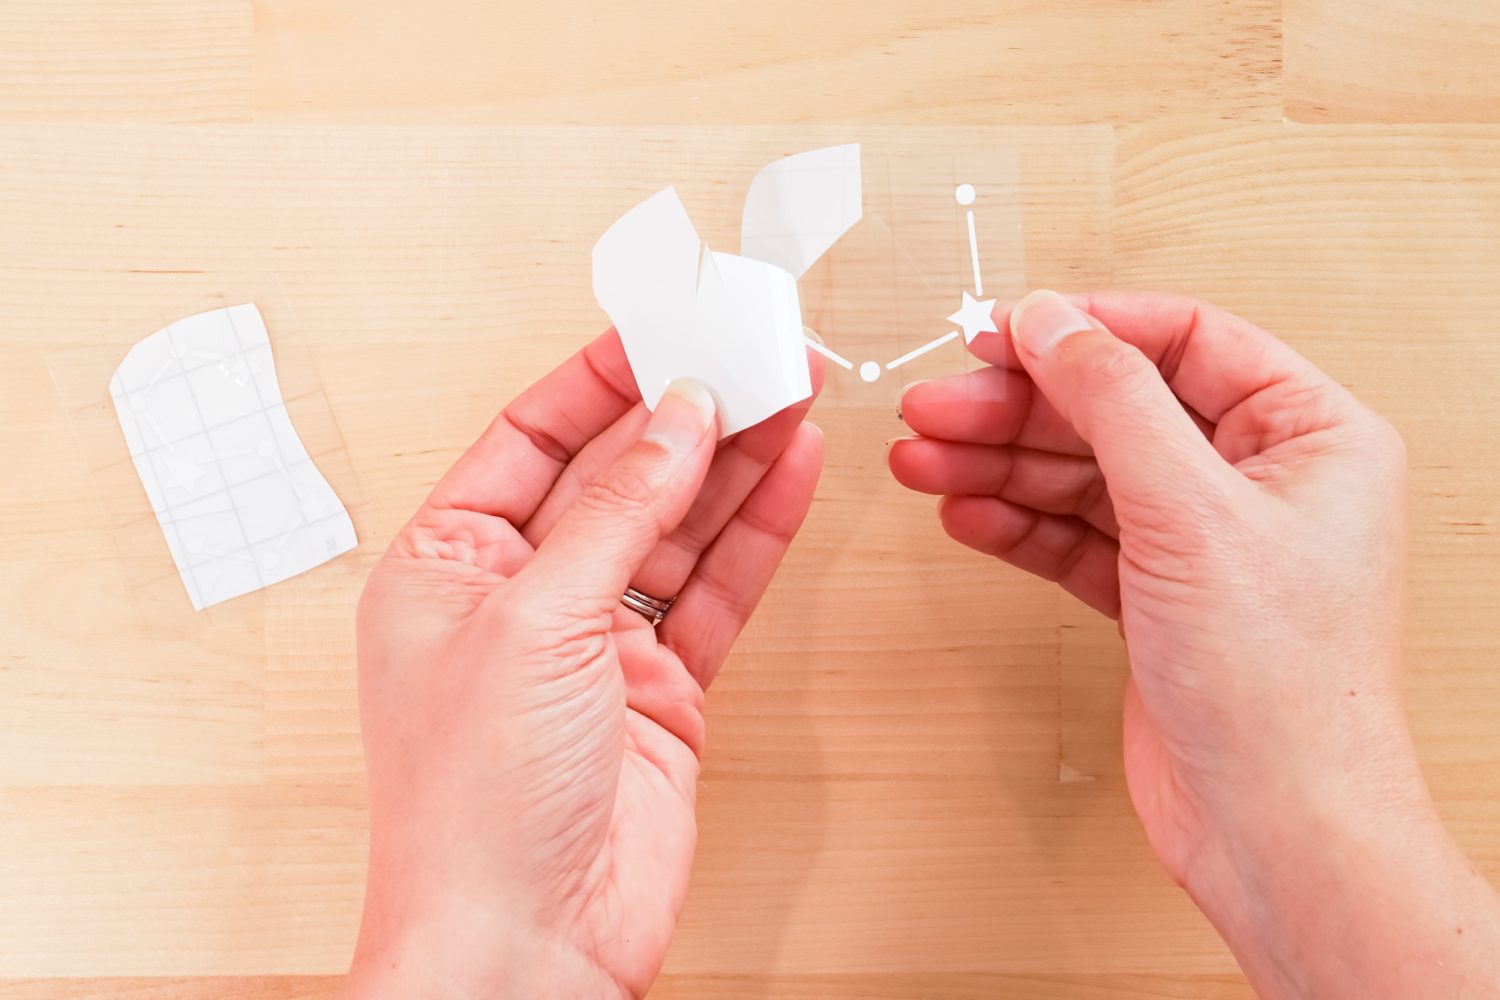
Starting at the center of your letter, place the decal on the ornament. Use your fingers to press down the rest of the letter, allowing it to curve with the ornament.
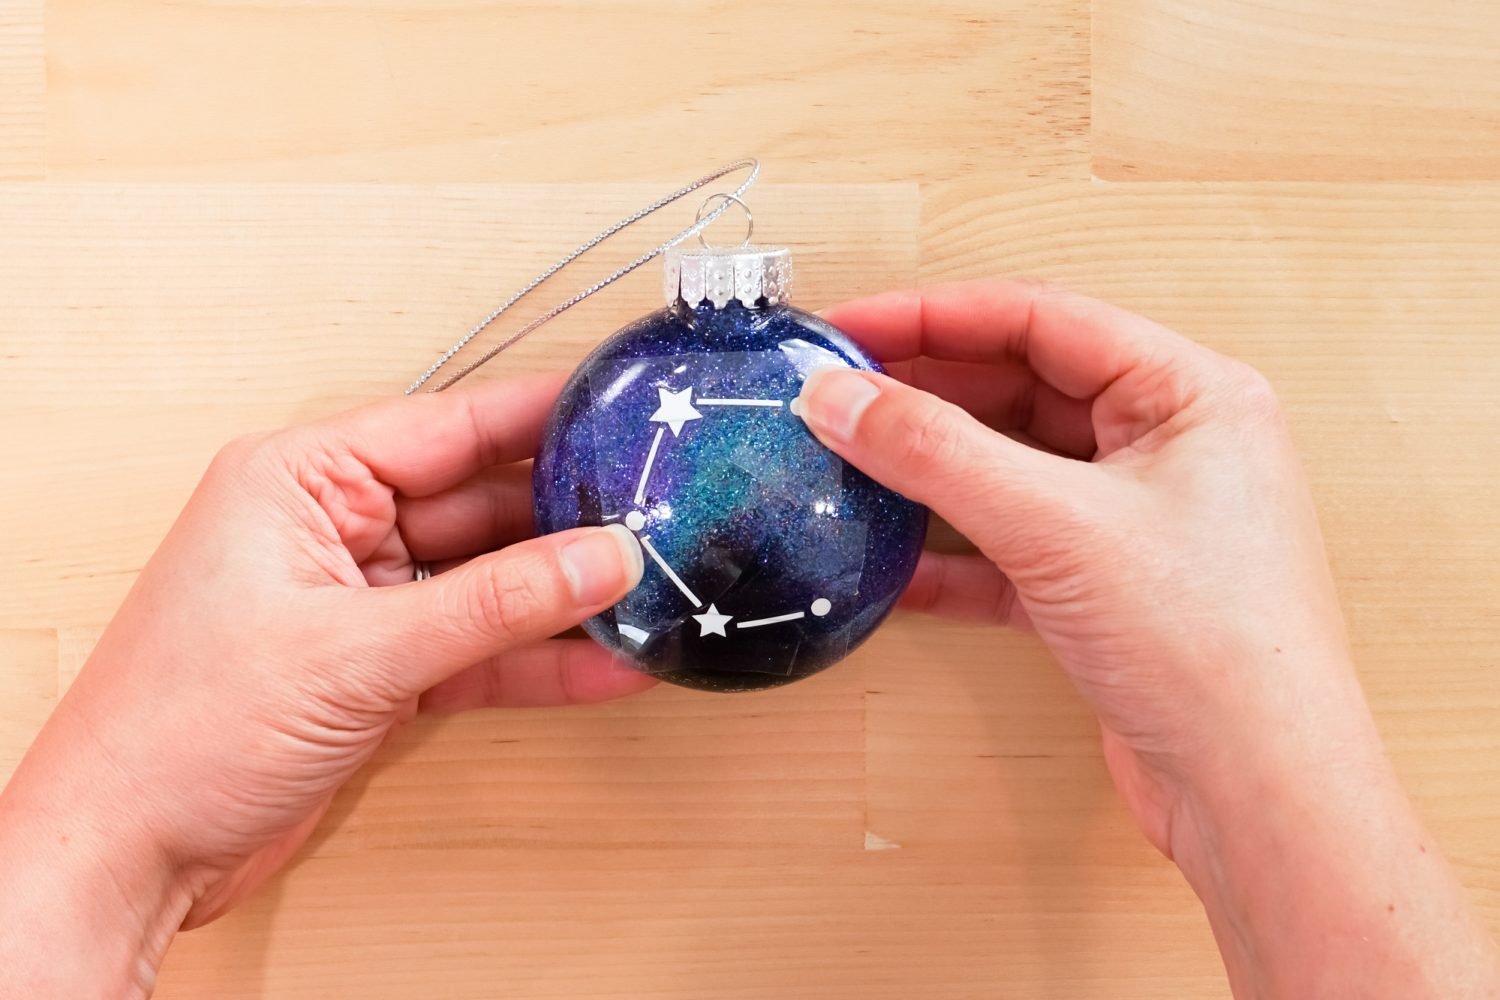
Burnish the vinyl to the ornament with your fingers and then carefully peel back the transfer tape.
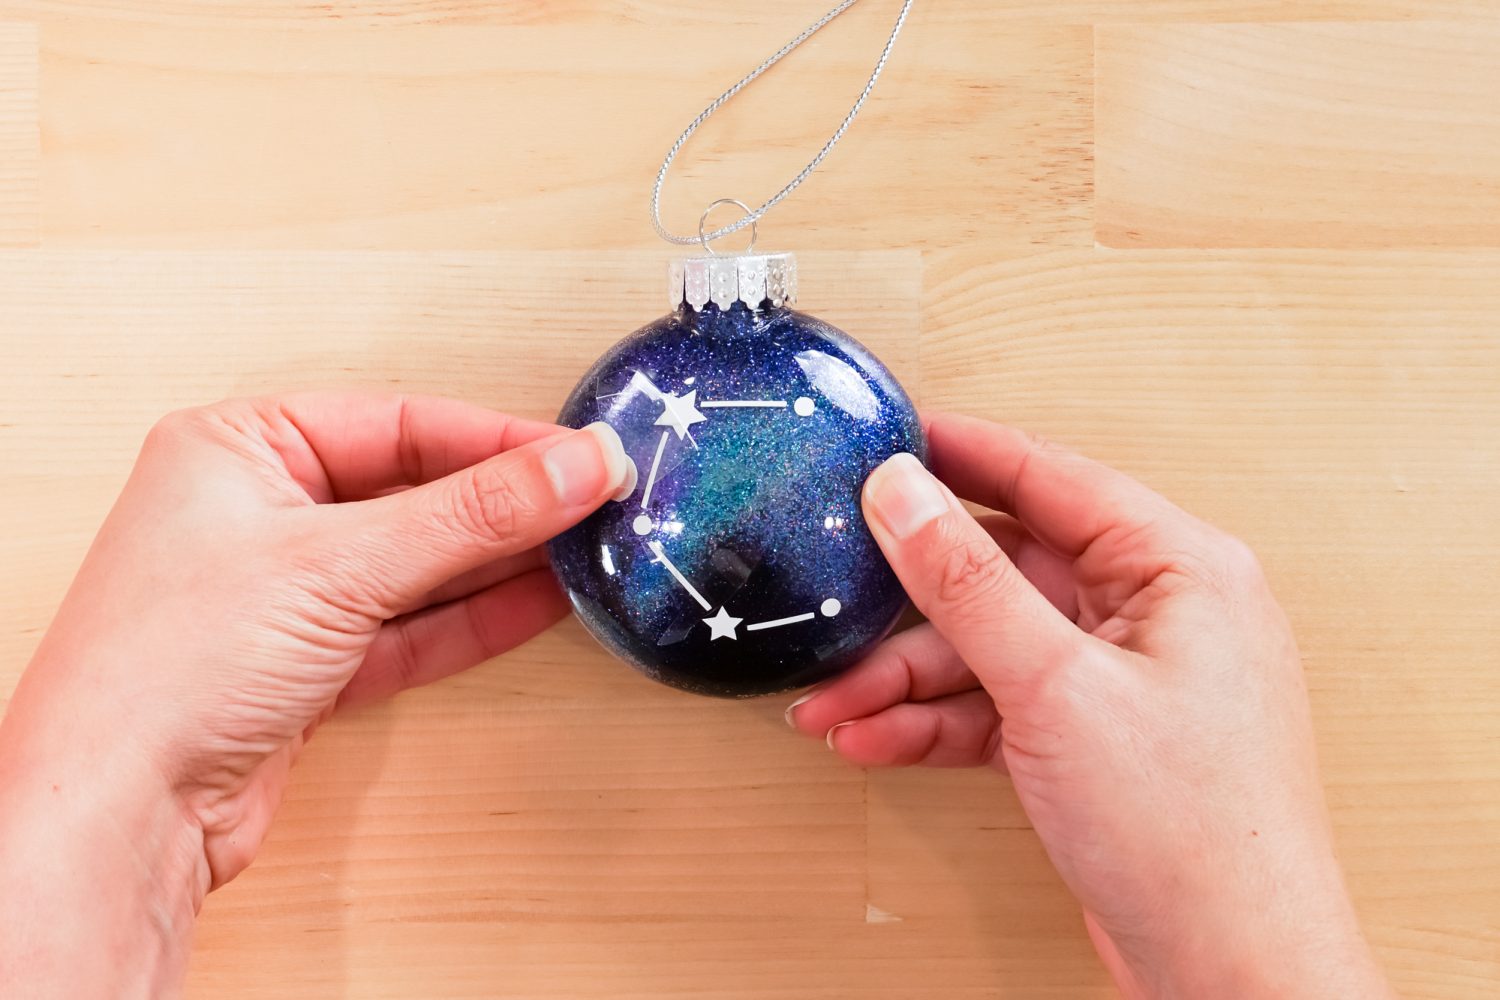
You do not need to seal these ornaments—I’ve made plastic and glass ornaments with vinyl for years and none of them have peeled!
CONSTELLATION GLITTER ORNAMENTS
Supplies
- Adhesive Vinyl white
- Transfer Tape
- Clear Disk Ornaments
- Fine Glitter
- Funnel
- Disposable Plate or Bowl
- Glitter Coat Adhesive
Instructions
- Coat the inside of the ornament with the glitter adhesive.

- Coat the inside of the ornament with streaks of glitter.

- Upload the file to Cricut Design Space.

- Choose your letters and resize and recolor them in Cricut Design Space.

- Cut the letters from adhesive vinyl.

- Weed your adhesive vinyl letters.

- Use transfer tape to adhere your vinyl letters to your ornament.

- Hang from your Christmas tree and enjoy!

Make All the 25 Days of Cricut Christmas Projects!
We’ll be adding links as each day goes live! Grab the full bundle with all of the projects and SVGs in our 25 Days of Cricut Christmas eBook!
- Day 1: DIY Christmas Countdown Calendar
- Day 2: Snow Globe Shaker Card
- Day 3: Happy Holly Days Christmas Banner
- Day 4: Felt Gnome Pillow
- Day 5: Cookies for Santa Tray
- Day 6: Snowflake Coasters
- Day 7: Customized Christmas Banner
- Day 8: Etched Holiday Baking Dish
- Day 9: DIY Gift Card Holder
- Day 10: Christmas Apron
- Day 11: Christmas Quilt Block Artwork
- Day 12: Constellation Glitter Ornaments
- Day 13: DIY Christmas Card Holder
- Day 14: Papercut Christmas Village
- Day 15: Funny Christmas Socks
- Day 16: Veneer Pinecone Earrings
- Day 17: How to Make Felt Bows
- Day 18: Personalized Santa Sacks
- Day 19: Newborn Footprint Ornaments
- Day 20: Layered Christmas Mandala
- Day 21: Customized Pot Holders
- Day 22: Sleigh Rides Christmas Sign
- Day 23: Hot Cocoa Mug Gift
- Day 24: Print then Cut Gift Tags
- Day 25: Matching Christmas Pajamas


Comments & Reviews
Lisa says
Can you use modge podge instead of the adhesive?
Yvonne says
I love these they are amazing.