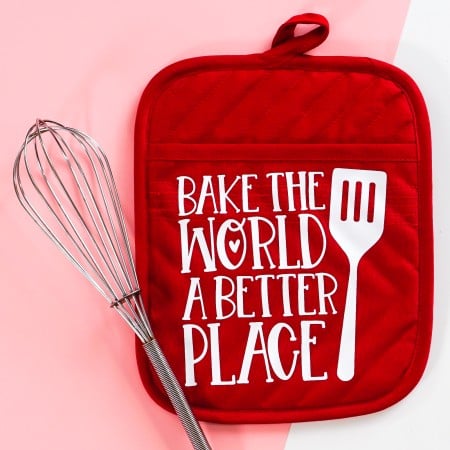
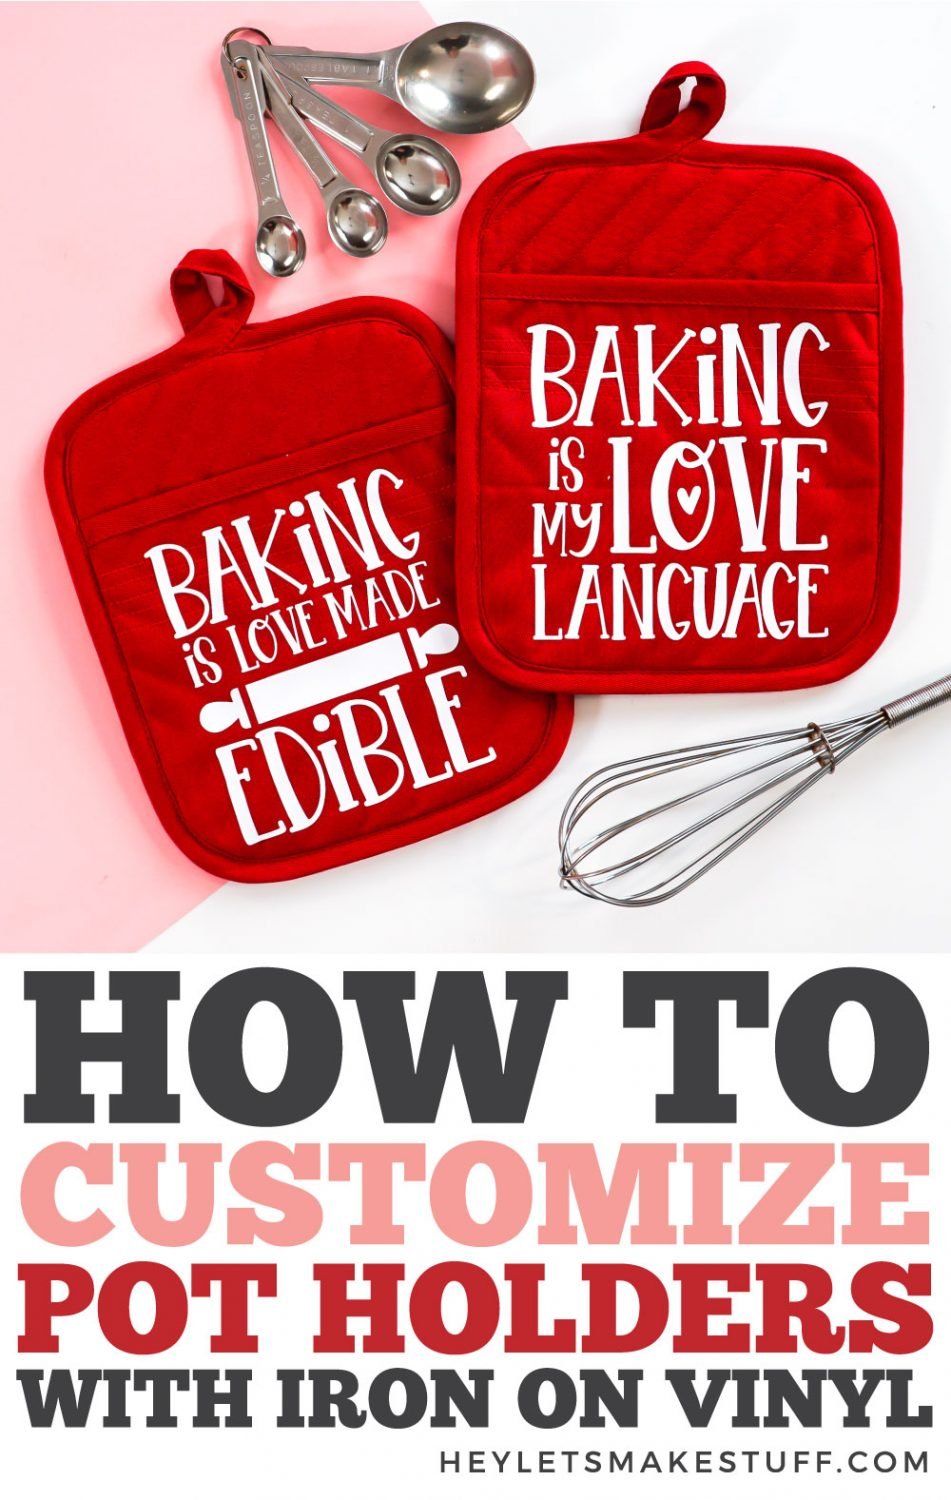
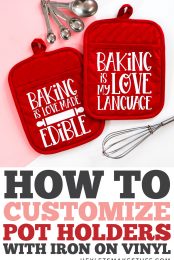
Start baking some Christmas cheer with these adorable customized pot holders, embellished with your Cricut! Perfect to use in your kitchen this holiday season or gift to a friend who loves to bake.
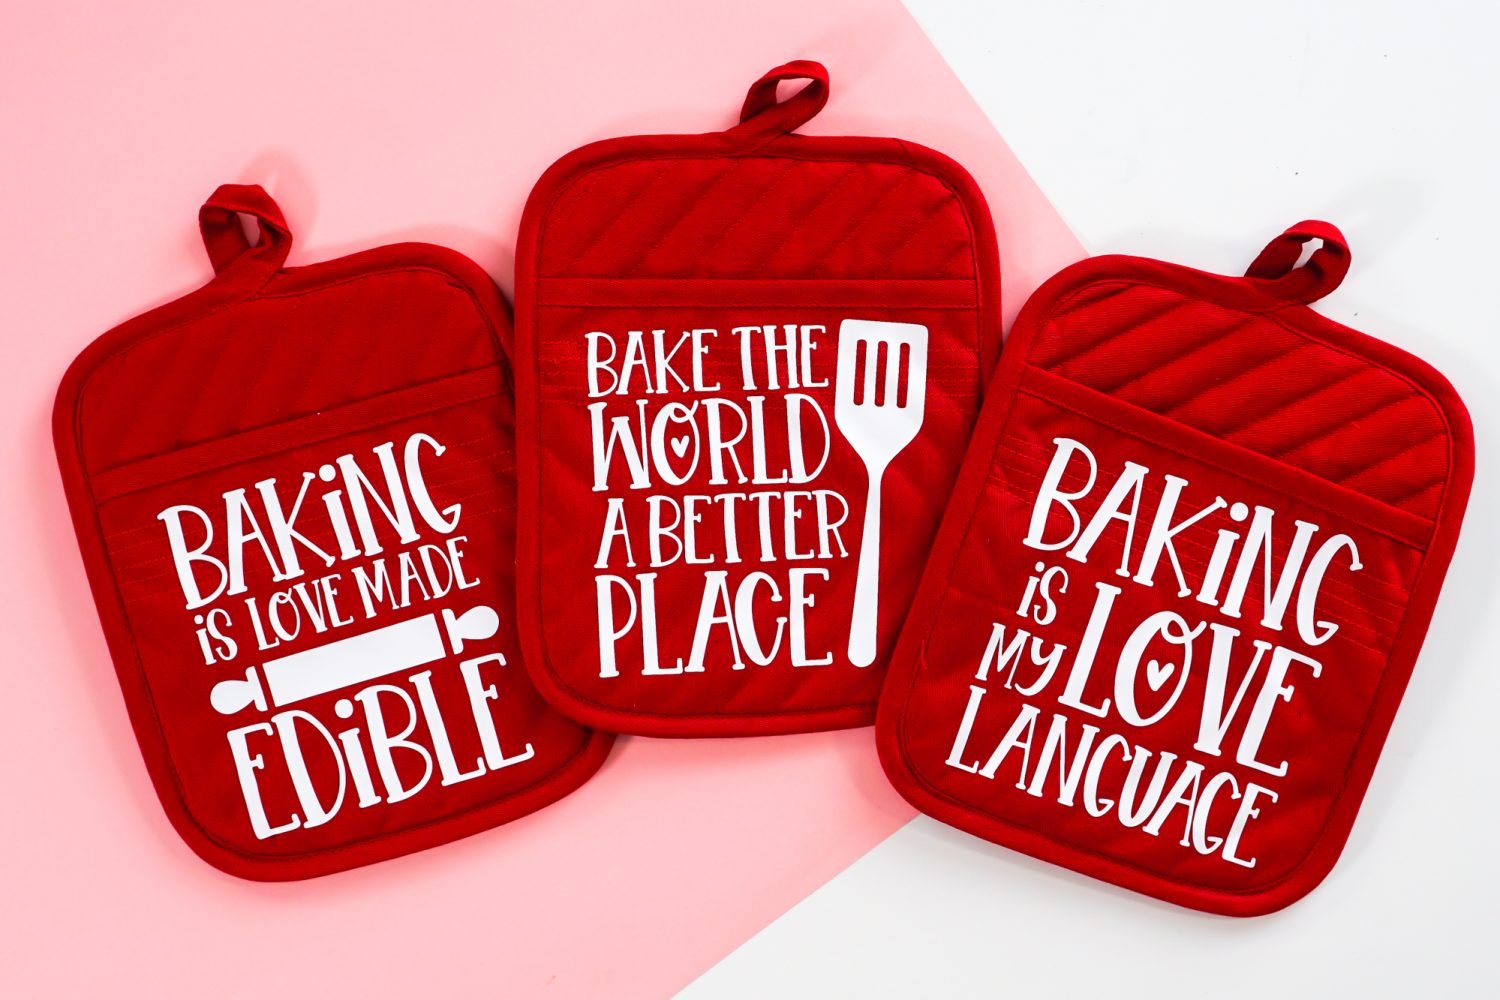
Earlier in the 25 Days of Cricut Christmas series we made an etched baking dish. Now for Day 21, let’s craft something that will help us get that baking dish out of the hot oven—customized pot holders!
If you’d like to get this series in an ebook format PLUS all of the SVGs needed to make all 25 projects check out the 25 Days of Cricut Christmas eBook Bundle!
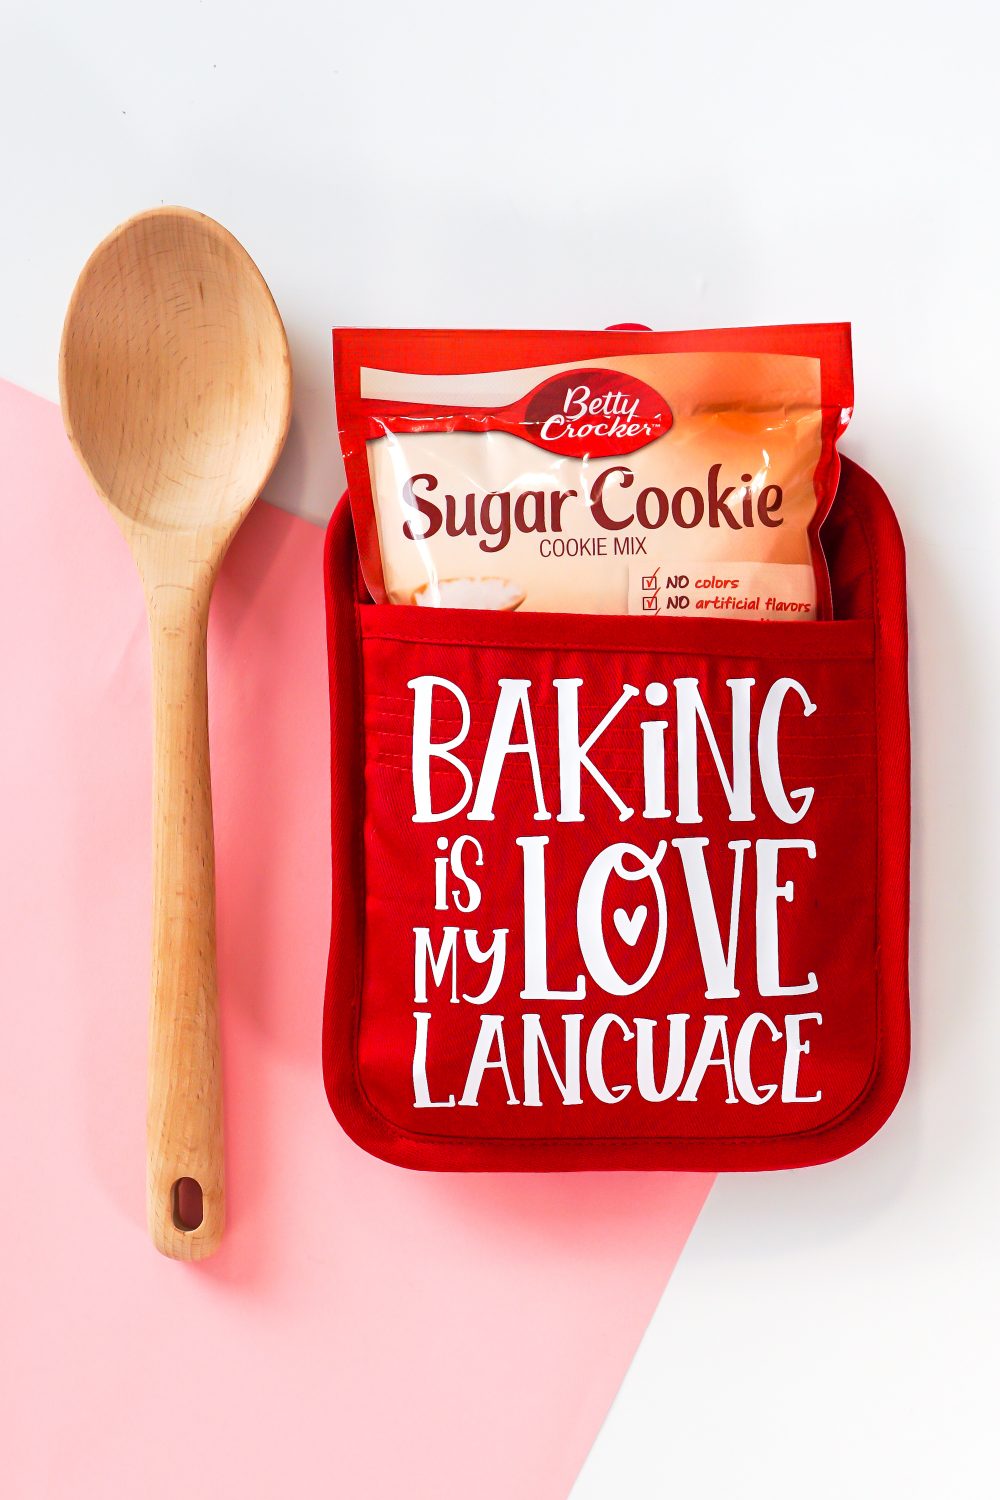
These pot holders are great for using in your own kitchen during the holidays, but they also make a great gift for that baker in your life! If you have potholders with a pocket, add a some cookie mix, a spatula or a whisk, or even pair it with the baking dish that we made a few days ago.
Let’s bake up some fun!
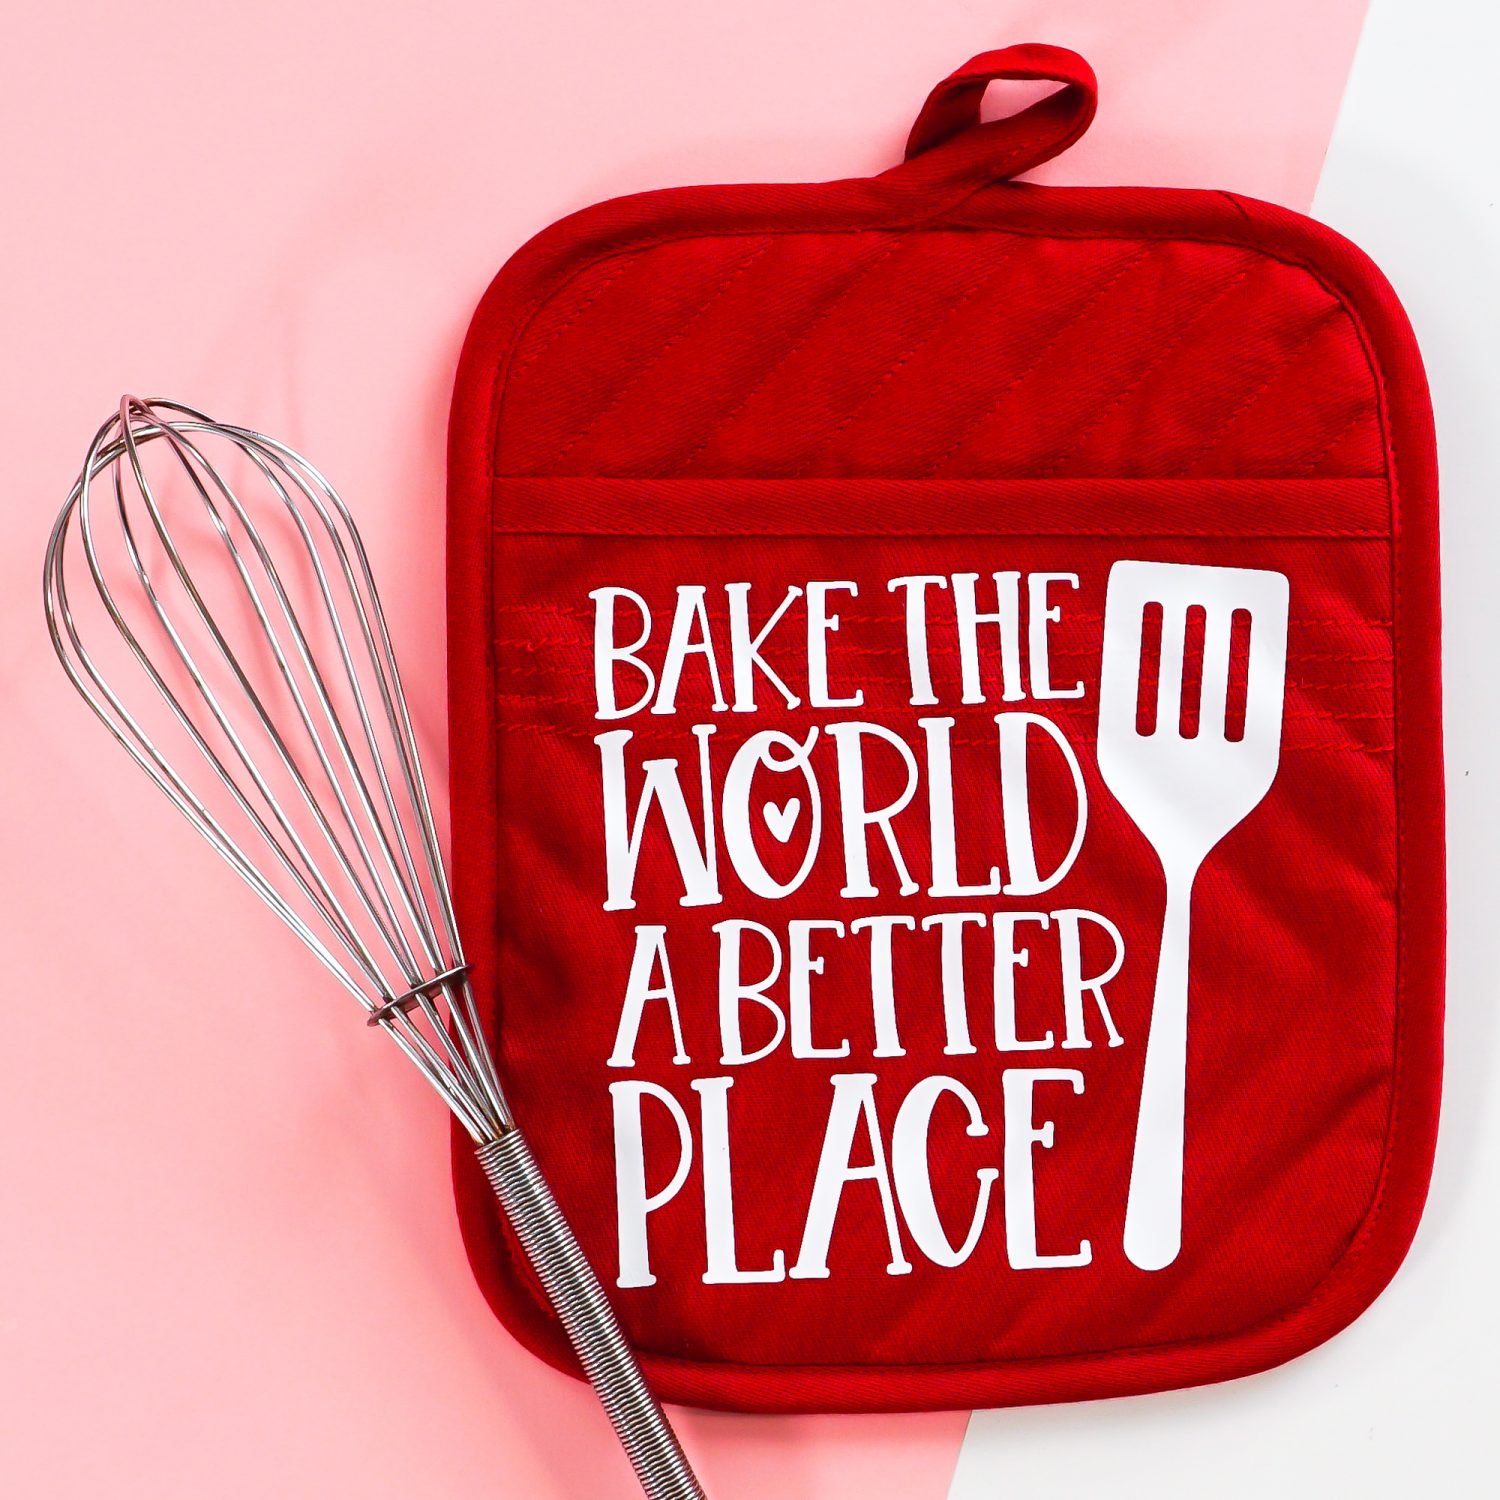
Customized Pot Holder Supplies
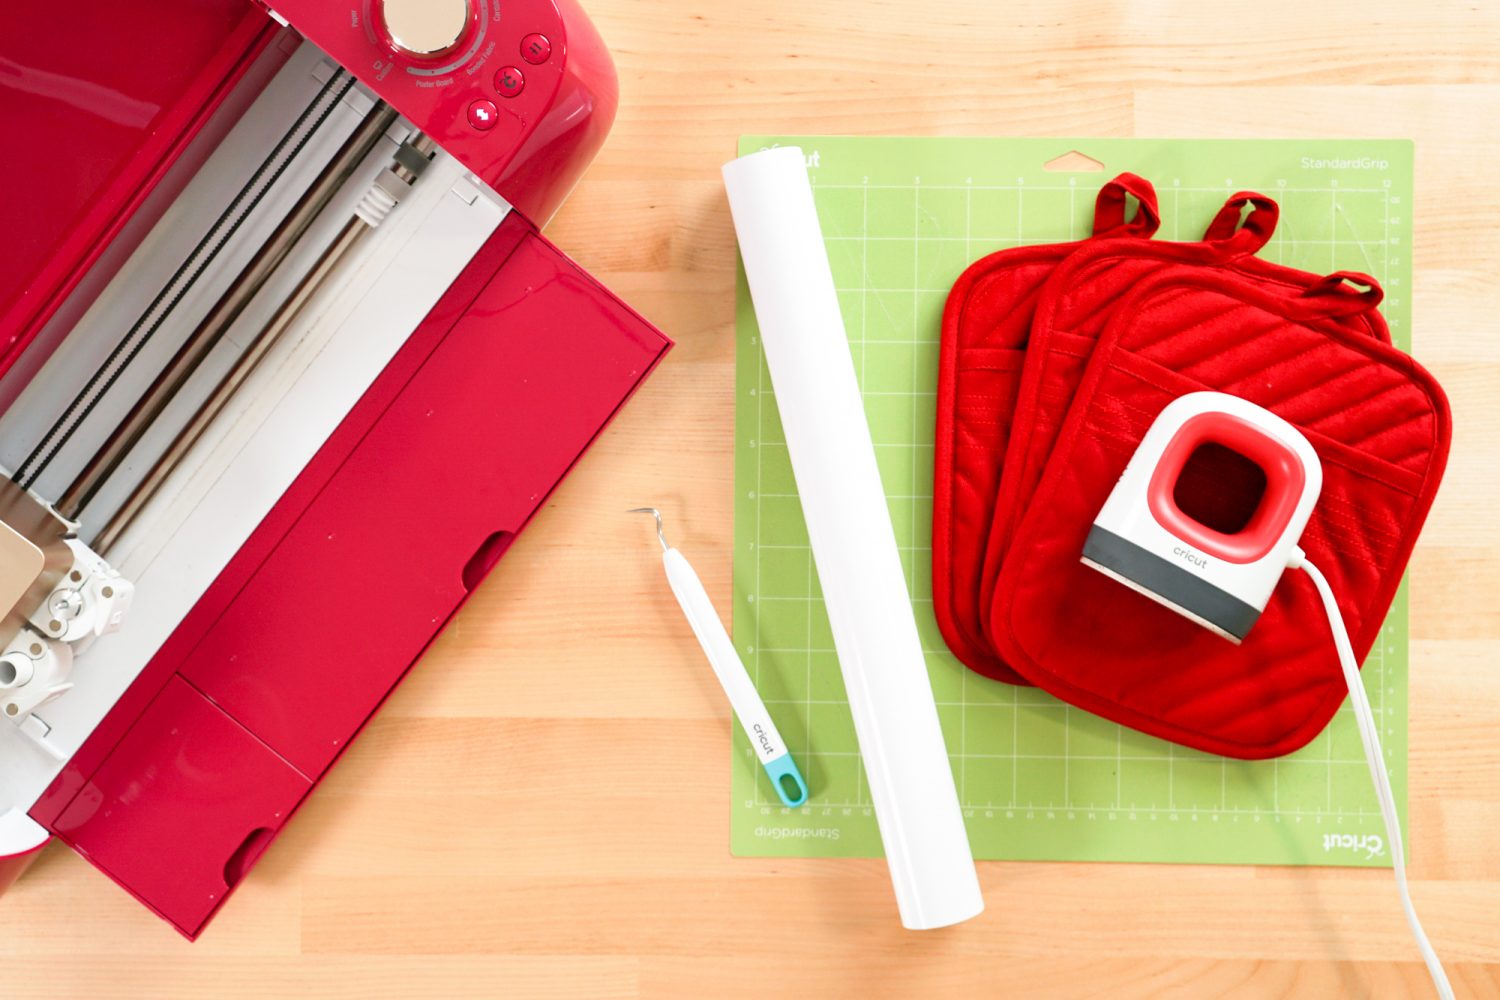
- Cricut Explore or Cricut Maker
- Blue LightGrip or Green StandardGrip mat
- Iron on vinyl
- Weeding tool
- Cricut EasyPress, Cricut EasyPress Mini, or household iron
- Pressing mat or EasyPress mat
- Pot holders
- Bake the World SVG
Grab the SVG for this Project
Customized Pot Holder Instructions
Upload the Pot Holders file to Cricut Design Space
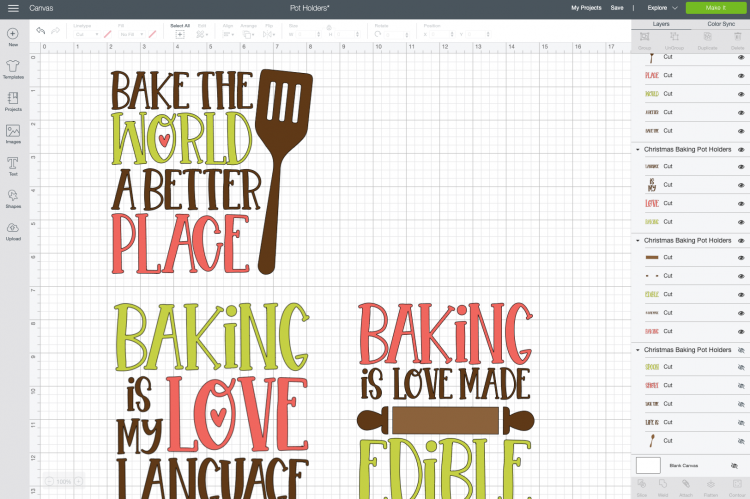
To start, upload the baking pot holders file to Cricut Design Space (see Uploading SVG Files to Cricut Design Space if you need help).
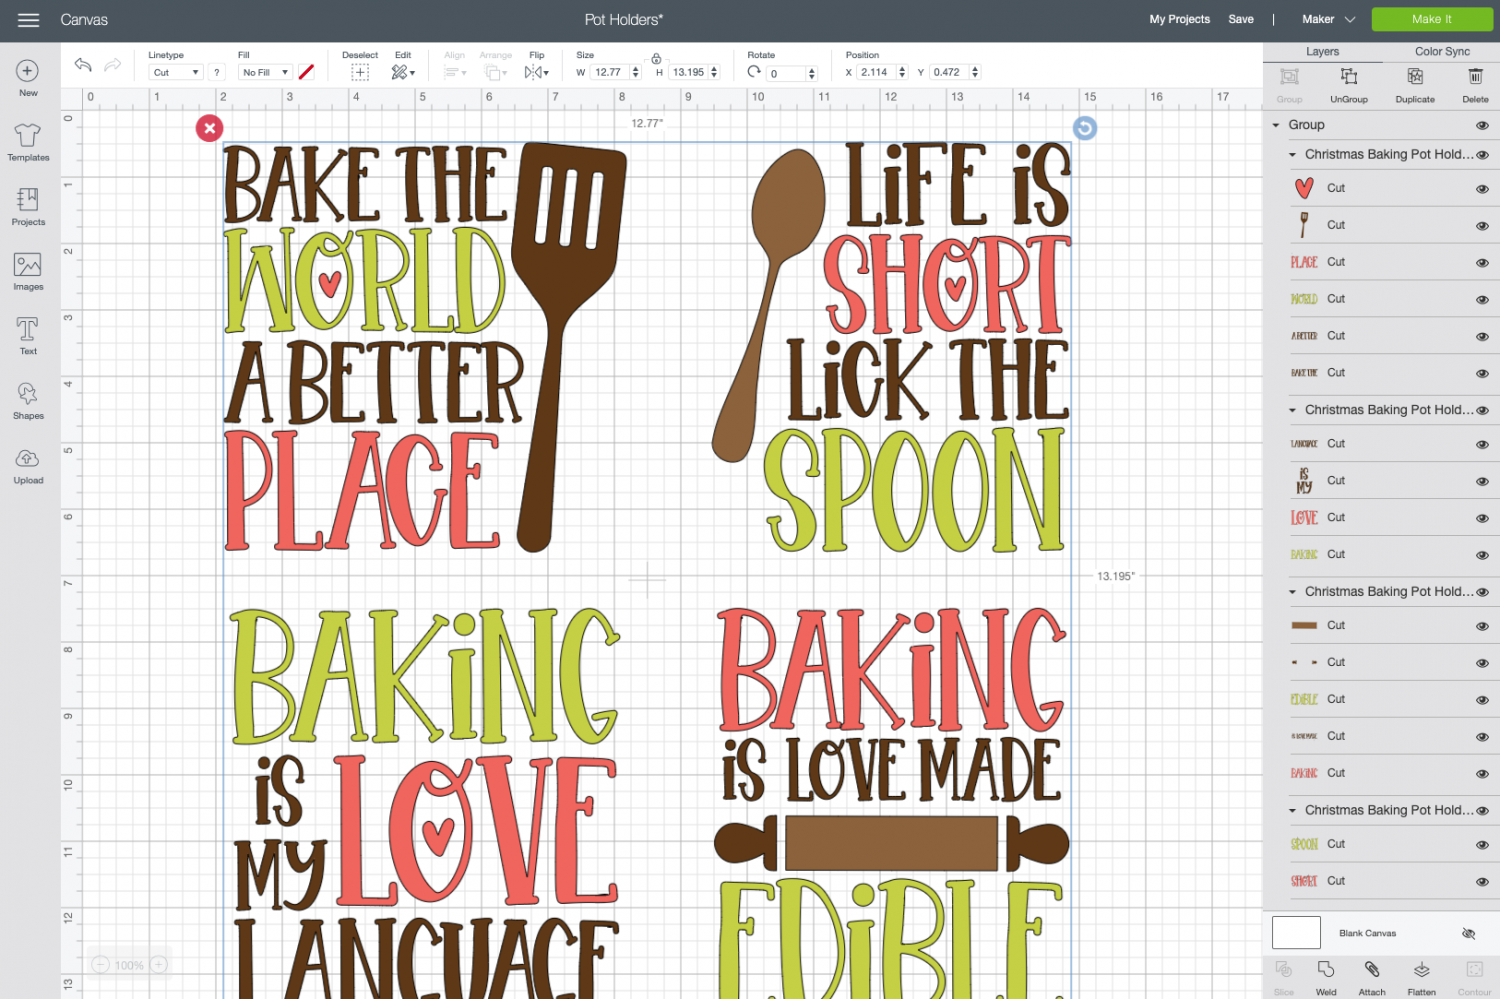
Once the file is onto our canvas, select the file and click Ungroup at the top of the Layers Panel on the left. That way we can work with these files individually.
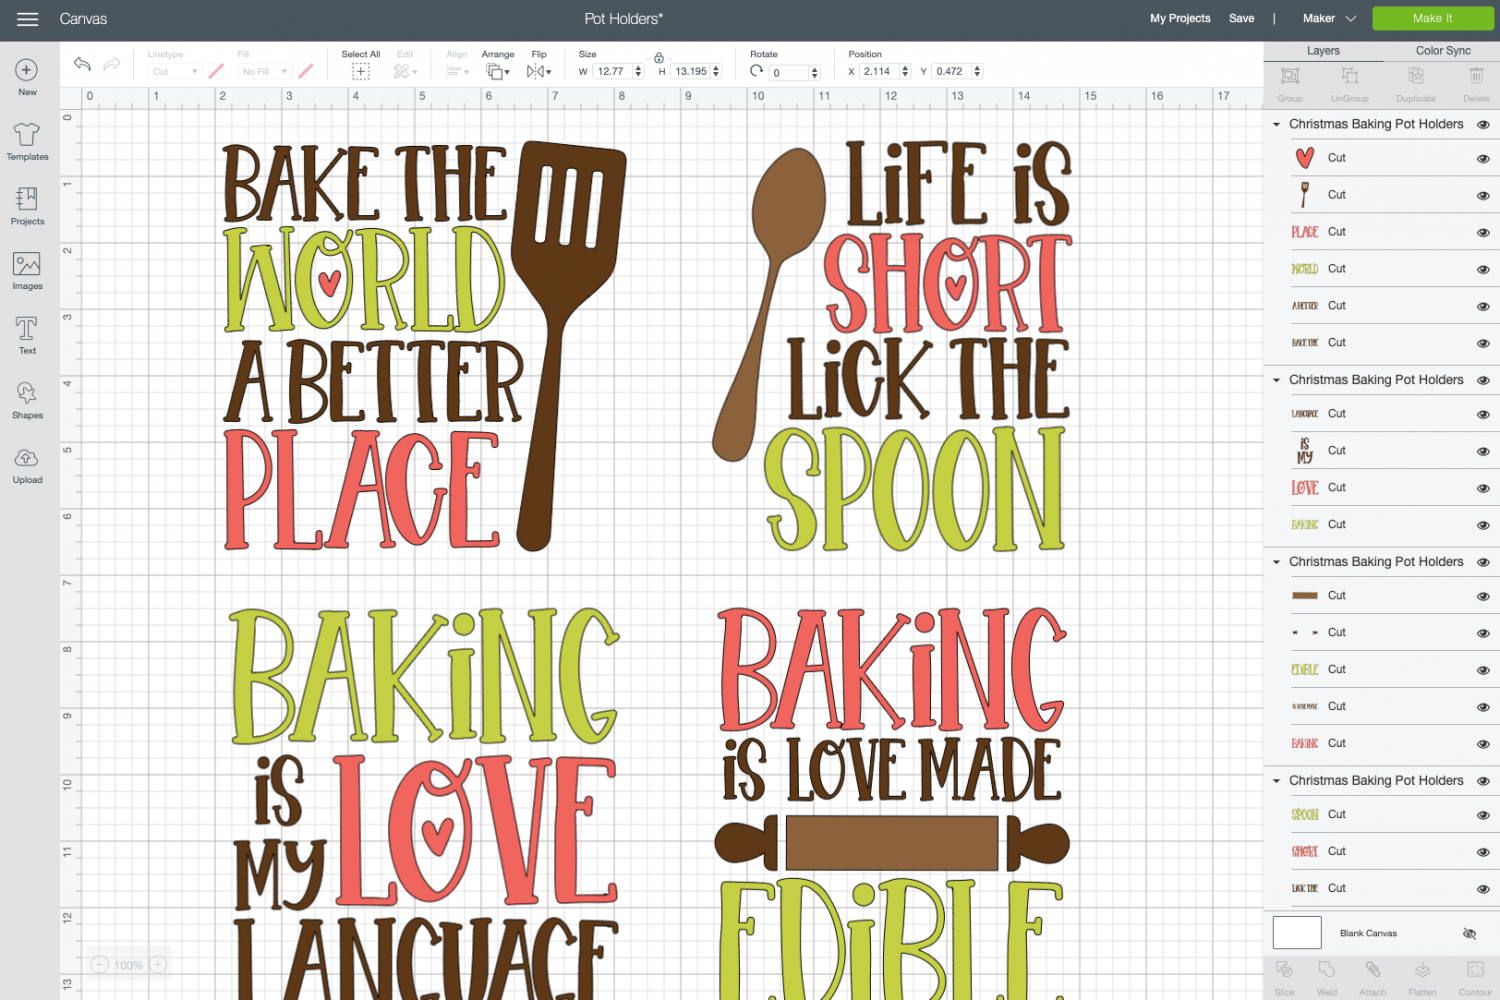
For this project, I am making only three potholders, so I hid the one I’m not using by clicking the “eye” in the Layers Panel.
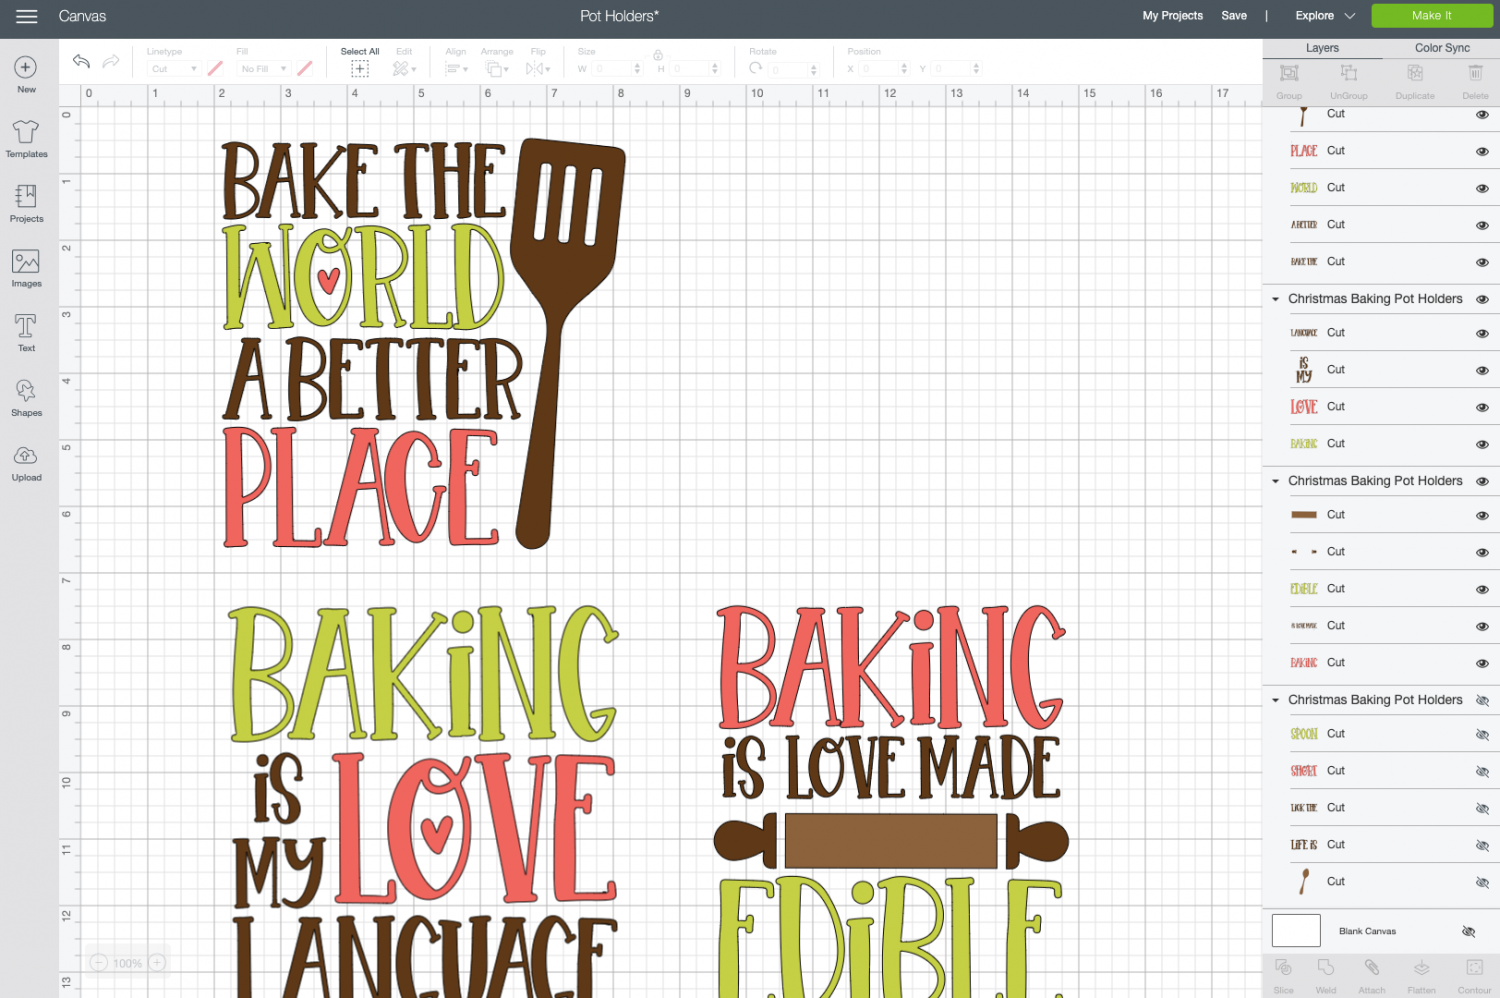
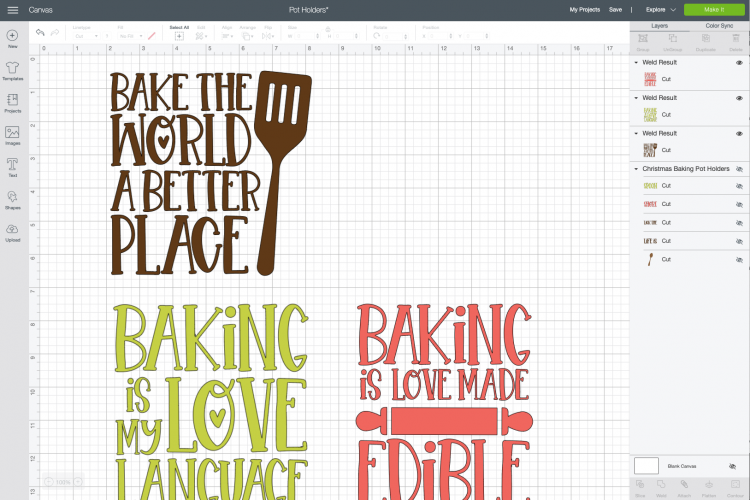
Instead of cutting the files in several colors, I’d like to cut these in white. So select the top image and click Weld at the bottom of the Layers Panel. Learn more about Welding in Design Space.

Do the same for the other two images.
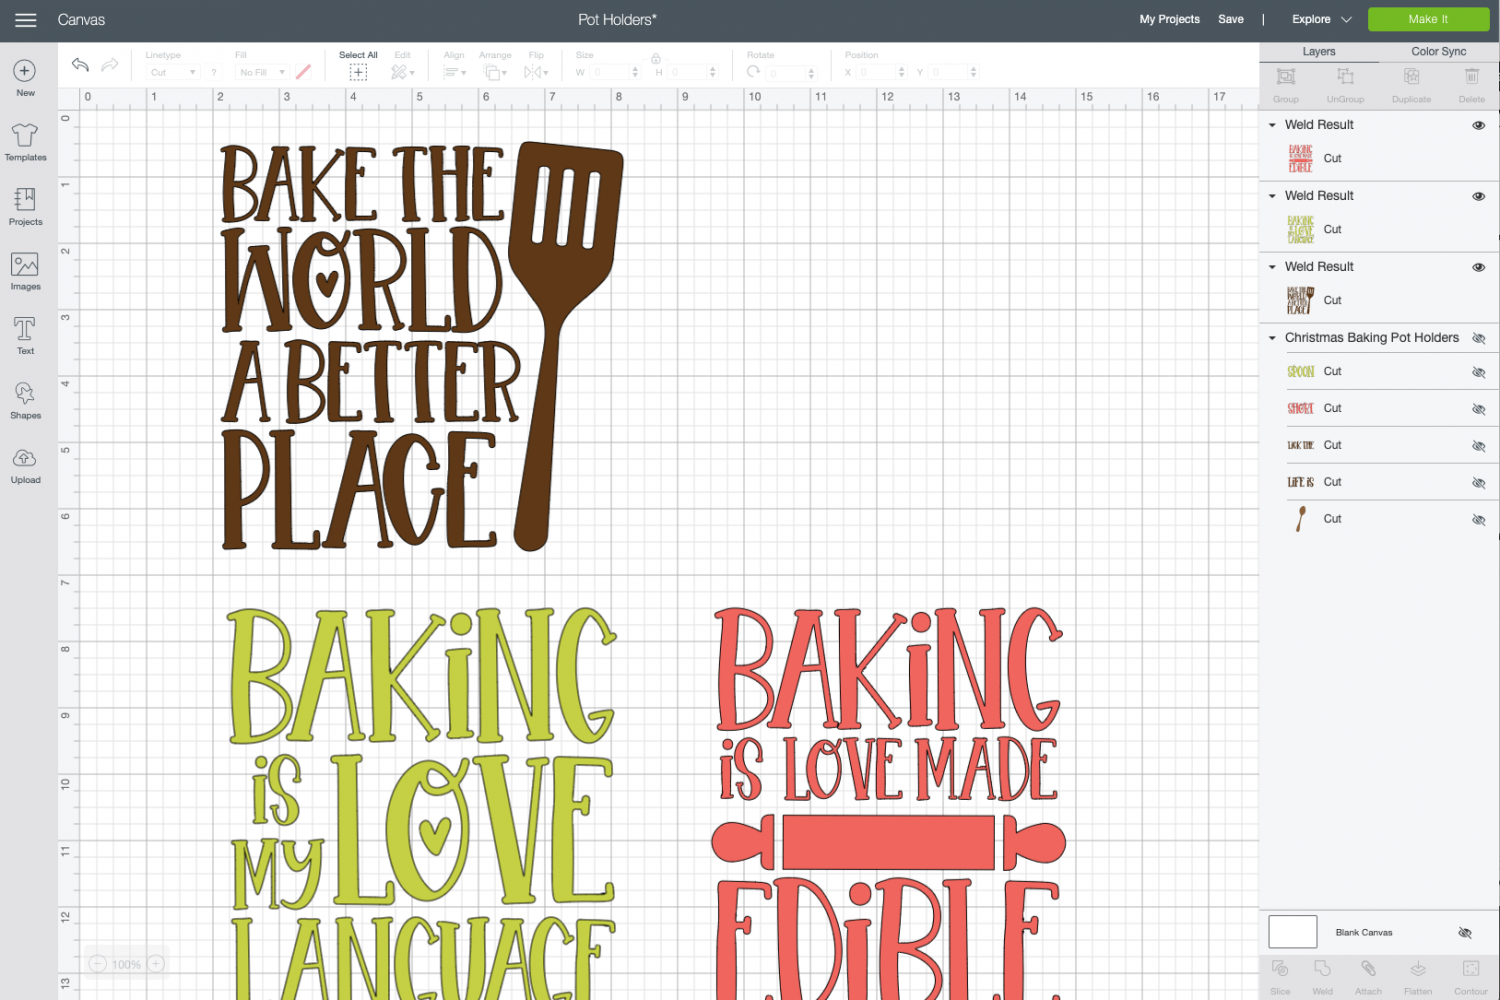
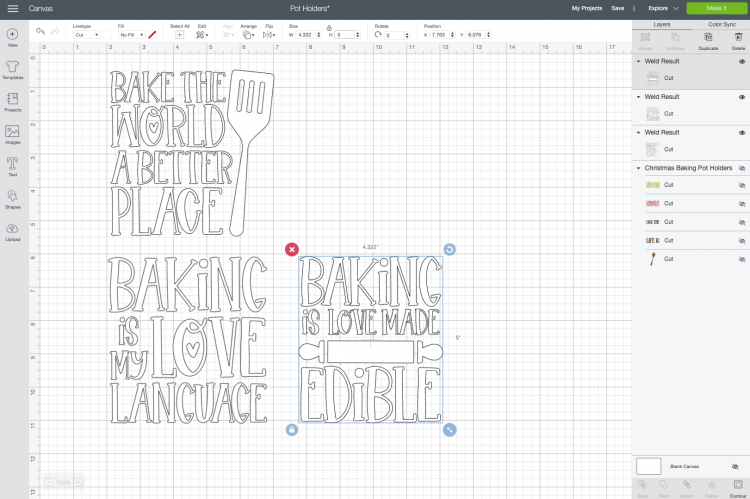
Then select all three images and change the color to white using the color dropdown in the Edit Toolbar at the top.
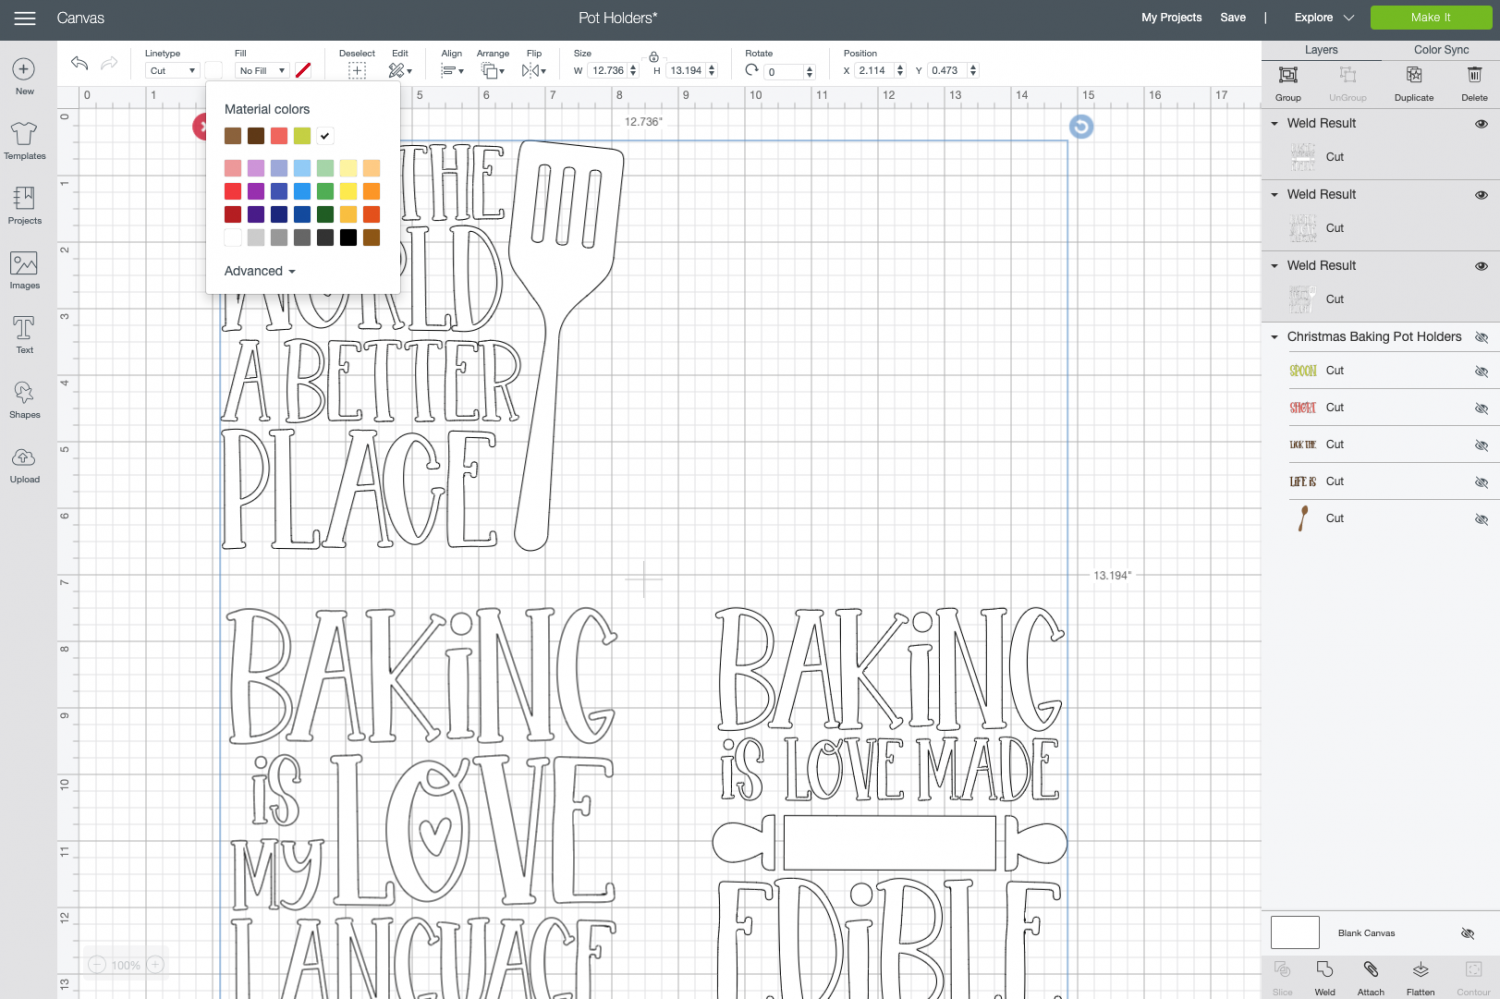
Finally, resize each image to fit on your pot holder. Mine are 5″ tall, but yours may be different depending on the size of your potholder.
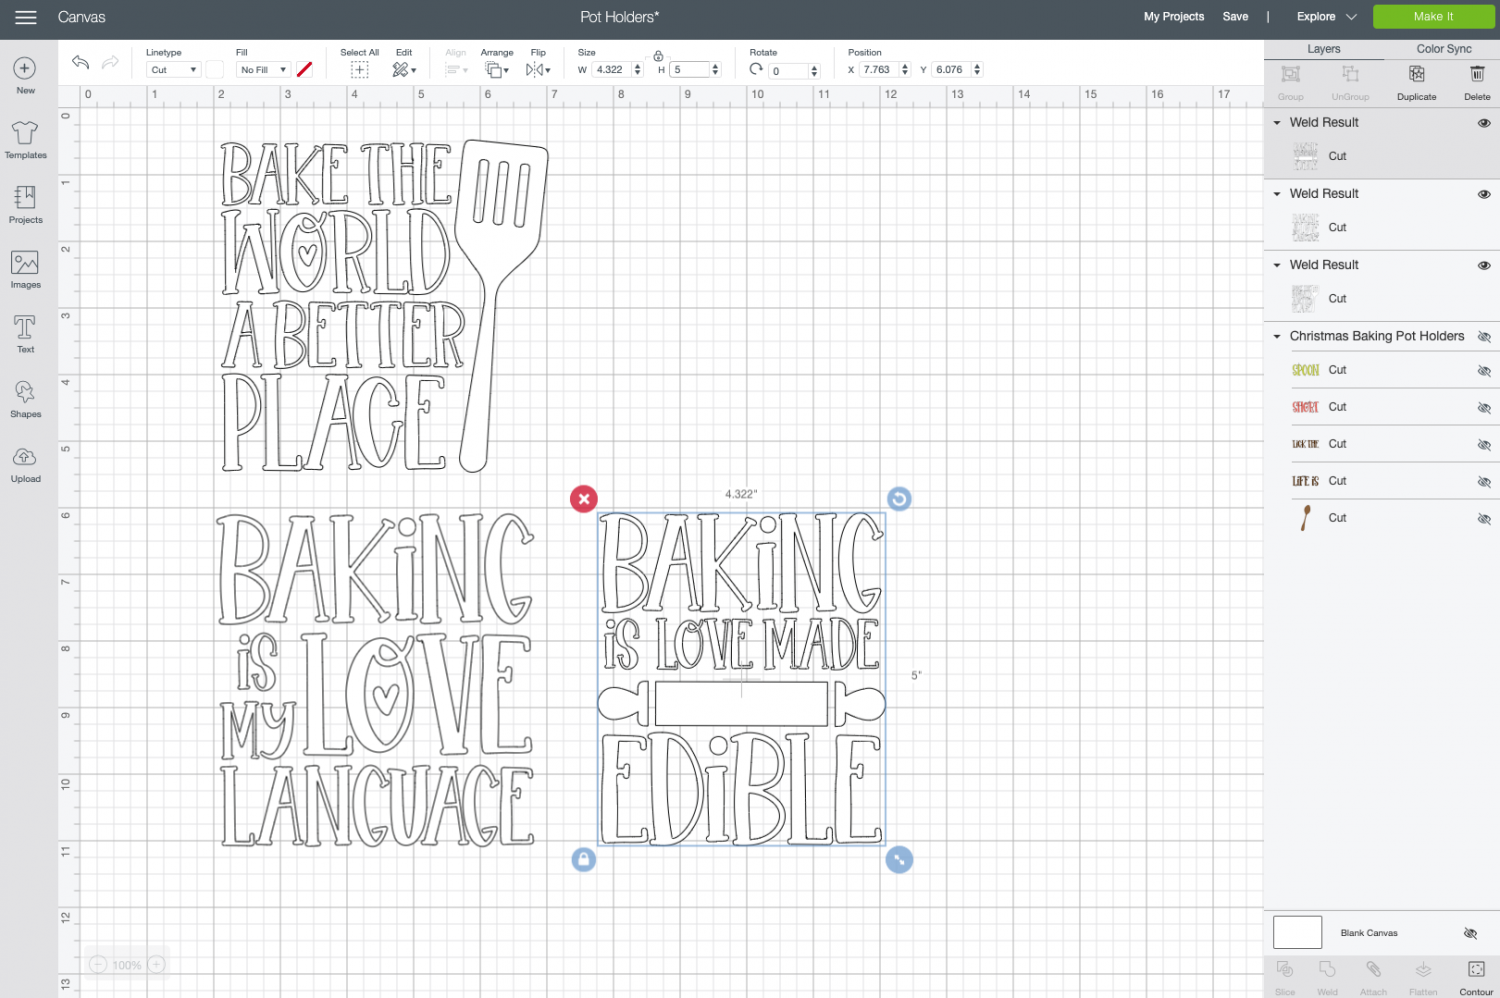
Now we are ready to cut the file! Click Make It in the upper right and you’ll be taken to the Prepare Screen. Here, we want to click the “mirror” slider. This will ensure that the images face the correct direction when ironed onto our the holders.
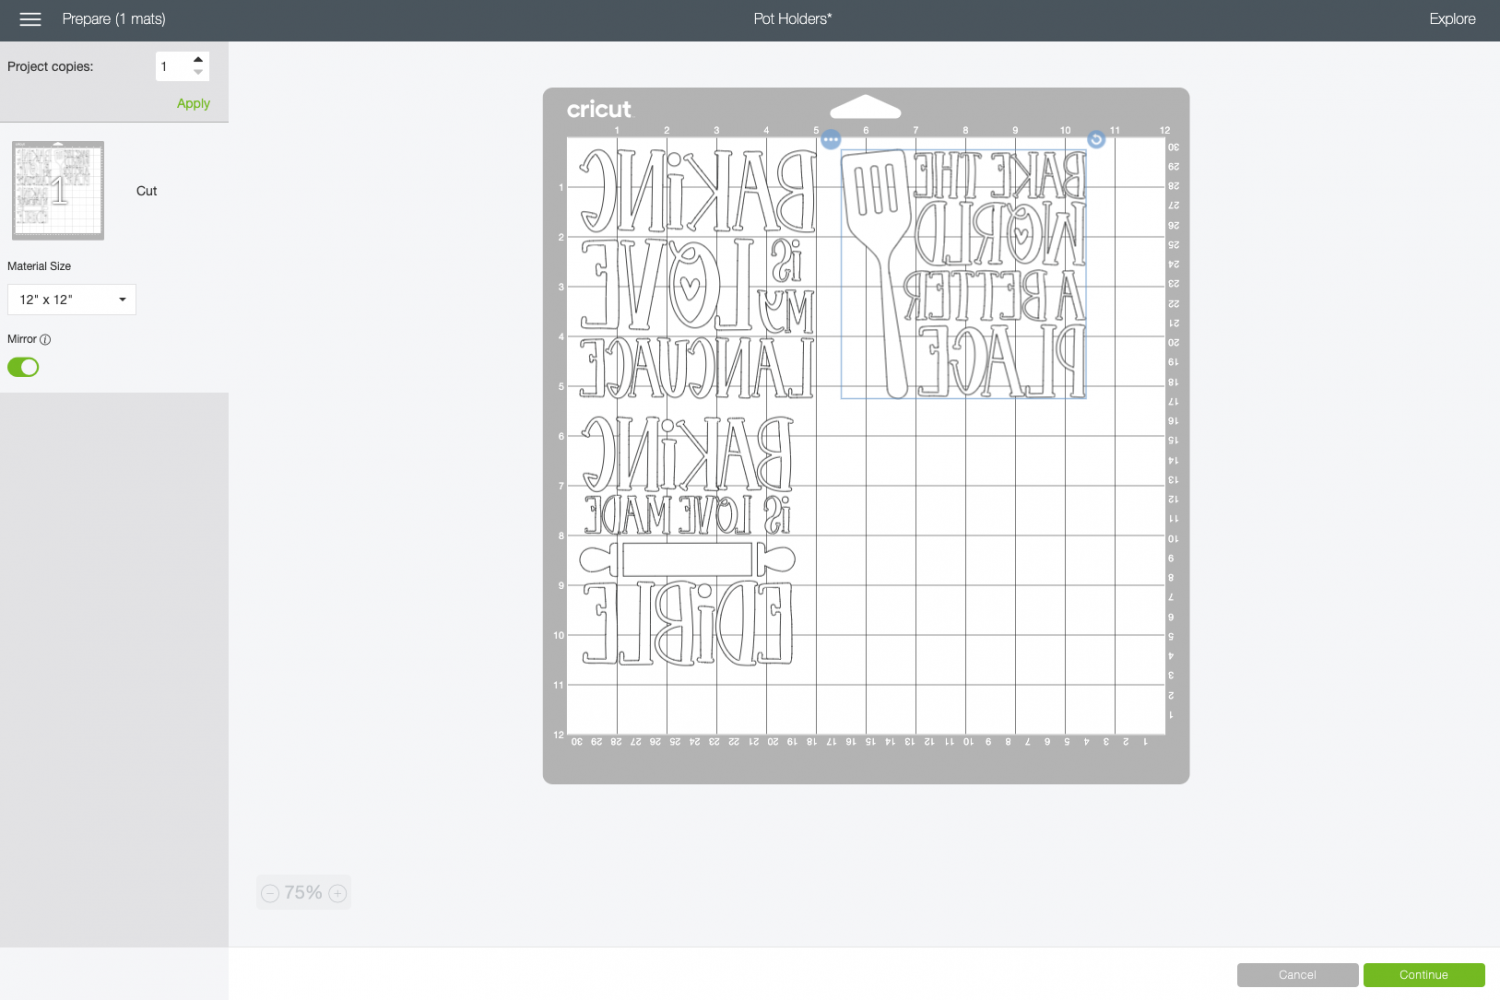
Then click Continue.
Cut Your Iron On Vinyl for Your Customized Pot Holders
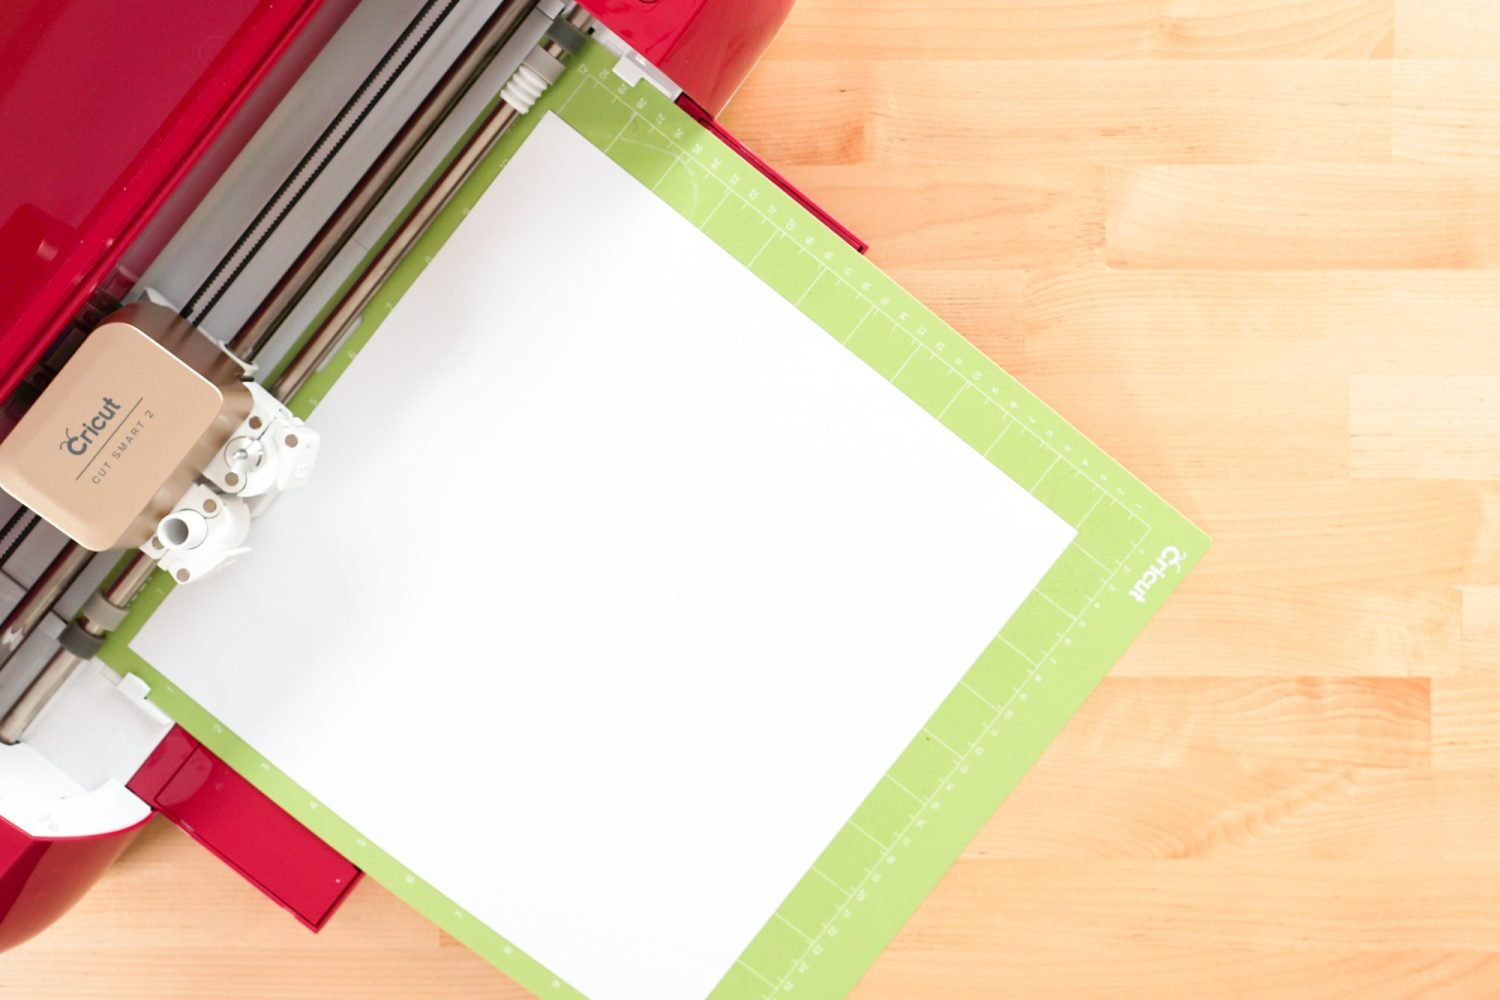
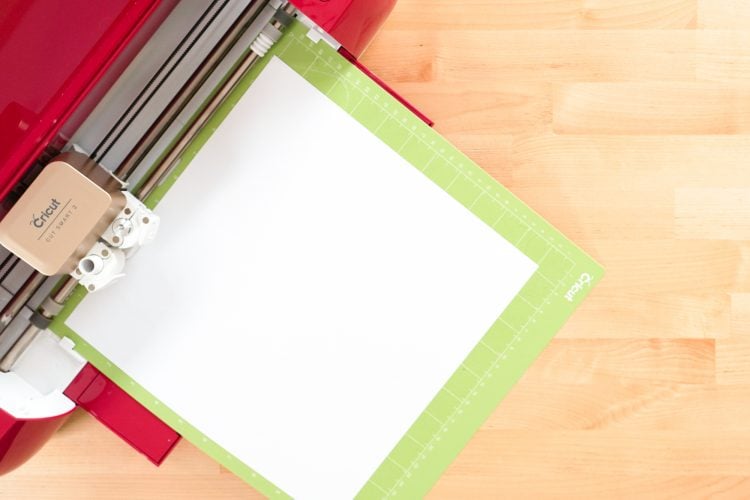
On the Make Screen, you’ll set your material to iron on. Make sure you have your fine point blade in your machine, insert your mat, and your Cricut will cut your project!
Weed Your Iron On Vinyl
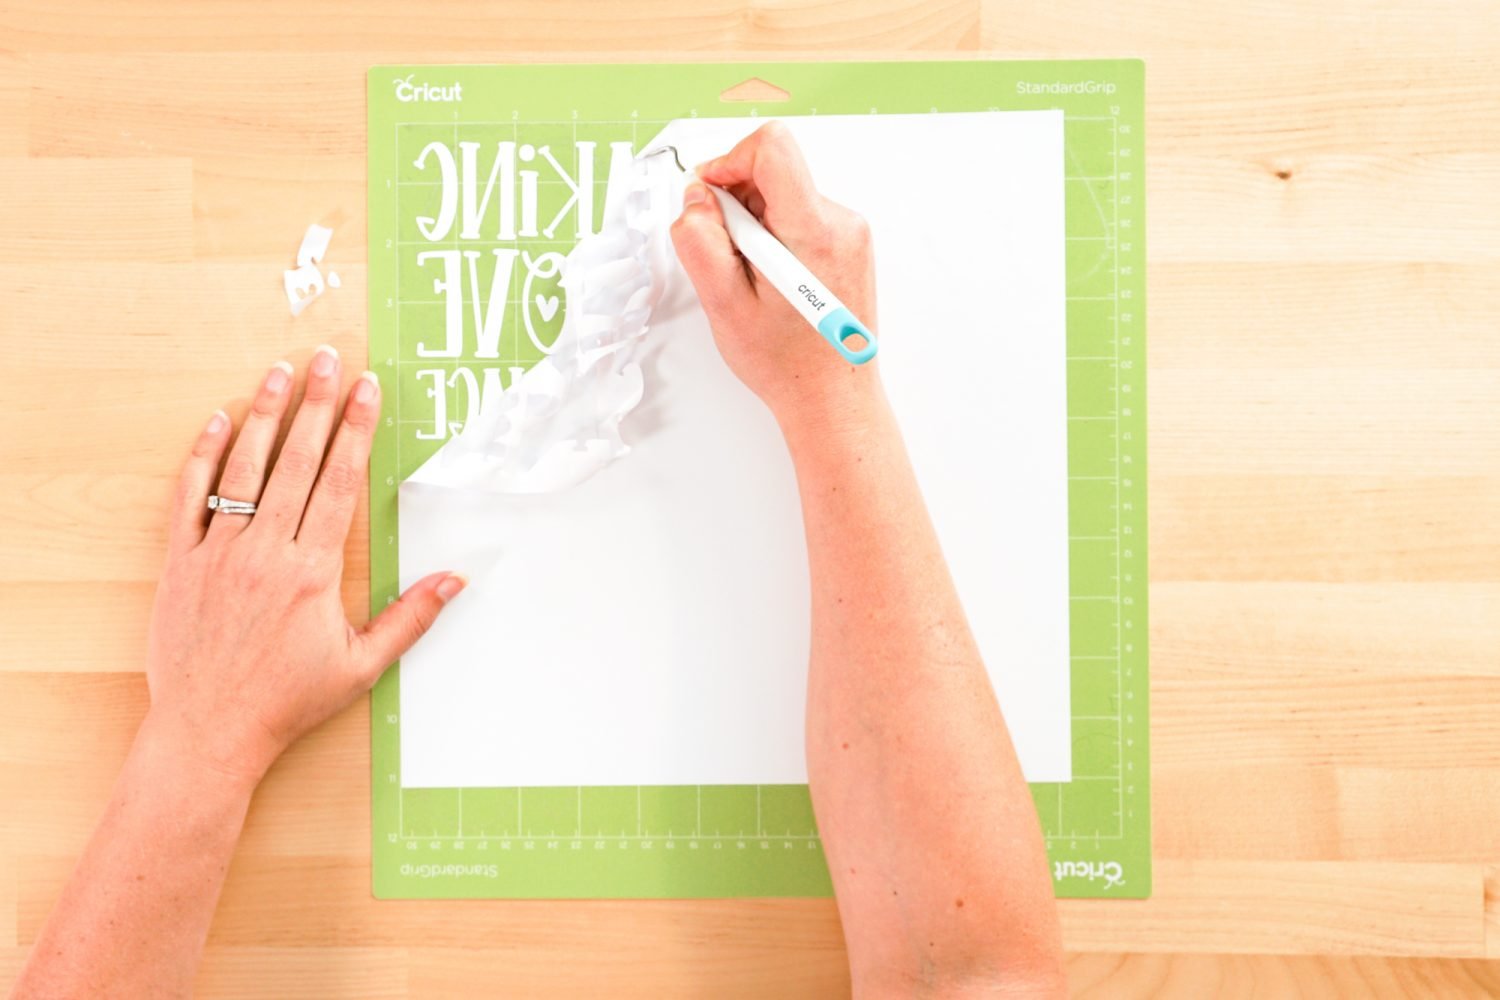
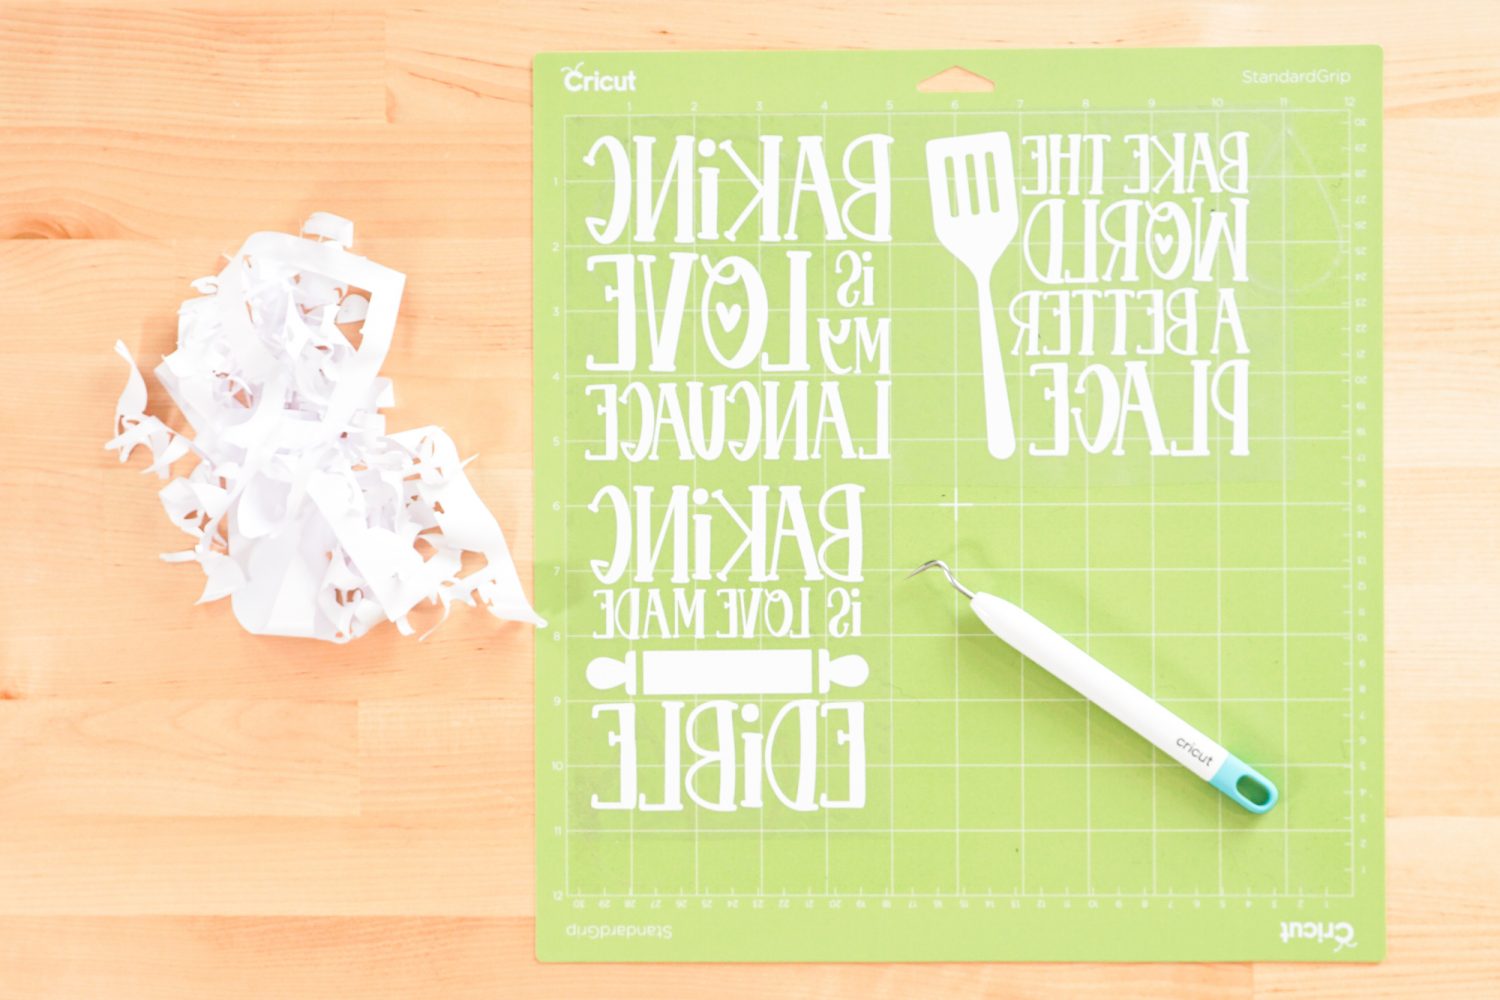
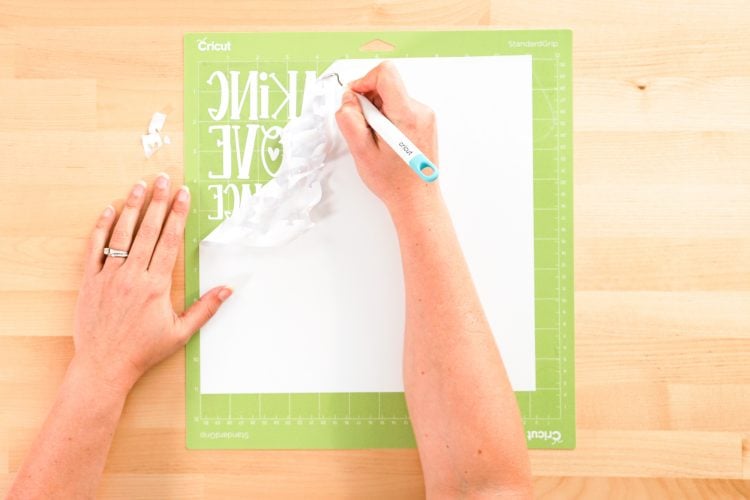
Next we’re going to “weed” the negative space from around our image. I have an extensive post about Weeding Iron On Vinyl, which you’ll want to read—tons of tips and tricks to making it easier.
Adhere Your Iron On Vinyl
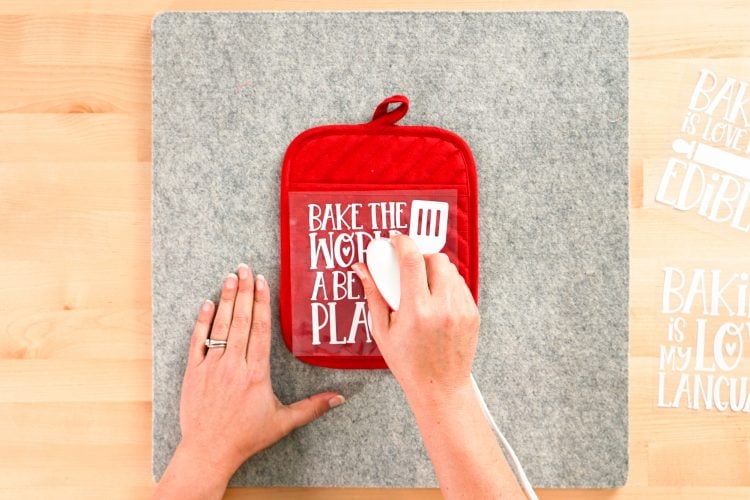
Now we are going to adhere our iron on vinyl to the pot holders. Place your image onto the pot holder, centering it.
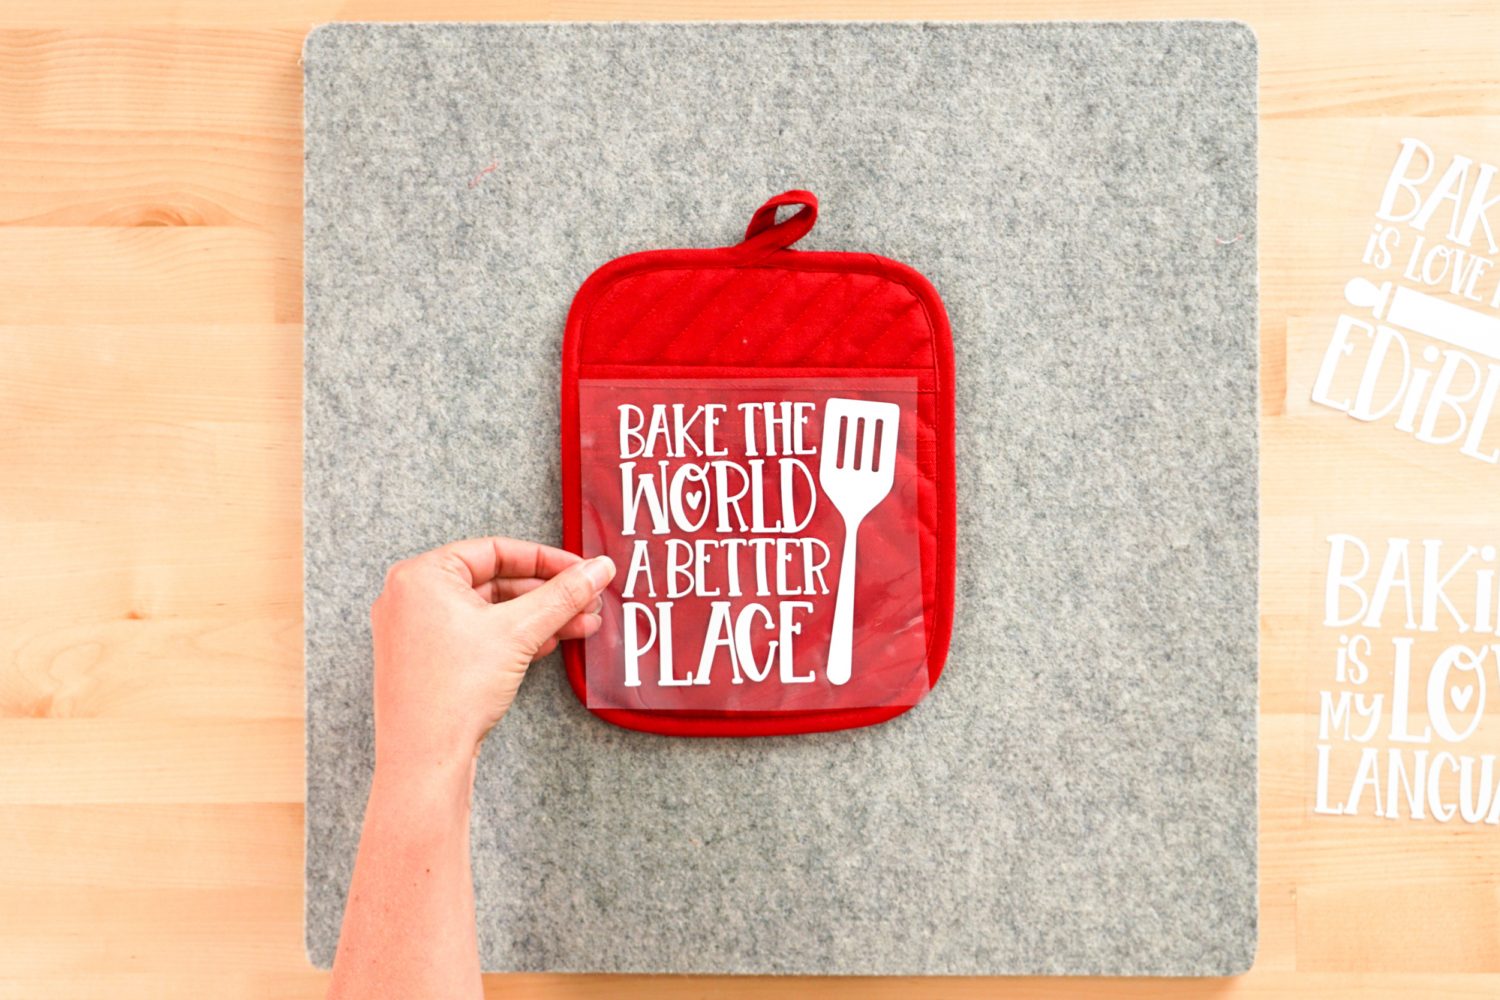
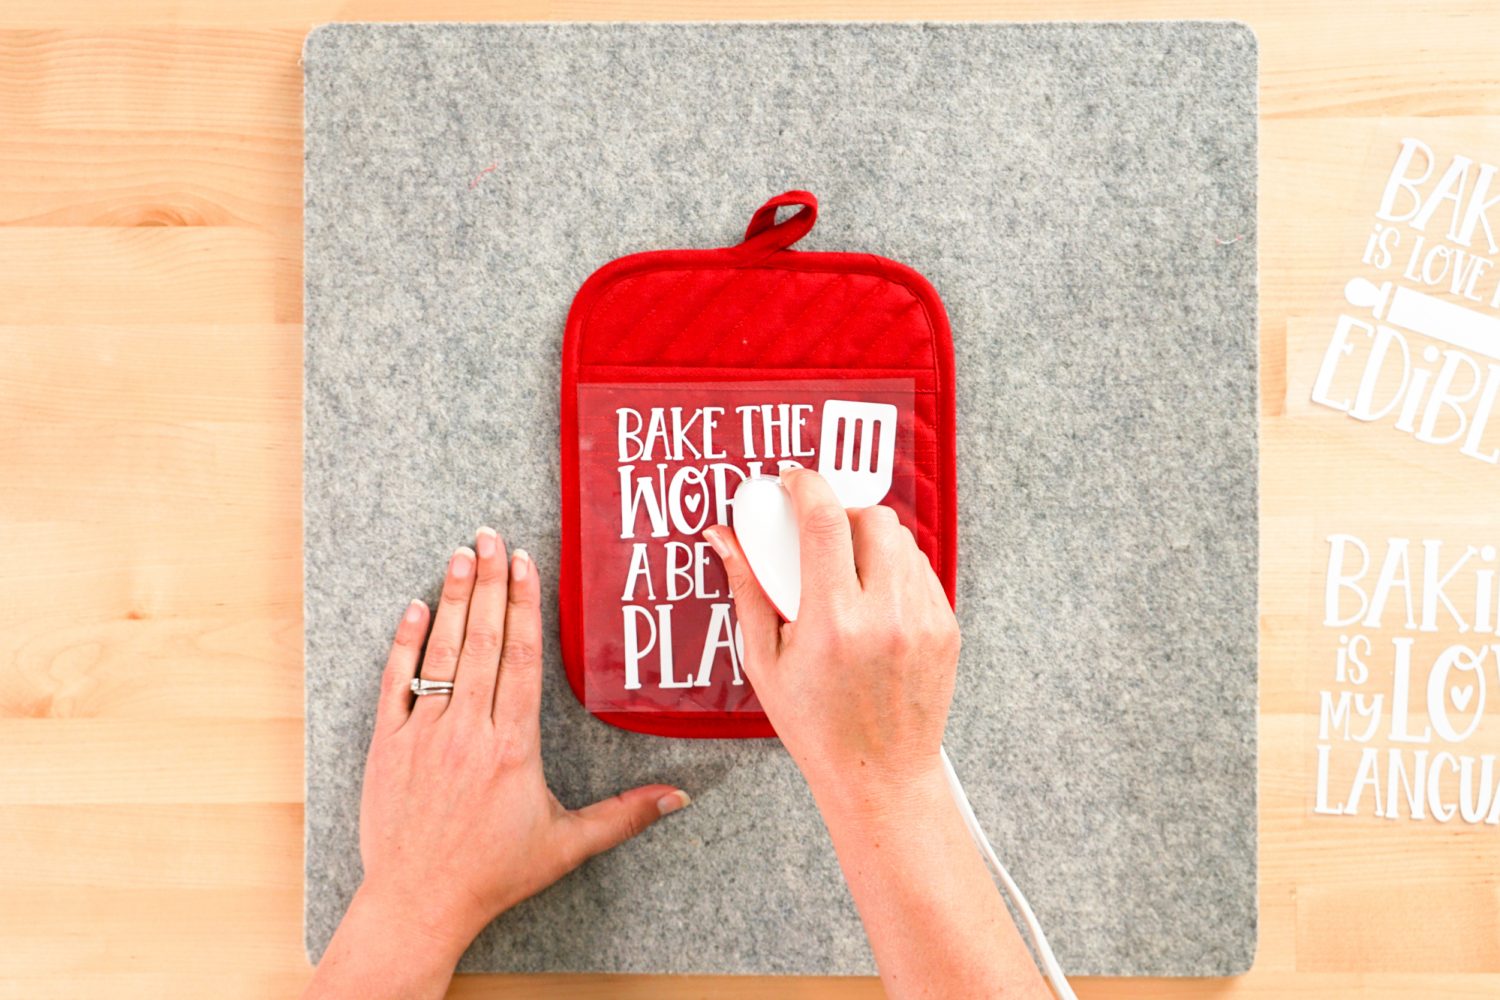
Use your EasyPress or Iron to adhere the iron on vinyl to the pot holder, pressing it well to get it into that quilting. Learn more about Using Iron On Vinyl.
Carefully peel back the carrier sheet, making sure the iron on vinyl is adhered.
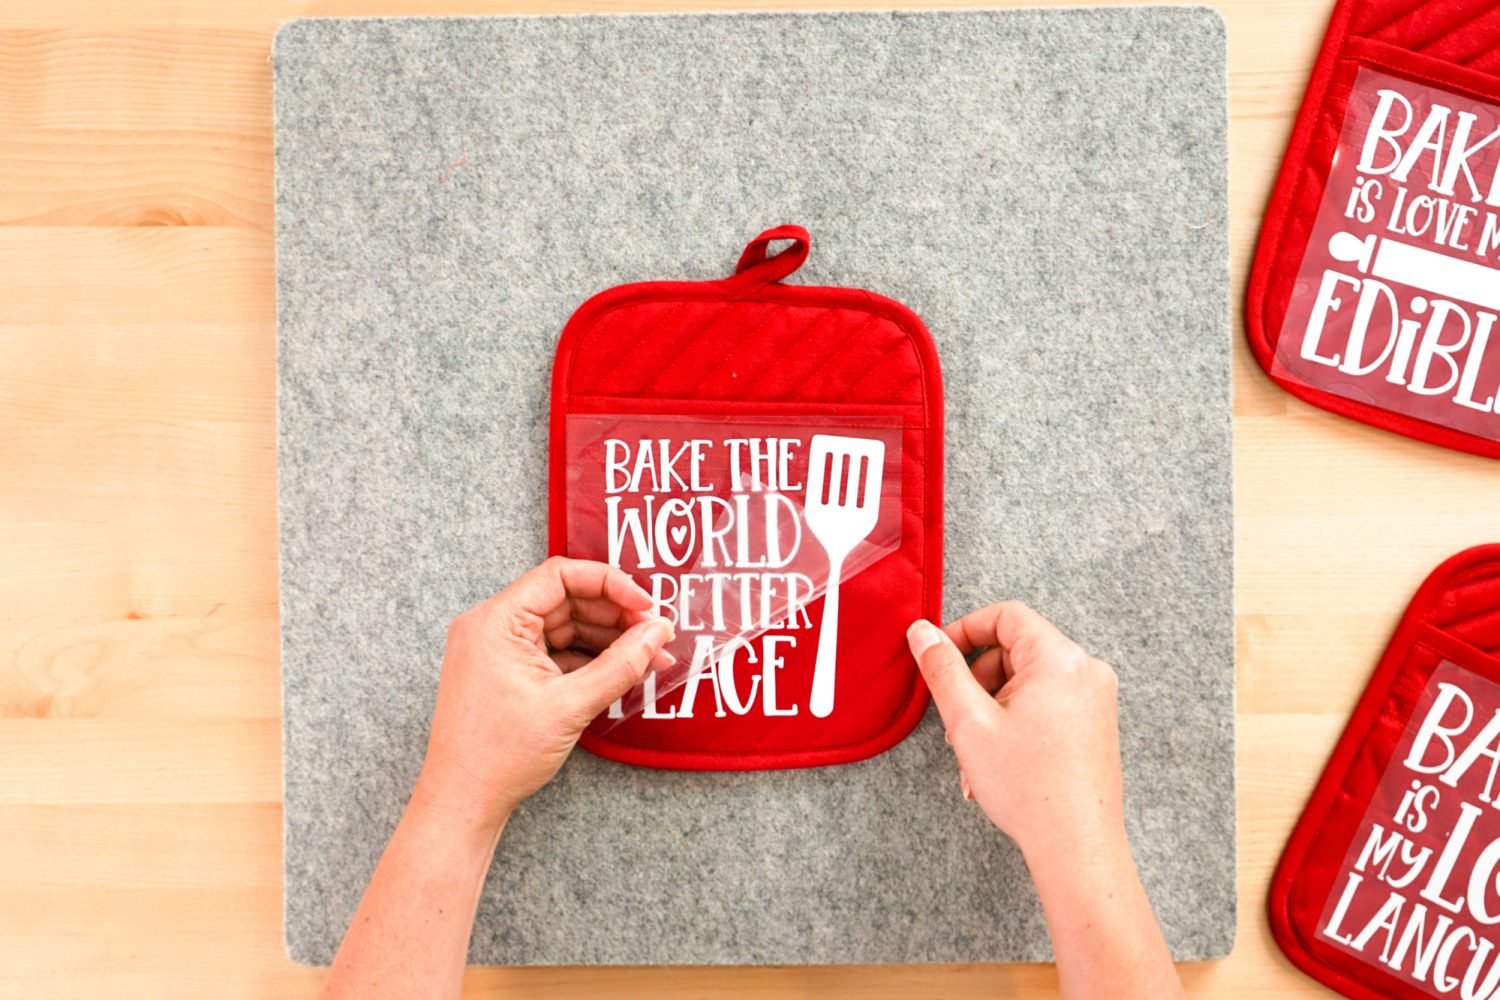
If you notice that your iron on vinyl hasn’t adhered well in the dips of the quilting, cover with a piece of cotton fabric and iron again until adhered.
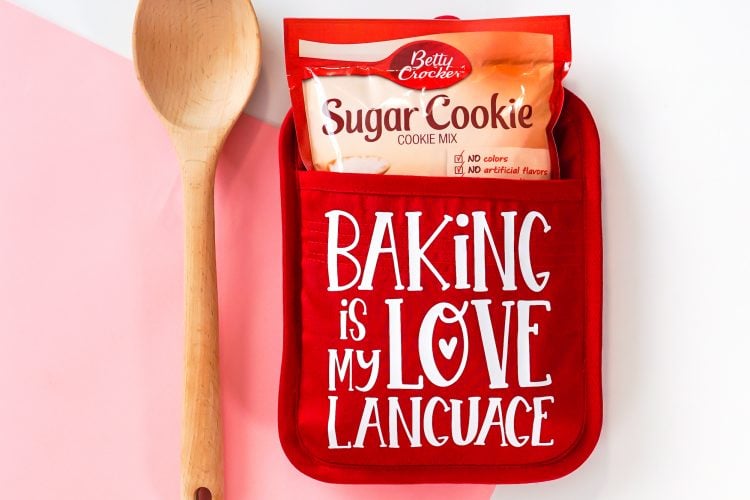
If you’d like to turn these customized pot holders into a gift, fill with a bag of cookie mix and a spoon, whisk, or spatula!
CUSTOMIZED POT HOLDERS
Equipment
- EasyPress Mini or Iron
Supplies
- Iron-On Vinyl white
- Pot Holders
Instructions
- Upload the file to Cricut Design Space and choose images you'd like to use.

- Weld each individual image so it cuts as one piece.

- Color the images white and resize to fit your pot holders.

- Cut the pieces from iron on vinyl.

- Weed your iron on vinyl pieces.

- Adhere your iron on decal to the pot holder.

- Stuff with cookie mix and a whisk and gift to a friend who loves to bake!

Make All the 25 Days of Cricut Christmas Projects!
We’ll be adding links as each day goes live! Grab the full bundle with all of the projects and SVGs in our 25 Days of Cricut Christmas eBook!
- Day 1: DIY Christmas Countdown Calendar
- Day 2: Snow Globe Shaker Card
- Day 3: Happy Holly Days Christmas Banner
- Day 4: Felt Gnome Pillow
- Day 5: Cookies for Santa Tray
- Day 6: Snowflake Coasters
- Day 7: Customized Christmas Banner
- Day 8: Etched Holiday Baking Dish
- Day 9: DIY Gift Card Holder
- Day 10: Christmas Apron
- Day 11: Christmas Quilt Block Artwork
- Day 12: Constellation Glitter Ornaments
- Day 13: DIY Christmas Card Holder
- Day 14: Papercut Christmas Village
- Day 15: Funny Christmas Socks
- Day 16: Veneer Pinecone Earrings
- Day 17: How to Make Felt Bows
- Day 18: Personalized Santa Sacks
- Day 19: Newborn Footprint Ornaments
- Day 20: Layered Christmas Mandala
- Day 21: Customized Pot Holders
- Day 22: Sleigh Rides Christmas Sign
- Day 23: Hot Cocoa Mug Gift
- Day 24: Print then Cut Gift Tags
- Day 25: Matching Christmas Pajamas
Want more on pot holders? How about an Easy-Sew Two-Hand Casserole Pot Holder!



Comments & Reviews
Pat says
So cute! Can these potholders be used like regular potholders? With the vinyl, can you use them to pull something out of the hot oven or to place a hot dish on top of them?? I have a feeling they are only for decoration. I’m afraid if I put a hot dish on top of the vinyl or use it to pull something hot out of the oven, it will melt the vinyl. Please let me know what will happen… Thanks.
Gin says
Love it TFS!
edith says
these are so cute! Are they more for decoration or can they be used on hot dishes without melting? Thanks!