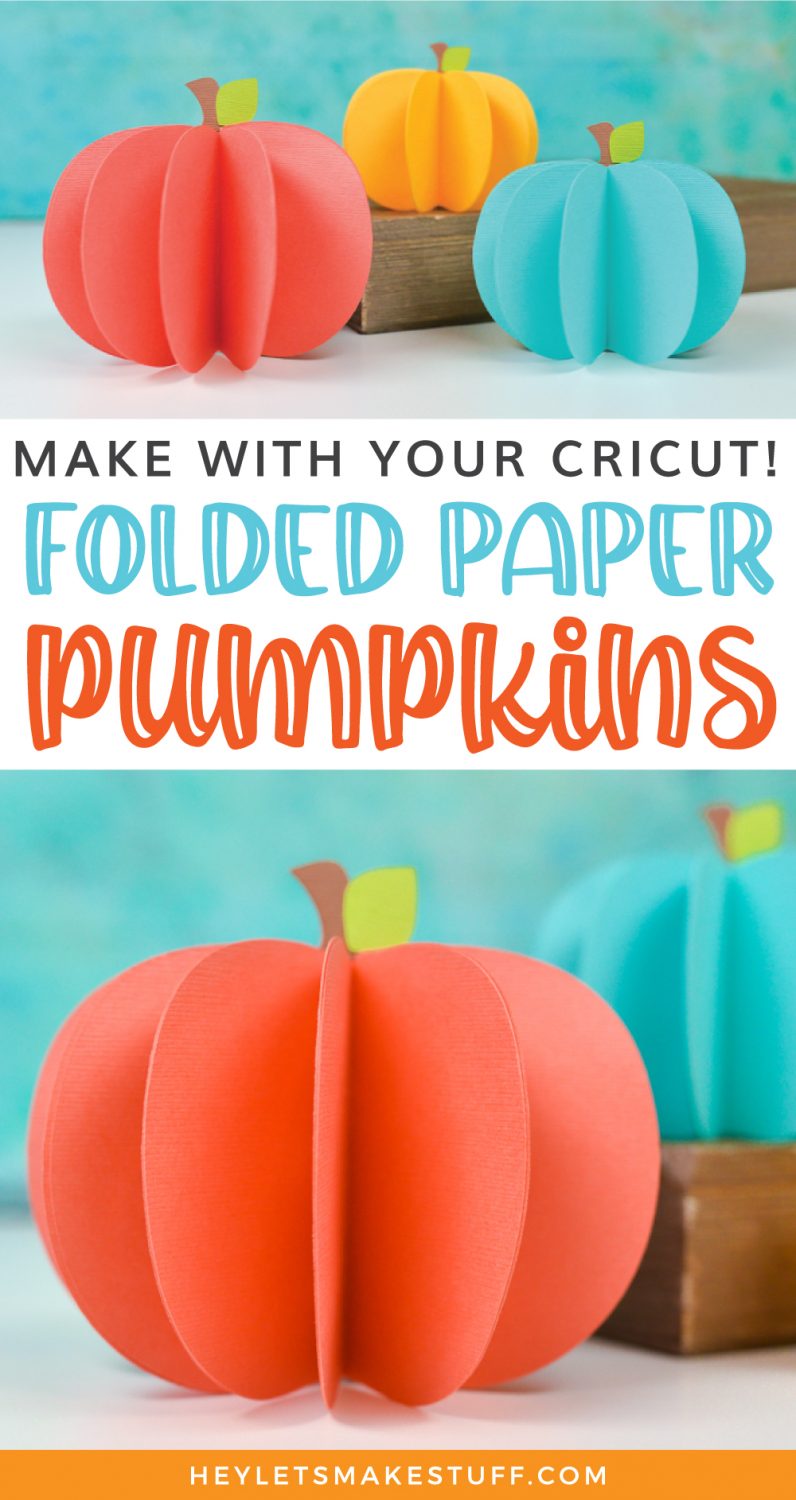
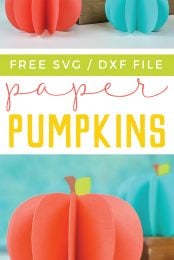
Everyone loves pumpkin decor! This 3D pumpkin SVG is perfect for both Halloween and fall decorating! Make these paper pumpkins using your Cricut and this free pumpkin SVG file!
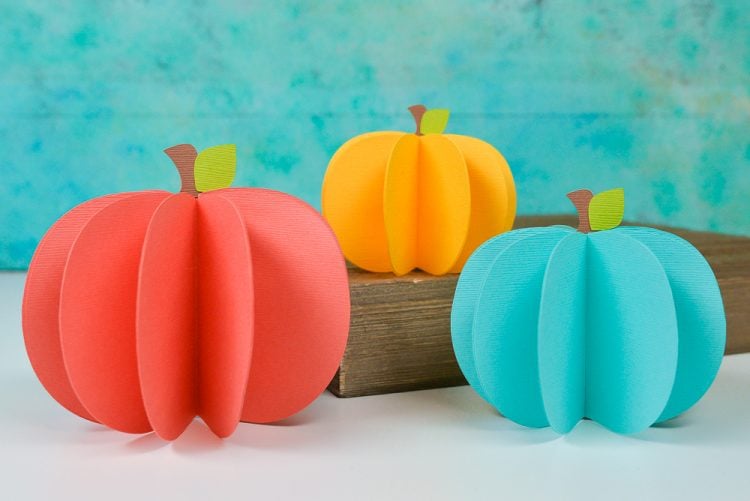
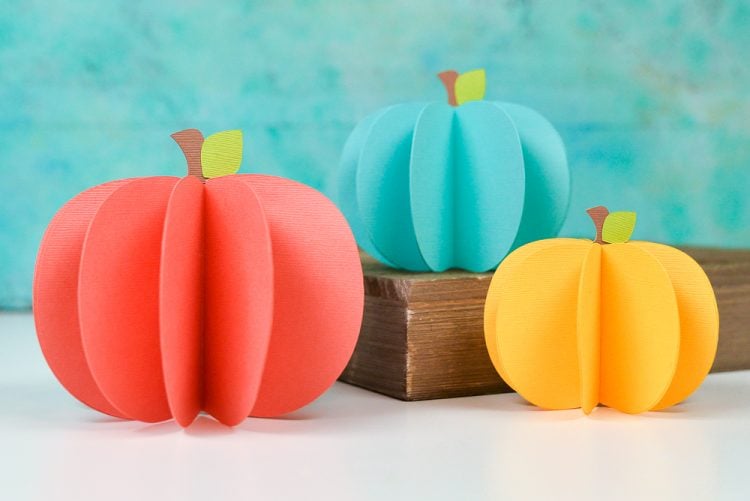
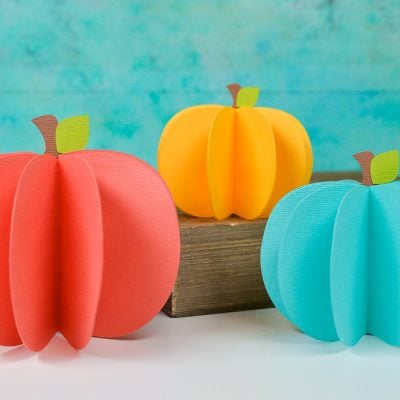
Is anyone else just counting down the hours until it’s fall? I was recently diagnosed with heat intolerance (yeah, that’s a thing) and I am so, so ready for cooler fall days. My house is already starting to get hints of fall, like these cute pumpkins! I’ve cut them in my favorite colors, but of course you could use a more traditional orange and brown palette. They are perfect for both Halloween and fall and they’re a FREE SVG download in this post!
I’ve seen similar pumpkins like these before, but I wanted to make them EASY with your Cricut or other cutting machine! Instead of hand-cutting and carefully folding every piece of this pumpkin decor, you can have your Cricut both score and cut your pumpkins, making them super easy to put together.
Then make sure to head to the end of this post to get TEN more free Halloween SVG files! Yay for free stuff!
Paper Pumpkin Decor—Supplies
- Light cardstock in a variety of colors
- Craft glue or hot glue
- SVG Download
Get the Free File
Want access to this free file? Join my FREE craft library! All you need is the password to get in, which you can get by filling out the form below. The file number is: C141.
3D Pumpkin SVG – Instructions
Once you’ve downloaded the free pumpkin SVG above, open Cricut Design Space. You’ll notice that there is the main pumpkin piece and the folded pumpkin piece. Because Cricut Design Space doesn’t allow me to create a score line outside of the software, you’ll need to change the three cut lines (the line running down the center of each folded pumpkin piece) to a score line by clicking on the line and changing it to “Score” in the Layers Attribute panel.
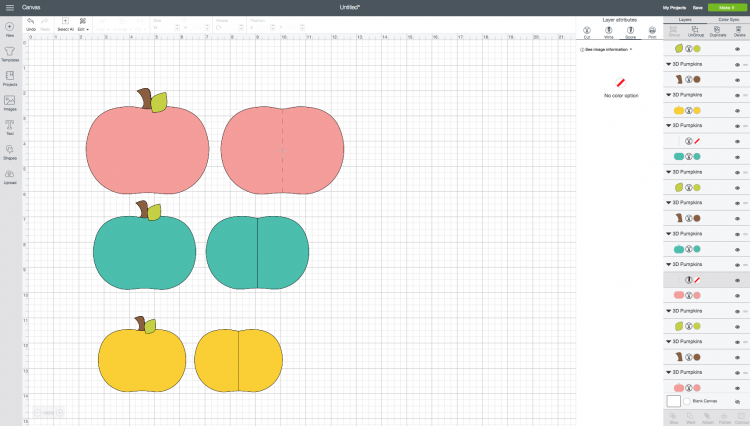
Once you have the line changed to a score line, select that line and the pumpkin piece it’s on top of and click “Attach” in the bottom of the Layers Panel on the right side. This will ensure that the Cricut scores that particular piece of paper in the right spot.
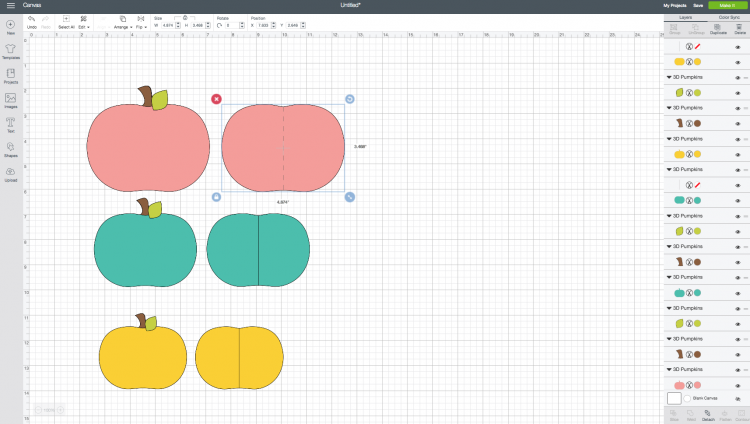
Then duplicate that pumpkin piece so you have ten total folded pieces.
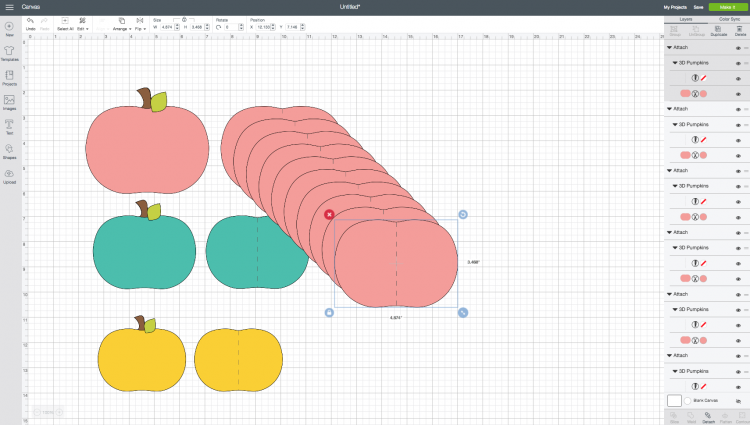
Then do the same with the other two smaller pumpkins.
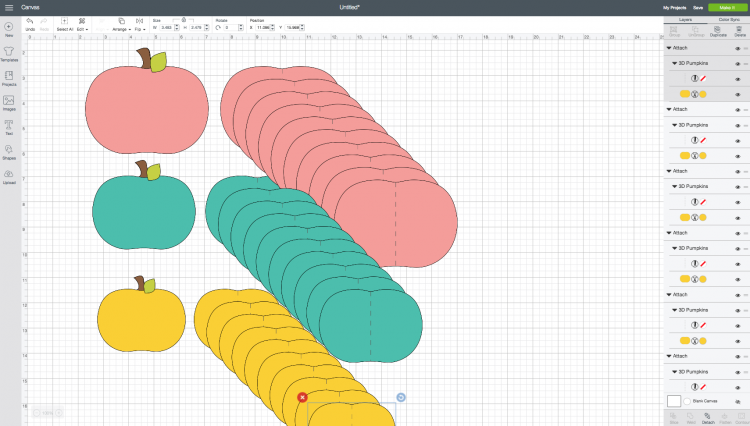
Once you have everything cut out, fold the 10 pieces for each pumpkin along the score line. Then assemble these in the same manner as these 3D paper ornaments. I like to start by adding the stem to the main piece, and then the leaf at the end. Five pieces go on the front and back of the main pumpkin piece.
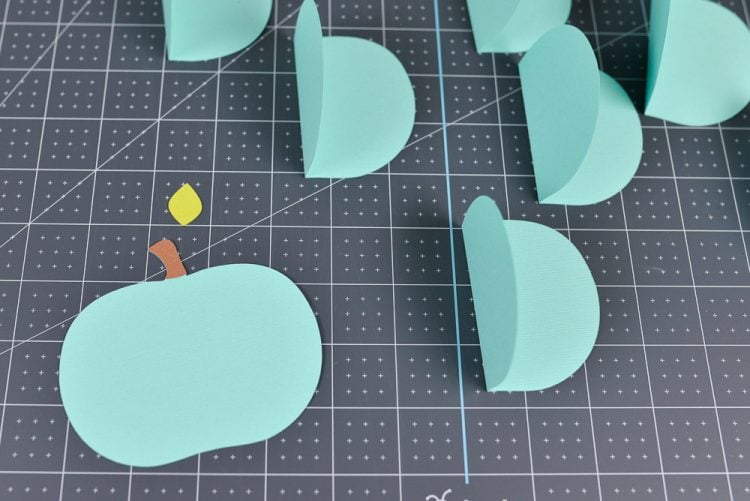
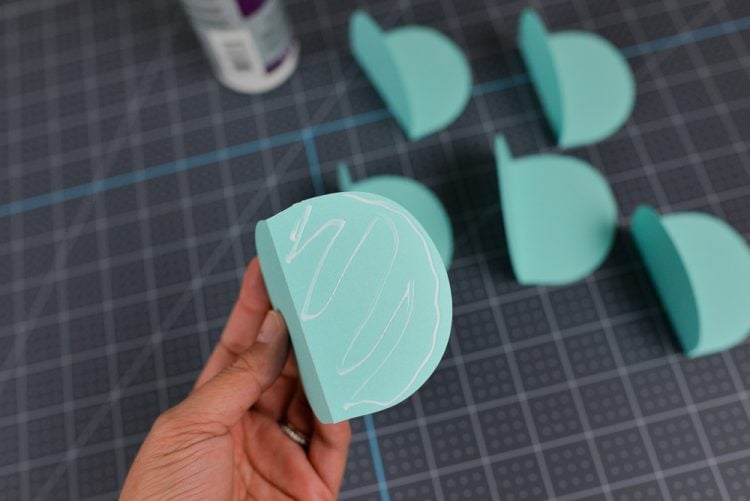
Make sure to let the glue dry before adding each new folded piece! If not, the pressure from the folds will start to separate each layer.
Once you have all of your folded pieces glued, add your leaf and you’re done with this adorable pumpkin decor!
Also check out my round up of 20 No-Carve Pumpkin Ideas Using A Cricut!
Want more great FREE Halloween SVGs? Check out these fun projects from some of my blogging friends!
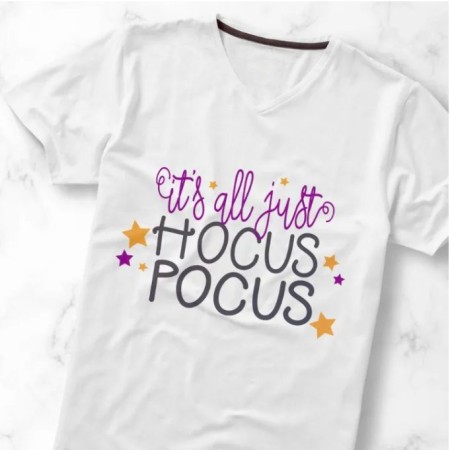
FREE HOCUS POCUS SVG FILE
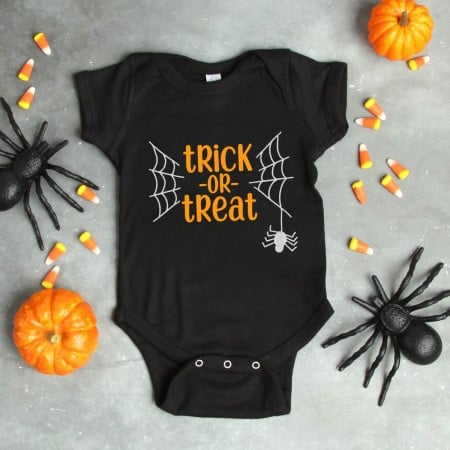
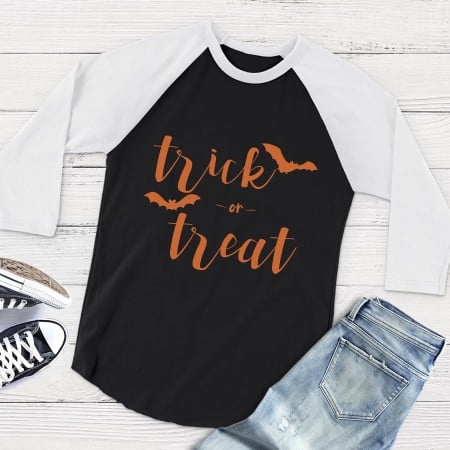
TRICK OR TREAT HALLOWEEN SVG FILE
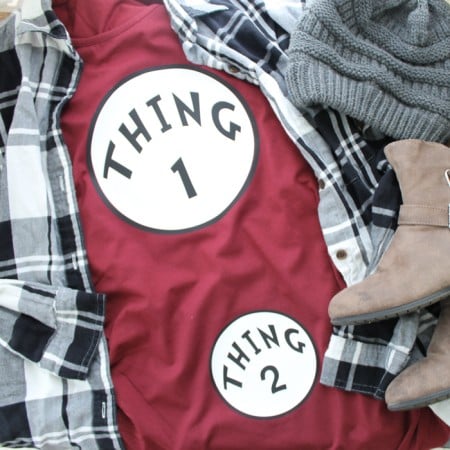
HALLOWEEN MATERNITY SHIRT: DR. SEUSS INSPIRED
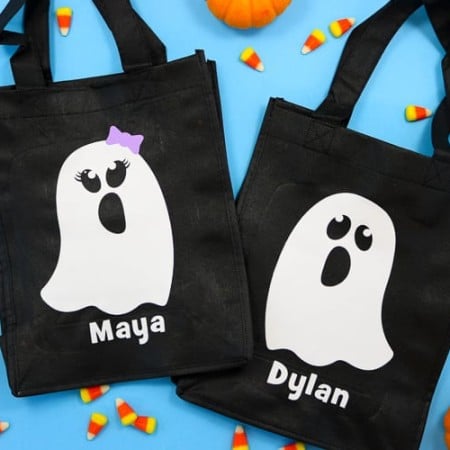
GIRL & BOY GHOST
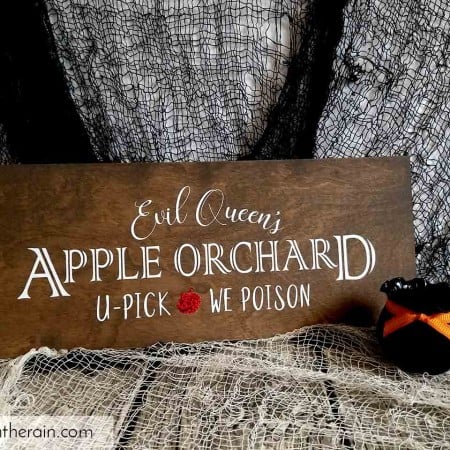
HALLOWEEN SVG QUEEN’S APPLE ORCHARD SIGN
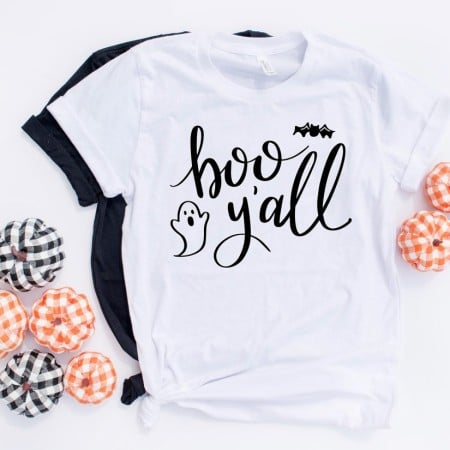
MAKE YOUR OWN HALLOWEEN BOO Y’ALL SHIRT
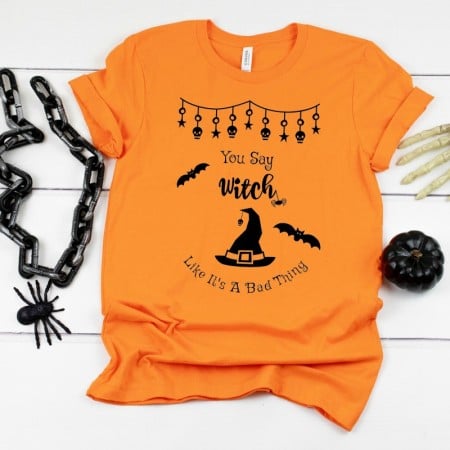
YOU SAY WITCH LIKE IT’S A BAD THING
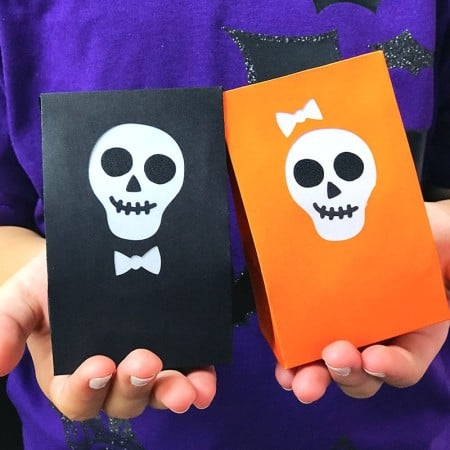
MINI HALLOWEEN TREAT BAGS
FREE TRICK OR TREAT SVG
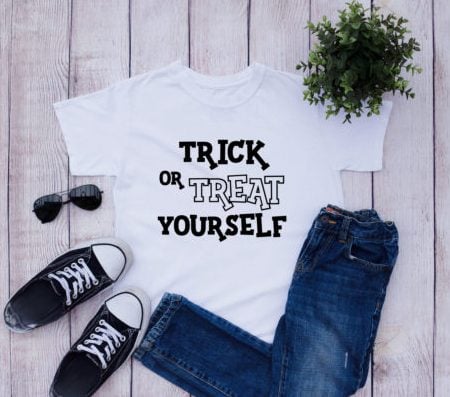
TRICK OR TREAT YOURSELF
Also check out my round up of 3D SVG Files and Cricut Projects and this cute one for Pumpkin Hoops!
3D PUMPKIN
Equipment
- Cricut Maker or
Supplies
- Light cardstock in a variety of colors
- Free 3D Paper Pumpkin File #C141
Instructions
- Download the free pumpkin SVG above and open Cricut Design Space. You'll notice that there is the main pumpkin piece and the folded pumpkin piece. Because Cricut Design Space doesn't allow a score line to be created outside of the software, you'll need to change the three cut lines (the line running down the center of each folded pumpkin piece) to a score line by clicking on the line and changing it to "Score" in the Layers Attribute panel.

- Once you have the line changed to a score line, select that line and the pumpkin piece it's on top of and click "Attach" in the bottom of the Layers Panel on the right side. This will ensure that the Cricut scores that particular piece of paper in the right spot.

- Then duplicate that pumpkin piece so you have ten total folded pieces.

- Then do the same with the other two smaller pumpkins.

- Once you have everything cut out, fold the 10 pieces for each pumpkin along the score line. Then assemble these in the same manner as these 3D paper ornaments. I like to start by adding the stem to the main piece, and then the leaf at the end. Five pieces go on the front and back of the main pumpkin piece.

- Make sure to let the glue dry before adding each new folded piece! If not, the pressure from the folds will start to separate each layer.

- Once you have all of your folded pieces glued, add your leaf and you're done with this adorable pumpkin decor!



Comments & Reviews
Susan Kimmet says
Thank you.
Teri Rougeou says
I signed up but don’t see where to confirm. Am I missing something? teri1231@aol.com
Dana says
I also could not get the same image you show in Cricut Create to load. It has an Adobe file extension.
Ash says
Choose the .SVG file
Rebecca Tanamachi says
Cute project!
Colleen Howell says
these are so cute