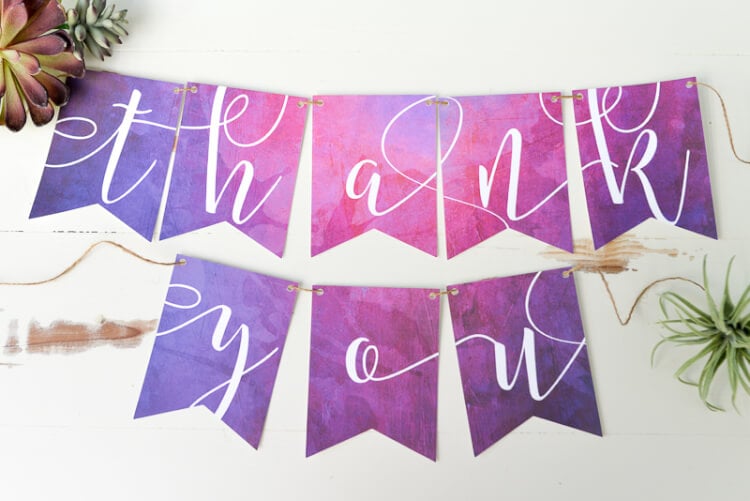
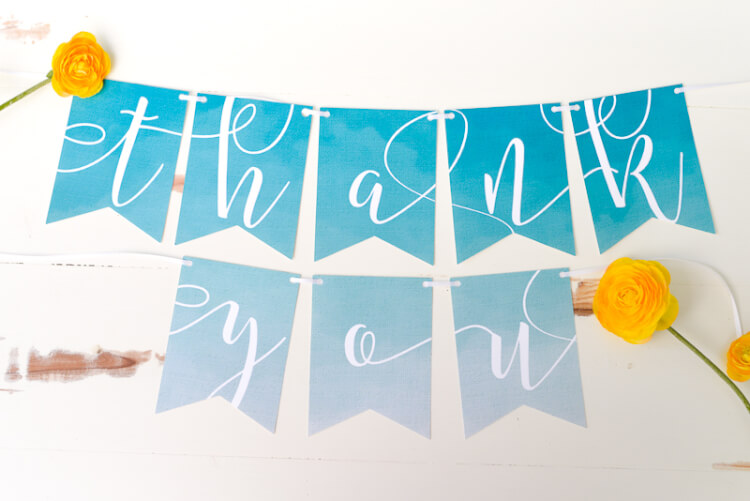
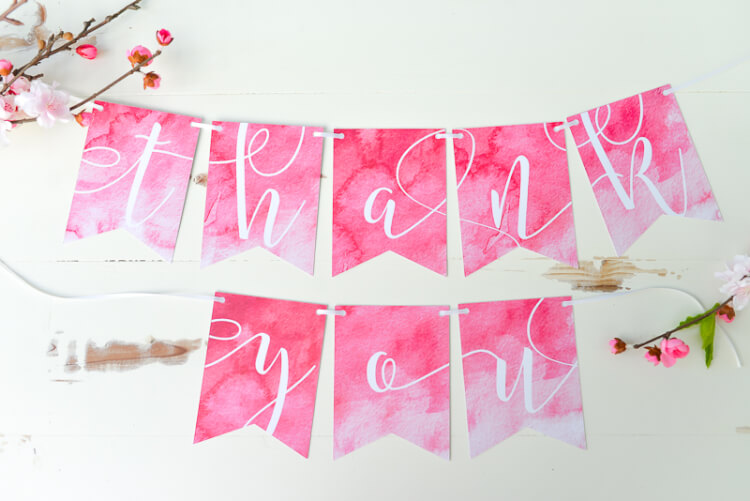
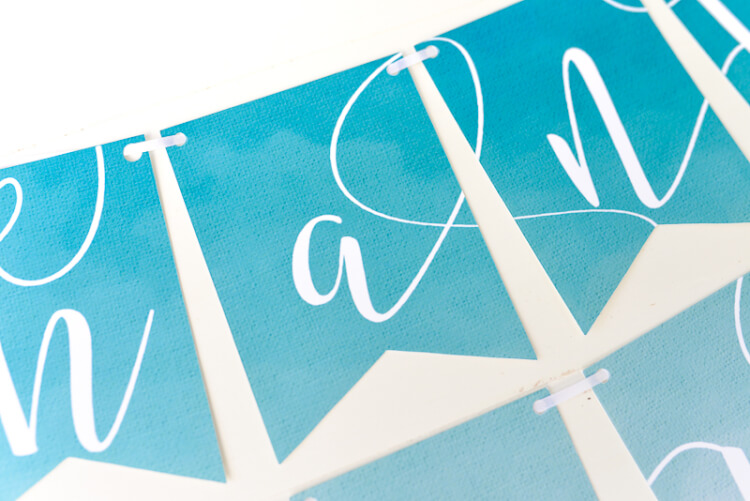
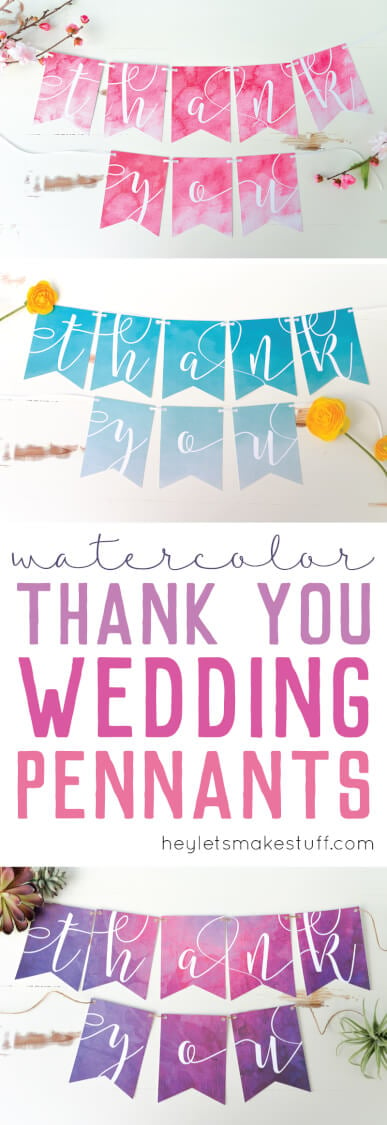
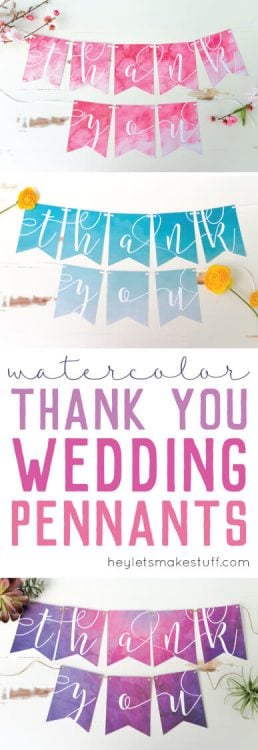
Use the Cricut Explore’s Print Then Cut feature to make these beautiful THANK YOU wedding pennants, in three gorgeous watercolors!
I didn’t have a Cricut when I got married, but I wish I did. It would have made so many of my crafting and DIY projects so much easier, plus Ryan and I really wanted to make the day our own.
I love how the Cricut makes it so easy to personalize stuff for your wedding, without spending a ton of money. It’s your day — it should be uniquely yours!
For this project, I designed this file to use the Print then Cut feature on my Cricut. Canon was kind enough to send me a fabulous new printer/scanner/copier, so it was a no brainer — I could combine my love of graphic design and my Cricut into a beautiful Print then Cut “Thank You” banner.
You can use this banner by taking a photo of you and your spouse on your big day, and then include that photo when you send out your thank you cards after the wedding. I even made three different color options so you can personalize your day even more!
Thank You Pennants Supplies
- White card stock (must be white for the Print then Cut feature to work correctly)
- Printer (I love my new white Canon M7720)
- Cricut Explore
- Cutting Mat
- Coordinating ribbon or twine
Get the Free File:
Want access to this free file? Join my FREE craft library! All you need is the password to get in, which you can get by filling out the form below. The file number is: C14.
Note: you could also print these and hand-cut them and use a hole punch, if you’d like. But seriously, get a Cricut — I use mine all the time for so many projects!
Instructions
Print then Cut was easier than I expected. I’m not sure why I thought it would be hard — the Cricut Explore is an amazing machine that is designed to do it. And now I finally have a printer that actually prints beautifully (my old printer couldn’t print “vibrant” if it tried!). I decided to start with an easy shape: a swallow-tail pennant with two holes for hanging. I created it in three colors, so hopefully one will match your wedding colors.
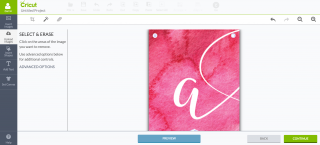
Open the Cricut Design Space to a new file. Click “Upload Images” on the left and upload each PNG — there’s one for each letter. Once the letter is uploaded, choose “Complex Image” and it will take you to this screen:
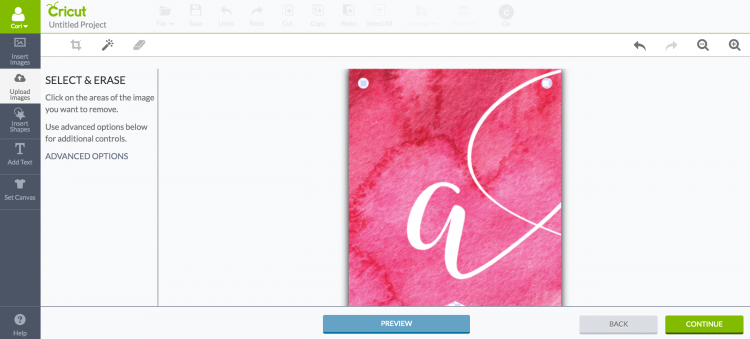
Important: On this screen, click on each of the hanging dots at the top of the pennant. It will make them transparent and allow them to cut properly.
Click continue. You’ll want to re-size the pennants once they have been uploaded. I designed them to be 7″ tall x 5″ wide, but if that’s too big, you can easily shrink them down using the “Edit” menu on the right side of the Cricut Design Space. The ones in my photos are 3.5″ wide.
Then hit GO. If this is your first time using the Print Then Cut feature, it will prompt you to calibrate your Cricut (if you have a Cricut Explore Air or Cricut Explore One, it comes pre-calibrated). Follow the software’s prompts. I did run into an issue, which I solved.
The software will prompt you to first print your image on your home printer (have I mentioned how much I love my HP printer?). It will print with sensor marks that the Cricut Explore will use to sense where to cut. You can cut upload all eight pennants into Design Space at one time, but they will print then cut individually.
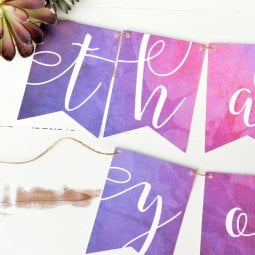
How pretty are these? I just love how these turned out and hope to add more to this series soon!
Also check out my round up of DIY Wedding Ideas with the Cricut and this one for a bunch of Free Wedding Sign SVG Files!
CRICUT WATERCOLOR THANK YOU WEDDING PRNNANTS
Equipment
- Cricut Maker or
Supplies
- White card stock (must be white for the Print then Cut feature to work correctly)
- Coordinating ribbon or twine
- Free Wedding Pennant Thank You Files #C14
Instructions
- Open the Cricut Design Space to a new file. Click "Upload Images" on the left and upload each PNG — there's one for each letter. Once the letter is uploaded, choose "Complex Image" and it will take you to this screen:

- Important: On this screen, click on each of the hanging dots at the top of the pennant. It will make them transparent and allow them to cut properly. Click continue. You'll want to re-size the pennants once they have been uploaded. For this project they were designed to be 7" tall x 5" wide, but if that's too big, you can easily shrink them down using the "Edit" menu on the right side of the Cricut Design Space. The ones in these photos are 3.5" wide.Then hit GO. If this is your first time using the Print Then Cut feature, it will prompt you to calibrate your Cricut (if you have a Cricut Explore Air or Cricut Explore One, it comes pre-calibrated). Follow the software's prompts.The software will prompt you to first print your image on your home printer.It will print with sensor marks that the Cricut Explore will use to sense where to cut. You can cut upload all eight pennants into Design Space at one time, but they will print then cut individually.How pretty are these?



Comments & Reviews
Jose Shipton says
Wow! These wedding pennants look so beautiful. I love them and survival race which is interesting.
Lindsay AFM says
The pennant is gorgeous!!
Jennifer Priest says
Oh that is really beautiful!
Cori George says
Thanks Jennifer!
Jenna says
I am digging the watercolor effect on this!! It’s so pretty!
Cori George says
Thank you Jenna!