To use Cricut’s Print then Cut feature, you’ll need to calibrate your machine. Here’s a tutorial for how to calibrate both Cricut Maker and Cricut Explore so the Print then Cut feature works perfectly.
Cricut Print then Cut just got a big overhaul, and that means its time to recalibrate your Cricut Explore or Cricut Maker. Whether it’s your first time using Cricut Print then Cut or you just need to recalibrate it to use the new bigger sizes, this post will walk you through the instructions for this simple process.
If you’re unfamiliar, Cricut Print then Cut allows you to print a full-color image on your home laser or inkjet printer, and then have your Cricut cut around the edges of that printed image. You can make stickers, labels, photo artwork, sublimation prints, and more. You can learn more in my Ultimate Guide to Cricut Print then Cut.
Visit my Amazon shopping list for everything you need to get started using your Cricut!
Which Cricut Machines Use Print then Cut
Print then Cut is only available on Cricut Explore (including the original Explore, Explore One, Explore Air, Explore Air 2, and Explore 3 machines) and Cricut Maker (Cricut Maker and Cricut Maker 3) machines. Cricut Joy and older machines do not support Print then Cut because they do not have the sensors needed to read where to cut.
How to Know When to Calibrate
There are two instances when you might need to do Print then Cut calibration.
- You are using Print then Cut for the first time and you’ve never calibrated Print then Cut before.
- Cricut makes an update to Print then Cut and you are forced to do a recalibration.
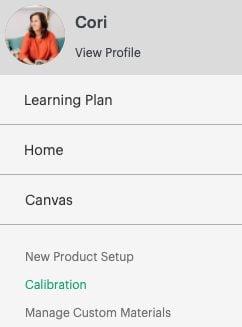
In the first instance, you’ll go to the hamburger menu in the upper left of the Cricut Design Space canvas and choose Calibration.
In the second instance, Cricut will “force” a recalibration and you may be prompted to calibrate in the middle of a project.
Print then Cut Calibration
Depending on the machine you are using, the Machine Calibration window may have more options here. The Maker, for example, also has calibration for the Knife Blade and Rotary Blade. But my Explore 3 just has the Print then Cut calibration option.
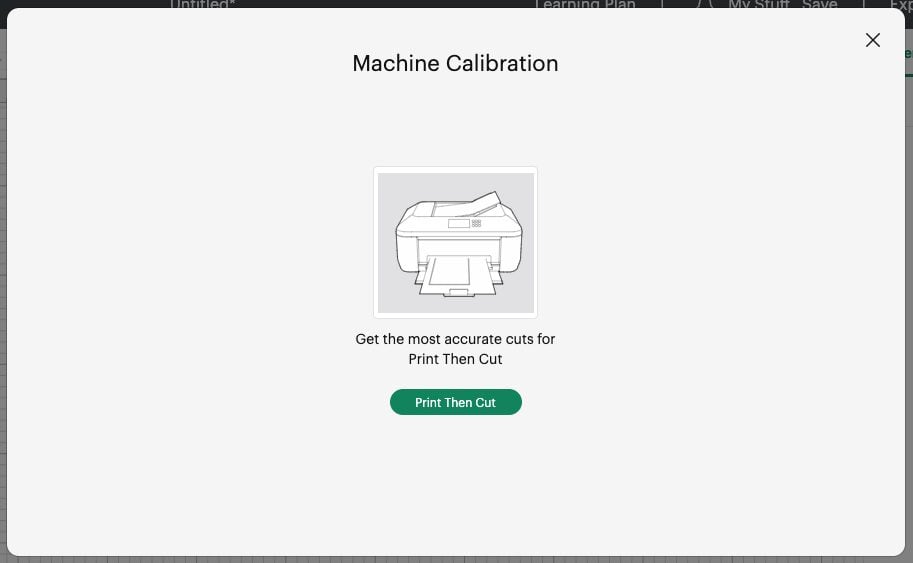
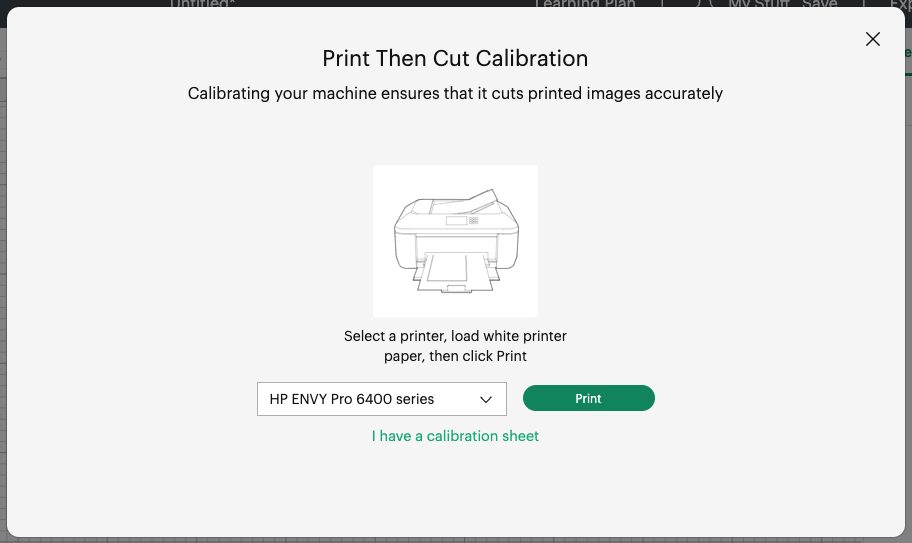
Click the Print then Cut button, and you’ll be prompted to choose your printer and print a calibration page on a sheet of paper.
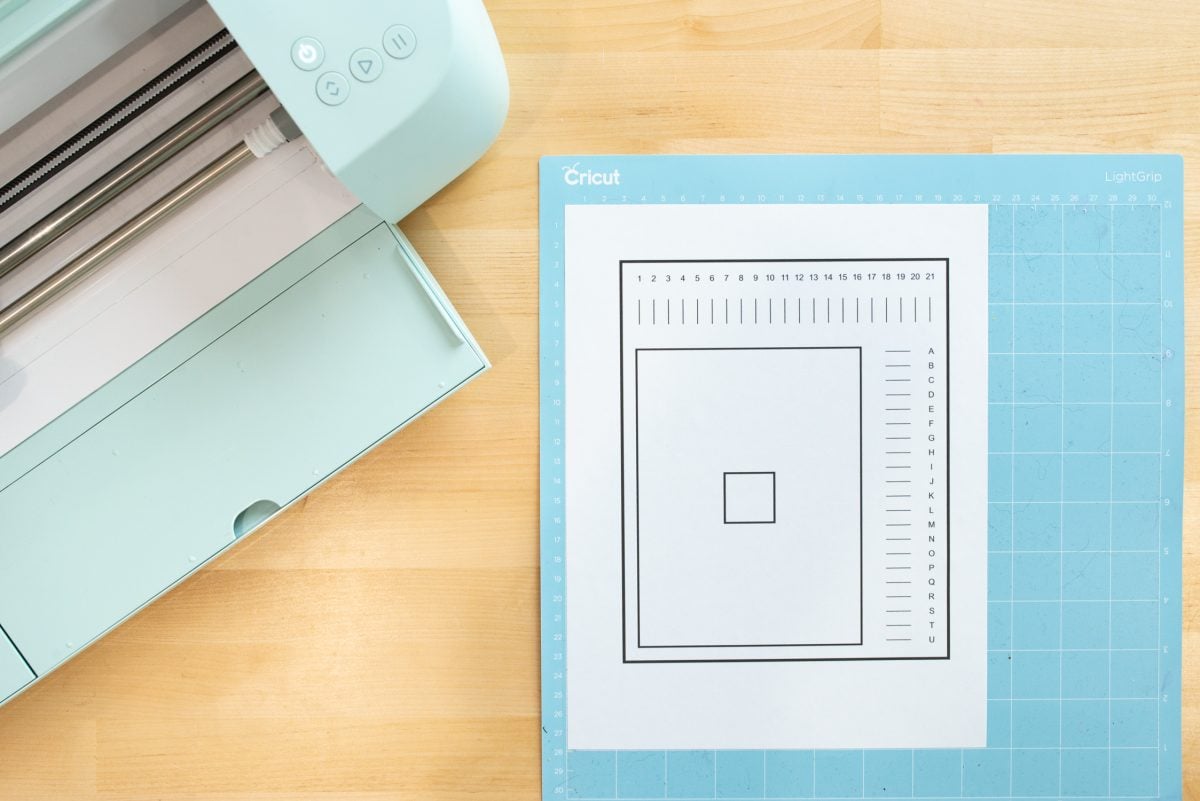
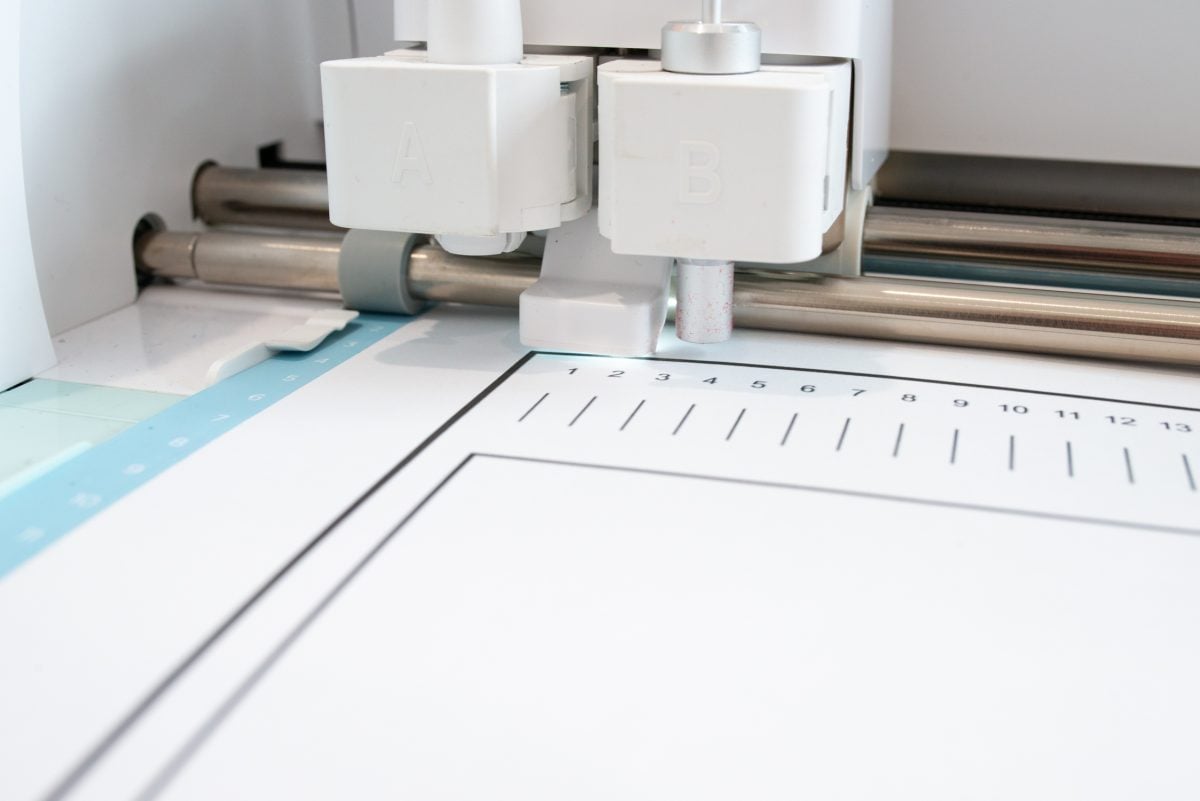
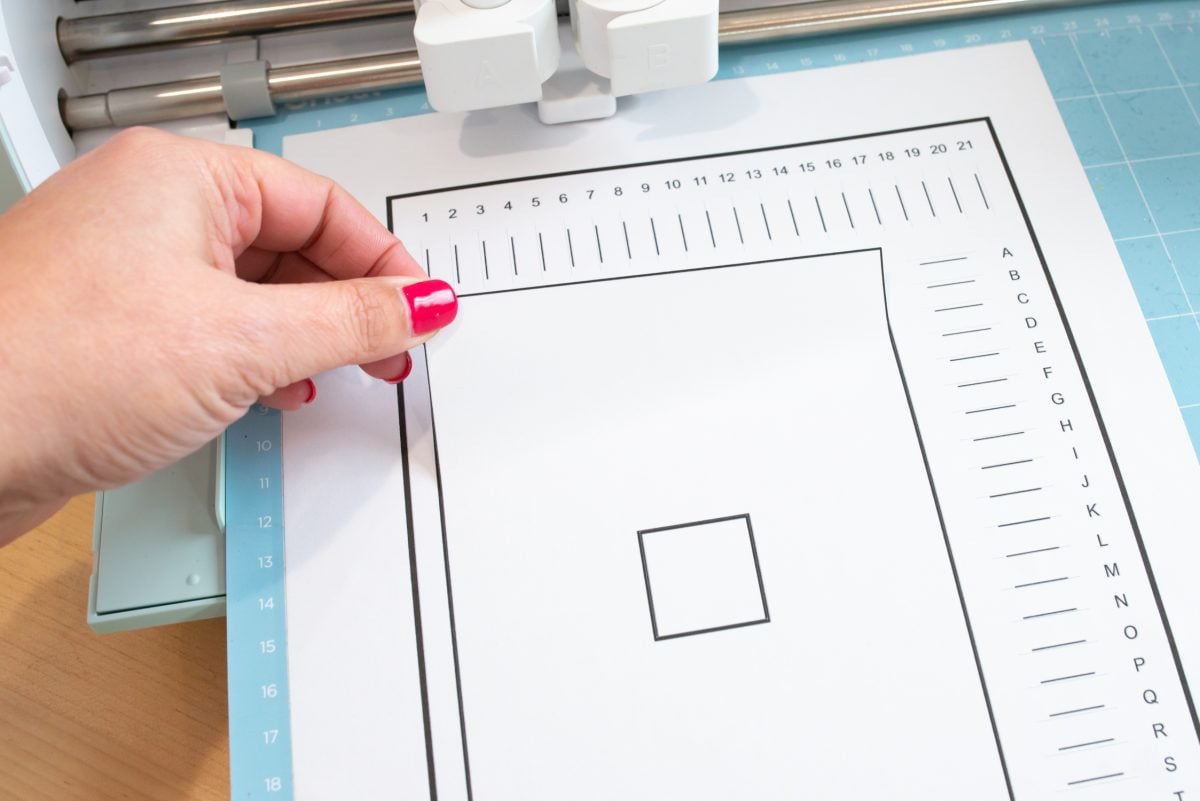
Once you have the calibration page printed, put it in the top left corner of a Cricut cutting mat.
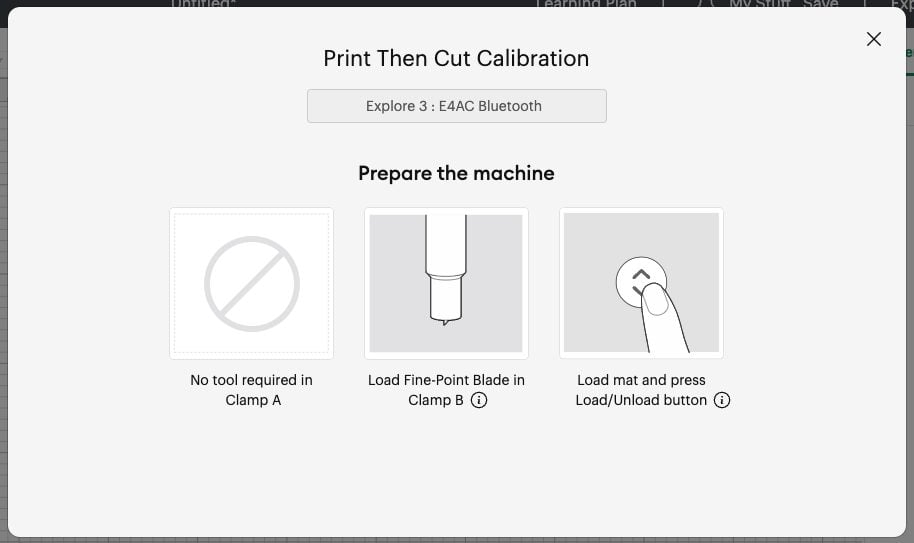
Click Continue in Cricut Design Space. Select your Cricut to connect to and then Cricut Design Space will prompt you to prepare your machine. It should have the fine point blade with nothing in the other tool clamp.
Then insert your mat with the calibration page on it into your Cricut. Once loaded, press the flashing Go button.
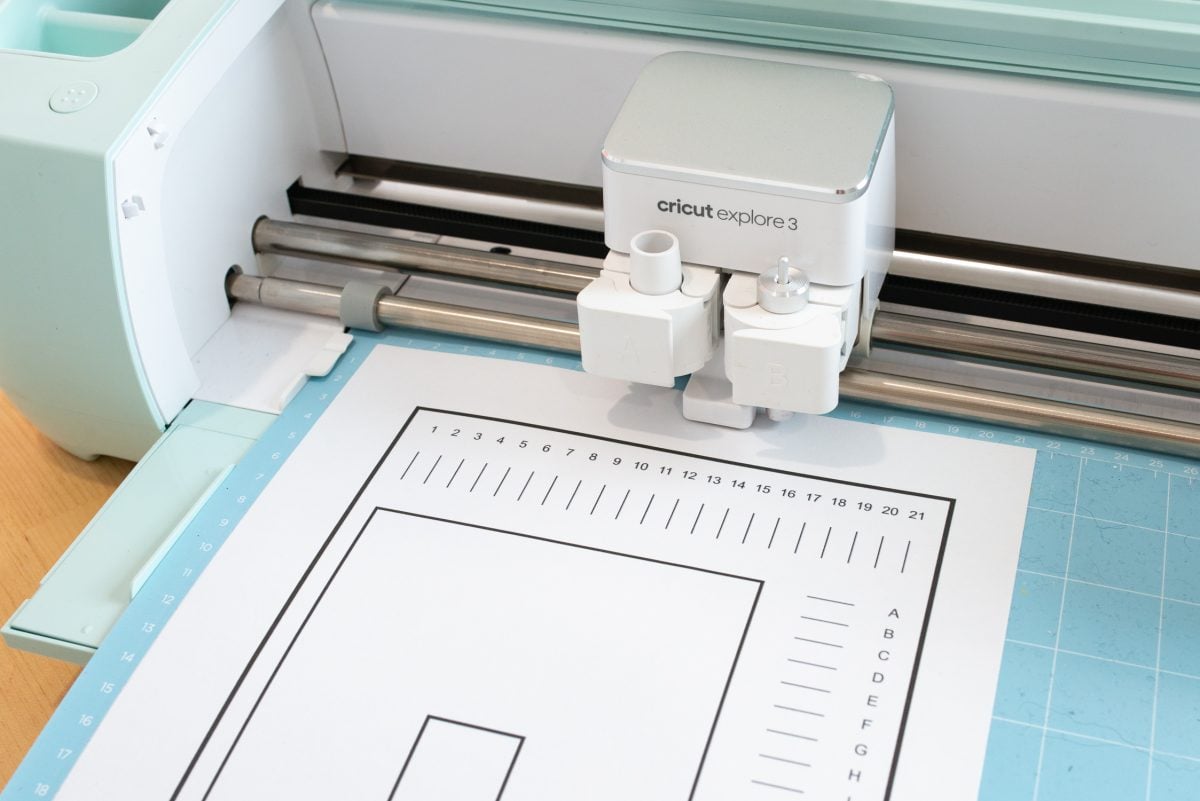
From there, your Cricut will turn on a light in its sensors and read the black marks on the page.
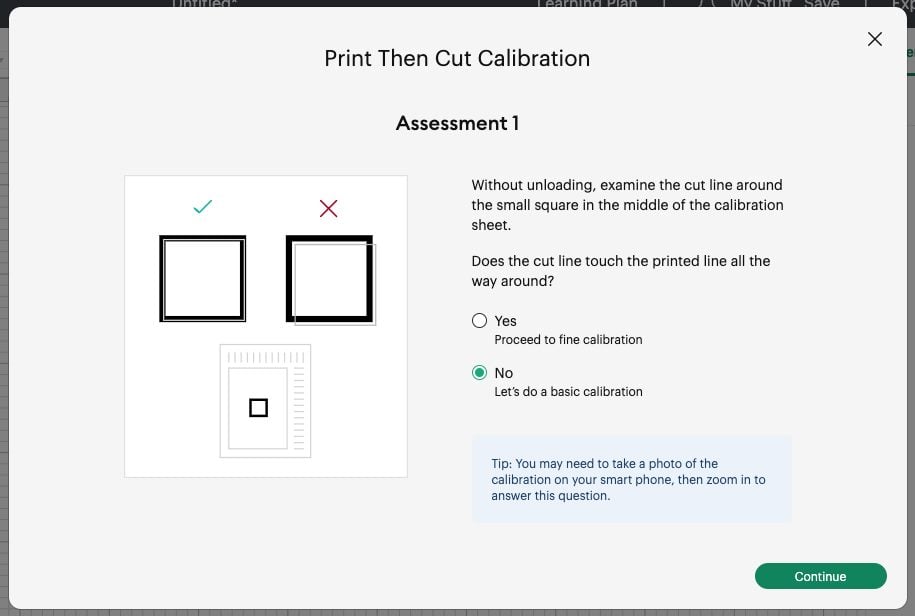
After that, it will make a cut around the square in the center of the page. WITHOUT unloading the page, see how close your Cricut got to cutting on top of the black line.
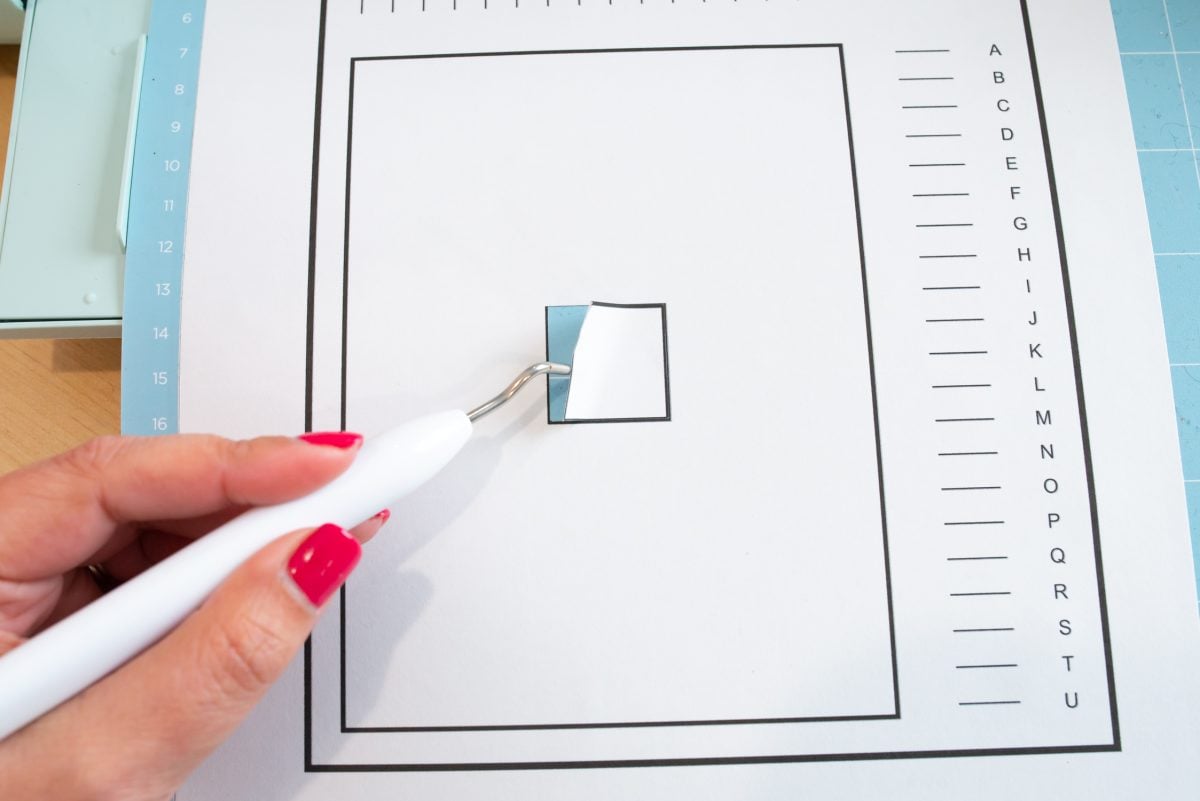
Mine is actually pretty close, but to demonstrate what a full calibration is I’m going to choose NO, the cut did not touch the black line all the way around. This will lead to a “basic” calibration. If your cut did touch the line all the way around, you can choose YES and it will skip the basic and do a “fine” calibration.
Your Cricut will do a series of cuts along the top and right edge of your paper.
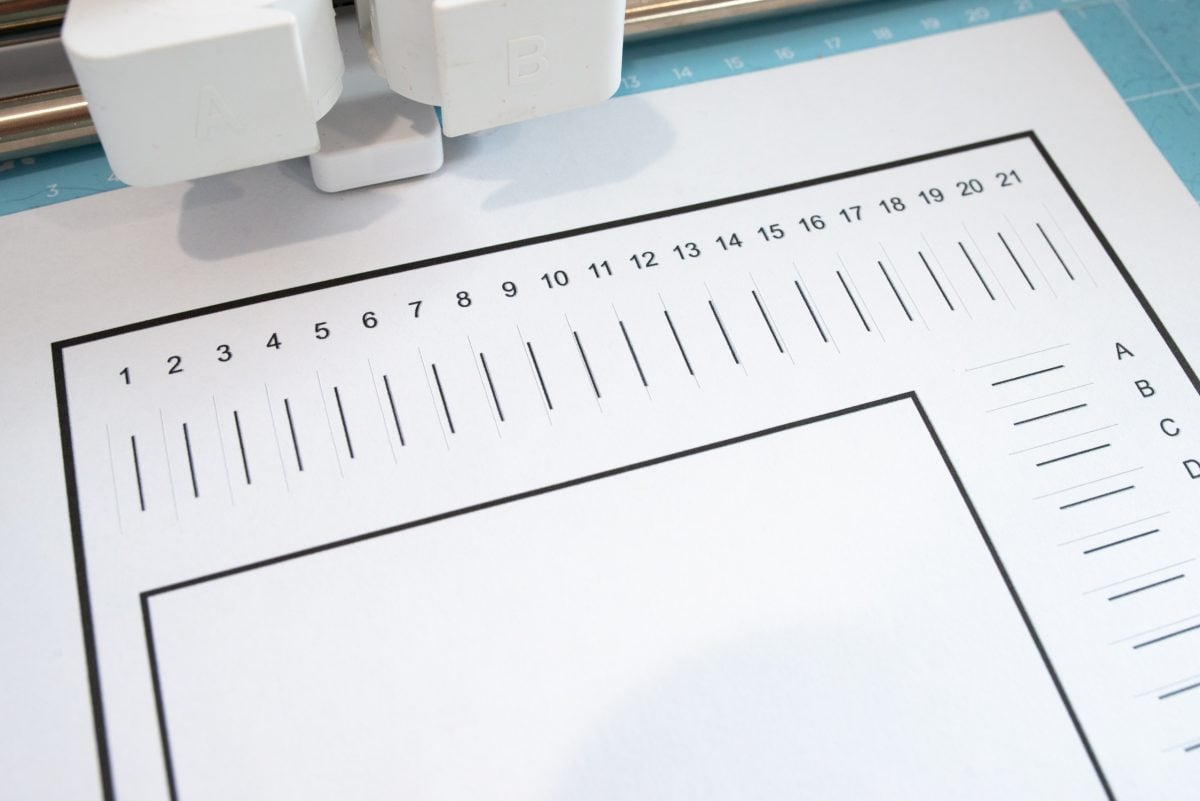
WITHOUT unloading, Cricut Design Space will ask you to examine the cut lines and see which two are the closest vertically and horizontally. Mine were 11 on the top and K on the right. Yours might be different. Put those values into Cricut Design Space and click Continue.

That’s your “basic calibration.” Now we’ll do a “fine” calibration to get it even closer. You will be prompted to remove your mat and print another calibration sheet. You’ll follow the same steps to prepare your machine and place the calibration sheet in the top left corner of the mat. Insert your mat into the machine and press that flashing Go button one more time.
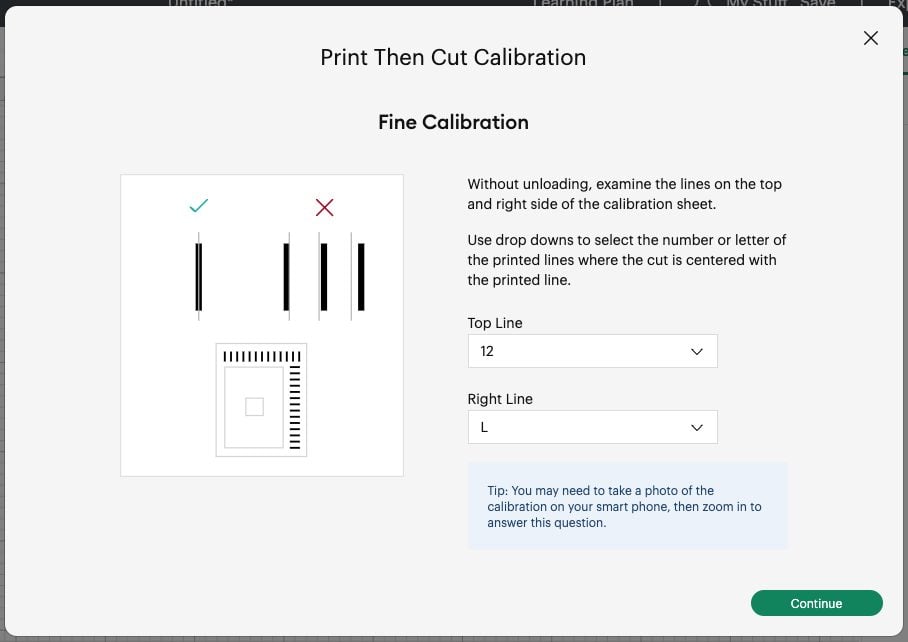
Your Cricut will read the black lines and do more test cuts in the same way that it did before. If your cut is now entirely in the black square, click YES and it will proceed with the “fine” calibration. Choose the two values that are closest to the center of the line—in this case it was 12 and L for me.
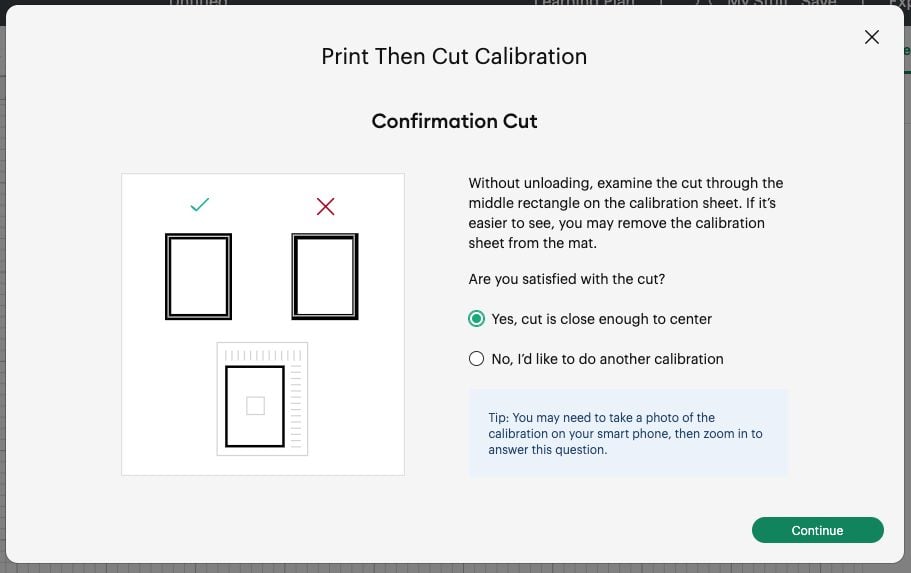
Finally, your Cricut will cut the larger rectangle and it should cut on top of the black line all the way around.
In Design Space, choose YES and the calibration is complete! If not, choose NO and it will run through the same process again.
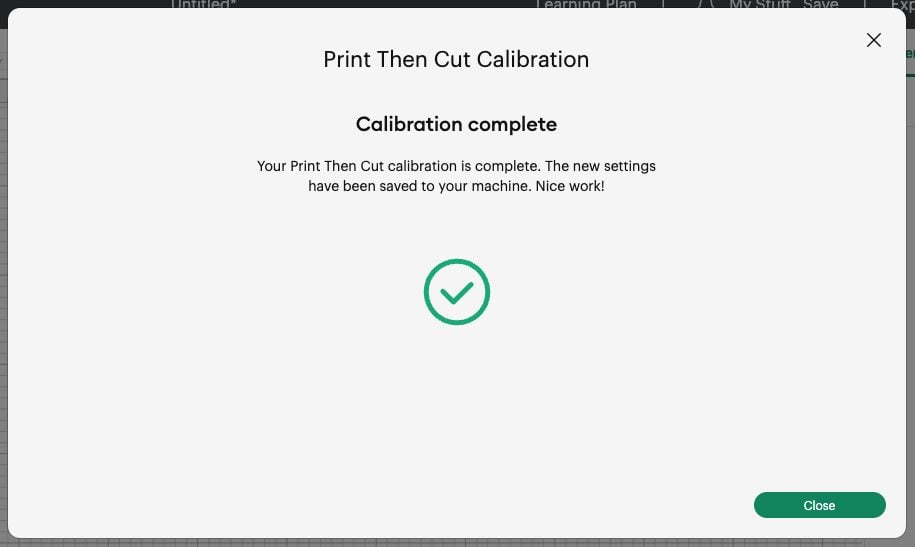
Once you’ve got it to cut all the way around the center of your black line, you’re done!
Have questions about Cricut Print then Cut calibrations or need help troubleshooting? Let me know in the comments!
Stop pulling your hair out and start creating confidently with your Cricut! Finally understand how to use your Cricut with my Learn Your Cricut eBooks!


Comments & Reviews
Trezor Suite App says
I recently tried the Trezor Suite App and was impressed with how smoothly it works with Trezor hardware wallets. It gives peace of mind by keeping private keys offline while still offering portfolio tracking and privacy features. A solid choice for anyone who wants secure and easy cryptocurrency management in one platform.
Emaar Marina Cove says
Emaar Marina Cove — a luxurious waterfront haven in Dubai. Marina Cove by Emaar offers elegant residences with breathtaking marina views, world-class amenities, and prime access to dining, shopping, and leisure attractions. Perfect for those seeking a serene yet vibrant coastal lifestyle. Explore the epitome of luxury living at Emaar Marina Cove today!
Debra Dacko says
My cricut air explore 2 will not calibrate.i have been working on this for a week now. I have contacted customer support and worked with them for over an hour, to no avail.i have used the calibration sheet from design space and the PDF form on cricut .com. customer support pretty much told me to buy a new machine. I can not get this machine to cut accurately.
Jessie Kennedy says
Hi!! My cricut needs a calibration because my cuts are way off! And now it wont read the registration marks even though its on plain paper, not shiny, its completely flat and the prints are perfect. no smears etc. I’ve also cleaned the light sensor and made extra sure that nothing was covering the light after cleaning. Please help!!!
Cori says
Hi Jessie,
This sounds like it could be a mechanical issue so we would recommend that you reach out to Cricut to see if they can help; here’s the contact information https://help.cricut.com/hc/en-us/articles/360020316674-Cricut-Contact-Information :)
Jennifer Snell says
Mine won’t start the process. Anyone gave that issue?
Diane says
I’m having trouble with constantly having to calibrate my cricut maker. Do you have to calibrate EVERY single time you want to print and cut? I want to make stickers. But I find myself having to calibrate EVERY single time I want to make something. Is anybody else having this issue? I’m so annoyed!!
Cori says
Hi Diane,
Sorry to hear you are having difficulties with your Cricut Maker calibration. I would suggest that you reach out to Cricut for assistance. Here is their contact information: https://help.cricut.com/hc/en-us/articles/360020316674-Cricut-Contact-Information
Cori says
You are so welcome! :)
Gmail not working says
When your email stops working or gets hacked, don’t panic. Call Email Support Phone Number and let the highly skilled Specialists get you up running.
Troubleshooting steps you can try to fix basic email problems:
1: Make sure you’re connected to the web.
2: Close the app, then reopen it.
3: Sign out, then sign back in.
4: Clearing the cookies and history of browser
5: Check your browser extensions or applications and remove unwanted extensions
For more detailed information visit: https://mail-help-number.com/gmail-not-receiving-email/