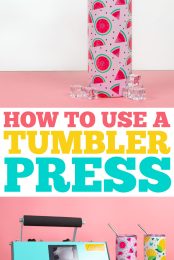
Making tumblers and mugs is super easy using a tumbler heat press! Here’s my review of the PYD Life tumbler press, including detailed instructions on using a tumbler press for sublimation on tumblers and mugs!
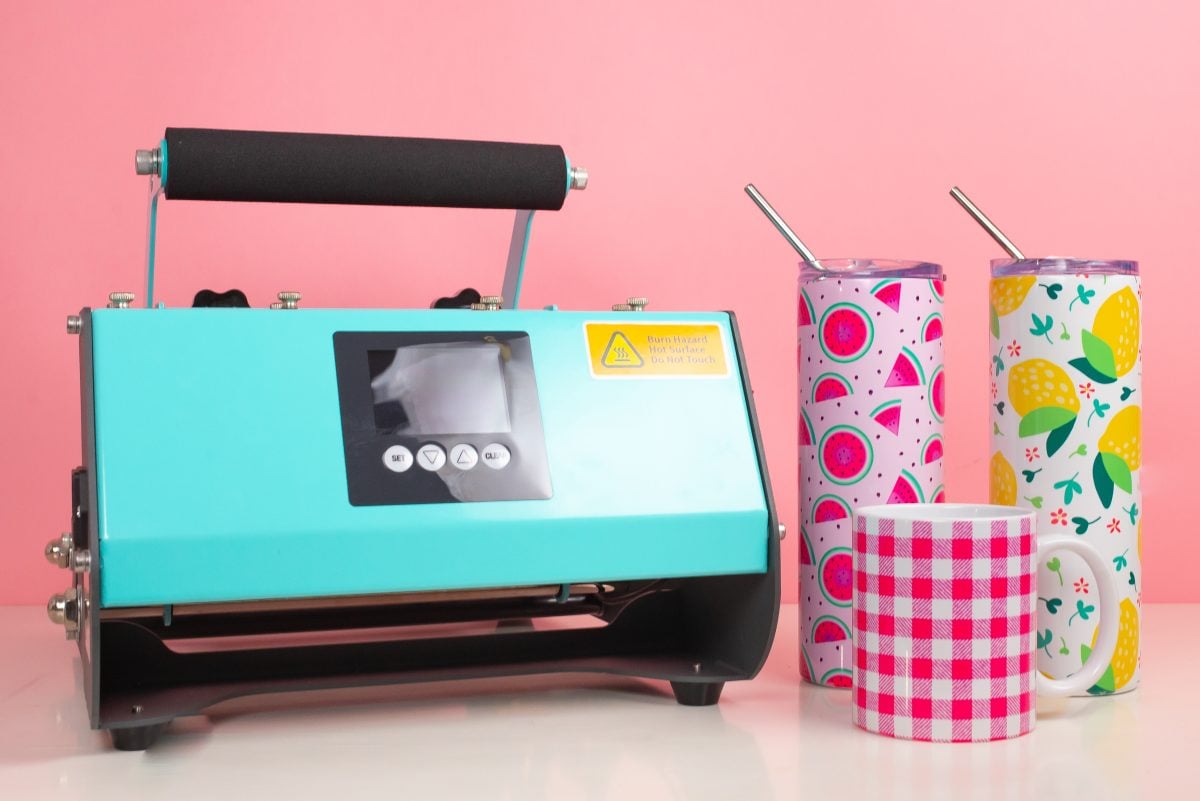
If you’ve been around, you all know that I do love my Cricut Mug Press. I’ve made dozens of mugs using my mug press and pretty much every single one has come out flawless.
That being said, the Cricut Mug Press definitely has its size and functionality limits, so I’ve been looking at adding a full size tumbler press to my heat press collection for a while now. When PYD Life reached out and offered to send me a tumbler press, I gladly accepted!
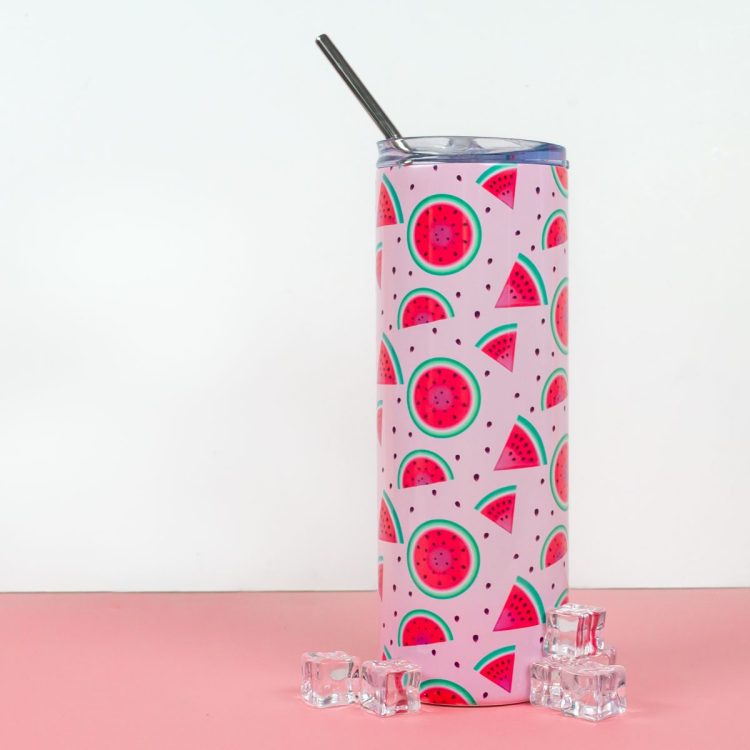
In this post, I’m going to go over the PYD Life tumbler press. We’ll talk about the press itself, what types of blanks work inside the press, and then we’ll make a cute watermelon tumbler!
Not sure which heat press is for you? Check out our e-course Heat Press Roadmap! This extensive course is designed to guide you on your journey to deciding on the best heat press for your needs, space, and budget. Check out all the details about Heat Press Roadmap here!
At the end, I’ll let you know whether or not I think a tumbler press is worth adding to your craft room.
If you’re brand new to sublimation (which is the process we’ll use to put images on our blanks), check out my The Ultimate Guide to Sublimation Printing & Crafting.
In This Post:
- VIDEO: How to use the tumbler press
- What is a tumbler press?
- Types of blanks
- Changing the heating element
- Testing the pressure
- Using the control panel
- Making a tumbler
- Is a tumbler press worth it?
Video: How to Use a Tumbler Press
If you’d like, here’s my video review and tutorial for using the PYD tumbler press! Read on if you prefer written instructions.
What is a Tumbler Press?
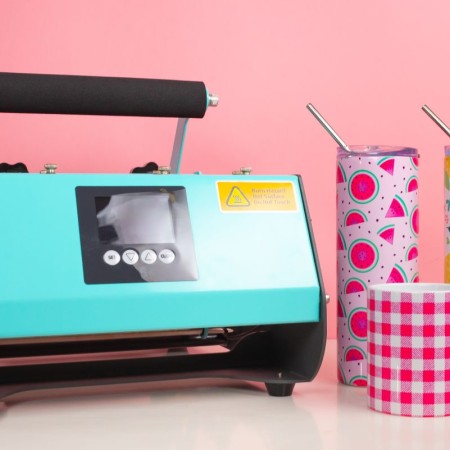
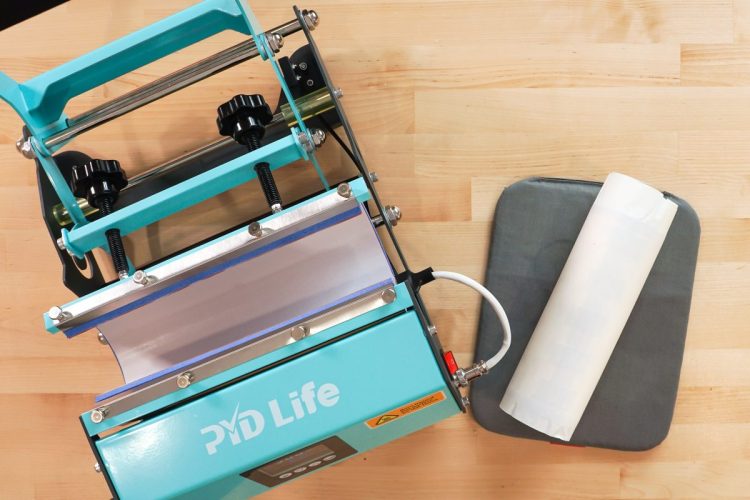
A tumbler press is a type of heat press specifically designed for sublimating tumblers, mugs, water bottles, and other drinkware. It has a heating element that wraps around the tumbler or mug.
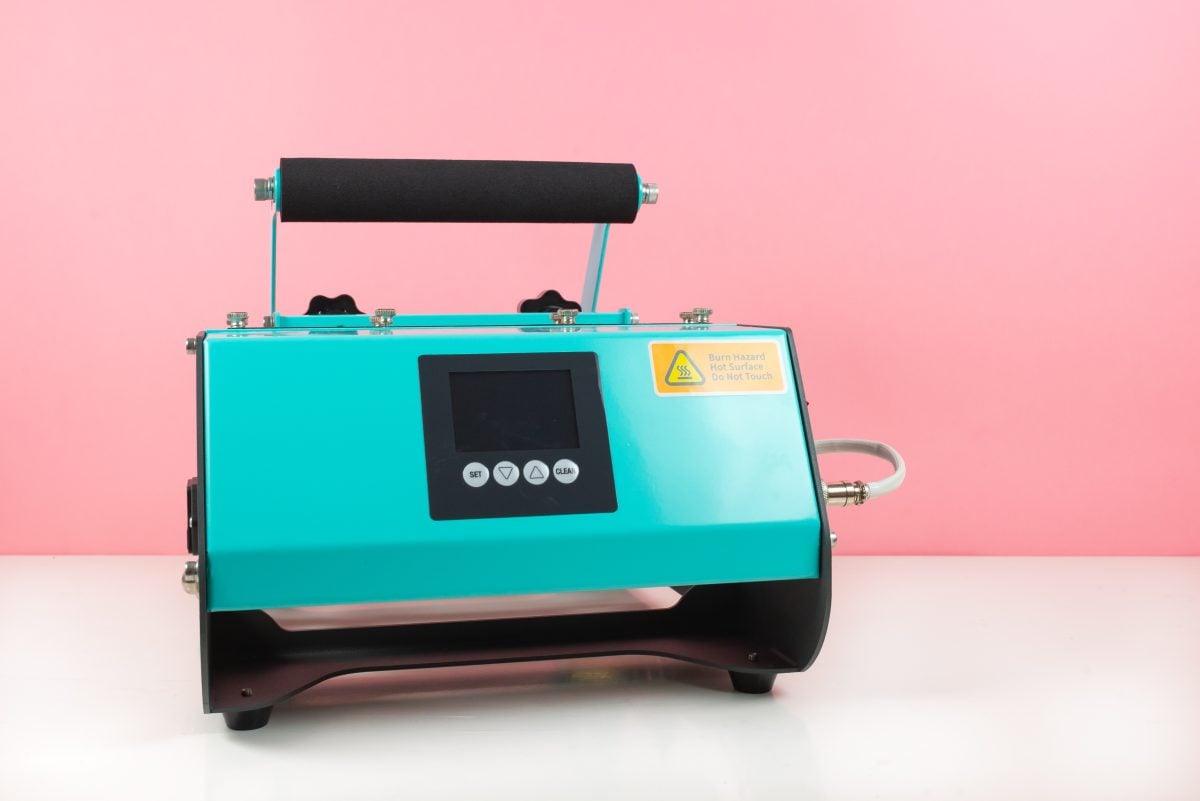
I have the PYD Life Pro Max 2-in-1 Tumbler Heat Press, which comes with two heating attachments:
- A straight-sided attachment for blanks 2.83″ to 3.46″ (7.2cm to 8.8cm) in diameter
- A straight-sided attachment for blanks 2.36″ to 2.79″ (7cm to 7.1cm) in diameter
Using the control panel on the front of the machine, you can set the time and temperature to press your blank. The controls are built into the front of this press, which has reduced the overall width of the press from previous versions, making it easier to store.
You can also buy nearly a dozen other heating attachments for other types of blanks, like travel mugs, conical latte mugs, and shot glasses. PYD said to reach out to them on their website for more information about buying individual heating attachments.
Types of Blanks
This press is very versatile when it comes to blanks, even more so if you buy additional heating elements.
Here are just a few of the types of drinkware you can press with the two inserts that come with the 2-in-1 PYD Life tumbler press:
- 20oz skinny tumblers
- 30oz tumblers
- 11oz mugs
- 12oz mugs
- 13oz glass cans
- 15oz mugs
- 16oz glass cans
- 18oz glass cans
- Skinny cola bottles
- Skinny children’s cups
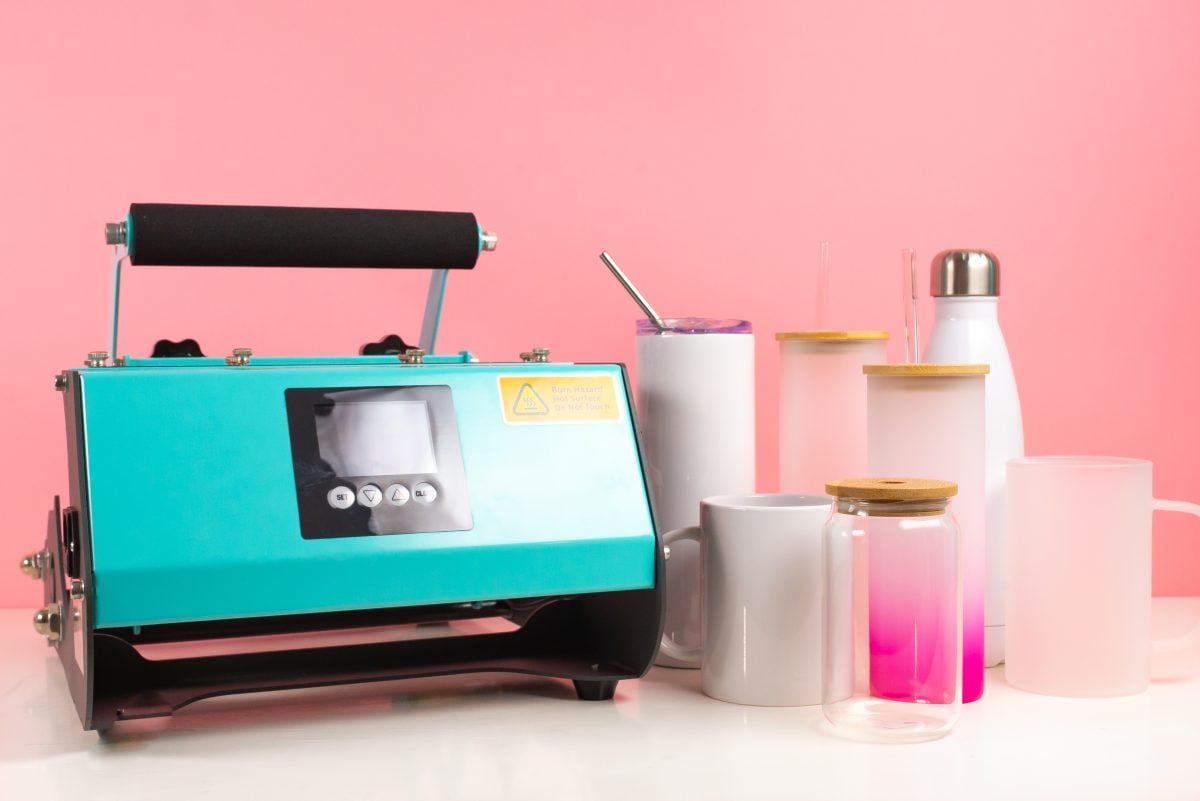
You can even make TWO mugs at one time, which is a great if you make a lot of mugs!
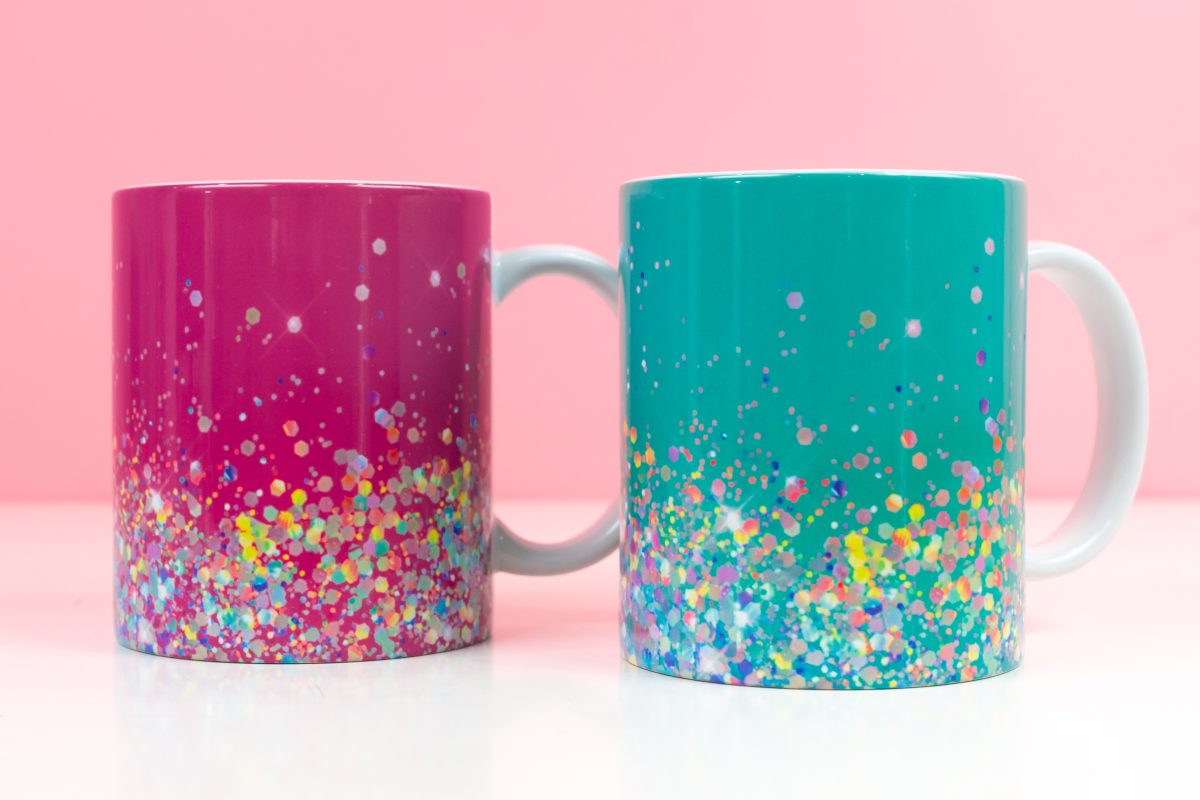
Note that all of the sublimation blanks need to have straight sides with the two heating attachments that come with this press. You’ll need additional heating attachments to do anything tapered.
I’ve made metal, glass, and ceramic blanks in this tumbler press without issues.
Changing the Heating Element
Swapping out the heating element on the press is simple. Make sure it’s fully cool. First unscrew the housing around the cord, and pull out the cord.
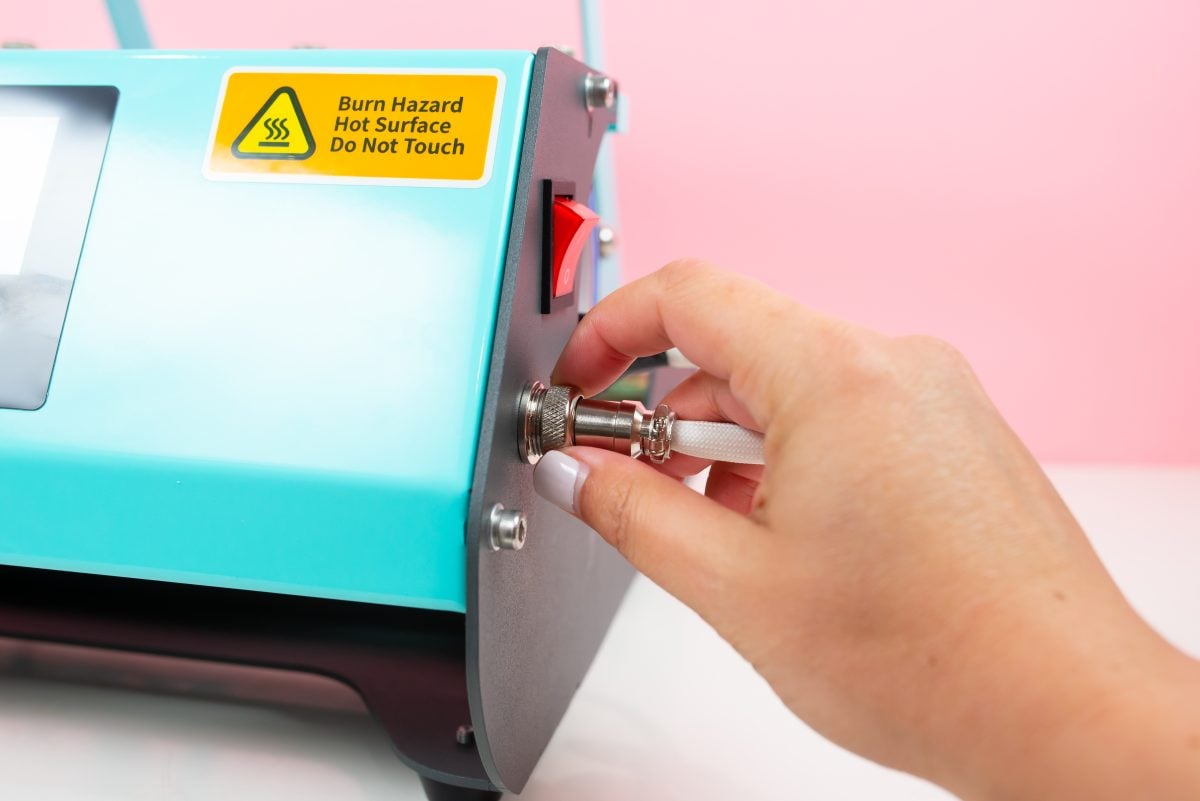
Then turn all of the screws that line the edge of the heating element on both sides. The screw heads will come off and then you can pull out the heating element.
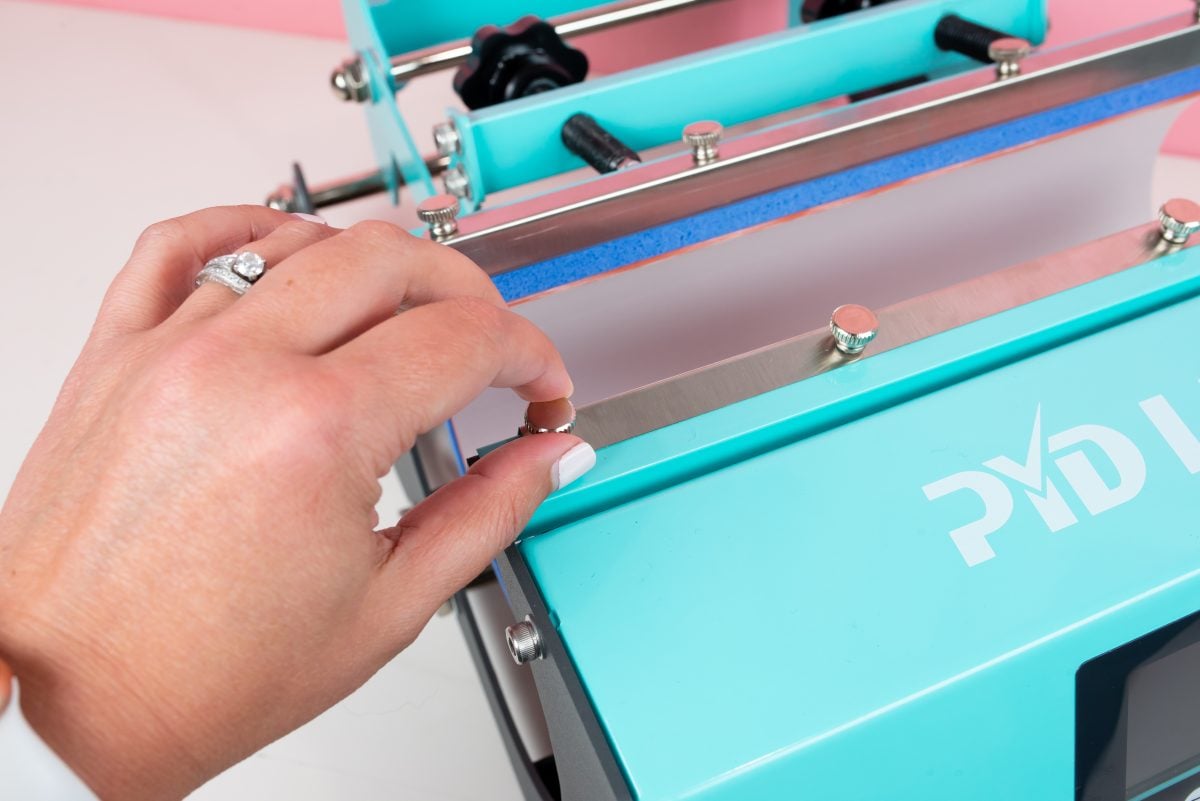
Add the new one and screw the screw heads back on, making sure they are secure. Then plug the heating element back into the side of the machine, and tighten the screw housing.
Testing the Pressure
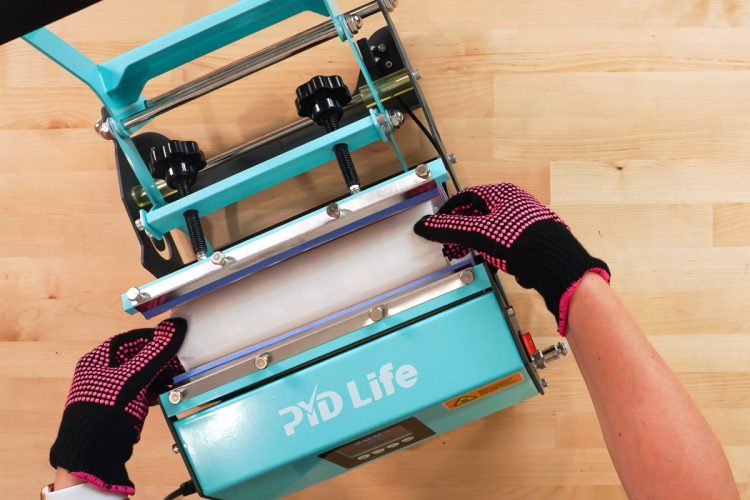
Start by making sure your press is cool. Then slide your blank inside the press. You want to be able to close with firm pressure—not too hard, and not too loose.
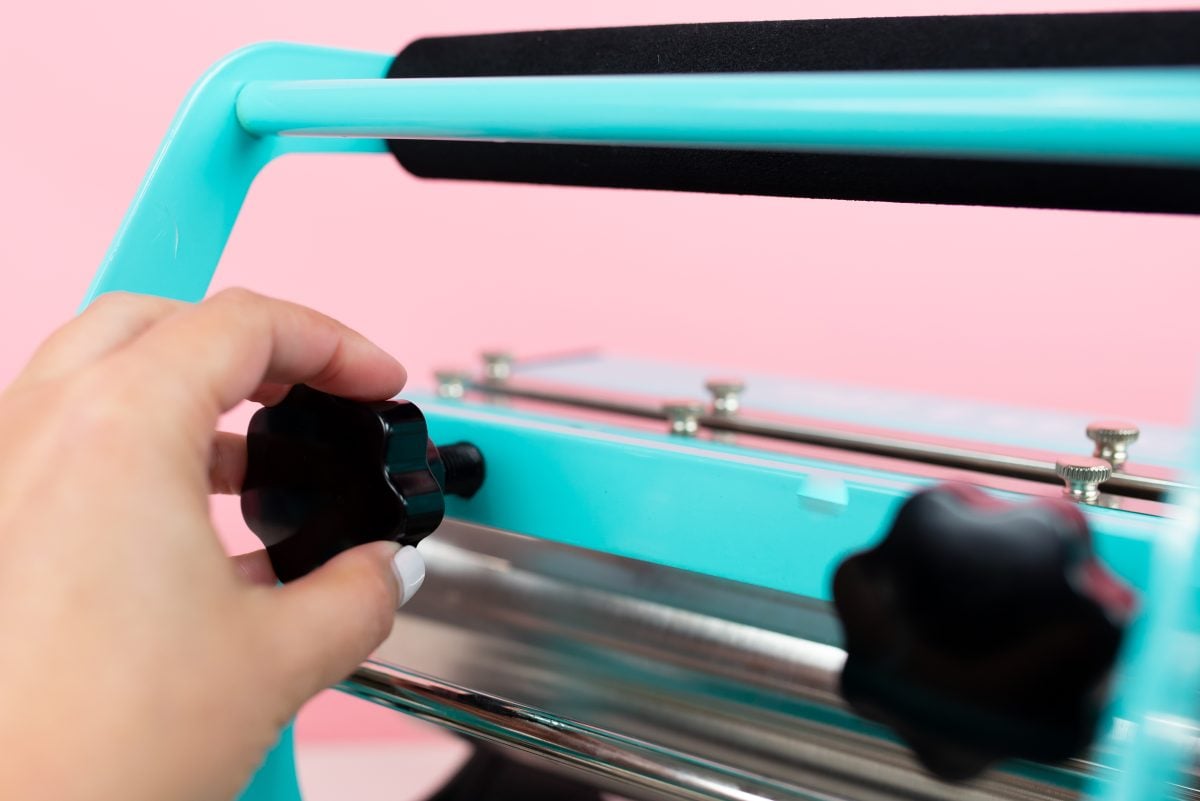
The pressure is controlled by the two black knobs under the handle. Twist these knobs to adjust the pressure until it feels like you can close the press around your blank firmly. You want to make sure you’re adjusting the knobs evenly so that the pressure is consistent on both sides when you heat your blank.
How to Set the Control Panel
How to Switch Between Celsius and Fahrenheit
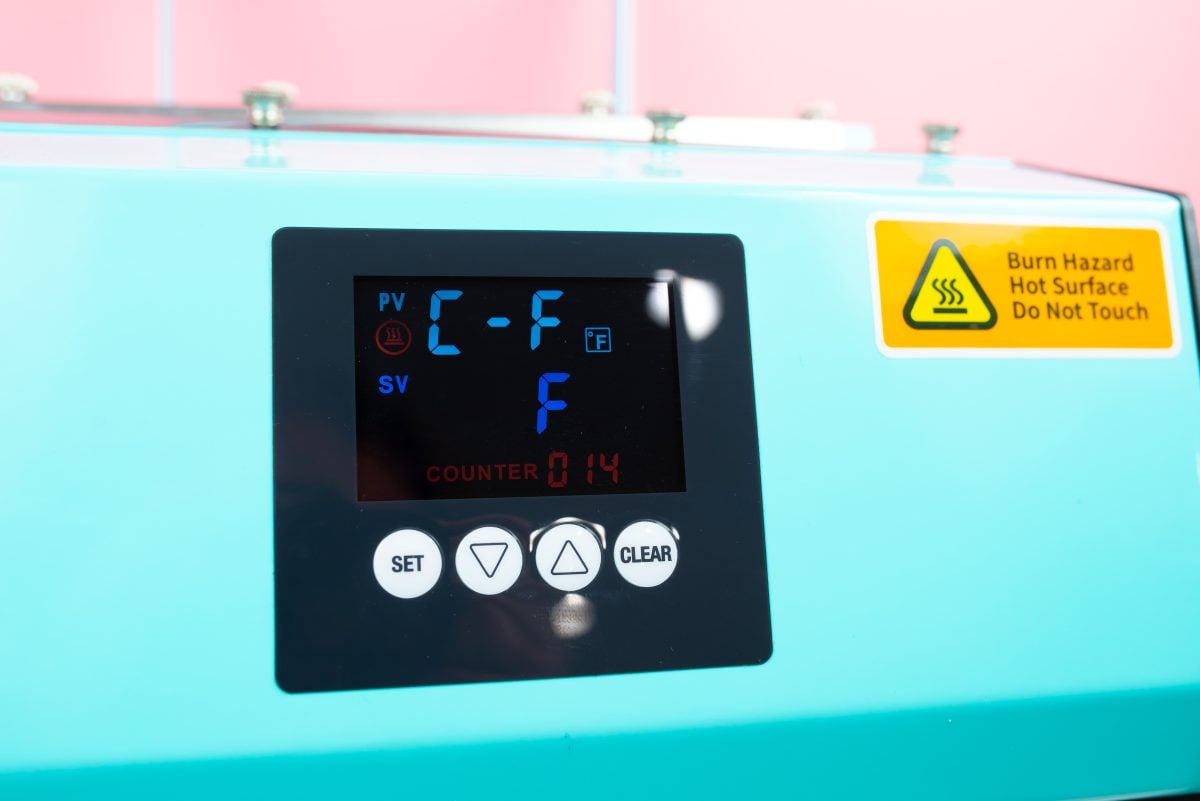
First, you’ll want to make sure you’re on the temperature increments that you understand. For me, that’s Fahrenheit, but it might be Celsius for you. If you need to switch it, press and hold the SET button for 5 seconds. Then use the up and down arrows to select F for Fahrenheit or C for Celsius. Then press and hold the SET button for another five seconds to save the setting.
How to Set the Temperature and Time
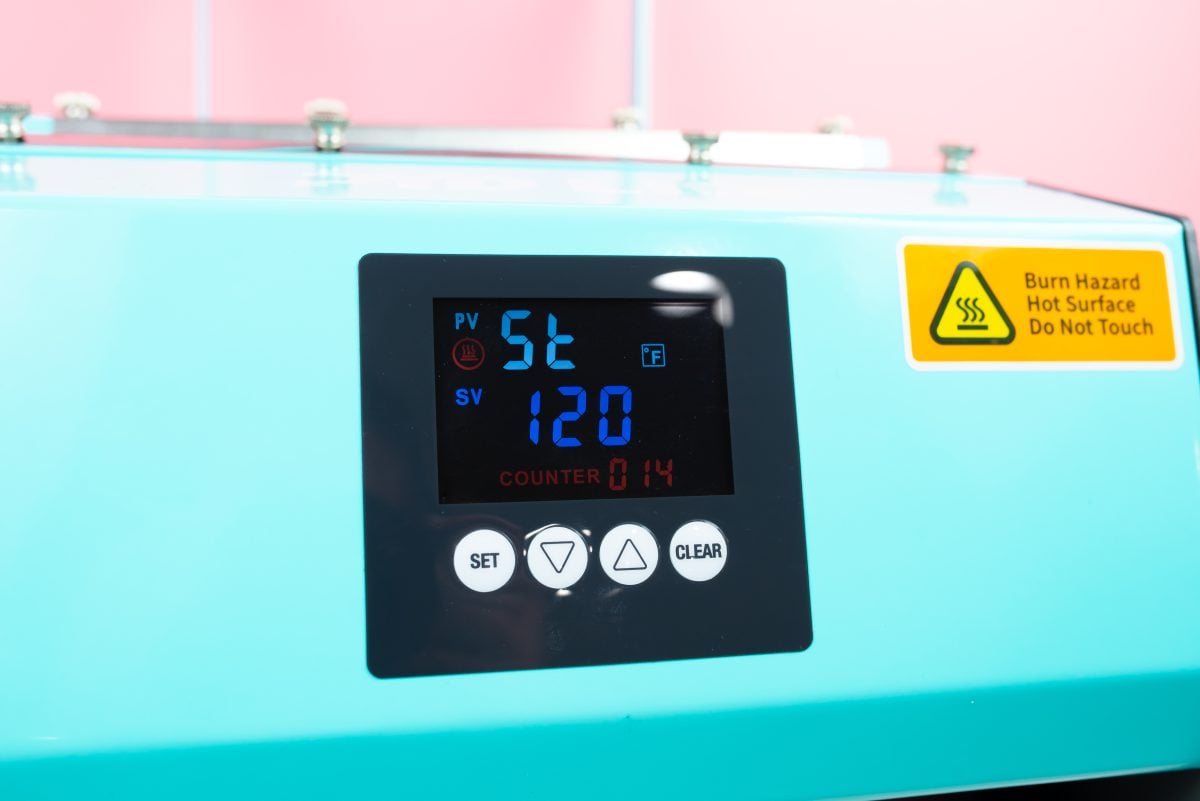
To set the temperature and time, press SET and you’ll get temperature mode first (SP). Use the arrow keys to get to your preferred temperature.
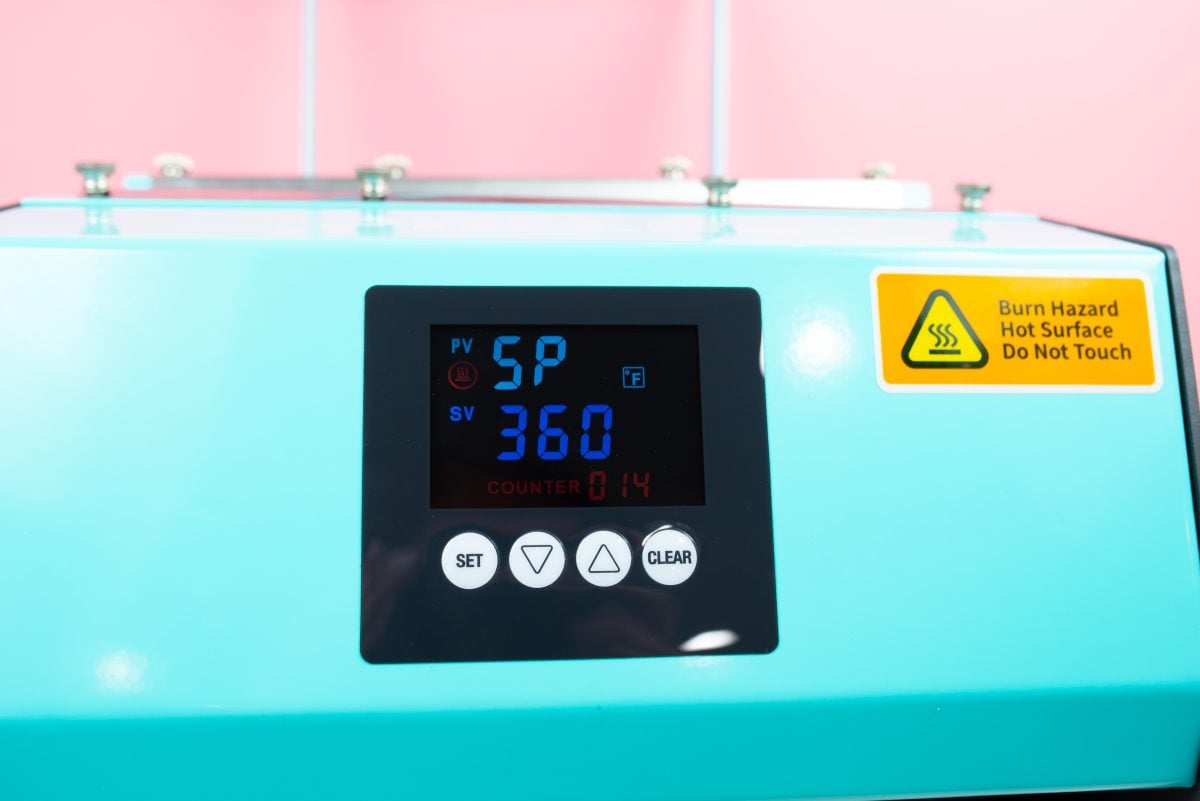
Then press SET again to get to the time (ST). Use the arrow keys to adjust your time, and then press SET to save your settings.
How to Make a Tumbler in a Tumbler Press
Supplies
- PYD Life tumbler heat press
- Sublimation printer with sublimation ink
- Sublimation paper
- Skinny tumbler
- Lint roller
- Butcher paper
- Heat-resistant tape
- Heat-resistant gloves
- Sublimation print
Instructions
Start by setting the time and temperature for your tumblers. Most blanks will come with suggested time and temperature settings, but as I’ve said so many times before, sublimation is all about testing. You may go through some blanks before you get the image you want. Then record your best time and temperature on my Sublimation Cheat Sheets so you have them for next time.
For this tumbler, I did 360° for 60 seconds, based on the recommendation of PYD Life.
(NOTE: I always do a test press of my image on a piece of cheap polyester before trying it on my blank. That way I can see if I am going to have any color issues. I’d rather spend the extra few cents for a print than ruin a whole blank because my colors were totally off. Check out my post Sublimation ICC Profiles & Color Management for more information.)
Remove the cap and straw from the tumbler.
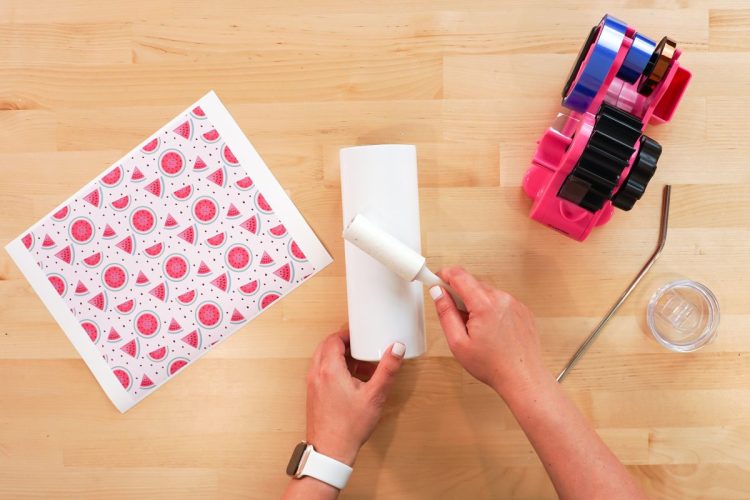
Clean the tumbler using a lint roller. Any pieces of lint or dust can sublimate onto the tumbler and leave spots.
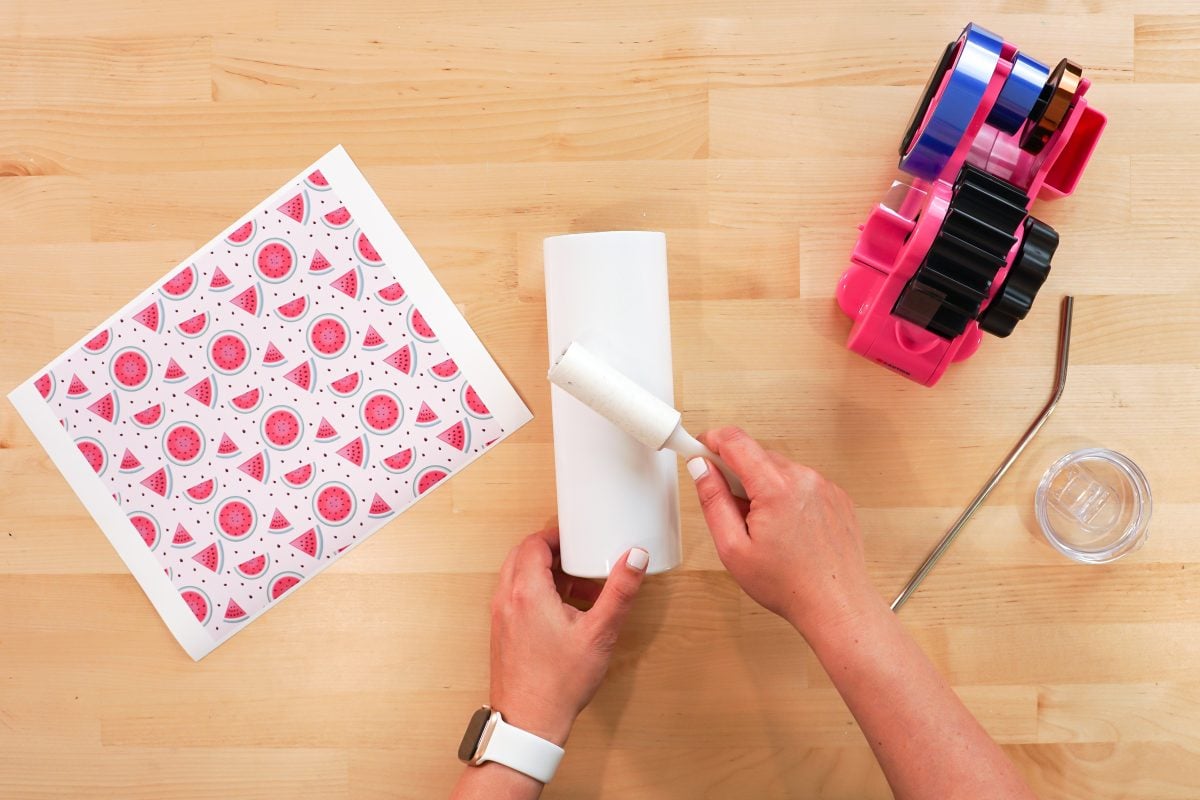
Trim your design to fit on your skinny tumbler. I try to get it as perfectly close to the edges touching as possible. I’d rather have a tiny overlap vs. a a gap which will leave a white stripe down the tumbler.
For a more in-depth look at how I tape my projects, check out my post How to Tape a Tumbler to Minimize Seams and Uneven Edges!
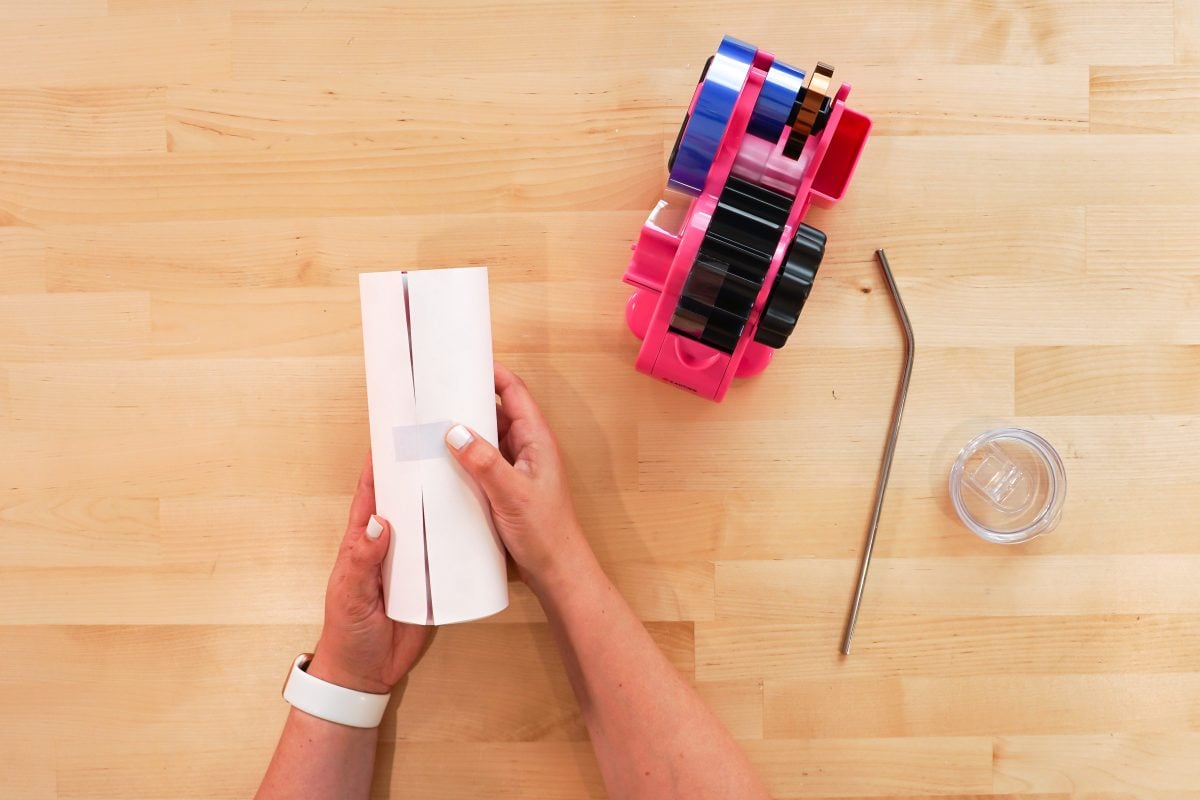
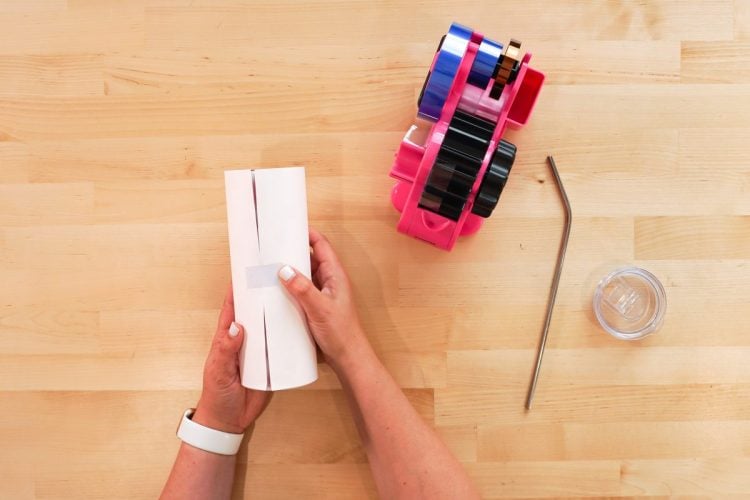
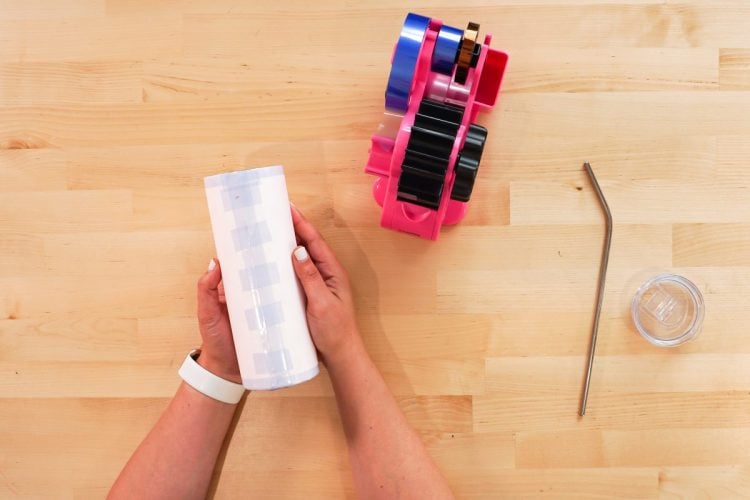
Center the design on your tumbler, pull it tightly and tape down the entire seam using piece of heat resistant tape.
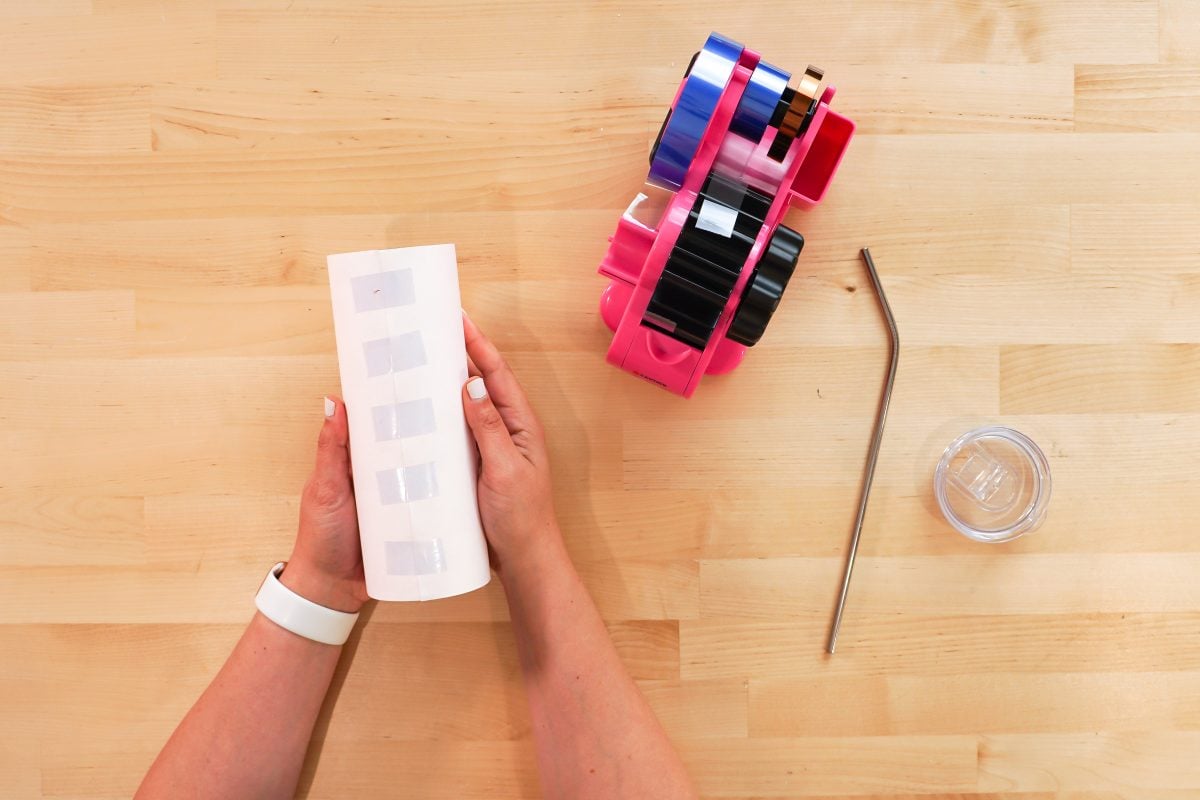
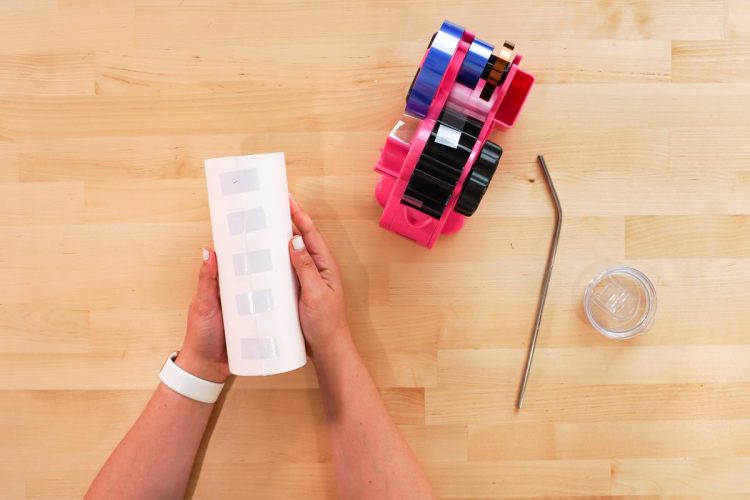
Add a few pieces of tape down the side.
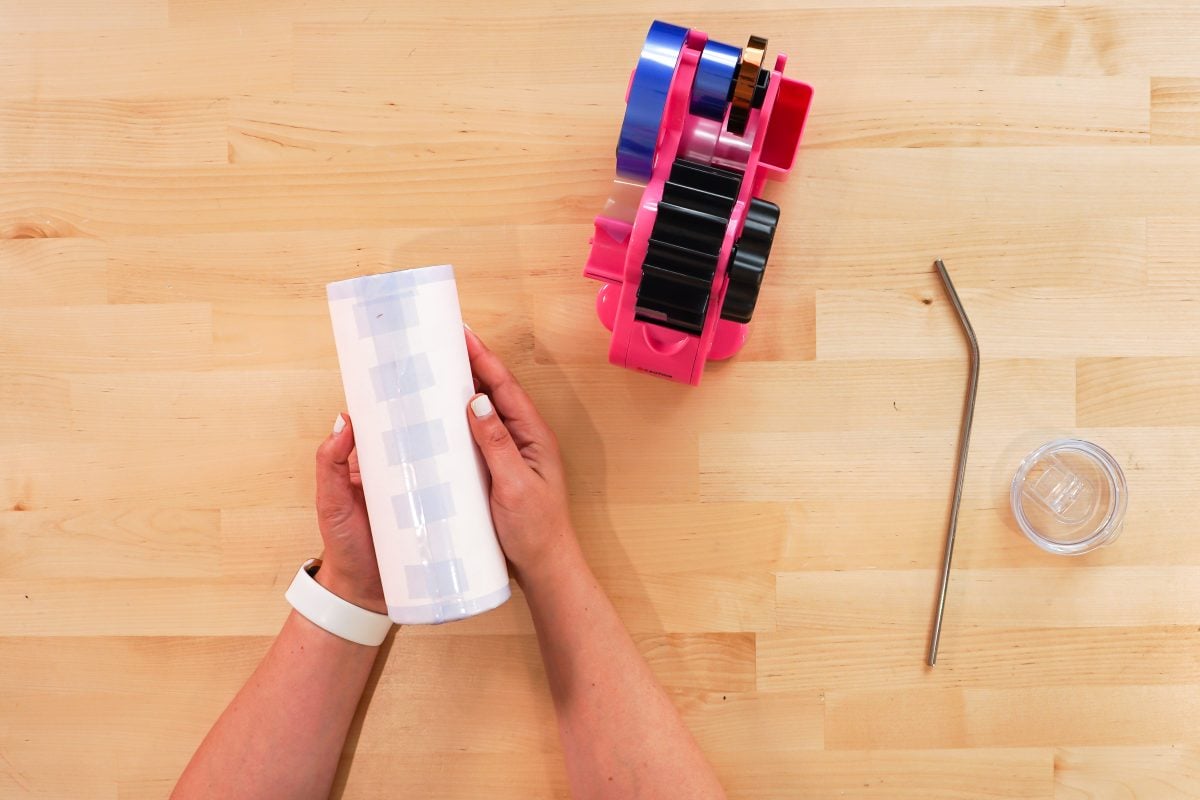
Tape around the bottom of the tumble. Be sure everything is taped as tightly as possible. This will help prevent “gassing out” and uneven edges. I will roll the edge of my tumbler on the table a bit to press those edges (see an example of this in the video above). I have found this helps about 90% of the uneven edge issues I used to have.
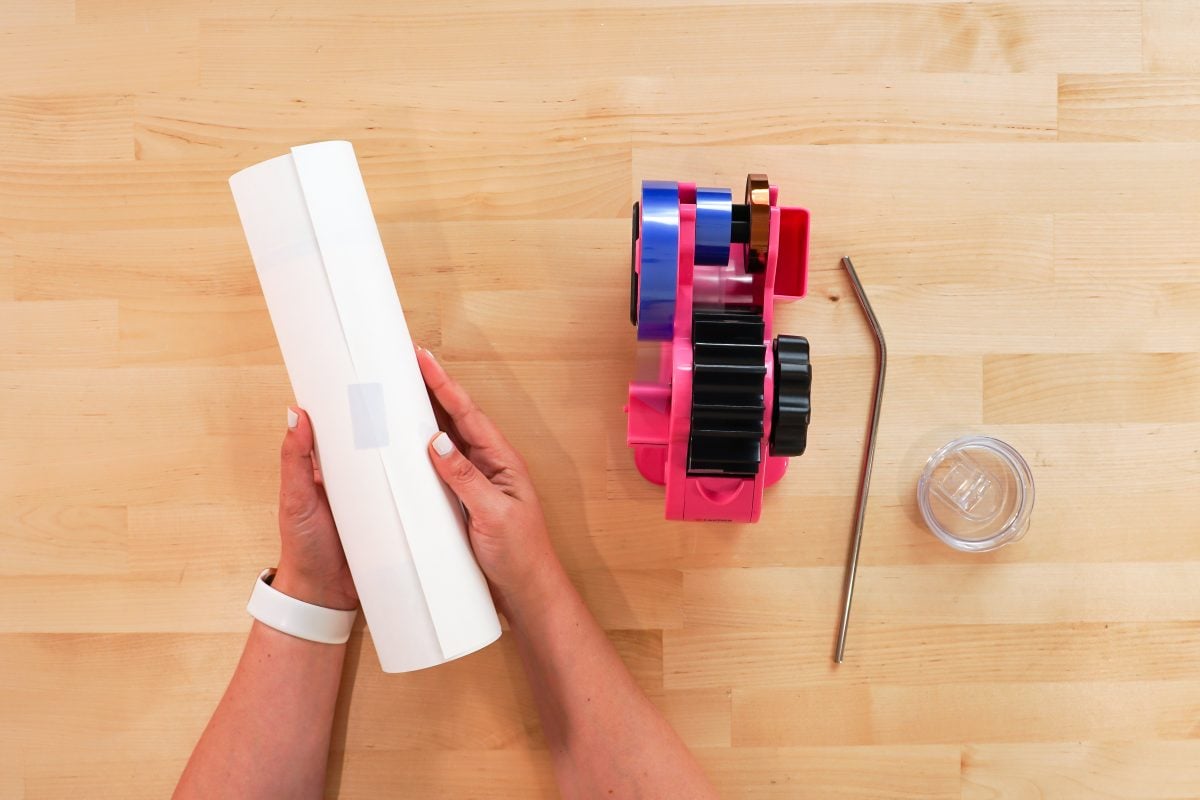
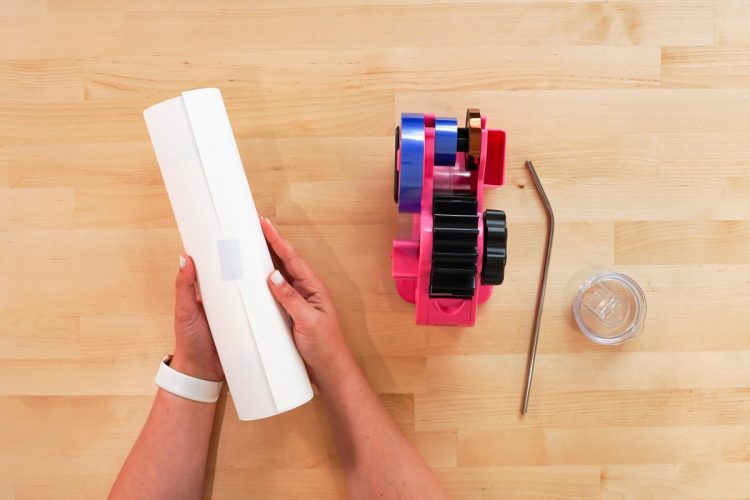
Then wrap the tumbler in a layer of butcher paper. You don’t need to tape it to the tumbler.
PS: love my auto-cut tape dispenser? Learn more in my post Must-Have Sublimation Supplies and Tools!
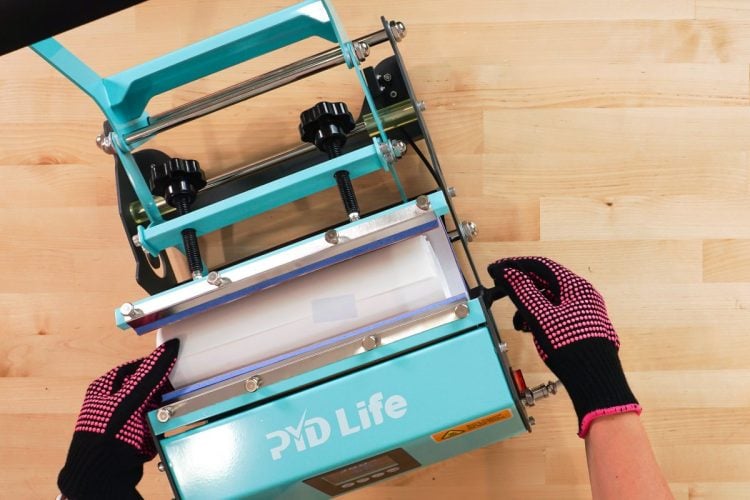
Once your heat press is to temperature, put on your heat resistant gloves and slide your tumbler into the press.
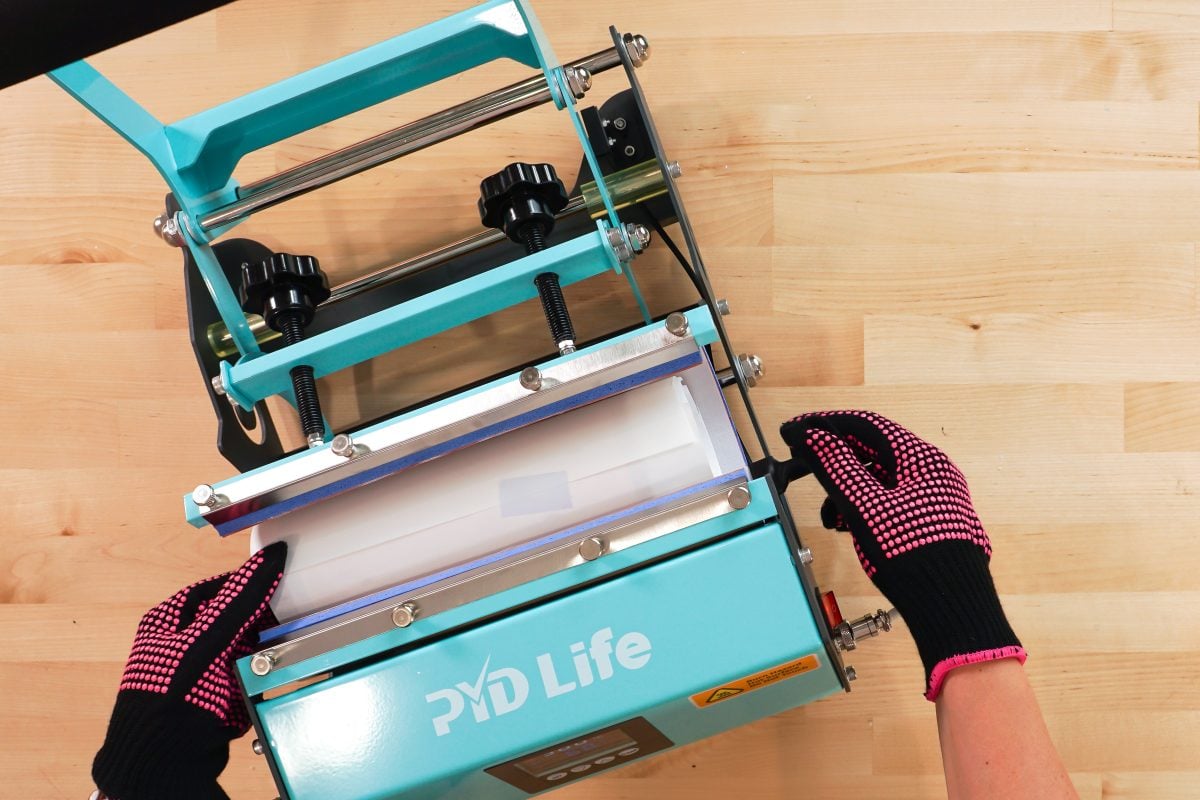
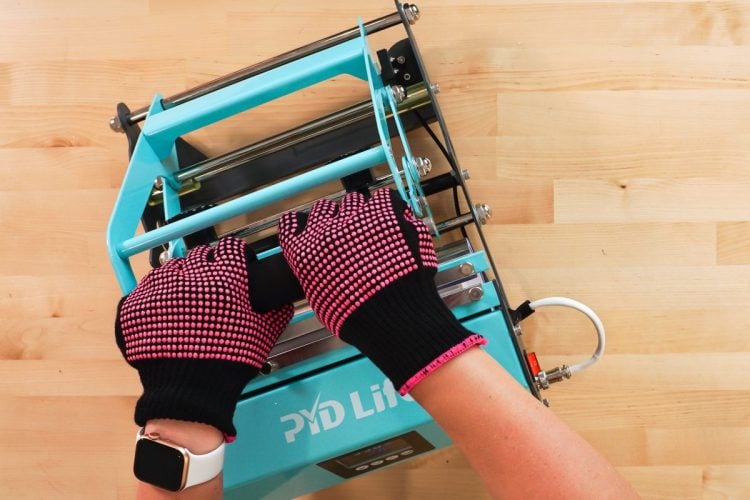
Use the handle to clamp the press closed. The press will automatically start to count down.
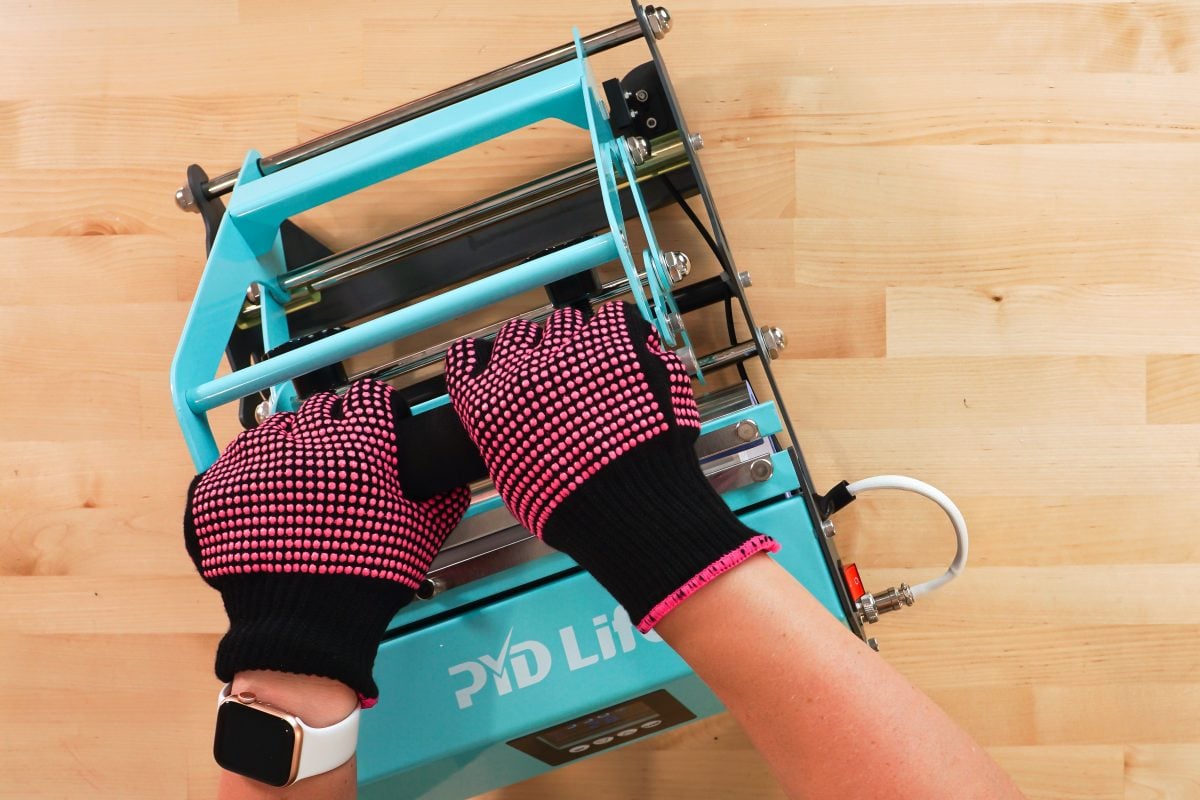
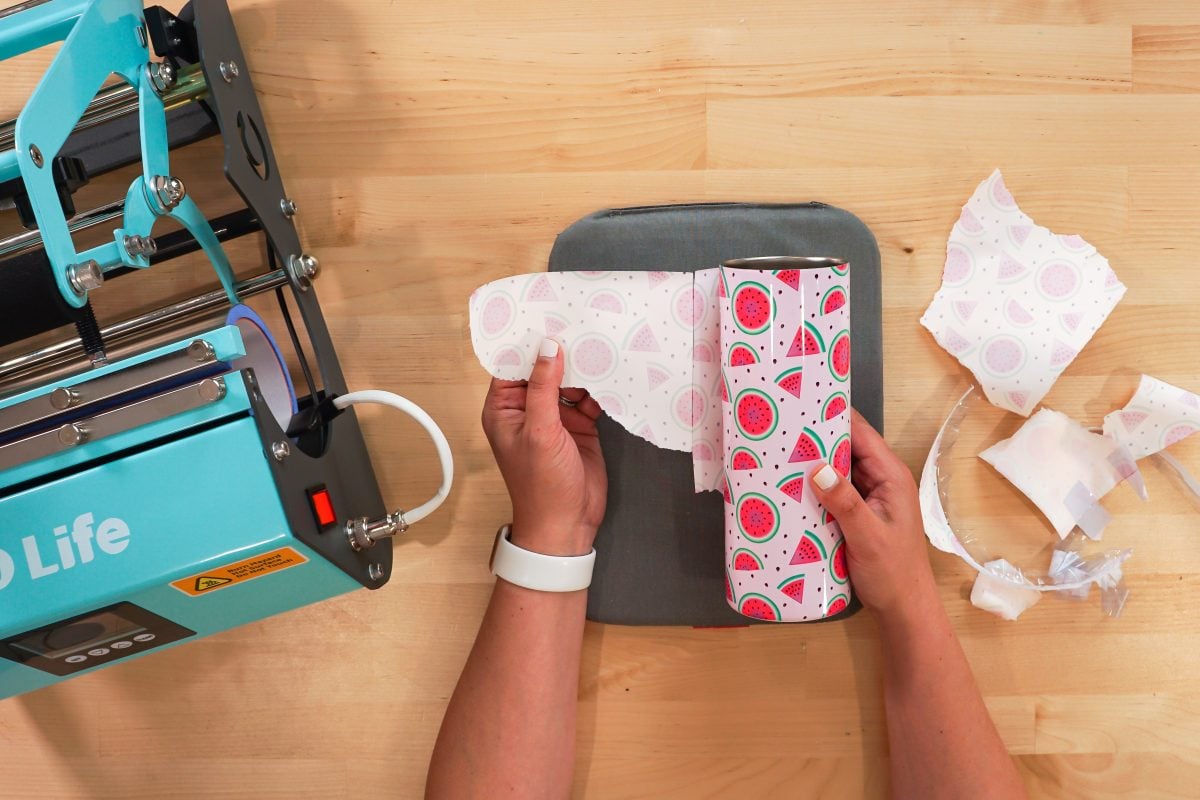
When the alarm sounds, open the press and turn the tumbler once so that the part that was at the seam of the press is now fully covered by the heating element. Close and press again.
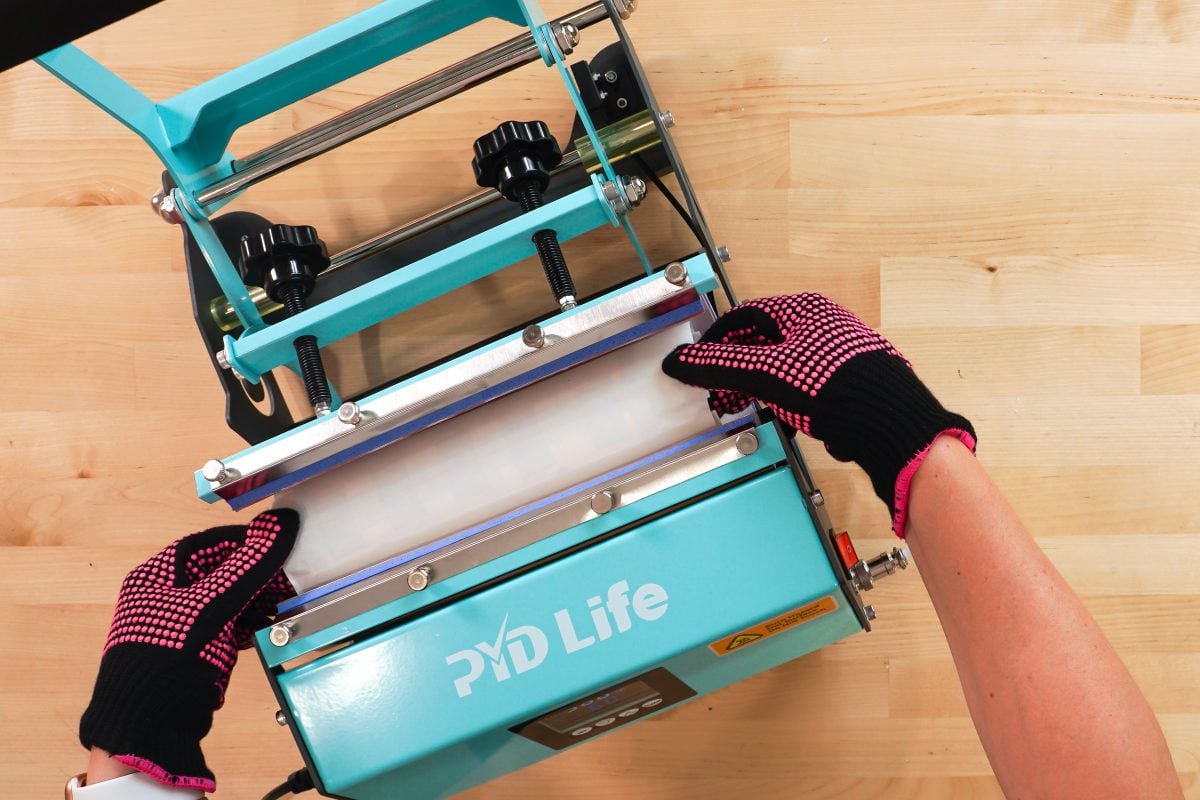
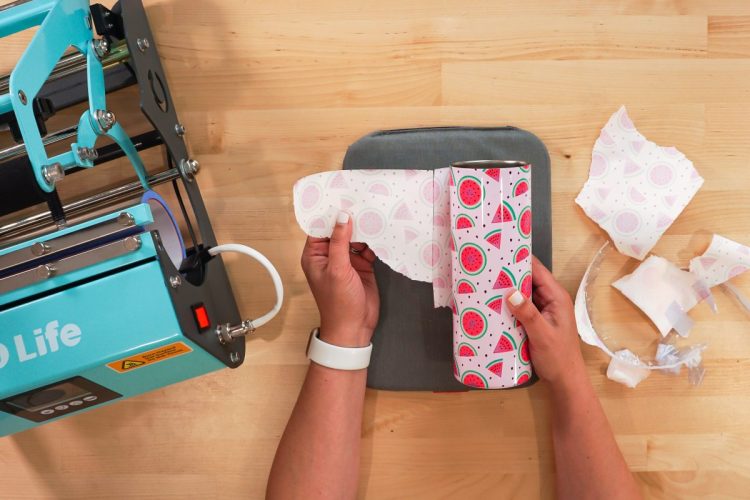
Once the alarm sounds the second time, remove your tumbler and set it aside to cool.
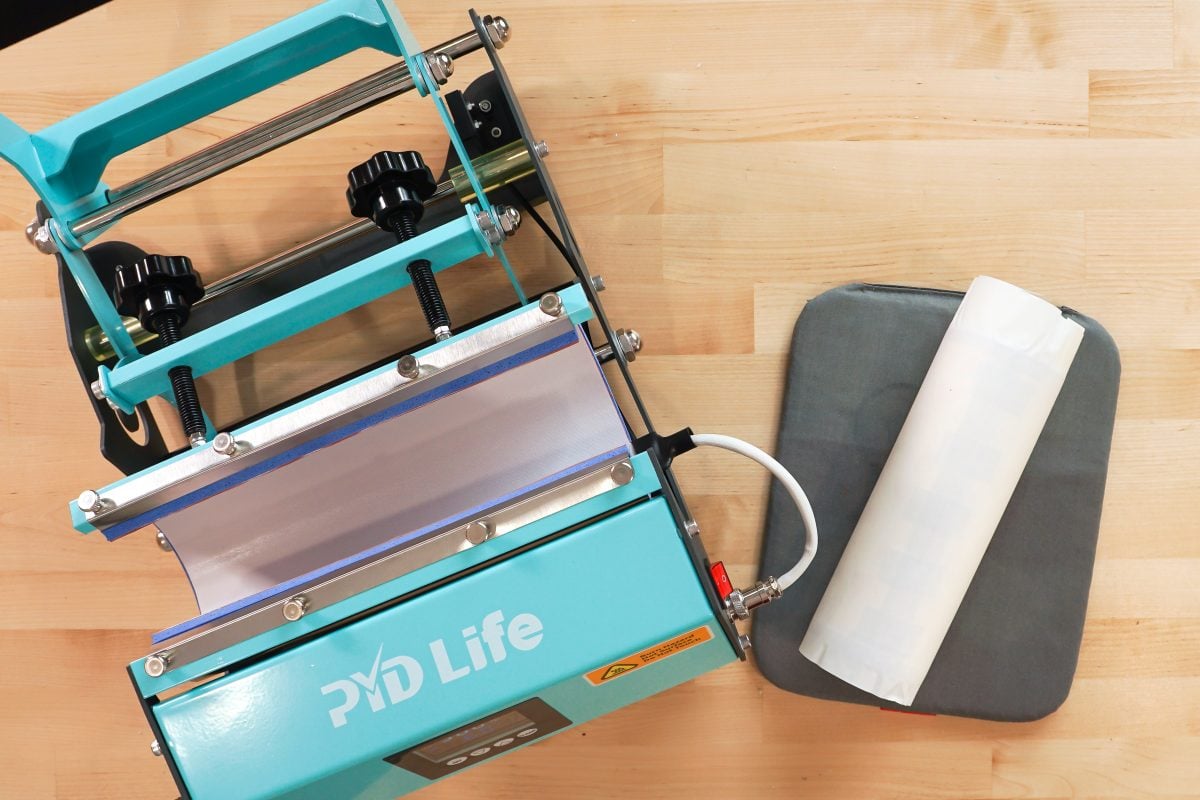
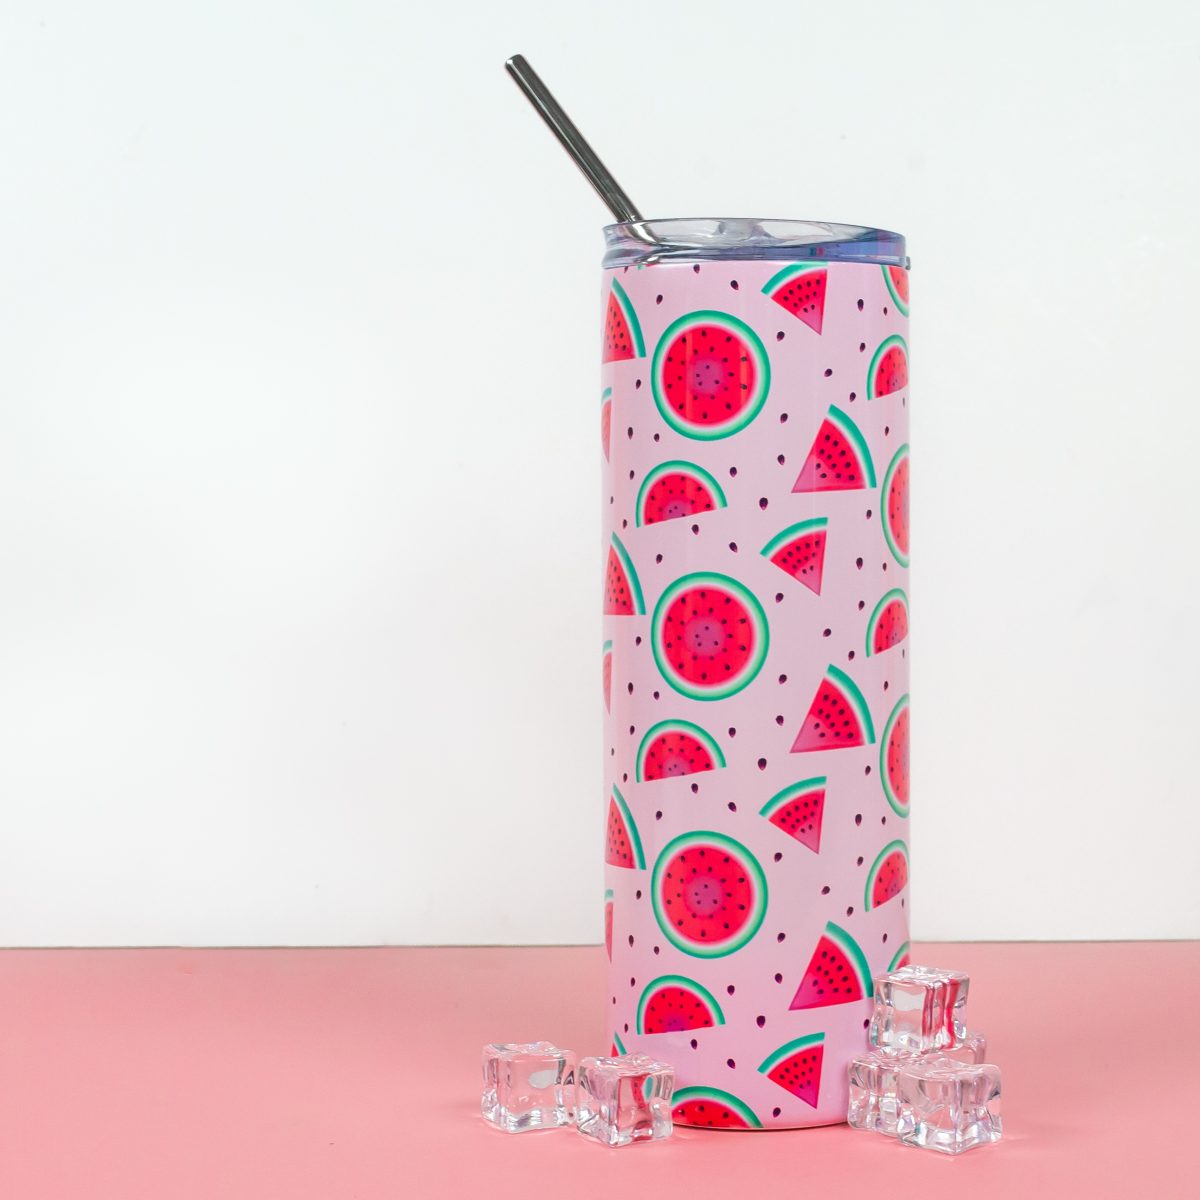
Then remove the butcher paper and transfer to reveal your tumbler!
Is a Tumbler Press Worth It?
So you may be asking yourself, is a tumbler press worth it? Overall, I think the PYD Life Tumbler Press is a great, versatile press that works really well. I like that you can add different attachments to expand its capabilities.
Those who love to press tumblers or have small businesses that do a lot of sublimation, this press is definitely worth it. It’s high quality, it heats up quickly, it’s easy to control, and the results are great.
If you just want to do a tumbler here and there, I suggest using either the PYD inserts in your Mug Press (see how to do it here) or using shrink wrap and a convection oven. Both of those processes work, but are slower than the actual tumbler press.
Have questions about using a tumbler press? Let me know in the comments!
HOW TO MAKE A TUMBLER IN A TUMBLER PRESS
Equipment
- Sublimation printer with sublimation ink
Instructions
- Start by setting the time and temperature for your tumblers. Most blanks will come with suggested time and temperature settings, but sublimation is all about testing. You may go through some blanks before you get the image you want. Then record your best time and temperature on these Sublimation Cheat Sheets so you have them for next time.For this tumbler, time and temperature were set at 360° for 60 seconds, based on the recommendation of PYD Life.(NOTE: I always do a test press of my image on a piece of cheap polyester before trying it on my blank. That way I can see if I am going to have any color issues. I'd rather spend the extra few cents for a print than ruin a whole blank because my colors were totally off. Check out my post Sublimation ICC Profiles & Color Management for more information.)Remove the cap and straw from the tumbler.Clean the tumbler using a lint roller. Any pieces of lint or dust can sublimate onto the tumbler and leave spots.

- Trim your design to fit on your skinny tumbler and try to get it as perfectly close to the edges touching as possible. Rather there be a tiny overlap vs. a a gap which will leave a white stripe down the tumbler.For a more in-depth look at how I tape my projects, check out my post How to Tape a Tumbler to Minimize Seams and Uneven Edges!Center the design on your tumbler, pull it tightly and tape down the entire seam using piece of heat resistant tape.

- Add a few pieces of tape down the side.

- Tape around the bottom of the tumble. Be sure everything is taped as tightly as possible. This will help prevent “gassing out” and uneven edges. Roll the edge of the tumbler on the table a bit to press those edges (see an example of this in the video above). This helps about 90% of the uneven edge issues.

- Then wrap the tumbler in a layer of butcher paper. You don't need to tape it to the tumbler.

- PS: love my auto-cut tape dispenser? Learn more in my post Must-Have Sublimation Supplies and Tools!Once your heat press is to temperature, put on your heat resistant gloves and slide your tumbler into the press.

- Use the handle to clamp the press closed. The press will automatically start to count down.

- When the alarm sounds, open the press and turn the tumbler once so that the part that was at the seam of the press is now fully covered by the heating element. Close and press again.

- Once the alarm sounds the second time, remove your tumbler and set it aside to cool.

- Then remove the butcher paper and transfer to reveal your tumbler!




Comments & Reviews
Jo Marie Ziegler says
Thank you! Just bought this press and your video is very helpful. Do you have any tips for wrapping a mug?
Crystal Summers says
Hi,
Thank you! As for wrapping a mug, I would follow similar steps! The sizing will just be different, and make sure to tape securely under the handle!
Happy crafting,
Crystal, HLMS Community Manager
Wendy Barrett says
Thank you for this great blog and video Cori, I think I will be investing in one of these! I would assume the fumes would be similar to using a convection oven? In other words don’t make them in my craft room? Also, you’ve shown us a lot of Pros, did you experience any Cons?
Thanks again!
Cori says
Hi Wendy,
Other than the fumes and the fact that the unit does get quite hot, no, I was very pleased with the press and results :)