Frustrated with removing materials from your Cricut mat? No need to panic! I have a bunch of tips and tricks for helping to get your mats to release your materials perfectly. A must-read for any Cricut newbie.
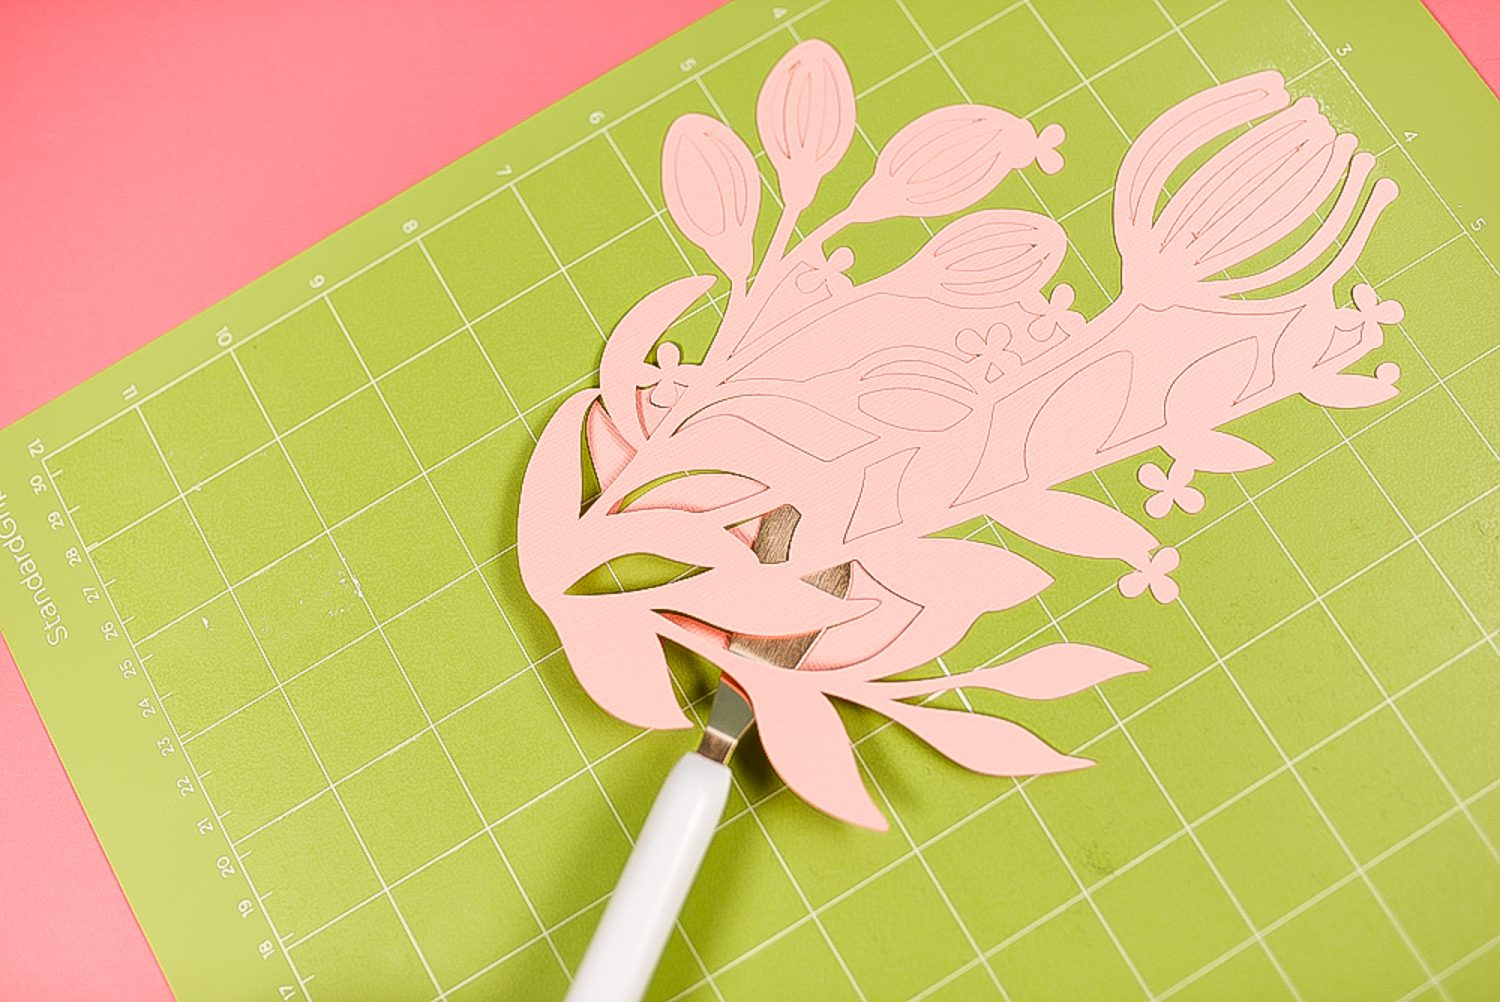
When I first got my Cricut, I decided my first project would be to cut out my logo in paper. I was brand new to the Cricut and had no idea what I was doing. I didn’t even try the sample project that came with my Explore—I just threw my SVG logo into Cricut Design Space and cut.
The Explore cut it beautifully. I was so impressed looking at it on the green mat.
And then…I tried to remove my delicate logo from the mat.
Disaster.
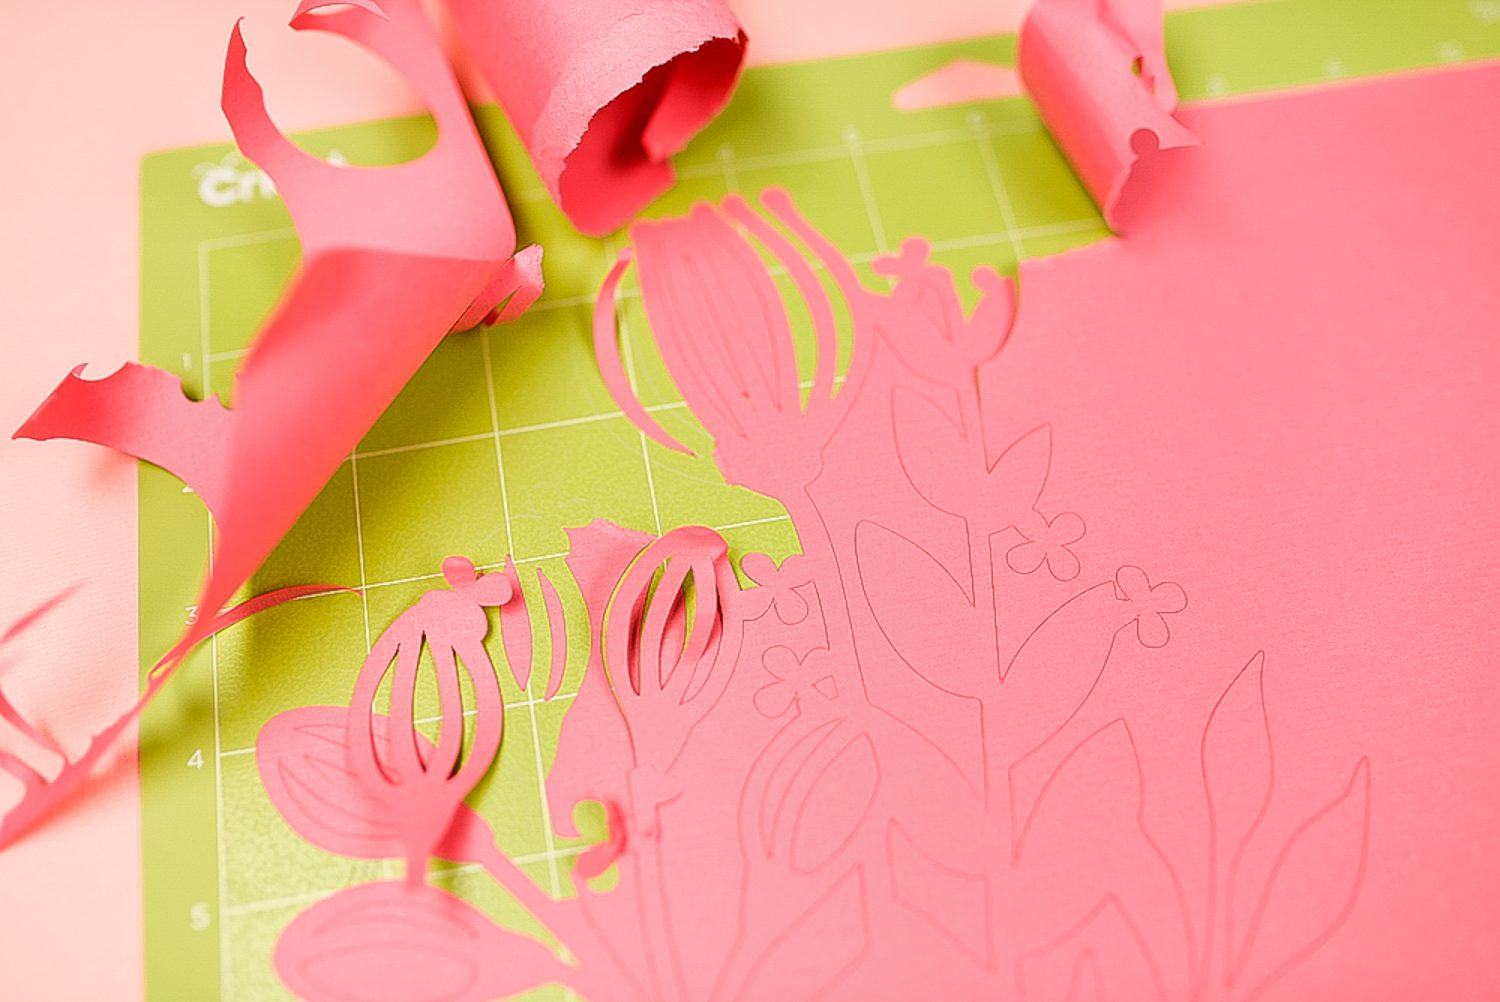
It ripped and curled and stuck to the mat and my project was ruined. If you’re having the same trouble, here are some tips for removing projects from your mats! These tips apply to any Cricut machine, including the Cricut Maker, Cricut Explore Air 2, and Cricut Joy.
Use The Right Mat
Make sure you are using the right mat for your project. You’ll notice that there is some overlap—this can give you some flexibility depending on what mat you have lying around.
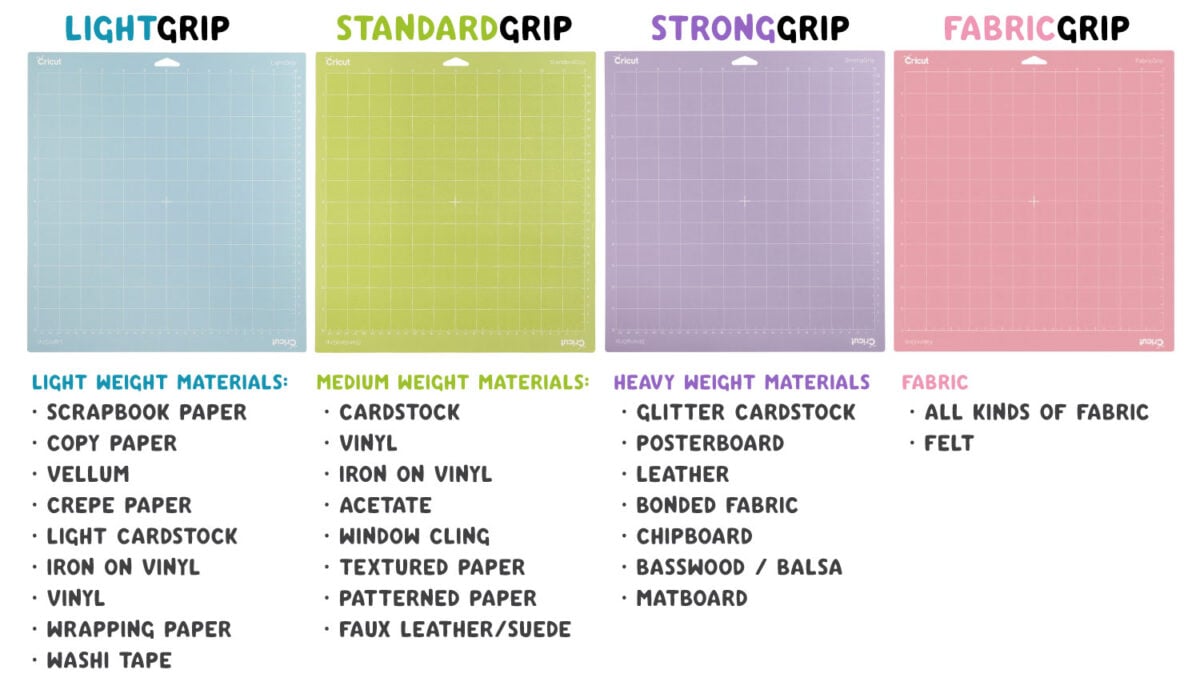
- Blue LightGrip Mat: Scrapbook paper, copy paper, vellum, crepe paper, light cardstock, iron on vinyl, vinyl, wrapping paper, washi tape
- Green StandardGrip Mat: Cardstock, vinyl, iron on vinyl, acetate, window cling, textured paper, patterned paper, faux leather and suede
- Purple StrongGrip Mat: Glitter cardstock, poster board, leather, bonded fabric chipboard, basswood, balsa wood, matboard
- Pink FabricGrip Mat: All kinds of fabric and felt
I used to use the StandardGrip green mat for most of my projects, but lately I’ve been using the LightGrip blue mat more and more. I find that it’s grippier than I think it is, and it releases most projects beautifully.
Prime Your Mat
Everyone wants to know how to keep their Cricut mats sticky! But one thing that you might find is that a brand new mat is TOO sticky. You’re not able to release your projects and end up with a hot, sticky mess on your brand new mat. This is particularly true with paper and other delicate materials.
One trick of the trade is to prepare your Cricut mat before using it the first time. To do this, we’ll use the very technical process of patting a brand new mat directly against the shirt you’re wearing (or ball up a clean t-shirt). Just a few times, picking up a bit of lint (if you have pets that shed, try and find a piece of fabric that isn’t covered with hair—you don’t want it to be overly primed!).
You can also press your hands lightly all over the mat. The oils in your hands will decrease the stickiness ever so slightly and allow your projects to release more easily.
Of course, this sounds counterintuitive—aren’t you supposed to keep your mat clean? Yes, it sounds a bit crazy. But trust me—by adding just a little bit of lint to your mat your projects will release from your mat a million times easier than from a perfectly fresh mat.
Know Your Material
Some materials are much easier to remove than others. The hardest tend to be the thinnest materials with the most delicate cuts. The more you use your Cricut, the more you’ll learn what materials require an extra degree of care. Cardstock, paper, and other fibrous materials are generally the hardest to remove.
Weeding Tips
If you’re looking for tutorials on removing the negative space from your iron on or adhesive vinyl projects, check out these posts:
Peel the Mat, Not the Project
For other materials, like cardstock, instead of peeling your project up off the mat, bend the mat in your hand and curve it away from your project. This will help loosen the project from your mat.
Bend the mat both horizontally and vertically, letting the adhesive move and release your project.
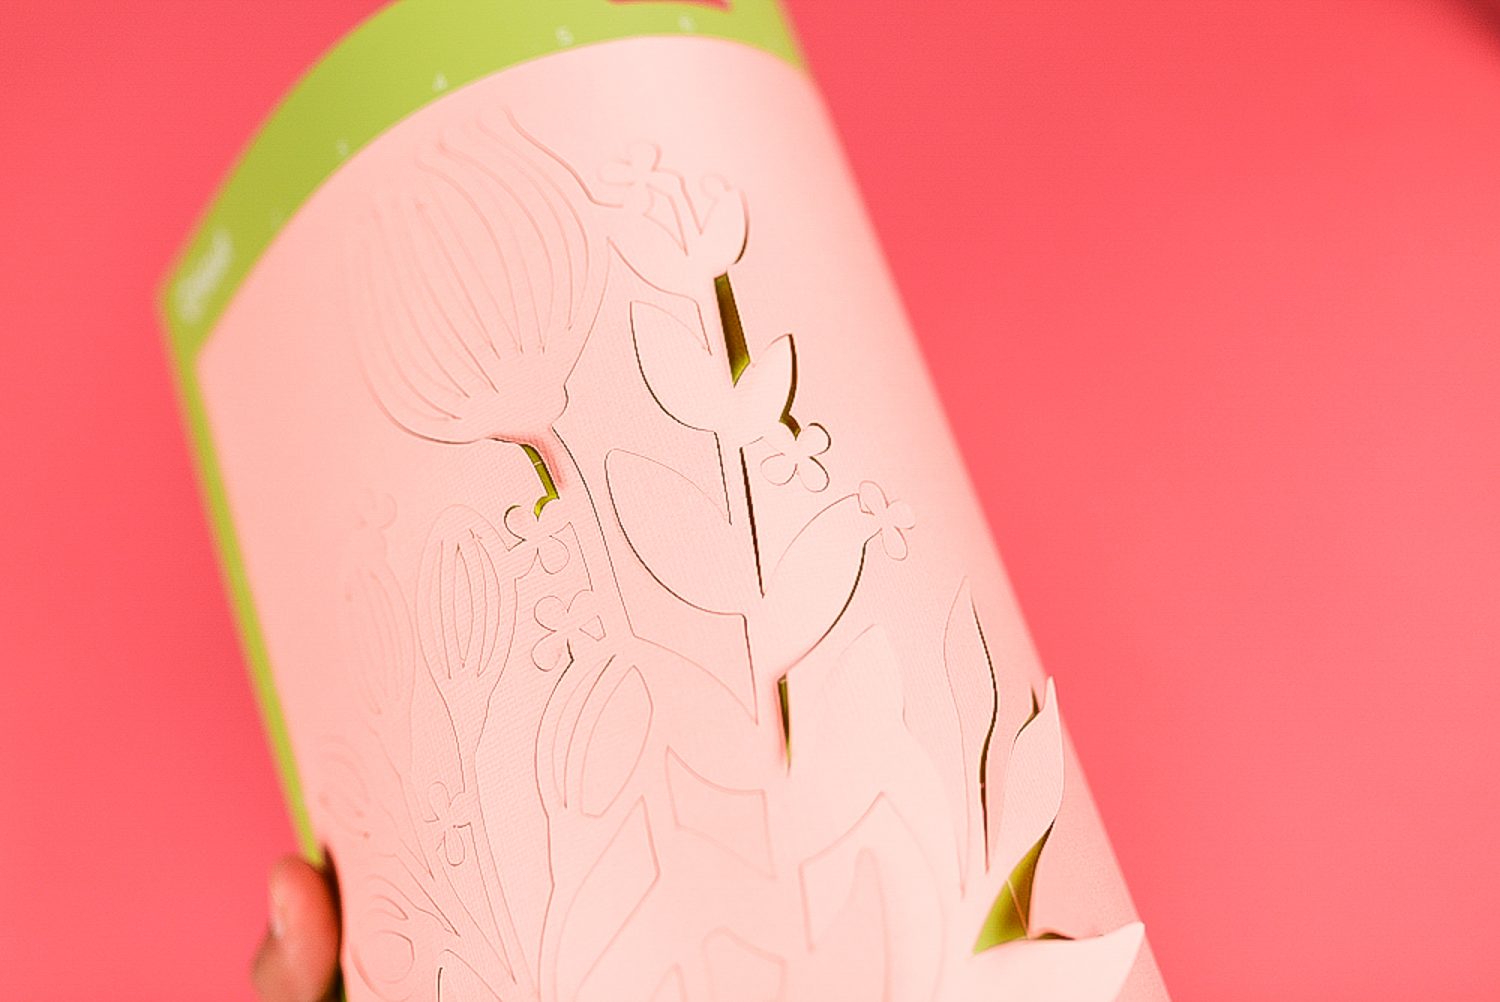
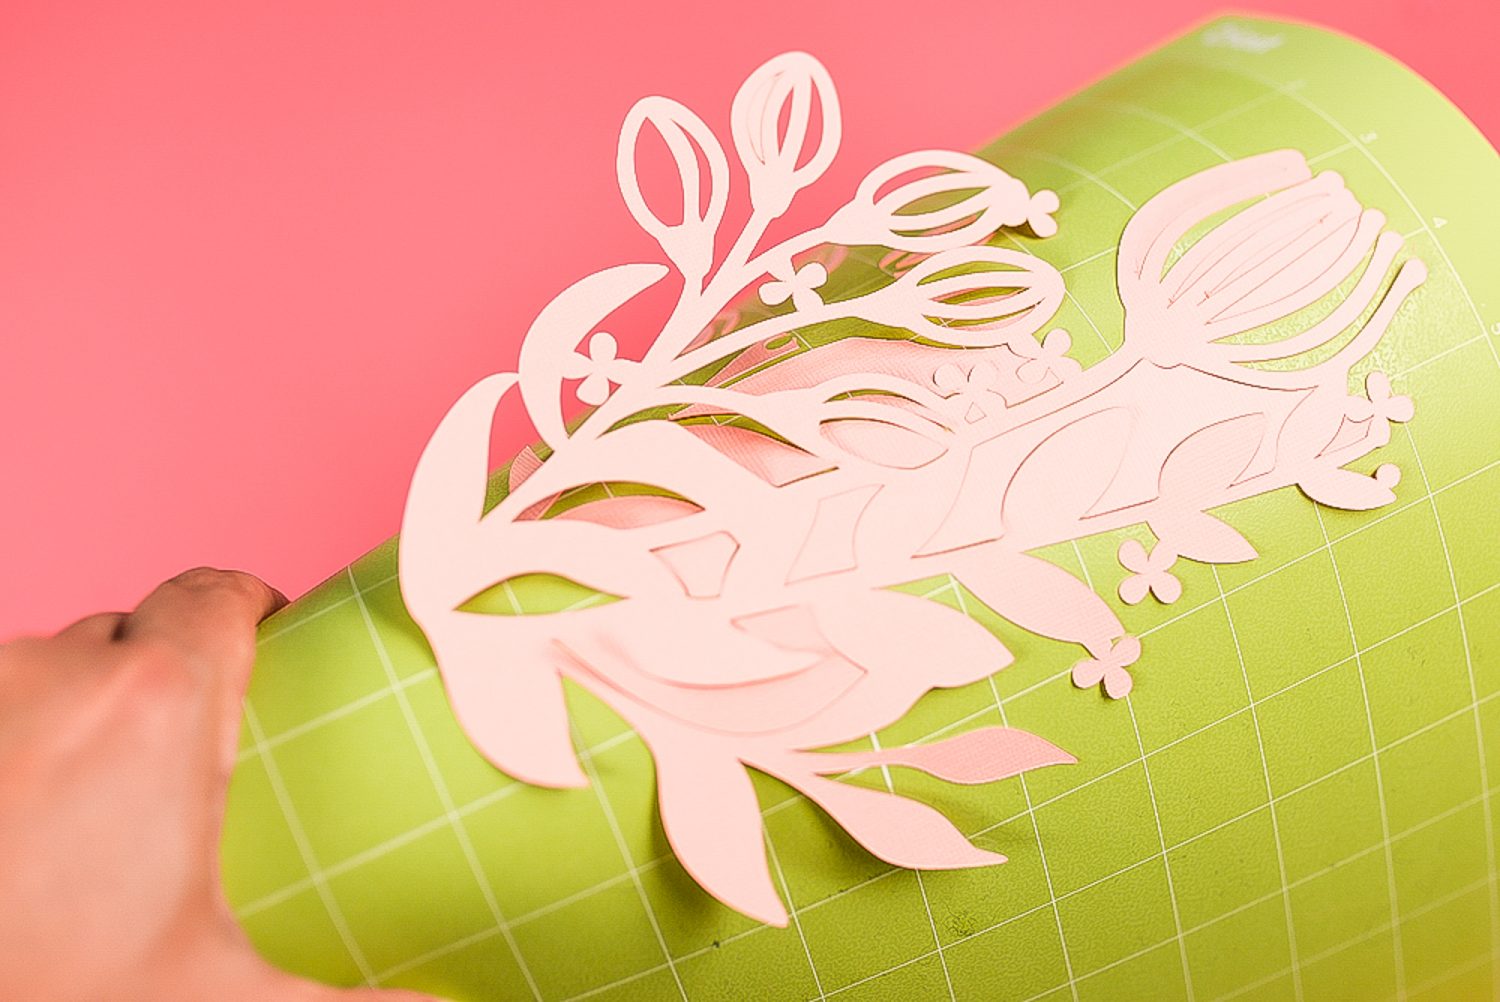
Never grab your project by the corner and try and lift—it will only tear or curl.
Use the Toolset
When I did my first project, I had no way of carefully lifting my delicate paper from the mat (which I hadn’t primed and was super sticky). I tried doing it with my fingers and just ended up with rips and curls.
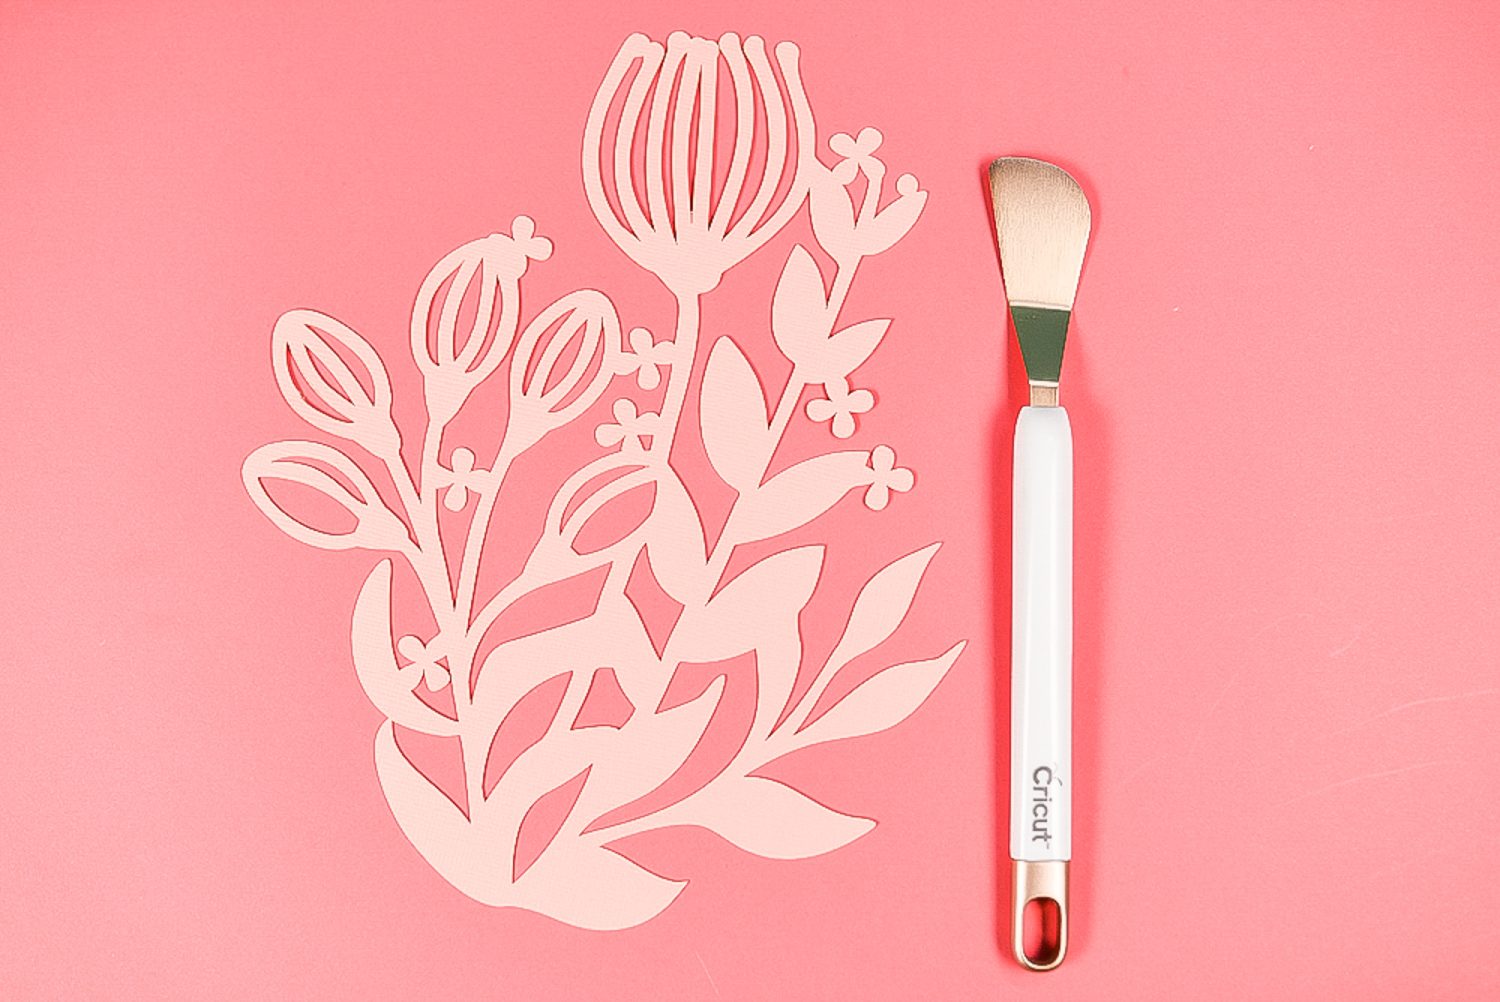
Now I use my spatula and other tools from the Cricut toolset to carefully pry up delicate projects. The tweezers are also helpful to grip tiny pieces. Read all about Using the Cricut Toolset.

Go Slowly. Go Carefully. Breathe.
Sometimes the best thing you can do to get an intricate cut off your mat is to go slowly. I have a tendency to start slowly and then get rushed toward the end and that’s usually when things go downhill. Trust me—taking your time will save you a lot of hassle!
Stop pulling your hair out and start creating confidently with your Cricut! Finally understand how to use your Cricut with my Learn Your Cricut eBooks!


Comments & Reviews
Katie says
Which mat and setting would you suggest for 105lb metallic card stock?
Im having a terrible time with tearing and I have soo many pineapples cut into my boards :o(
The best cut I’ve had is the green board with poster board + but it cut into the board (poster board regular tore so I’m not sure its a strong enough cut…) but I don’t want to cut my board and make it unusable. From what I’ve noticed once it has a cut then the paper does stick nearly as well and thus causes the tearing…… I need to make 140 of these…eeek! Open to any suggestions! THANKS!
Liz, HLMS Reader Support says
I would try using either the Light Grip (Blue) mat or the Fabric Grip (pink) mat. Both mats are fairly friendly to paper materials. I know it sounds crazy to use the Pink Fabric Mat, but I tend to find the Green and Purple mats too strong and will rip my paper materials. If you find your material shifting while cutting, try using a brayer (roller) to make sure the paper is adhered to the cutting mat evenly before cutting.
Also try using the Carstock+ setting. It is very close in pressure to the Posterboard setting, but I think it will work better – especially if you’re using the brayer first.
One more thing – when removing your material after cutting – peel the cutting mat away from your material instead of peeling your material – this way your paper won’t curl up after removing from the mat.
Let me know if this works for you :)
Liz, HLMS Reader Support
jeanne mentgen says
I just got a Cricut for Christmas! So excited, can’t learn fast enough! Question: Do I have to use 12×12 paper size all the time? What if I want only a couple of images? Can I use different size paper? Is there a way I can cut it to size the cut?
Liz, HLMS Reader Support says
You can cut any size of image you want as long as it doesn’t exceed 12×12 or 12×24.
If you want to cut using small scraps of matieral, you can do that too – you just have to make sure you place the paper exactly where the cut preview shows on your screen before you start your cut :)
I do it all the time – especially for vinyl or iron-on projects.
Happy Crafting!
Liz, HLMS Reader Support
Troy says
So I’m still a little new to cricut, and I’ve had a great deal of fun in the past few weeks making dozens of things. I’m looking for a good online community to help answer questions along the way, this might be one to try?
So, I appreciate the write-up, but I haven’t found anything I can use on the Green Standard Grip mat, 65lb cardstock will not come off with out tearing, and doing sheets of vinyl is no easier. The Blue Light Grip has been great so far for all of that.
I’ve actually cut through several mats now, and I think it’s just due to doing so much cutting in the same area, when I go to peal the mat back, it snaps off, so from that I’ve learned to move projects around the mat, but when I’m doing 12+ of the same cut, I run out of places to use quickly.
When I noticed the cuts becoming more torn, I wasn’t sure if it was the mat loosing it’s adhesion or the blade going dull, but it seems more often the mat is the problem. At one point I got a new mat and a new blade, went to do another vinyl that I’ve done dozens of times, and it cut straight through the vinyl and made the design unusable. Guess the new blade was just too sharp? Which is odd since my very first vinyl cut with the new machine went with no issue.
But now to the question that brought up this post in my google search – I’m really trying to come up with a way to use the negative pieces that are left after removing a project from the mat. For example, in the Design Space catalog: Santa Cutout Card
After removing all the pieces to use, there’s a beautiful negative image of a santa, and I would love to find a way to use that rather than just scraping it off. I’ve tried to use contact paper but it just peals off a single layer of the cardstock that’s too thin to work with. I was thinking it could be a sticker of sorts with the right kind of transfer tape. Anyone have any suggestions there, or do I just let it go?
Liz, HLMS Reader Support says
I have had the same experience and have found a fairly good way to do it. If you can buy a light tack transfer tape (usually a paper based transfer tape), lay that over your negative image on your mat and slowly roll the mat away from the material and it should stick to the transfer tape. From there, you can store it or glue the backs of the pieces and mount it to another project :)
Happy Crafting!
Liz, HLMS Reader Support
Virginnia Winstead says
Thanks for your tips. I recently initially subscribed to get some svg’s, now I realize I need some help! (A shrink would be nice) Been reading your great tips but need a clarification. I have had lots of problems with my first, an explore air one so I decided to give it another chance and just got a new explore air 2. All the while hoping I didn’t throw good money after bad. And I guess I just aged myself. Same problems which I reported to Cricut. Up to this time I have just cut out parts of cards—images and phrases—which I refer to as embellishments because they are just like store bought embellishments—then I glue them onto card stock and !voila! I have a “card”. I just tried to cut out a design space Christmas card and realized I don’t know what to weed out and what part is the card. It cuts a nice rounded edge card, but the images and text that I would think would be part of total card, are now CUT OUT of the card so must be glued onto more CS. Where has my thinking gone wrong? Hope I don’t sound as dumb as I feel right now! Maybe others have this same issue, but then maybe they just GET IT. Any help is appreciated!
Liz, HLMS Reader Support says
No worries – there is actually an entire blog post written about this :)
https://heyletsmakestuff.com/using-flatten-in-cricut-design-space/
Hopefully this helps!!
Liz, HLMS Reader Support
Amy says
I had this issue with a new mat and I used a new blade and it cut all the way thru my htv making it almost impossible to remove. I ruined my new mat. What could I have done to make the cut not as deep to go thru the plastic for the htv?
Cari T Sykes says
You use the half-cut/kiss setting.
Laura says
Wish I would have found this BEFORE I used it for the first time and it was so stuck it rendered my very first project useless :p Now I know and I think I may have gone overboard with the pressing it to my shirt LOL ANYWAY, I spent a lot of time last night peeling off my first project that I didn’t get anything else done ::sigh:: BUT I did learn some valuable lessons AND purchased some items that at first thought would be nice to have (the tool kit and fine pens) and I realized last night were a MUST have.
Thanks for this website!!!!
Cori George says
You’re welcome! Happy crafting!
Elleen says
I love this!!! Funny… I actually used my 24″ mat yesterday for the first time and it was frustrating to get my glitter poster board off. My husband had to help me so it didn’t tear. I said to him, “it’s almost like it’s too sticky the first time and I should press it to my shirt first.” Lol so glad I’m on the right track!
Cori George says
Yes! That’s exactly what you need to do :)
Sherry O says
I had a disaster with Cricut Kraft board and cricut green mat. Totally would not remove itself. Had to scrape it off . Horrible. Do you think it is possible to use the kraft board without the mat?
Cori George says
No, you can’t cut without a mat with the Cricut. Did you try peeling the mat away from the board as opposed to lifting the board away from the mat? Sometimes that works much better. Sorry to hear that you’re struggling!
Lynda says
I’ve found that cutting Kraft board with the blue mat works. Also, I turn it upside down and curl the mat away from the Kraft board and haven’t had any problems.
Sue says
I would like some tips about when your cricut rips the paper or doesn’t cut the paper. How to adjust the setting for a good first cut.
Enjoying your blog!
emily says
Great tips! I find sometimes the cut just doesn’t seem to want to peel away but if I turn the mat upside down and lift up and away from the image it will remove a little easier. A little tedious but it certainly helps. :)