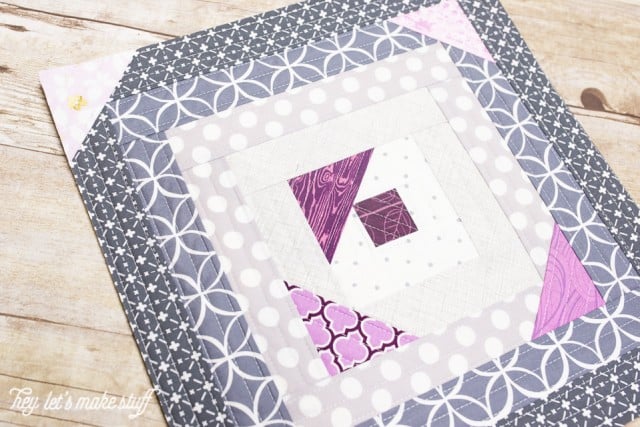
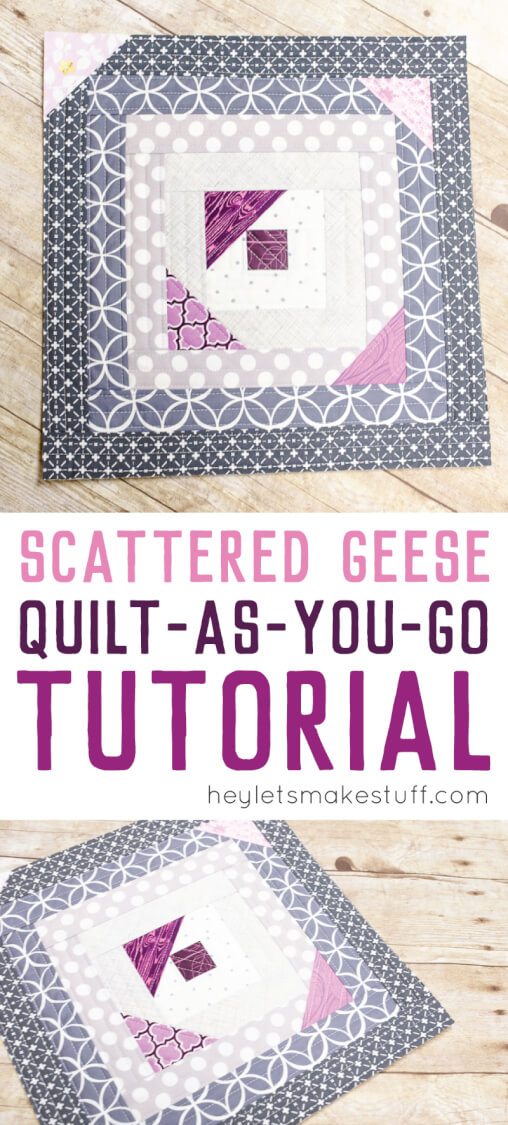
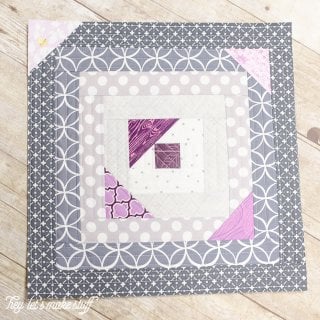
Using the quilt-as-you-go (QAYG) method, it’s easy to make this modified log cabin block. This easy quilting tutorial is a fun take on a classic design.
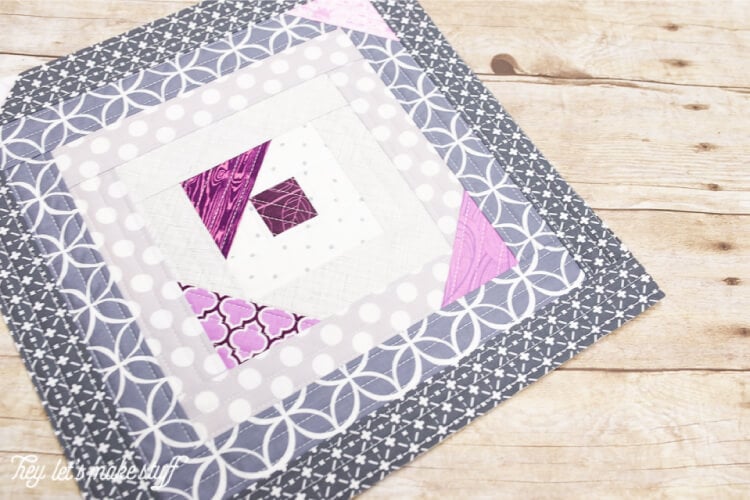
It’s time for February’s quilt-as-you-go (QAYG) block! I want to do a block a month, and so far I’m two for two. Check out January’s Seaside Boardwalk block. We’ll see if I can keep it up when the twins get here!
READ ME: Before I get too far into this, I often get asked, “how do I connect the quilt blocks?” That’s kind of a problem. The back of QAYG is ugly (I mean ugly). I haven’t found a pleasing way to connect the blocks while adding a second layer of backing fabric. So I usually use the technique to make pillows and bags — things with a lining. But there are several tutorials out there for connecting QAYG blocks, so feel free to try one of those. I can’t personally recommend any of them, since I haven’t tried them.
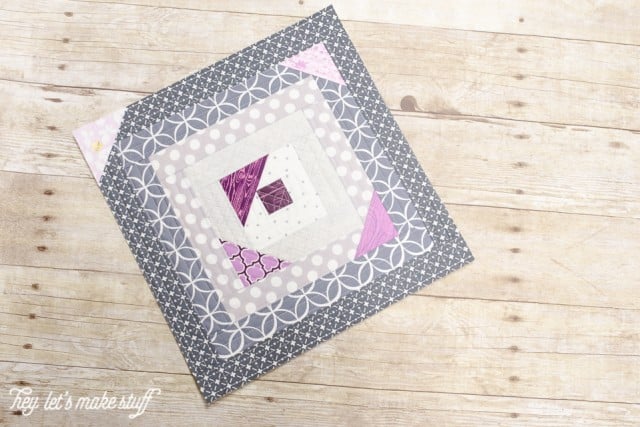
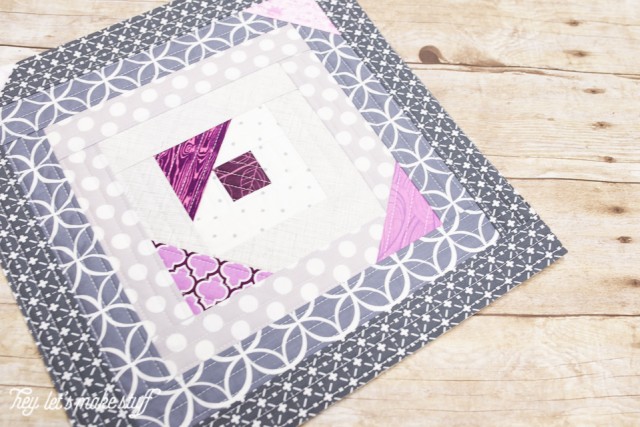
If you aren’t familiar with QAYG, it’s a foundation piecing technique, often used to make a log cabin block (here’s a great tutorial from Oh Fransson!). Today, I’m taking that simple log cabin block and embellishing it a bit, with a few faux flying geese (thus the block name — Scattered Geese). It’s a fairly easy tutorial, but if you’re completely unfamiliar with QAYG, I created a VERY easy Big Stripes block that can help teach you the method.
SUPPLIES:
- Fabric
- 13″ square of batting
- 13″ square of backing fabric
- Sewing machine
- Scissors or Rotary Cutter
- Cutting Mat
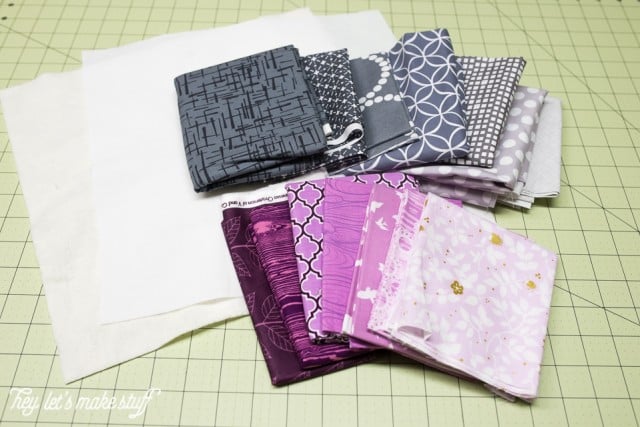
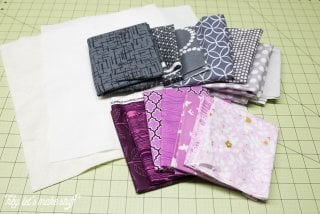
Start by laying out your fabrics. You will need a selection of fabrics for the main log cabin block, and a different selection for accent “geese.” I’ve used my favorite color technique — splitting the block into two gradients, in this case one of gray and one of purple. As always, you’ll notice in my final block that I didn’t end up using all the fabrics I chose — I just picked what felt right as I went along. The gradients I choose are just a guide for the final block.
You are also going to need a 13″ square of batting, and a 13″ square of backing fabric. I use cheap white fabric for the back ($1.99 a yard). The final block size will be 12.5″ square, but I like a little extra for trimming. Lay out the backing fabric with your batting on top.
One of the great things about these blocks is that you can modify the pieces to fit your vision. All of my cut sizes are just suggestions. Go wild!
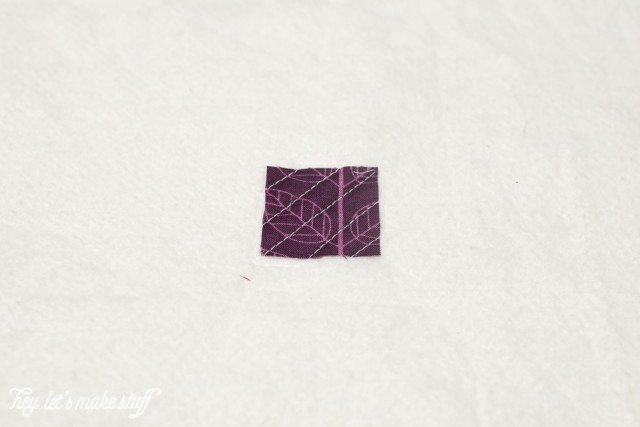
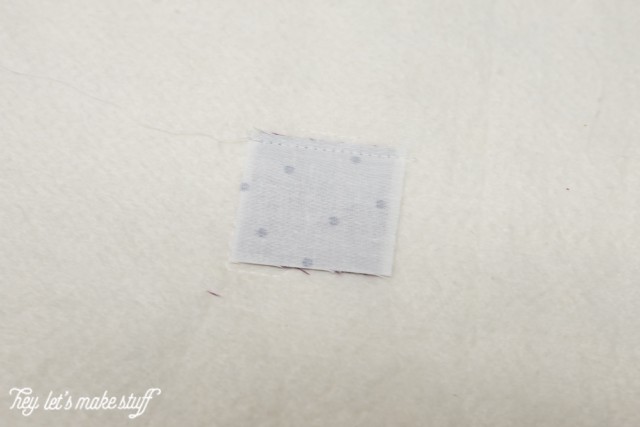
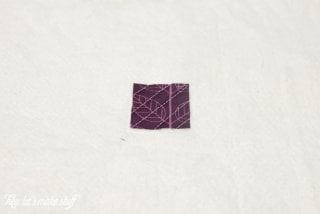
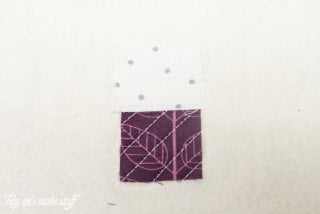
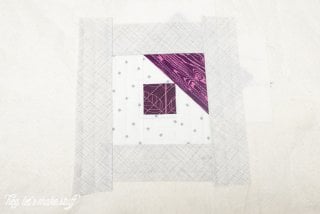
Start by quilting a 1.5″ square of your accent color fabric directly to the batting/backing layers. I like to use diagonal lines here because the other accent pieces will also have diagonal lines. I also lengthen my stitch a little — my machine doesn’t have numbers, but it’s longer than a standard stitch, but not quite as long as a basting stitch.
Here’s a quick video I made of how I quilt: QAYG Video Tutorial. You will get to see my seriously mad video-making skillz here (ha!). This is from the Bloomin’ QAYG Tutorial, but you get the idea.
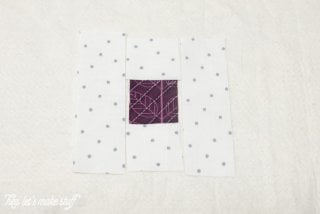
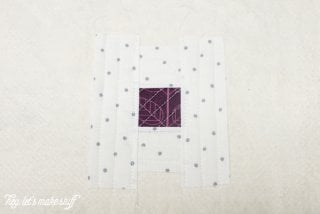
You’re then going to build off that center block like you would any other log cabin block, with two pieces the same width above and below that center block, and two pieces running down each side. I used 1.5″ strips here as well. You can lay out your fabric to get an idea of what it will look like.
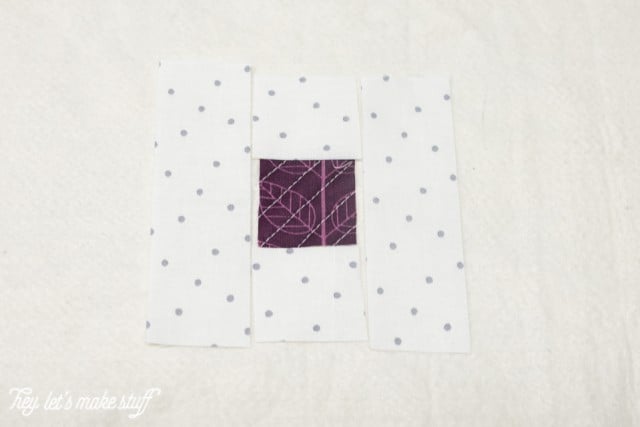
Add the top piece of your log cabin block, right-side down on top of the first piece. You are going to stitch very close along the edge of the two fabrics, 1/8″ away from the edge. If you look closely at the below photo, you can see my line of white stitching at the top (sorry, it’s a bit hard to see).
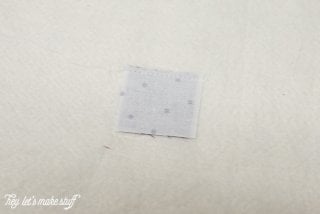
Open that piece and press in the opposite direction. Quilt to the batting and backing fabric, using straight lines (one of these days I’ll learn not to start with the lightest fabric to demonstrate this).
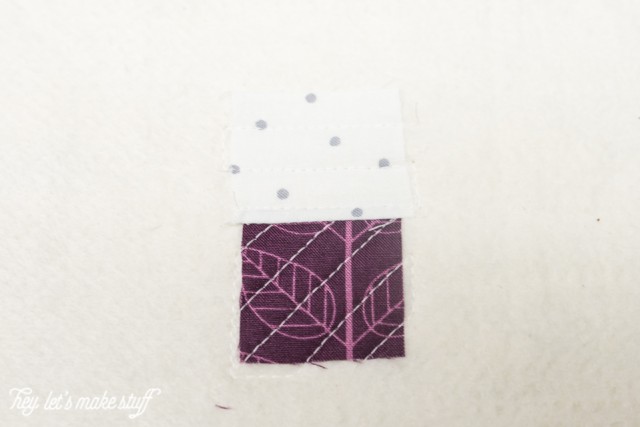
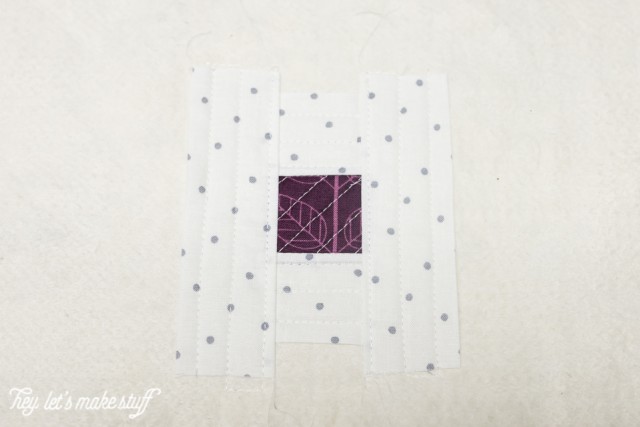
Use this technique to quilt the piece below the center square, and the sides.
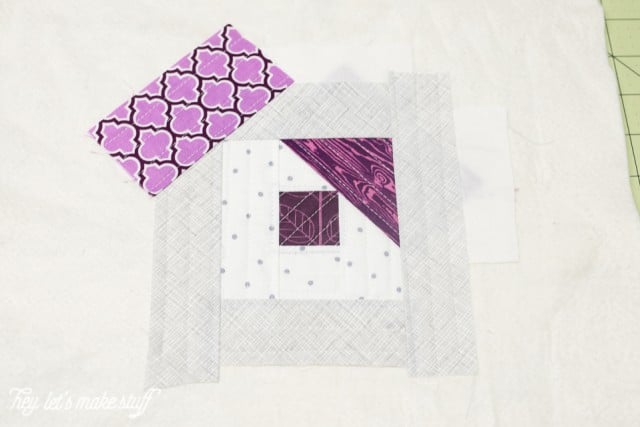
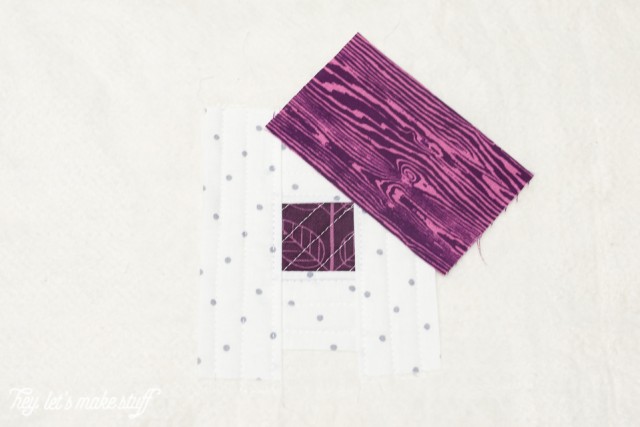
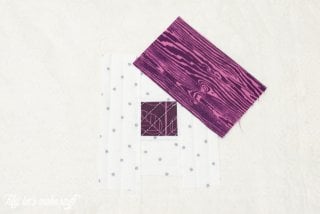
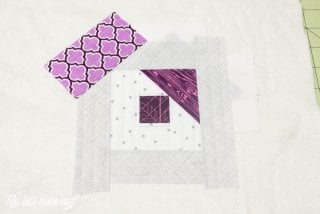
To create the first of your geese, cut an accent color strip 4″ wide and 2.25″ tall. Place your accent color strip at a 45 degree angle across the edges of the two log cabin block strips. I place it right-side up just to see where I’m going.
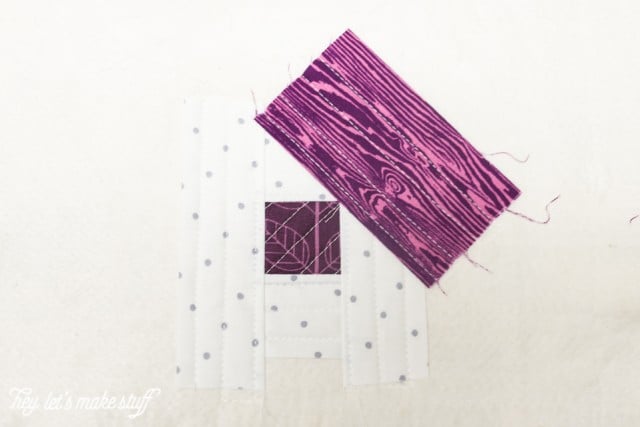
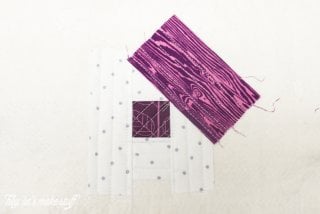
Place the accent color strip face down and stitch along the long edge. You’ll want to position it so that your seam hits right at the top right corner of the first accent color square. Stitch along the long edge of the triangle. Open and press, and quilt to the backing.
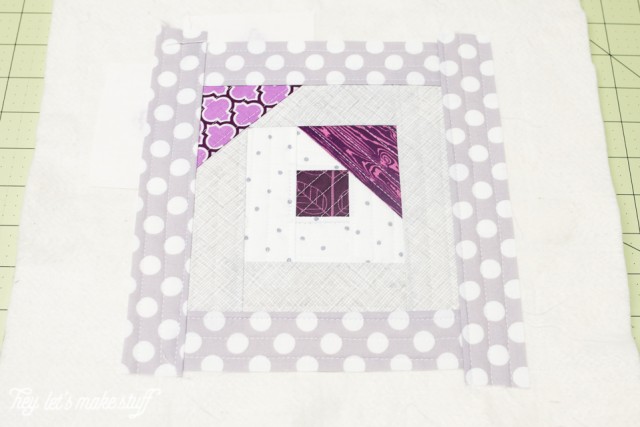
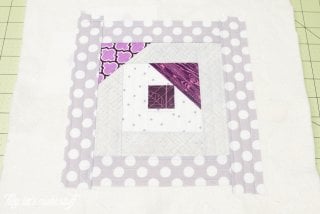
Add another square of log cabin pieces around the original square you’ve created. You’ll see that the triangle shape is made by the overlapping strips.
NOTE: I use pieces of white fabric to help keep the bottom color from bleeding through the lighter gray fabric. You can see this and four other tricks on my post Five Tips for Better QAYG.
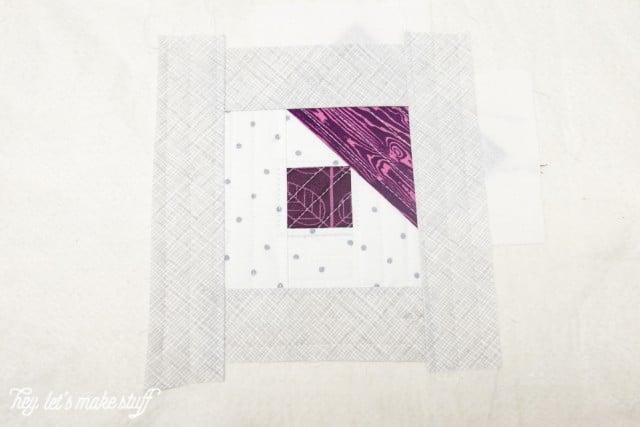
Using the same technique as before, add your next accent color.
And then your log cabin square strips.
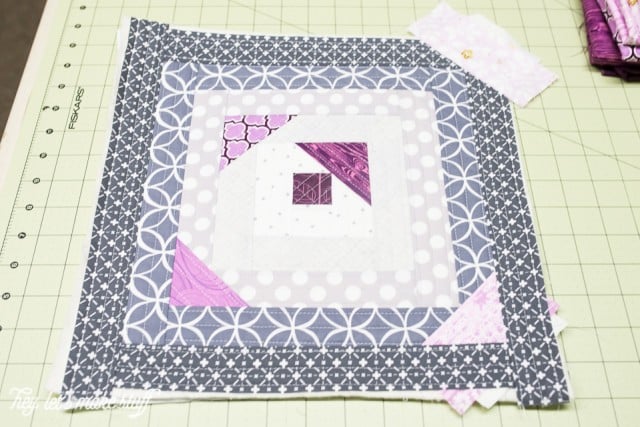
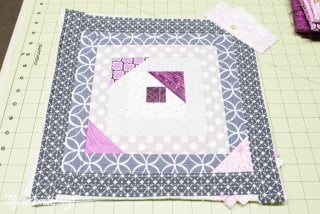
Continue on in this manner until you’ve reached the edge of your block. Add that last piece of accent color in the corner, and then square up your block so that it’s 12.5″ x 12.5″
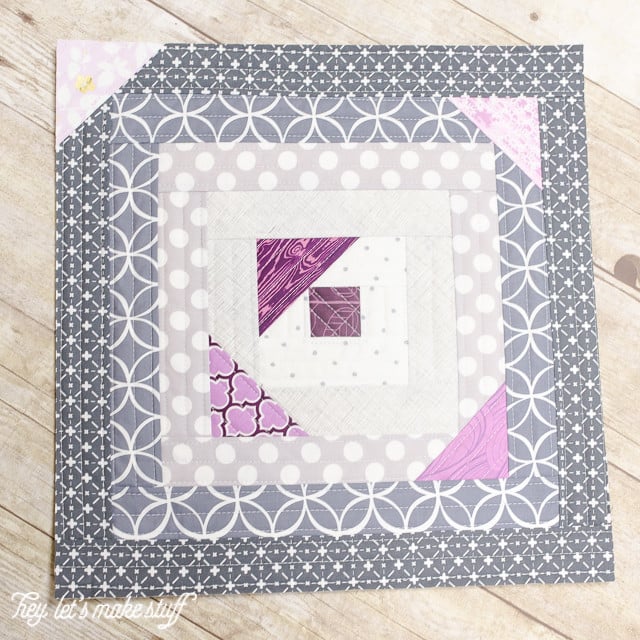
And that’s all! This is the perfect project if you’re getting a little tired of a standard quilt-as-you-go log cabin block, but don’t want to stray too far out of familiar territory.
As always, if you have any questions about this (or any of my tutorials), feel free to ask in the comments!
More Quilt as You Go Projects:
- Learn Quilt-As-You-Go: Easy Big Stripes Panel
- Bloomin’ Quilt-As-You-Go Tutorial
- Seaside Boardwalk Quilt-As-You-Go Tutorial
- Scattered Geese Quilt-As-You-Go Tutorial
- Go Fly a Kite Quilt-As-You-Go Tutorial
- Step It Up Quilt-As-You-Go Tutorial
- Bear Mountain Quilt-As-You-Go Tutorial
- Scottish Thistle QAYG Block
- North West Quilt-As-You-Go Block Tutorial
SCATTERED GEESE QUILT-AS-YOU-GO
Supplies
- Fabric
- 13" square batting
- 13" square backing fabric
Instructions
- Start by laying out your fabrics. You will need a selection of fabrics for the main log cabin block, and a different selection for accent "geese." A favorite color technique was used here — splitting the block into two gradients, in this case one of gray and one of purple. As always, you'll notice in the final block that not all all the fabrics choses were used — just picked what felt right as the quilt block progressed. The gradients chosen are just a guide for the final block.

- You are also going to need a 13" square of batting, and a 13" square of backing fabric. The final block size will be 12.5" square, with that little extra for trimming. Lay out the backing fabric with your batting on top.One of the great things about these blocks is that you can modify the pieces to fit your vision. All of cut sizes used her are just suggestions. Go wild!Start by quilting a 1.5" square of your accent color fabric directly to the batting/backing layers. Used diagonal lines here because the other accent pieces will also have diagonal lines. The stitch is lengthened a little as this machine doesn't have numbers, but it's longer than a standard stitch, but not quite as long as a basting stitch.

- You're then going to build off that center block like you would any other log cabin block, with two pieces the same width above and below that center block, and two pieces running down each side. 1.5" strips were used here as well. You can lay out your fabric to get an idea of what it will look like.

- Add the top piece of your log cabin block, right-side down on top of the first piece. You are going to stitch very close along the edge of the two fabrics, 1/8" away from the edge. If you look closely at the below photo, you can see the line of white stitching at the top (sorry, it's a bit hard to see).

- Open that piece and press in the opposite direction. Quilt to the batting and backing fabric, using straight lines.

- Use this technique to quilt the piece below the center square, and the sides.

- To create the first of your geese, cut an accent color strip 4" wide and 2.25" tall. Place your accent color strip at a 45 degree angle across the edges of the two log cabin block strips. If you place it right-side up you should see where you're going.

- Place the accent color strip face down and stitch along the long edge. You’ll want to position it so that your seam hits right at the top right corner of the first accent color square. Stitch along the long edge of the triangle. Open and press, and quilt to the backing.

- Add another square of log cabin pieces around the original square you've created. You'll see that the triangle shape is made by the overlapping strips.NOTE: Use pieces of white fabric to help keep the bottom color from bleeding through the lighter gray fabric. You can see this and four other tricks on this post Five Tips for Better QAYG.

- Using the same technique as before, add your next accent color.

- And then your log cabin square strips.

- Continue on in this manner until you've reached the edge of your block. Add that last piece of accent color in the corner, and then square up your block so that it's 12.5" x 12.5"

- And that's all! This is the perfect project if you're getting a little tired of a standard quilt-as-you-go log cabin block, but don't want to stray too far out of familiar territory.



Comments & Reviews
Diane says
love your squares add my address to your list
Dimple says
I’ve always tried to understand QAYG, but couldn’t quite grasp the concept. But I loved your tutorial and have one last question (I think) to fully understand. Do you cut the size backing and batting as your finished size and piece as you quilt on the top?
Amy Motroni says
Hi there,
No, Cori cuts it larger and then squares up the block at the end.
Happy Crafting!
Amy, HLMS Support
Sylvia Anderson says
Sylvia says:
Found your QAYG Scattered Geese block today and can say that I have used a good method in connecting the blocks into a quilt. I cut the batting and backing several inches larger than the block, quilted the block as you have instructed. Then used sashing to connect the top only together to make a row. Turn it over to trim the batting to fit the sashing, trim and fold under the backing to cover the sashing strip and hand sew it together. Continue with another row then sew them together in the same manner. It worked for me and I hope it will work for you.
Linda says
How do you cover the raw edges? I didn’t see any directions for pressing in the raw edges. The block is beautiful!
Thanks
Linda
Cori George says
If you’re doing QAYG correctly, you shouldn’t have any raw edges :) Check out this post for the basics: https://heyletsmakestuff.com/learn-quilt-go-easy-big-stripes-panel/
Ginger says
Your QAYG blocks are great. They could easily be connected for a quilt using the “Fun And Done” method. These are made with the use of their template which creates a blick with a backing that is larger than the front and batting the blocks are joined via the backing which wraps up and around the block and is then top stitched onto the block . (They sell a great template, but you would need to make your own template for the larger blocks. ) each block will be “framed” with the backing. You will find the “Fun And Done” template and many patterns easily through an Internet search. I don’t have any financial interest in this but have used their template to adapt several patters to QAYG by using this template.
Marissa says
I’ve seen people add the backing on after all the blocks are together QAYG just the top and the batting) and the sew the back on by stitching in the ditch.
kristine says
The diagonal corners really add a unique and cool touch :) storing this in my brain for when I get a sewing machine!
Marie Dempsry says
this is courthouse steps with snowballed corner!!