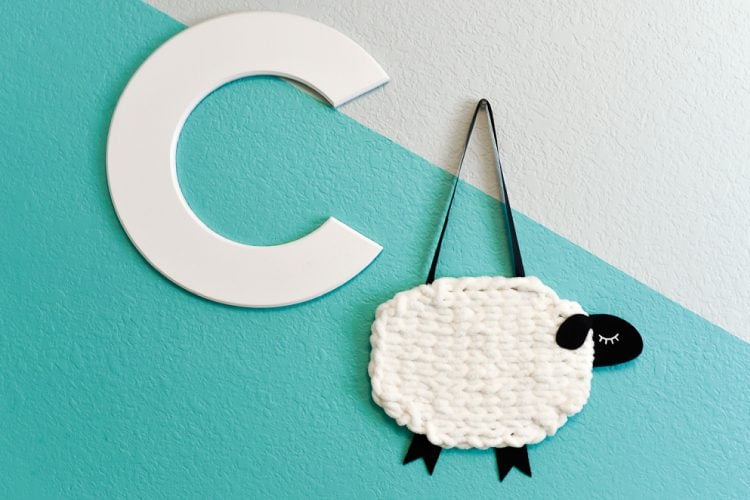
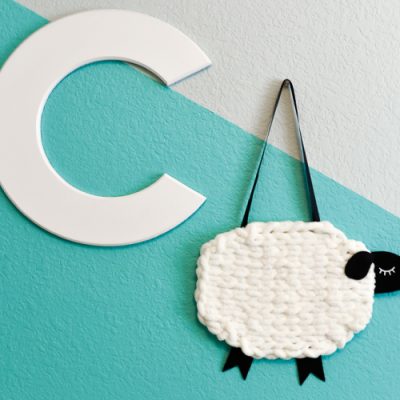
Have you tried loop yarn? Use this super-soft Bernat Alize Blanket-EZ yarn to knit without needles! Use it to create this adorable nursery decor: a yarn and felt sheep wall hanging!
I’ve never been particularly great at fiber crafts. I can sew up a storm, but put a skein of yarn in front of me and I’ll struggle to do something with it. Technically, I know how to knit and purl, but I never really picked up the intricacies and joys of knitting (crochet is a whole other craft I’ve never even tried). Yet I hold the needles too tight, my tension is off, and it’s really hot in California most of the year so I don’t find myself in need of all that many scarves and blankets. So when my friends at my local craft store sent me some loop yarn to play with, I was super skeptical that I’d be able to do anything with it.
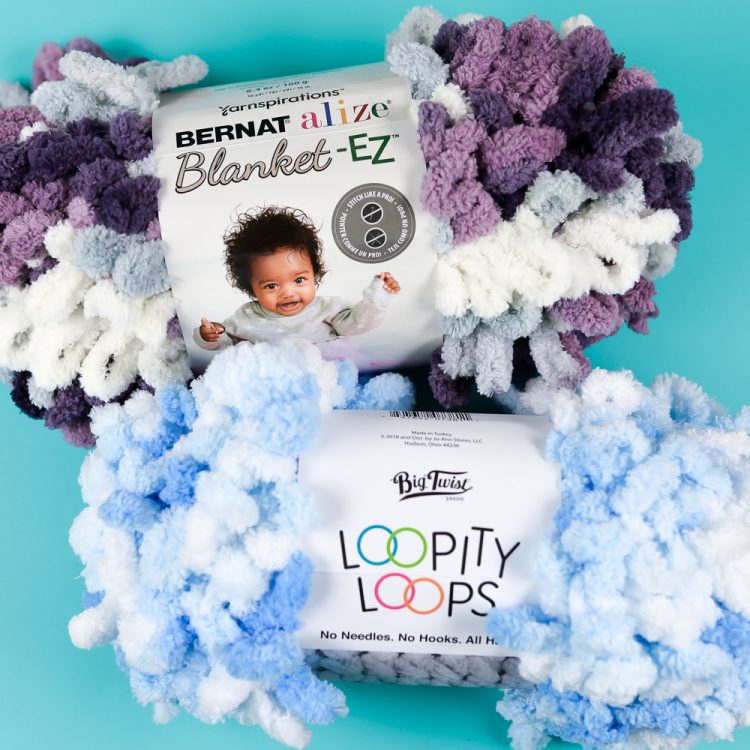
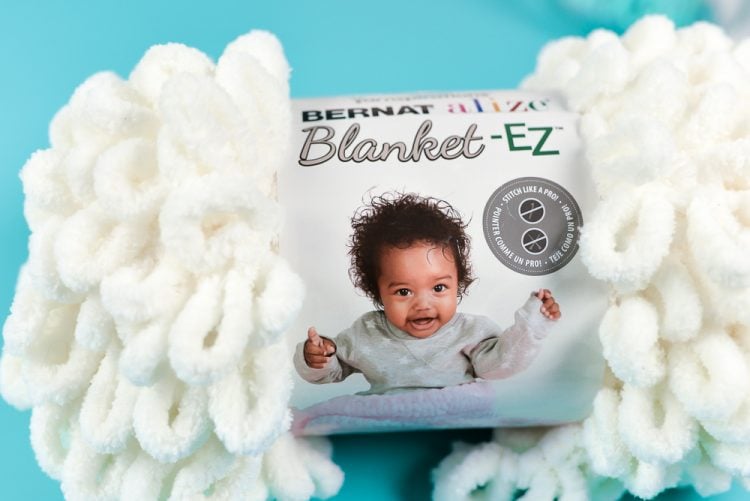
After staring at the skeins for too many days, I finally decided to take out the yarn and play around with it.
One of my boys came into the room and picked up the white skein and said, “mama, it’s a sheepy!” So, it took me about three seconds after that to decide to make a sheep wall hanging.
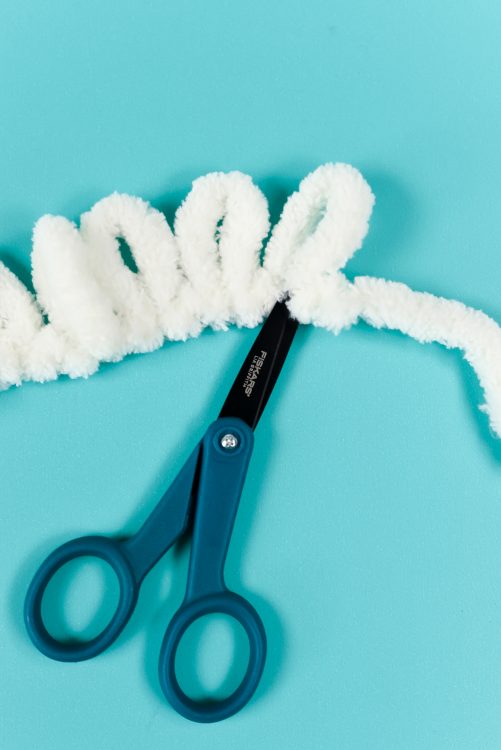
Turns out knitting is super easy if you don’t have to fuss with needles and your tension is automatically perfect! The loop yarn is different than other yarn. It has pre-formed loops built into it, so no needles are required to make the loops! And because each loop is the same size, you don’t have to worry about tension issues. Perfect for fiber-crafting newbies like me. This sheep project is so cute for nursery decor—and it took me less than an hour to make.
How to Make Cute Nursery Decor: Yarn and Felt Sheep
Supplies
- White Bernat Alize EZ-Blanket Yarn (you’ll need just a few yards, not even close to an entire skein)
- Black felt
- White iron-on or white craft paint
- Hot glue gun
Knitting Instructions
Simply line up the number of loops your project is wide, and then work back along your line, feeding loops from your working yarn through the back of the loops of your bottom row, making sure to pull each stitch straight and taut. You can see more about knitting loop yarn here.



I wanted to create an oval shape, so I started with a row of 6 loops. On the second row, I increased the number of stitches to 8 by threading two loops from my working yarn through the first loop and two loops of my working yarn through the last loop.

Then did the same on the next row. At the maximum width of my sheep, it’s 12 stitches wide. I then decreased my stitches by threading one loop of my working yarn through two loops at the end of each row until I had an oval shape.
You can also trim at the bottom of the loop to separate the loop and create “standard” yarn for knitting in your ends.
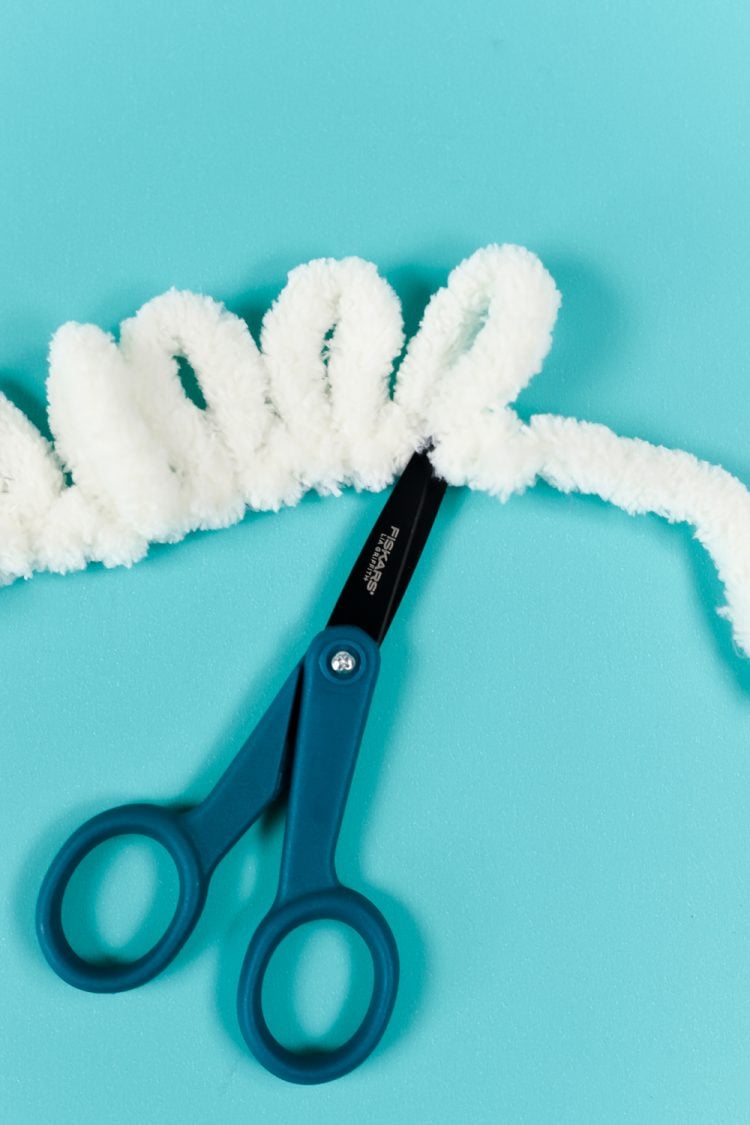
Because I’m not a knitter by any stretch and this project is going to be hung on the wall vs. handled (like a blanket or scarf), I just trimmed a few loops to create regular yarn and…please don’t kill me, knitters…hot glued it to the back.
Felt Instructions
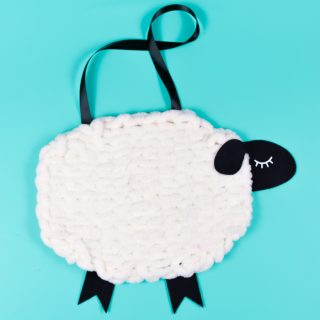
To create the face, ears, and legs, I cut black felt on my Cricut, using the Rotary Blade. I then used white iron-on to create her eye, adhering it to the felt using my EasyPress. You can download the free SVG file below. You can also just cut face, ears, and legs from felt by hand, and then use white craft or puff paint to draw the eye. I attached her face, ears, and legs using a bit of hot glue.
Get the Free File
Want access to this free file? Join my FREE craft library! All you need is the password to get in, which you can get by filling out the form below. The file number is: C142.
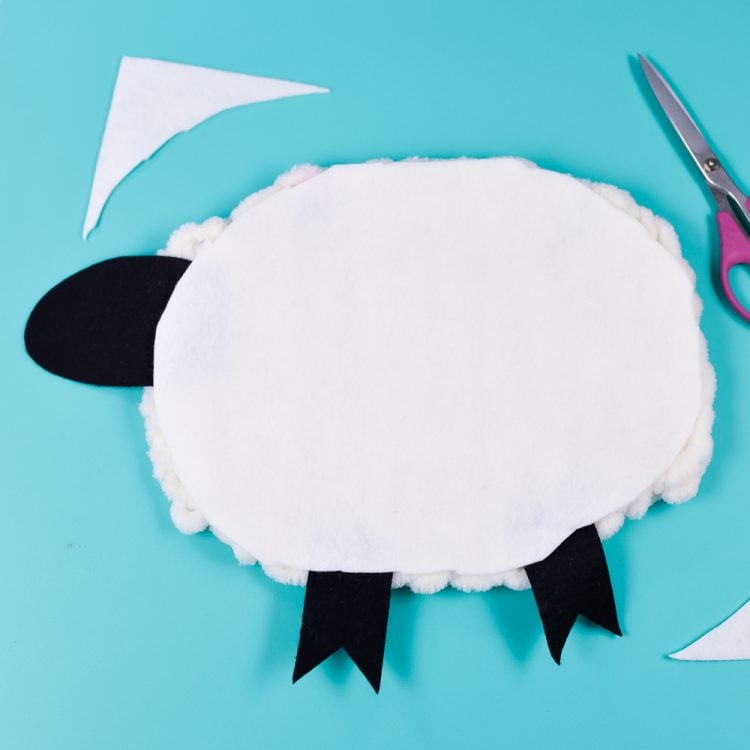
I wanted my sheep to have a bit of sturdiness, so I also glued a felt oval to the back. This really helped her hang perfectly. To hang, I attached a piece of ribbon to the back using more hot glue.
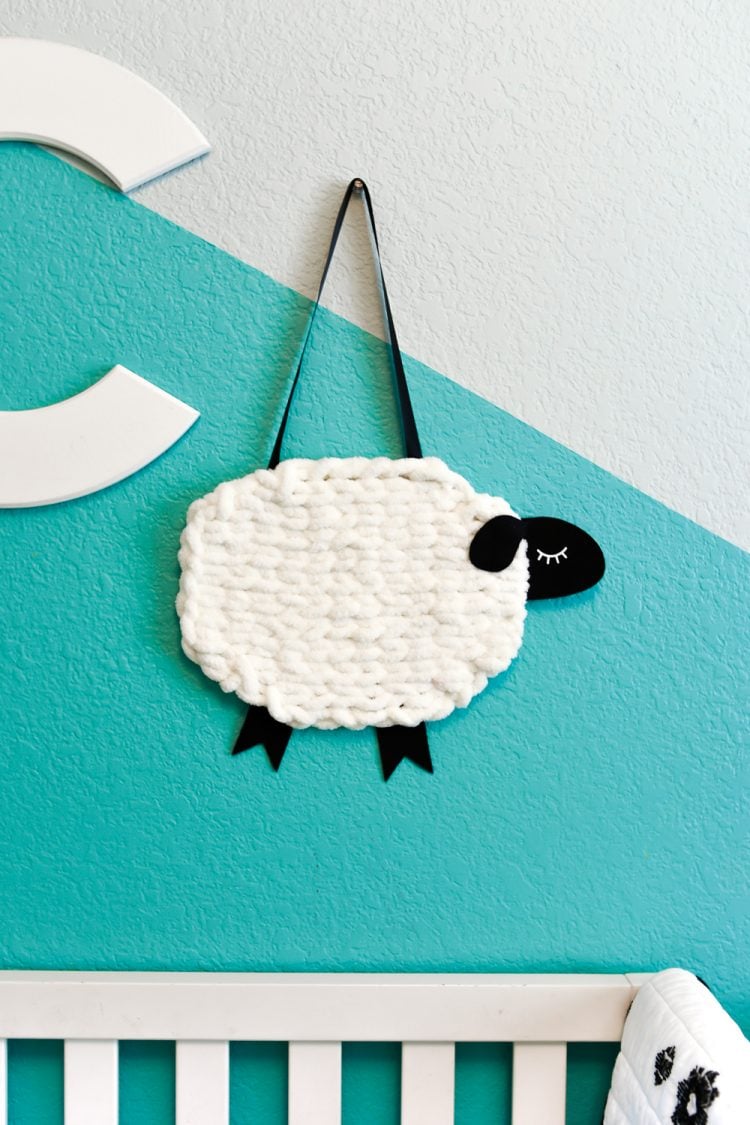
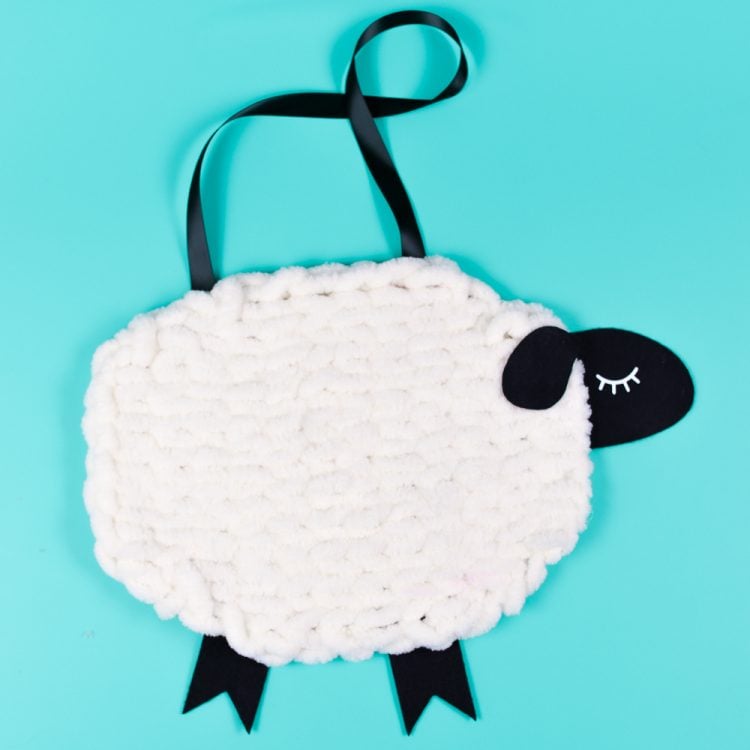
That’s it! Pretty good for someone who pretty much never touches yarn, eh? Imagine what you can make with the Bernat Alize yarn if you’re actually familiar with knitting, finger knitting, or even crochet!
For some more cute nursery design ideas, check out my blogs for a Hand-Lettered Adventure Awaits SVG and the Wild Child SVG Bundle! Or how about some knitting and crocheting designs in my Knitting & Crochet SVG Bundle! Or some printables at The Best Free Nursery Printables!
NURSERY DECOR: YARN AND FELT SHEEP
Equipment
- Cricut Maker or
Supplies
Instructions
- Knitting InstructionsLine up the number of loops your project is wide, and then work back along your line, feeding loops from your working yarn through the back of the loops of your bottom row, making sure to pull each stitch straight and taut. You can see more about knitting loop yarn here.


- To create an oval shape, start with a row of 6 loops. On the second row, increase the number of stitches to 8 by threading two loops from the working yarn through the first loop and two loops of the working yarn through the last loop.

- Then do the same on the next row. At the maximum width of the sheep, it's 12 stitches wide. Then decrease the stitches by threading one loop of the working yarn through two loops at the end of each row until you have an oval shape.You can also trim at the bottom of the loop to separate the loop and create "standard" yarn for knitting in your ends.

- If this project is going to be hung on the wall vs. handled (like a blanket or scarf), trim a few loops to create regular yarn and. hot glue it to the back.
- Felt InstructionsTo create the face, ears, and legs, cut black felt on a Cricut, using the Rotary Blade. Then use white iron-on to create the eye, and adhere it to the felt using an EasyPress. You can also just cut face, ears, and legs from felt by hand, and then use white craft or puff paint to draw the eye. Attach the face, ears, and legs using a bit of hot glue.
- To give the sheep a bit of sturdiness, glue felt oval to the back. This really helped the sheep to hang perfectly.

- To hang, attach a piece of ribbon to the back using more hot glue.



Comments & Reviews
Cheryl Spangenberg says
This little sheep is so darling and the yarn looks so dreamy! This brings me back to my Girl Scout days when we use to finger knit (with regular yarn!) This would be so much easier!