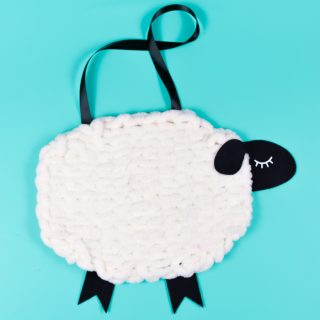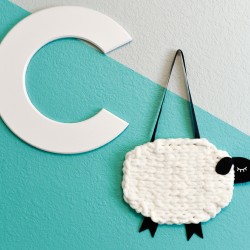
NURSERY DECOR: YARN AND FELT SHEEP
Use this super-soft Bernat Alize Blanket-EZ yarn to knit without needles! Use it to create this adorable nursery decor: a yarn and felt sheep wall hanging!
Equipment
- Cricut Maker or
Ingredients
Instructions
- Knitting InstructionsLine up the number of loops your project is wide, and then work back along your line, feeding loops from your working yarn through the back of the loops of your bottom row, making sure to pull each stitch straight and taut. You can see more about knitting loop yarn here.
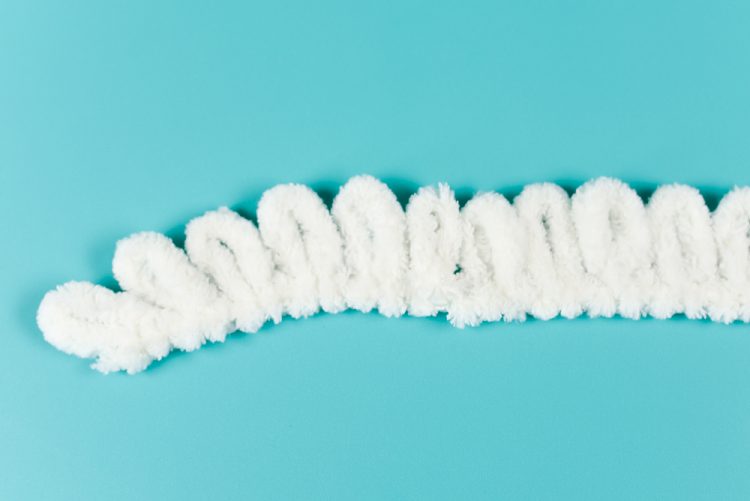
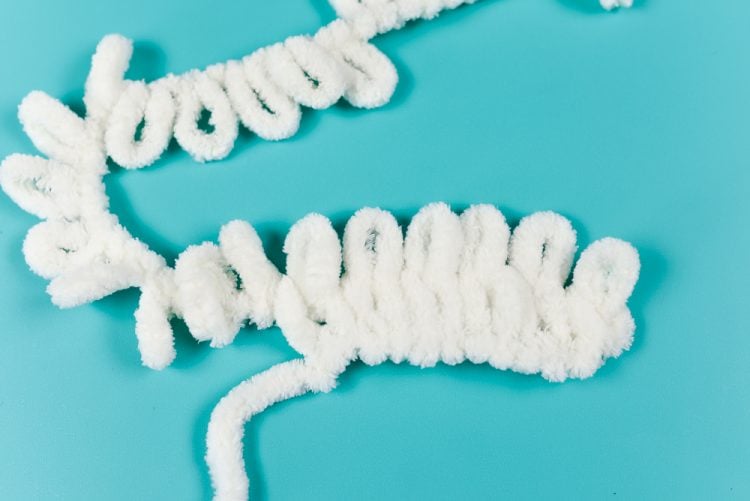
- To create an oval shape, start with a row of 6 loops. On the second row, increase the number of stitches to 8 by threading two loops from the working yarn through the first loop and two loops of the working yarn through the last loop.
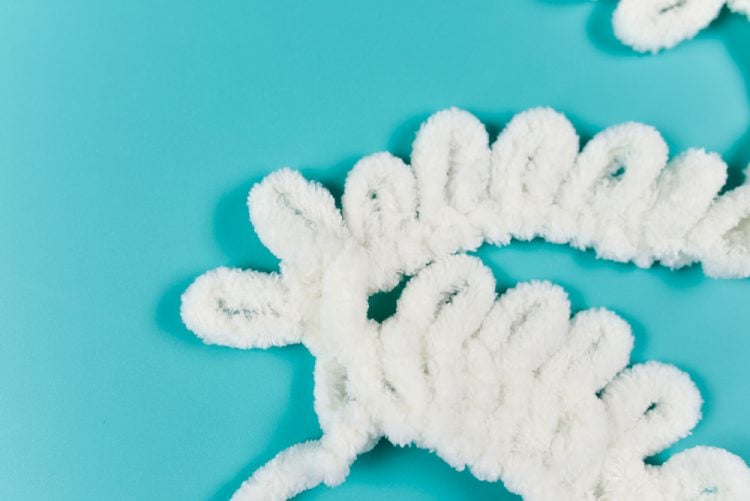
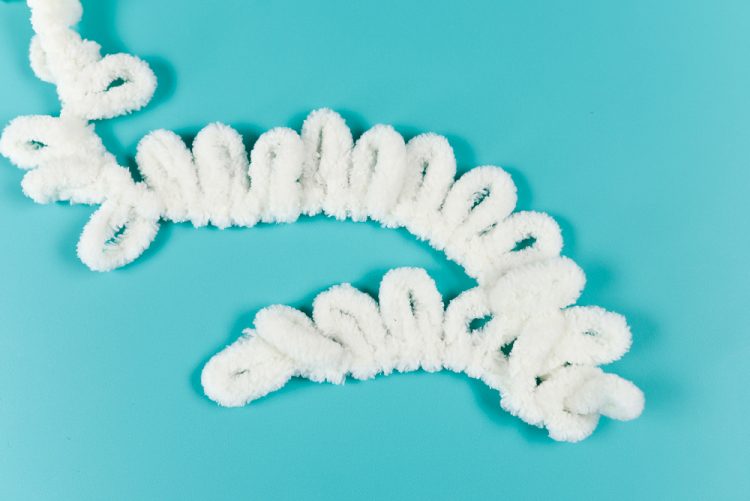
- Then do the same on the next row. At the maximum width of the sheep, it's 12 stitches wide. Then decrease the stitches by threading one loop of the working yarn through two loops at the end of each row until you have an oval shape.You can also trim at the bottom of the loop to separate the loop and create "standard" yarn for knitting in your ends.
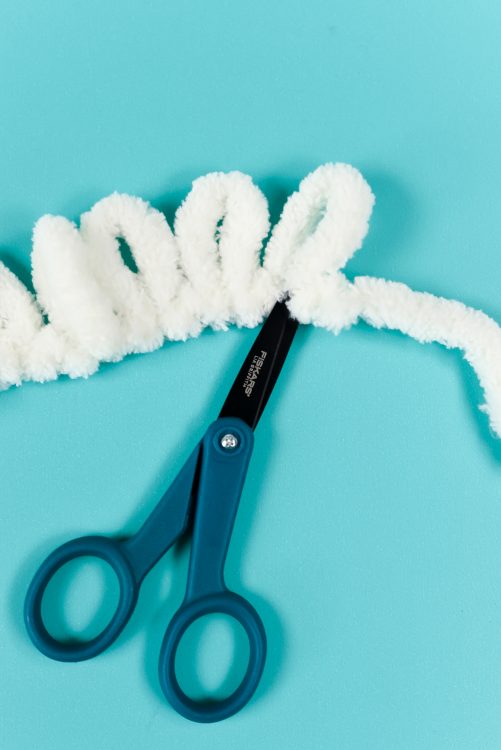
- If this project is going to be hung on the wall vs. handled (like a blanket or scarf), trim a few loops to create regular yarn and. hot glue it to the back.
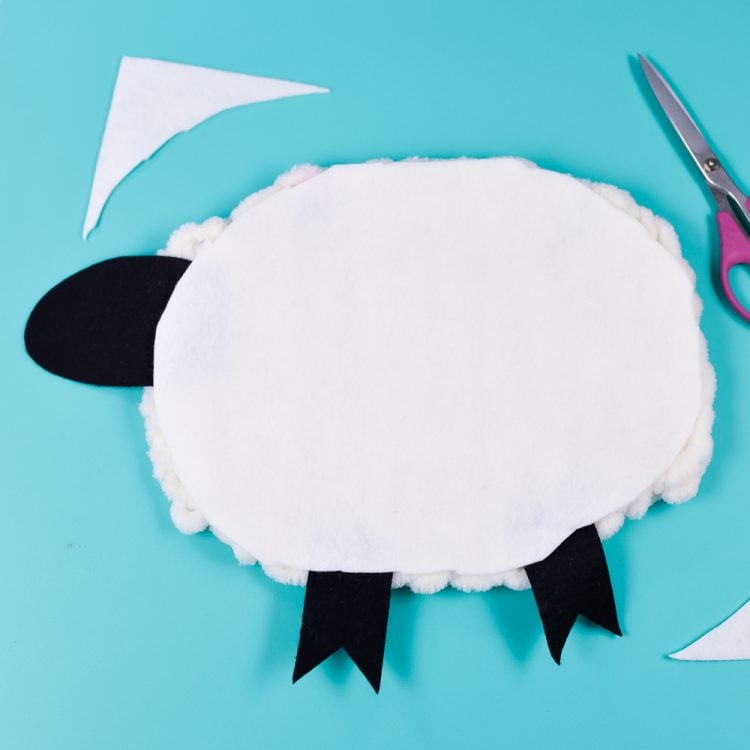
- Felt InstructionsTo create the face, ears, and legs, cut black felt on a Cricut, using the Rotary Blade. Then use white iron-on to create the eye, and adhere it to the felt using an EasyPress. You can also just cut face, ears, and legs from felt by hand, and then use white craft or puff paint to draw the eye. Attach the face, ears, and legs using a bit of hot glue.
- To give the sheep a bit of sturdiness, glue felt oval to the back. This really helped the sheep to hang perfectly.
- To hang, attach a piece of ribbon to the back using more hot glue.