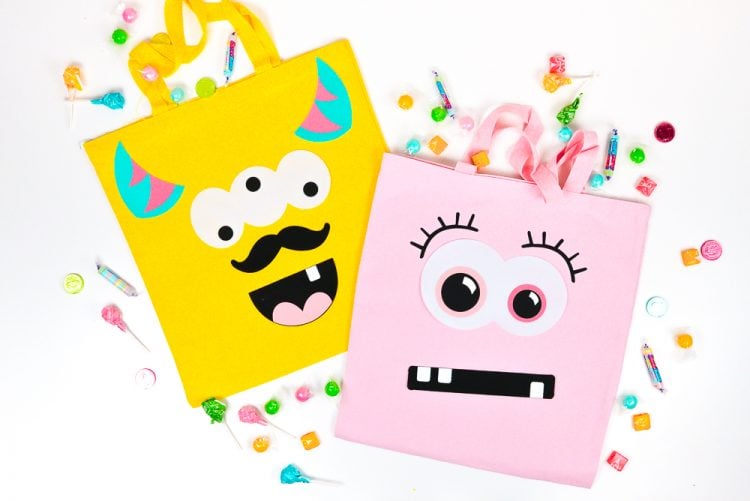
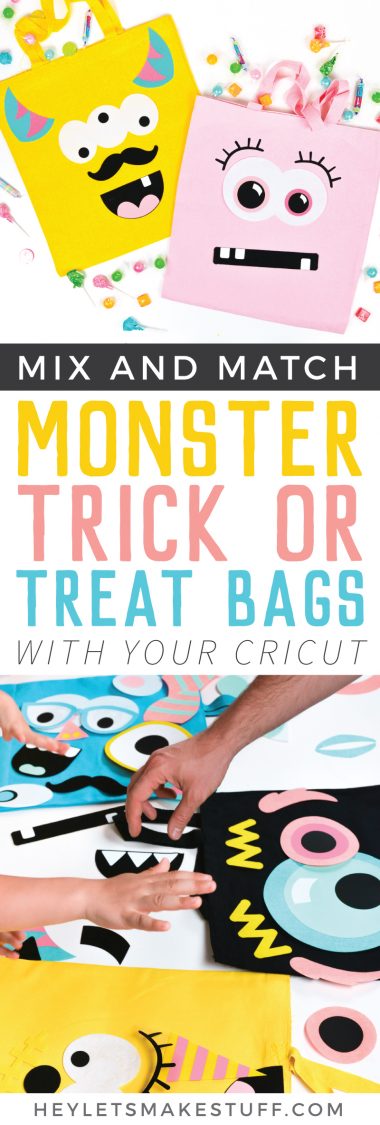
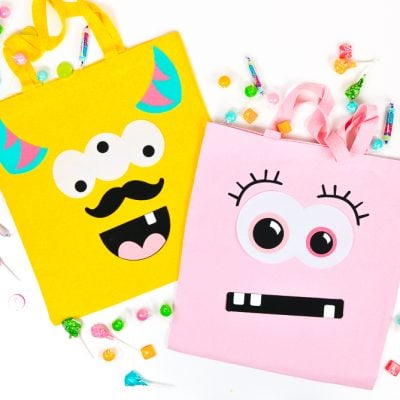
Your kids will love going door to door with these monster trick or treat bags! Use your Cricut Maker to craft this fun DIY Halloween craft—make one for each member of your family!
This post was sponsored by Cricut.
My boys are right at the age where trick or treating is pretty magical. They are so excited to dress up this year. Sebastian wants to be a dog and Callum wants to be a cat—my plan is to use my Cricut Maker to turn regular hoodies into cute dog and cat Halloween costumes. Stay tuned for those, and check out these other Handmade Halloween Costumes with the Cricut!
This year, I’m on a monster kick (check out my Printable Monster Treat Bags). There’s something so fun about cute monsters at Halloween—they are perfect for this time of year, without being scary or creepy, which is ideal when you have two three-year-olds. They are also great for monster-themed parties any time of year. Let’s make some monster trick or treat bags!
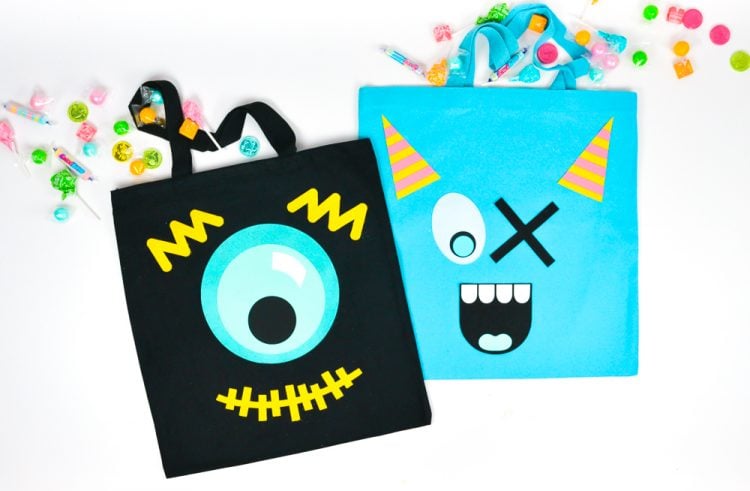
These monsters are great for everyone in the family and are a fun kids’ Halloween craft that they can participate in making—just cut out all the pieces and let your kiddos go wild. I’ve created a bunch of different shapes in Cricut Design Space (> > > get them here < < <) that are perfect for making eyes, mouths, teeth, horns, and more.
Trick or Treat Bags—Supplies
You can use a variety of different supplies to make these treat bags. Choose your favorites, grab your Cricut and make!
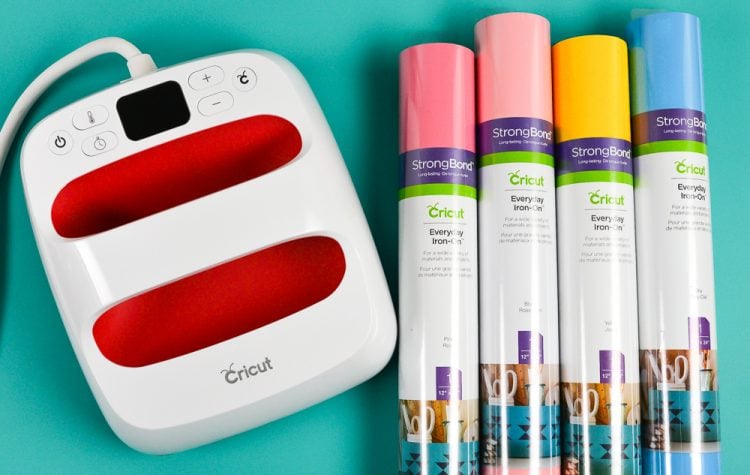
- Cricut Maker
- StandardGrip and FabricGrip mats (see below for suggested use)
- Rotary Blade (comes with the Maker)
- Fine Point Blade (comes with the Maker)
- Cricut Felt in various colors
- Cricut Everyday Iron On in various colors
- EasyPress2
- EasyPress Mat or towel
- Canvas tote bags in various colors
If you’d like to use your Cricut Explore, you can use the Fine Point blade for Cricut felt, though you’ll get cleaner cuts if you have the Rotary Blade.
Trick or Treat Bags—Instructions
There are a lot of layers going on here in this file. All of the “base” shapes are cut in felt, and all of the “embellishments” on top are cut in iron-on vinyl.
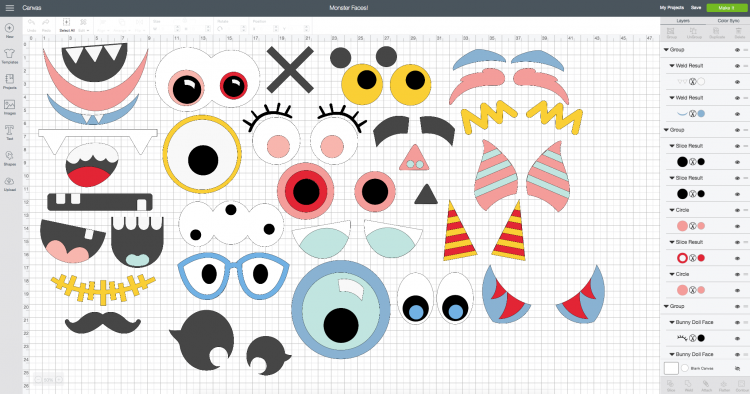
I’ve tried to make this file more simple by dividing up the colors. I have made all of the white felt pieces white so they’ll all cut together in felt, and all the teeth slightly off-white so they’ll cut together in iron on vinyl. Same goes with the other colors. I know you’re probably not going to have the exact materials I have on hand, so change up the colors in the Layer Attributes panel where needed. You can get an overview of the colors in the ColorSync Panel (learn more here). Here’s how it goes:
- Off-white = iron on
- White = felt
- Black = iron on
- Dark gray = felt
- Dark pink = felt
- Light pink = iron on
- Yellow = felt
- Mint = iron on
- Bright blue = iron on
- Blue = felt
- Magenta = iron on

I’ve also welded some of the iron on pieces together—for instance, the stripes on the horns. That way, they cut perfectly for you to iron onto the felt. You can also resize any of the shapes or hide any that you don’t like. Feel free to search for “monster” in the Cricut Image Library and see what other shapes you can come up with!
Cut the shapes out of Cricut felt (using the FabricGrip mat and Rotary Blade) and Cricut Every Day Iron On (using a StandardGrip or LightGrip mat and the Fine Point blade). You’ll switch back and forth between the blades as you go, depending on your material. Remember to MIRROR your iron on layers!
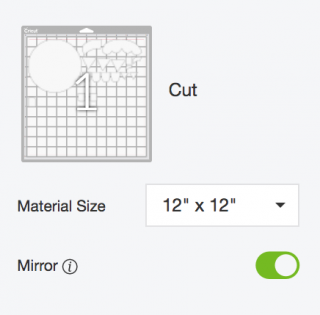
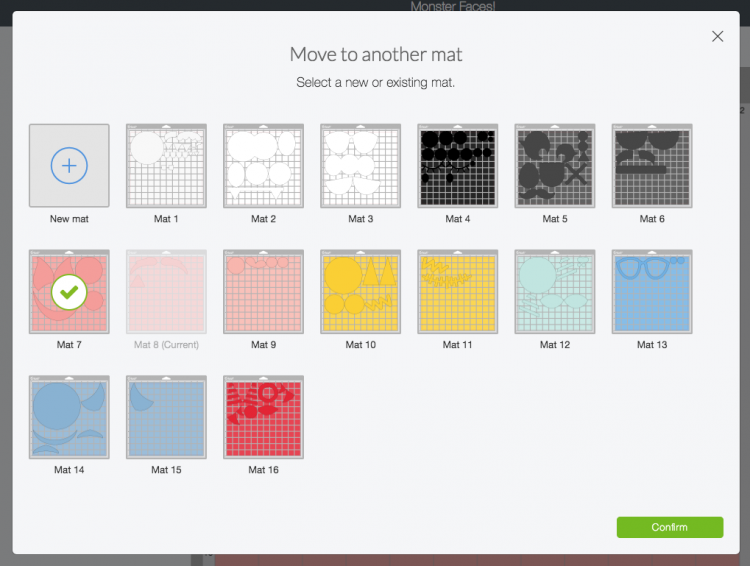
You can also use the handy “move to another mat” feature to fit more shapes on a single piece of material.
I love how the Rotary Blade cuts all kinds of materials, but felt in particular is my favorite! Cricut felt is a little different than regular felt—it’s a little stiffer and a little thinner. But it’s perfect for projects like this and, best of all, it doesn’t gunk up your mat with a bunch of fuzz! I also just recently started using Cricut’s new Everyday Iron On, and it’s great! It weeds easier than their “lite” iron on, and it comes in a huge array of trendy colors—which are, incidentally, perfect for monster trick or treat bags!
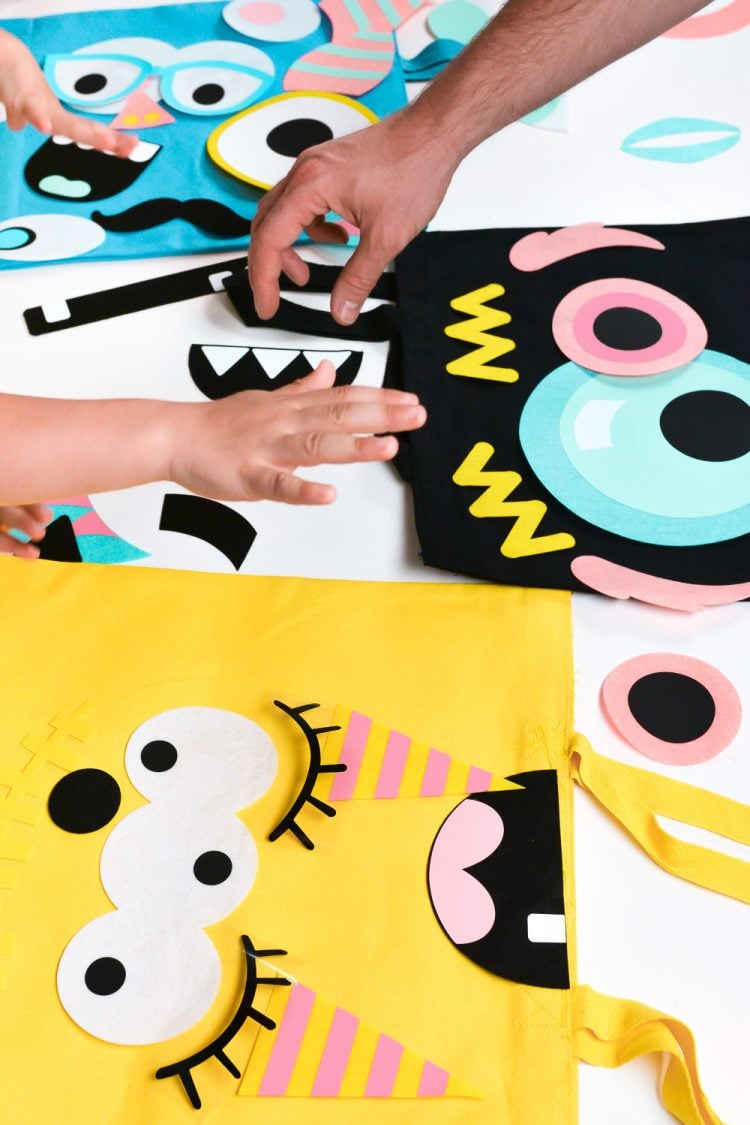
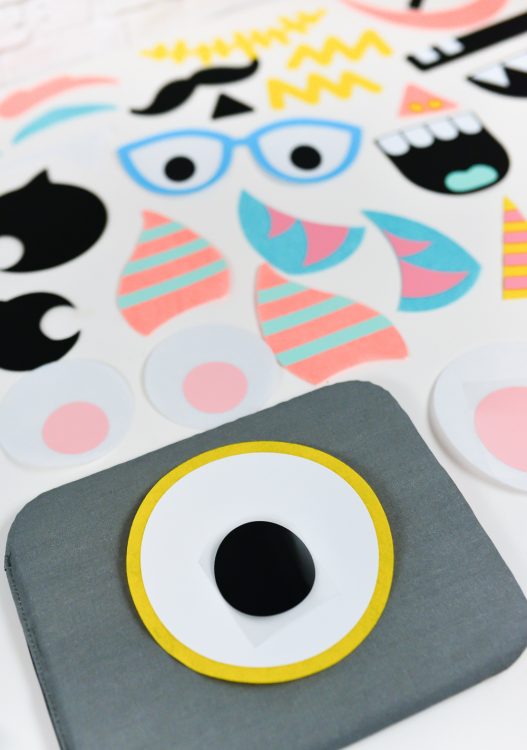
The next part is sort of like a puzzle! Follow the original images in Cricut Design Space to match up all of your felt pieces and their corresponding embellishments. There are a lot of black iron on circles—if you don’t get them exactly right, it’s OK—they are so similar that you won’t even notice!
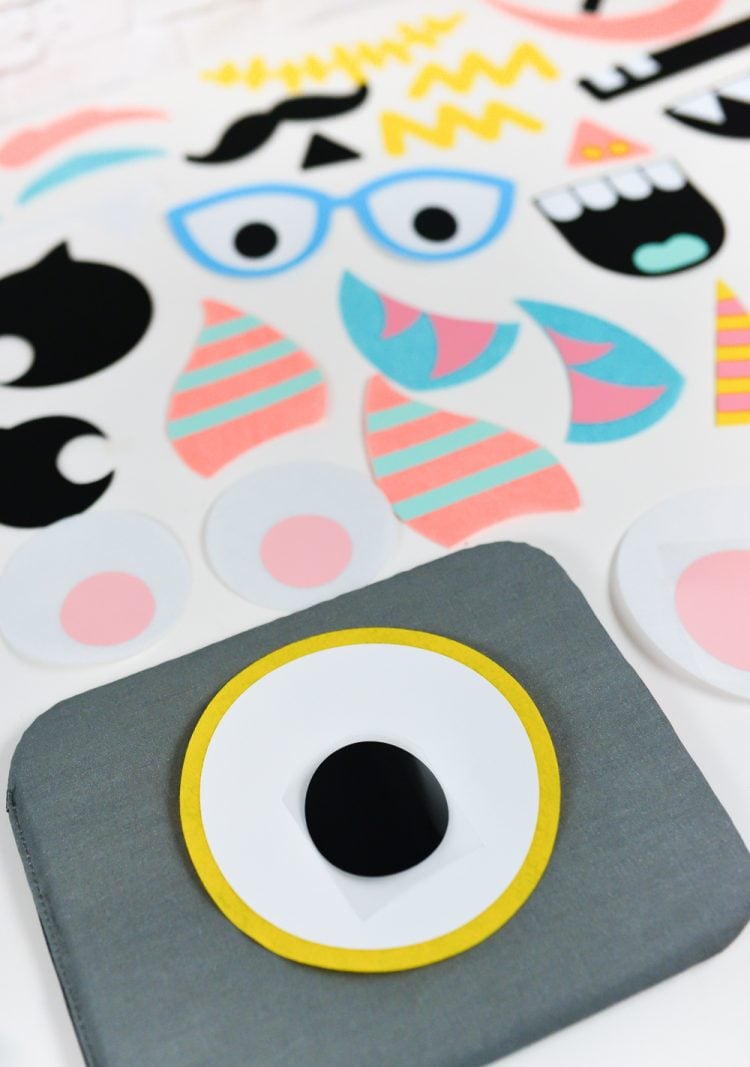
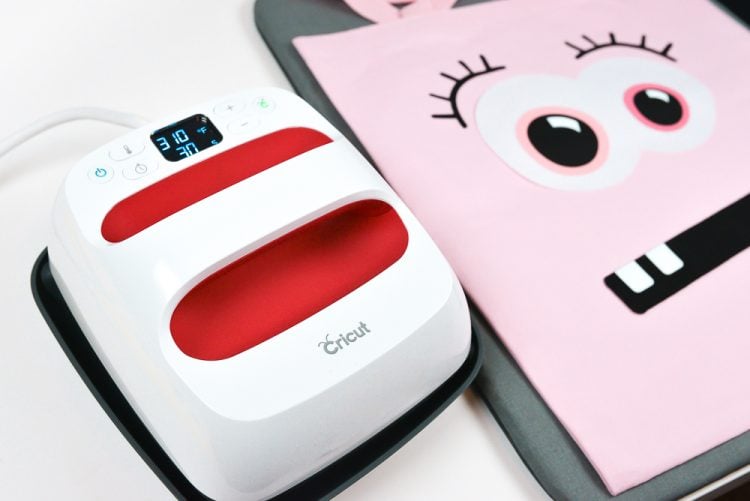
I adhered the iron on to my felt pieces using my small Cricut EasyPress 2 and Cricut’s interactive heat settings guide (how helpful is that?!). Set your EasyPress to 280°. Pre-press your felt by itself for 5 seconds, and then place your iron on on top of the felt and press for 30 seconds, flip, and press the back for another 15 seconds. Let it cool for a few seconds so it’s not super hot, and peel back the plastic liner while it’s still warm. Repeat for all of your monster parts! If you are layering vinyl on vinyl (like in the big blue eye below), use a pressing cloth for each new layer so you’re not pressing the plate of your EasyPress directly in contact with the iron on vinyl.
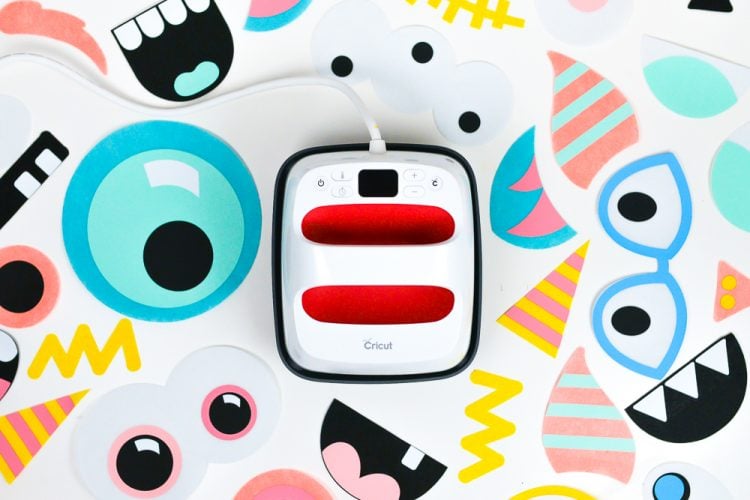
As a side note: I wasn’t sure I needed another EasyPress. But man, I really like the smaller size for smaller projects like this. Plus the new technology in all the EasyPress 2 sizes means that the press heats up faster, hotter, and remembers your last used temperature. Awesome!
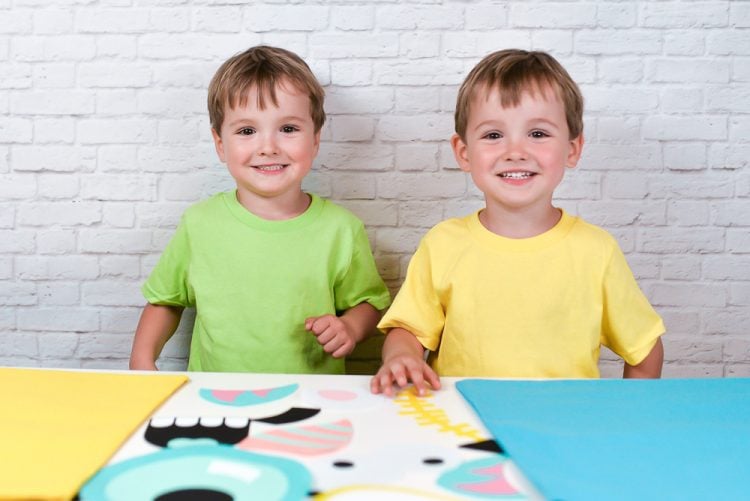
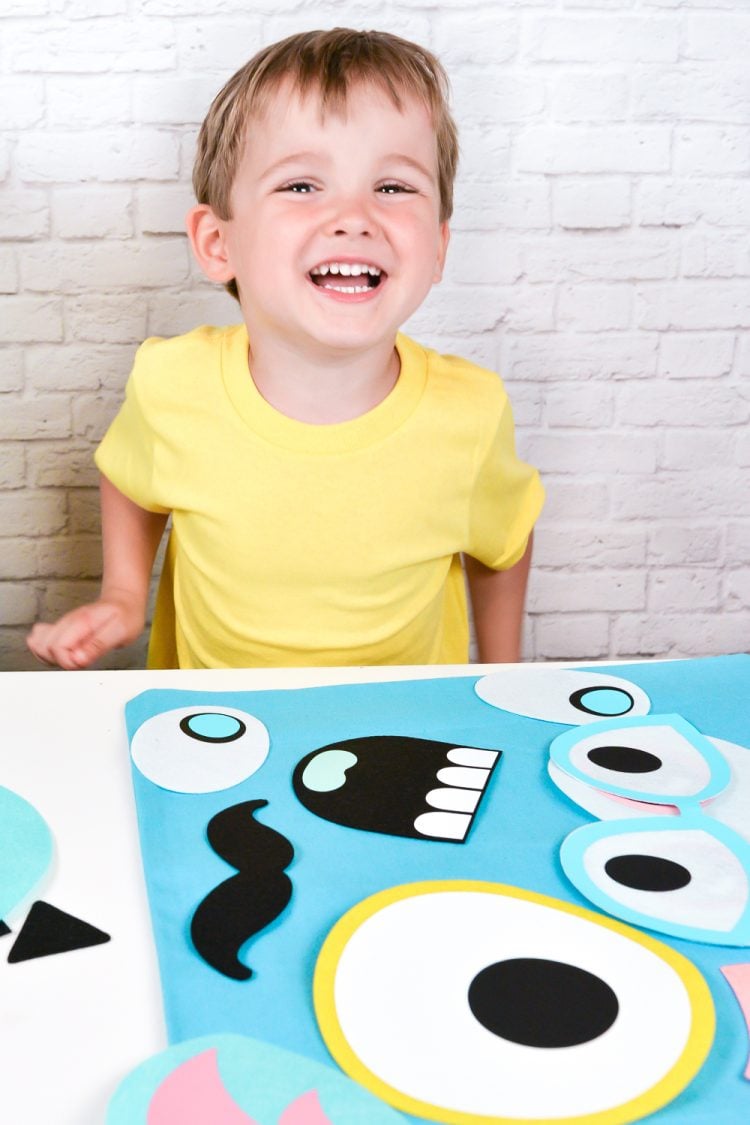
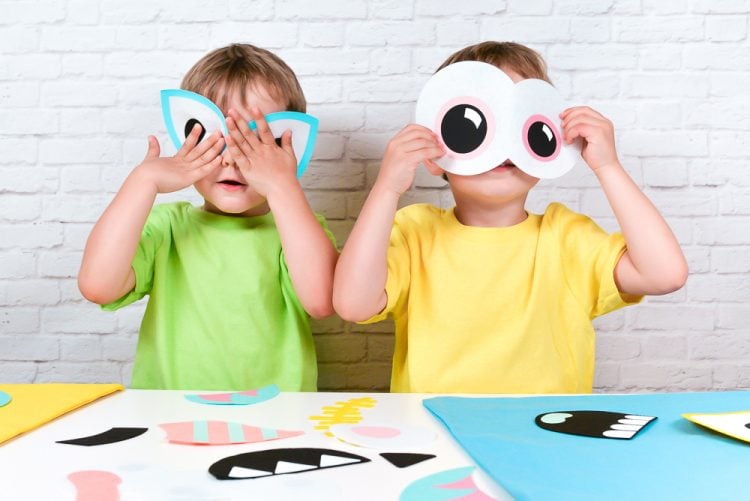
Then let your kids (and spouse!) go wild! I let my boys play around a bunch until we worked together to settle on a few fun final designs.
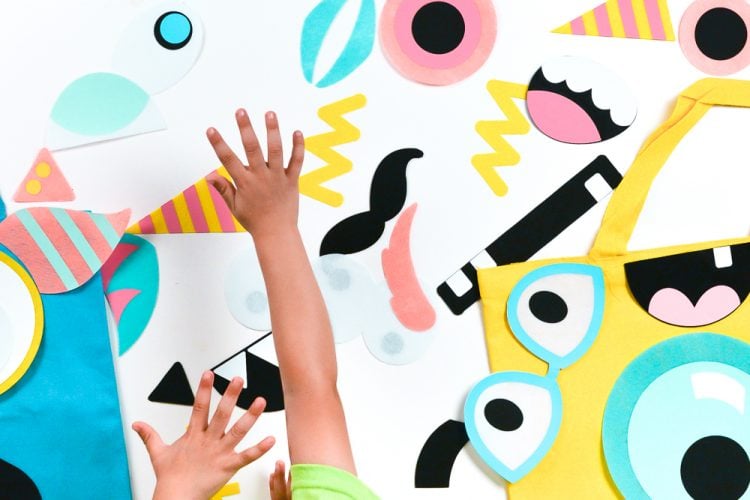
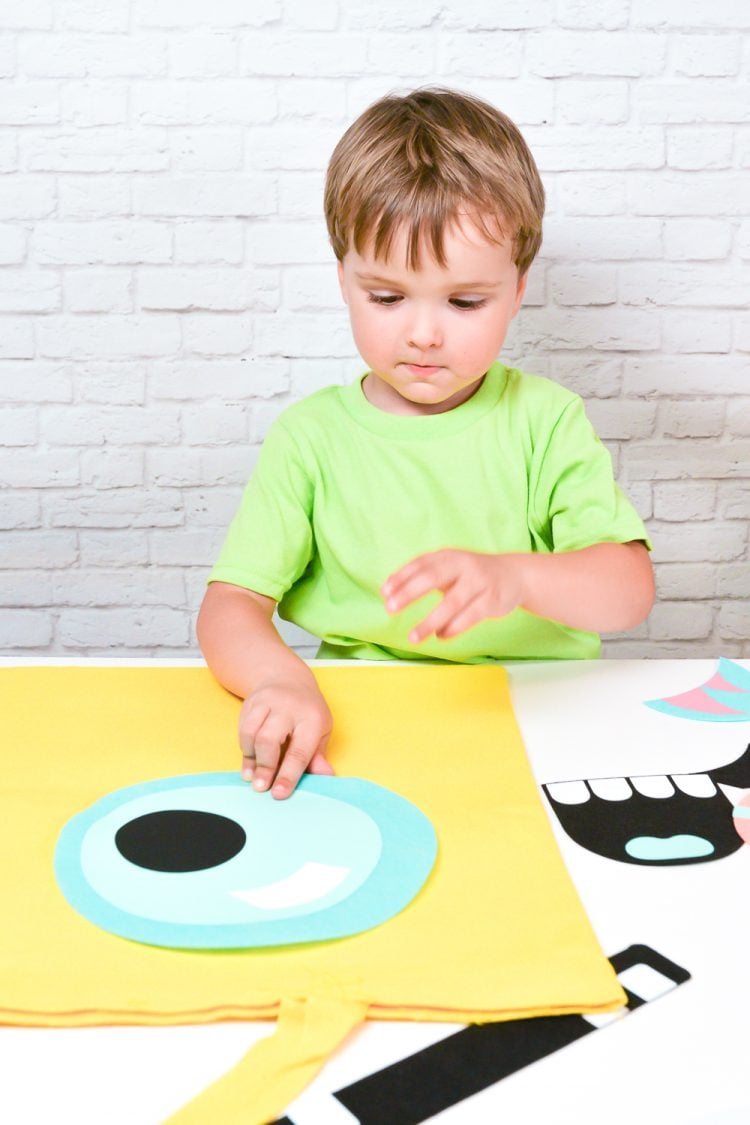
To adhere all the pieces to your bag, you can cut all of the felt shapes again using a bonding material like Heat N Bond. Adhere one side to the back of your felt pieces, peel, and and adhere to your bag with your EasyPress (again making sure to use a pressing cloth or teflon sheet so you aren’t putting your EasyPress plate directly on your iron on vinyl). I tried using a heat-activated spray adhesive first, and realized that it wasn’t going to be enough and went back and used the Heat N Bond. You could also sew on your pieces with your sewing machine.

We had such a fun time creating these treat bags using all these fun monster shapes! Want a simpler project? Check out my iron on vinyl trick or treat bags! And for more fun with the kids, check out my blog on Kids Crafts with the Cricut!
MONSTER TRICK OR TREAT BAGS
Equipment
- Heat-resistant mat or towel
Supplies
- Cricut Felt in various colors
- Canvas tote bags in various colors
- Cricut Design Space Shapes get them here
Instructions
- There are a lot of layers going on here in this file. All of the "base" shapes are cut in felt, and all of the "embellishments" on top are cut in iron-on vinyl.

- This file was made more simple by dividing up the colors. All of the white felt pieces white so they'll all cut together in felt, and all the teeth slightly off-white so they'll cut together in iron on vinyl. Same goes with the other colors. You're probably not going to have the exact materials used here, so change up the colors in the Layer Attributes panel where needed. You can get an overview of the colors in the ColorSync Panel (learn more here). Here's how it goes:Off-white = iron onWhite = feltBlack = iron onDark gray = feltDark pink = feltLight pink = iron onYellow = feltMint = iron onBright blue = iron onBlue = feltMagenta = iron on

- Some of the iron on pieces were welded together—for instance, the stripes on the horns. That way, they cut perfectly for you to iron onto the felt. You can also resize any of the shapes or hide any that you don't like. Feel free to search for "monster" in the Cricut Image Library and see what other shapes you can come up with!Cut the shapes out of Cricut felt (using the FabricGrip mat and Rotary Blade) and Cricut Every Day Iron On (using a StandardGrip or LightGrip mat and the Fine Point blade). You'll switch back and forth between the blades as you go, depending on your material. Remember to MIRROR your iron on layers!

- You can also use the handy "move to another mat" feature to fit more shapes on a single piece of material.

- The next part is sort of like a puzzle! Follow the original images in Cricut Design Space to match up all of your felt pieces and their corresponding embellishments. There are a lot of black iron on circles—if you don't get them exactly right, it's OK—they are so similar that you won't even notice!

- Adhere the iron on to the felt pieces using your small Cricut EasyPress 2 and Cricut's interactive heat settings guide (how helpful is that?!). Set your EasyPress to 280°. Pre-press your felt by itself for 5 seconds, and then place your iron on on top of the felt and press for 30 seconds, flip, and press the back for another 15 seconds. Let it cool for a few seconds so it's not super hot, and peel back the plastic liner while it's still warm. Repeat for all of your monster parts! If you are layering vinyl on vinyl (like in the big blue eye below), use a pressing cloth for each new layer so you're not pressing the plate of your EasyPress directly in contact with the iron on vinyl.

- To adhere all the pieces to your bag, you can cut all of the felt shapes again using a bonding material like Heat N Bond. Adhere one side to the back of your felt pieces, peel, and and adhere to your bag with your EasyPress (again making sure to use a pressing cloth or teflon sheet so you aren't putting your EasyPress plate directly on your iron on vinyl). You could also sew on your pieces with your sewing machine.





Comments & Reviews
undygun says
Woooow, OMG really creative. I love the color
Cheryl Spangenberg says
So adorable! Both the bags and the boys!