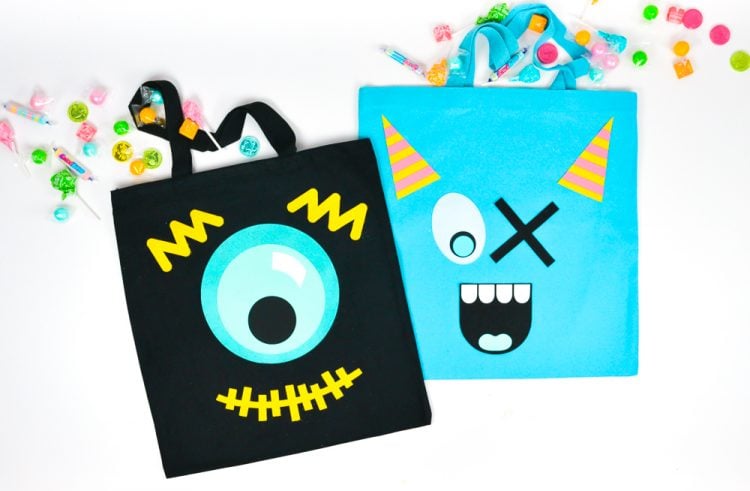
MONSTER TRICK OR TREAT BAGS
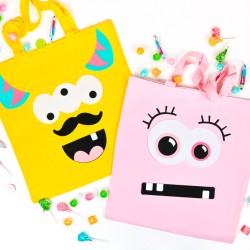
Your kids will love going door to door with these monster trick or treat bags! Use your Cricut Maker to craft this fun DIY Halloween craft—make one for each member of your family!
Equipment
- Heat-resistant mat or towel
Ingredients
- Cricut Felt in various colors
- Canvas tote bags in various colors
- Cricut Design Space Shapes get them here
Instructions
- There are a lot of layers going on here in this file. All of the "base" shapes are cut in felt, and all of the "embellishments" on top are cut in iron-on vinyl.
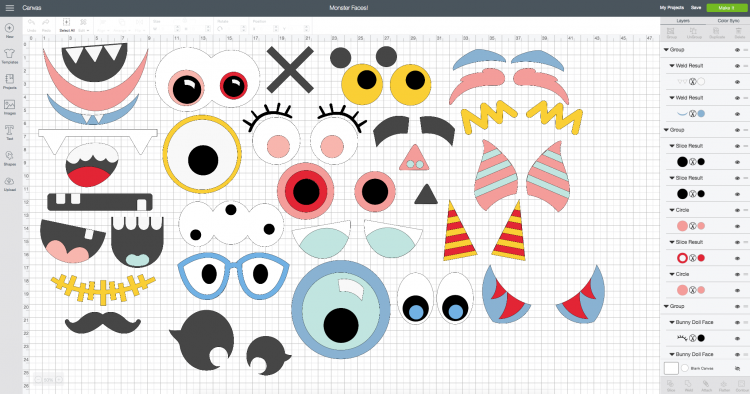
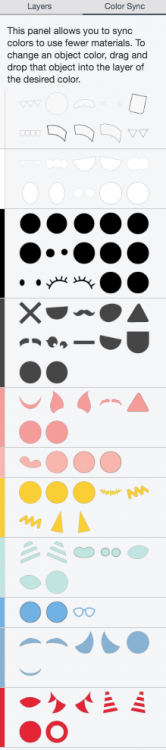
- This file was made more simple by dividing up the colors. All of the white felt pieces white so they'll all cut together in felt, and all the teeth slightly off-white so they'll cut together in iron on vinyl. Same goes with the other colors. You're probably not going to have the exact materials used here, so change up the colors in the Layer Attributes panel where needed. You can get an overview of the colors in the ColorSync Panel (learn more here). Here's how it goes:Off-white = iron onWhite = feltBlack = iron onDark gray = feltDark pink = feltLight pink = iron onYellow = feltMint = iron onBright blue = iron onBlue = feltMagenta = iron on
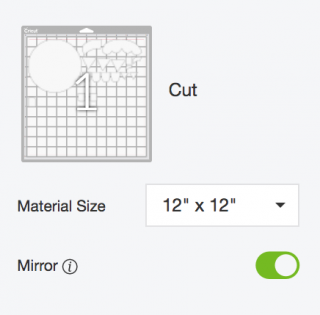
- Some of the iron on pieces were welded together—for instance, the stripes on the horns. That way, they cut perfectly for you to iron onto the felt. You can also resize any of the shapes or hide any that you don't like. Feel free to search for "monster" in the Cricut Image Library and see what other shapes you can come up with!Cut the shapes out of Cricut felt (using the FabricGrip mat and Rotary Blade) and Cricut Every Day Iron On (using a StandardGrip or LightGrip mat and the Fine Point blade). You'll switch back and forth between the blades as you go, depending on your material. Remember to MIRROR your iron on layers!
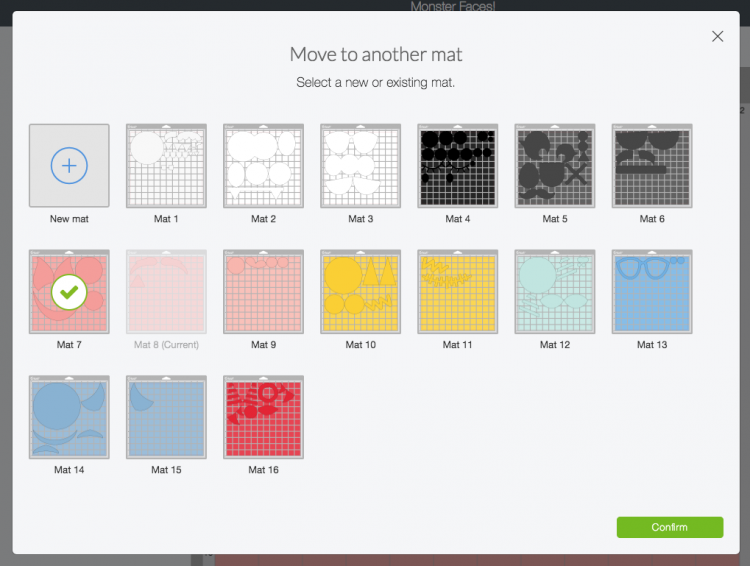
- You can also use the handy "move to another mat" feature to fit more shapes on a single piece of material.
- The next part is sort of like a puzzle! Follow the original images in Cricut Design Space to match up all of your felt pieces and their corresponding embellishments. There are a lot of black iron on circles—if you don't get them exactly right, it's OK—they are so similar that you won't even notice!
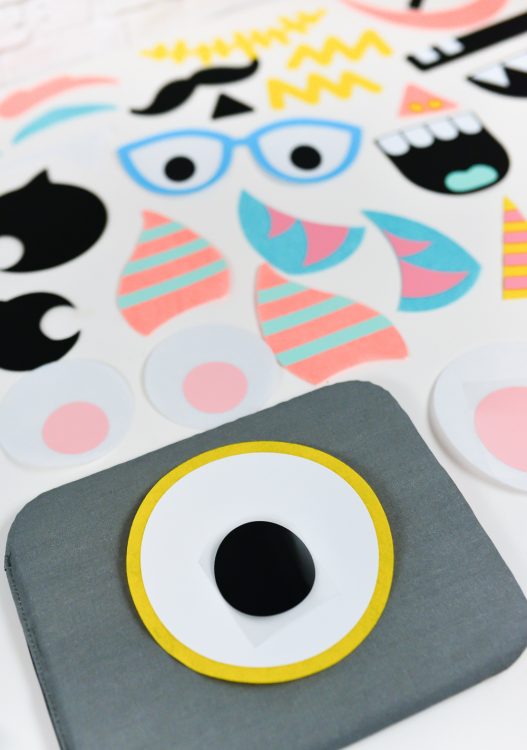
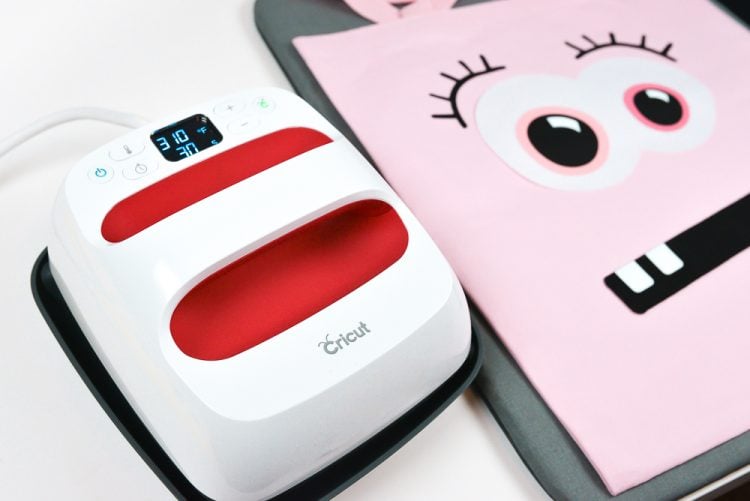
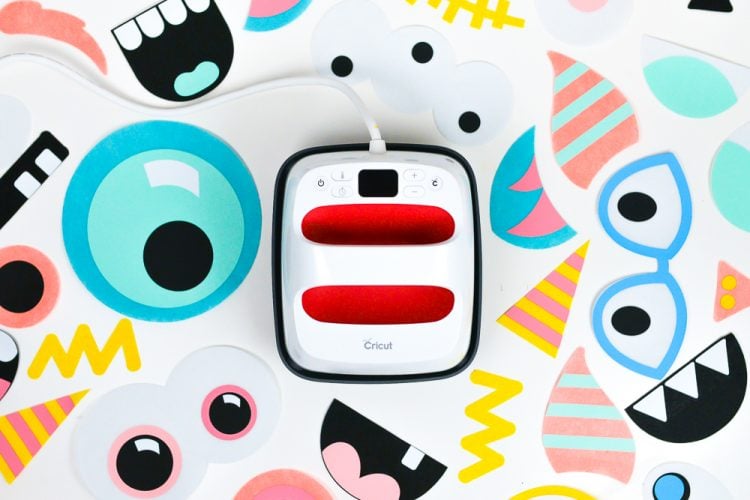
- Adhere the iron on to the felt pieces using your small Cricut EasyPress 2 and Cricut's interactive heat settings guide (how helpful is that?!). Set your EasyPress to 280°. Pre-press your felt by itself for 5 seconds, and then place your iron on on top of the felt and press for 30 seconds, flip, and press the back for another 15 seconds. Let it cool for a few seconds so it's not super hot, and peel back the plastic liner while it's still warm. Repeat for all of your monster parts! If you are layering vinyl on vinyl (like in the big blue eye below), use a pressing cloth for each new layer so you're not pressing the plate of your EasyPress directly in contact with the iron on vinyl.
- To adhere all the pieces to your bag, you can cut all of the felt shapes again using a bonding material like Heat N Bond. Adhere one side to the back of your felt pieces, peel, and and adhere to your bag with your EasyPress (again making sure to use a pressing cloth or teflon sheet so you aren't putting your EasyPress plate directly on your iron on vinyl). You could also sew on your pieces with your sewing machine.