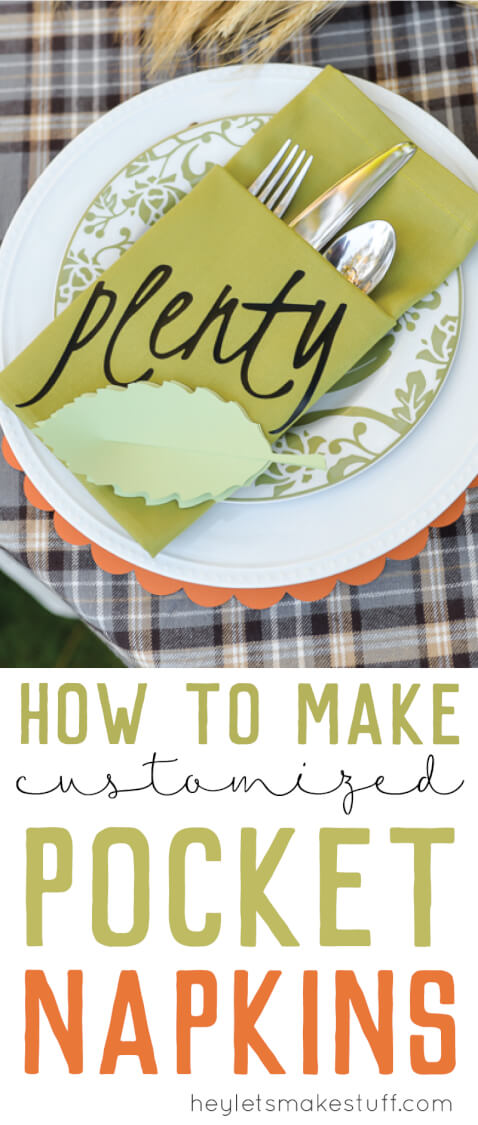
How to make customized pocket napkins! Includes folding instructions, as well as details about adding words, names, or images using an electronic cutting machine!
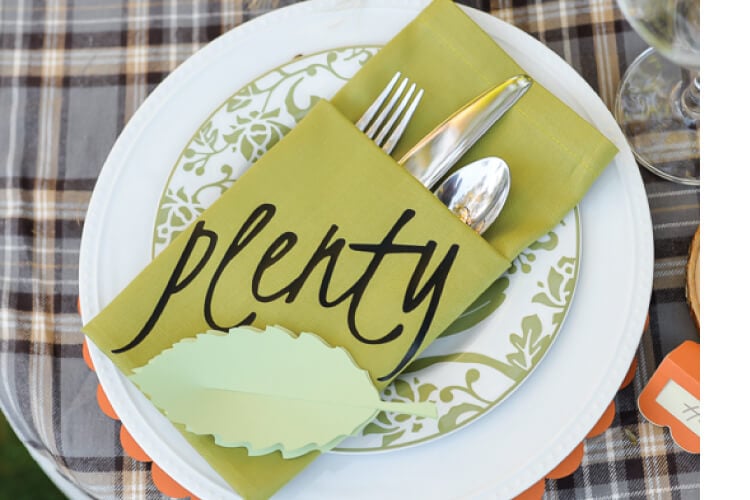
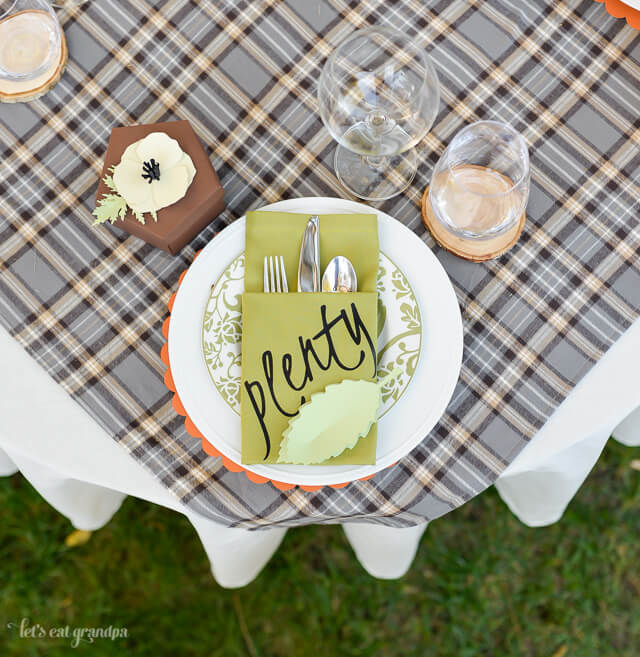
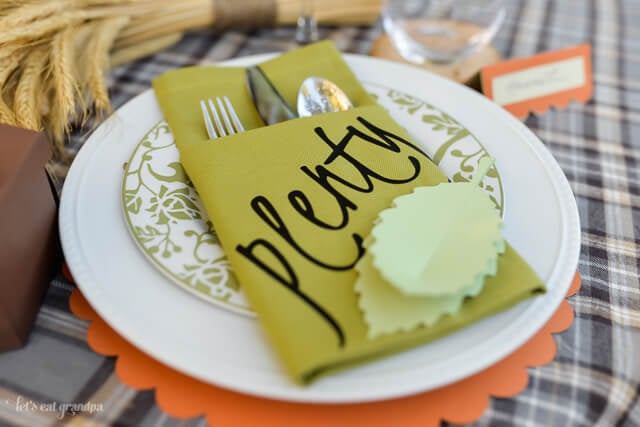
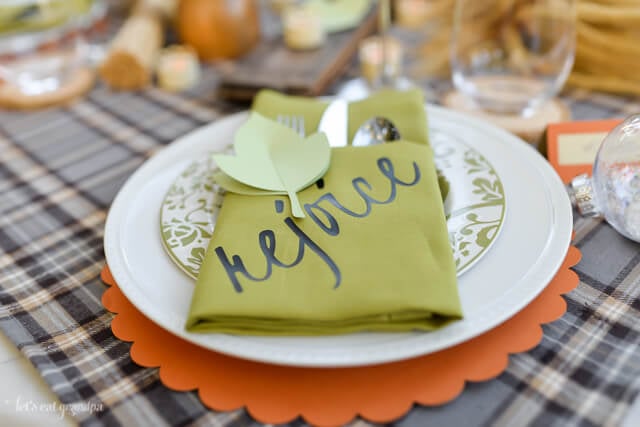
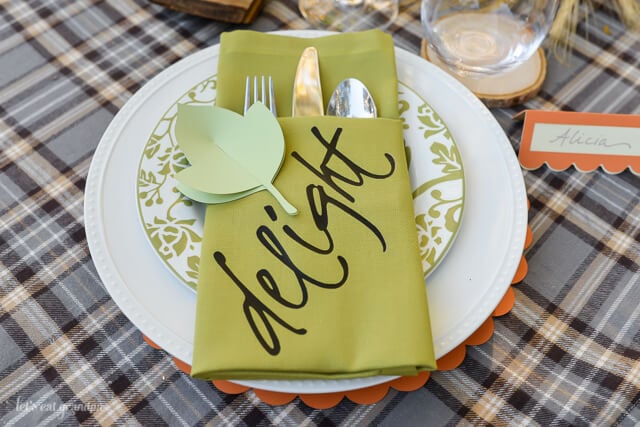
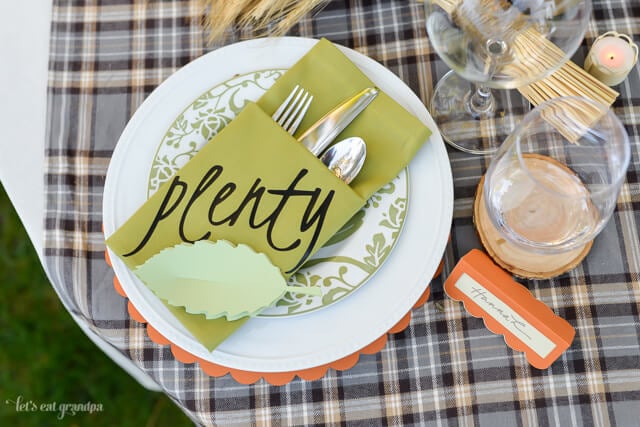
Last week I shared some tips on how to throw a cozy, outdoor Friendsgiving. In that post, I had a set of pocket napkins that each had a word that reminded me of one of my friends. These napkins go so far beyond just Friendsgiving — they are perfect for any holiday celebration! You can add holiday words or names to use them as place cards. You could also add an image instead of words!
Stop pulling your hair out and start creating confidently with your Cricut! Finally understand how to use your Cricut with my Learn Your Cricut eBooks!
Make sure you check out my top ten reasons for getting one for Christmas at the end of this post!
Supplies
Instructions: Folding the Napkin
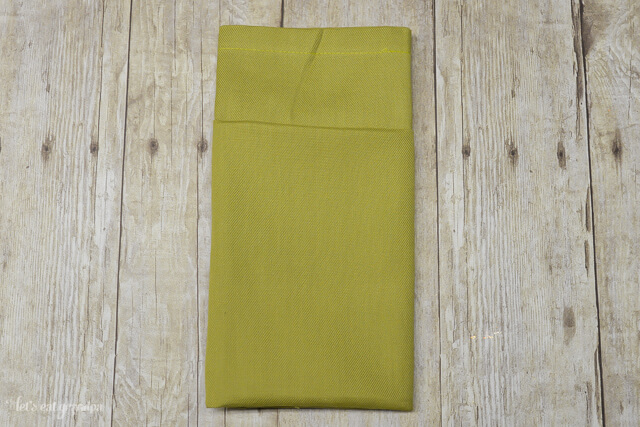
Start by folding your napkin so that it creates a nice pocket for your silverware.
Place the napkin, right side up (so the hem and label are face-down).
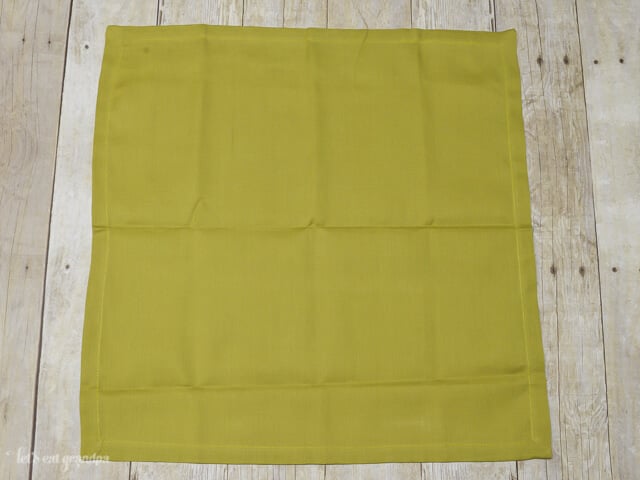
Fold up 1″4 of the way from the bottom.
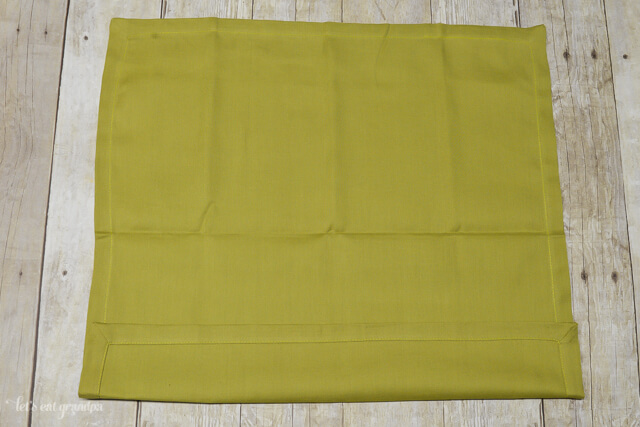
Then make another fold halfway up the napkin, making sure to keep the first fold intact.
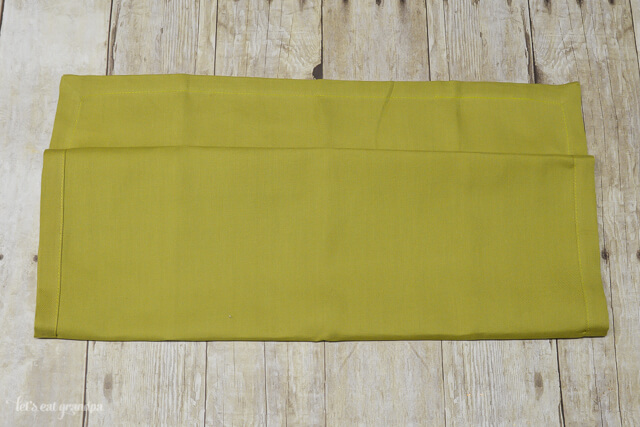
Carefully flip the whole thing over.
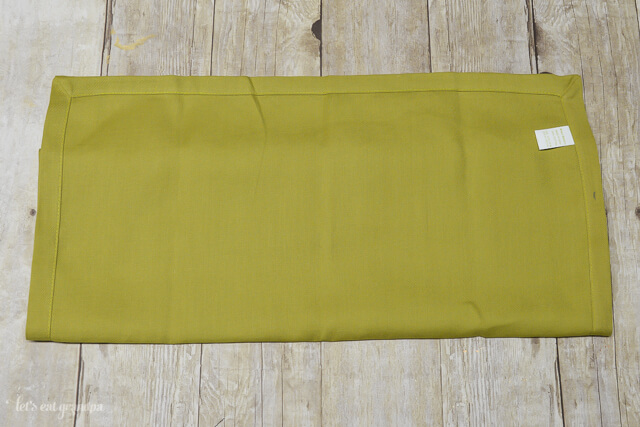
Start folding the napkin in quarters, starting from one side.
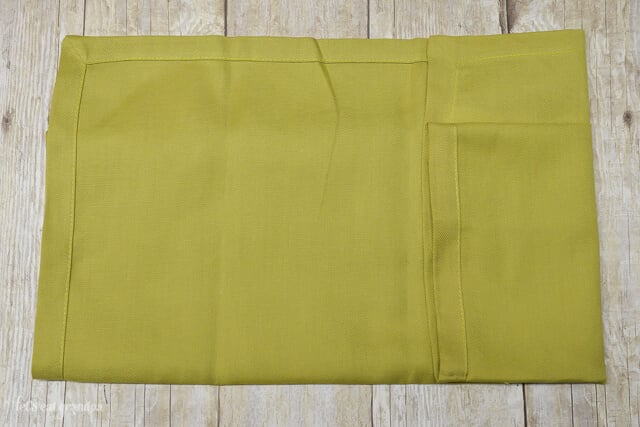
Keep folding until you have folded it all the way.
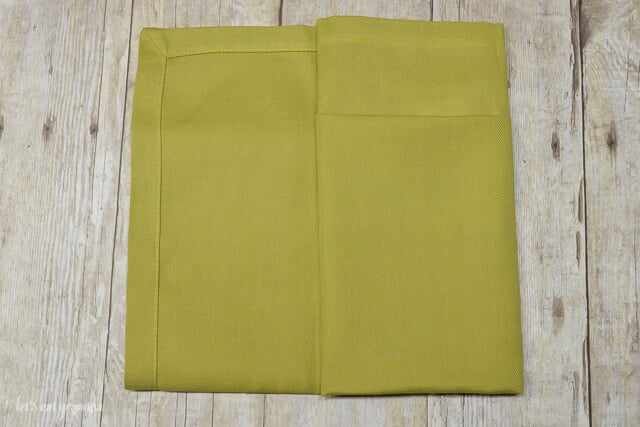
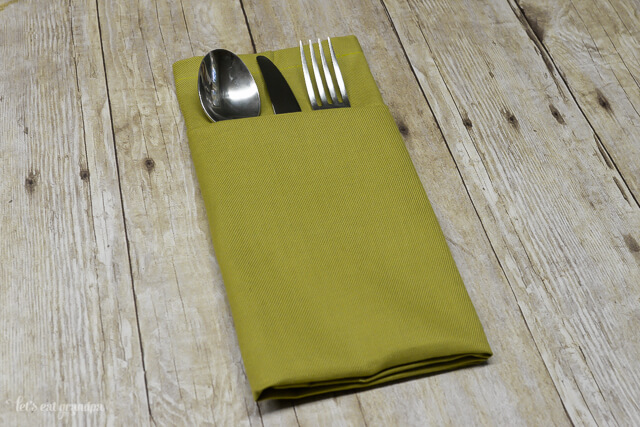
Tada! Now you have a handy little pocket for your silverware.
Now let’s add the personalization.
Directions: Personalizing Your Napkins
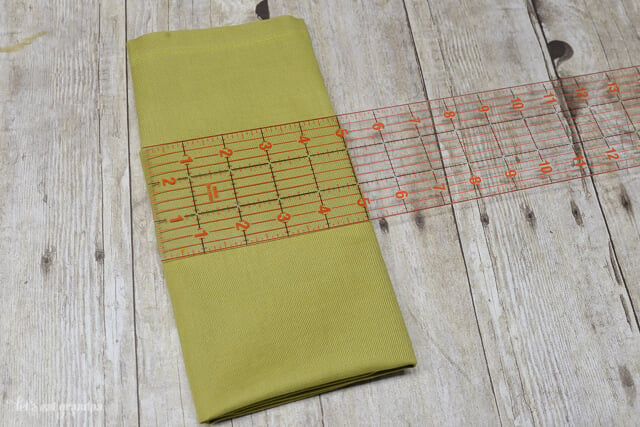
Measure the size of the front of your napkin pocket. Mine was about 5″ x 7″.
In the Cricut Design Space, make create a text file of this size using whatever word you want to cut. I actually made my files in Illustrator — if you do this, make sure to outline your fonts so they are readable by the Cricut Design Space.
Cut out your letters. Make sure to reverse the image because these are iron-on! Here’s how to use iron-on if you haven’t before.
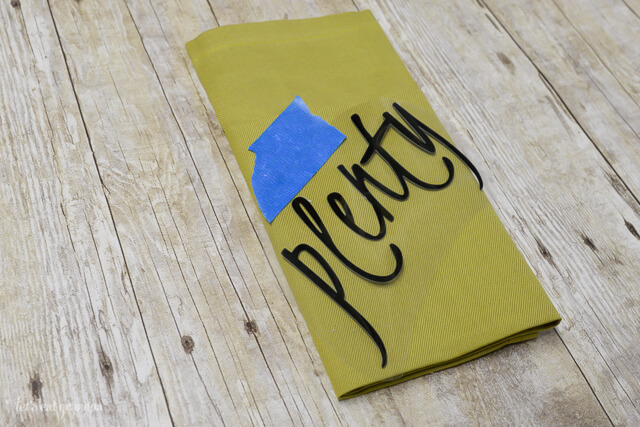
Cut out the iron-on shape and weed out the negative space. Tape the shape to the front of your still-folded napkin.
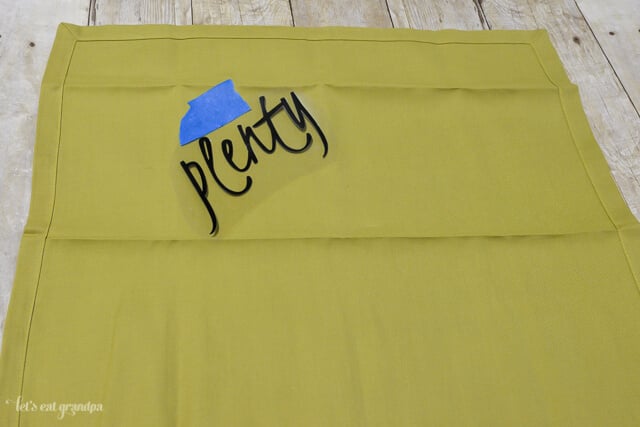
Then carefully unfold your napkin. Now you know exactly where to iron on the image!
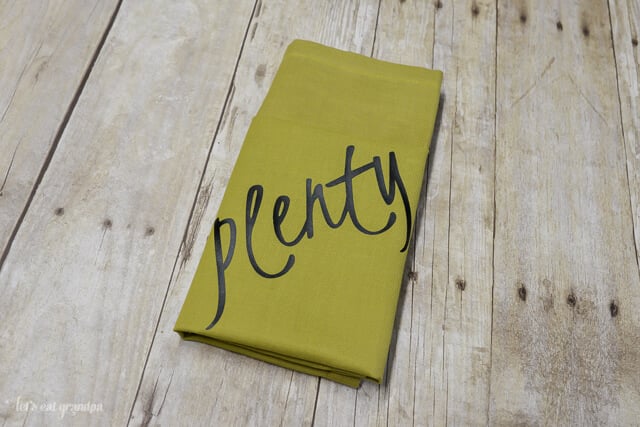
Using the method outlined in the video above, iron on the word or image. Then re-fold your napkin and voila! It’s perfect.
These napkins are so pretty on a holiday table, and they really do add a beautiful touch of personalization.
Why You Want a Cricut for Christmas
I’ve had my Cricut Explore for a whopping four months, and I already wonder how I ever crafted without it. Here’s why you should add it to your Christmas list (or get someone special to buy it for you right now!).
- My top reason is that you can upload your own files (jpg, png, svg) and cut any shape you can make. If you have any skill in Illustrator or photoshop, the possibilities are endless.
- And you can cut those files FOR FREE. Free, yo. Free.
- And even if you don’t have those skills, the Cricut Design Space has 25,000 images available for just $9.99 a month, or you can buy individual images. Plus there are lots of basic shapes that you can rework to create a million different designs!
- If you have an older Cricut, you can still use your cartridges!
- The Cricut Explore does so much more than cut. It also scores. It writes. It also has print-then-cut possibilities, so you can cut around shapes you’ve printed on your home printer. Super versatile.
- I’ll probably never cease to be amazed at the tiny shapes it can cut. It handles the tiniest cuts with the greatest ease.
- It can cut about a bajillion materials. In the four months I’ve had it, I’ve easily cut paper, vinyl, iron-on, fabric, felt, poster board, and wood veneer — and that’s just for a start! See all the materials it can cut here!
- There’s no guessing about blade pressure or speed or any of those details. There are a TON of materials built into the machine, so you can cut without guessing!
- It’s the only cutting machine with an iPad app — super convenient for quick cutting!


Comments & Reviews
Theresa @DearCreatives says
Love the spring table scape and napkin fold. Thanks for sharing at the Inspiration Spotlight Party Hope to see you again soon. Shared…
Cydnee says
What a fun and creative idea! Love it! Thank you very much for joining in the celebration of #purebloglove, we enjoy having you each week. I hope to see you on Thursday at 8PM, EST through Sunday night. ~Cydnee
Lou Lou Girls says
Super cute! This looks so amazing. Pinned and tweeted. We love to party with you, so I hope to see you tonight at 7 pm.. Have an amazing day! Lou Lou Girls
Amanda@ TexMexCrafting says
What a cute idea and a beautiful table setting. I love all the colors you used.
Michelle @ A Dish of Daily Life says
What a lovely idea…it’s perfect for dinner parties and special occasions! Thank you for sharing it with us at #FoodieFriDIY! I’ll be doing some sharing for you! :)
Lindsay Eidahl says
Love this tutorial. These are so cute! Thank you for sharing on Show Me Saturday!
Suzie@homemaker-mom says
Now this is just darling! I love it! This caught my eye on Inspiration Spotlight Link up today!
Susan says
Such a fun idea and so versatile for different party themes. Thanks for sharing at the This Is How We Roll Link Party on Organized 31.
Marie@The Interior Frugalista says
Love love love this idea! I have sewn cutlery pockets and love them but these would be so much easier. Definitely going on the hunt for some pretty linen napkins and then making these for my Easter dinner table. So glad I saw your link at the Thursday Favorite Things Party!
The Style Sisters says
This is such a fun idea! Come link up to my party every Wednesday and share your ideas with us http://thestylesisters.blogspot.com/2015/02/centerpiece-wednesday-little-of-this.html
Karin