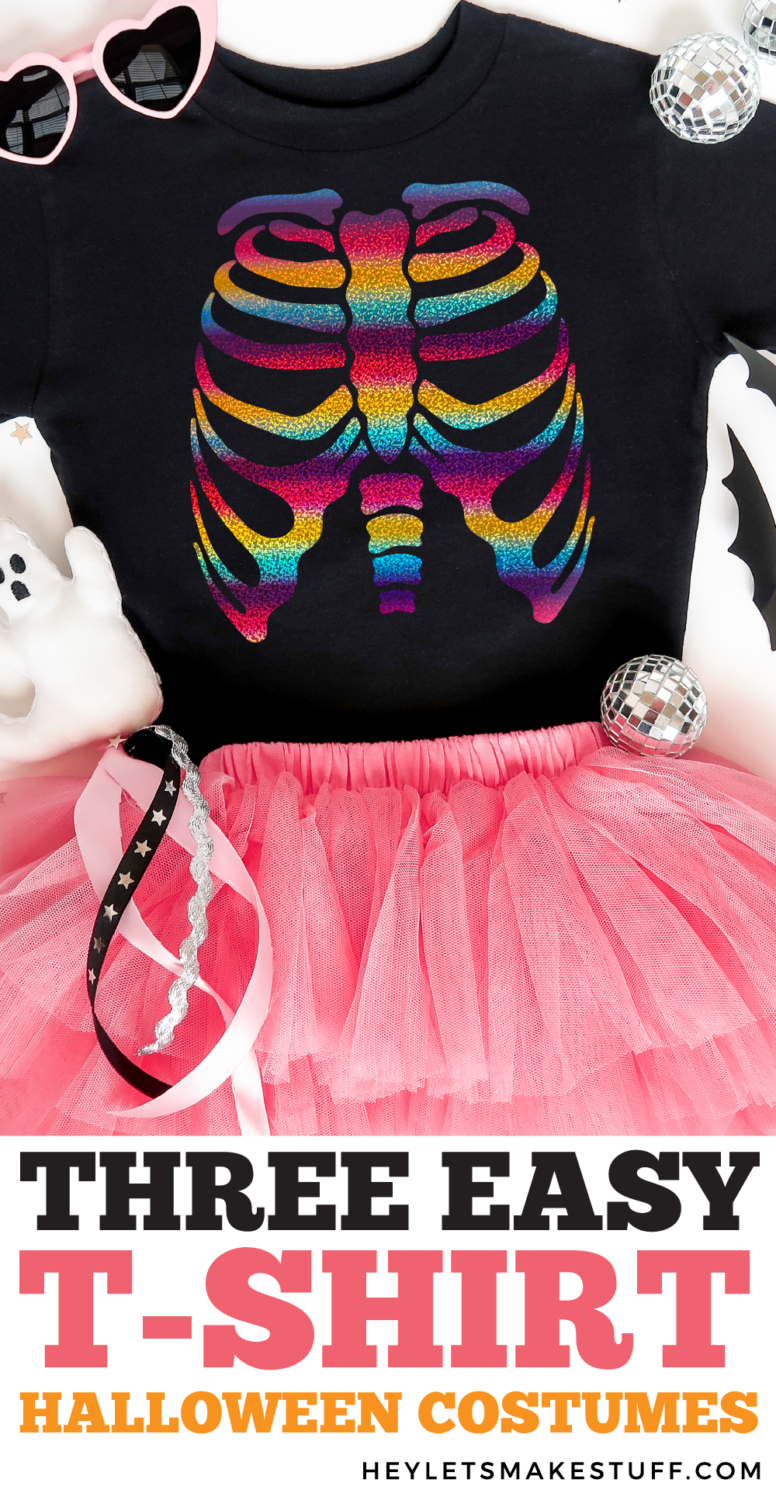
Looking for a last-minute Halloween costume? These shirts are so easy to make using HTV! Just cut these free Halloween SVG files using your Cricut and apply with a heat press. These easy Halloween costume shirts can be made in less than 15 minutes!
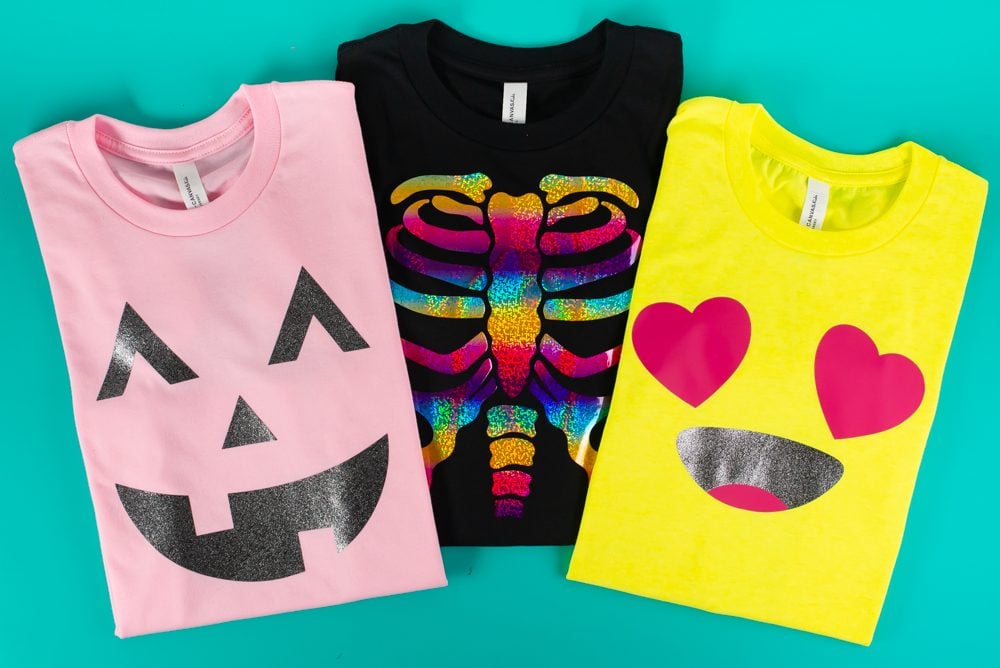
Halloween is around the corner and if you’re panicking to make a last-minute costume for your kids (or yourself!), I’ve got you covered! In today’s tutorial, we’re making three EASY costumes using simple BELLA+CANVAS t-shirts and your Cricut or other cutting machine.
These Halloween costume shirts are perfect if you don’t have a lot of time or money to spend on creating an outrageous Halloween costume. You can pair these cute shirts with a colorful tutu, sweat pants, or even jeans. They are also great for being comfortable if your child has an all-day Halloween school event or you want to make your own tee to wear to work.
Did you know you can buy BELLA+CANVAS garments at wholesale pricing without a reseller license? Get a BELLA+CANVAS Maker’s Account! This account allows you access to the wholesale side of their business without the need for any permits or licenses. Even better? It’s free! Learn more in my post Buying Wholesale Blanks without a Resale License!
Costume shirts like these are also great for kids and adults with sensory issues. Instead of a big bulky costume that doesn’t breathe, a BELLA+CANVAS tee is easy for someone who needs something soft and comfortable. Plus BELLA+CANVAS tees come in a huge variety of colors, so you can really make these designs your own! Here’s an example of just the kids’ tee colors:
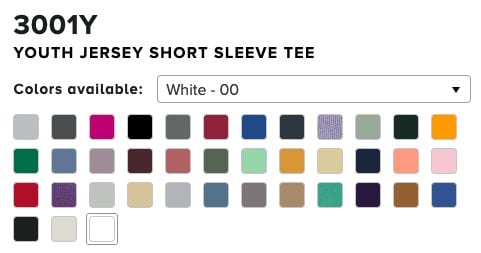
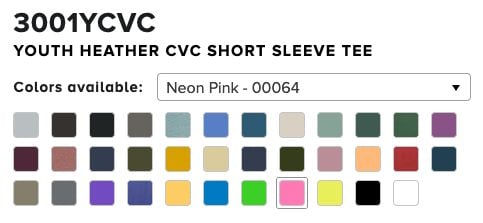
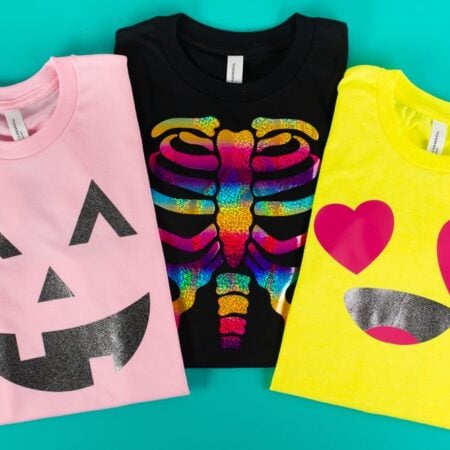
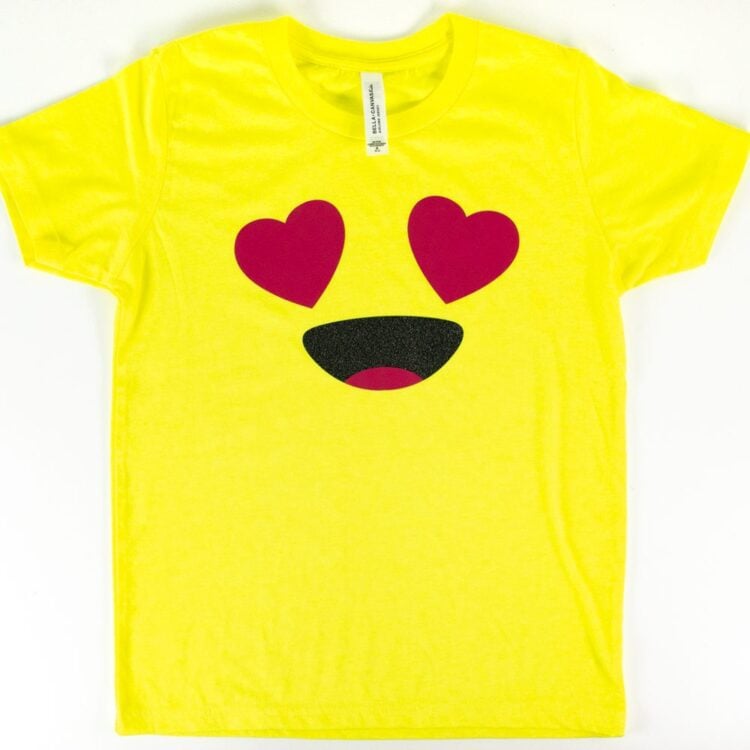
We’re going to be making a jack-o-lantern, an emoji, and a skeleton shirt and you can grab the free SVG below! All of these are so easy to make and you can use a variety of colors for both your shirts and HTV. If it’s cold where you are, these designs also work on a pullover fleece sweatshirt!
And then for this project, I’m using a few variations of B-Flex HTV. This HTV is low temp and low time, so it’s really easy to use and it’s fast! It also has a really nice feel and washes well. You can, however, use whatever type of HTV you’d like, in whatever colors you’d like! Make it fun!
Watch the Video
Want to get a video overview this easy project? Just hit play below! Or keep reading for a written tutorial.
Get the Free Files
Want access to this free file? Join my FREE craft library! All you need is the password to get in, which you can get by filling out the form below. The file number is: C483.
Supplies
- BELLA+CANVAS kids’ tees or other shirts
- Cricut or other cutting machine
- Green StandardGrip cutting mat
- Brayer (optional)
- Regular HTV
- Smooth Glitter HTV (do not layer on the “rough” glitter from some HTV brands)
- Holographic HTV
- Weeding tool
- EasyPress or regular heat press
Set up the File in Cricut Design Space
I’m using Cricut Design Space because I am using my Cricut, but the process should be similar in other cutting machine software.
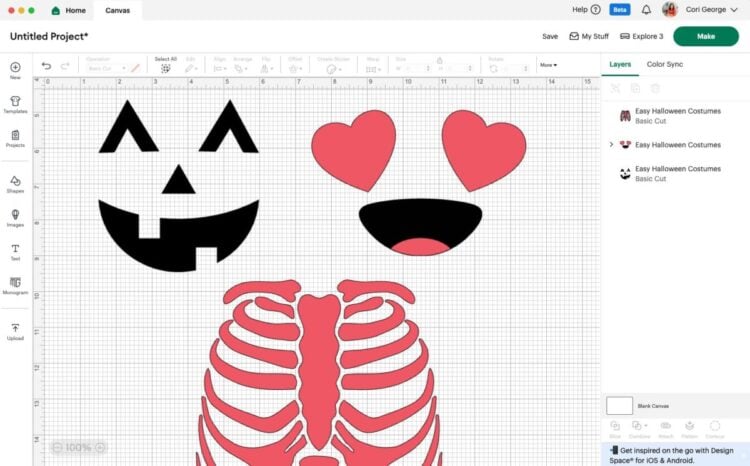
Start by uploading the file you downloaded from my craft library. I am making all three shirts, but if you are making just one, you can delete or hide the images you aren’t using.
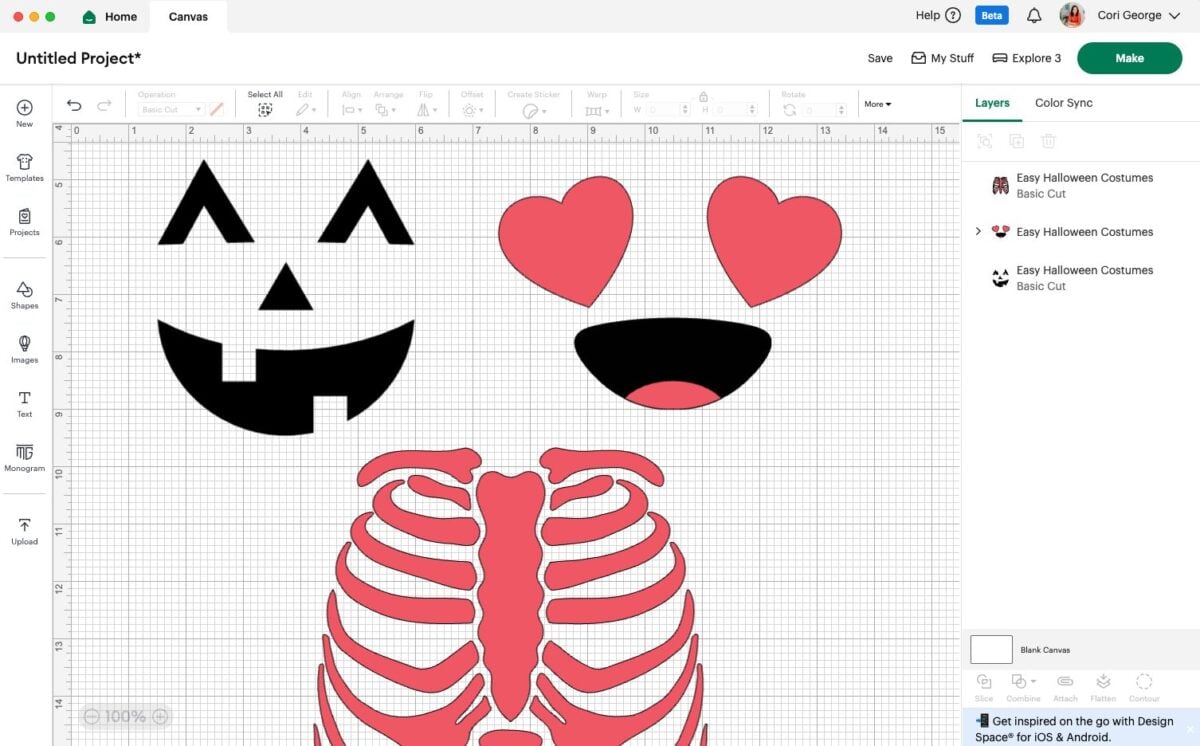
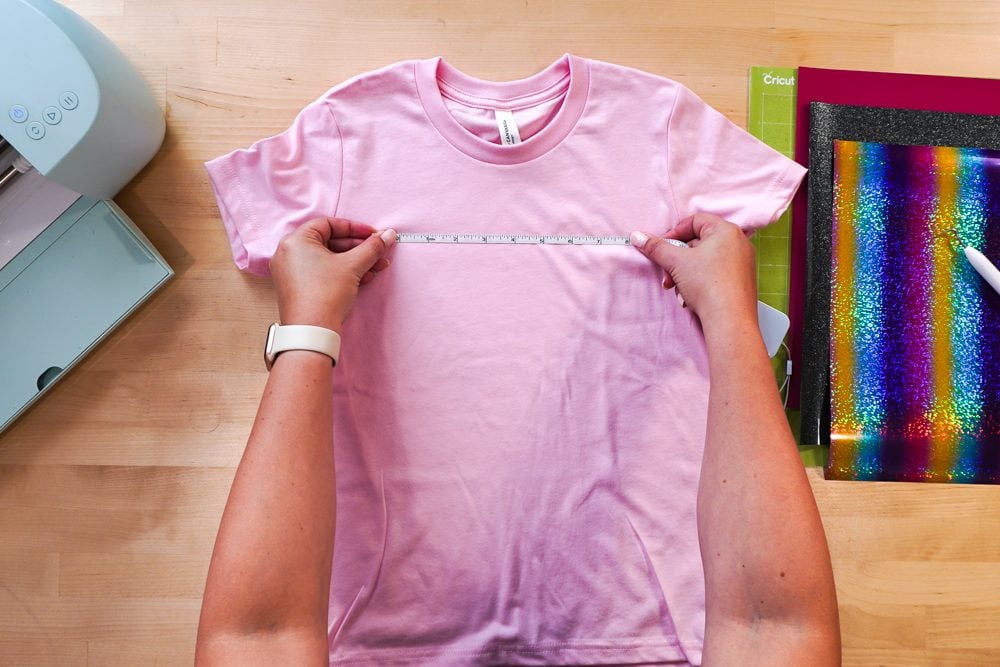
Measure your shirt so you can determine the right size for your project.
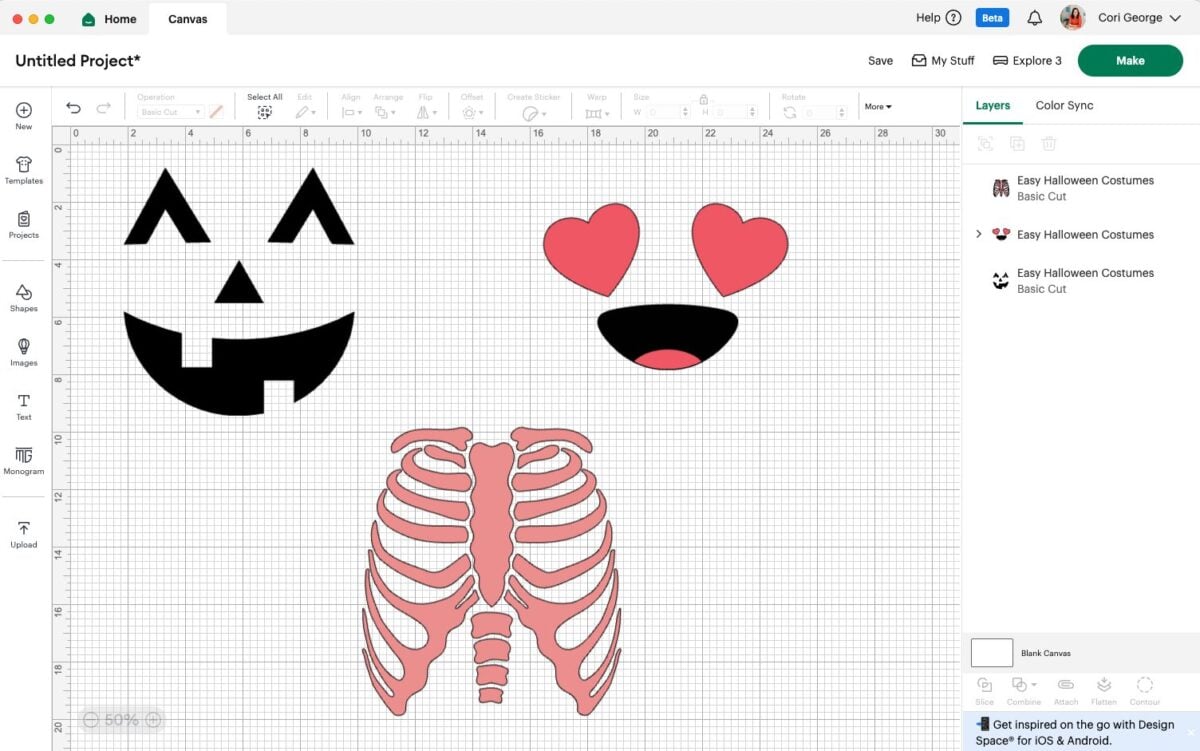
Resize your images. I also re-colored my skeleton so that it wouldn’t cut on the same mat as the eyes for my emoji.
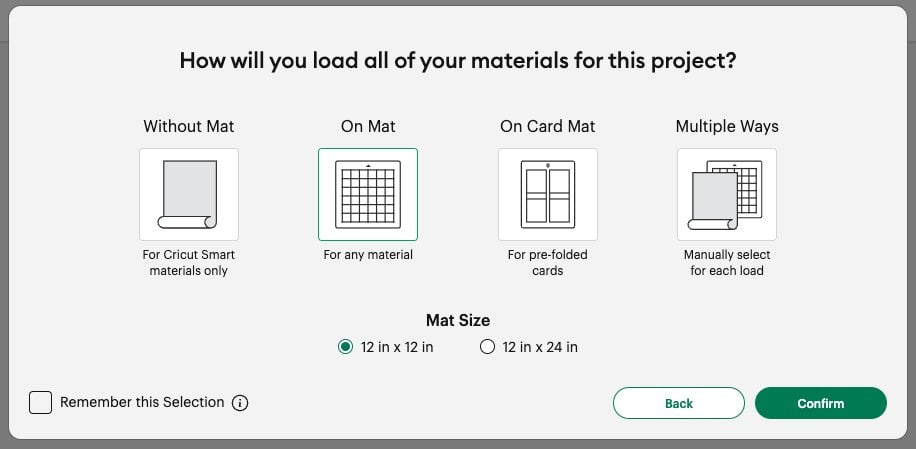
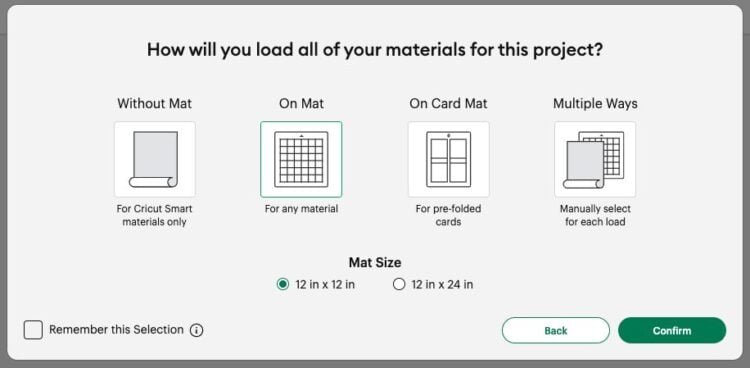
That’s it! Hit Make in the upper right. In the Load screen, choose On Mat (unless you are using Smart HTV).
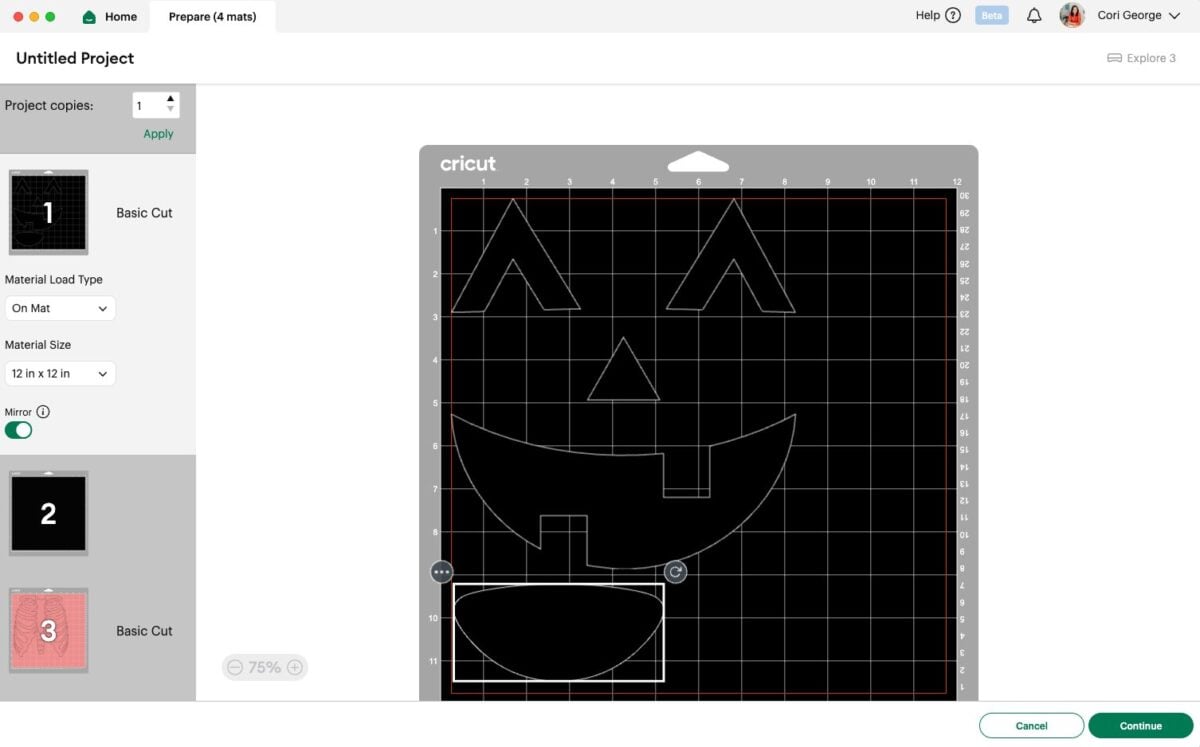
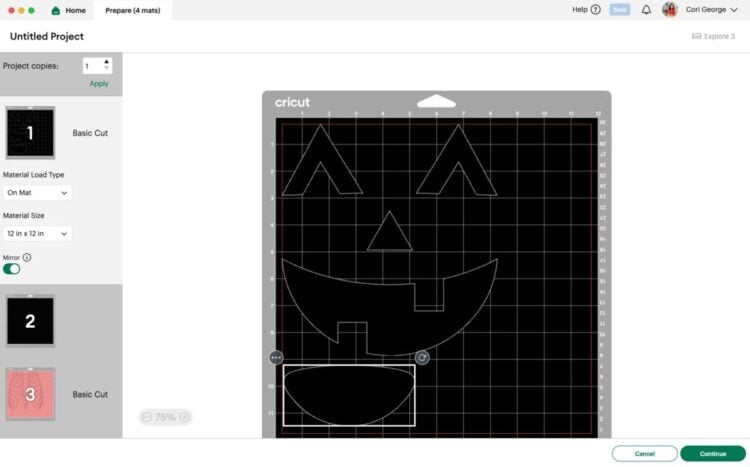
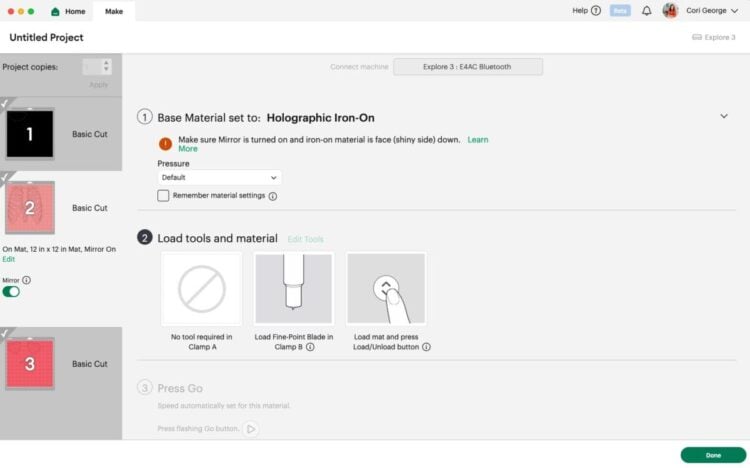
Because we are using HTV you’ll want to mirror each layer in the Prepare screen. This is so that your images aren’t backwards (not as important with these particular designs, but very important for designs with text).
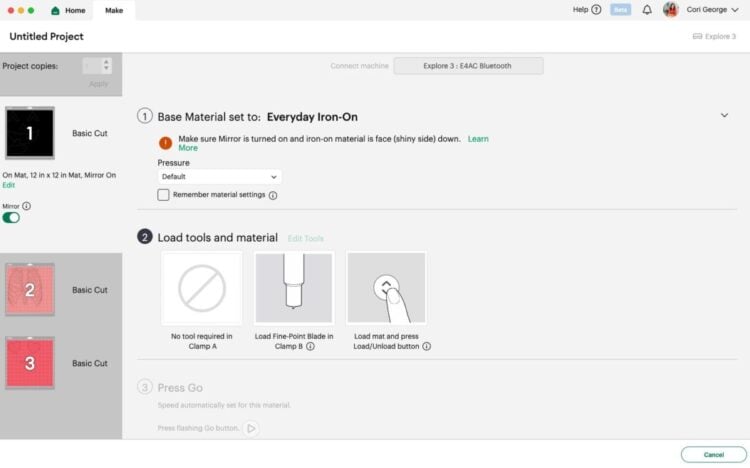
Click Continue and select your material. I used the Everyday Iron On setting for the black smooth glitter and the regular HTV, and the Holographic Iron On setting for my holographic glam HTV.

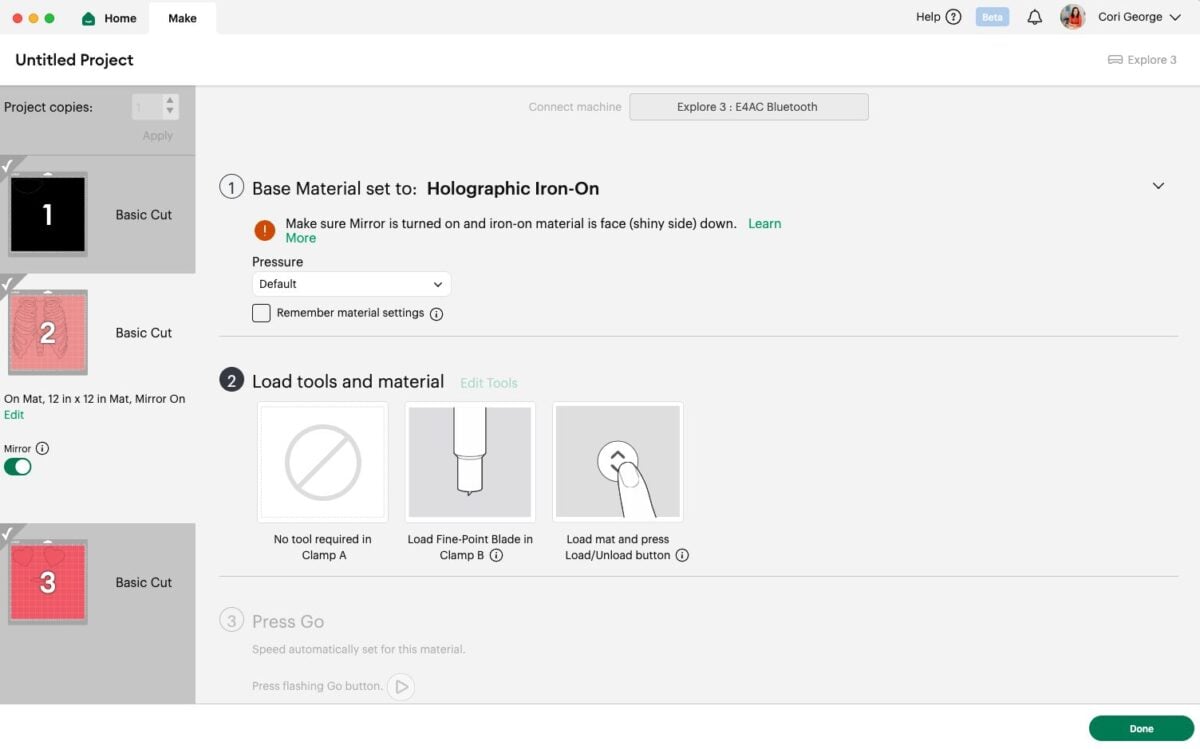
Cutting Your HTV
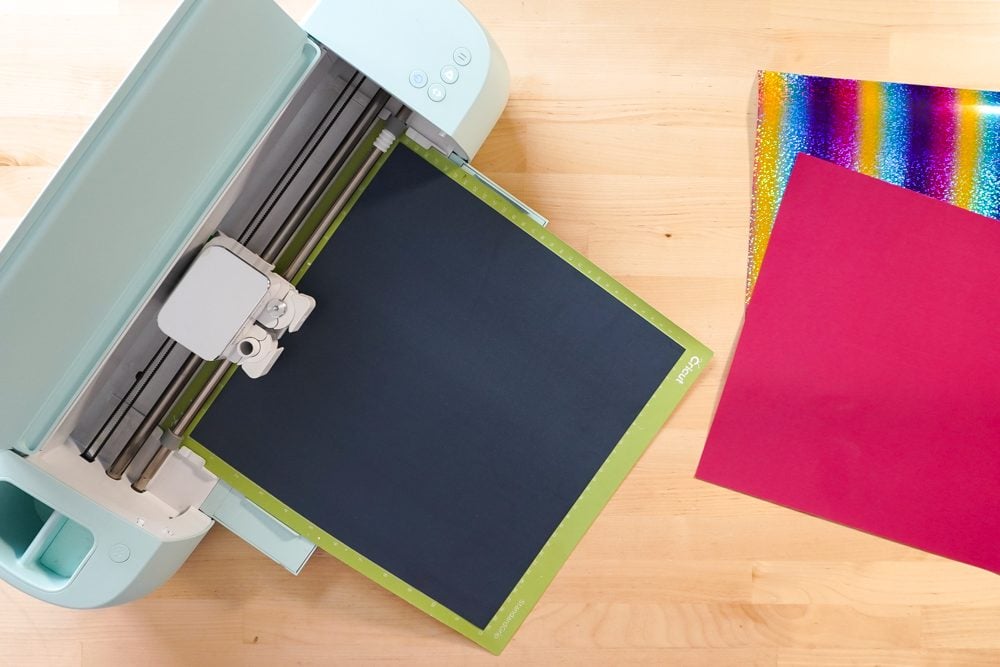
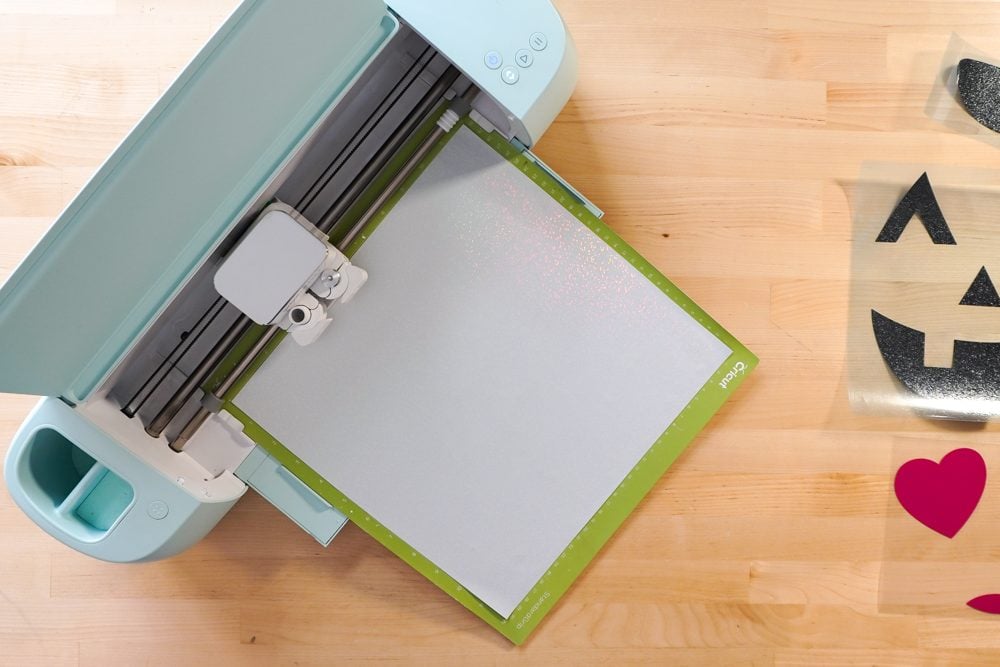
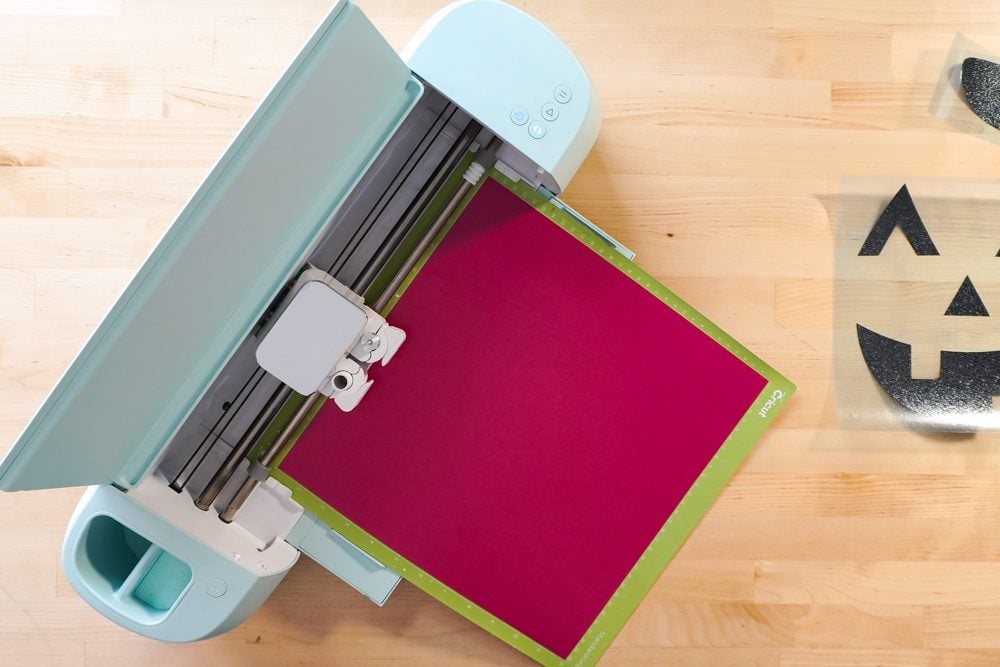
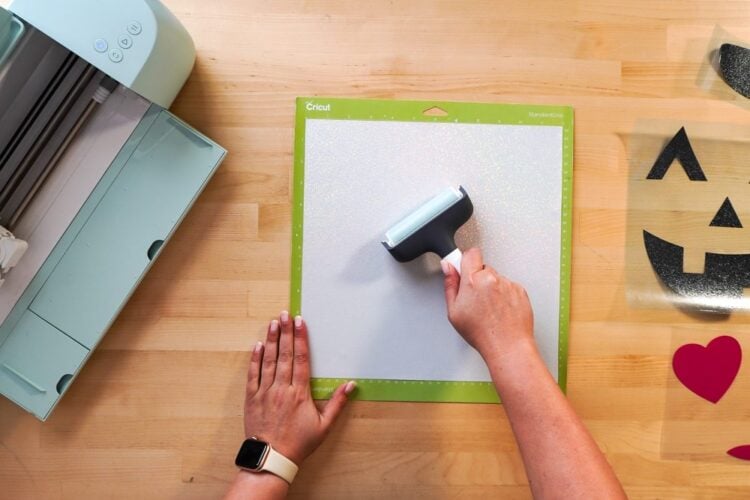
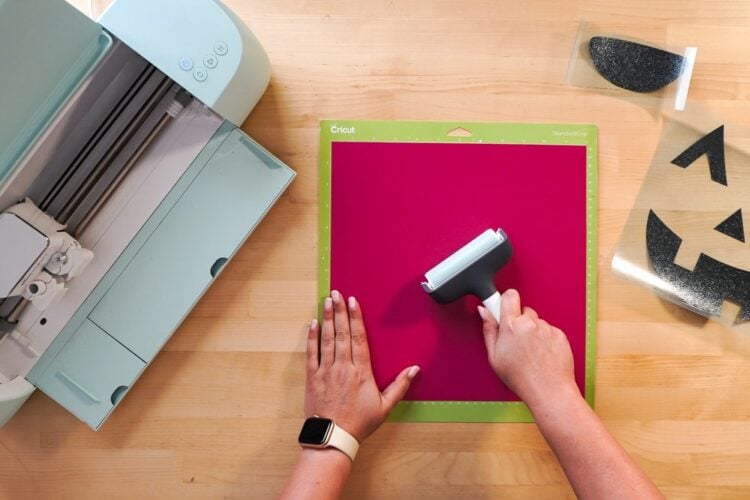
Next it’s time to cut our HTV! I like using a brayer to help adhere the HTV to the mat. Each of these is cut with the shiny carrier sheet down. You can learn more in my post How to Use HTV.
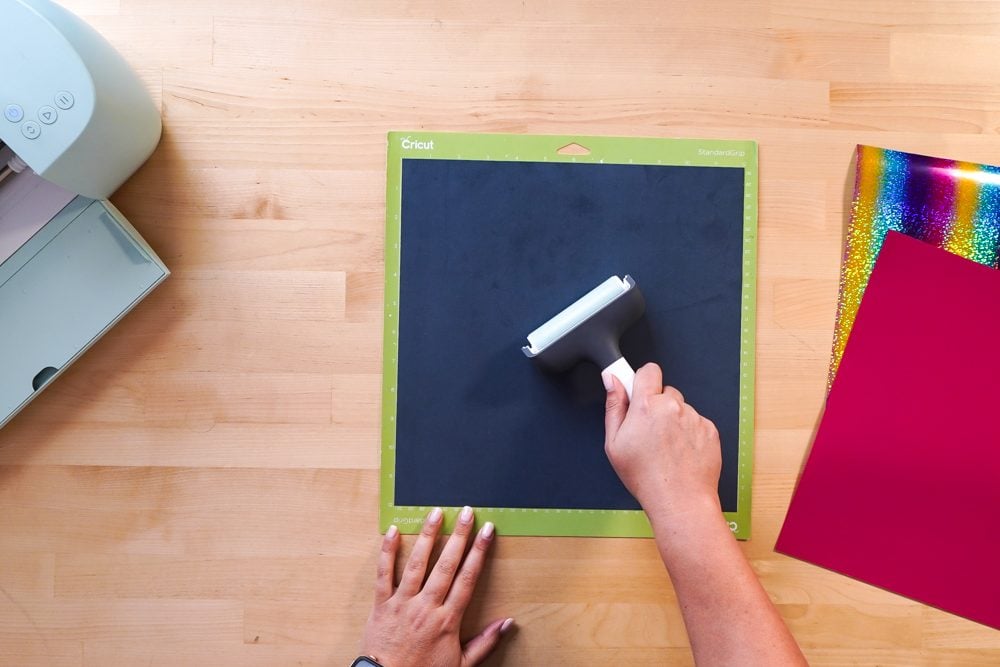
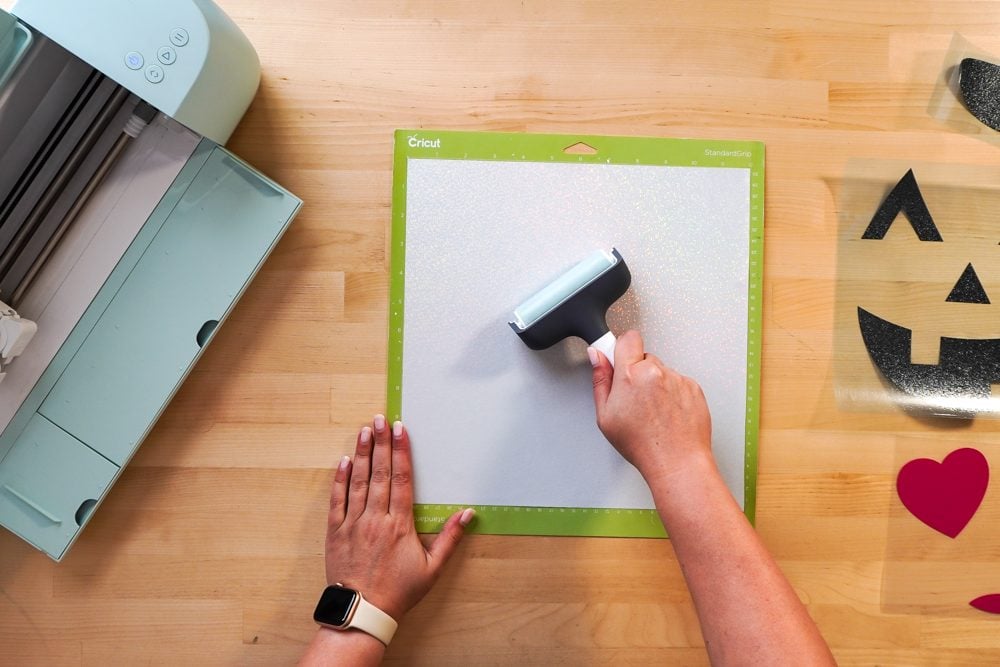
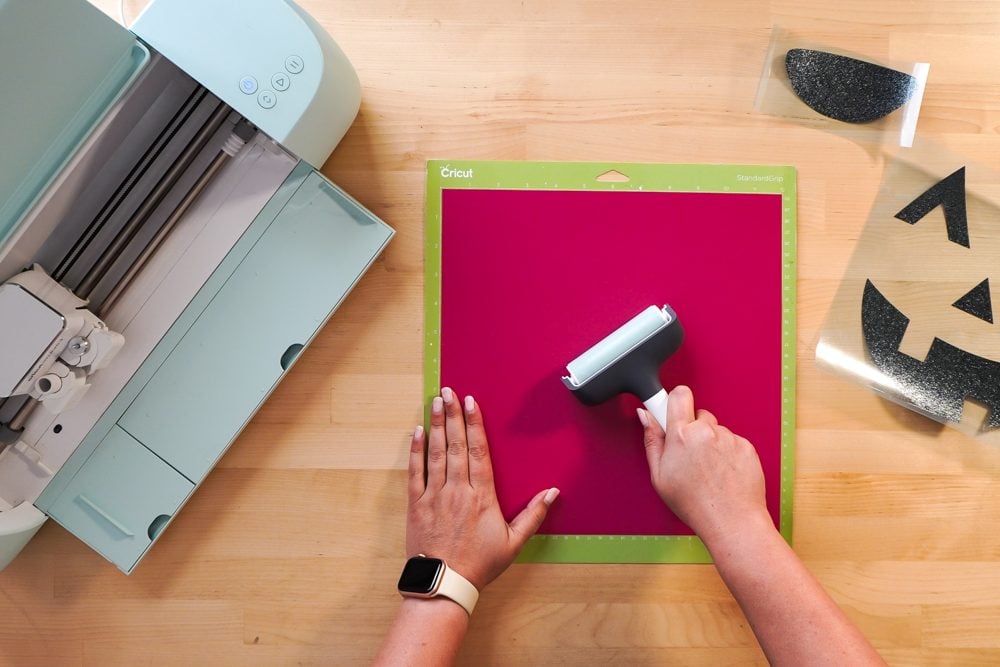
Insert your mat into your Cricut and your Cricut will cut your HTV!
Weeding Your HTV
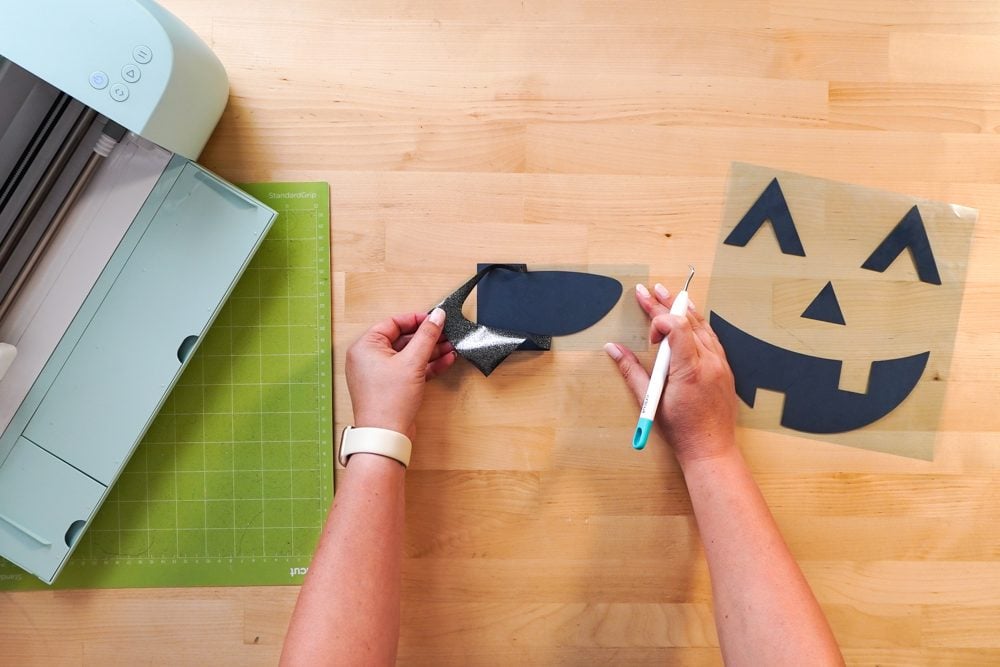
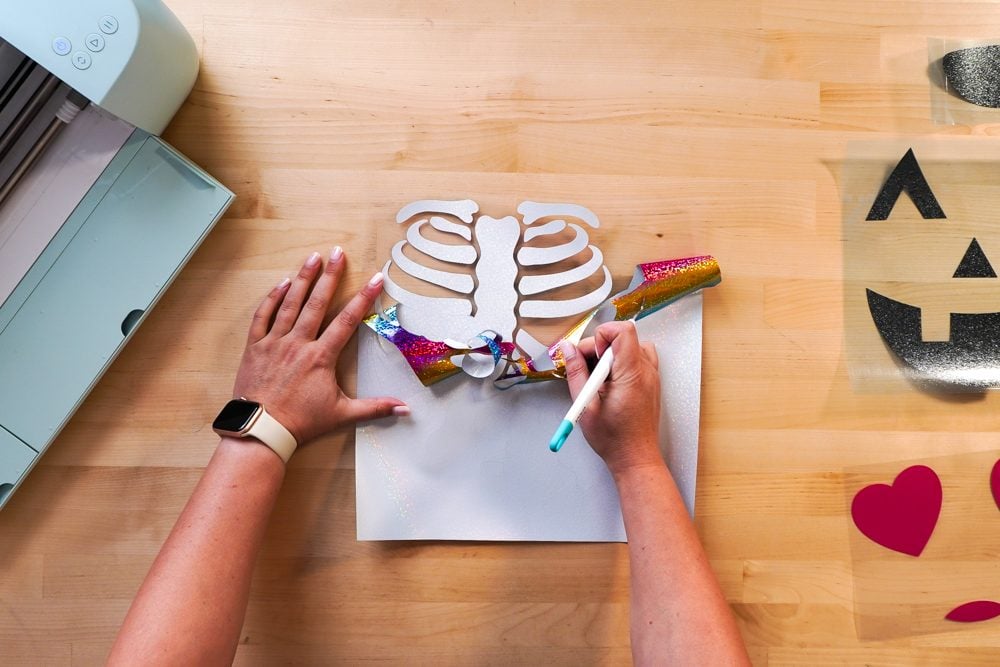
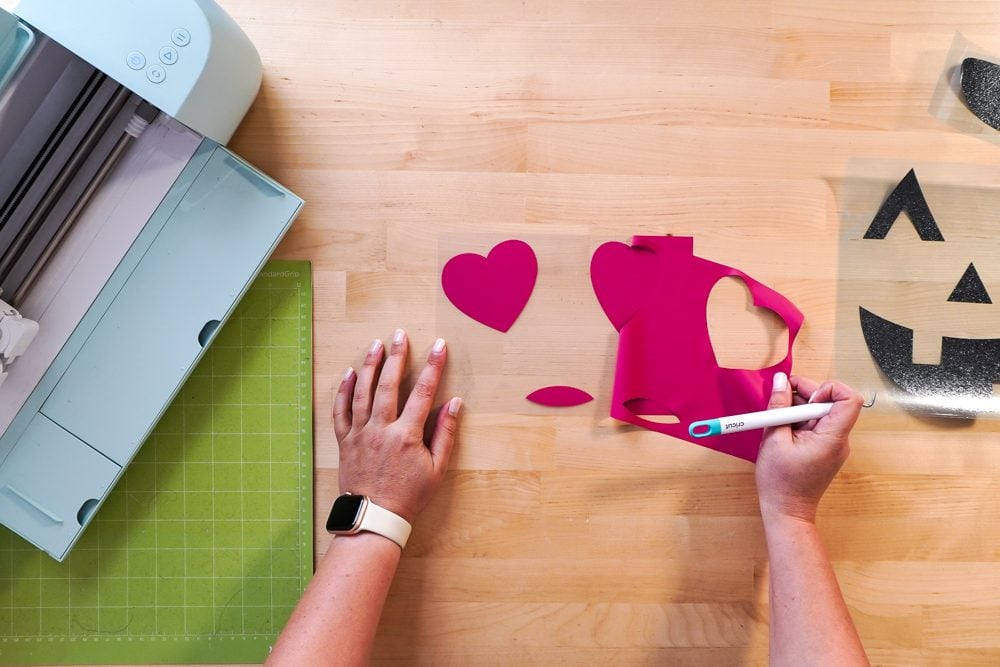
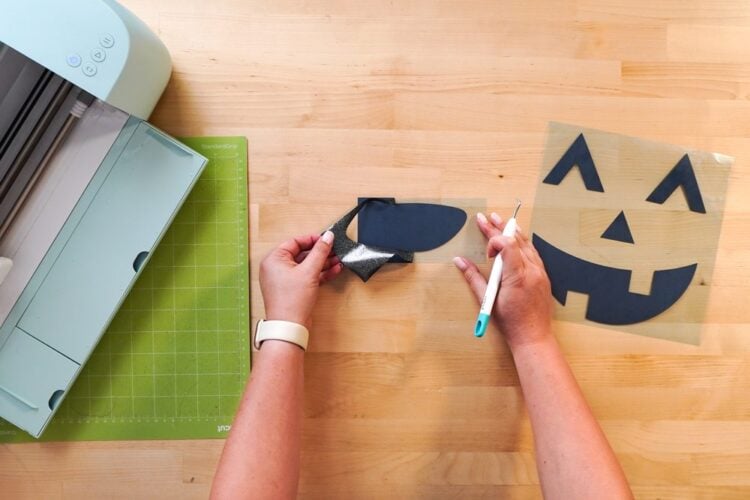
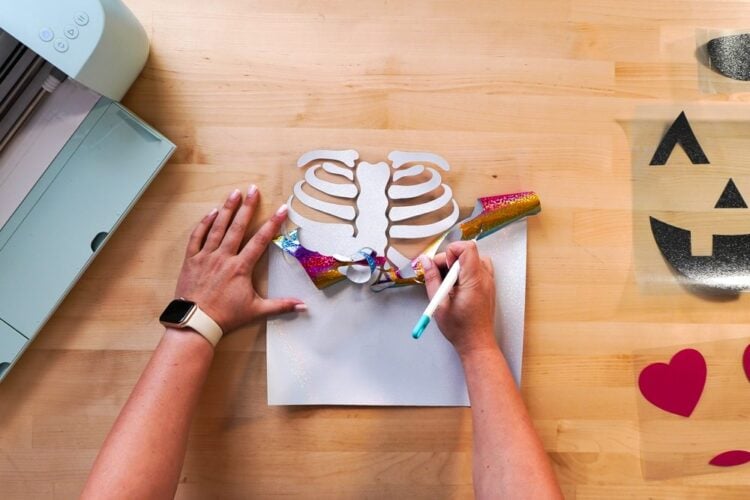
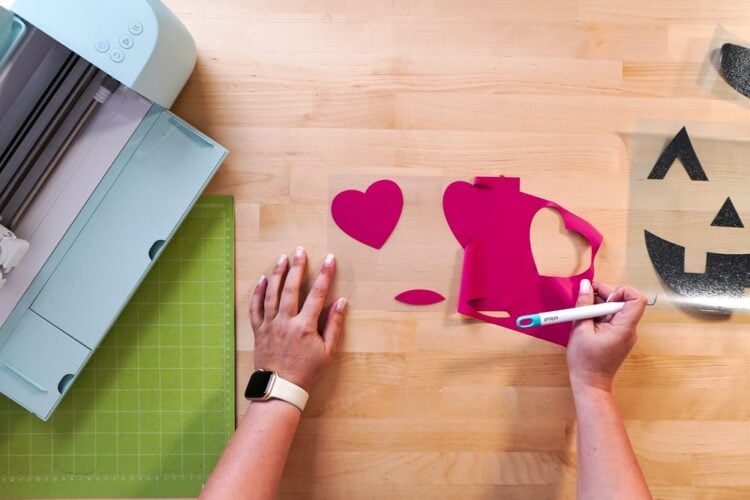
The next step is to remove all of the excess HTV we don’t need in our images. To do this, use a weeding hook to pull up that excess HTV. These are pretty easy images to weed, but if you need help, I have a post called Weeding Iron On Vinyl that offers tips and tricks for making it easy.
Making Your Halloween Costume Shirts
All we have left to do is apply our HTV to our shirts!
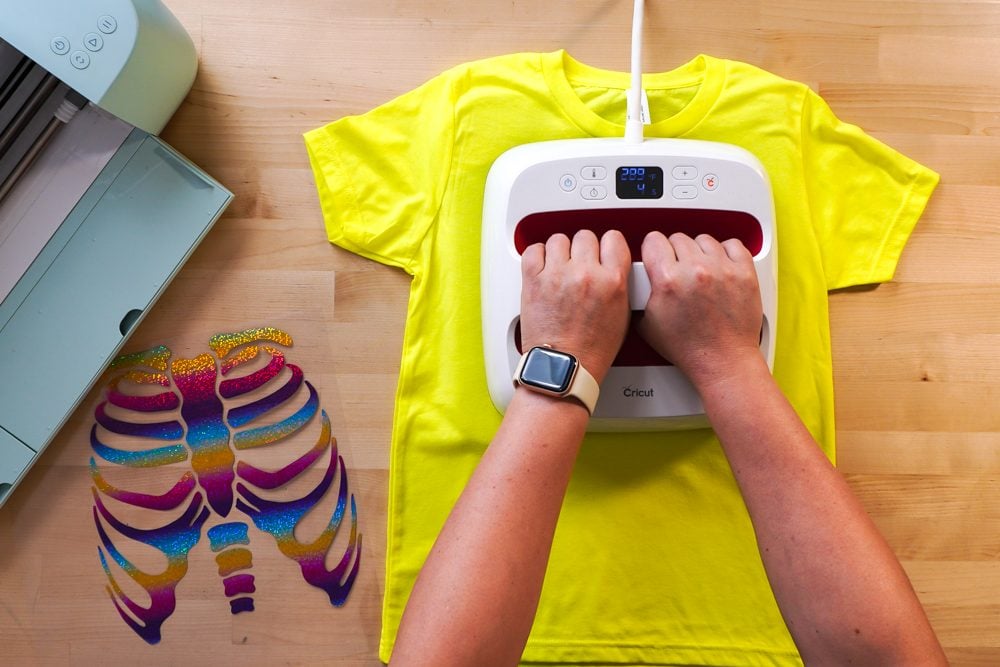
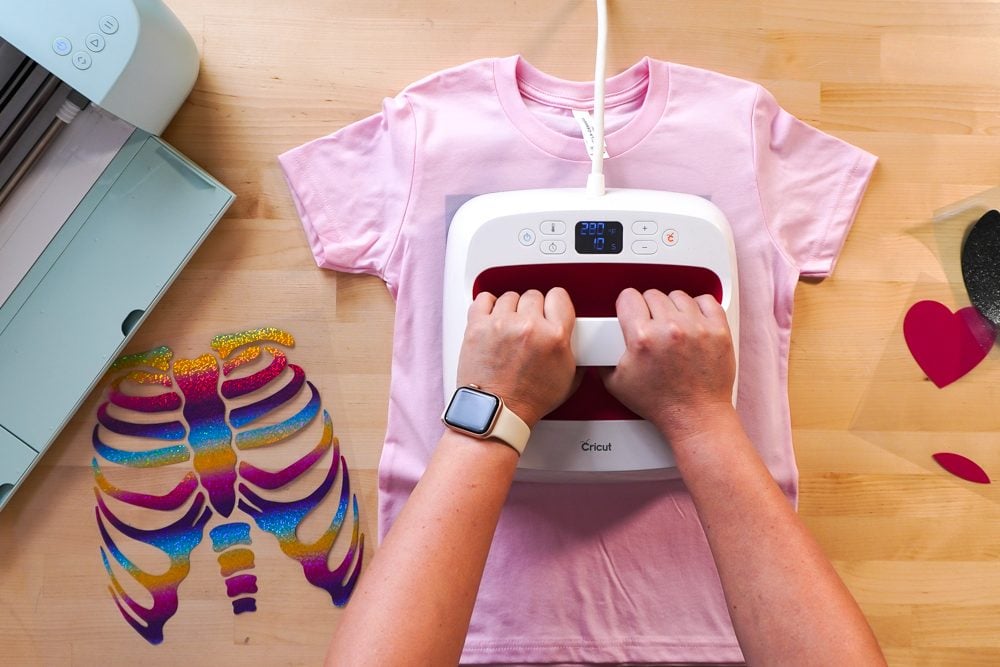
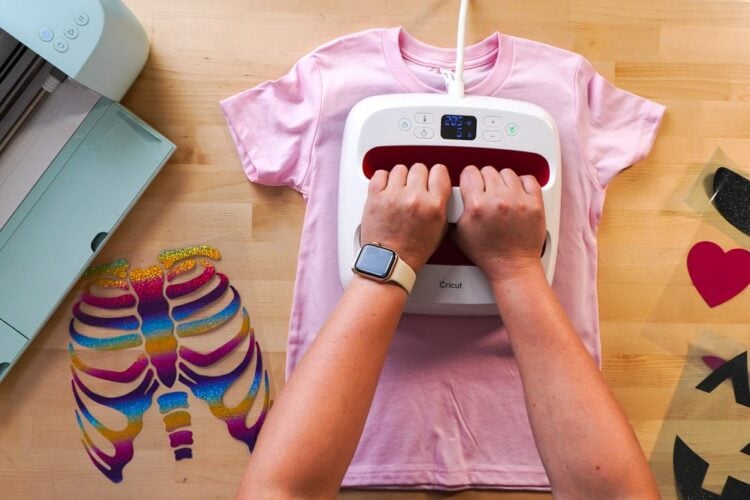
Start by pre-pressing your shirts for 10-15 seconds. This removes any moisture and gives you a nice flat pressing surface.
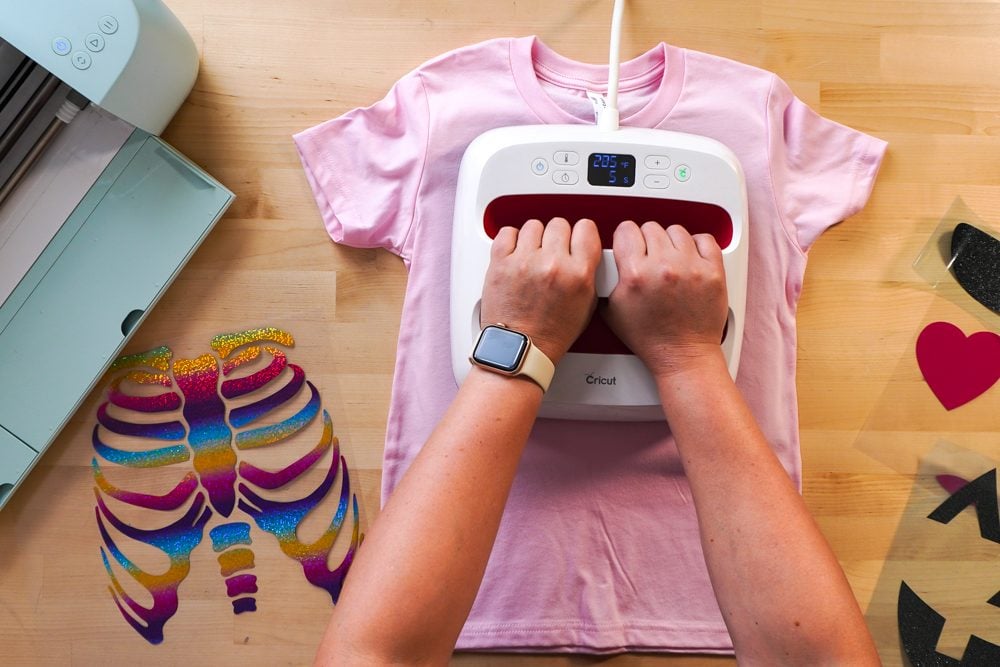
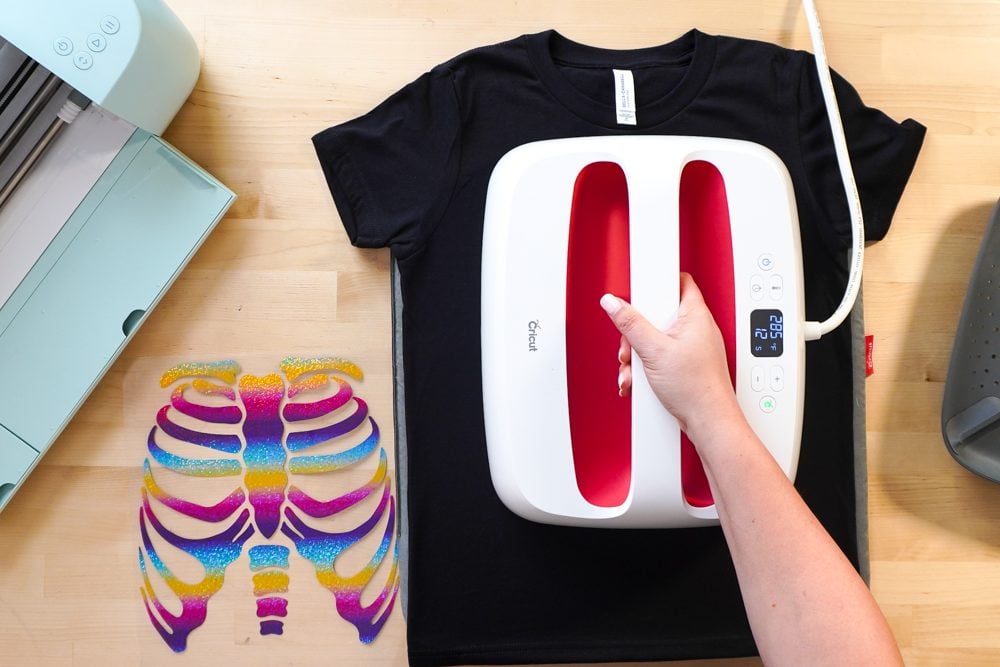
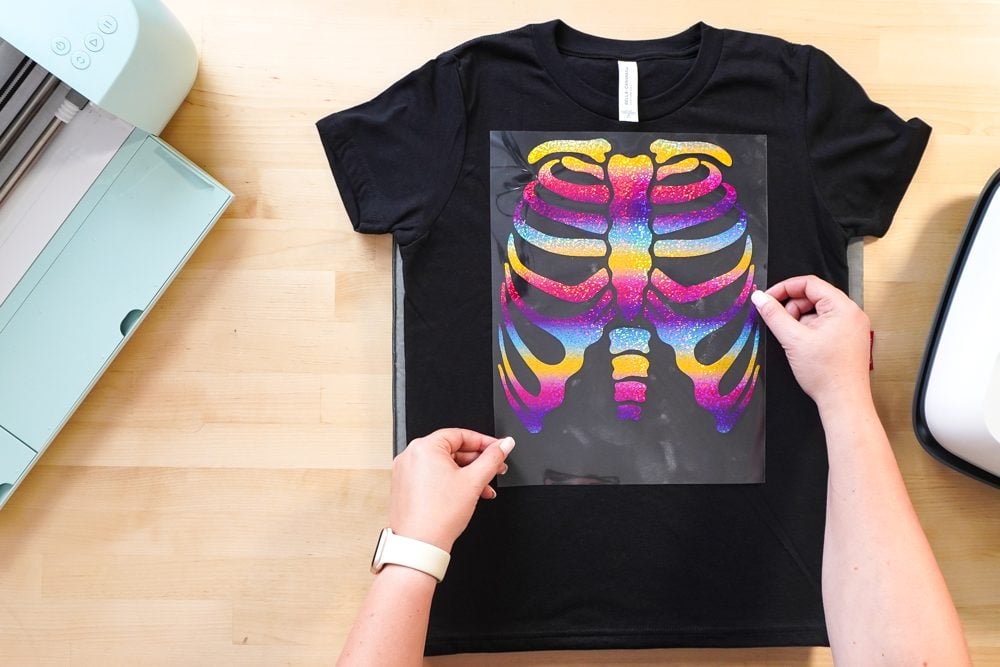
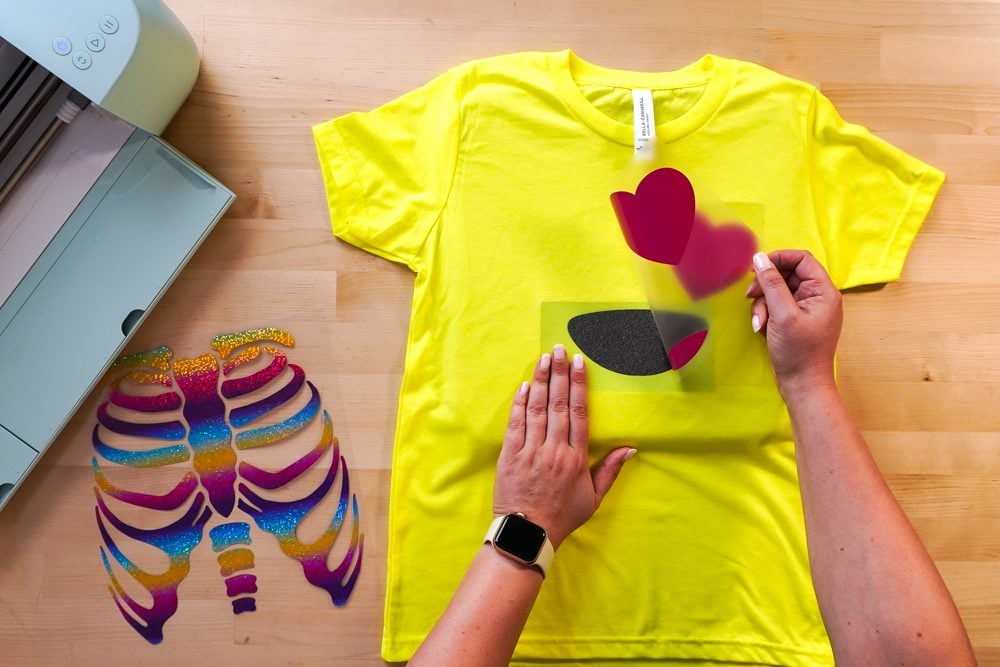
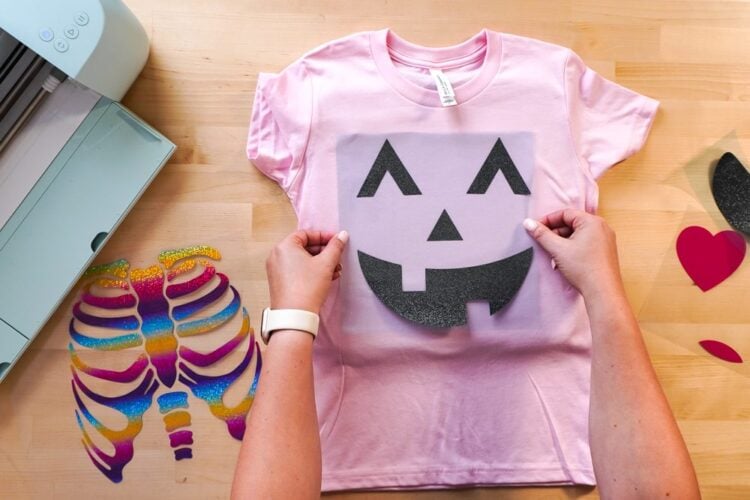
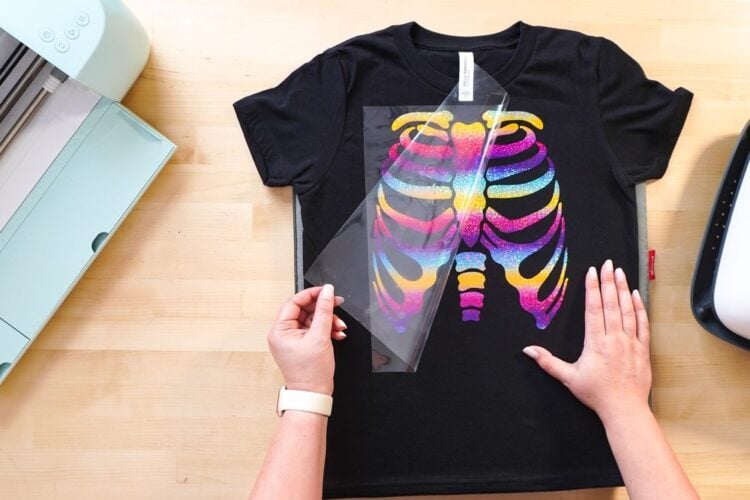
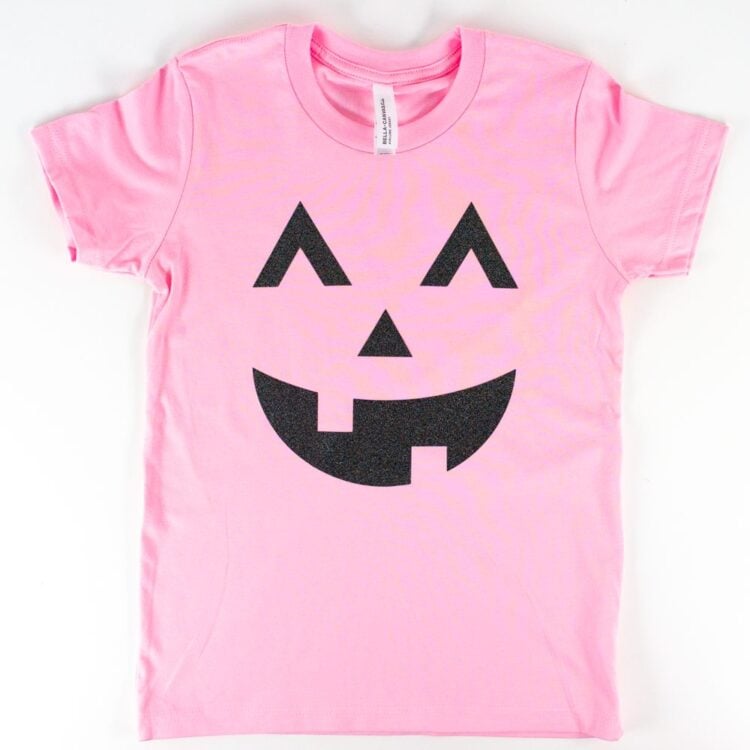
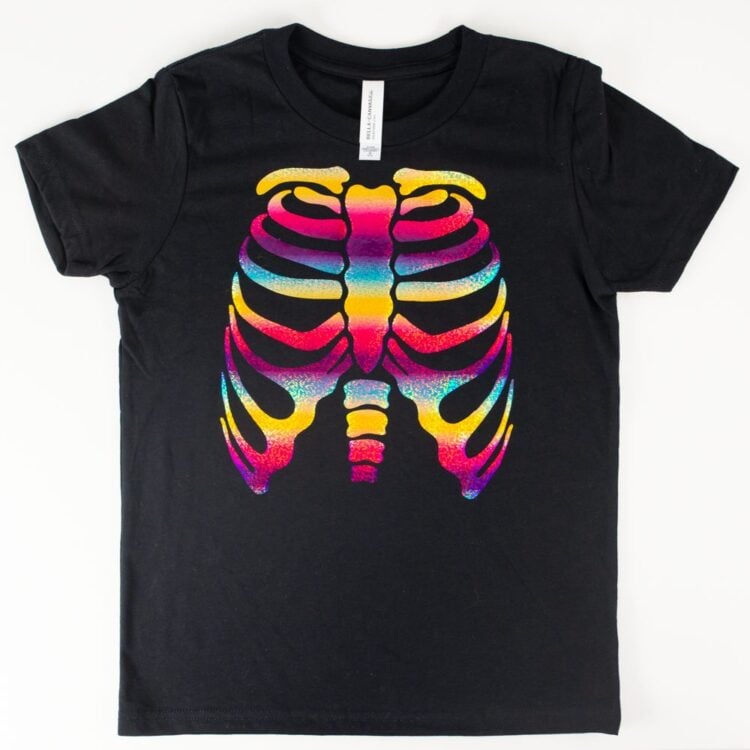
Then add your design to your shirt. The jack-o-lantern and skeleton are single layers, so they are very simple.
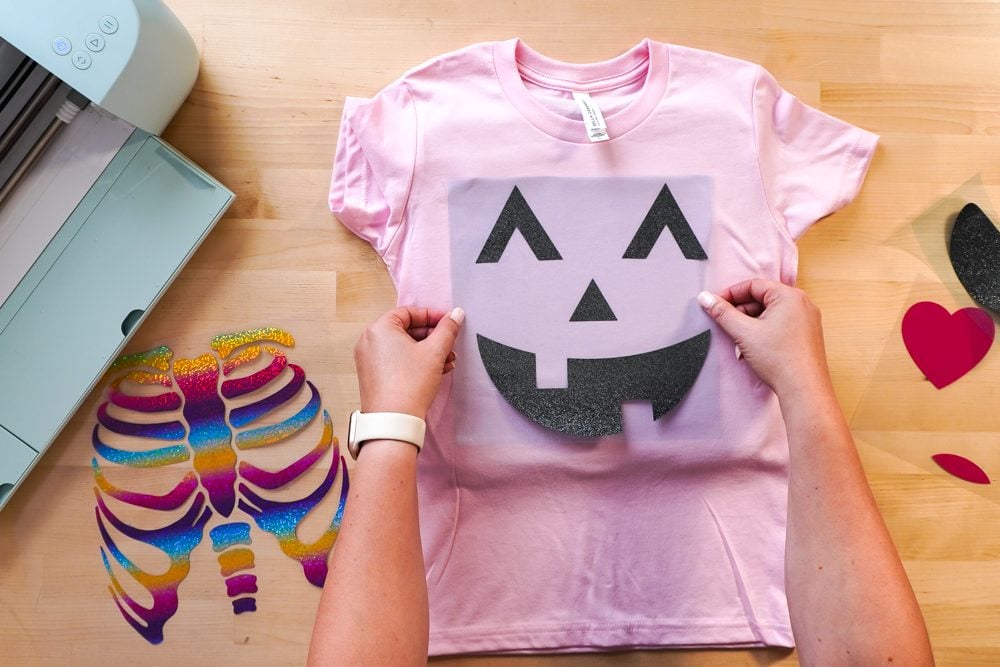
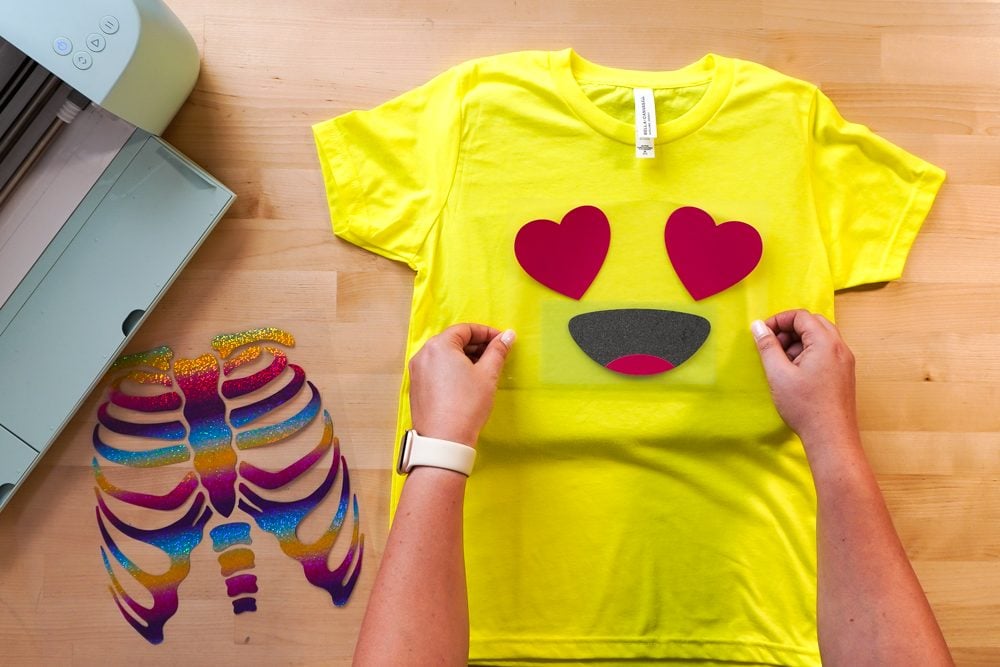
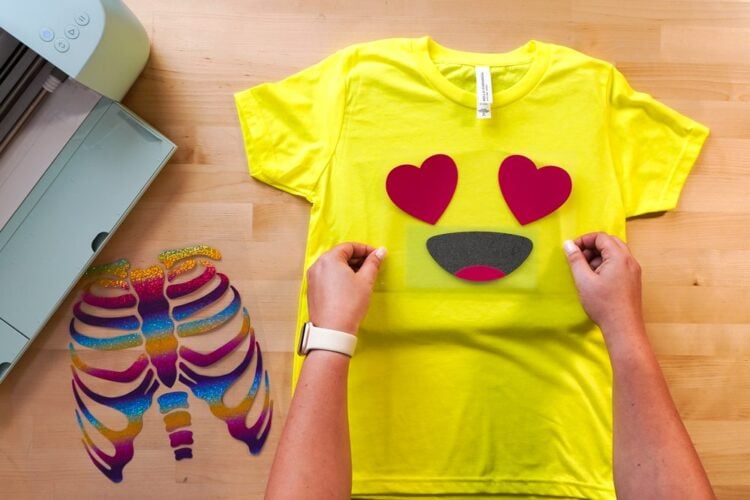
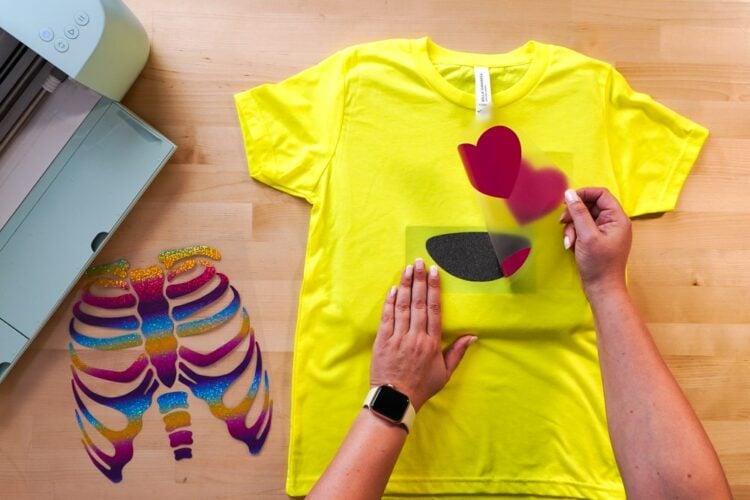
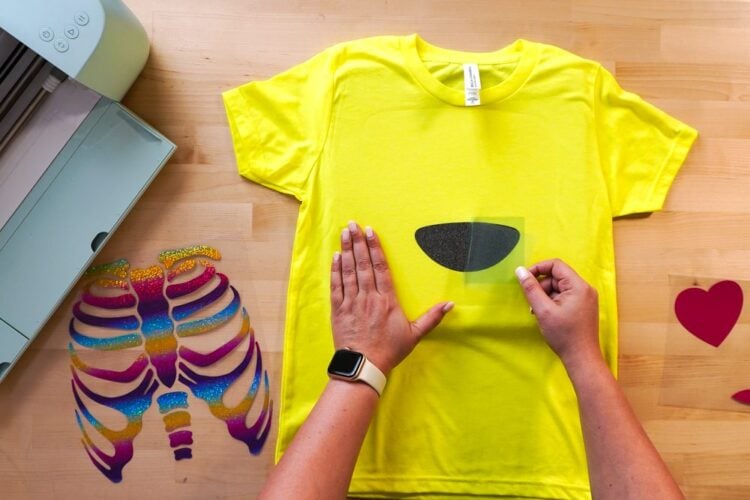
The emoji is two layers, so I added both of them, with the black mouth piece on the bottom, so I could get an idea of the layout for my design. Then I carefully peeled off the pink layer, leaving the black layer in the exact spot I wanted it.
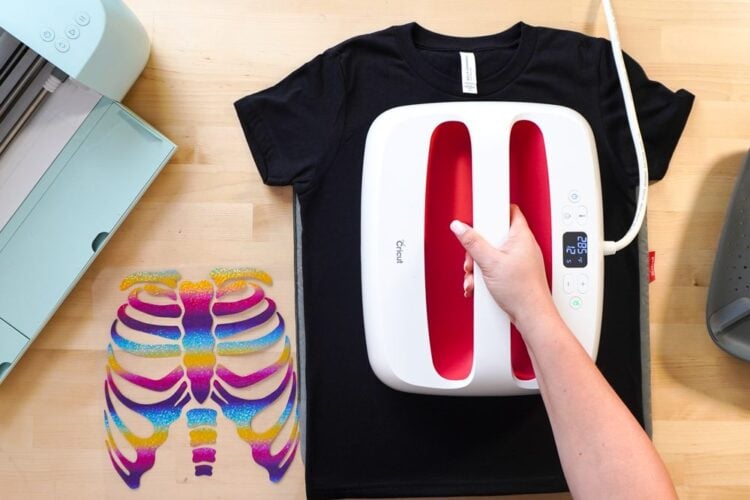
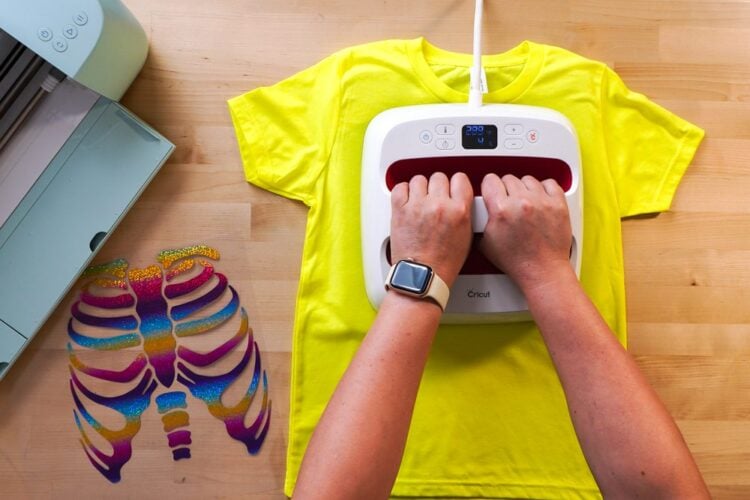
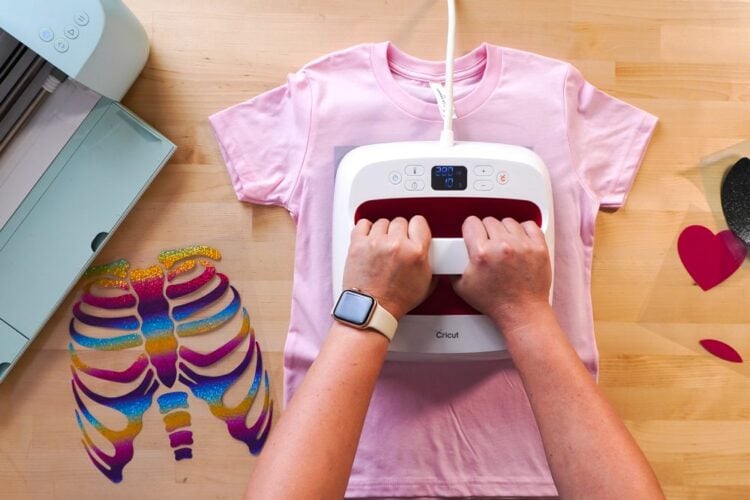
Then press your project! Make sure you are pressing according to the manufacturer’s instructions for your specific HTV.
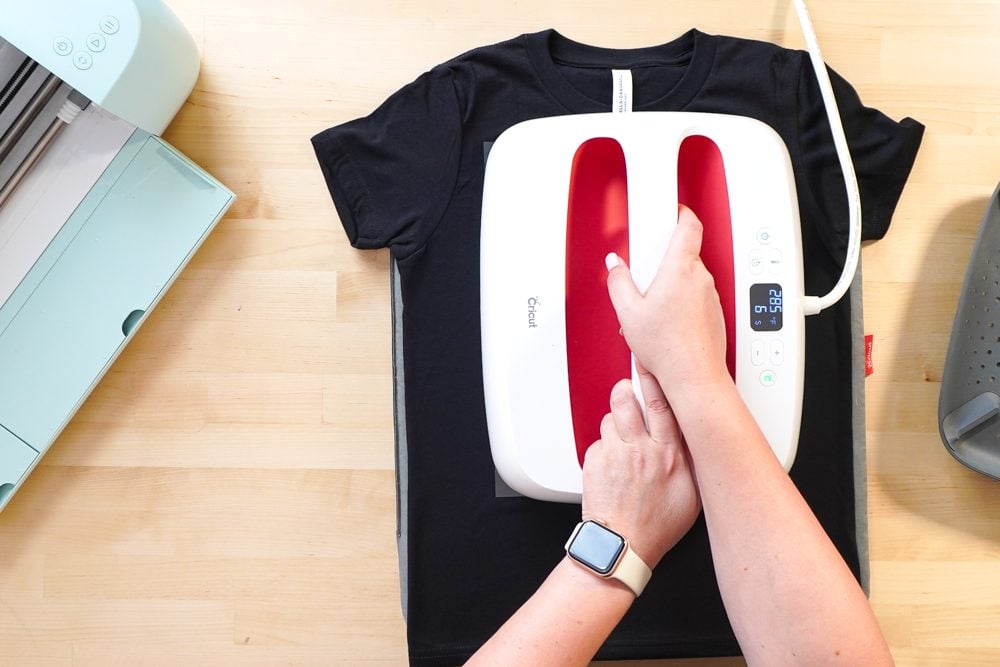

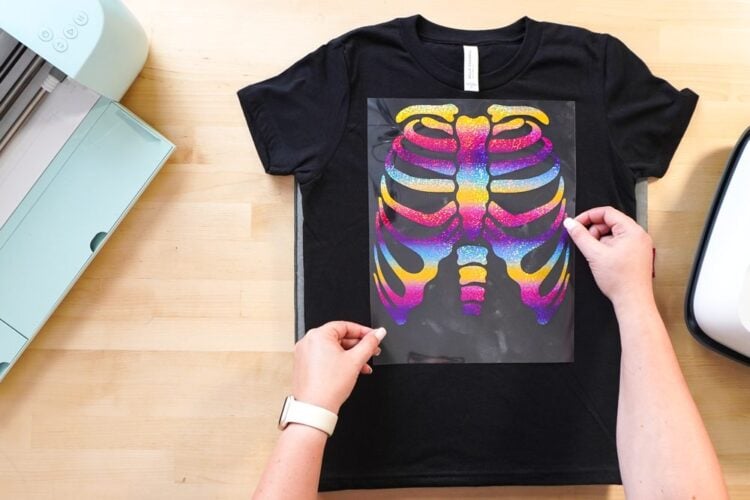
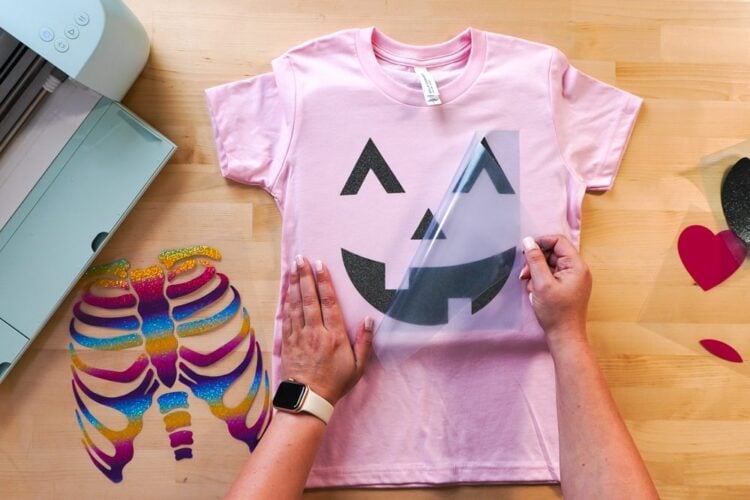
Then peel back the carrier sheet! Your instructions should say whether or not you should peel it back while it’s warm or cool. If you’re having trouble getting your HTV to stick properly, check out my post Tips to Get HTV Stick and Last Longer.
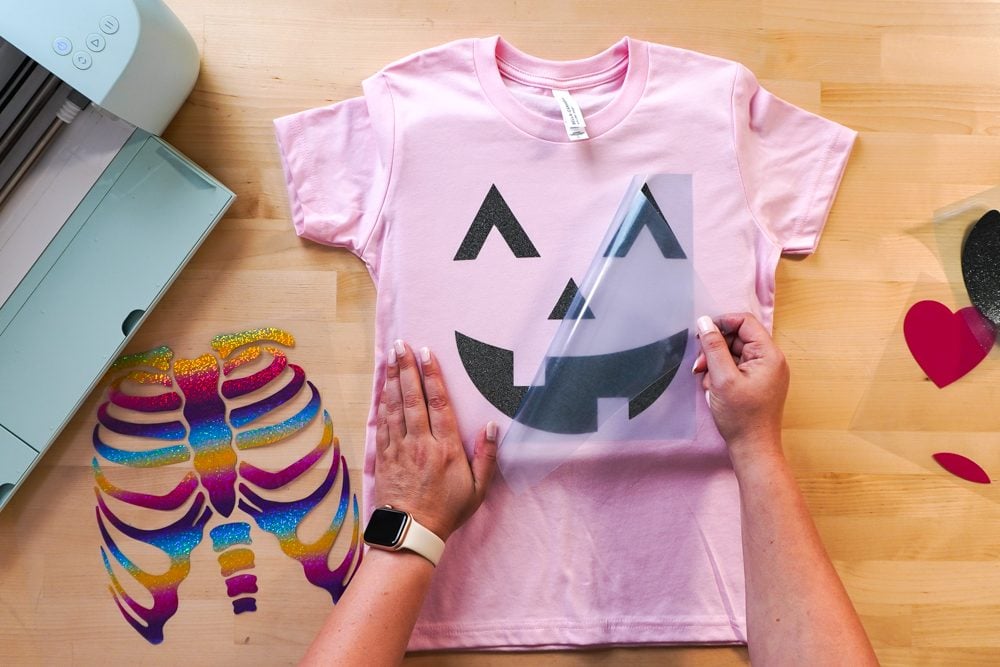
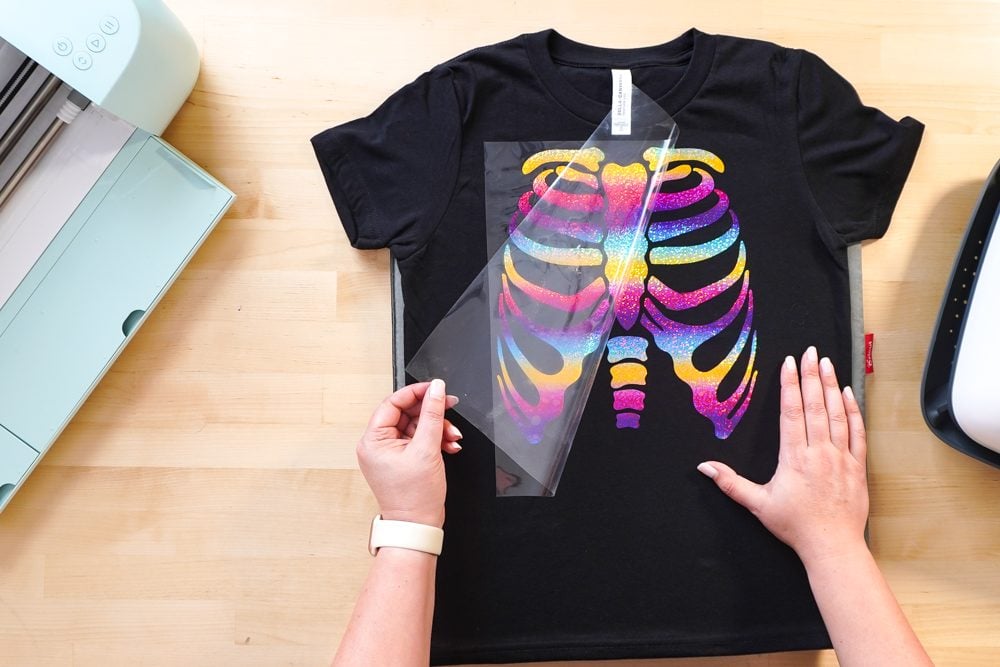
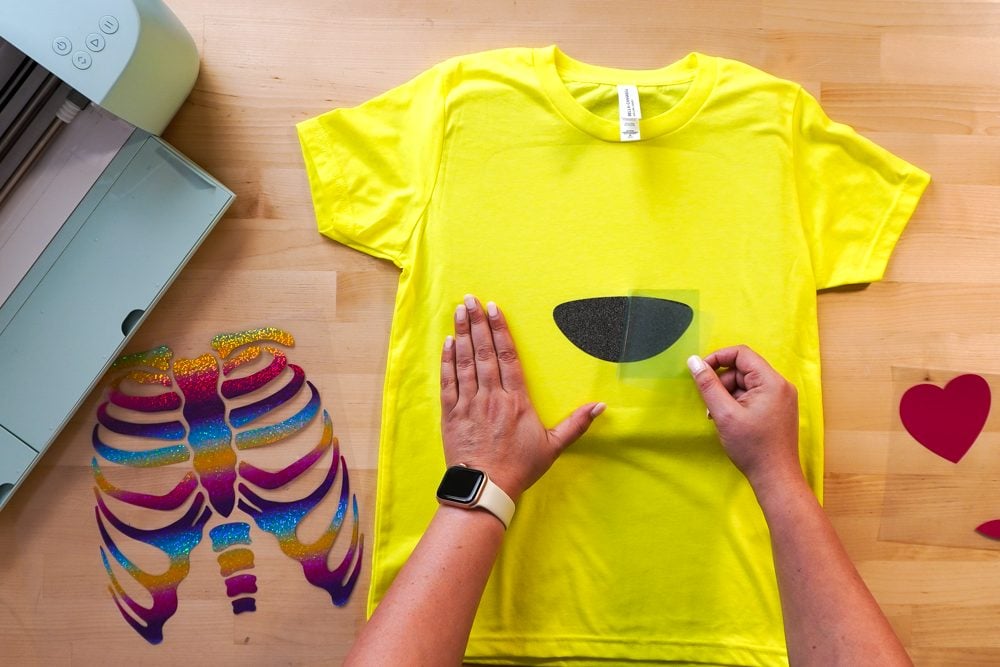
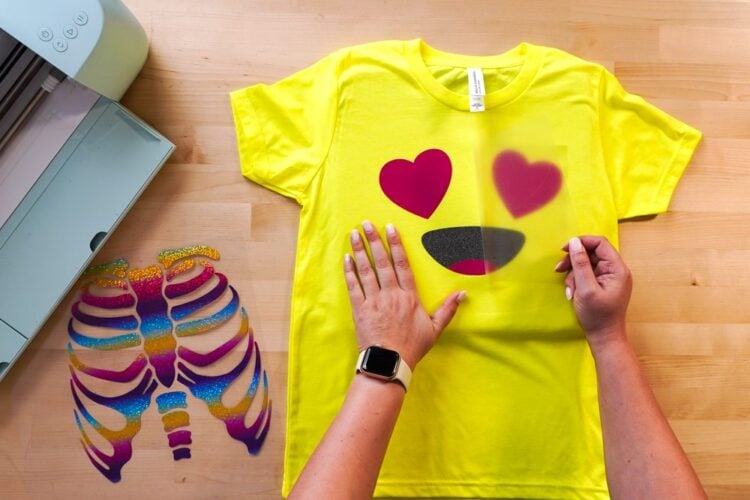
For the emoji, you’ll need to add your second layer and press again, peeling back the carrier sheet when you’re done.
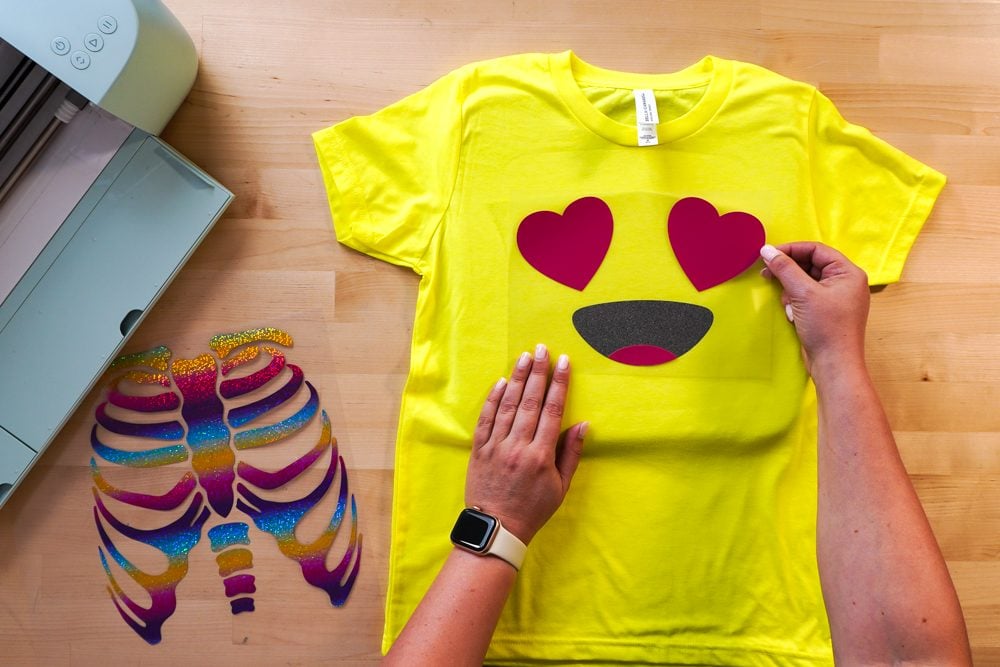
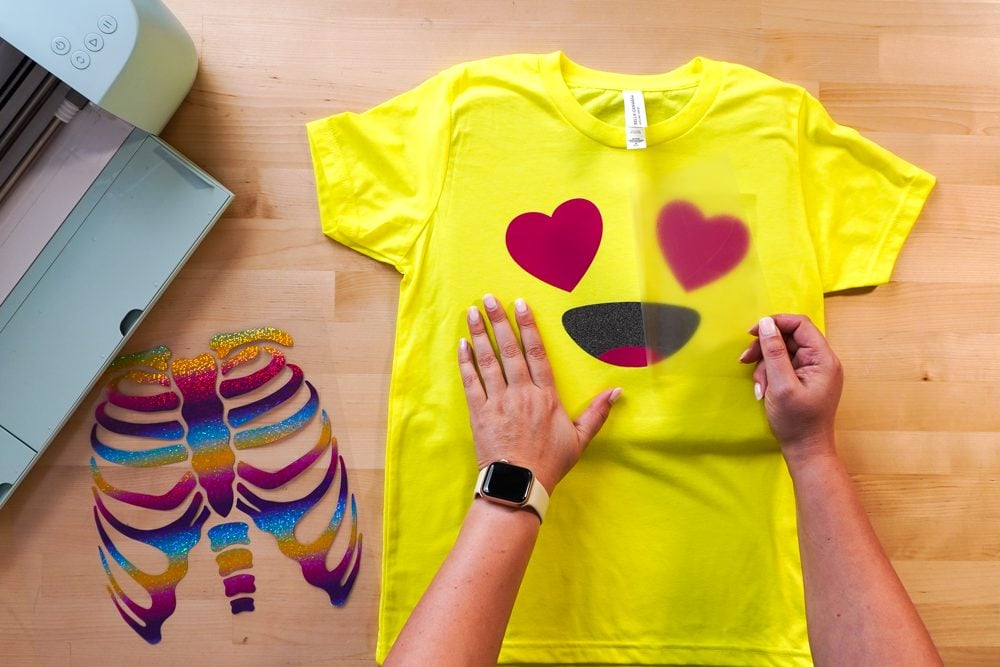
And…that’s it! Your Halloween costume shirts are done!
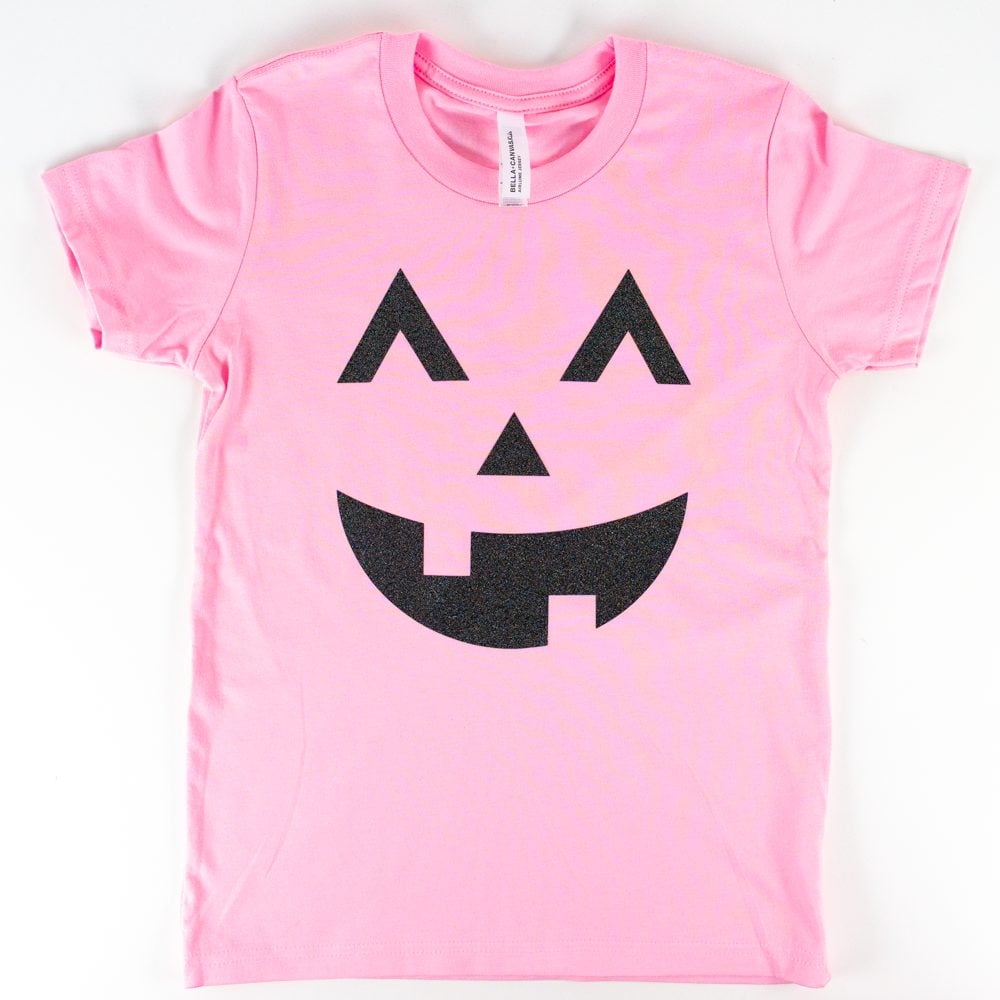
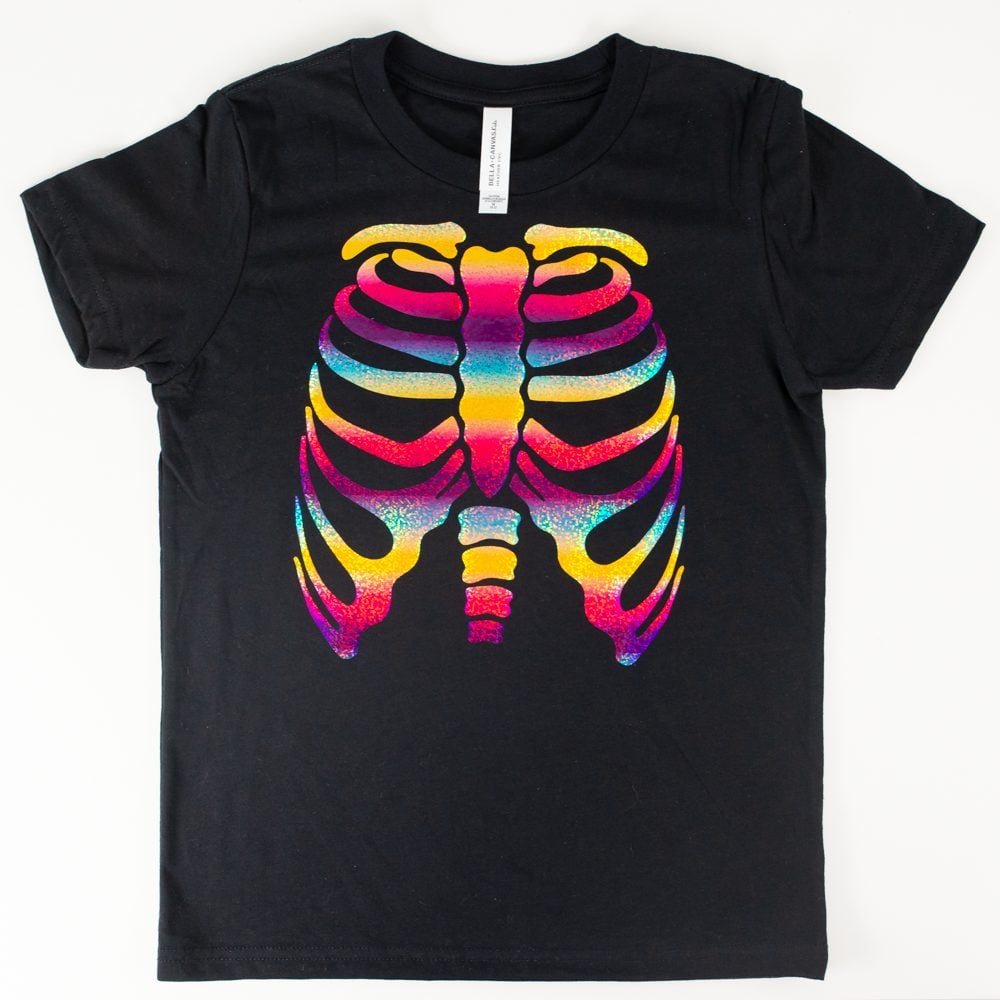
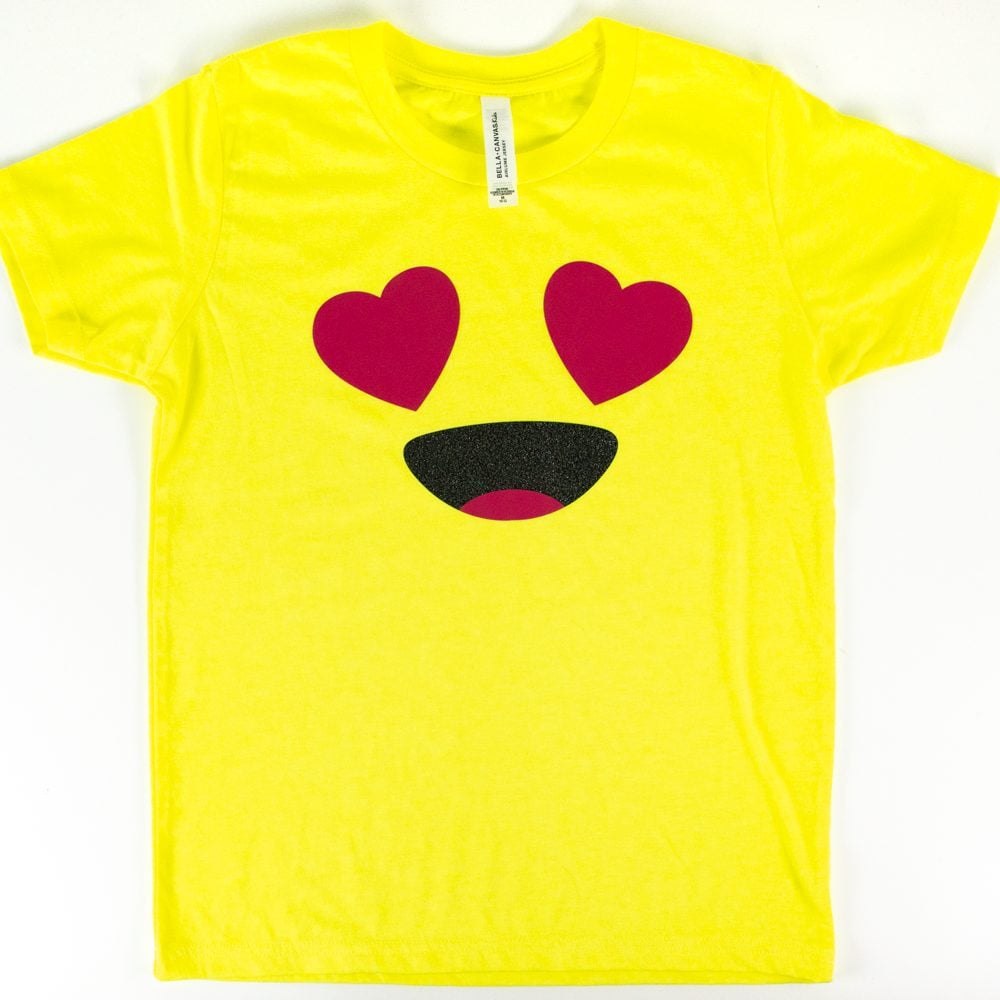
I love these Halloween shirts and they are so easy to make! Plus you an do a ton of variations — simple white HTV for a regular skeleton, any number of colors for your jack-o-lantern shirt, etc. The wide variety of BELLA+CANVAS tees and HTV mean you can endlessly customize this easy Halloween Cricut project!
THREE EASY HALLOWEEN COSTUME SHIRTS
Equipment
- Cricut Maker or
Supplies
- BELLA+CANVAS kids' tees or other shirts
- Regular HTV
- Smooth Glitter HTV (do not layer on the "rough" glitter from some HTV brands)
- Holographic HTV
- Halloween Costume Shirt SVG Files #C483
Instructions
- Set up the File in Cricut Design SpaceStart by uploading the file you downloaded from the craft library. For this project all three shirts are being made, but if you are making just one, you can delete or hide the images you aren't using.

- Measure your shirt so you can determine the right size for your project.

- Resize your images. The skeleton has been re-colored so that it won't cut on the same mat as the eyes for the emoji.

- That's it! Hit Make in the upper right. In the Load screen, choose On Mat (unless you are using Smart HTV).

- Because we are using HTV you'll want to mirror each layer in the Prepare screen. This is so that your images aren't backwards (not as important with these particular designs, but very important for designs with text).

- Click Continue and select your material. The Everyday Iron On setting was used for the black smooth glitter and the regular HTV, and the Holographic Iron On setting for the holographic glam HTV.


- Cutting Your HTVNext it's time to cut our HTV! Use a brayer to help adhere the HTV to the mat. Each of these is cut with the shiny carrier sheet down. You can learn more in this post How to Use HTV.


- Insert your mat into your Cricut and your Cricut will cut your HTV!
- Weeding Your HTVThe next step is to remove all of the excess HTV we don't need in our images. To do this, use a weeding hook to pull up that excess HTV. These are pretty easy images to weed, but if you need help, see this post called Weeding Iron On Vinyl that offers tips and tricks for making it easy.


- Making Your Halloween Costume ShirtsAll we have left to do is apply our HTV to our shirts!Start by pre-pressing your shirts for 10-15 seconds. This removes any moisture and gives you a nice flat pressing surface.


- Then add your design to your shirt. The jack-o-lantern and skeleton are single layers, so they are very simple.


- The emoji is two layers, so add both of them, with the black mouth piece on the bottom, to get an idea of the layout for the design. Then carefully peel off the pink layer, leaving the black layer in the exact spot..

- Then press your project! Make sure you are pressing according to the manufacturer's instructions for your specific HTV.


- Then peel back the carrier sheet! Your instructions should say whether or not you should peel it back while it's warm or cool. If you're having trouble getting your HTV to stick properly, check out this post Tips to Get HTV Stick and Last Longer.


- For the emoji, you'll need to add your second layer and press again, peeling back the carrier sheet when you're done.


- And…that's it! Your Halloween costume shirts are done!








Leave A Reply!