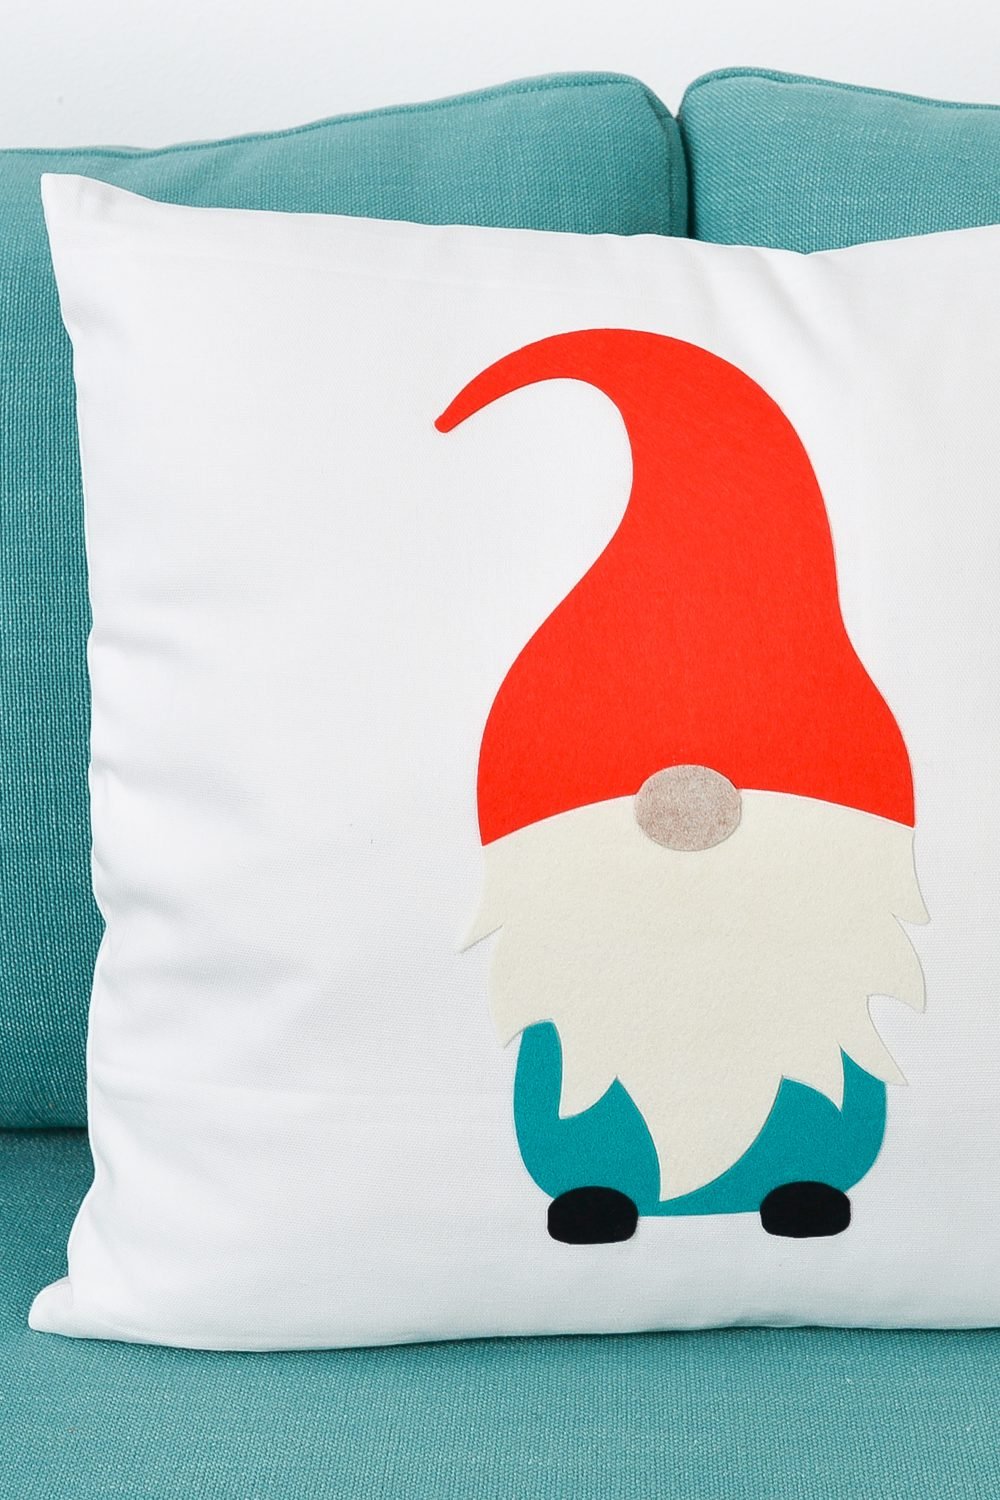
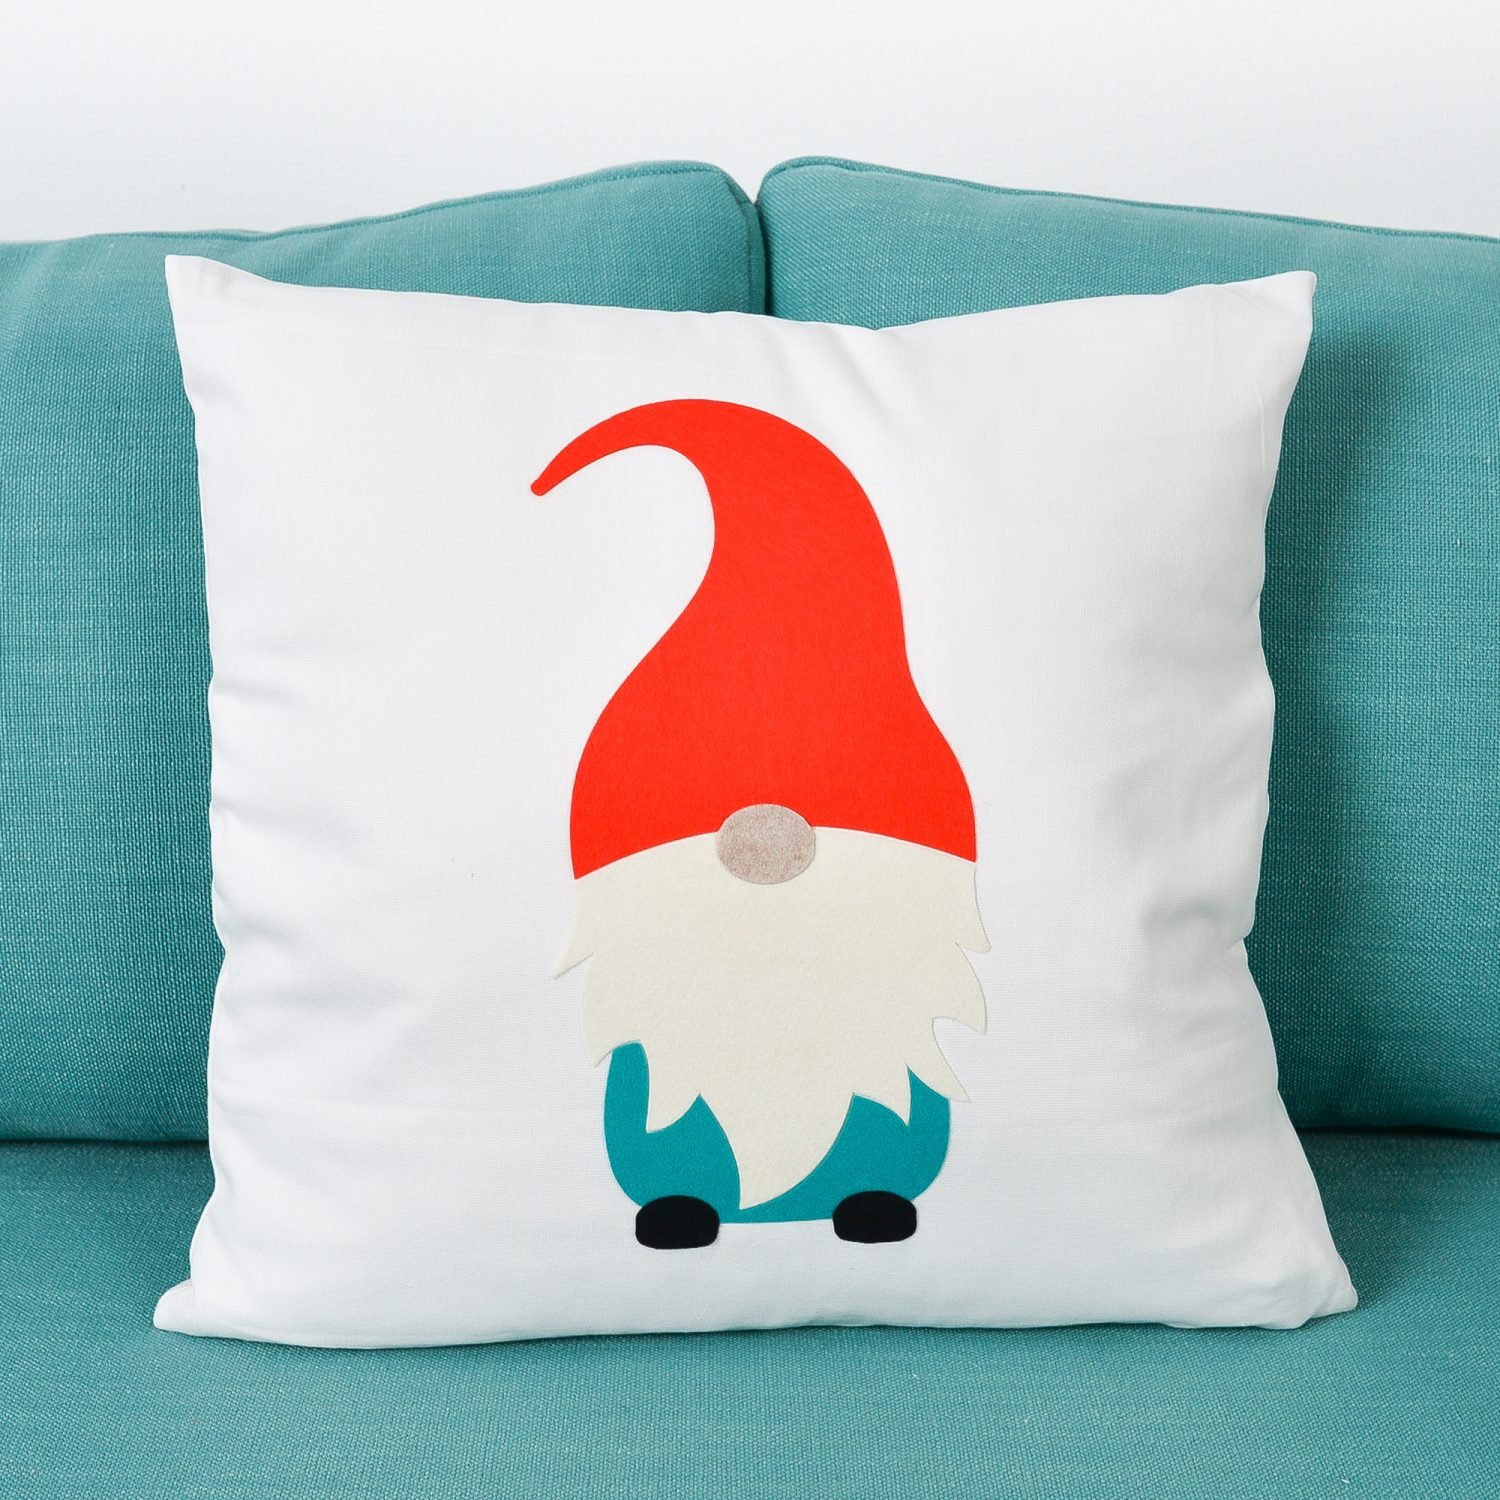
Everyone needs to go gnome for the holidays! Make this Gnome Sweet Gnome pillow using felt or iron on vinyl, and then cut on your Cricut. This gnome pillow is perfect for a cozy Christmas couch!
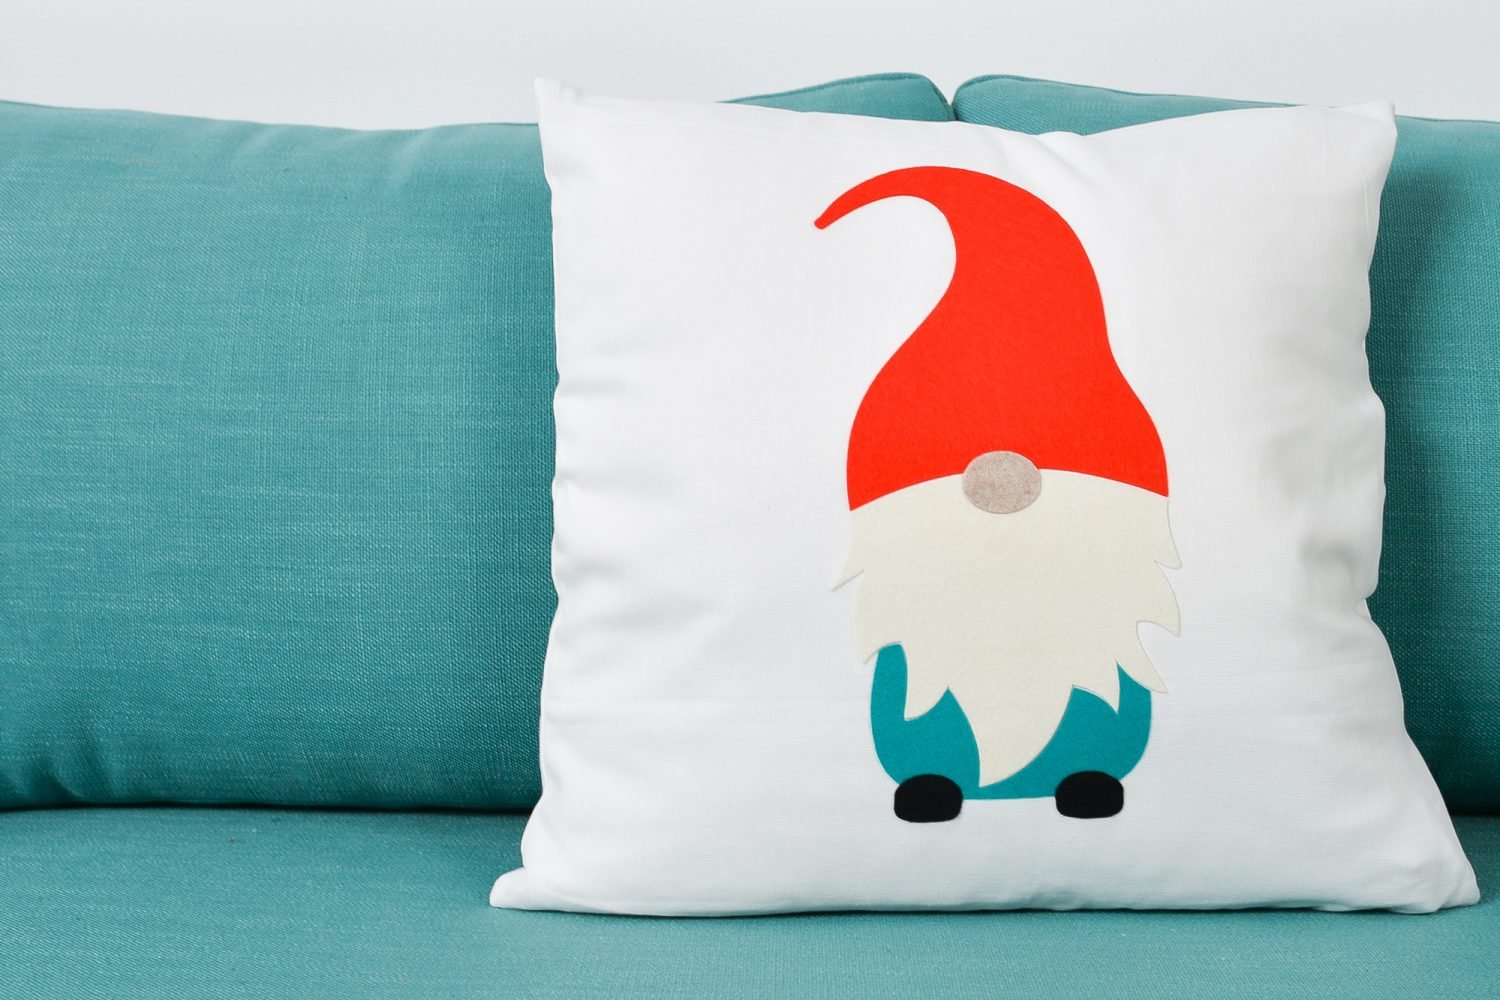
The weather is really starting to become cooler outside, which means that I want to be cozy! Today is Day 4 of the 25 Days of Cricut Christmas, and we’re taking cozy to another level.
If you’d like to get this series in an ebook format PLUS all of the SVGs needed to make all 25 projects check out the 25 Days of Cricut Christmas eBook Bundle!
This adorable gnome pillow is perfect for the holidays, but can live on your couch long after the tree is down and the halls are un-decked. I’ve used wool blend felt cut with my Cricut Maker’s rotary blade, but you can also cut felt with a Cricut Explore, iron on vinyl, or even fabric.
I am using HeatnBond for this pillow because I know some Cricut crafters aren’t adept with a sewing machine, but you can always break out your embroidery thread or your Brother to appliqué the gnome to your pillow.
Holiday Felt Pillow Supplies
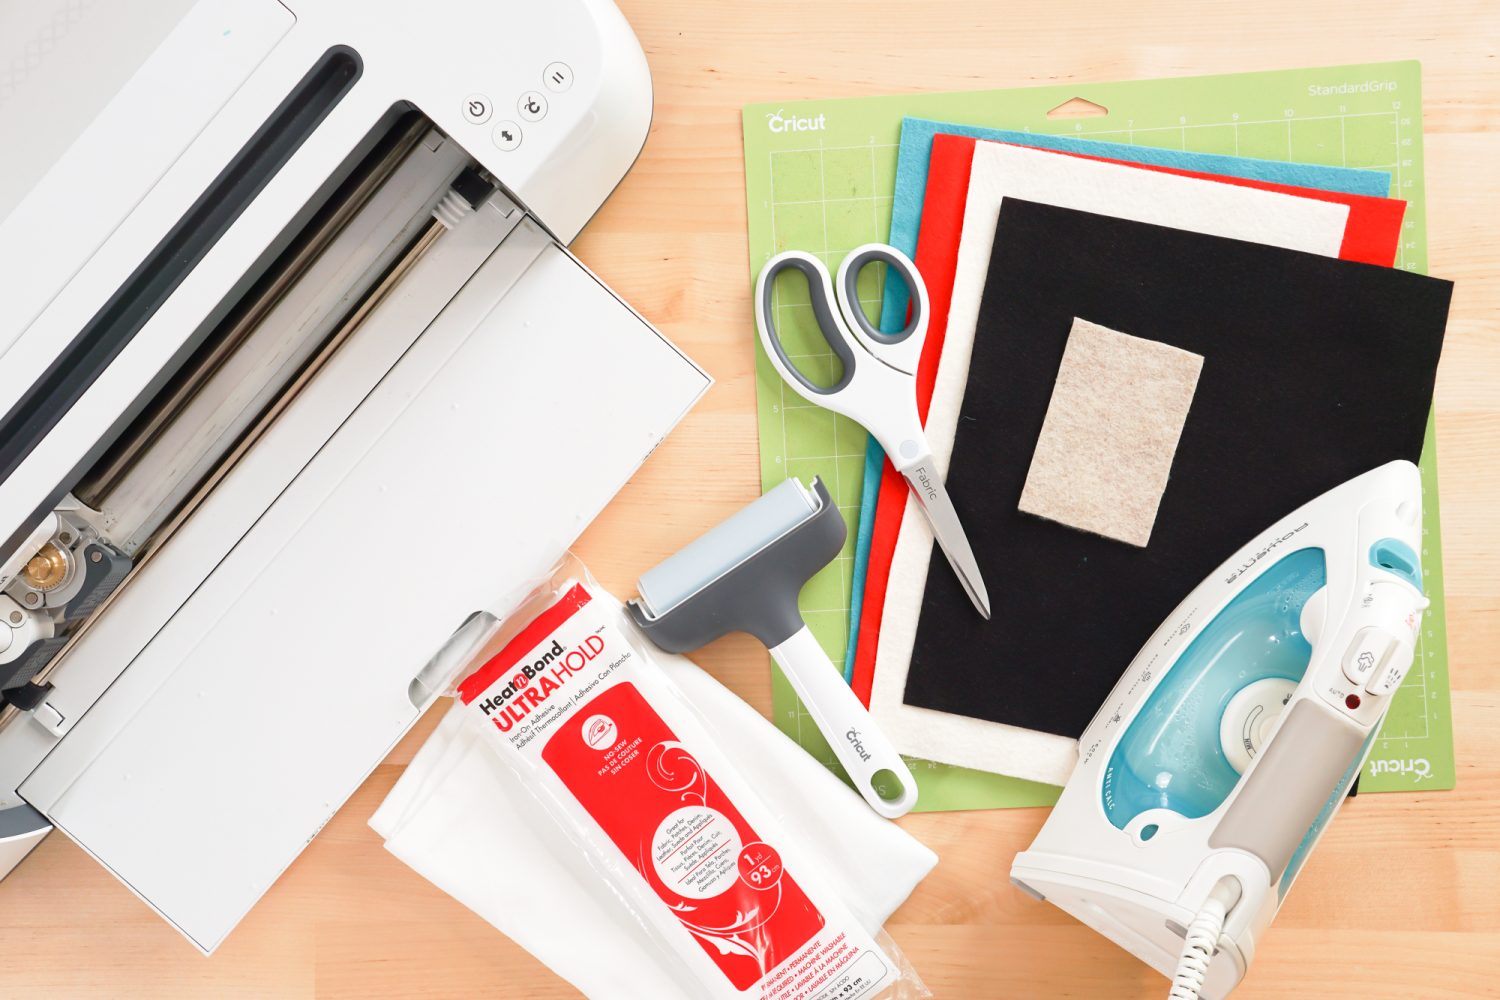
- Cricut Maker with Rotary Blade or Cricut Explore with Fine Point Blade
- Felt (I prefer Benzie Felt) in red, teal, gray, tan, and white
- Green StandardGrip or purple StrongGrip mat
- Scissors (optional)
- Brayer (optional)
- HeatnBond Interfacing
- Iron
- 18″ pillow cover
- 18″ pillow insert/form
- Gnome SVG
Grab the SVG for this Project
Holiday Pillow Instructions
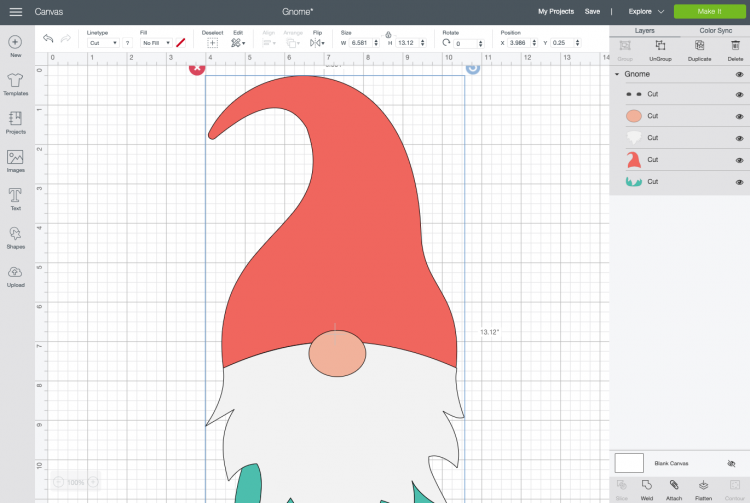
Upload Gnome File to Cricut Design Space
Let’s start by uploading the Gnome file to Cricut Design Space (see Uploading SVG Files to Cricut Design Space if you need help).
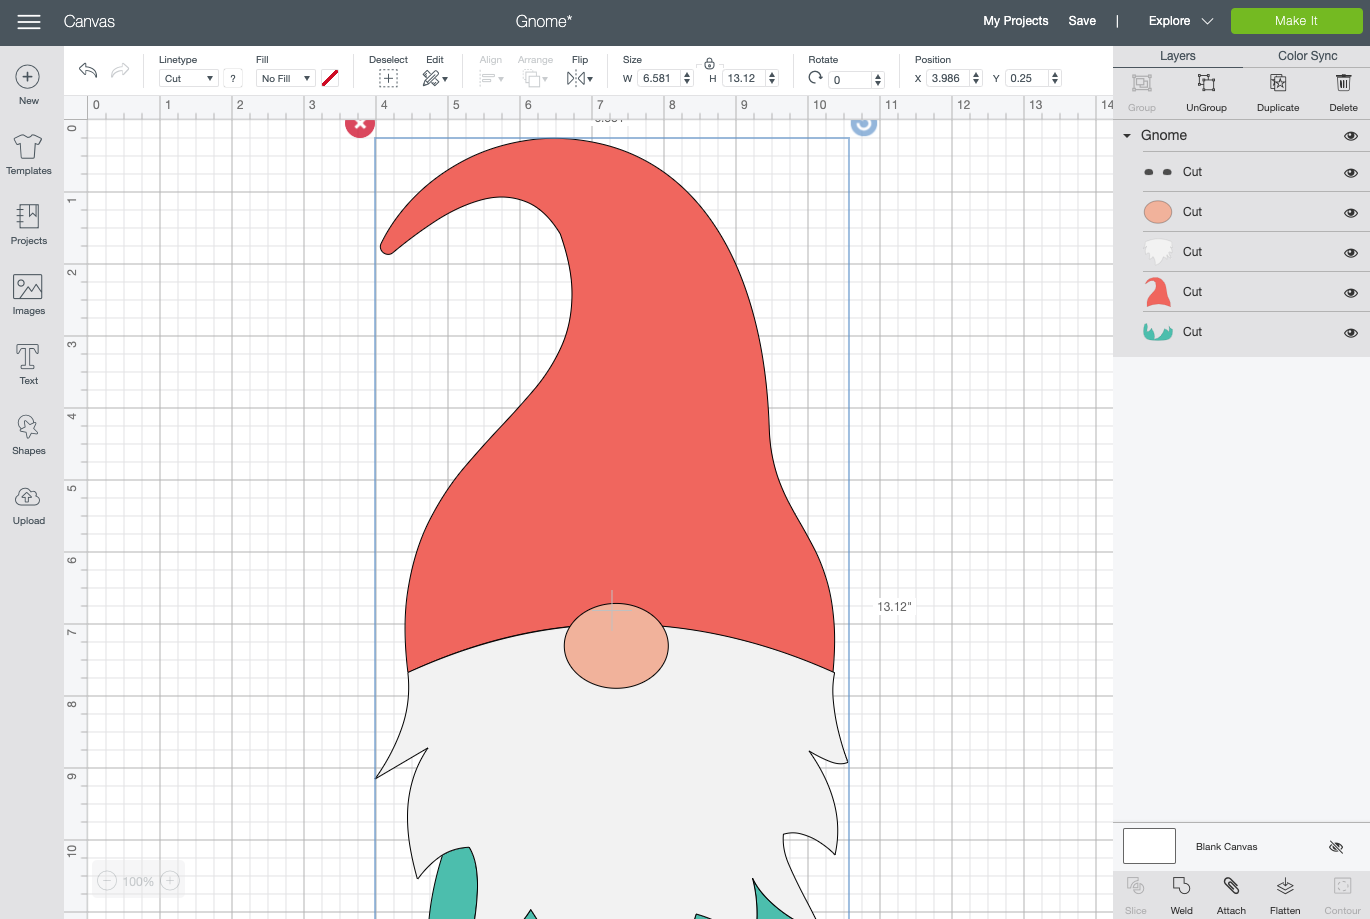
From here, you can resize your gnome for your pillow. I’m using an 18″ x 18″ pillow case and decided to have about 3″ of space at the top and bottom of my gnome, so I made him 12″ tall.

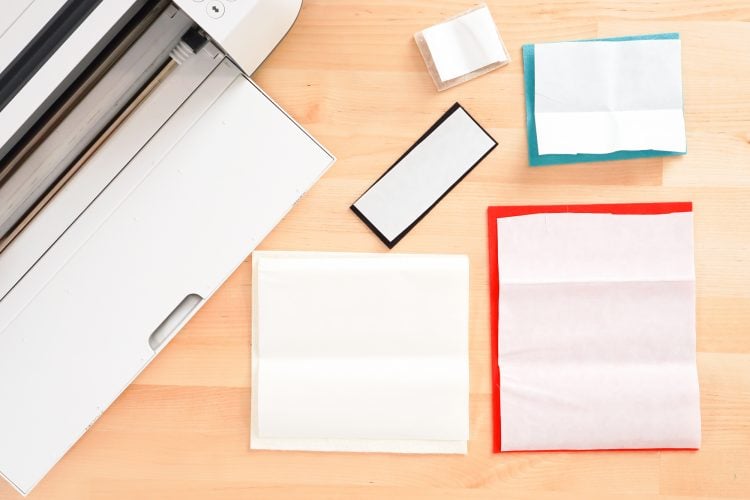
Add HeatnBond to the Felt Pieces
Before we cut the gnome, we want to add the HeatnBond to the back of our felt. This will allow us to iron him onto the pillow without having to use glue or thread.
Ungroup the entire project so it’s easier to select the individual pieces. This will help you see how large to cut your felt pieces. For instance, the hat piece is about 6″ x 8″, so I’m going to cut my piece of red felt 7″ x 9″.
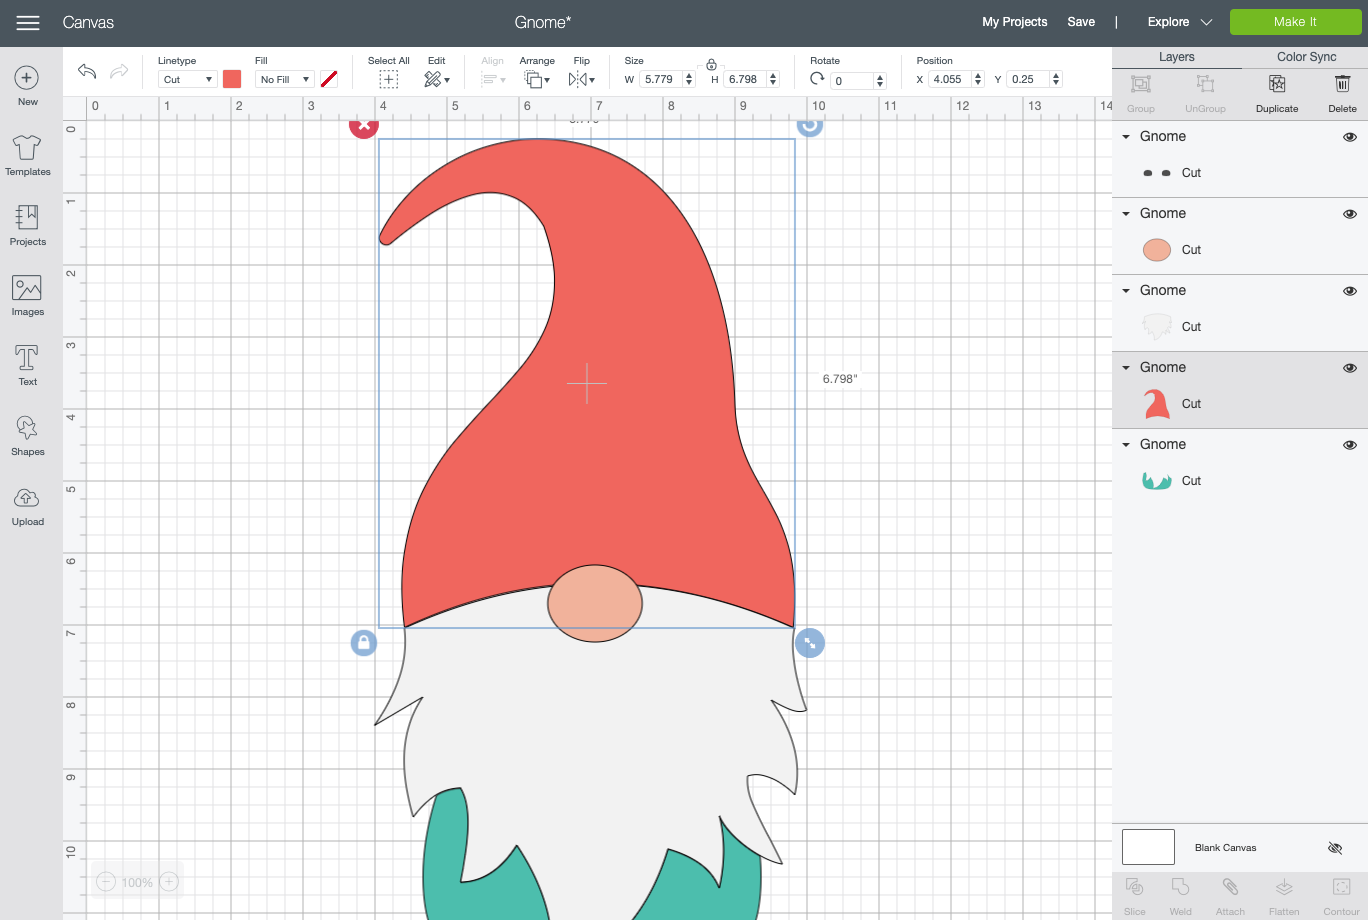
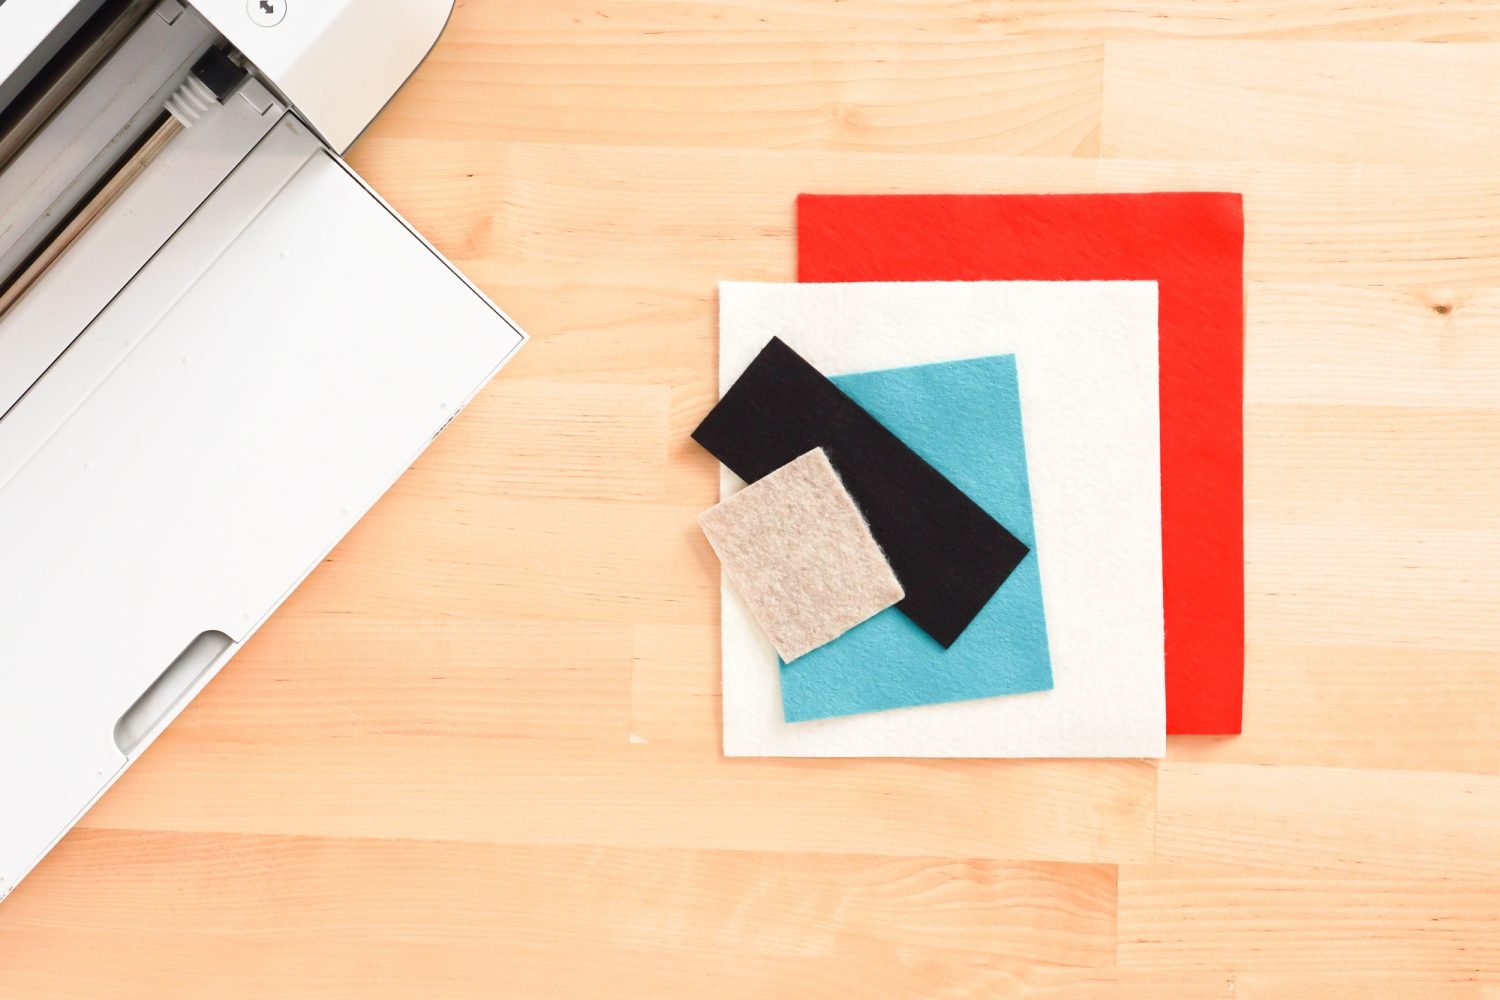
Cut your felt pieces for all of the parts of the gnome.
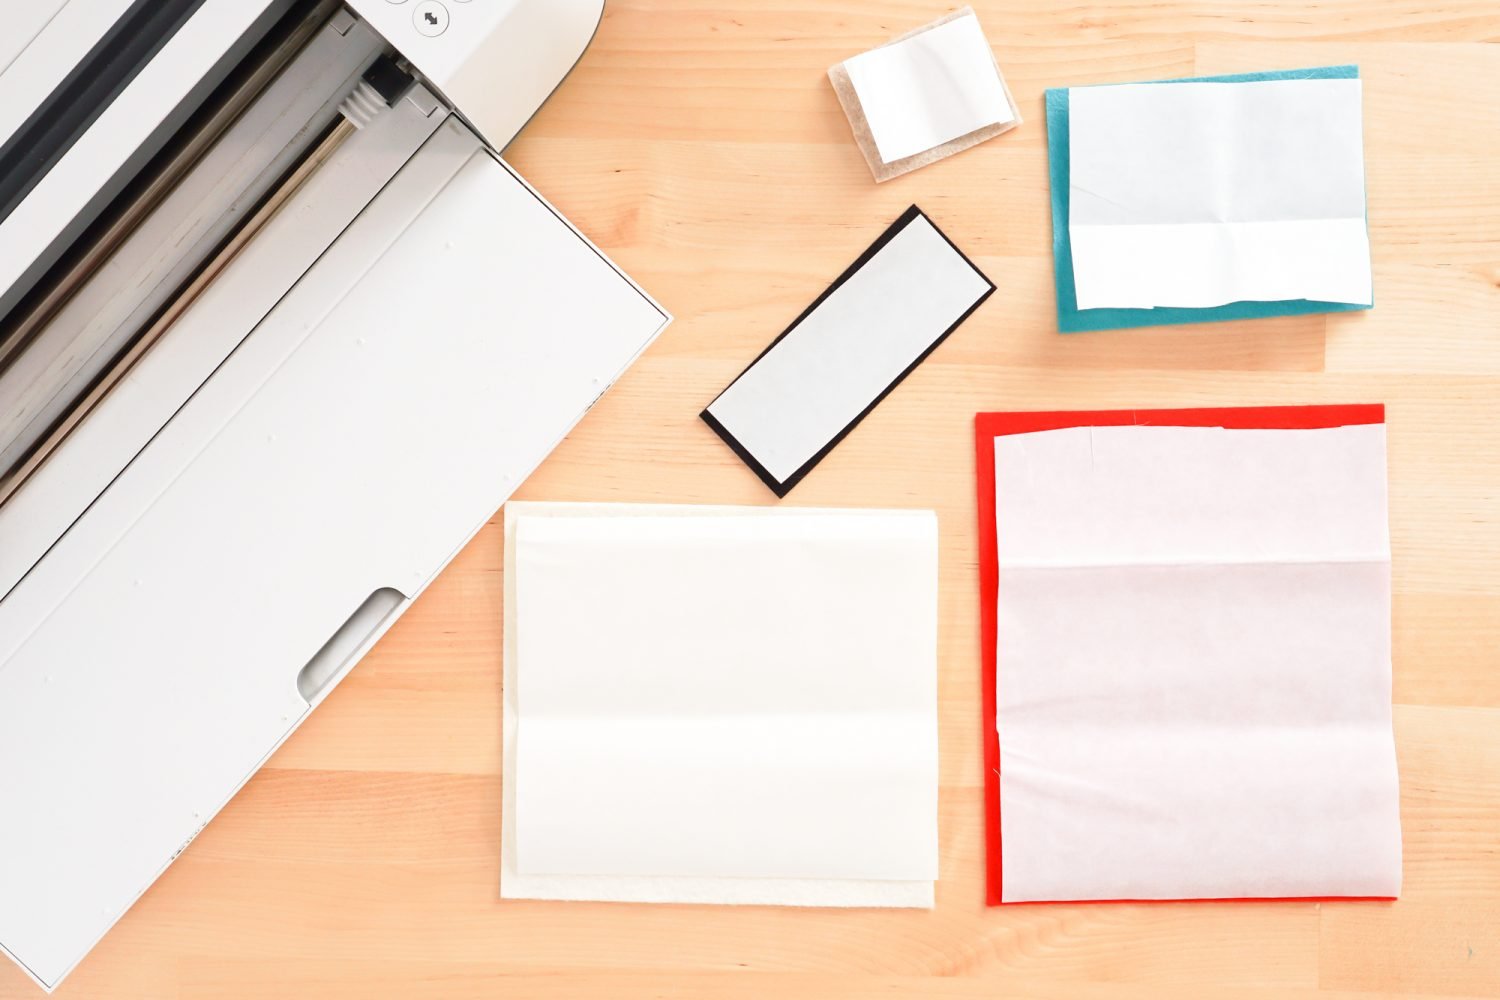
Now cut HeatnBond pieces to be just slightly smaller than your felt pieces. It doesn’t have to be exact, since you have wiggle room on all sides for cutting your felt.
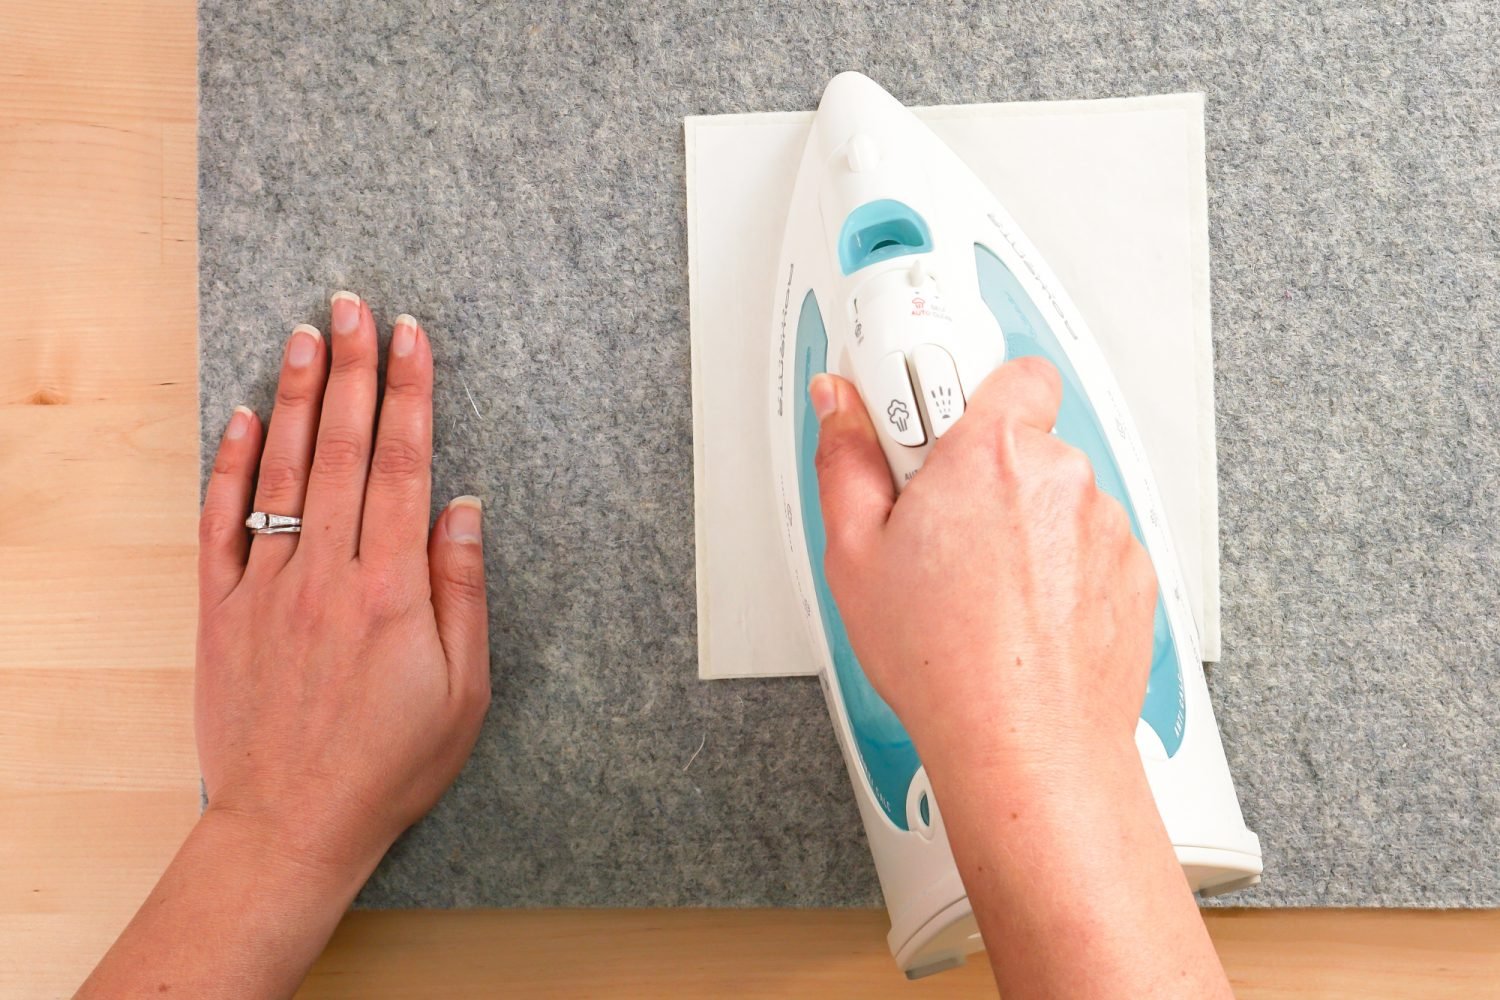
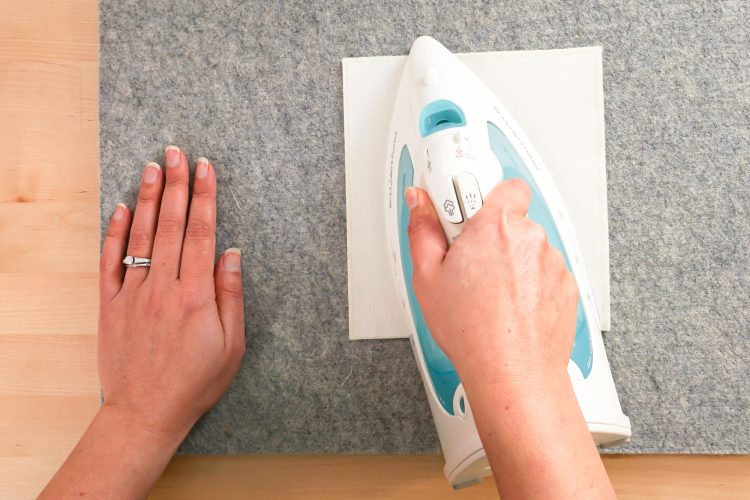
Place the textured side of the HeatnBond down on your felt and press with your iron according to the package directions.
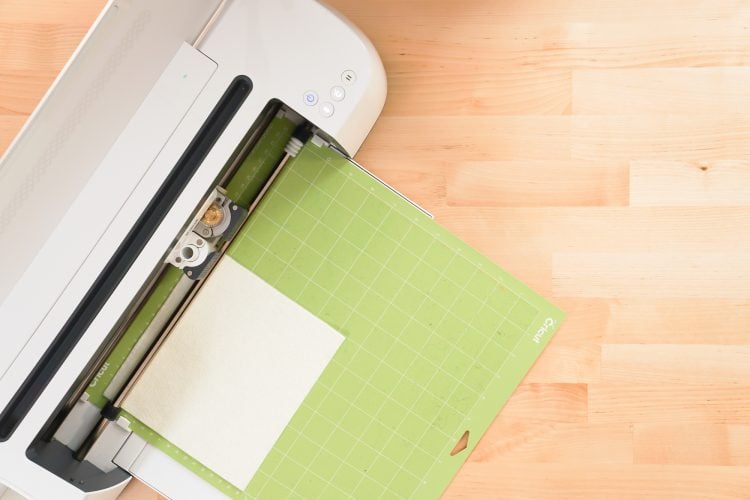
Now you can place your felt on a Cricut mat, with the HeatnBond face down. This will also keep your mat cleaner, since felt is notoriously fibrous and can destroy a mat fairly quickly! You can use a brayer if you’d like to help adhere your felt to your mat.
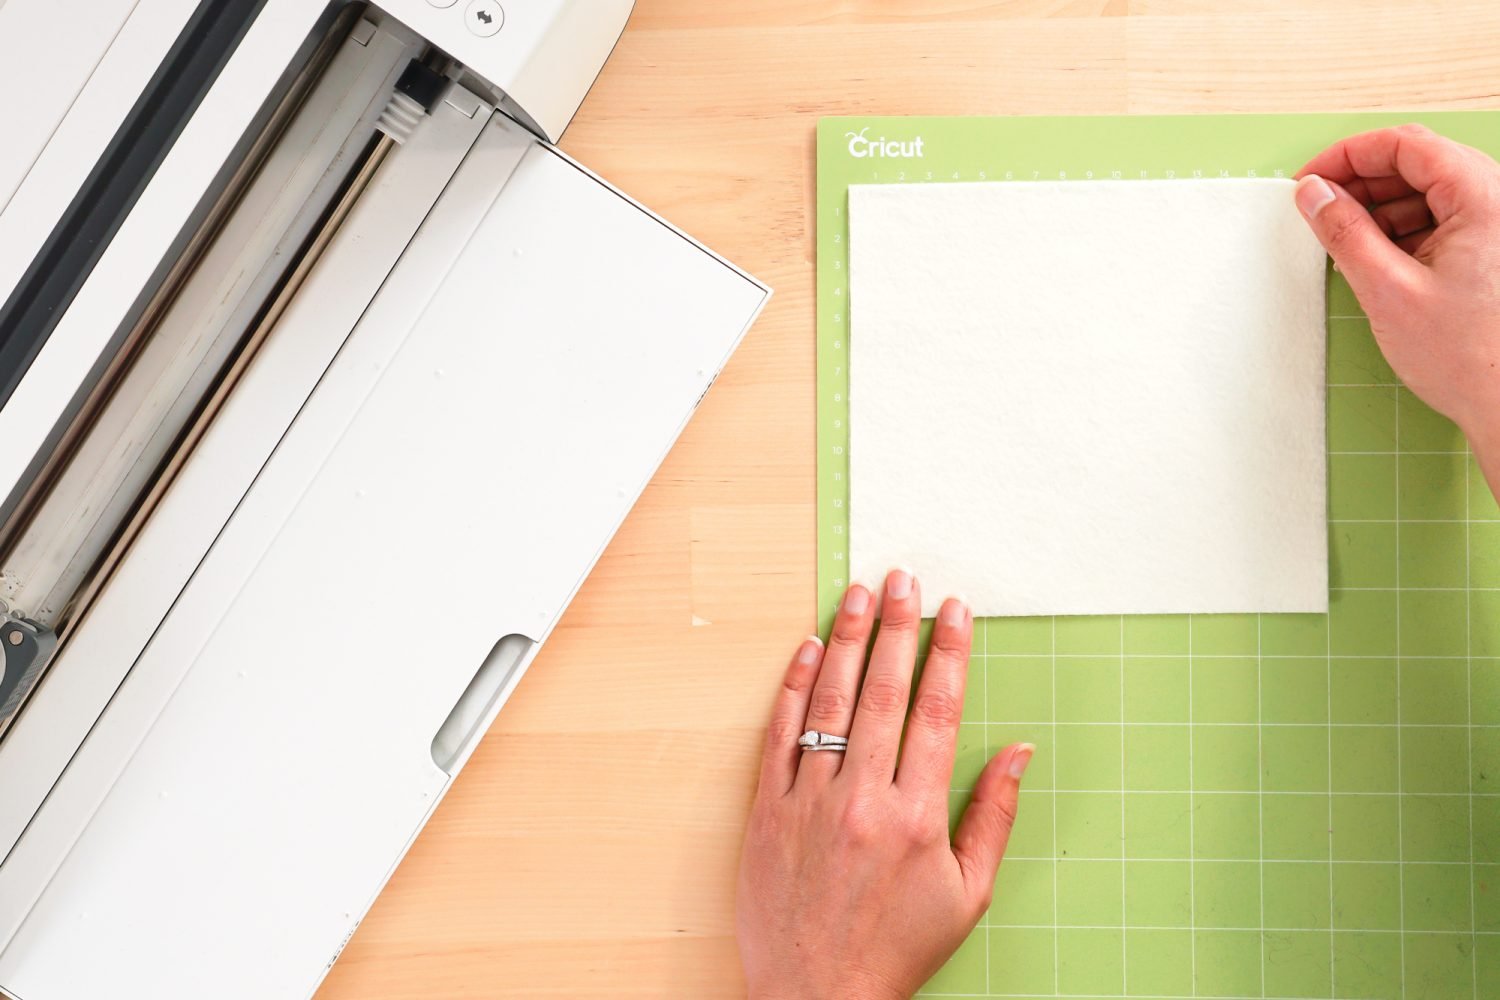
Cut Your Felt for Your Gnome Pillow
Back to Cricut Design Space! Click Make It in the upper right and you’ll be taken to the Prepare Screen, where you’ll see all five of your Cricut mats. Click Continue.
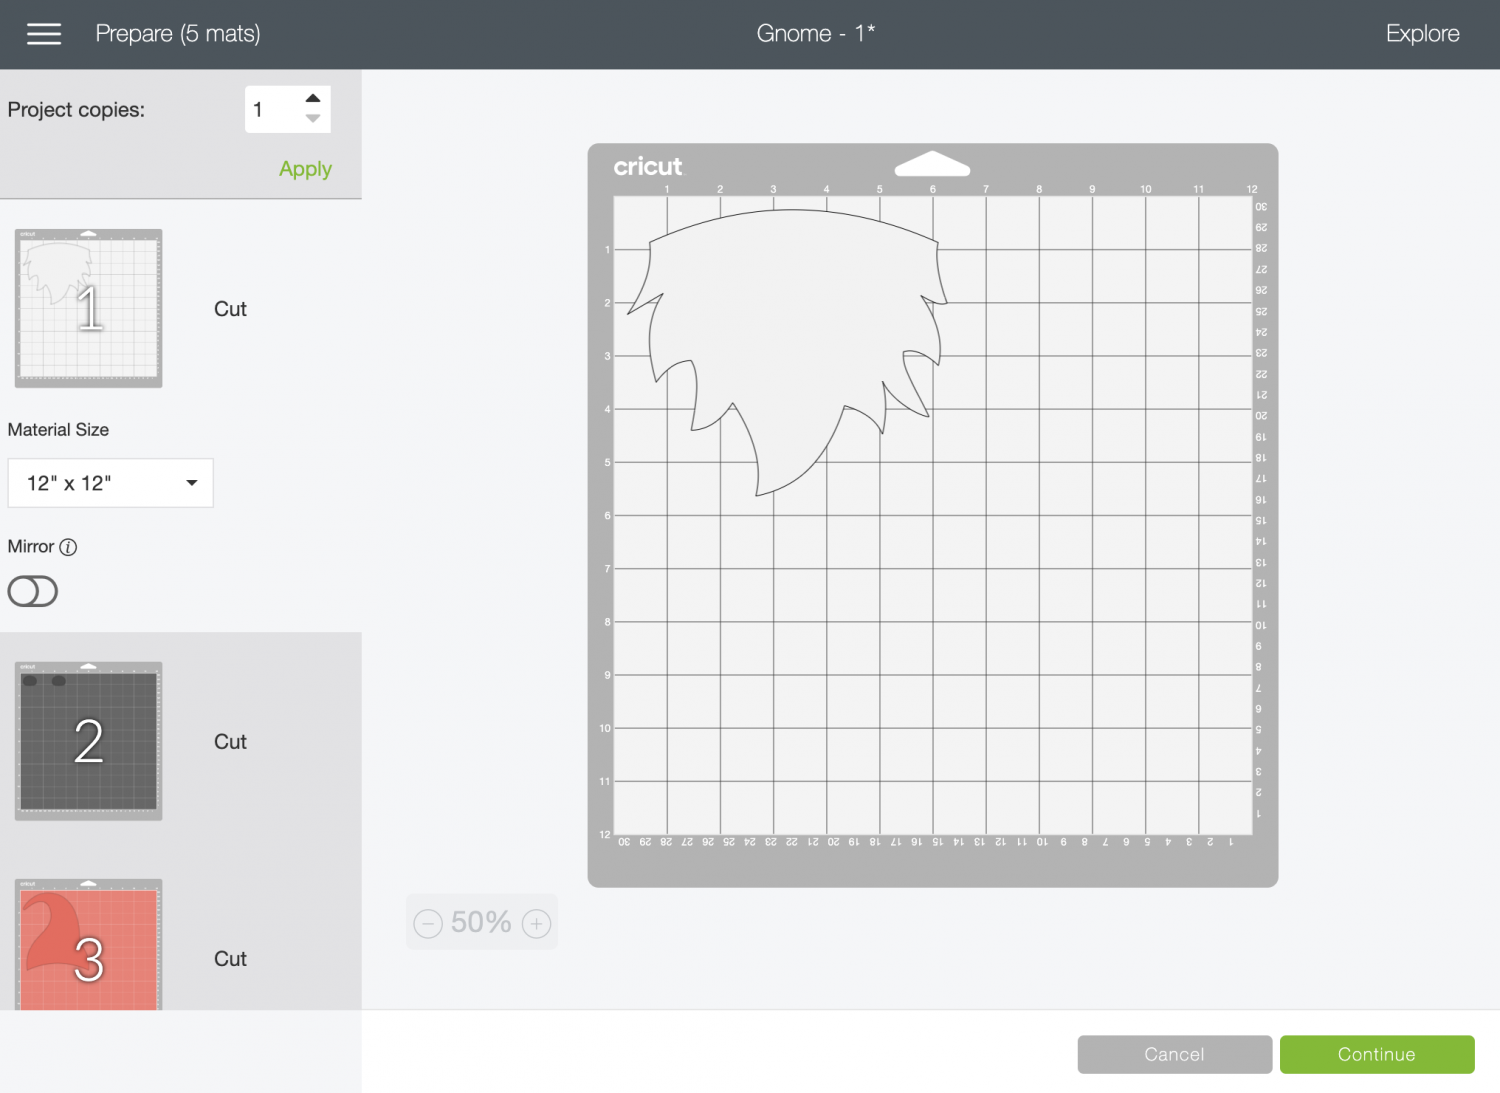
On the Make Screen, you’ll set your material. I am using wool blend felt, which is thicker than Cricut felt. To make sure it cuts all the way through, use the “Denim” setting.
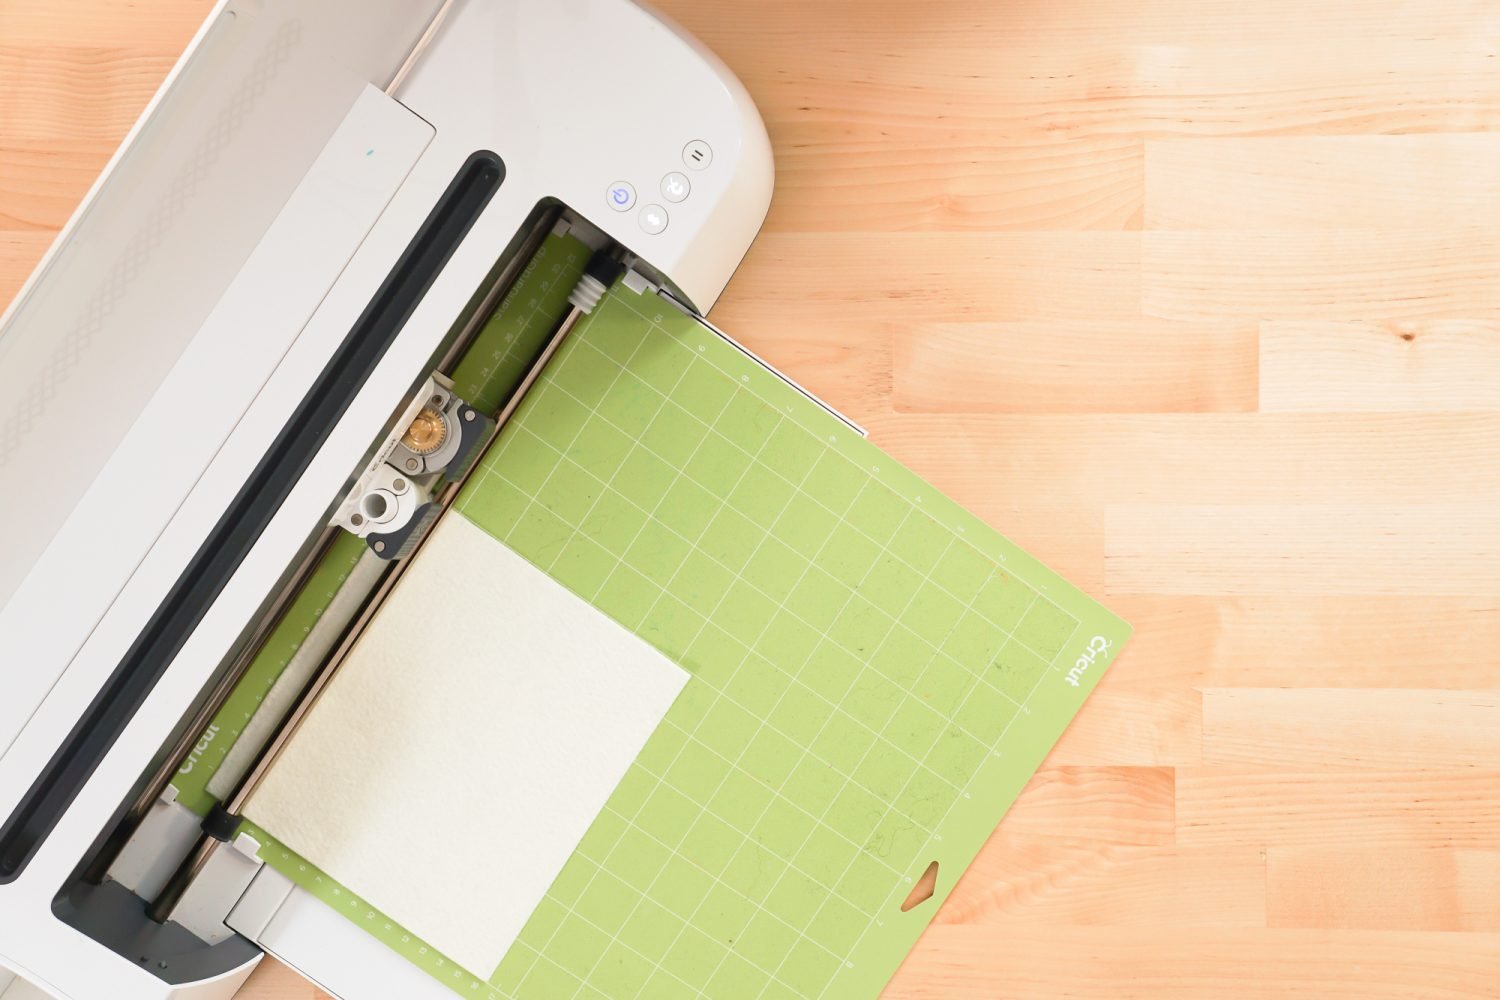
Again, I am using my Cricut Maker for this project, so I have my Rotary Blade inserted into my machine. If you have a Cricut Explore, you can try the fine point blade. You may need to finish your cuts with scissors by hand if the felt doesn’t cut all the way through.
Insert your mat with the felt (HeatnBond side down), and your Cricut will cut your project!
Iron Your Gnome to Your Pillow
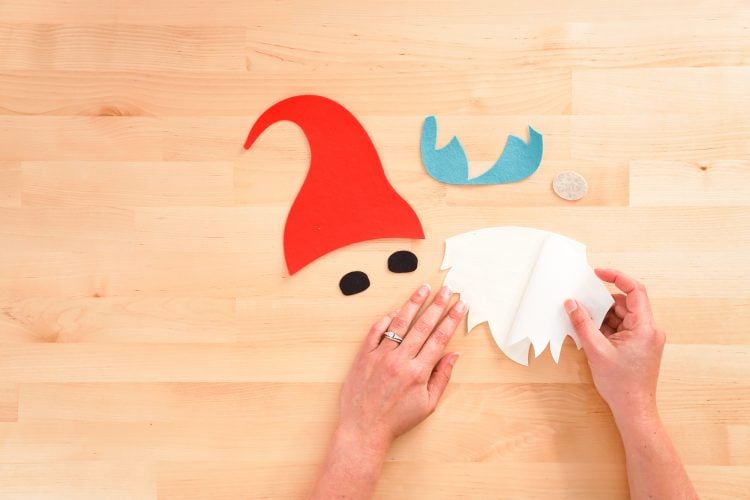
Once you have all of your felt pieces cut, you can iron them to your pillow. Carefully peel back the backing sheet on the HeatnBond to reveal the shiny, heat-reactive adhesive.
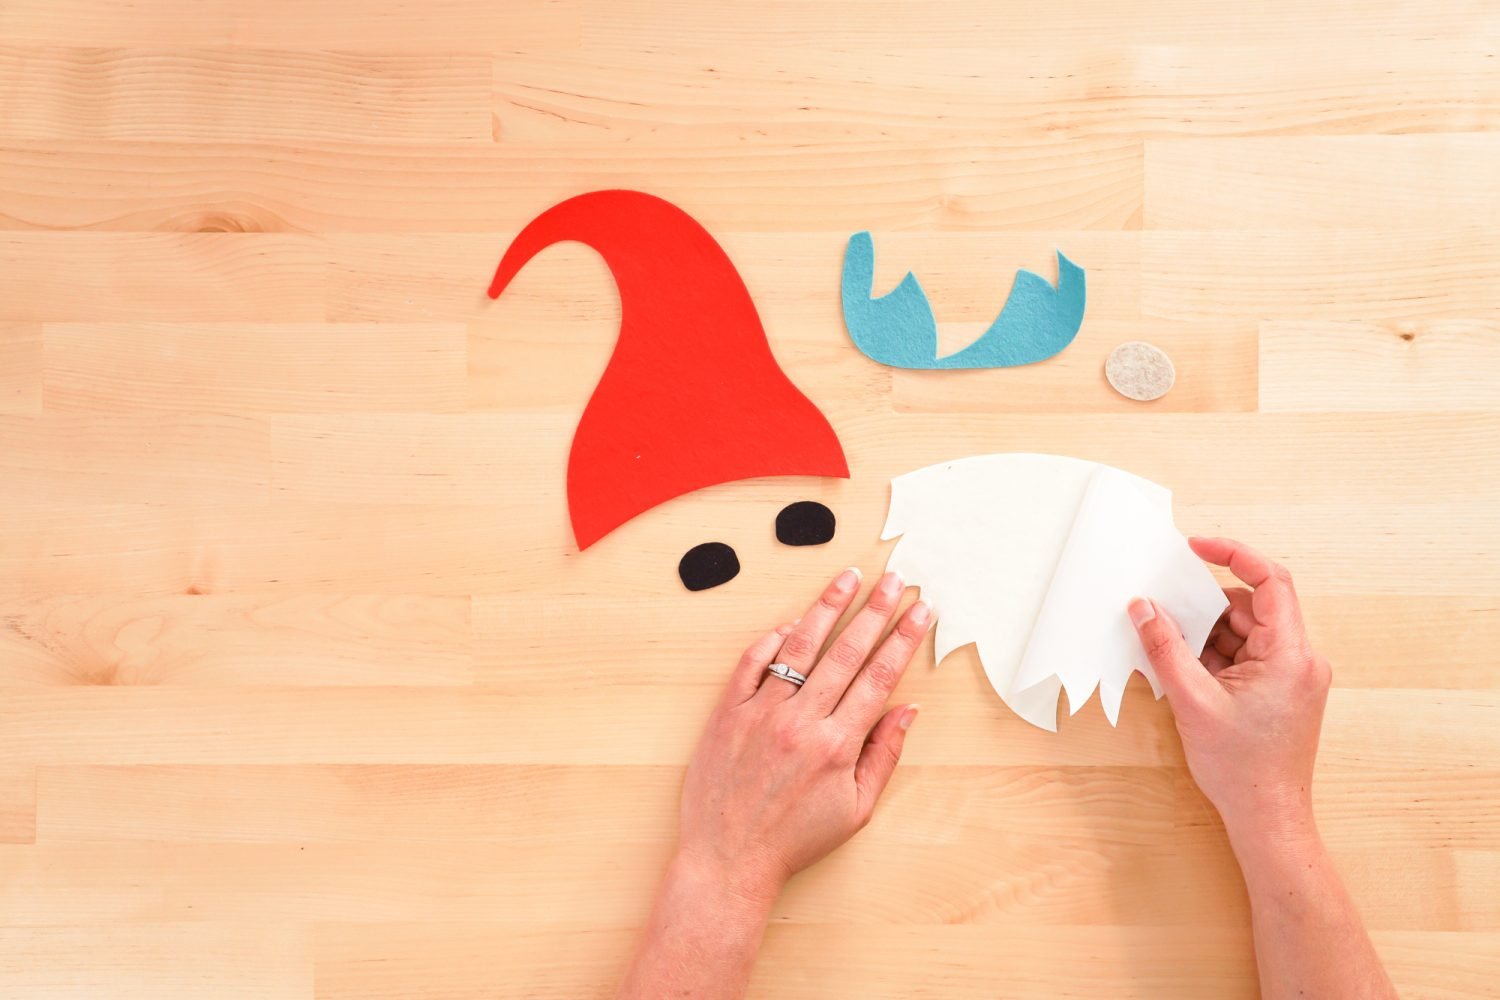
Lay out all of the pieces on your pillow cover to make sure they are centered. And then take away the shoes and the nose.
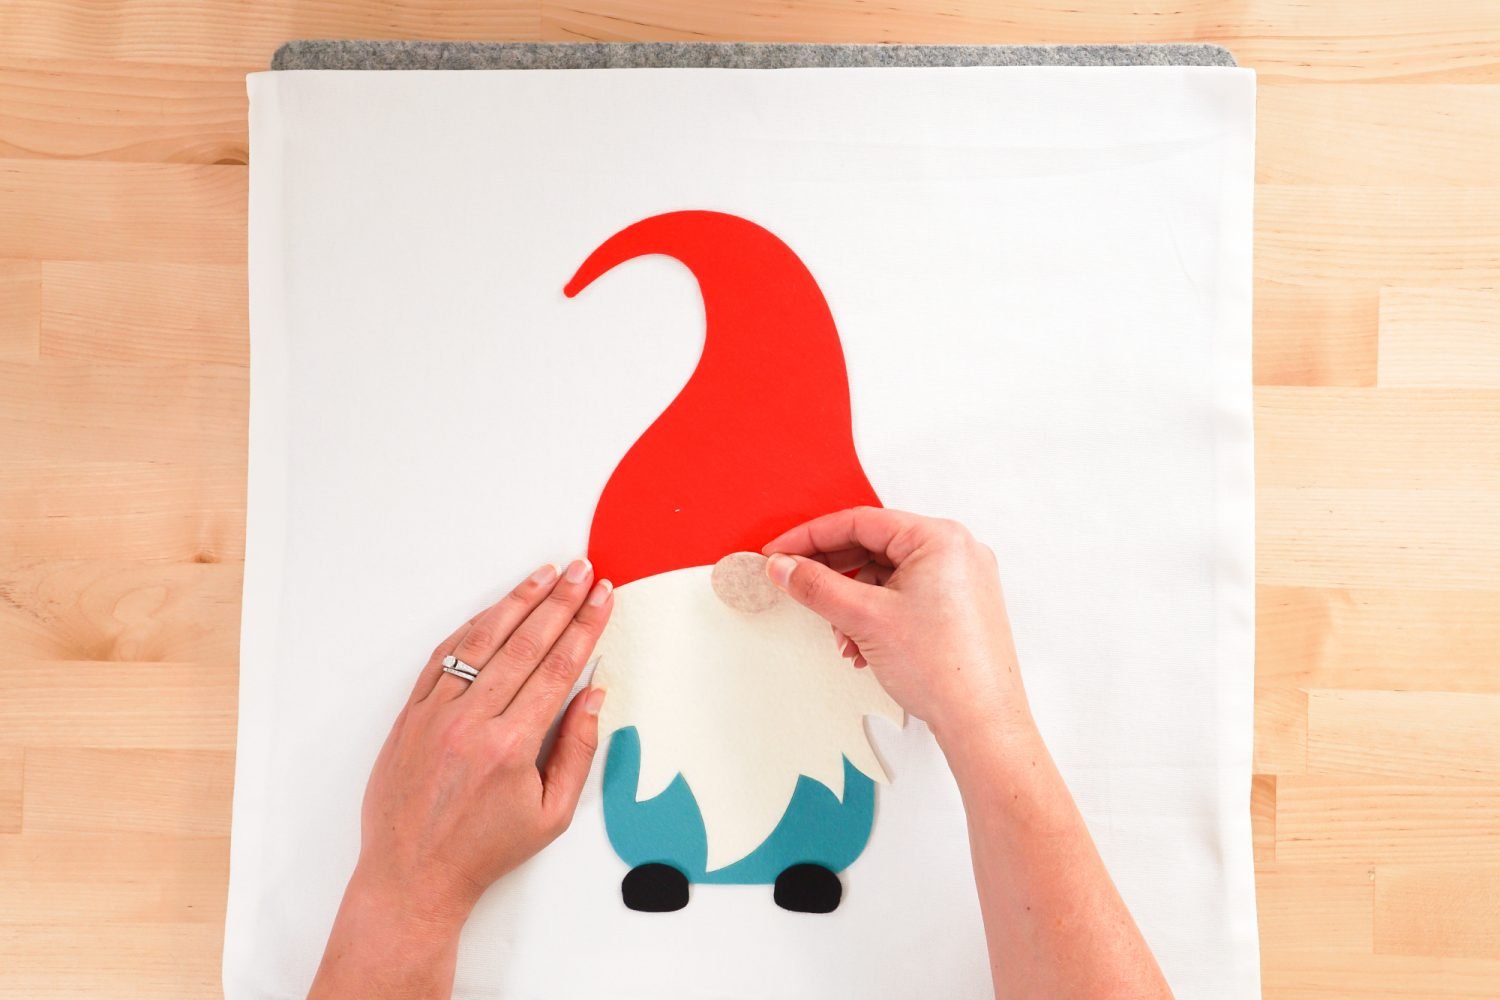
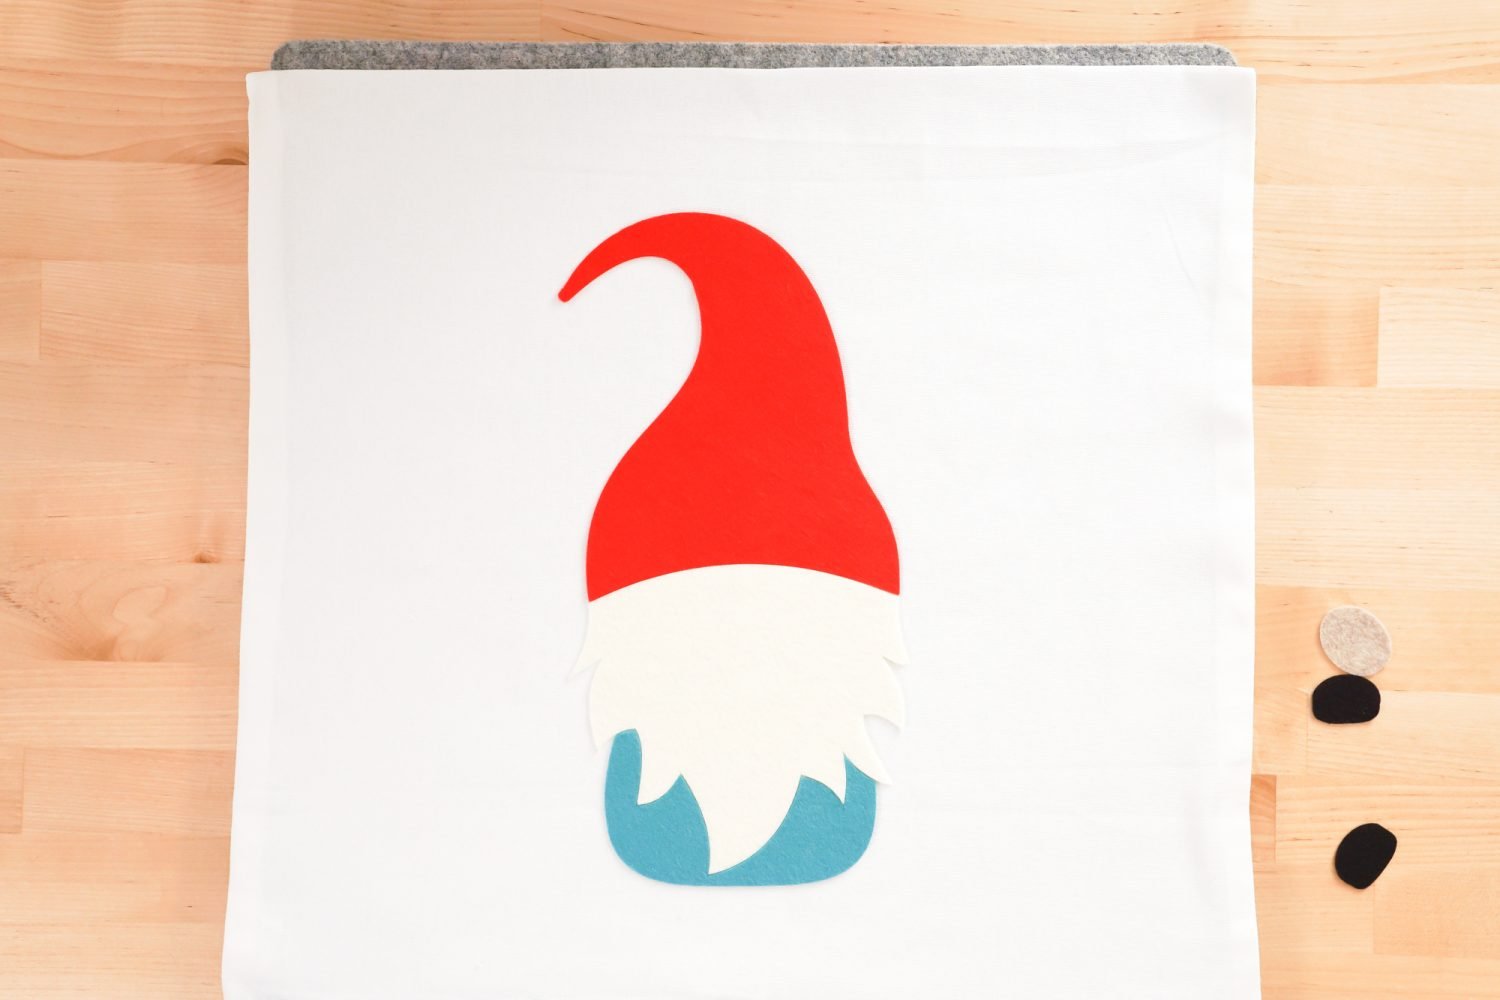
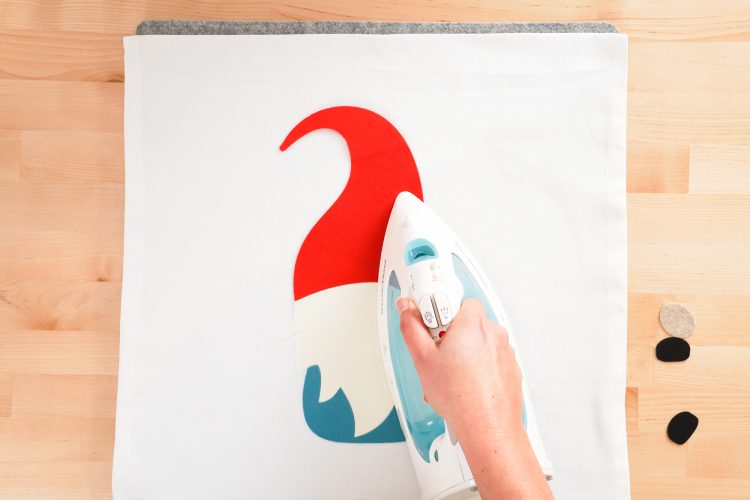
The package directions say to press the HeatnBond for eight seconds, but I have found the felt needs more than one press to really adhere. Work your way around the gnome, pressing in 8-second intervals, until the gnome is adhered. Let cool to make sure the adhesive has time to set.
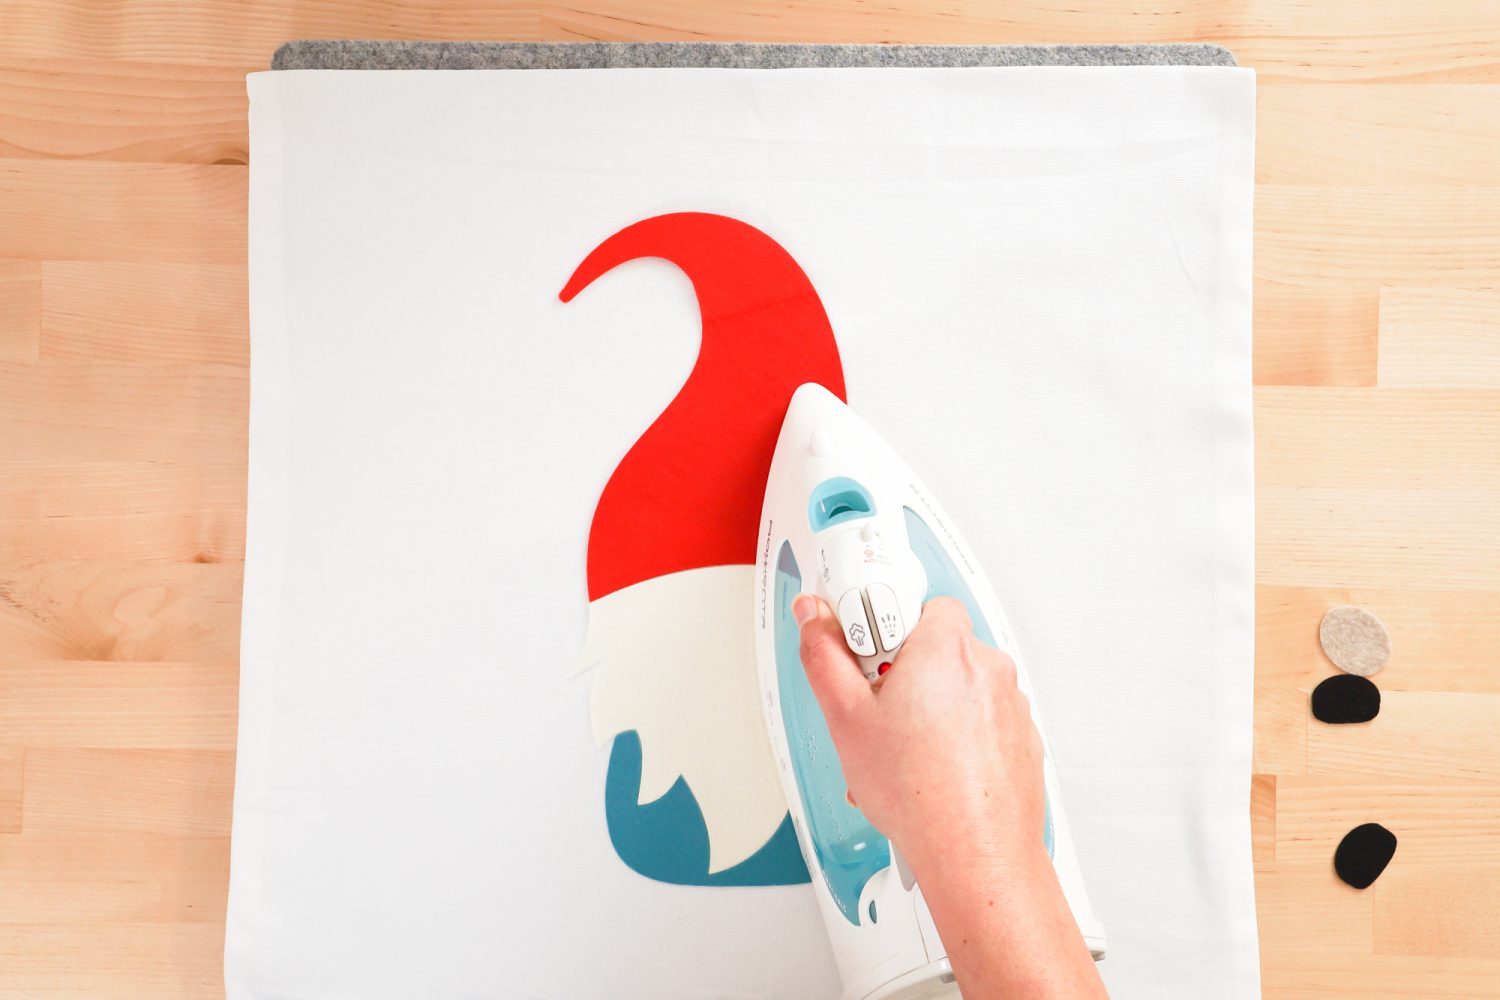
Repeat with the gnome nose and shoes. Again, wait until it cools before moving it around so the adhesive has time to set.
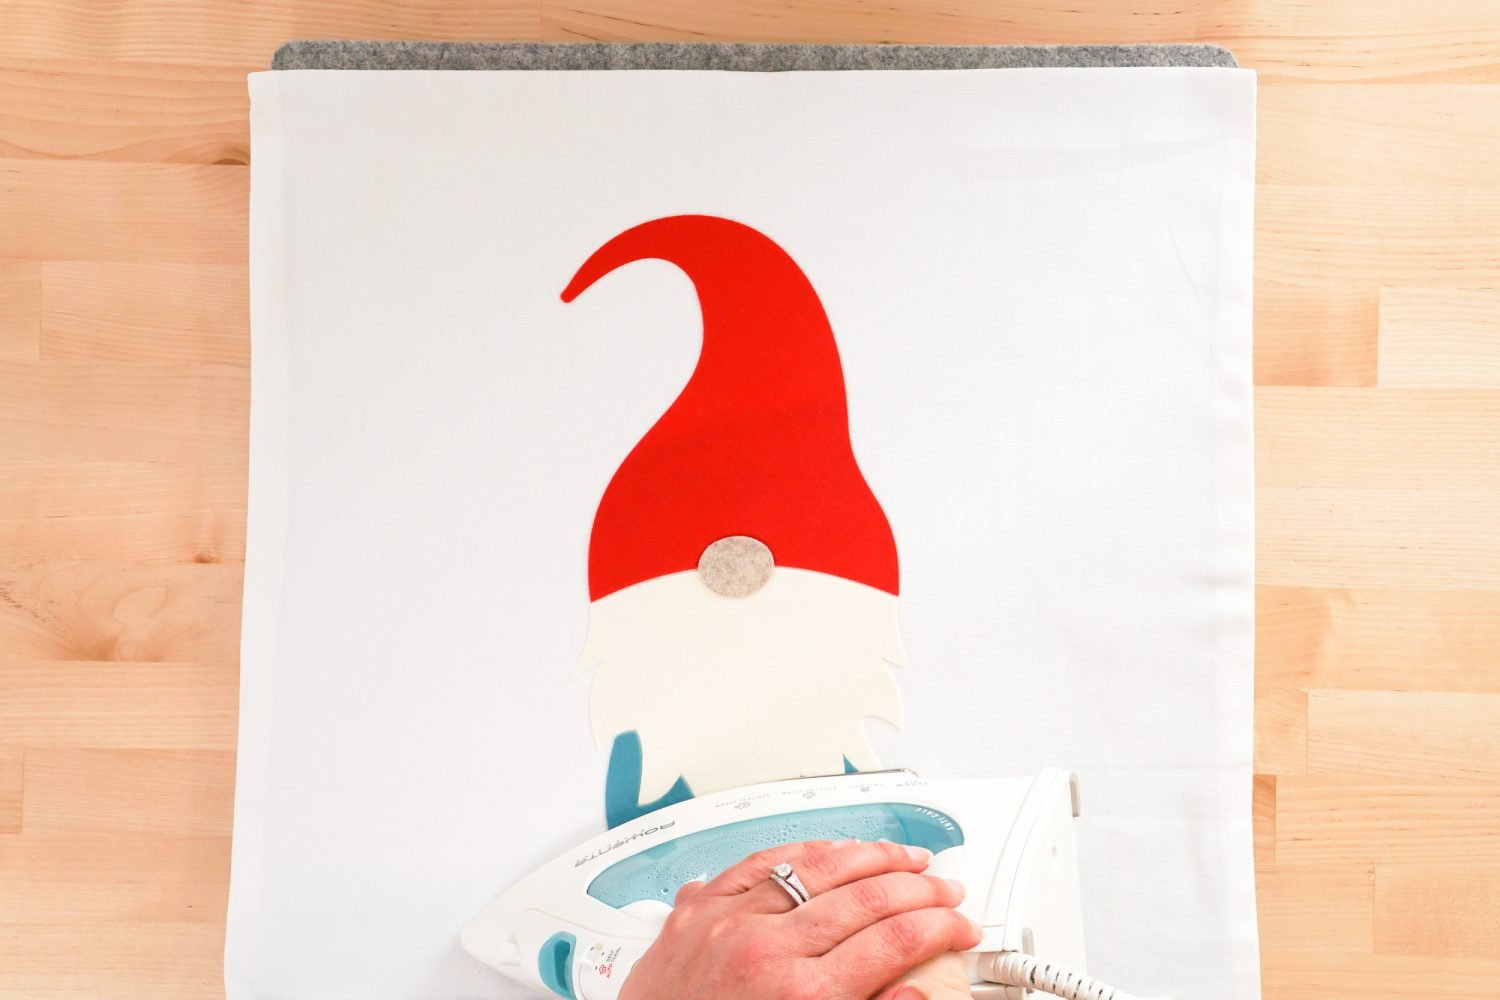
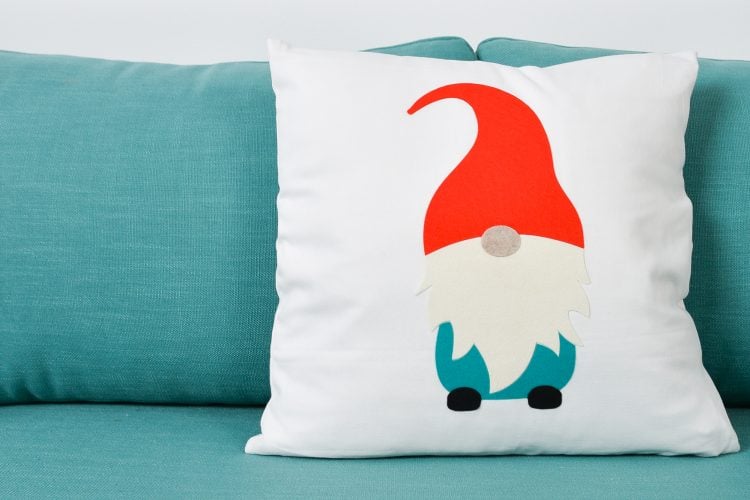
Doesn’t he make your couch feel a bit more cozy?
For another cute gnome using felt, check out my blog for a Mason Jar and Felt Gnome!
GNOME PILLOW
Equipment
- Scissors (optional)
- Brayer (optional)
- EasyPress Mini or Iron
Supplies
- Wool Blend Felt red, teal, white, black, tan
- HeatnBond medium or light
- 18" Pillow Cover
- 18" Pillow Insert / Form
Instructions
- Upload the file to Cricut Design Space and resize.

- Cut felt and HeatnBond to match the sizes of your gnome pieces.

- Iron the HeatnBond to the felt pieces.

- Cut the gnome pieces from felt.

- Remove the HeatnBond backing.

- Adhere your gnome pieces to the pillowcase.

- Enjoy this little cozy guy sitting on your sofa!

Make All the 25 Days of Cricut Christmas Projects!
We’ll be adding links as each day goes live! Grab the full bundle with all of the projects and SVGs in our 25 Days of Cricut Christmas eBook!
- Day 1: DIY Christmas Countdown Calendar
- Day 2: Snow Globe Shaker Card
- Day 3: Happy Holly Days Christmas Banner
- Day 4: Felt Gnome Pillow
- Day 5: Cookies for Santa Tray
- Day 6: Snowflake Coasters
- Day 7: Customized Christmas Banner
- Day 8: Etched Holiday Baking Dish
- Day 9: DIY Gift Card Holder
- Day 10: Christmas Apron
- Day 11: Christmas Quilt Block Artwork
- Day 12: Constellation Glitter Ornaments
- Day 13: DIY Christmas Card Holder
- Day 14: Papercut Christmas Village
- Day 15: Funny Christmas Socks
- Day 16: Veneer Pinecone Earrings
- Day 17: How to Make Felt Bows
- Day 18: Personalized Santa Sacks
- Day 19: Newborn Footprint Ornaments
- Day 20: Layered Christmas Mandala
- Day 21: Customized Pot Holders
- Day 22: Sleigh Rides Christmas Sign
- Day 23: Hot Cocoa Mug Gift
- Day 24: Print then Cut Gift Tags
- Day 25: Matching Christmas Pajamas



Leave A Reply!