Cricut SportFlex is designed to move with your fabric, making it perfect for performance materials like nylon, polyester, and more—think swimsuits, jerseys, and activewear. Here’s how it differs from regular iron on vinyl, as well as tips and tricks to make it work the first time!

I’ve written a lot about Cricut Iron On (also called heat-transfer vinyl or HTV) over the last few years, but this is the first time I’m covering Cricut SportFlex. Today I’m tackling this specialty iron on material is perfect for stretchy materials!
Before we begin, if you’re looking for information on working with iron on vinyl, check out these posts:
- How to Use Cricut Iron On Vinyl
- How to Layer Iron On Vinyl
- Warm Peel vs. Cool Peel
- Weeding Iron On Vinyl
What is Cricut SportFlex

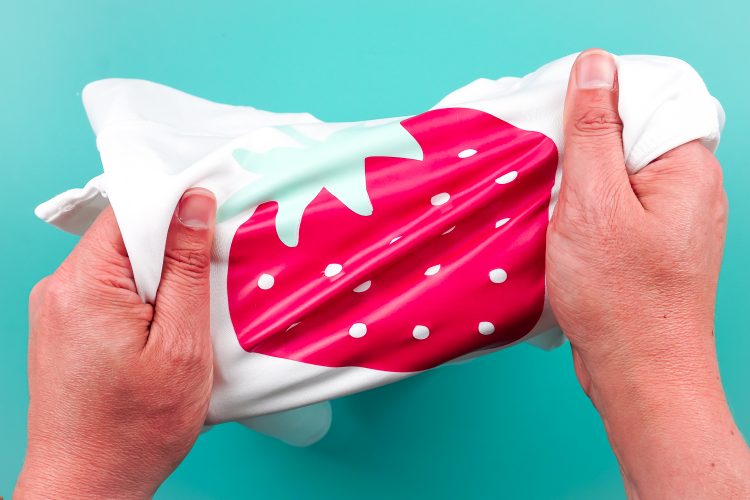
Cricut SportFlex is a type of iron on vinyl that is thin and lightweight and is made to stretch and move with the base material. It’s great for applications like swimsuits, activewear, jerseys, and on other polyester and nylon materials.
Types of Cricut SportFlex
Cricut has two types of SportFlex available:
Can I Use SportFlex on Cotton & Other Materials?
I hear this question a lot—can you use SportFlex on materials that are not “activewear”? Cricut doesn’t seem to recommend it, but I’ve done it many times now and it works great! I actually love it for all apparel applications.
Using Cricut SportFlex
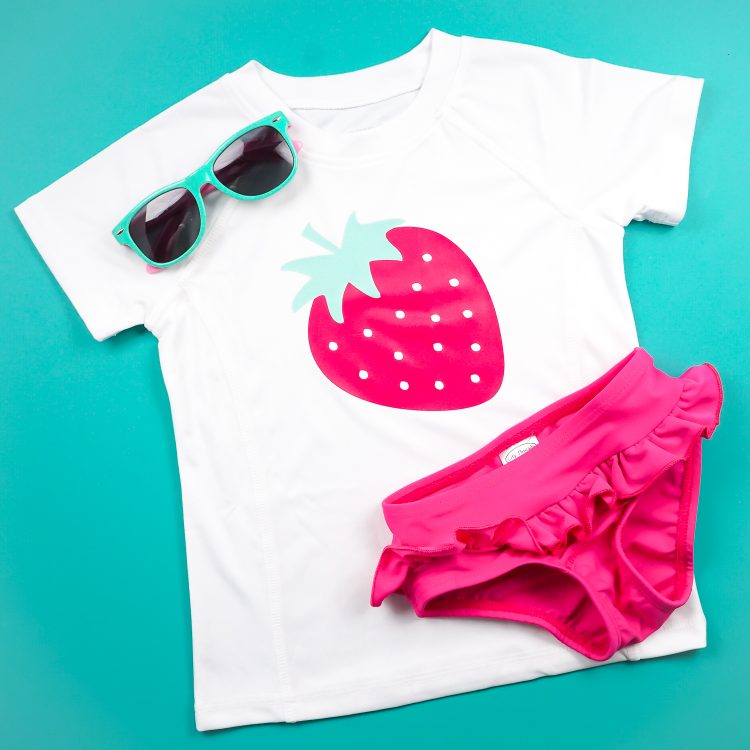
To demonstrate how to use Cricut Sportflex, let’s make a swim shirt! This is a great application for this stretchy iron on.
DIY Swim Shirt Supplies

- Cricut SportFlex in Raspberry and Seafoam
- Cricut Explore or Maker
- Green StandardGrip Mat
- Washi or Masking Tape
- Weeding Tool
- Cricut EasyPress + EasyPress Mat
- Strawberry SVG File
Get the Free File
Want access to this free file? Join my FREE craft library! All you need is the password to get in, which you can get by filling out the form below. The file number is: C227.
DIY Swim Shirt Instructions
Uploading to Cricut Design Space
Let’s start by uploading the strawberry file to Cricut Design Space. If you need help uploading an SVG, check out this post.
Once you have your strawberry in Design Space, resize it so that it will fit on your shirt. Mine is 6″ tall, but your size may change based on the size and fit of your swim shirt.

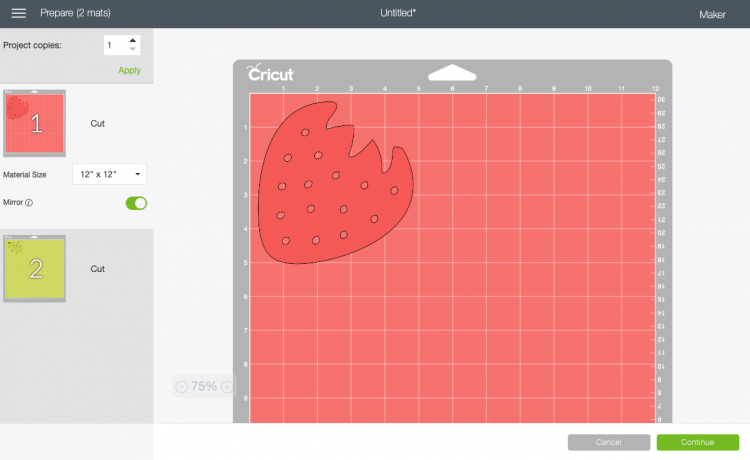
Click Make It in the upper left corner. In the Prepare Screen, make sure to mirror both your mats. This isn’t quite as important on an image like a strawberry, but you’ll definitely notice if you don’t mirror words—they’ll be backward!
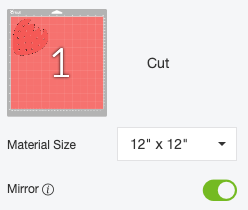

Then click continue. In the Make Screen, search for and select Cricut SportFlex as your material.

Cutting Cricut SportFlex with an Explore or Maker
Place your SportFlex color-side down on the mat.
SportFlex is the same as any other iron on material with one difference—the stuff does NOT stick to the mat. To combat it shifting around your mat, use a little tape along the edges—this will help make sure your project cuts correctly.

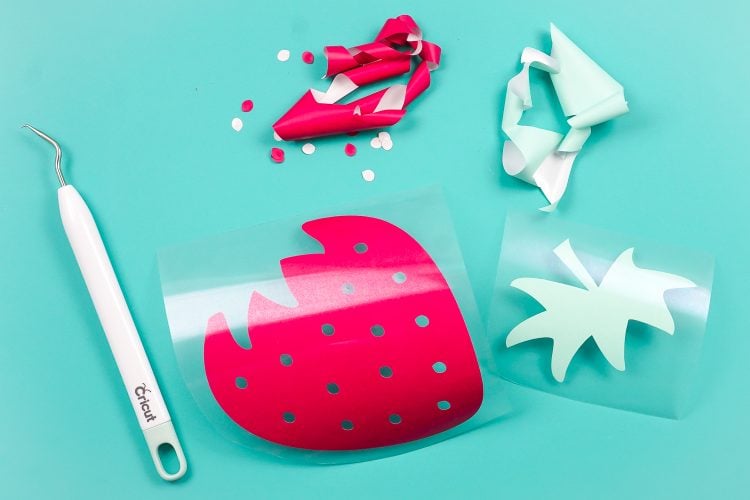
Cut out both layers of your strawberry. Then weed off the negative material. Need weeding tips? Check out my tips and tricks post!

Applying Cricut SportFlex to Your Swim Shirt
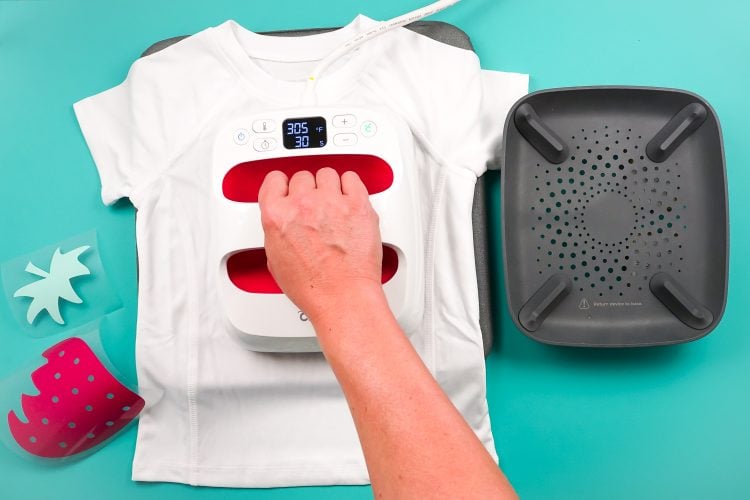
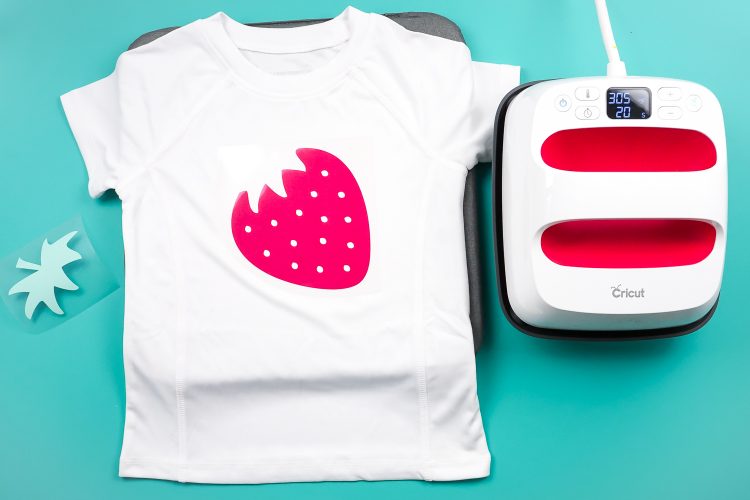
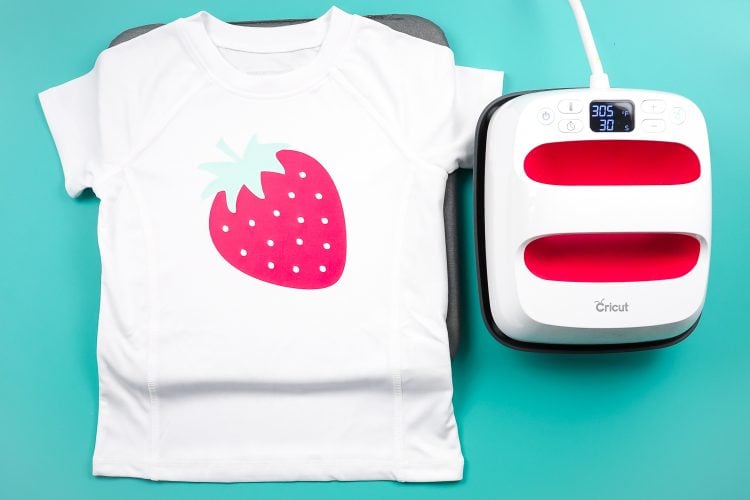
Now you’re ready to apply your iron on to your shirt! Get your space prepped—put down your EasyPress Mat or a folded towel. Then smooth out your swim shirt on the mat and heat your EasyPress to the proper settings. Using SportFlex on polyester is 305° for 30 seconds, but you can check Cricut’s Heat Settings Guide to find the correct temperature if you’re using a different base material.
Start by preheating your shirt for 5 seconds.

Then place your first strawberry piece down on your shirt.

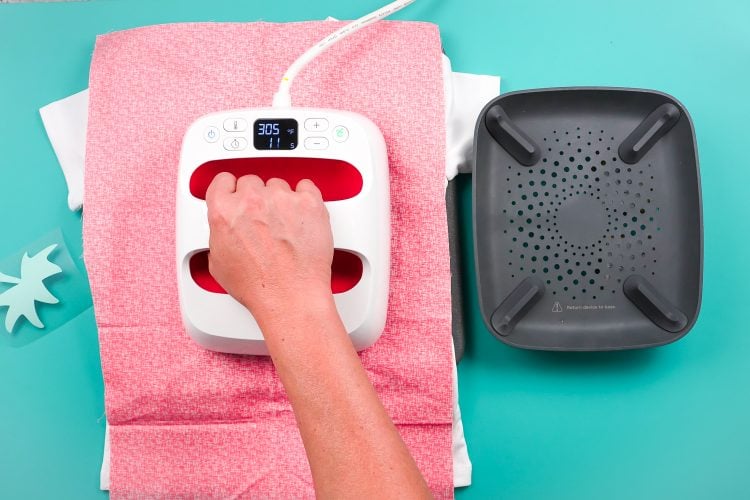
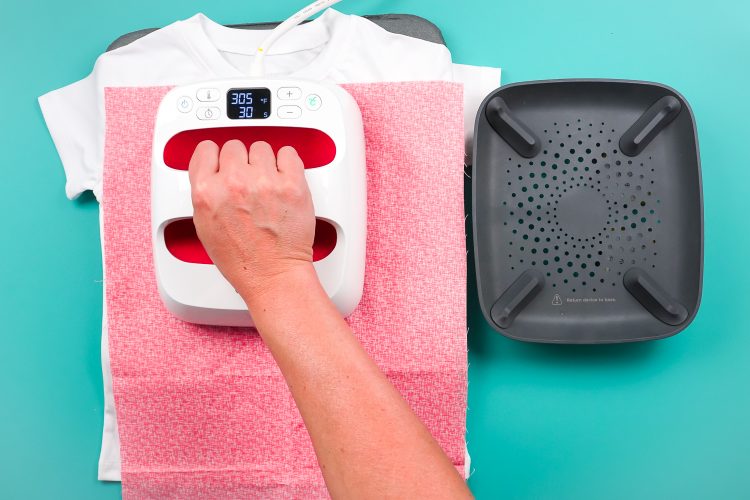
I like to use a piece of cotton as a pressing cloth when I’m working with any type of iron on (though Cricut says it’s not necessary). Press for 30 seconds.

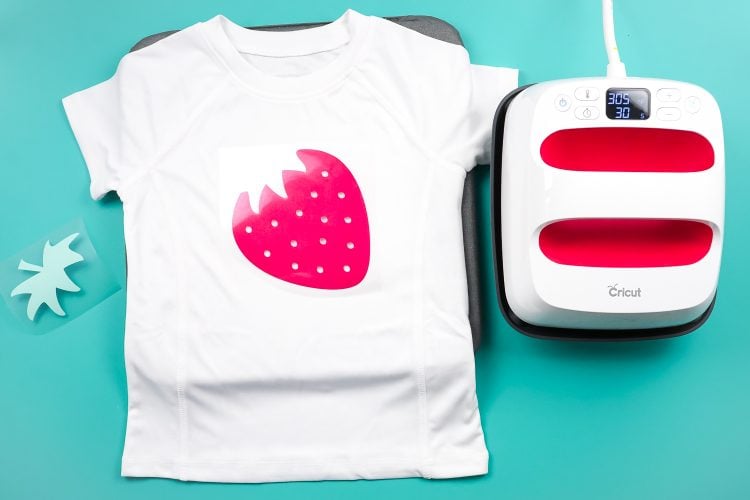
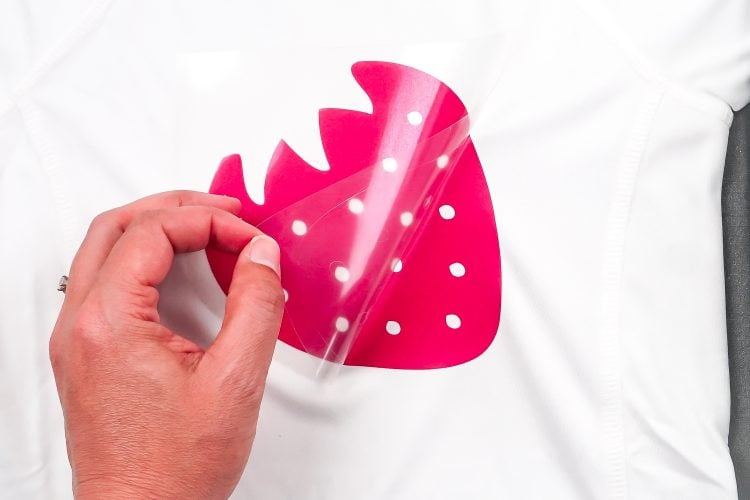
Then let the SportFlex cool for 30 seconds before peeling. I use the timer feature on the EasyPress to count down for me—makes it super easy.

Then carefully peel back the plastic liner piece.

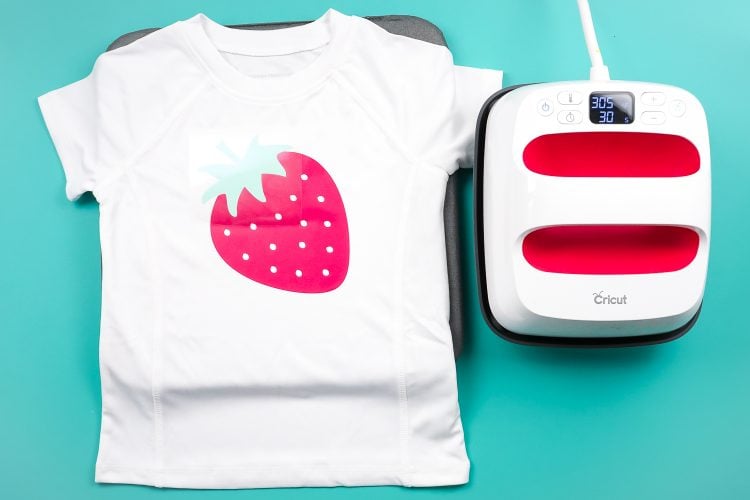
Then repeat the process with the other piece of the strawberry, carefully lining it up with the first piece.


And there you have it! I actually really love working with this material—it’s super lightweight and doesn’t crack or peel.


I hope you found this tutorial helpful! If you’re ever wondering how to do something with your Cricut, I’m happy to help—just leave a comment!

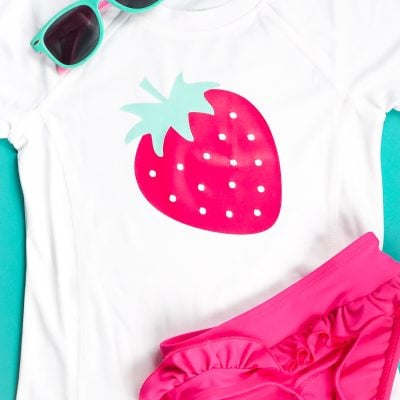
DIY SWIM SHIRT WITH CRICUT SPORTFLEX IRON ON VINYL
Equipment
- Cricut Maker or
- Washi or Masking Tape
Instructions
- Uploading to Cricut Design SpaceStart by uploading the strawberry file to Cricut Design Space. If you need help uploading an SVG, check out this post.Once you have your strawberry in Design Space, resize it so that it will fit on your shirt. This one is 6" tall, but your size may change based on the size and fit of your swim shirt.

- Click Make It in the upper left corner. In the Prepare Screen, make sure to mirror both your mats. This isn't quite as important on an image like a strawberry, but you'll definitely notice if you don't mirror words—they'll be backward!


- Then click continue. In the Make Screen, search for and select Cricut SportFlex as your material.

- Cutting Cricut SportFlex with an Explore or MakerPlace your SportFlex color-side down on the mat.SportFlex is the same as any other iron on material with one difference—the stuff does NOT stick to the mat. To combat it shifting around your mat, use a little tape along the edges—this will help make sure your project cuts correctly.

- Cut out both layers of your strawberry. Then weed off the negative material. Need weeding tips? Check out this tips and tricks post!

- Applying Cricut SportFlex to Your Swim ShirtNow you're ready to apply your iron on to your shirt! Get your space prepped—put down your EasyPress Mat or a folded towel. Then smooth out your swim shirt on the mat and heat your EasyPress to the proper settings. Using SportFlex on polyester is 305° for 30 seconds, but you can check Cricut's Heat Settings Guide to find the correct temperature if you're using a different base material.Start by preheating your shirt for 5 seconds.

- Then place your first strawberry piece down on your shirt.

- Suggestion: Use a piece of cotton as a pressing cloth when working with any type of iron on (though Cricut says it's not necessary). Press for 30 seconds.

- Then let the SportFlex cool for 30 seconds before peeling.

- Then carefully peel back the plastic liner piece.

- Then repeat the process with the other piece of the strawberry, carefully lining it up with the first piece.


- Love working with this material—it's super lightweight and doesn't crack or peel.

- And there you have it!






Comments & Reviews
Karen C says
Is Sportflex vinyl any softer from the inside? I have a picky grandchild who doesn’t like the feel of the insides of shirts with regular HTV.
peggy says
what is the thickness of cricut sportflex iron on vinyl
Beth says
Best tutorial on this that I have seen. Thanks for sharing.
Laura Rosario says
How do you tell which side goes down if you are using the white Sportflex?
Crystal Summers says
Hi Laura,
The transfer side of the material will go on the mat. It’s the clear protective covering that you iron on top of. To place it on your shirt, be sure that same protective covering is on top of your design.
Hope this helps!
Crystal
Rafaela Sandoval says
I need to know how to iron sportFlex on cotton t-shirts. I have a Vivo home heat press. Can you please help me
Donna says
Best tutorial I have found anywhere on sportflex hands down answered all question. Thank you so much.
Luz E says
Hello I ask you if you put the first part of the strawberry for 30 seconds and the top of the strawberry you put it for 30 seconds but does not spoil the first part that you already put because it would be giving 60 seconds to the one below? and then you turn it around the back and give it 15 more seconds? Could you explain to me why I’m new and I’m lost..thanks