Cricut Print then Cut expands the things you can do using your Cricut machine! Print out nearly any design using your home printer, and your Cricut will cut around the edge. Here’s how to do it!
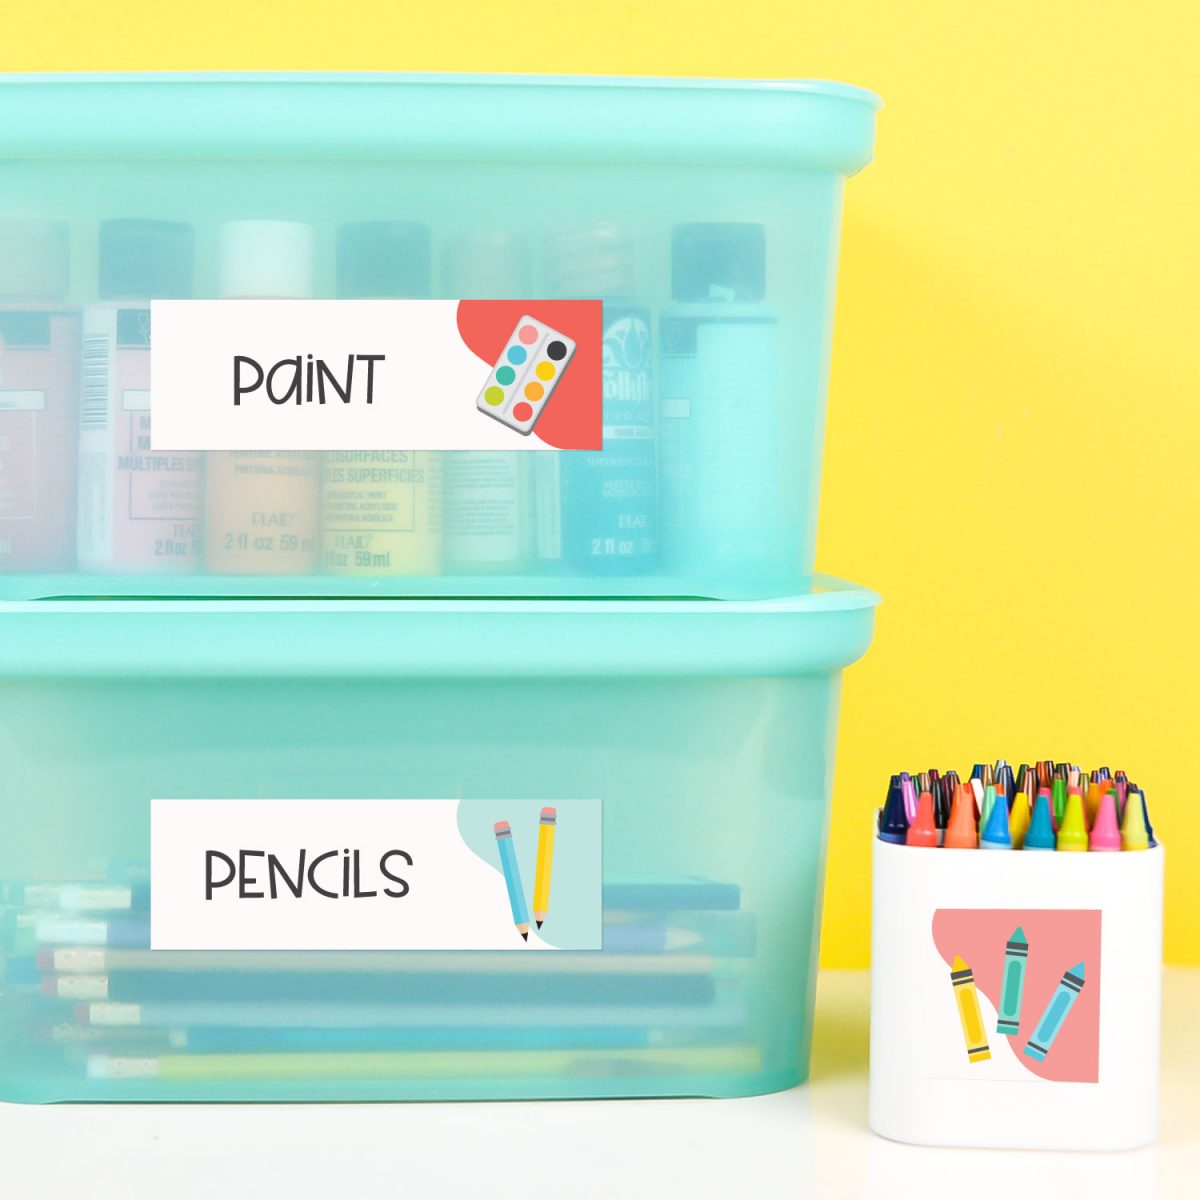
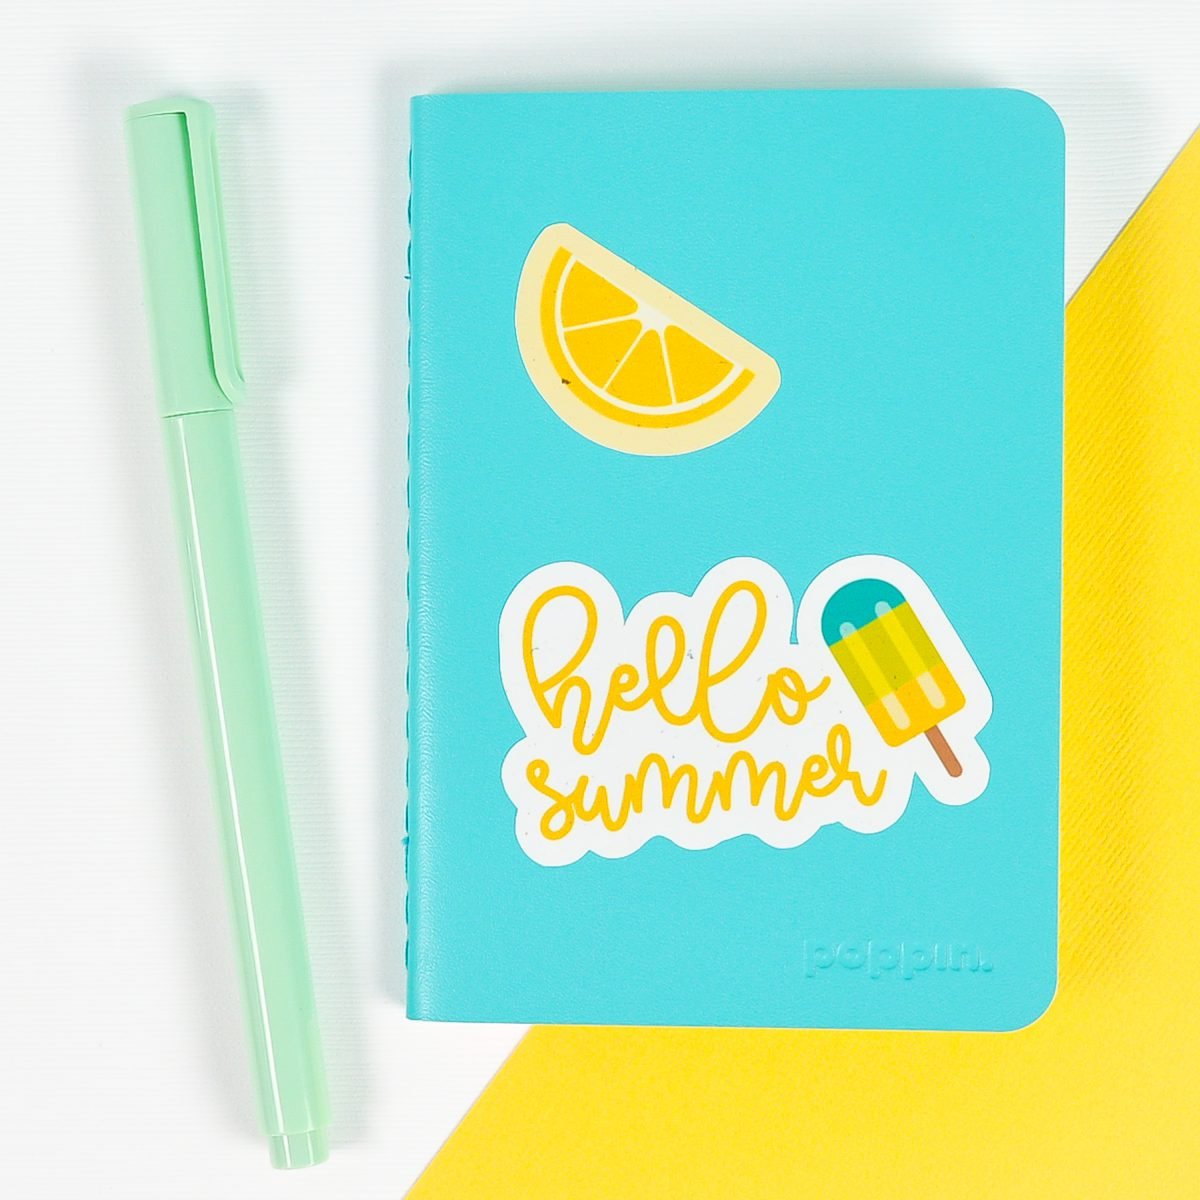
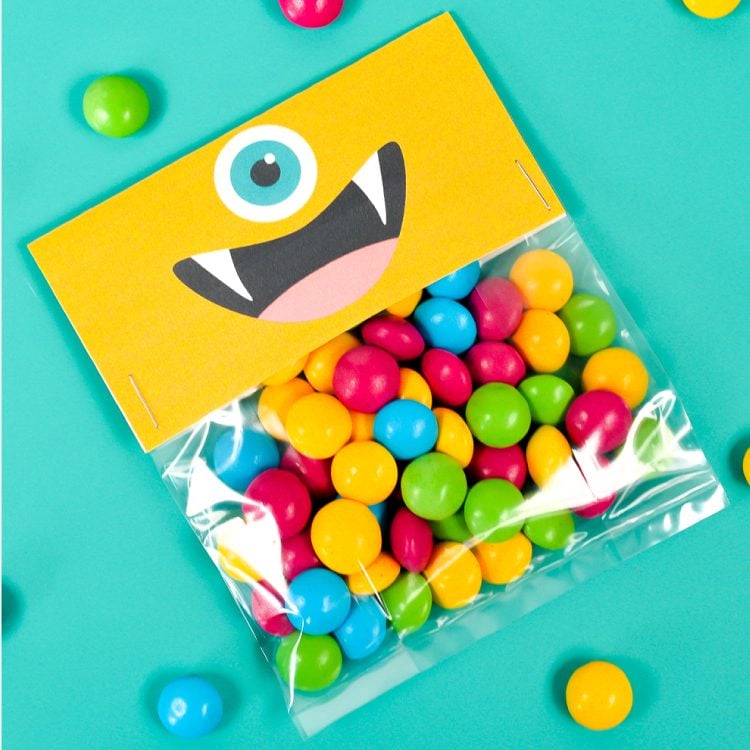
Print then Cut is an amazing feature of the Cricut Explore and Cricut Maker machines that allows you to print all sorts of things on your home printer and then cut around the edges using your Cricut! Some ideas include:
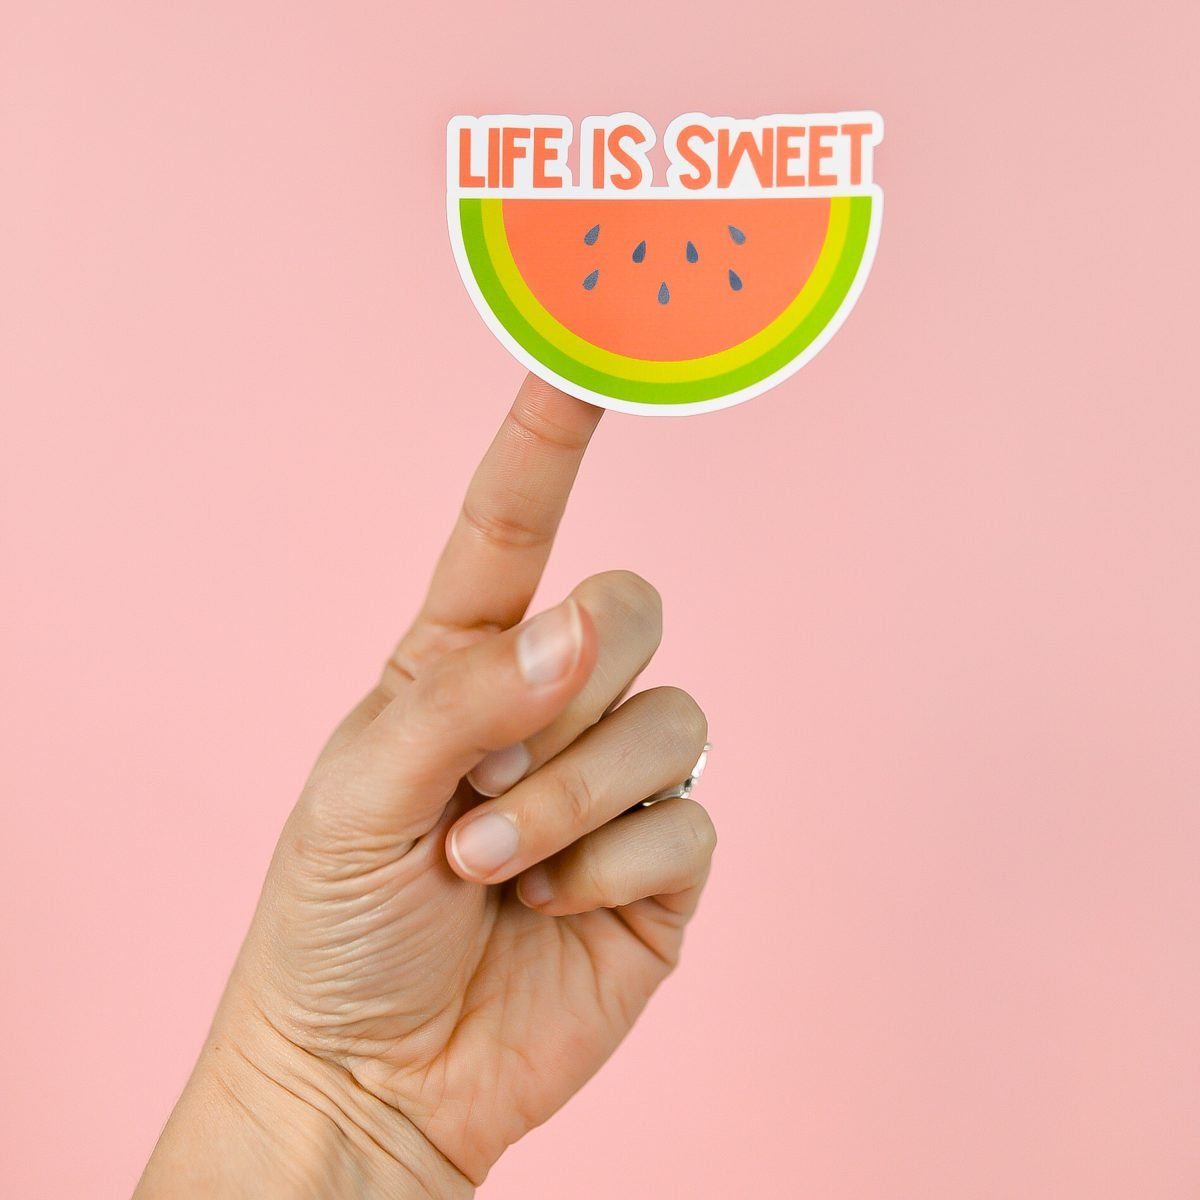
- Stickers
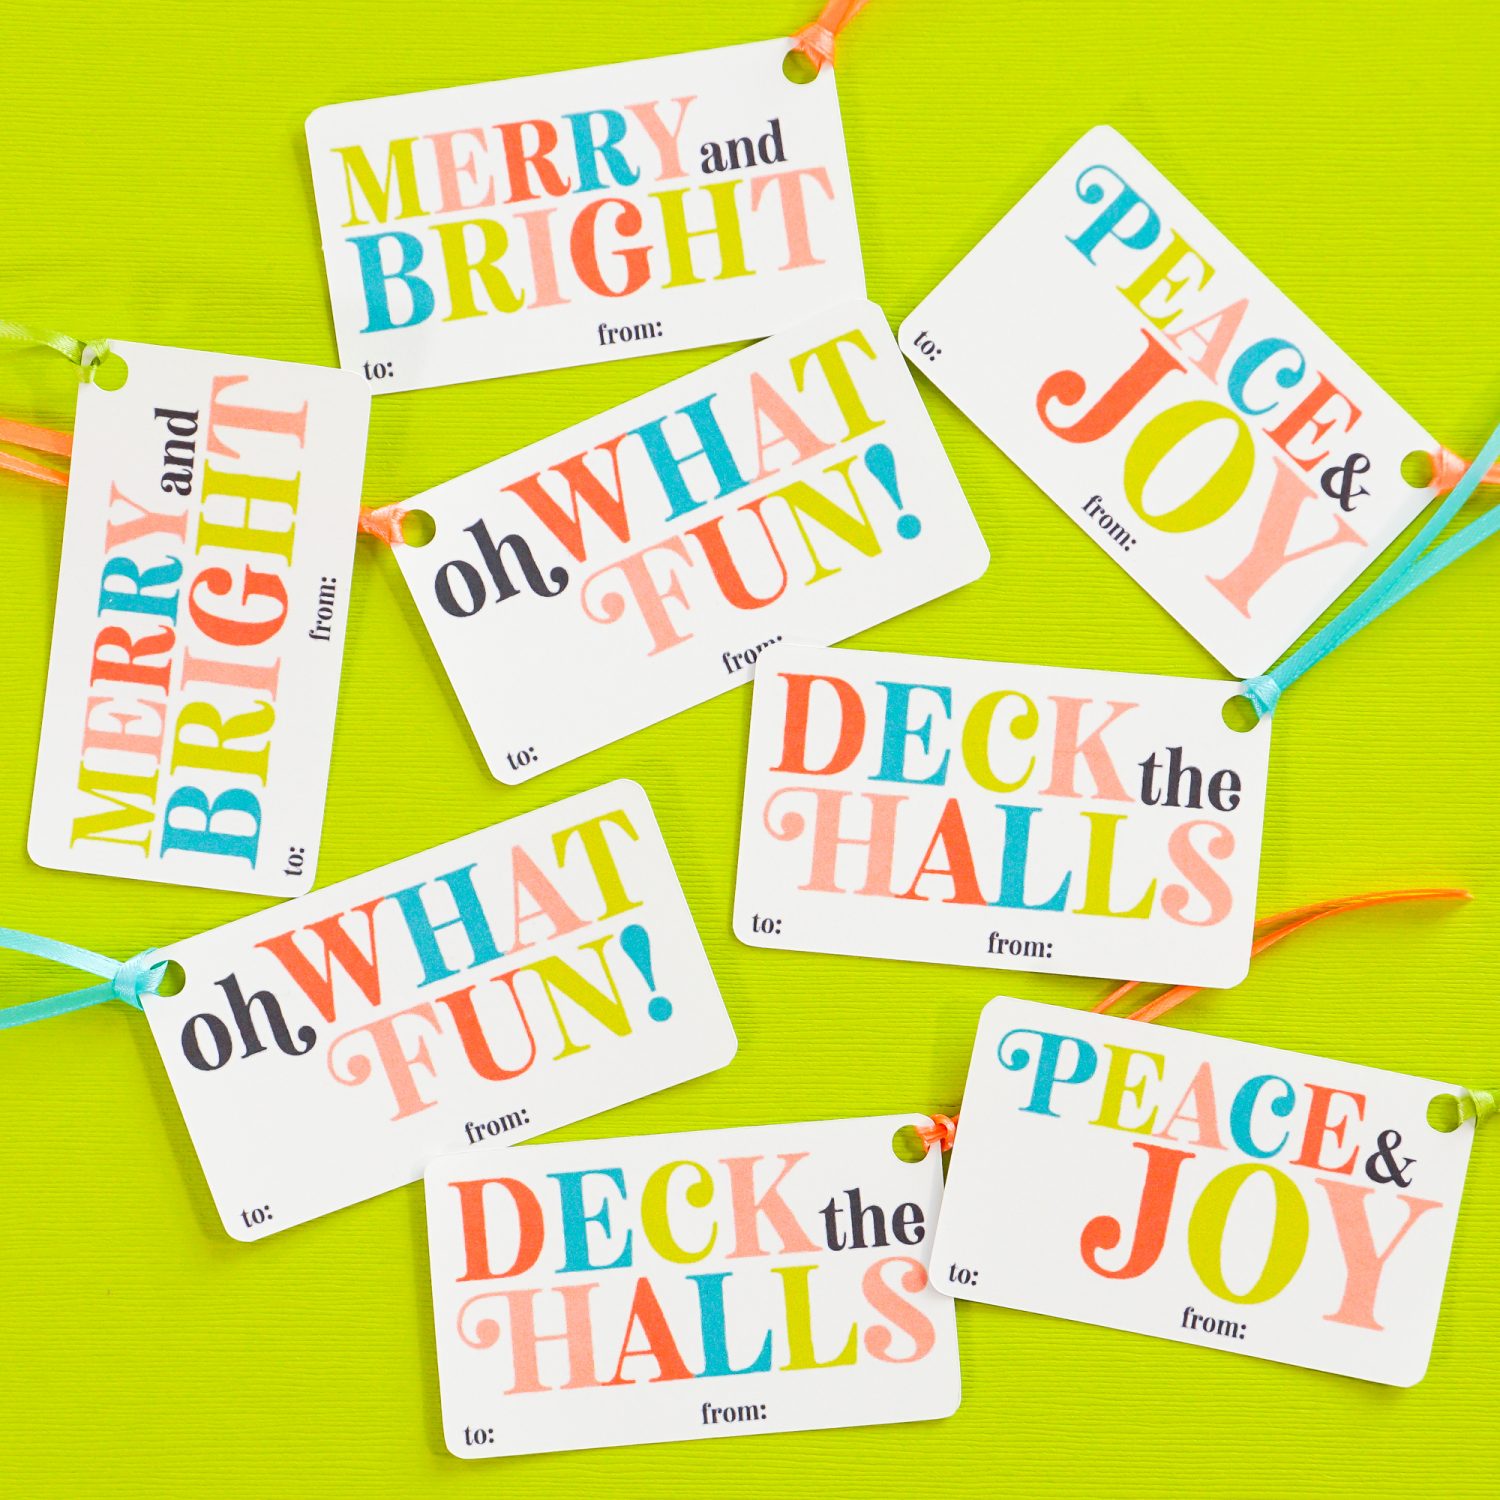
- Gift tags
- Party decor
- Name tags
- Banners
- Photo booth props
- Instruction cards
- Bag toppers

Print then Cut is one of those features that I absolutely love and yet it sometimes can be confusing or intimidating to use, especially for new Cricut owners. Today I’m going to go through everything you need to know about Cricut Print then Cut so you can be confident in using this Cricut feature. Want to grab the files used in this post? Grab them below!
Visit my Amazon shopping list for everything you need to get started using your Cricut!
First we’ll start out with some common Print then Cut questions, and then we’ll make a project so you can practice!
What is Print then Cut?
Print then Cut is a Cricut feature where you print an image on your home printer and then your Cricut will cut around the edge.
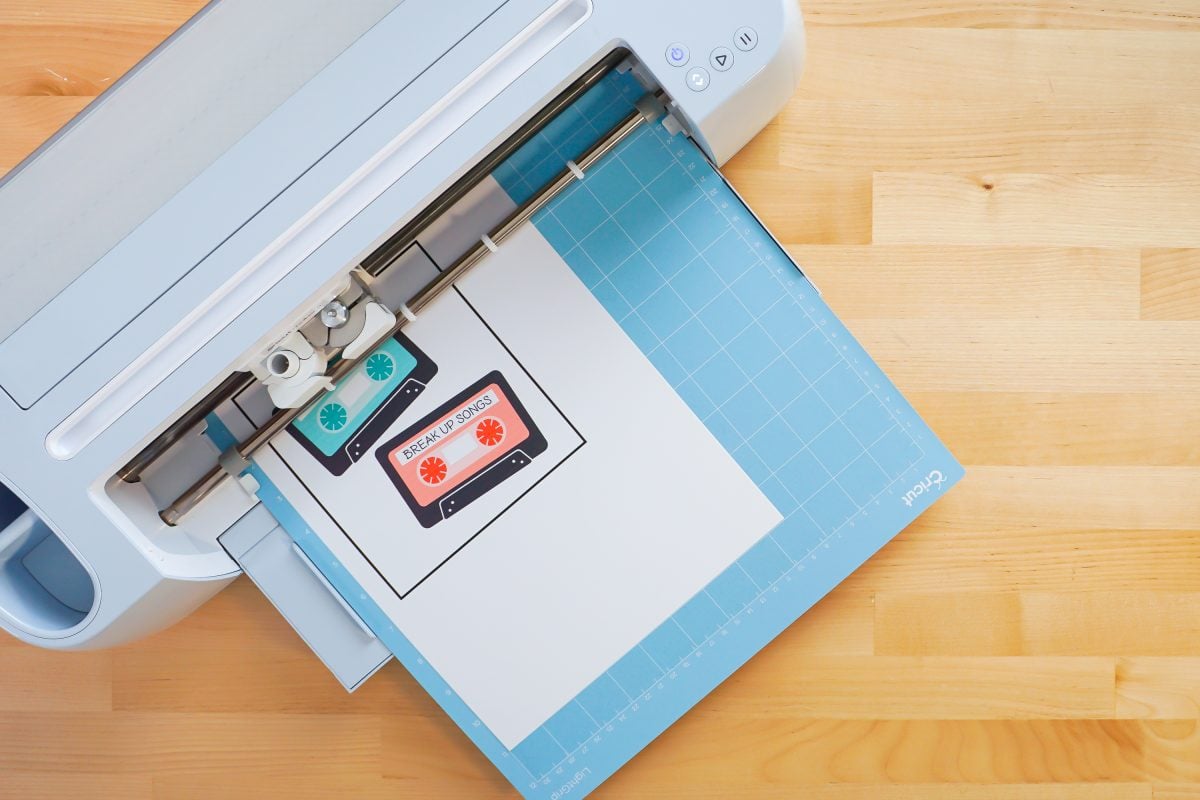
You will need to run Print then Cut through Cricut Design Space because the software will add black “registration marks” around the image, signifying where to cut.
Which Version of Cricut Design Space Do I Need?
To use Print then Cut, you’ll need the Desktop or iOS app version of Cricut Design Space. The Andriod app doesn’t support Cricut Print then Cut at this time.
Which Cricut Machines Work with Print then Cut?
You can use the following machines with Print then Cut:
- Cricut Maker 3
- Cricut Maker
- Cricut Explore 3
- Cricut Explore Air 2
- Cricut Explore Air (retired)
- Cricut Explore One (retired)
- Cricut Explore (retired)
Note that Cricut Joy doesn’t support Print then Cut—it doesn’t have the same sensors as the larger machines.
Does My Cricut Print?
Nope! You must have a home printer (or you can have your projects printed at a print shop)—your Cricut does not print.
What Kind of Printer is Best for Cricut Print then Cut?
I get asked this question a lot and find it hard to answer because it’s really hard for one person to test out a bunch of different printers. I have two printers that I like:
HP Envy Pro 6455: I have a an HP Envy Pro 6400 and I really like it. That machine was replaced with the HP Envy Pro 6455, which has the same basic features. Using the highest print quality, I find that this printer is a great choice for all of my Print then Cut projects—the printing is vivid and generally even, though occasionally I can make out the print lines.
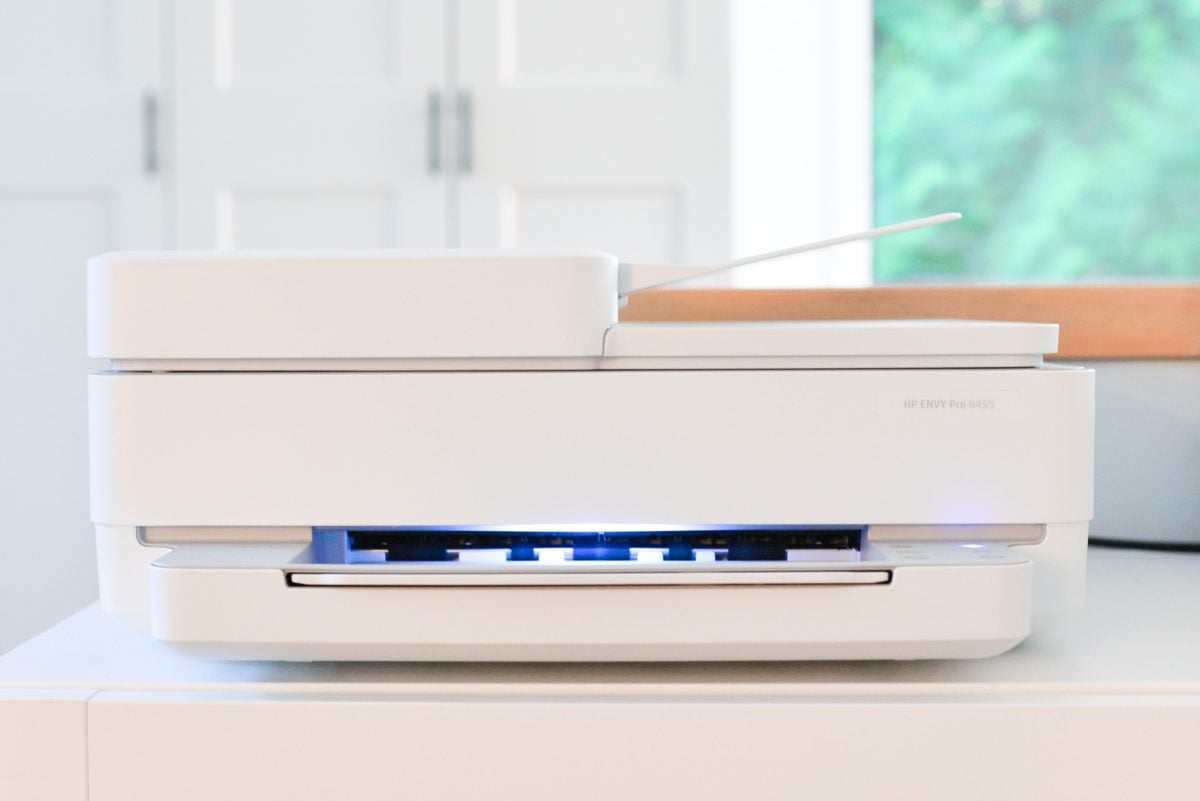
My favorite feature of the HP printer is the Instant Ink subscription. This means that my printer is connected to the internet and when it starts to run low on ink, it sends a message to HP and I get new cartridges in the mail as a part of the subscription. I love not running out of ink in the middle of a project! I pay $2.99 for up to 50 pages, and any unused pages roll over to the next month.
Canon Pixma TS9521C: I also have a Canon Pixma TS9521C printer. This is known as a “crafter’s printer” because it can actually print a full 12″ x 12″—the size of a Cricut mat or piece of scrapbook paper. This is great for all sorts of projects, but because Print then Cut has a limited size (see below), you can’t take advantage of that full area. That being said, this printer can print regular sheets as well.
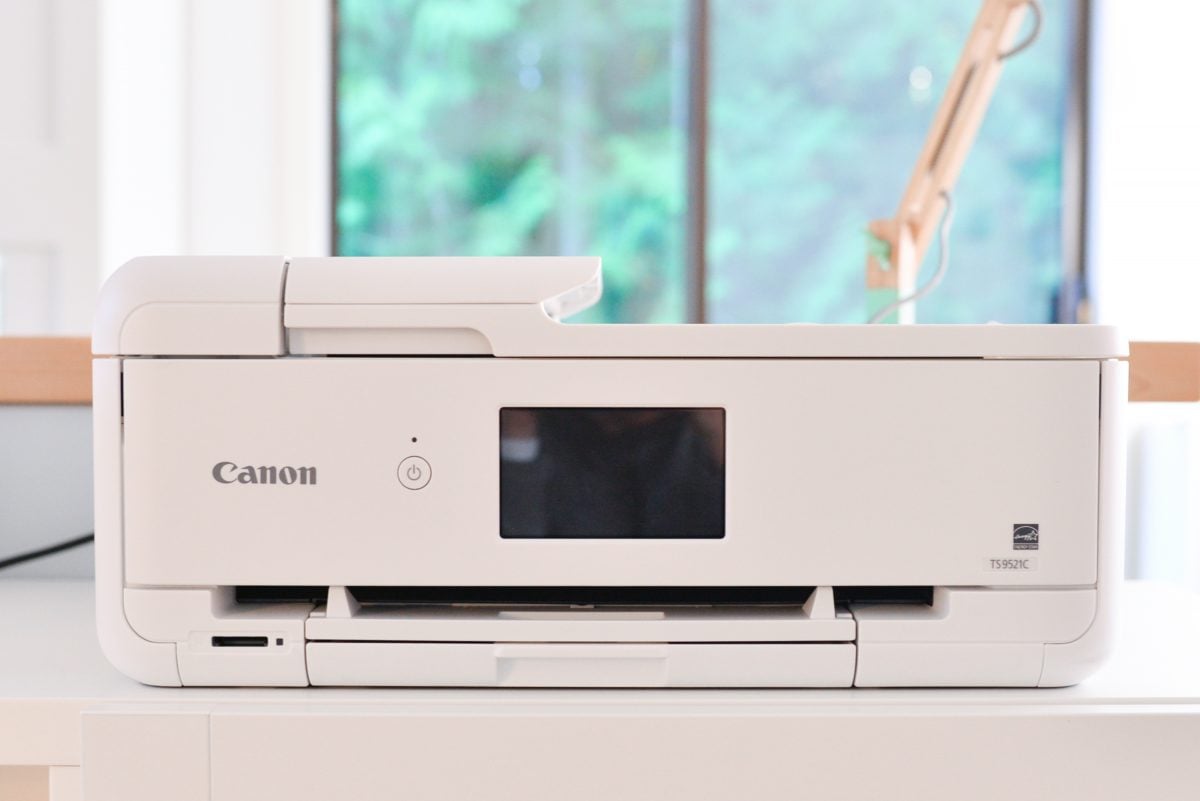
The color on the Pixma is never quite as vivid or consistent as my HP Envy, but it’s still pretty good. You can also set up Amazon Dash to send you new ink when your Pixma is running low, much like the HP Instant Ink.
Between the two, however, I’d probably go with the HP Envy unless you are really set on that 12″ x 12″ printing. It’s less expensive to purchase and the overall quality of the print is higher.
What is the Cricut Print then Cut Size Limit?
Good news! The Print then Cut print area was recently increased. You can now print and cut on paper up to 11″ x 17″ (tabloid size) if you have a printer that prints that larger format! Read my post New Larger Cricut Print then Cut Size and How to Use It!
How do I Calibrate Print then Cut?
Before you use Print then Cut for the first time, you’ll need to calibrate it. This ensures that your cuts will be around the edges of your printed image, and not offset incorrectly. Start by going to Calibration in the Main Menu in Cricut Design Space (in the upper left).
NOTE: You will only be able to Calibrate for Print then Cut in the iOS App or using your Desktop Computer/Laptop. It is not yet ready for the Android app.
Click on Print then Cut. Cricut Design Space will prompt you to print out a calibration sheet on your home printer and then place the calibration sheet on a Cricut mat in the top left corner.
You’ll then select your machine and your Cricut will test cut the middle square of that calibration sheet.
Without unloading the mat, take a look at the test cut. Cricut Design Space will ask you if the cut line touches the middle square all the way around. Click yes or no.
Cricut Design Space will then cut a bunch of calibration lines across the top and down the right side of your paper. Without unloading the mat, take a look and see which of the lines have the cut closest to the center. For my sheet, it was “12” on the top and “I” on the bottom.
Then it will make one final cut around the medium size square in the center of the paper. Once that is cut, you can remove the paper around the outside. You should see that the test cut touches the black square on all four sides. Your machine is calibrated!
If you are having problems calibrating Print then Cut, I talked about one way to troubleshoot here. You may also need to contact Cricut Support.
What are the Black Marks Around My Cricut Print then Cut Image?
When you go to print your image through Cricut Design Space, you’ll notice that Design Space adds black corners or a black box around your image (depending on which version of Cricut Design Space you have). This is called Registration Marks or a Registration Box.
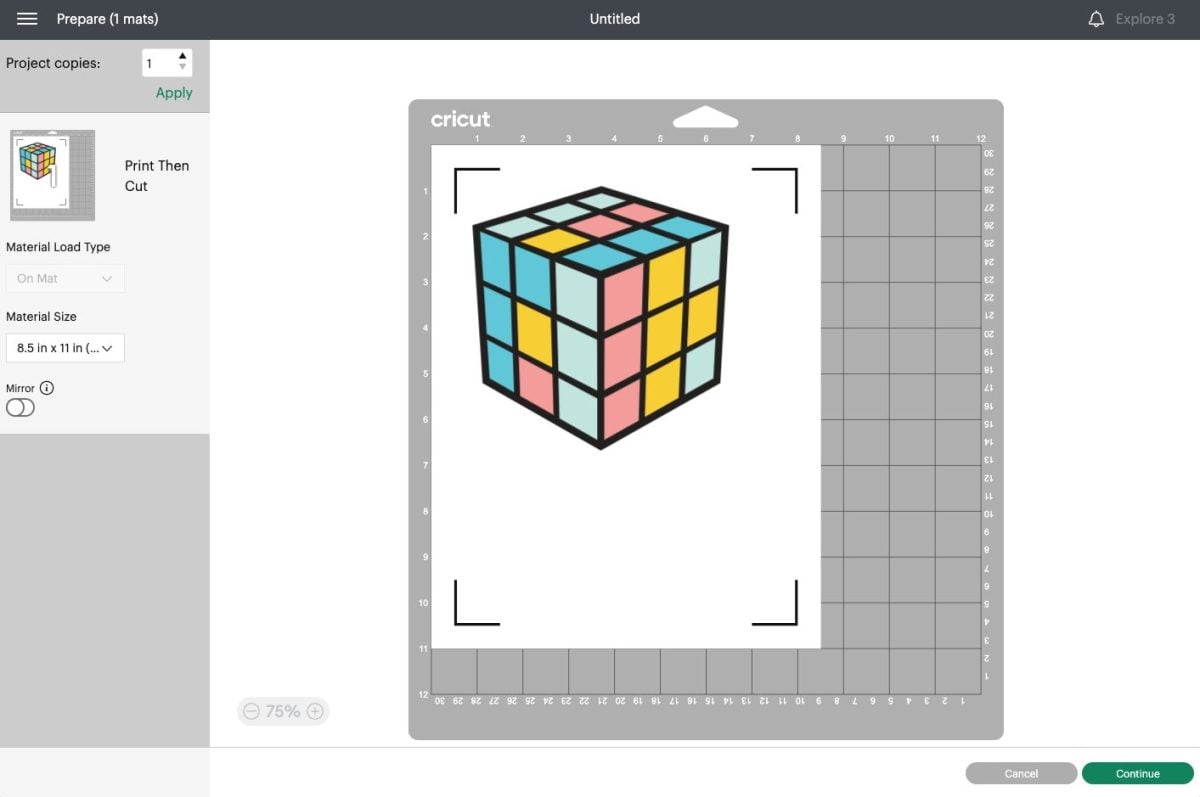
These black marks is what your Cricut reads to know exactly where to cut your project.
What is a Bleed?
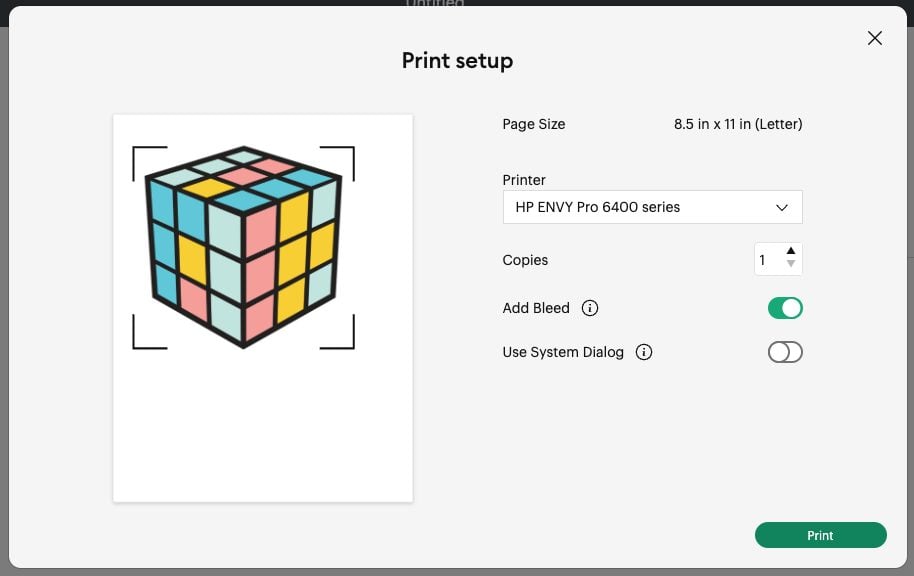
When you go to make your project, you’ll see an option to add a “bleed.” In printing terms, a bleed is a small border around each image that allows for precise cutting without an accidental white edge showing through. The bleed will probably make the printed image look fuzzy around the edges, but this border is cut off in the cutting process so you have a clean, crisp image with no white edge.
What Type of Materials Can I Use for Print then Cut?
There are a number of materials that can be used with Print then Cut. Basically, if you can put it through a printer, you can probably use your Cricut to cut it!
Paper & Cardstock: Paper and cardstock are two of the easiest materials to use with Print then Cut. Paper and cardstock are great for gift tags, cards, and other paper crafts. While the Cricut Explore machines can only Print then Cut with white materials, one of the lesser-known upgrades of the Cricut Maker machines is its ability to print then cut light to medium colored materials, as well as lighter patterns.
Printable Vinyl: Printable vinyl is a sticky-backed material that you can print on. You can then use your Cricut to cut out the designs. One of the perks of using this type of vinyl is that you don’t need to weed your project! Just print, cut, and apply like a sticker. Easy! Think decals, planner stickers, labels, and more. Learn more in my post How to Use Printable Vinyl.
Printable Sticker Paper: Cricut also carries printable sticker paper. Honestly, I don’t like it very much. It’s thicker than the vinyl and tends to jam and gunk up my printer. I’ve had to run the “super crazy mega use-all-the-ink” cleaning mode (you know the one) on my printer to get it to print well after using the sticker paper. I much prefer the vinyl, which has never been a problem in my printer. There are other brands of printable sticker paper, like Silhouette and Avery. I think they are both thinner and less jammy in your printer.
Printable Iron On: While Cricut makes a printable iron-on for light and for dark materials, I’m partial to JetPro Soft-Stretch. It says that you need a heat press to use it, but I’ve gotten nice adhesion with my Cricut EasyPress 2. Like with regular iron on, you’ll want to mirror your image before printing and cutting. Learn more in my post How to Use Printable Iron On.
How Do I Make an Image Print then Cut?
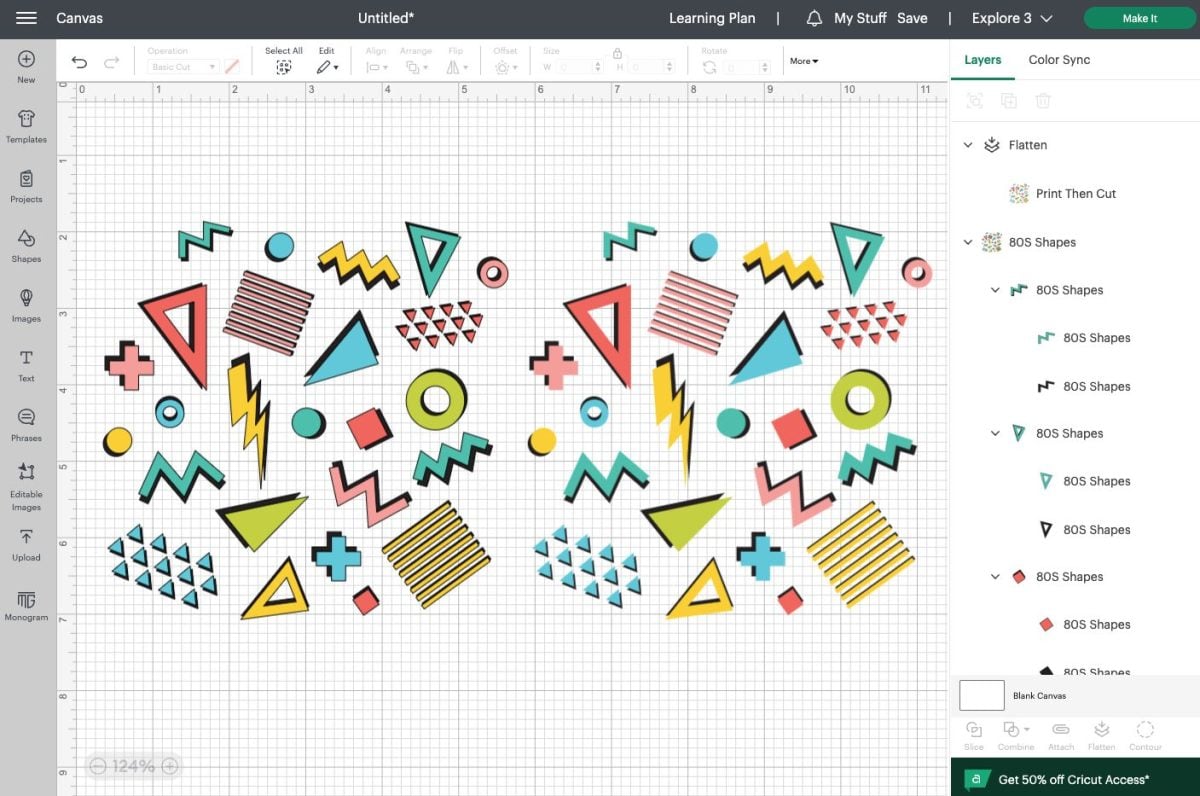
There are a handful of ways to create a Print then Cut image. Before we go into these methods, note that on your Canvas, a Print then Cut image does not have a black cut line around the image layers. You can see here the cut image vs. the Print then Cut image:
Let’s take a look at a few ways to make Print then Cut images.
Images in the Cricut Image Library
The Cricut Image Library has a ton of print-ready images. Using the filters on the left, click on Operation Type and then choose Print then Cut. These images are specifically designed to be printed, and then your Cricut will cut around the edge of the image.
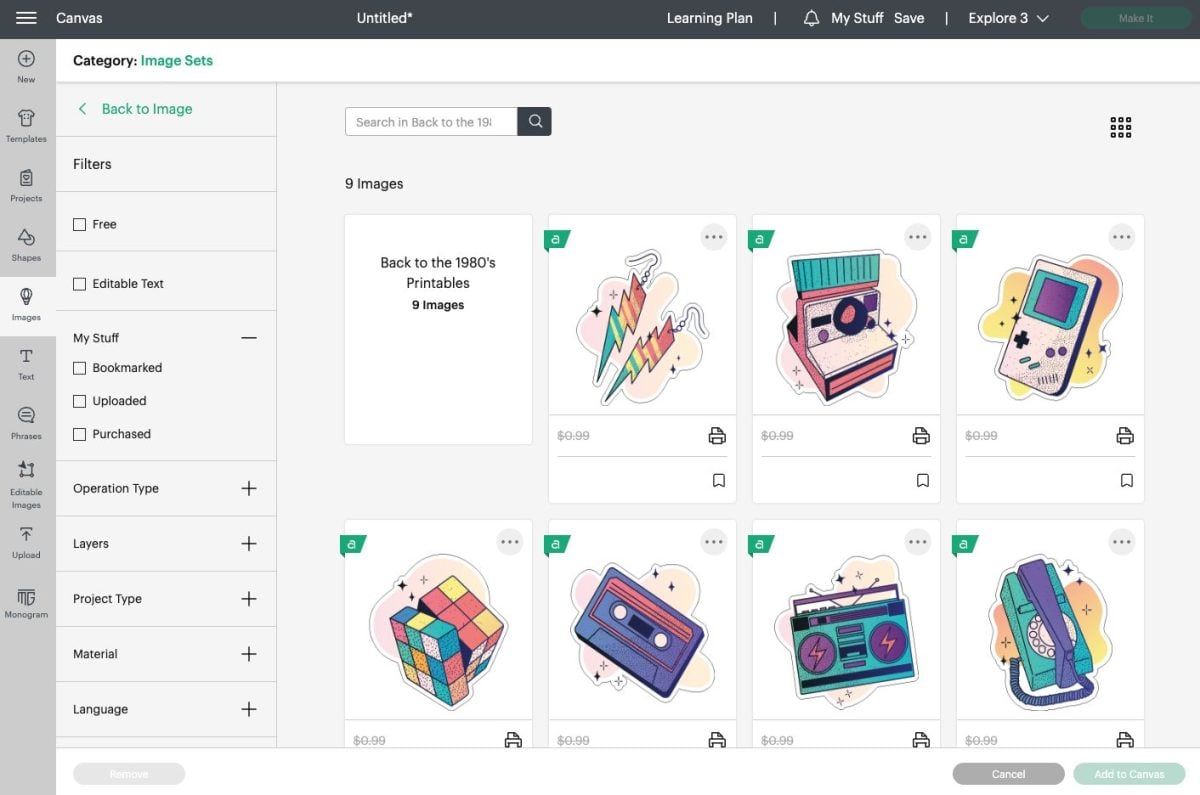
Sometimes a Print then Cut image will have more than one layer and sometimes they will all be together in a single layer, like this Rubik’s Cube (#M2B9088C6).
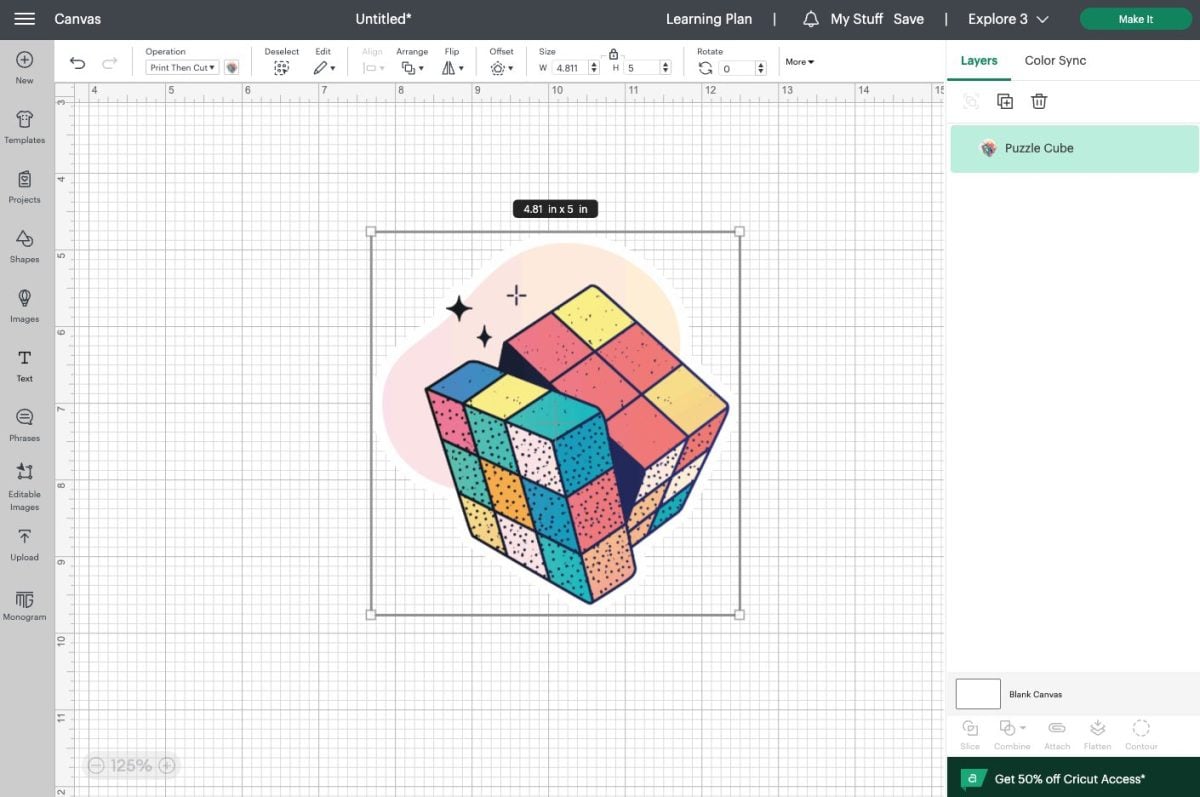
For most Print then Cut images in the Cricut Image Library, you will not be able to change the colors of the project.
Keeping Layers when Converting an Image using the Operation / Linetype Menu
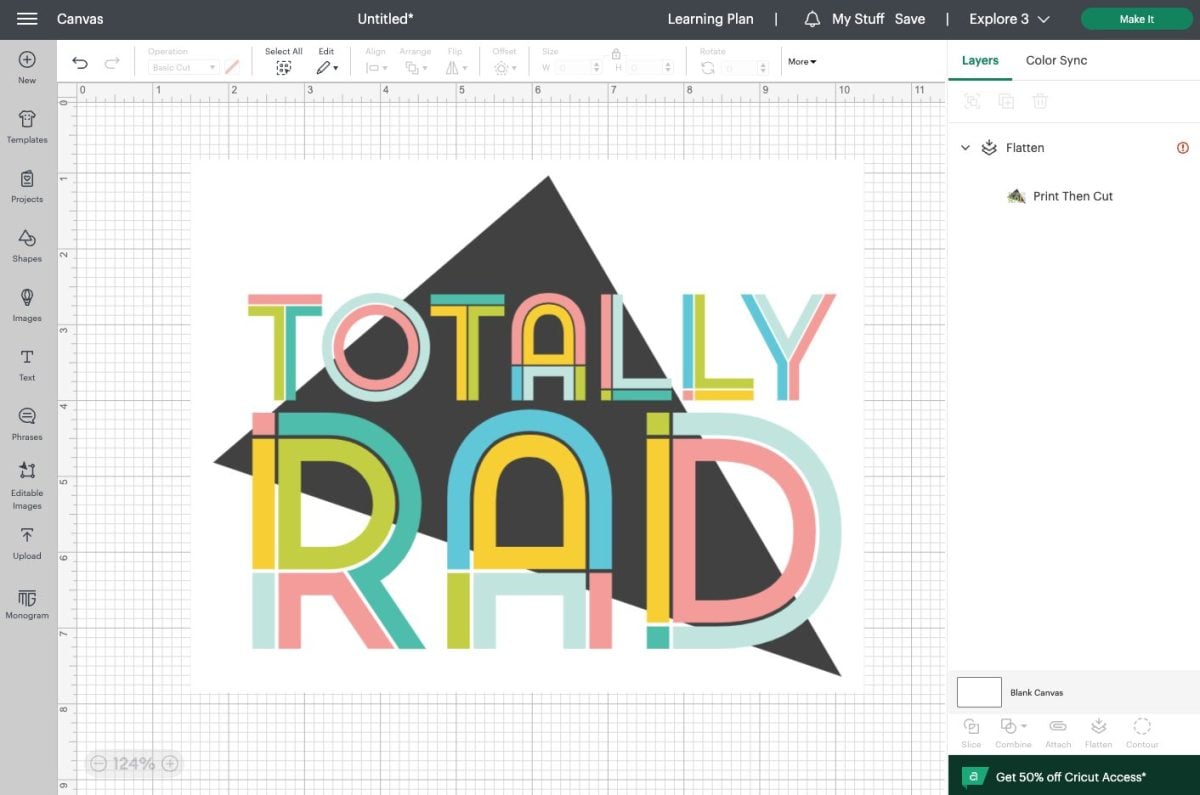
Let’s say you have a cut image, like this Totally Rad image you can download in the bundle above. You can see on the right that it is seven layers.
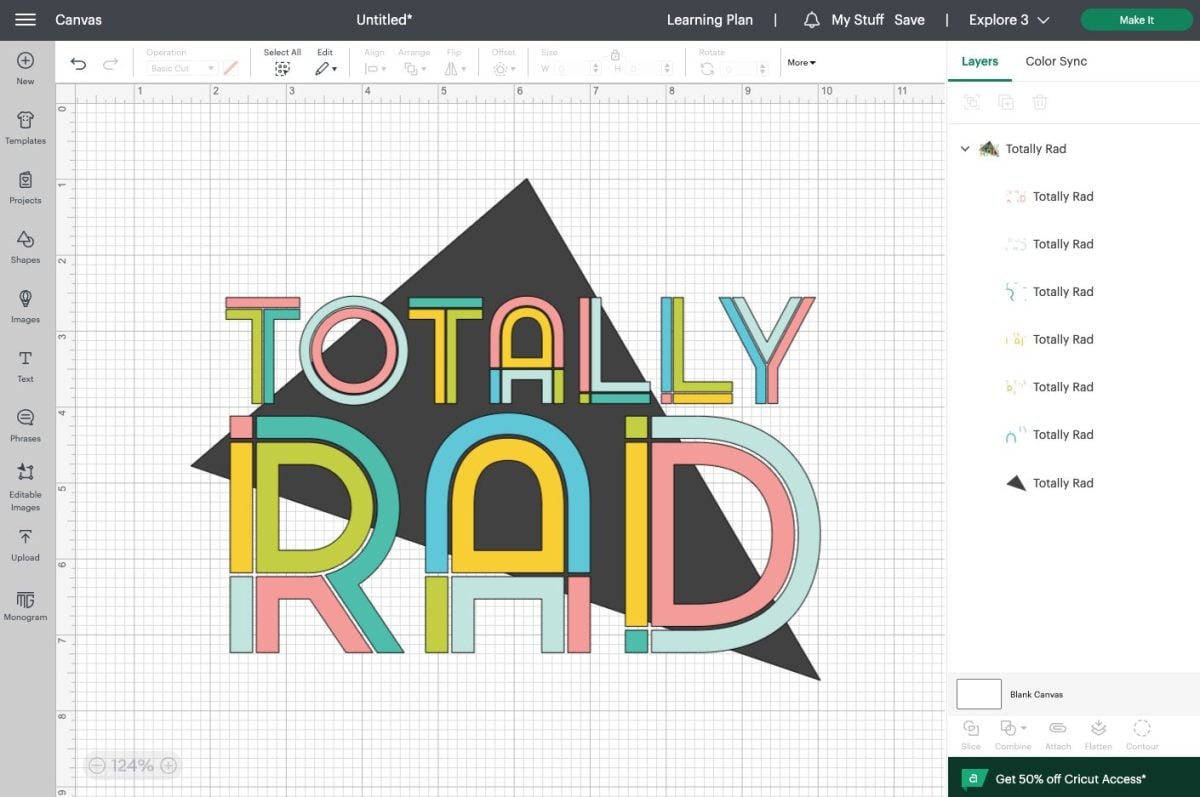
One way to create a print image of this image is to use the Operation (Desktop) or Fill (Mobile) tool to convert an image from a cut image to a print image. Just select the image and in the Operation/Fill menu select Print then Cut.
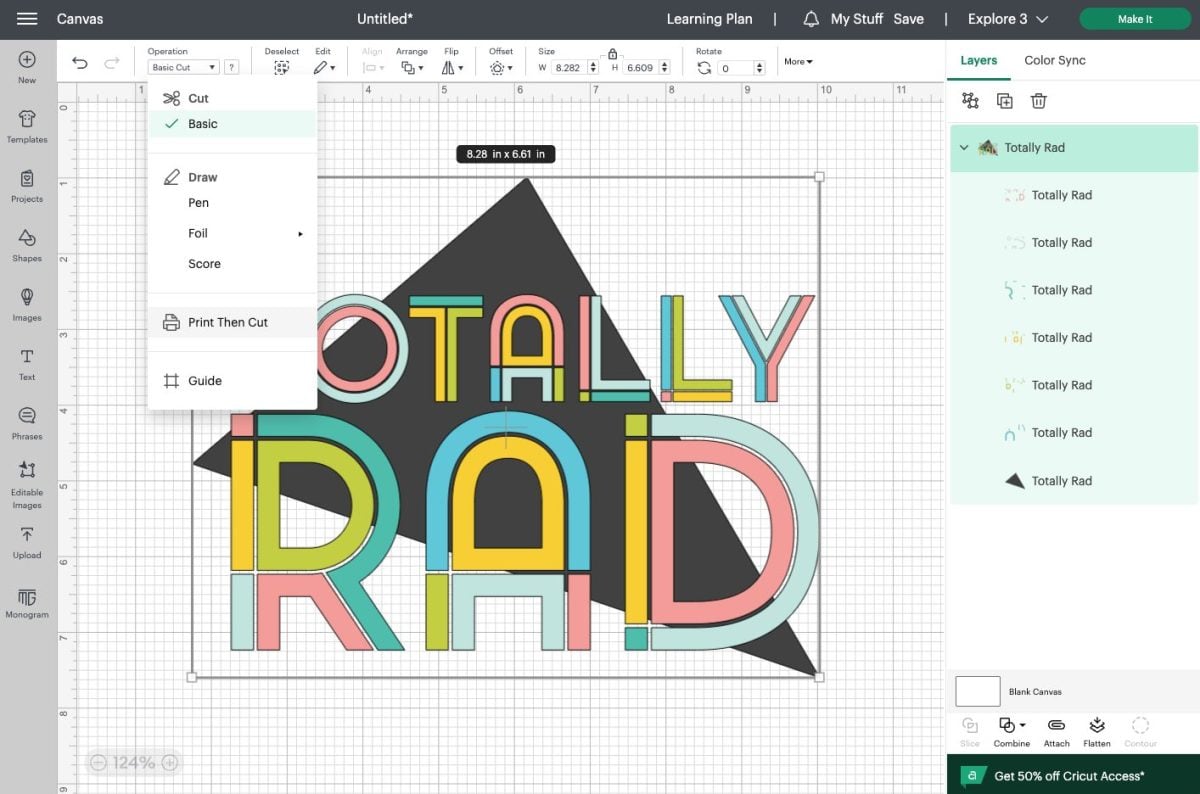
Using this method, your image retains all its layers, which you can see because the outlines around each piece are now gone. You can still go in and change the color of your layers if you desire, too.
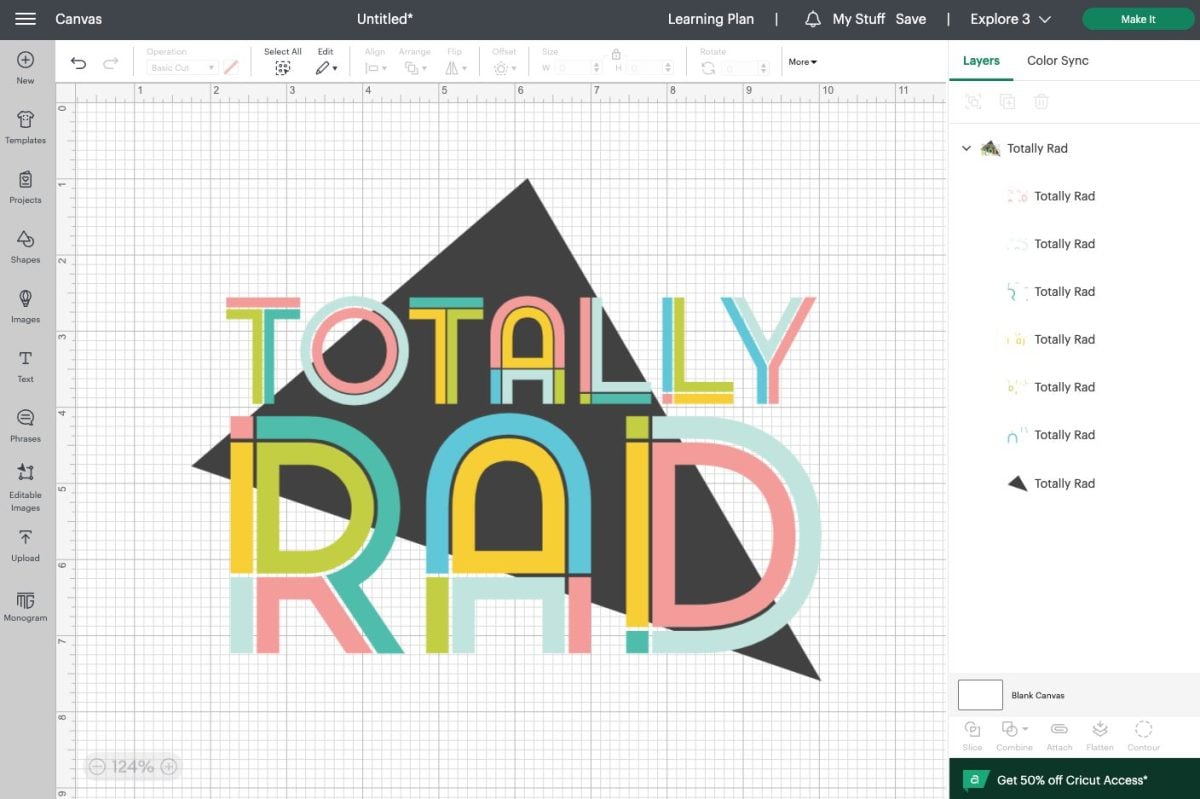
But when you go to cut your image, each layer will be cut separately as you can see here in the Prepare Screen.
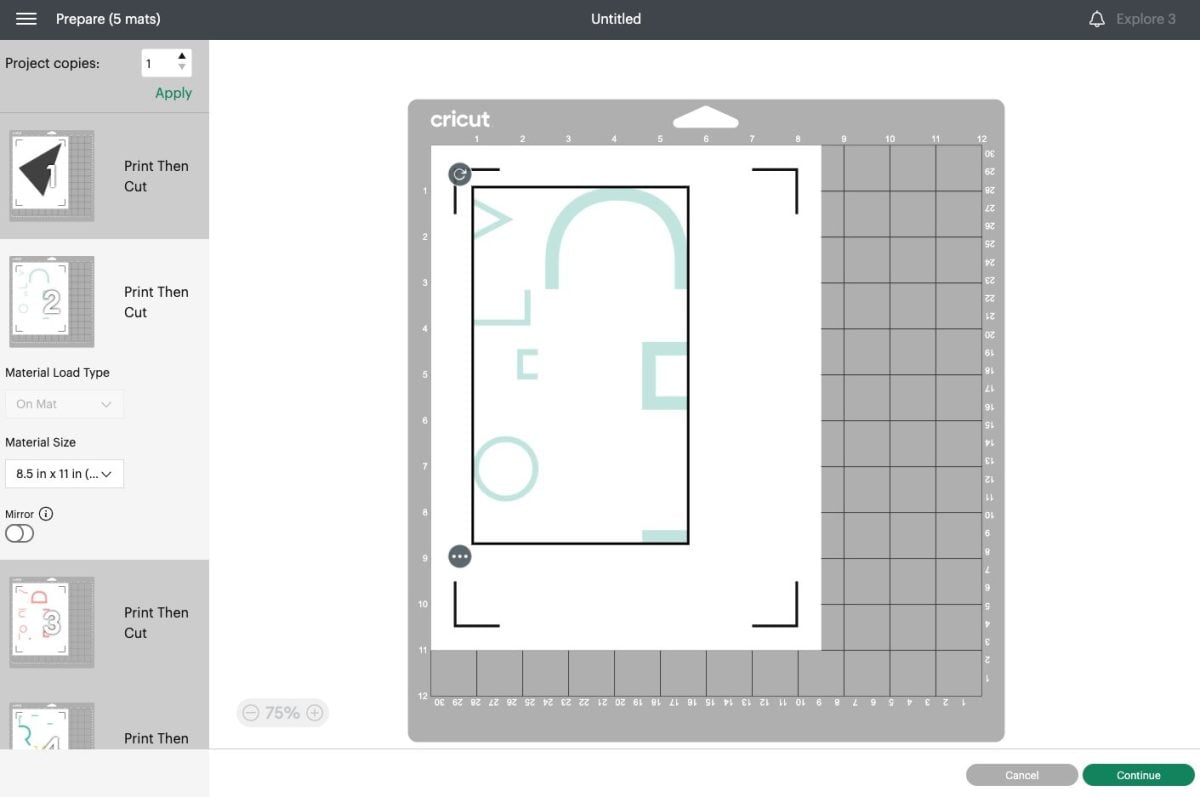
There may be some instances where this is what you want, but generally you’d probably want this to cut as a single image with all of the layers on top of one another. So let’s look at how to do that.
Flattening a Cut Image to a Single Print then Cut Image
Instead of using the Operation/Fill menu, select the image and click Flatten, which is at the bottom of the Layers Panel on Desktop and in the Actions menu on Mobile (learn more about Flatten). You’ll see that it’s now just a single flattened layer in the Layers Panel.
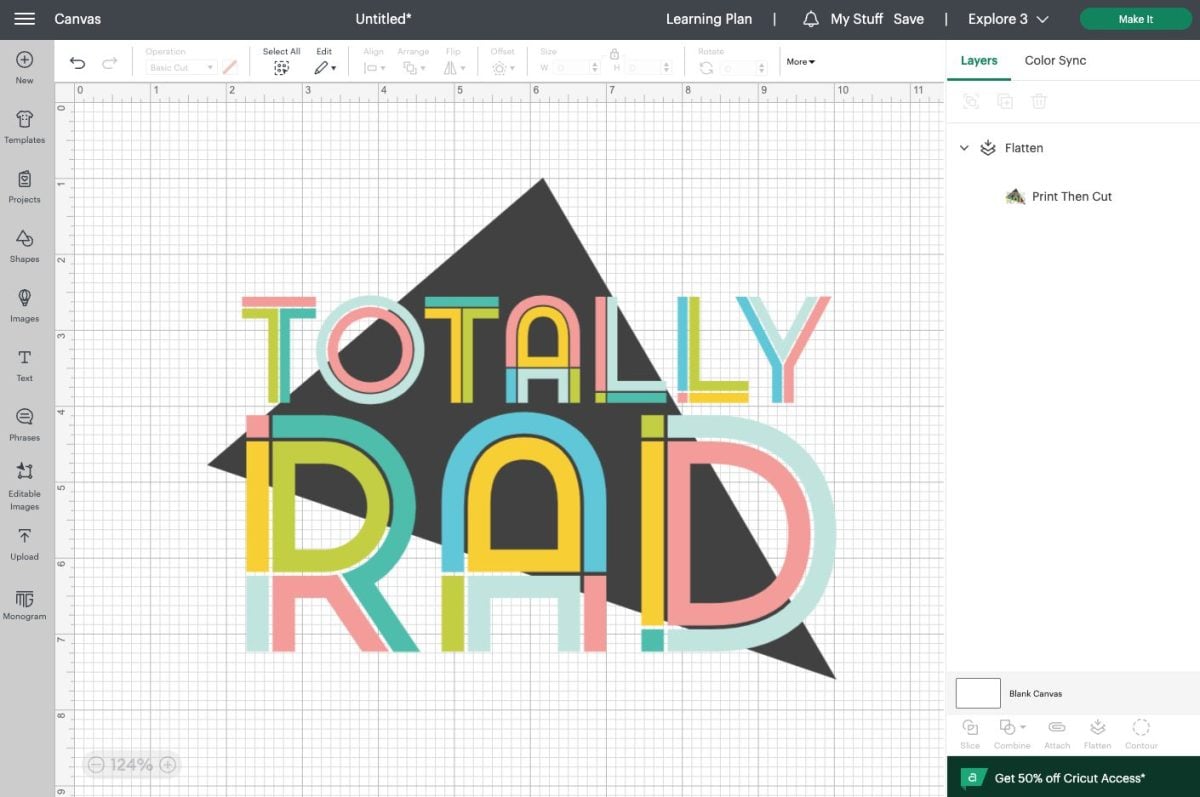
Now you can see that it’s a single flattened image designated as Print then Cut. You will not be able to change the colors once you’ve flattened an image. Now, when you go to cut this image, you’ll see that it is a single image.
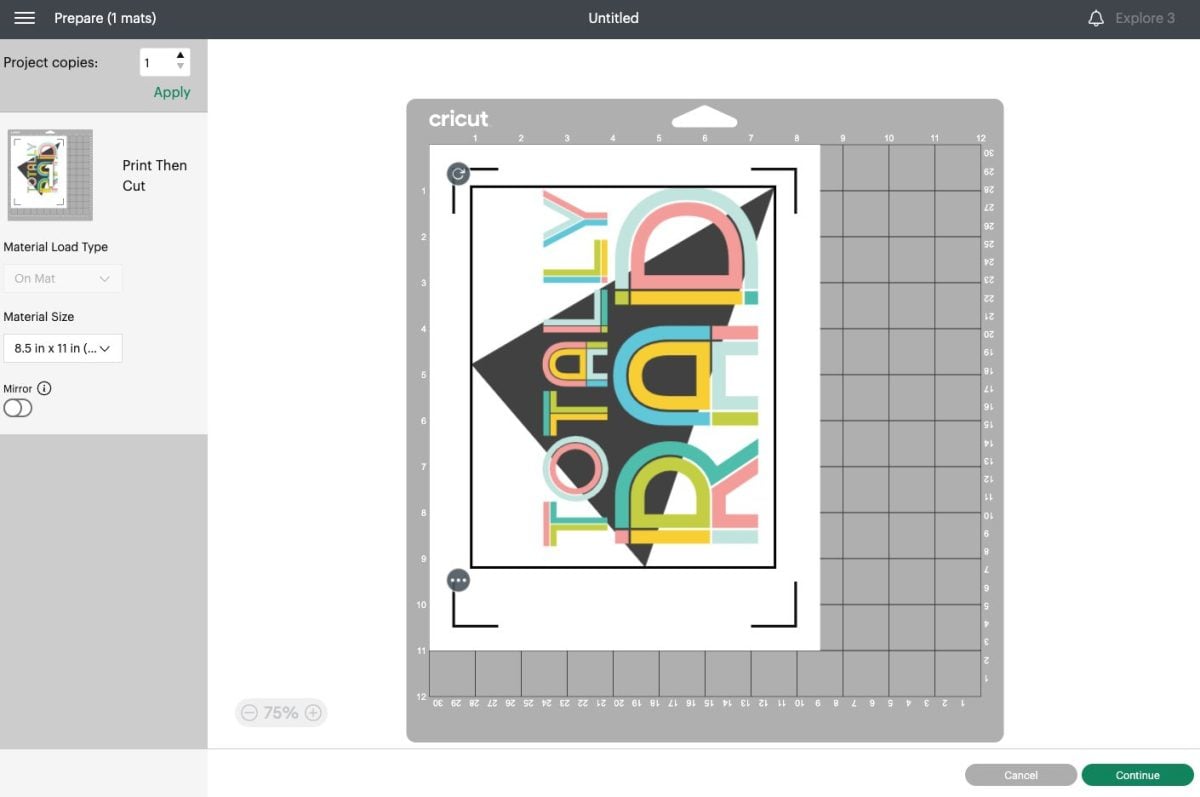
We still have one issue, however. As the file is now, the Cricut will cut out all of the white parts of that image—all of the little pieces around the letters. This may or may not be what you want, so it’s good to know how to add a background.
Adding a Background to a Print then Cut Image
Using Offset: The first and often easiest is using the Offset tool, which is only available on Desktop. I have a full post about Using the Cricut Design Space Offset Tool if you want to go into detail, but here’s the gist. Select your image and click the Offset tool.
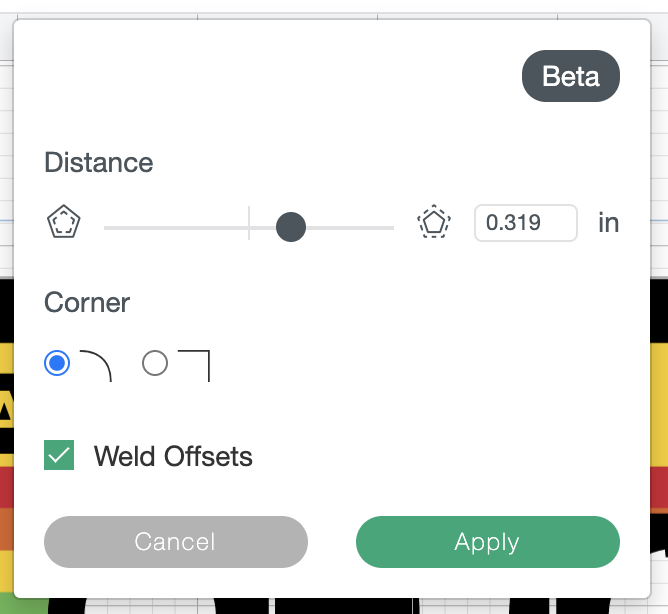
You can use the slider to create a border around the image. Generally I’ve found the rounded corner to be the most consistent and I almost always weld my offsets. Click Apply. Design Space will create an offset around your image.
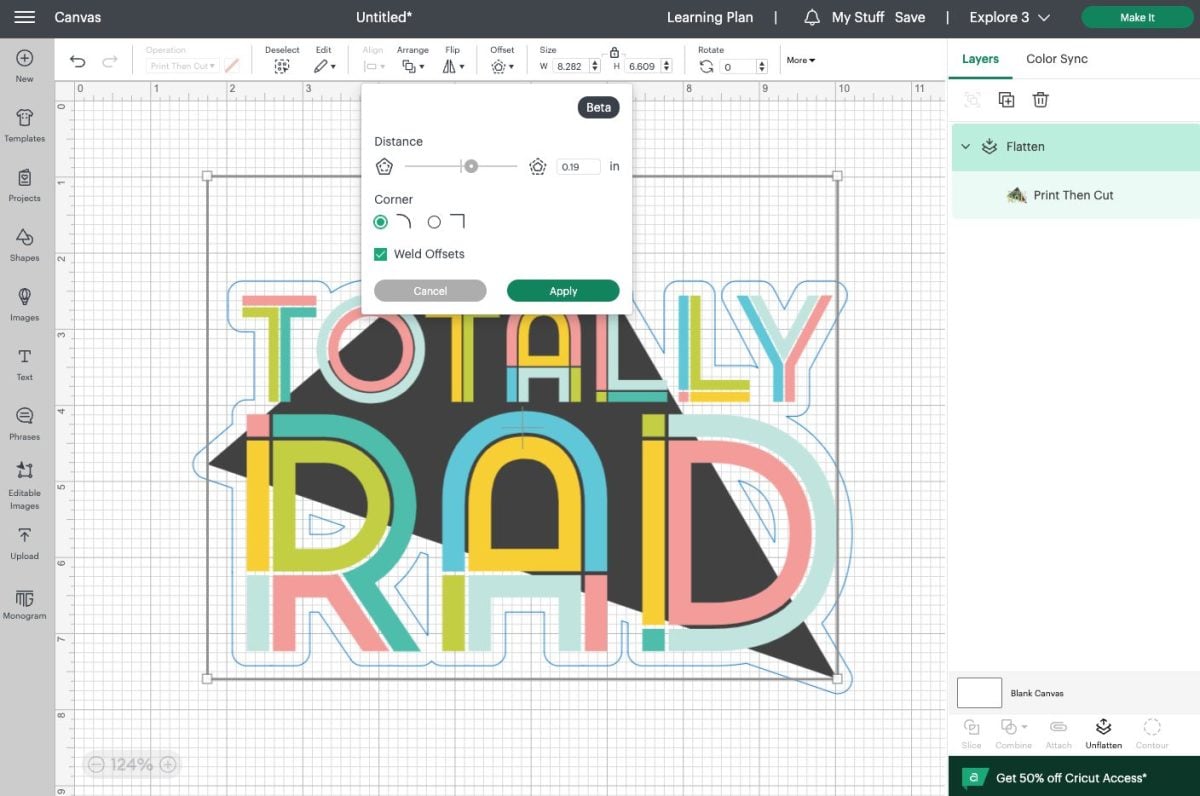
You probably don’t want a black offset, so change it to white or whatever other color you want.
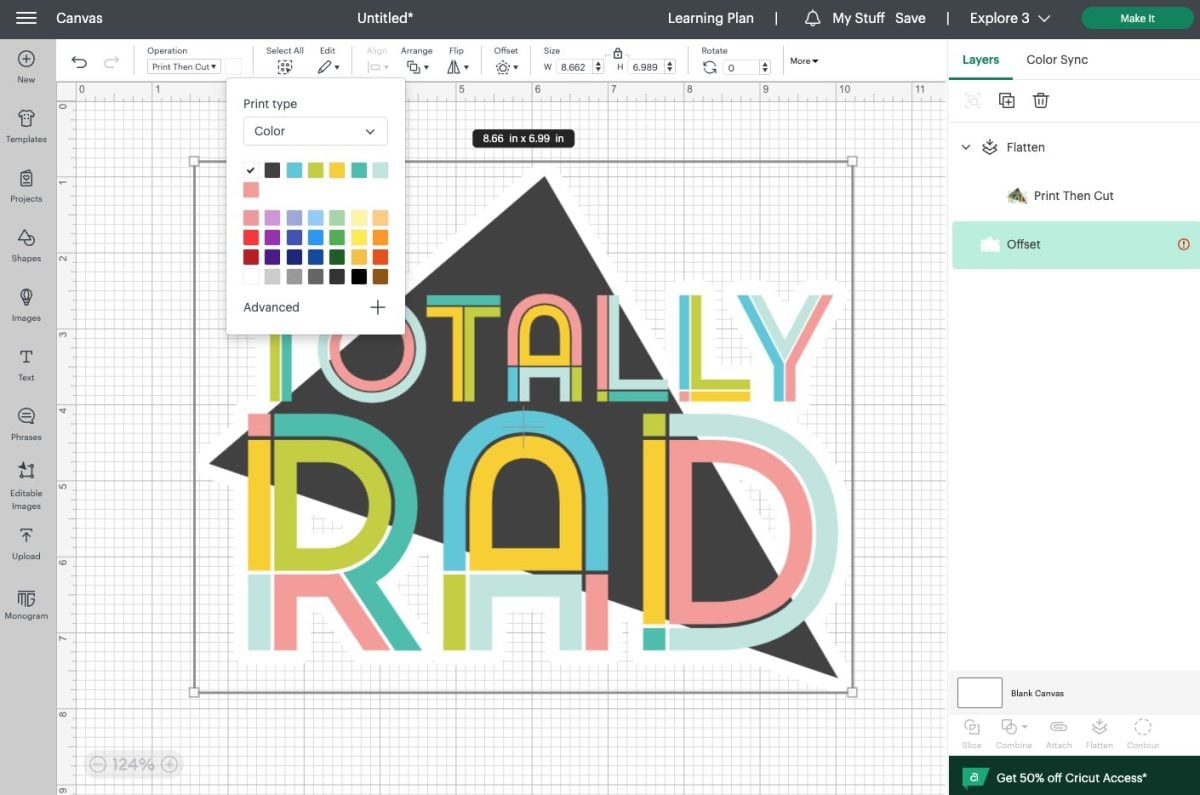
Then select both the image and the offset and click Flatten to make them one single printable image.
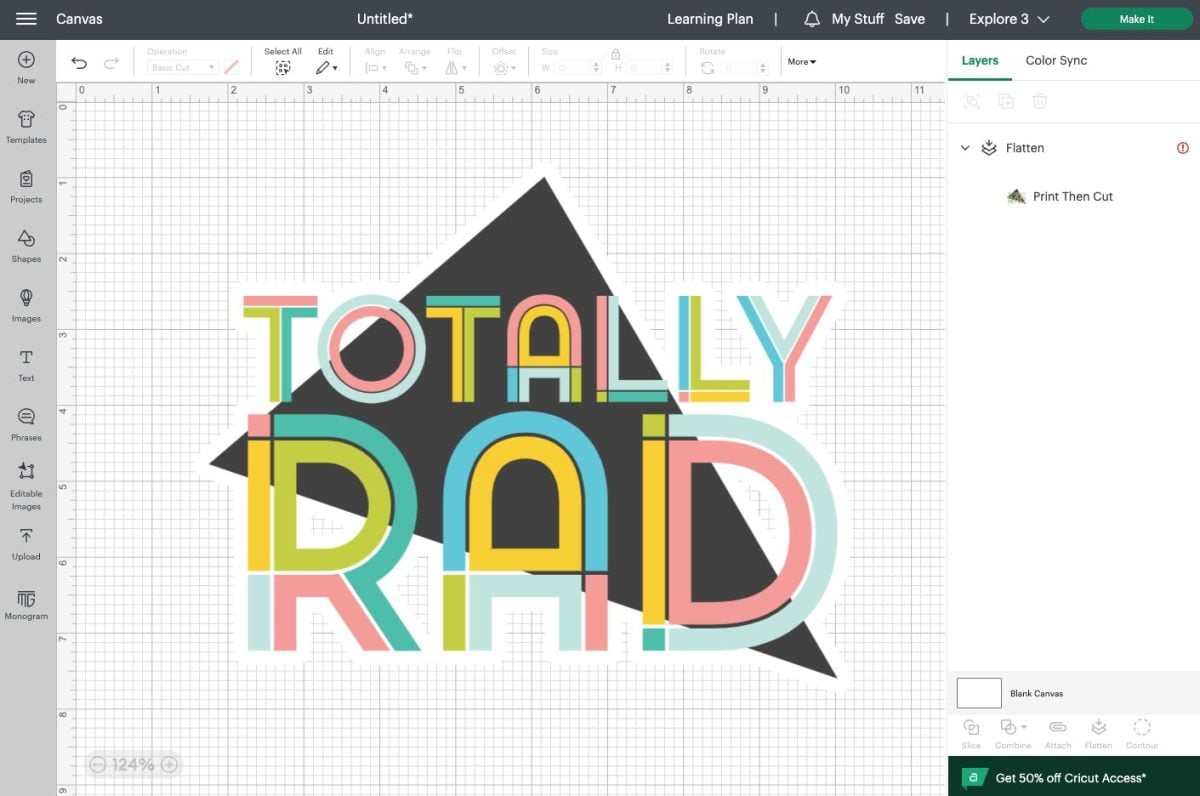
Now, when you go to print and cut your image, it will have a nice white border around the image and your Cricut won’t try to cut out all of those tiny pieces.
Using a Shape: You can also layer a shape behind your image instead of using Offset. This is helpful on Mobile in particular. Sometimes there will be a great shape behind your image (like your printable image is square…you can just add a square shape behind it). And sometimes it’s less great, like with this image. There’s no shape that’s similar to the shape of this file, so we’ll just try a rectangle.
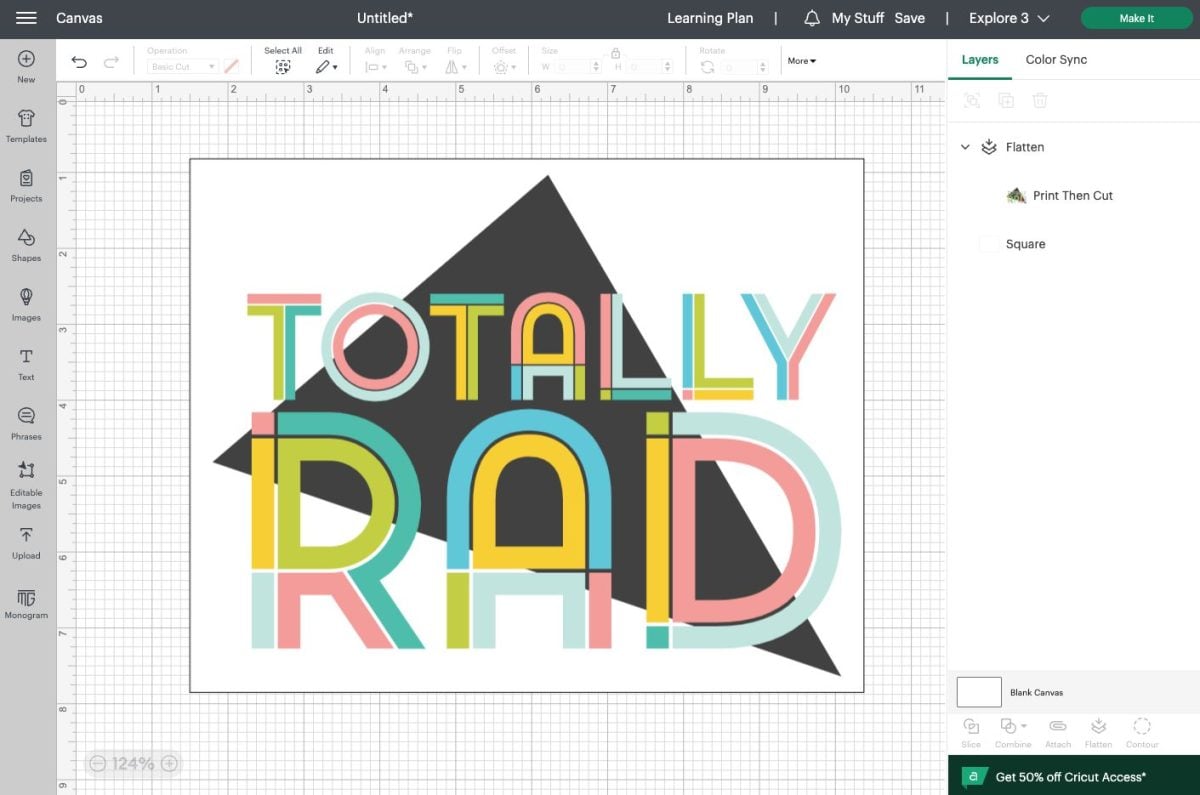
Then flatten together with the image. It will cut as a square, but in many cases that’s better than cutting around all the individual pieces.
Uploading a JPG or a PNG
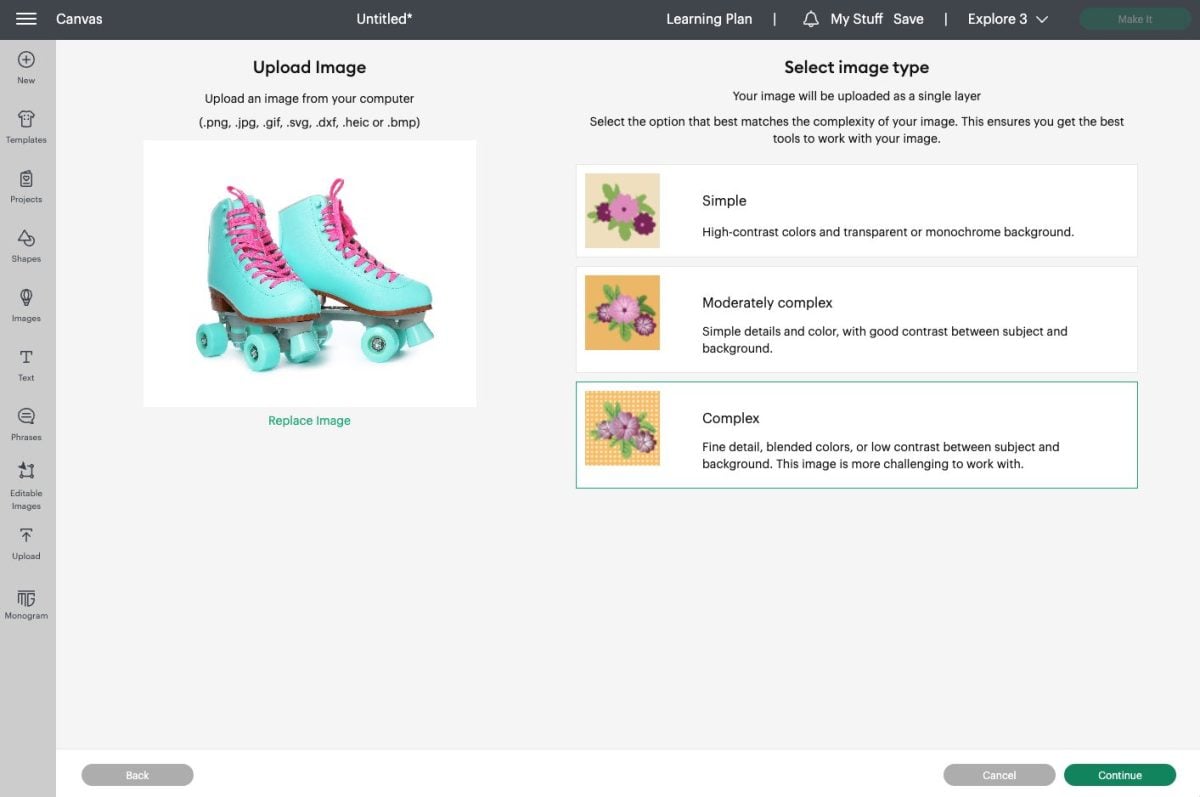
You can also upload a JPG or a PNG image. You can learn all about these types of images in my post How to Upload JPG and PNG Images to a Cricut. For this post, let’s say we uploaded this pair of roller skates. This is an image with fine details so select Complex Image.
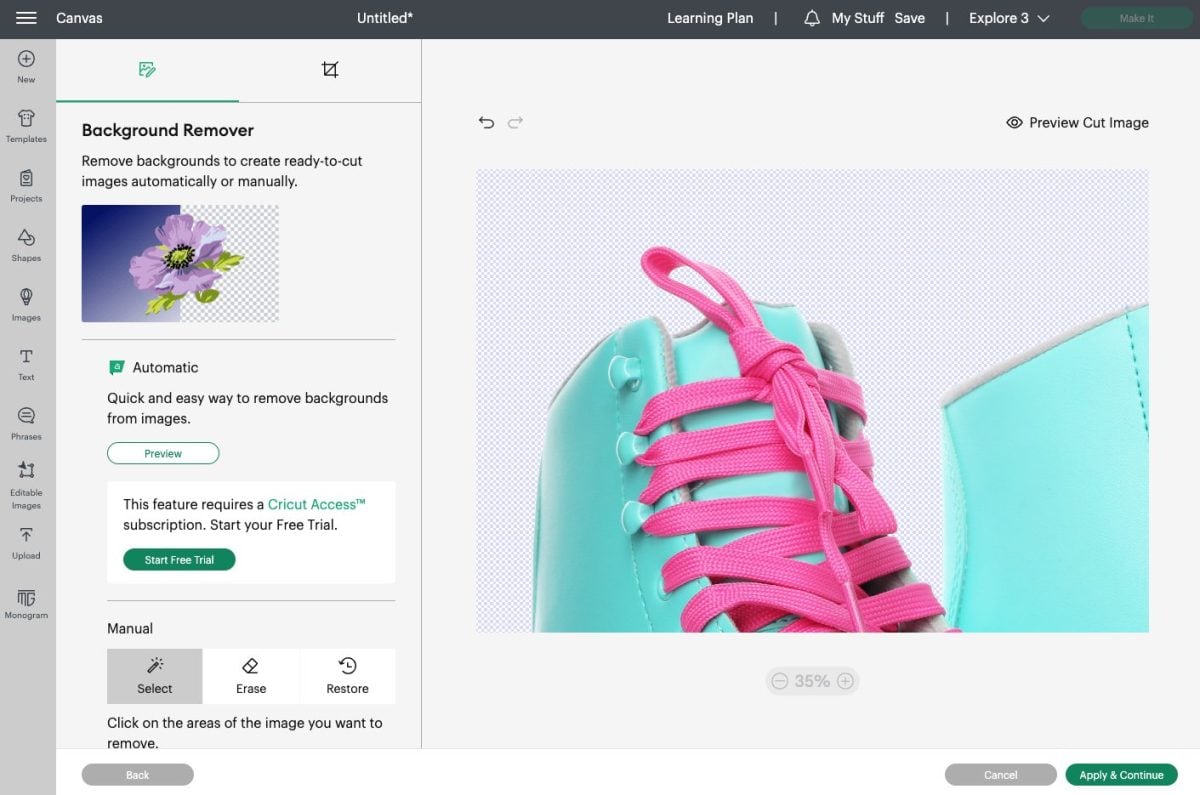
In the next screen, you’ll want to select and erase the background by clicking on it. The checkerboard background indicates where Print then Cut will cut the image. So in this case, I selected around the roller skates. I decided not to select inside the laces and some of the other smaller areas, but you could select and erase those as well if you’d like and your Cricut will cut out those holes.
Bring the image onto your Canvas. Resize if desired. You can also try adding an offset if you’d like, though I have found that adding offsets to photos can be a bit problematic.
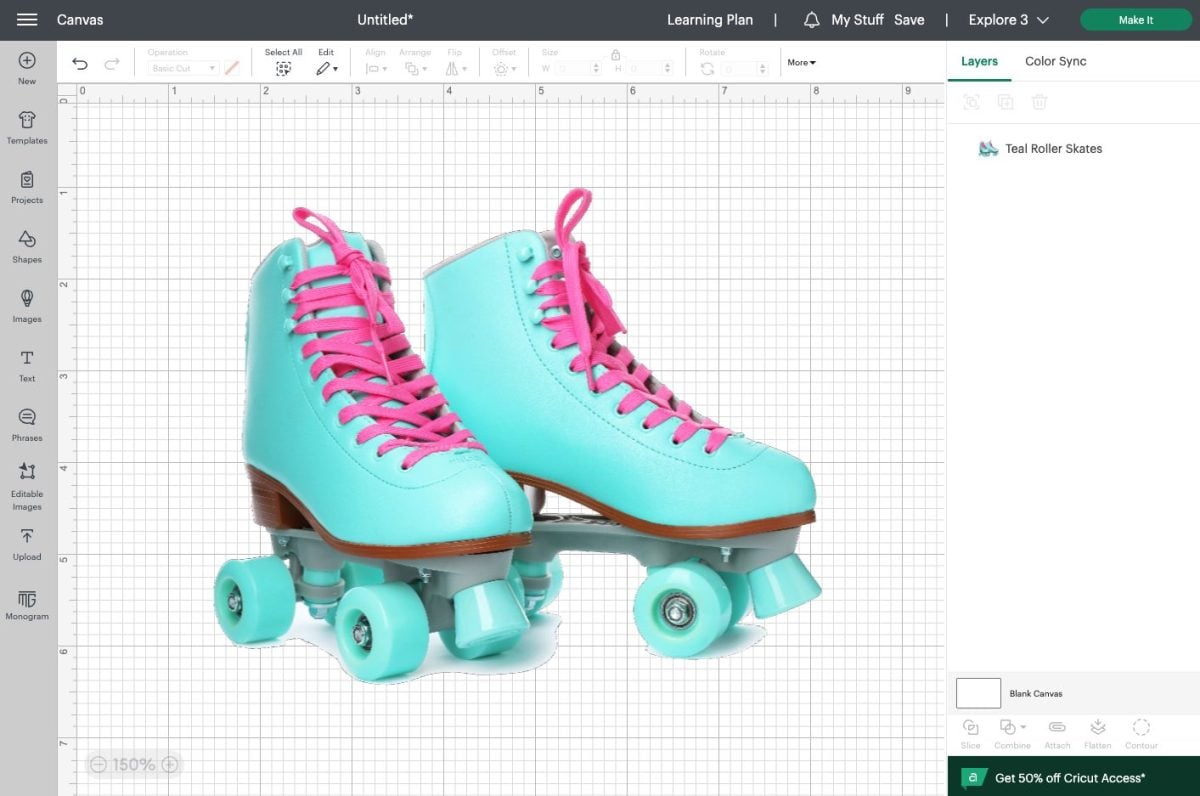
Then you can make it and your Cricut will cut around the edge of your skates.
A Print then Cut Project, Start to Finish
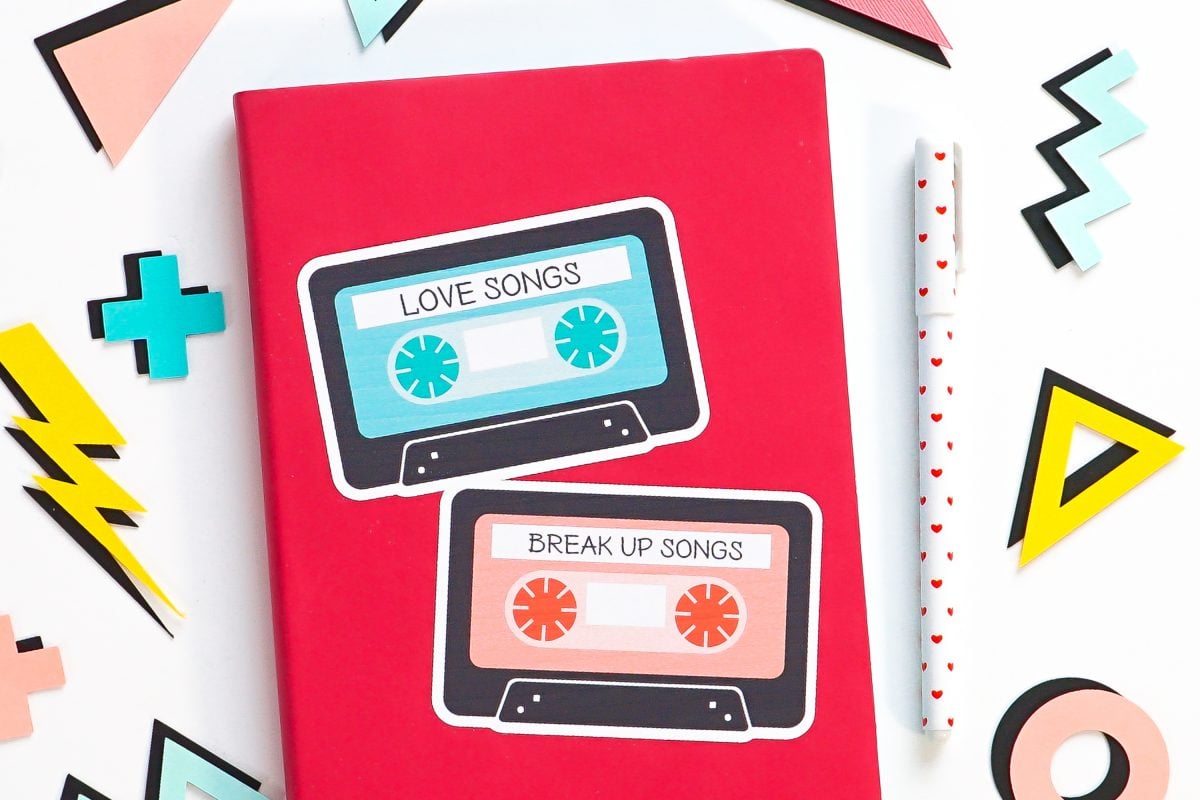
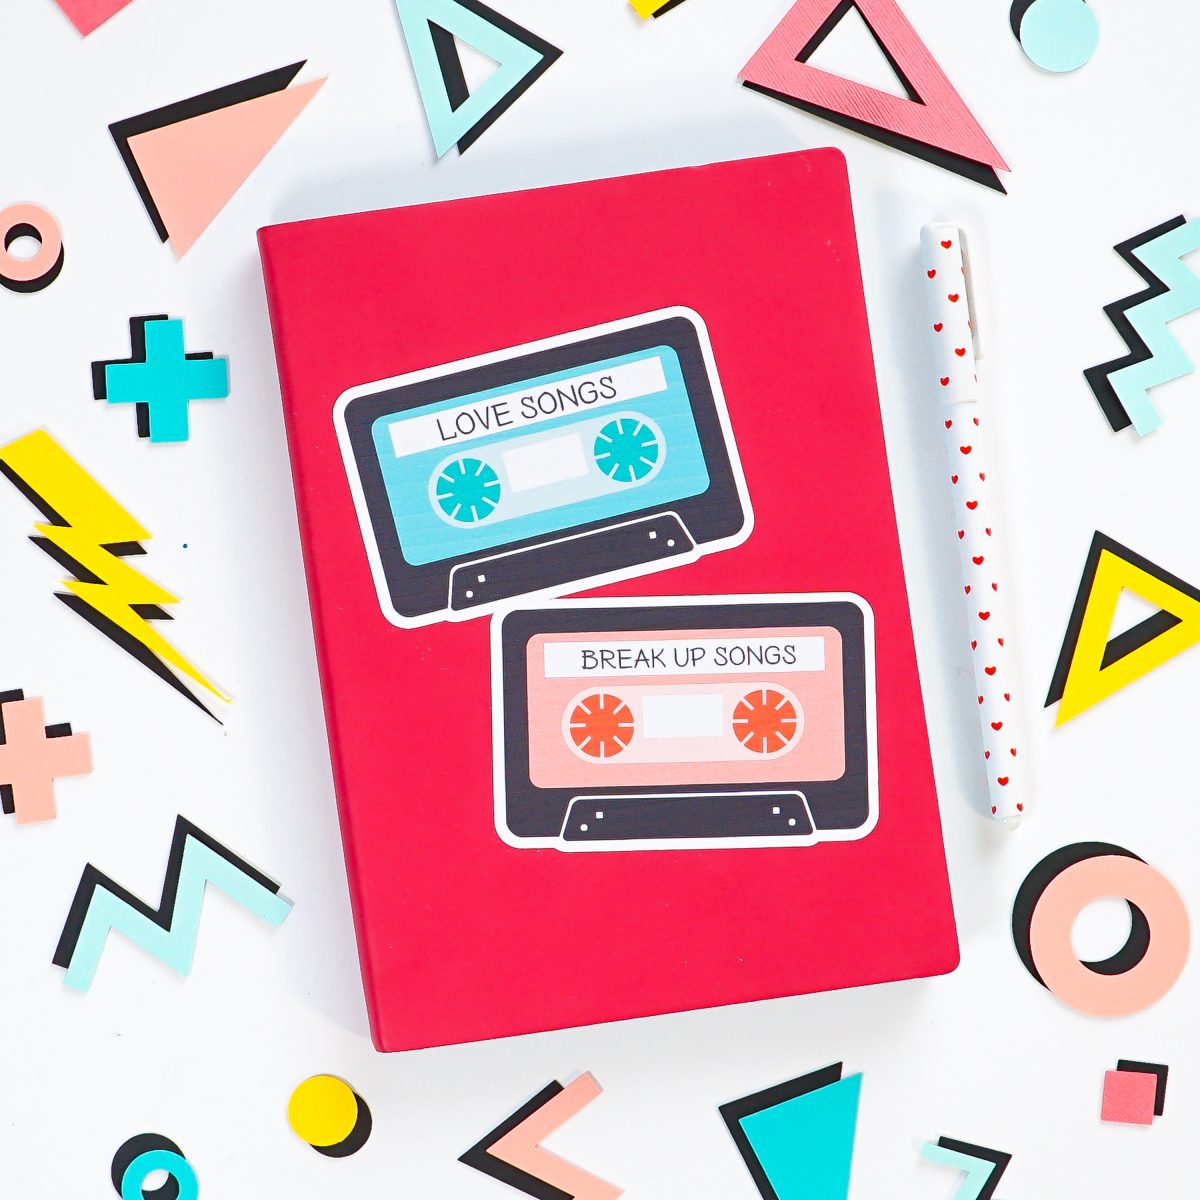
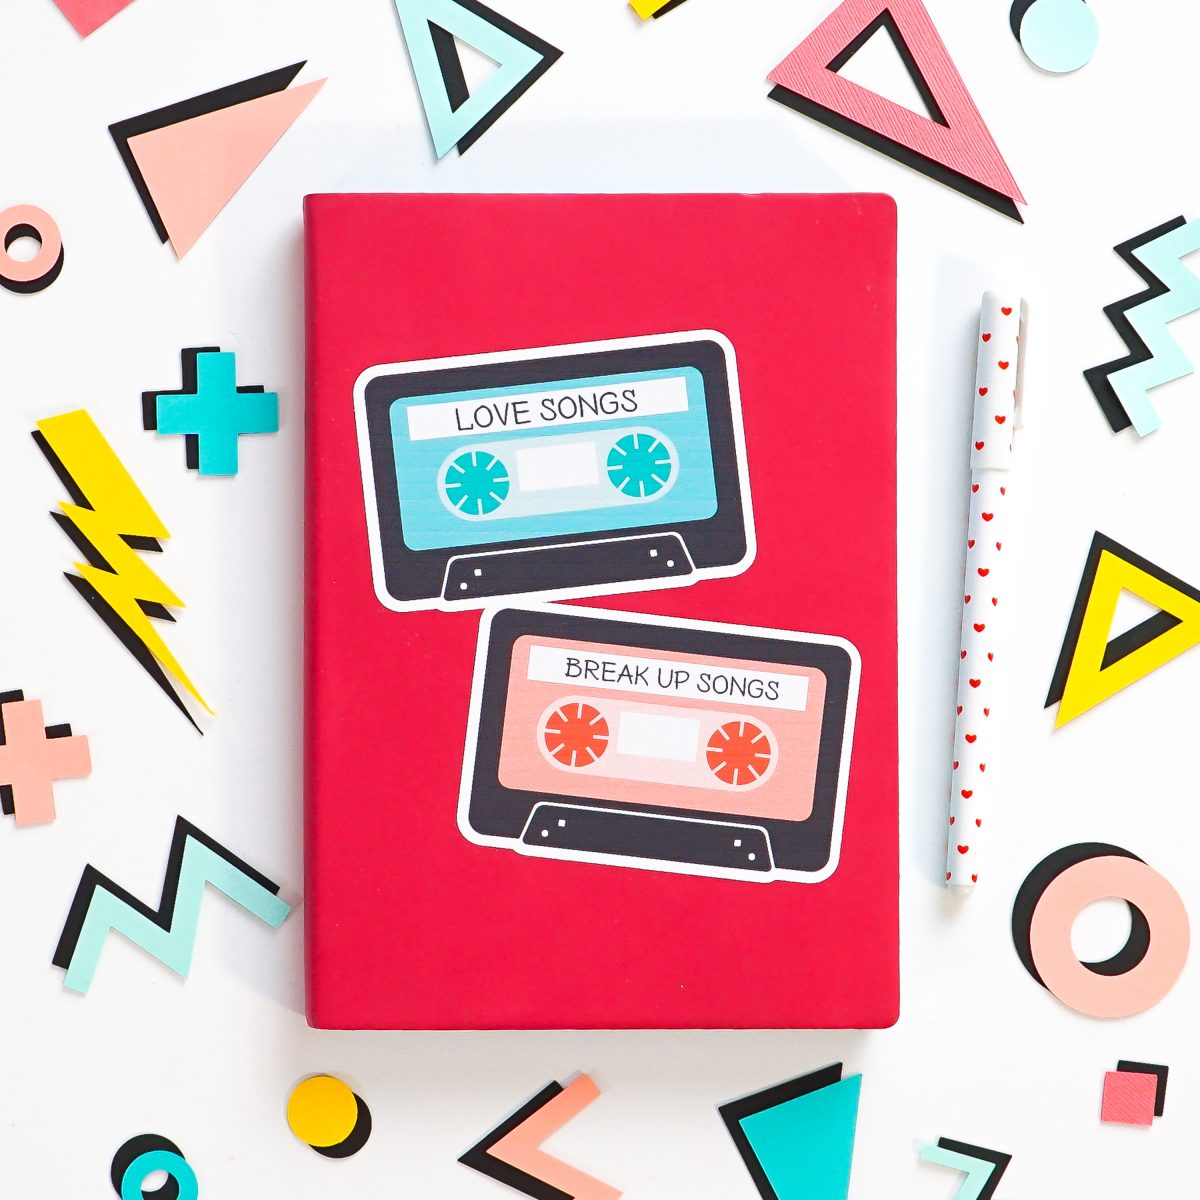
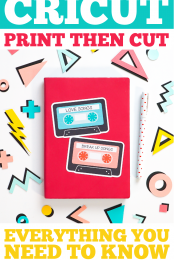
Let’s make a big sticker for the front of a notebook or laptop. Stickers are one of the easiest ways to get started with Print then Cut. Because I’ve gone a little 80s crazy in this post, let’s use the mix tape that comes in the bundle you can download for free earlier in this post.
Upload the SVG to Cricut Design Space. You could upload the PNG that comes with the file, but if you’d like to change any of the colors, you’ll want to start with the SVG.
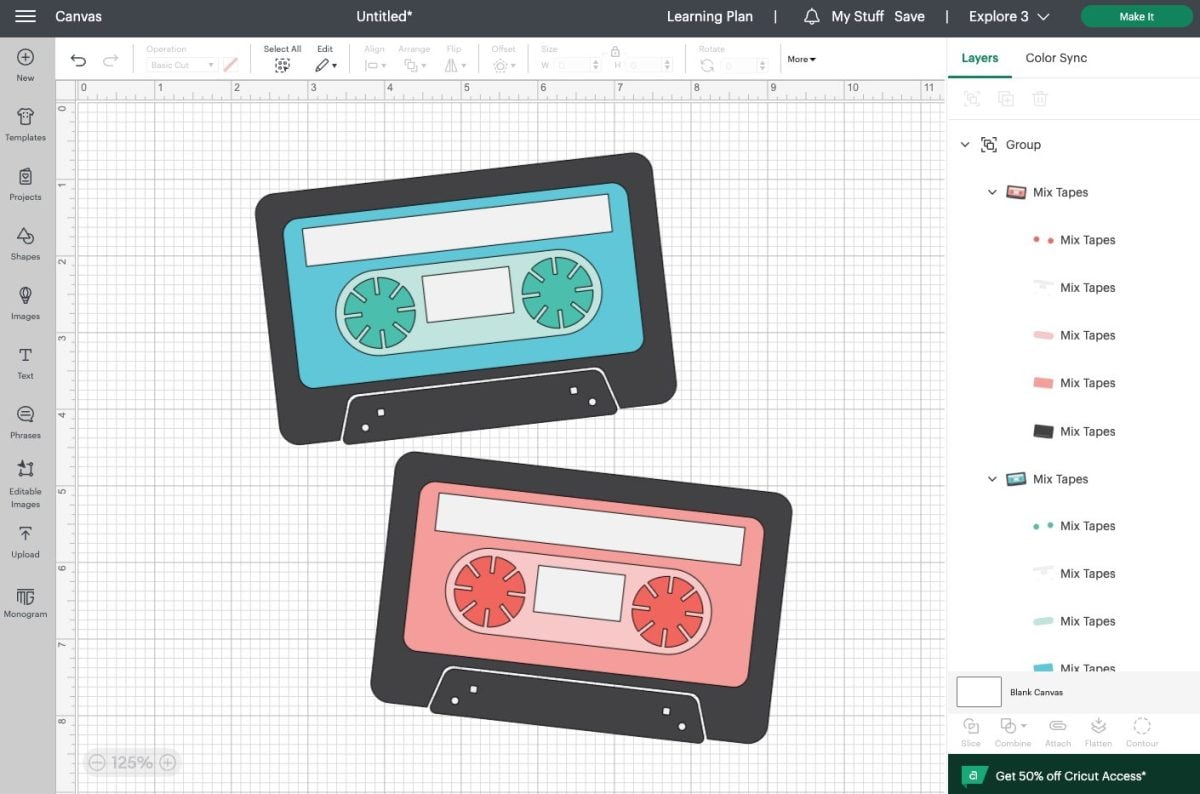
I wanted to change the blue of the top mix tape to a more teal color for this project, so I selected that layer and changed the color. You can change any or all of the colors to whatever you’d like.
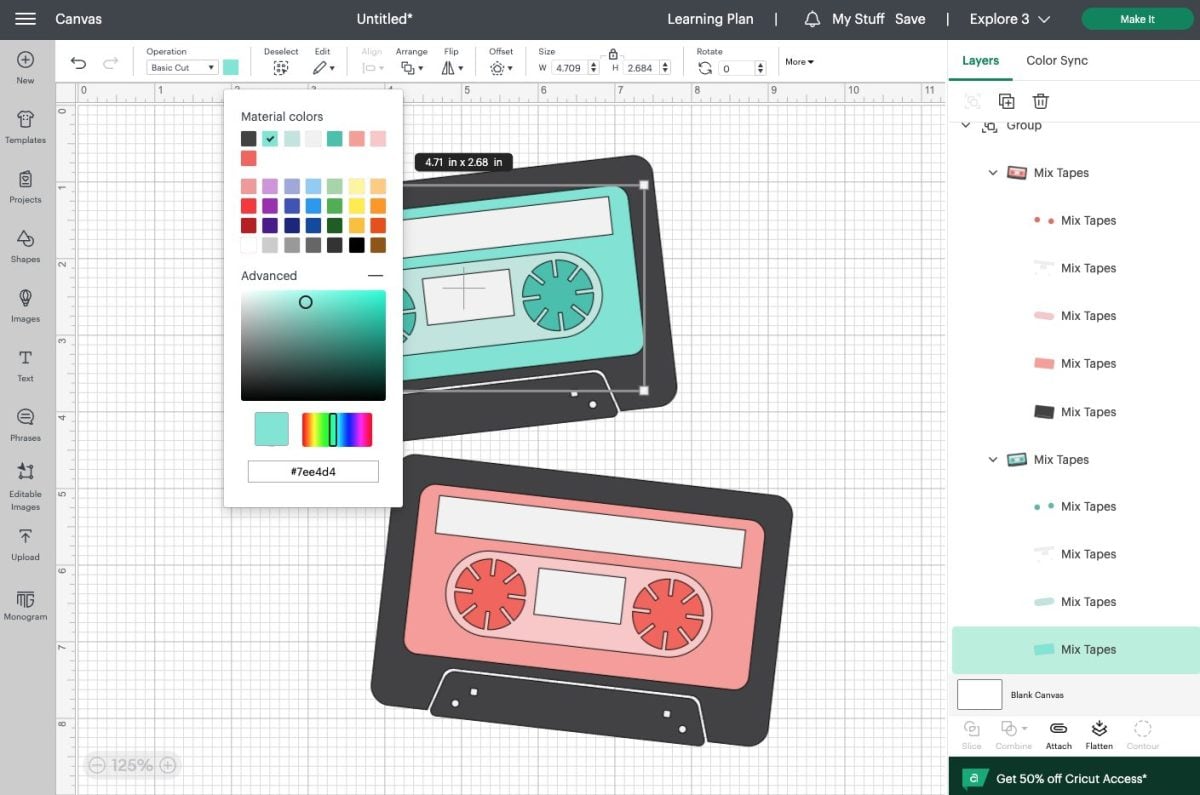
I also decided to add a little text to the mix tapes—I mean, this is the 80s after all. You definitely need a love songs and break up songs mix!
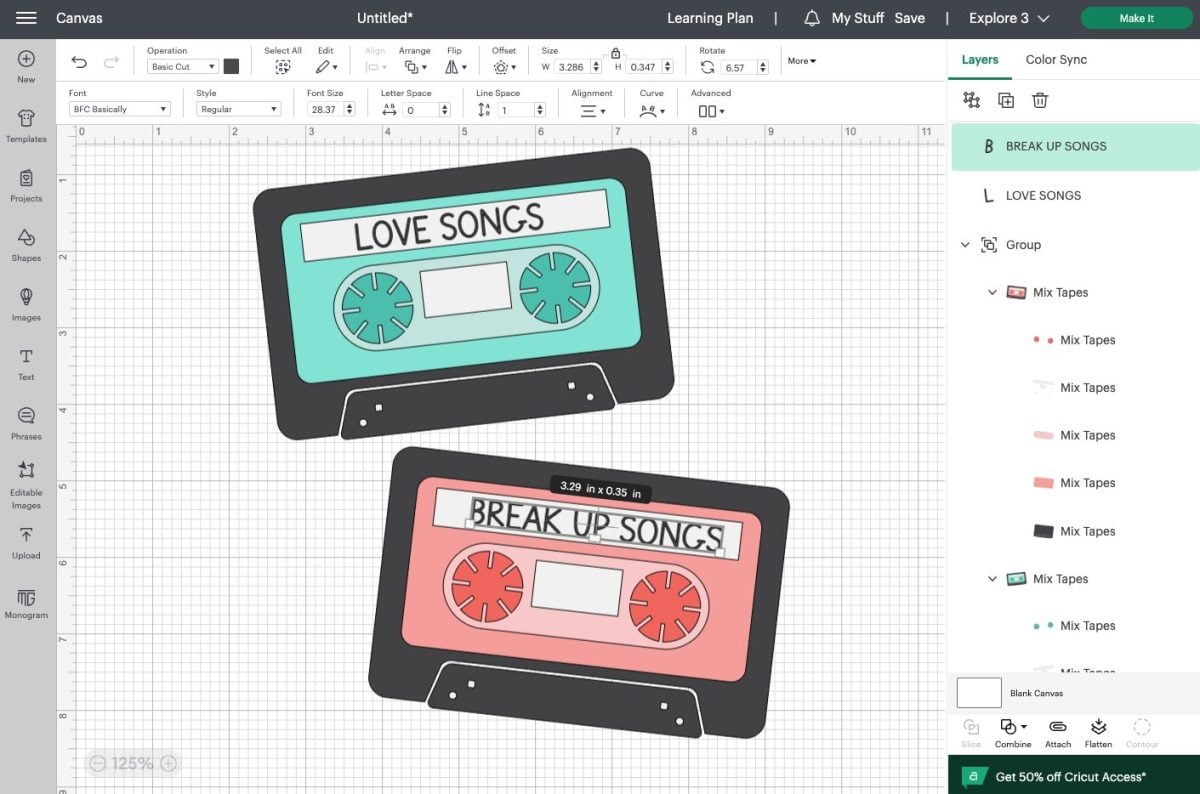
Once you have changed the colors and added any text you like, select all of the layers and click Flatten. You’ll see that all of your layers turn into a single Print then Cut Layer in the Layers Panel.
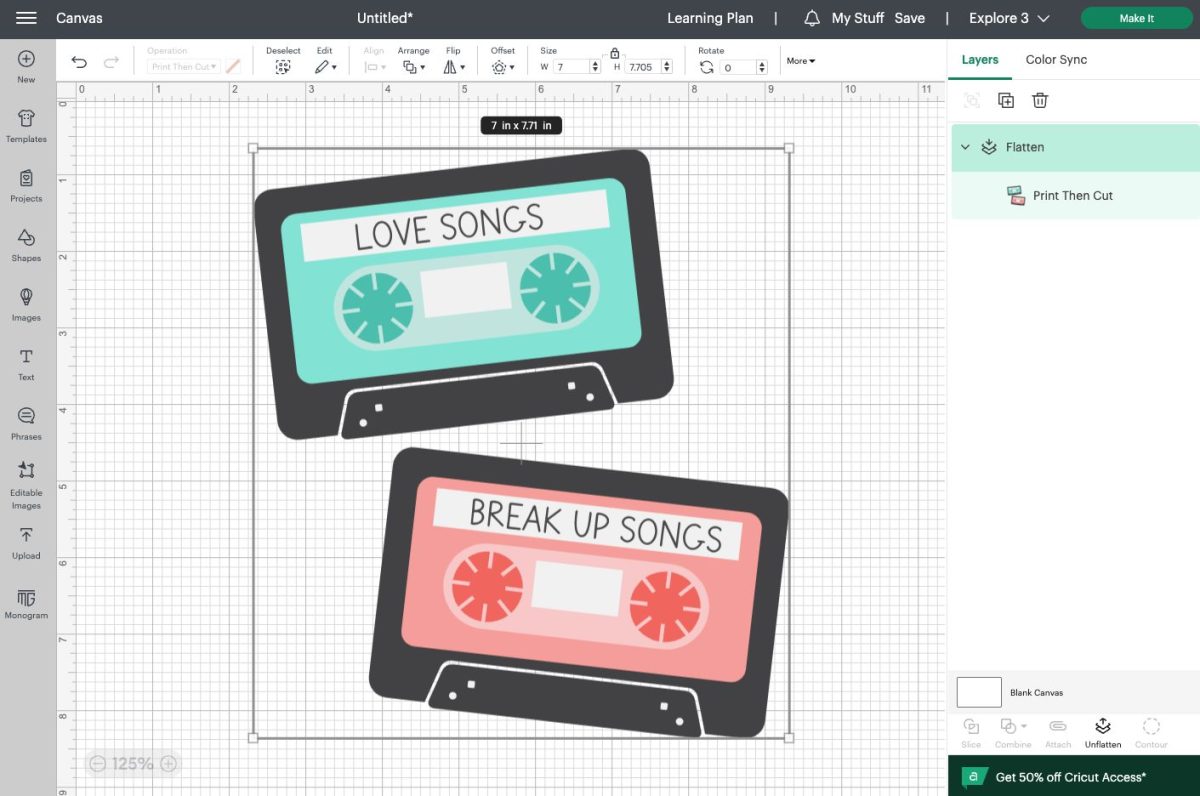
Now, if you’d like, add an offset. Select the image and click Offset at the top. Play around with the settings until you have one you like.
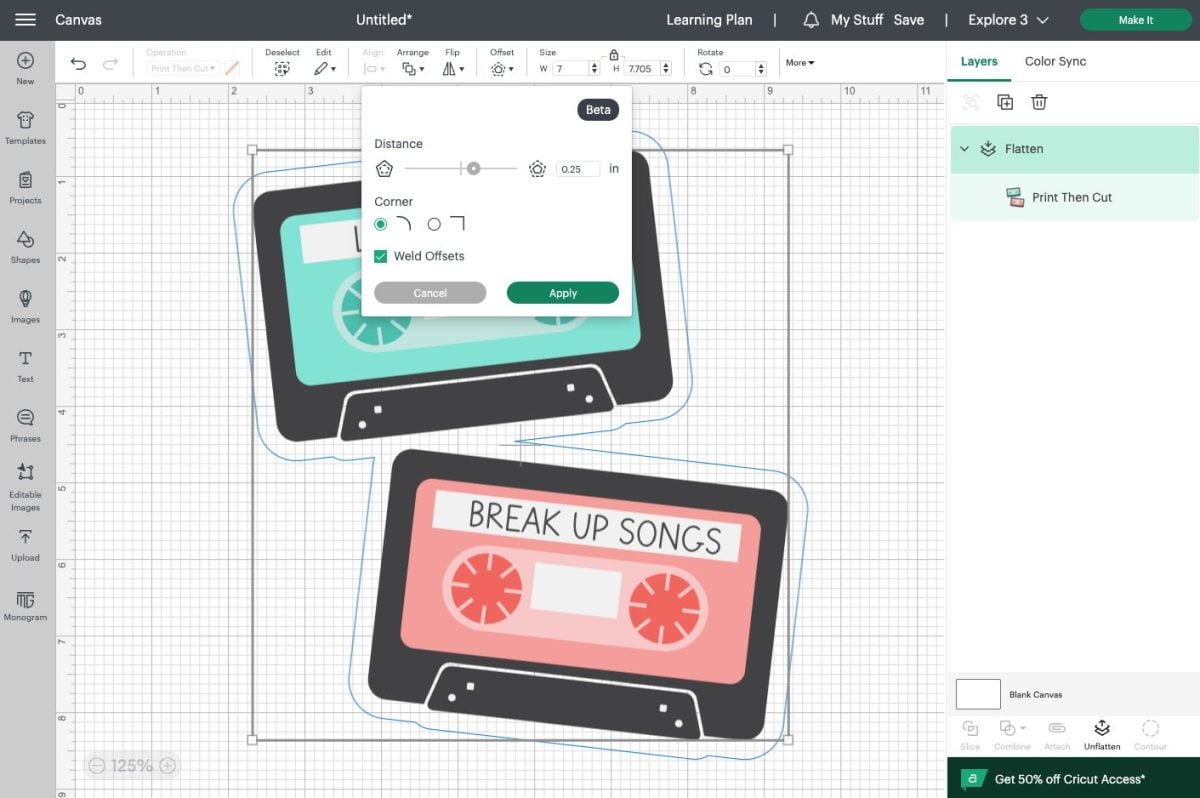
When you click “Apply,” Design Space will add the offset to your project. You probably don’t want a black offset, so change to white or whatever color you’d like.
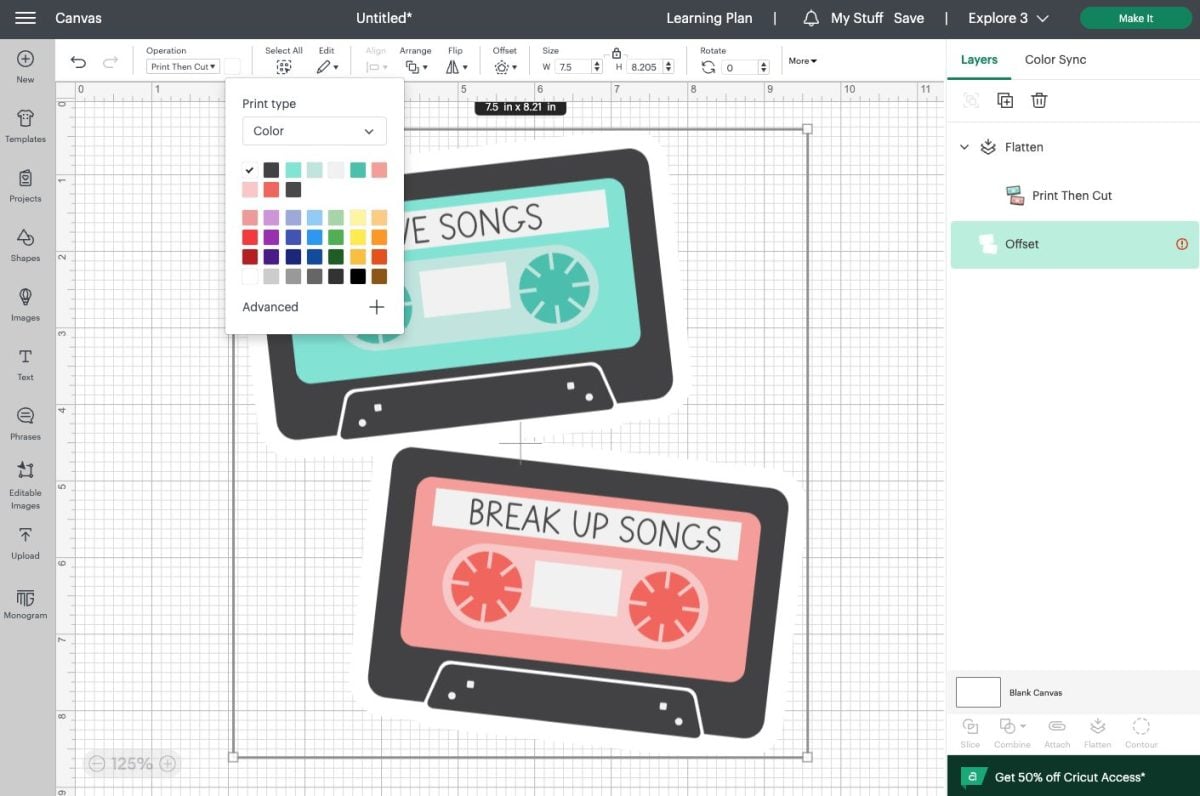
Finally, select both the offset and the mix tapes and click Flatten once again, to make one single Print then Cut image.
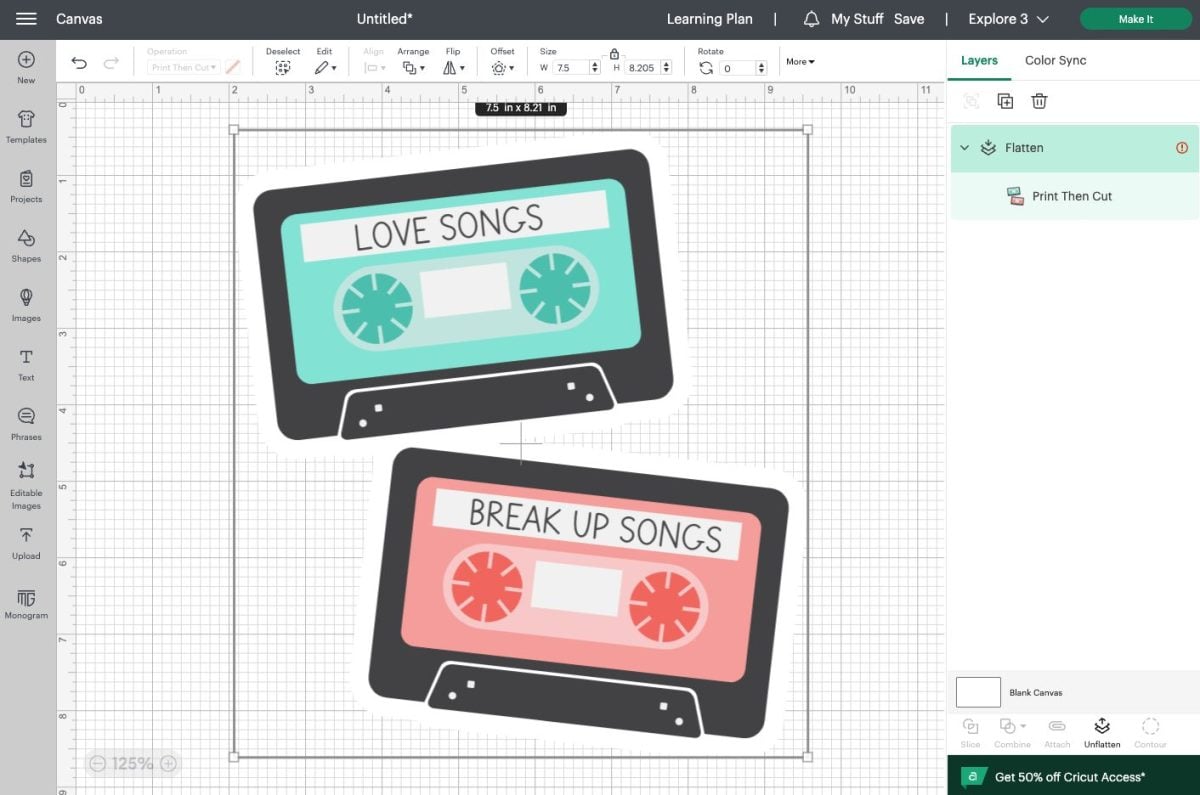
Resize if desired and click Make It! In the Prepare Screen you’ll see your image on an 8.5″ x 11″ sheet with the black registration box around it.
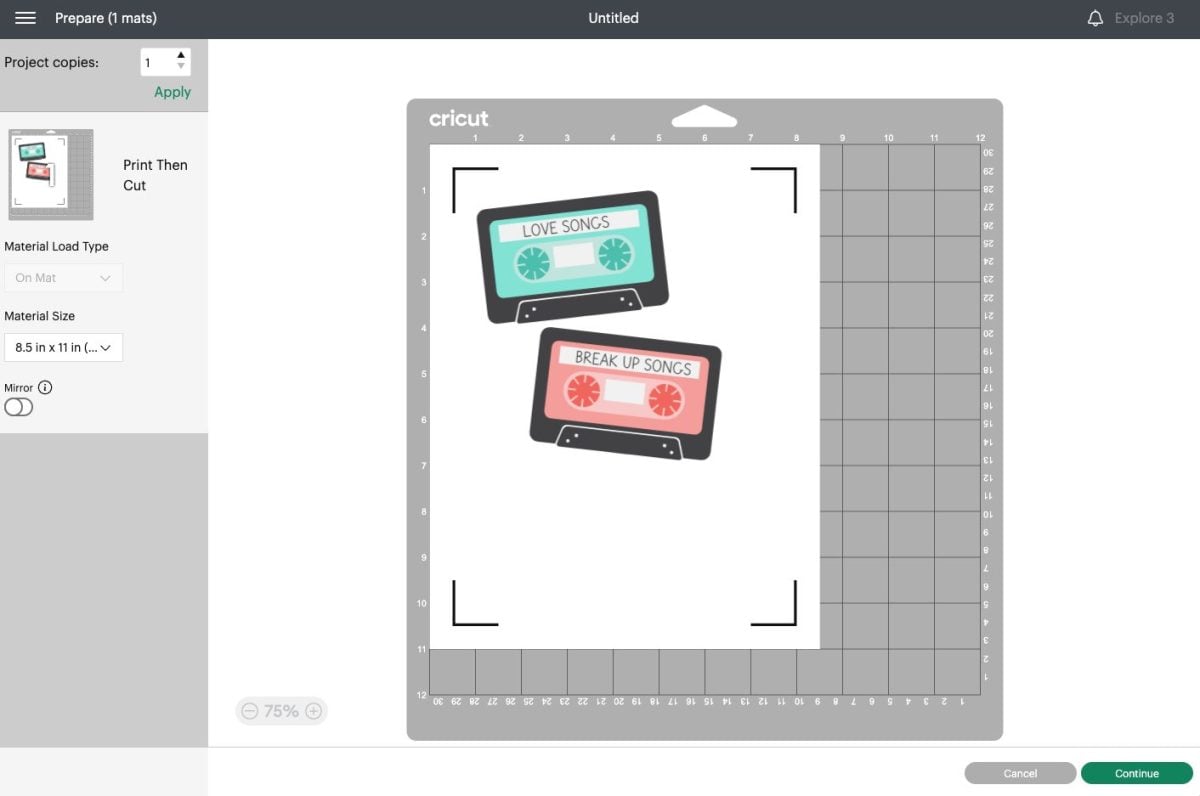
Click Continue. In the Make Screen, you’ll connect to your Cricut and then you’ll need to send your image to your printer. Remember, the Cricut doesn’t print, so you’ll need to use your home printer. In the dialogue box, keep “add bleeds” checked.
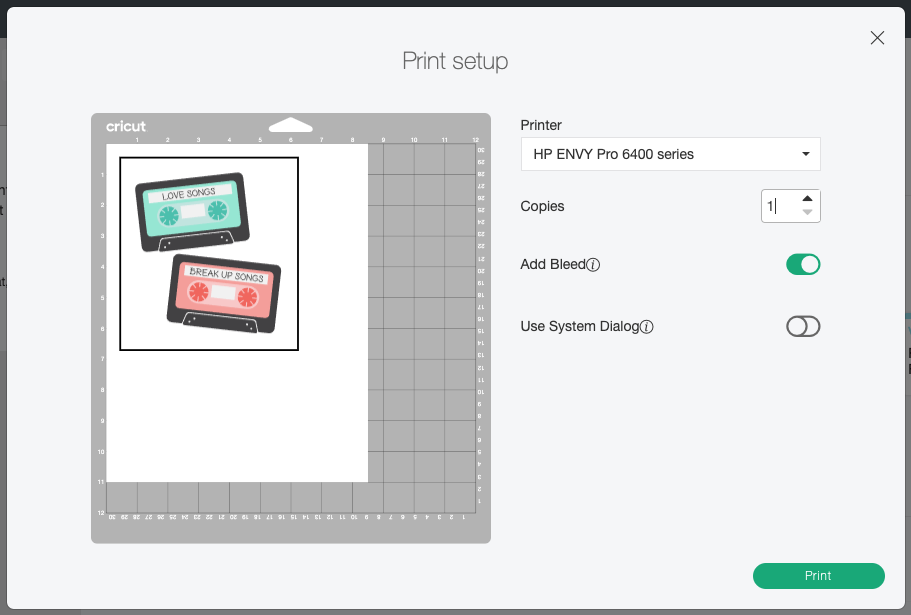
Click Print and print your stickers on your printable vinyl. (Note that I used an older version of Print then Cut with a full box around the image for the next photos. If you are using the newer version of Print then Cut, you’ll only see the corner boxes).
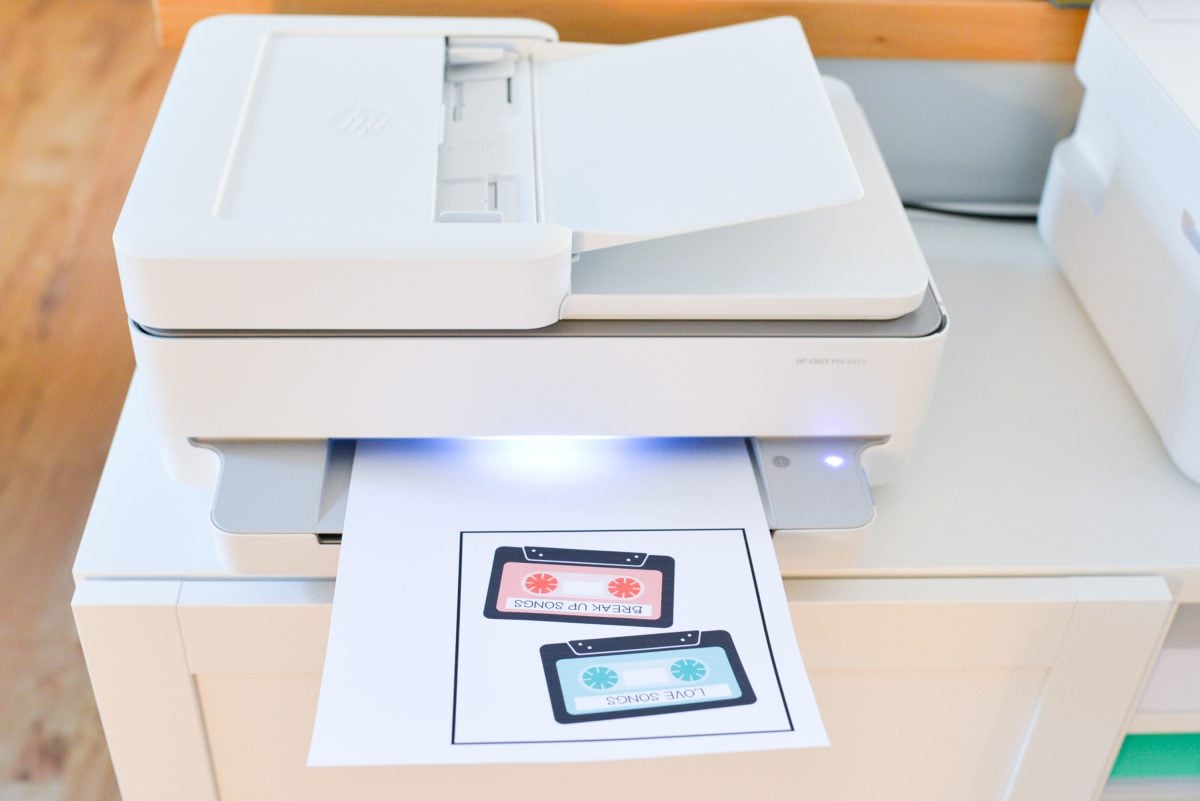
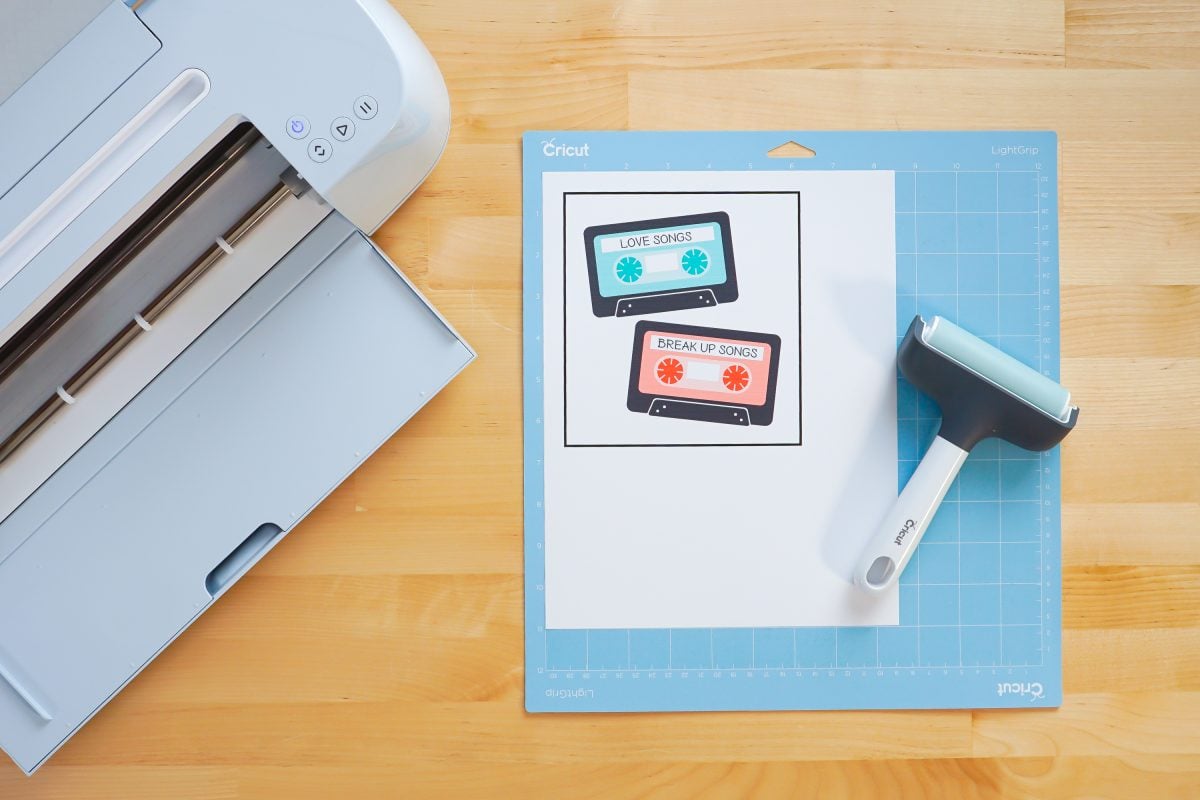
Then place your printed sticker sheet in the upper left corner of the Cricut mat. A brayer helps if you’re using an older mat.
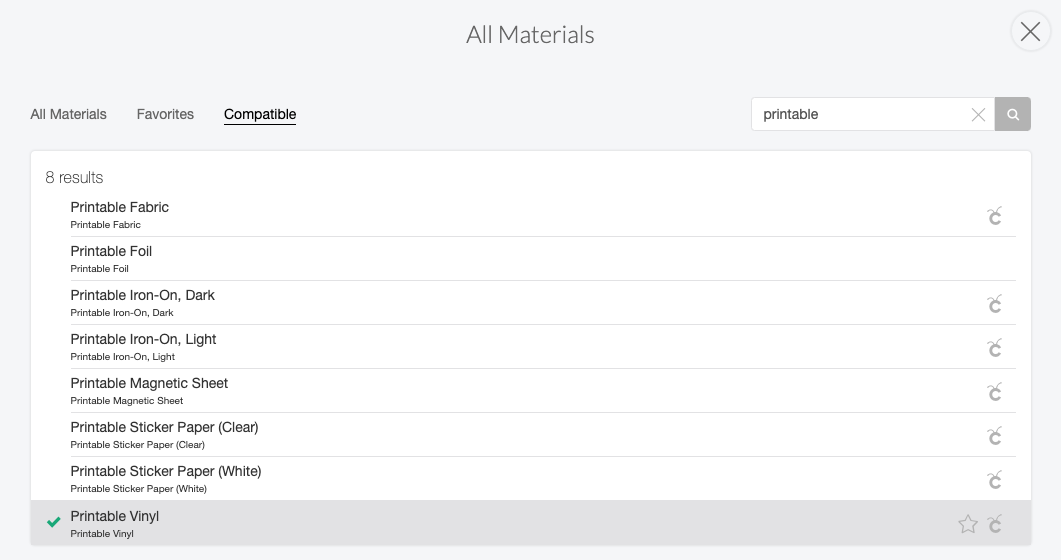
In Design Space, select Printable Vinyl as your material (or whatever material you’re using). You may need to click Browse All Materials and search “printable” to find it.
Then insert the mat into your machine. Make sure you have the Fine Point Blade inserted.

Click the blinking Go button and your Cricut will start the scan for the registration box. This takes a minute or two, but once your Cricut has figured out where to cut, it will cut your sticker! Once it’s cut, you can peel it off the backing sheet like you would any other sticker, and place on your final project.
I hope you found this Print then Cut tutorial helpful! If you have any questions about this feature, please let me know!


Comments & Reviews
Rebecca E Hutchins says
THANK YOU!!!!! I was So Frustrated in trying to figure out how to print something and then cut it out. I went looking on YouTube and other websites, but too often they left me aggravated with too much jibber and I’d quit. Your information was concise and easy to follow so I was able to understand the what, hows and why to the point I was able to do a print and cut!!! Now I can enjoy using the cricut for something more than making stencils. I am going to have fun making Christmas gift tags for family and friends that will match my Christmas cards. I’m excited….guess you can tell. Again (without the yelling) Thank You!!!!!
Linda H says
Hi Cori, great information, thank you. I have bookmarked so many of your pages.
I have used Print and cut with my Cricut Explore Air. But have a bit of trouble with some images where white reaches the edge. It seems to confuse the cut process, to then cut into it. For instance, a banner with various bunnies for Easter. Each simple bunny shape is a different pattern as if its a fabric (on paper). Some show white lace reaching the edge or in other ways, maybe a snowflake… then the Cricut cuts into it. Any ideas to cure this? Thank you, Linda
hugh odonnell says
The canon TS9521C as you point out allows a 12×12 paper. Its listed in its options. However in Design space the nearest is tabloid size but if you chose that the canon cant work with it.
If you dont follow the set cricut page sizes it wont let you proceed so I went with tabloid and the canon said NO
Do you have a work around
Julie Addison says
Hi Cori fab tips ! I use my print and cut with my collection of crafting cds. I convert the image to png, upload it to cricut, change the background using magic tool, then size it in my cricut design space. I can use the slice tool to isolate individual parts as needed. I then upload the design papers as patterns which I then use in my designs. They can be sized to fit my project then all the individual elements can be printed on paper or card, cut out then assembled. I hate cutting out so this is a definite time saver and has transformed my card making.