Use the Cricut Maker Engraving Tool to expand the list of materials you can work with—metal, leather, acetate, and more! Here’s everything you need to know about using the Engraving Tool, plus a Cricut Design Space project using it!

It’s time to take a look at one of the new Cricut Maker tools! Last week I covered the Debossing Tool, and today I’m sharing my first project with the Engraving Tool.
Want to know about all the tools I’ve written about? Check out these other Cricut Maker tool posts:
What is the Cricut Engraving Tool?
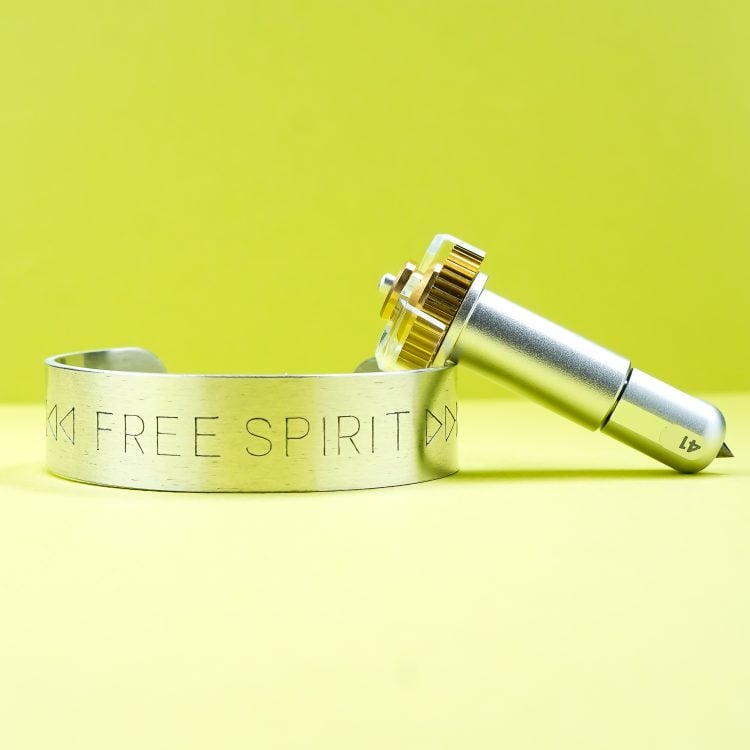
The Cricut Engraving Tool (also called the Engraving Tip) is designed to inscribe into your material (like metal or acetate) and create an etched, permanent imprint. It does this using a tiny metal point which is pressed into your material.

The Engraving Tip has a “41” engraved on it, to help differentiate it from the other Maker tools.
Engraving can be done on many materials and allows you to be even more creative with your Cricut!
What Cricut Machines Work with the Engraving Tool
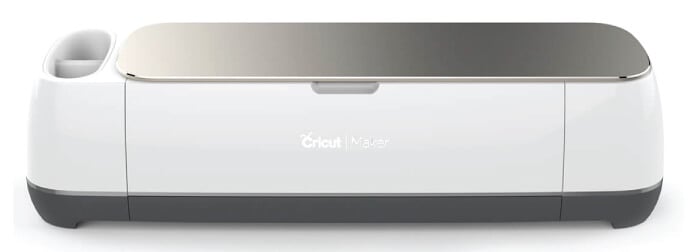
The Engraving Tool was designed specifically for the adaptive tool system of the Cricut Maker (meaning it has that gear on top) with the QuickSwap Housing—it won’t work in the Explore machines. Check out my Cricut Explore vs. Cricut Maker comparison post.
What is the QuickSwap Housing?
To use the Cricut Engraving Tool, you will need the QuickSwap Housing. This is the housing for the tip—the part of the tool with the gear and plunger at the top that allows you to swap out different tools.

You can buy the Engraving Tool including the housing, or you can buy just the tip. If you already have a tool that has the QuickSwap Housing from another tool, like the Scoring Wheel, you do not need to buy a second housing (yay!—these tools aren’t cheap!). See below for places to buy.
How Do I Make an Engraving Line in Design Space?
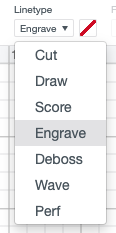
Along with the new tool, Cricut made an update to Design Space so you can change any shape or line into an engraving line. For the project below, I used a writing font (see here to learn about Cricut fonts) and then changed it to an engrave using the dropdown Linetype menu at the top of Design Space.
What Materials Can I Engrave?
Cricut has qualified a list of materials that they say can be engraved with the Engraving Tool. These will show up as your materials when selecting the Engraving Tool in the Make Screen before you make your project:
- Acetate & Foil Acetate
- Aluminum, 0.5mm sheets
- Copper, 40-gauge sheets
- Faux Leather
- Foil Holographic Kraft Board
- Foil Poster Board
- Garment Leather
- Genuine Leather
- Glitter Cardstock
- Heavy Watercolor Paper
- Kraft Board
- Metallic Leather
- Metallic Poster Board
- Shimmer Paper
- Sparkle Paper
- Tooling Leather, 2-3oz, 4-5oz, 6-7oz
- Transparency
- Vinyl Record
That being said…there are other materials out there to test! I used 14-gauge ImpressArt metal bracelets for my project (selecting the Aluminum setting) and it worked. Because this tool is so new, I haven’t had the chance to test it with a wide variety of materials—it’s definitely a good tool to use when experimenting!
Note that Cricut does not intend the Engraving Tool to be used with glass.
Make an Engraved Metal Bracelet!
Create Your Image in Design Space
Head over to Design Space, where I have the file already set up for you! You can, of course, make the bracelet say anything you’d like. Make sure to hit “attach” if you make any changes, so that all of your words stay together.
In the Prepare Screen, move your image so that it will be centered on your blank. For this bracelet, I have found that centering it on the 1″ line vertically and the 4″ line horizontally gives me the best chance at getting my blank in the right place (you could also use SnapMat for this if you use Design Space on your iPhone. I prefer desktop, so this is my method).

Prepare Your Blank
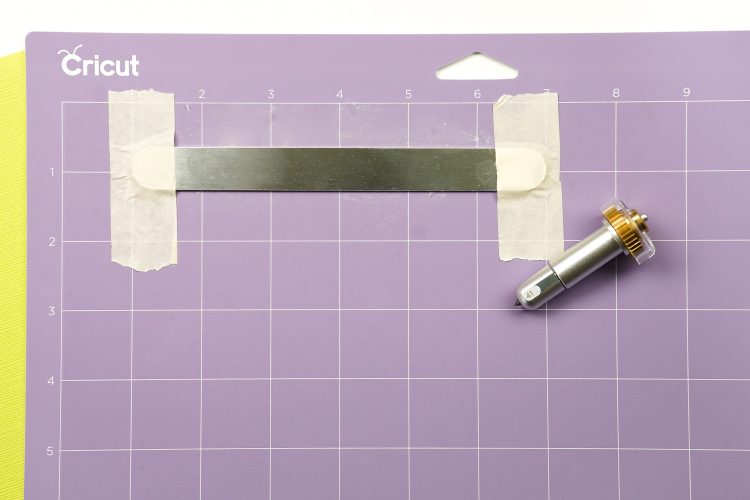
Place your blank on your mat in the same place as your image in Design Space. I’ve done this a few times now, and I know my Cricut cuts a little higher on the mat than it looks in the preview screen. So I placed my blank slightly higher on the mat, vs. centered right on that 1″ line. You may need to experiment a bit. You can always have it draw your image on paper “bracelet” first so you can see if it’s centered or not.
Then tape down the edges of the blank to help secure it to the mat. I haven’t had problems with my engraving project moving around.

Place your mat in your machine and select Aluminum as your material. Insert the Engraving Tool into your machine and press the blinking C to cut!
Clean Up Your Bracelet
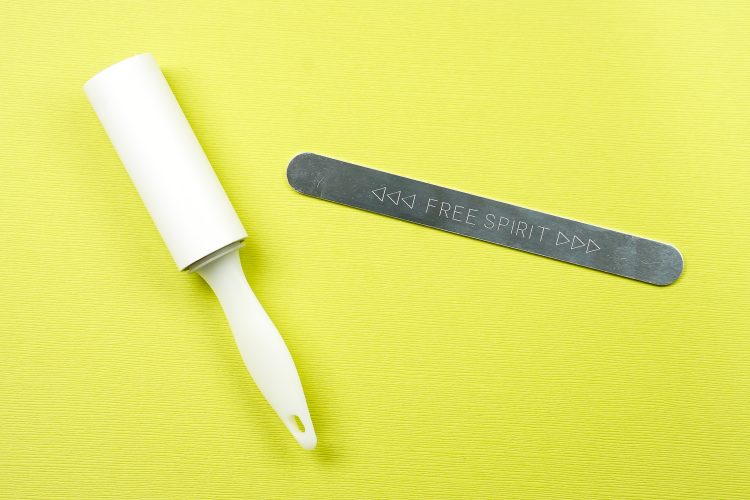
Once your bracelet is done, handle it carefully—sometimes it can be hot to the touch where it engraved, or sharp where small metal fragments have come loose. Use a lint roller or a cloth to remove any tiny bits of metal that may have come up in the engraving process.

Darken Your Engraving
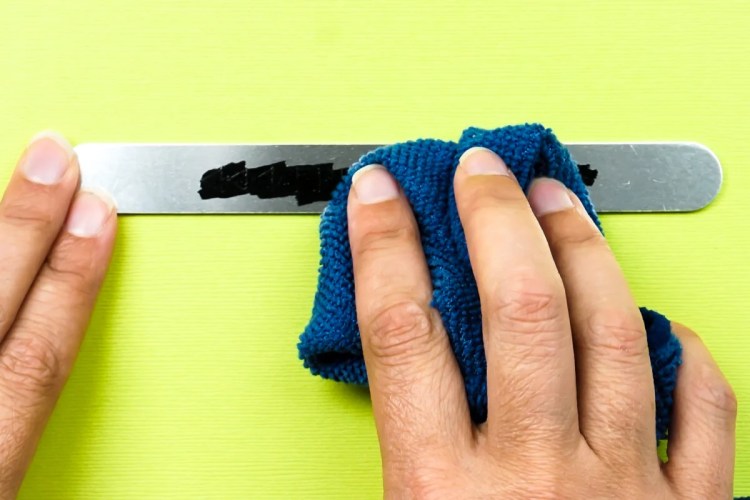
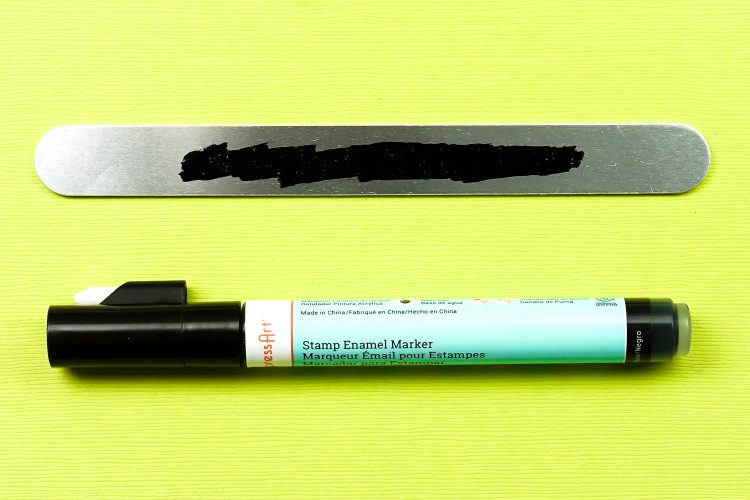
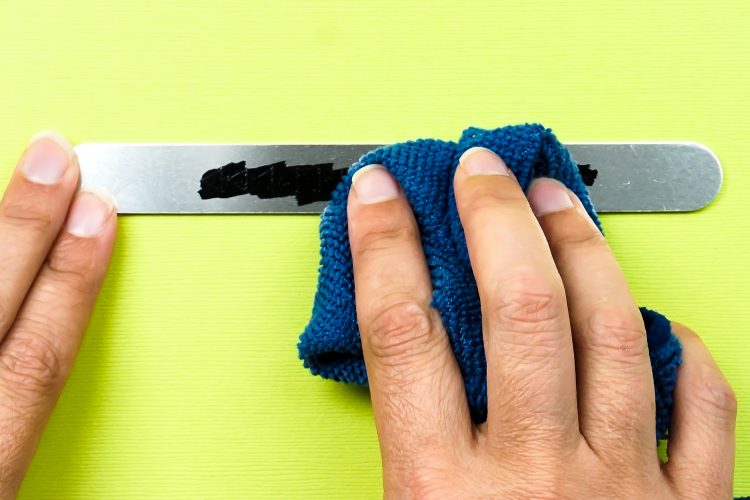
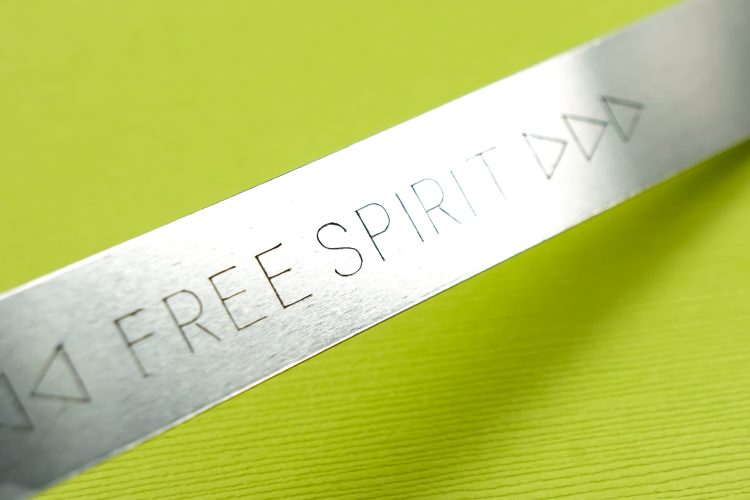
For engraved metal projects, I’ve used both some plain black craft paint and the ImpressArt antique stamp enamel marker to help make the engraving stand out more. Just rub a bit of paint or ink across your impression and then wipe off the excess—this creates a darker look to the actual engraving.


Shape Your Bracelet
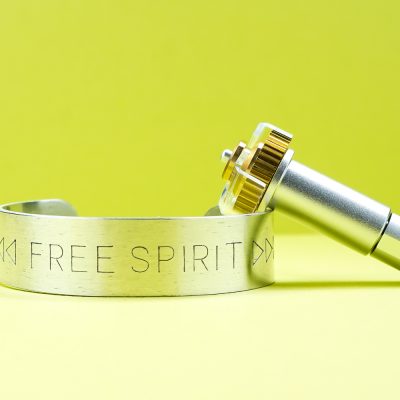
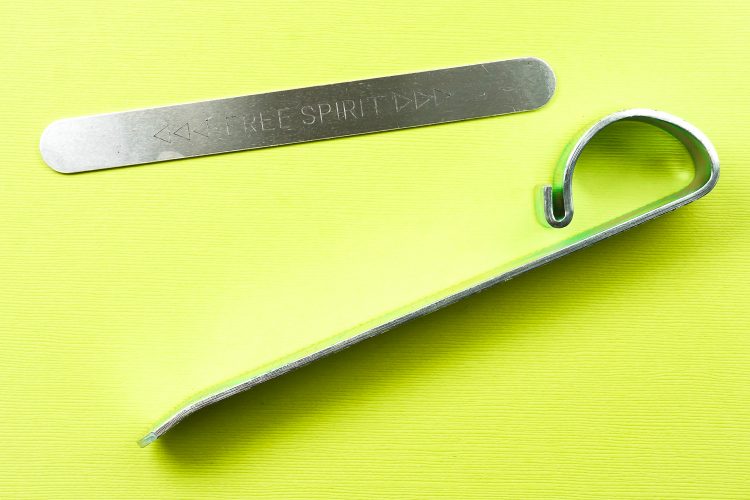
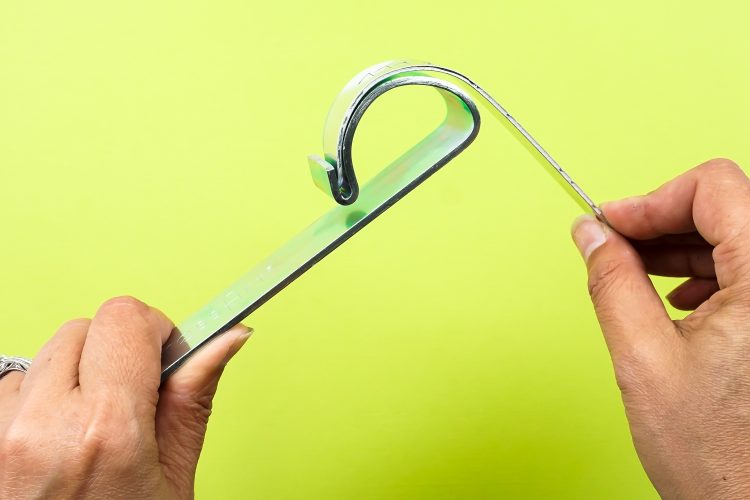
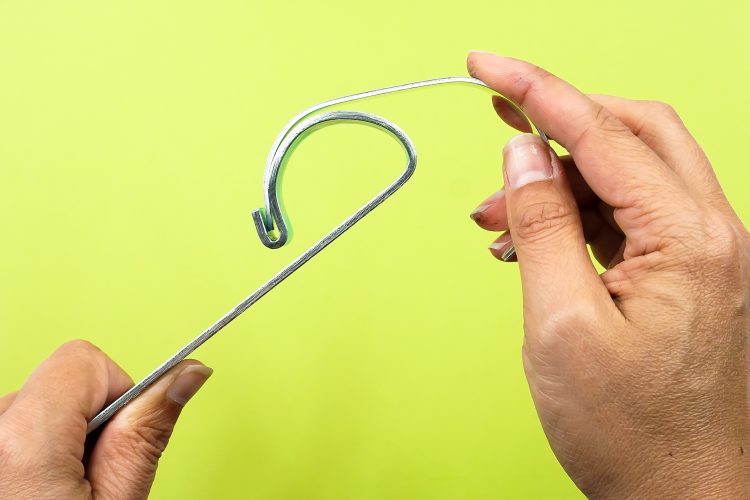
Use the ImpressArt bracelet bending tool to shape your bracelet, and you’re done!


Love this project? Check out the bracelet that my friend Crystal from Hello Creative Family made! My boys love the Bushel and Peck song (my aunt sings it to them), so this one made me go all squishy inside. My friend Charynn also made an engraved necklace, and Heidi made acrylic keychains! It’s definitely a versatile Cricut tool.
Where Can I Buy the Cricut Engraving Tool?
Check the following stores to buy:
- Cricut.com: Tool with Housing / Engraving Tip Only
- HSN: Tool with Housing (no longer available) / Engraving Tip Only
- Amazon: Tool with Housing / Engraving Tip Only

Shop Amazon for Maker Tools
MAKE AN ENGRAVED METAL BRACELET
Instructions
- Create Your Image in Design SpaceHead over to Design Space, where the file already set up for you! You can, of course, make the bracelet say anything you'd like. Make sure to hit "attach" if you make any changes, so that all of your words stay together.In the Prepare Screen, move your image so that it will be centered on your blank. For this bracelet, centering it on the 1" line vertically and the 4" line horizontally gives the best chance at getting the blank in the right place (you could also use SnapMat for this if you use Design Space on your iPhone–Desktop is preferred, so this was the method used for this project.)

- Prepare Your BlankPlace your blank on your mat in the same place as your image in Design Space. I've done this a few times now, and I know my Cricut cuts a little higher on the mat than it looks in the preview screen. So I placed my blank slightly higher on the mat, vs. centered right on that 1" line. You may need to experiment a bit. You can always have it draw your image on paper "bracelet" first so you can see if it's centered or not. Then tape down the edges of the blank to help secure it to the mat. Place your mat in your machine and select Aluminum as your material. Insert the Engraving Tool into your machine and press the blinking C to cut!

- Clean Up Your BraceletOnce your bracelet is done, handle it carefully—sometimes it can be hot to the touch where it engraved, or sharp where small metal fragments have come loose. Use a lint roller or a cloth to remove any tiny bits of metal that may have come up in the engraving process.

- Darken Your EngravingFor engraved metal projects, Both plain black craft paint and the ImpressArt antique stamp enamel marker have been used to help make the engraving stand out more. Just rub a bit of paint or ink across your impression and then wipe off the excess—this creates a darker look to the actual engraving.


- Shape Your BraceletUse the ImpressArt bracelet bending tool to shape your bracelet, and you're done!





Comments & Reviews
Amy Motroni says
I would check Amazon or a craft shop :)
https://amzn.to/2EOtGOB
Hope that helps!
Amy, HLMS Support
Yv says
Hi can you tell me where I can purchase the metal and the binder ? Or any item that I can engrave please. I’m knew to this and I have the cricut maker . Thank you
Amy Motroni says
Hi Karen,
Lining it up is hard. It can be a guessing game. This post might help: https://www.abbikirstencollections.com/2019/08/engravingwithcricutmaker.html
This post might help with the font issue:
https://heyletsmakestuff.com/cricut-design-space-fonts/
-Amy, HLMS Reader Support
Karen Eisenhuth says
Having so much trouble lining it up!! Do you have any tips for that AND what are the best fonts to use? I keep getting outlines rather than a block print?
Kaleida says
I have a regular old dog bone tag when I engrave on it it is really sharp to the touch when done is there a way to stop this from happening? I have my pressure on 250. I put it on aluminum
Amy Motroni says
Hi there,
There’s no way to prevent it from happening, but you can use a bit of sandpaper to smooth out the edges.
Happy Crafting!
Amy, HLMS Reader Support
cannocchiali kahles says
Yes! Finally something about decreasing definition.
Patrick says
Hi! Thanks for doing this – you”re awesome.
I’m only getting a faint etching / engraving… i’ve tried multiple fonts. Is there a way to make it deeper?
Thanks!
Amy Motroni says
Hi Patrick,
What are you trying to engrave? Maybe the material isn’t thick enough?
You can try engraving twice, which means push the blinking C when it’s finished (without removing the mat) and it will engrave again in the same place.
Hope that helps!
Amy, HLMS Reader Support
Carol A Gibson says
If you run the project thru a second time will the engraving be deeper?
Amy Motroni says
Hi Carol,
Cori did the bracelet twice and she’s not sure it made a difference on the depth.
You can always try!
Happy Crafting!
Amy, HLMS Reader Support
Bek Lane says
Hi, could you give any other tips on lining it up please. I’ve already ruined one on both sides trying to get it to line up 3 times :(
Amy Motroni says
Hi Bek,
Oh no! It can be tricky! Try using a piece of paper the same size and the pen tool, so that it writes instead of engraves and then you can see where the marks are and adjust it accordingly.
Amy, HLMS Reader Support
Kelley says
You could print on a piece of paper just a bit larger than the bracelet then tape the bracelet right on top of the paper where the words are in the correct spot
Kellie says
If you don’t hit the feed button, you can print on paper, then place your bracelet and hit the “C” again and it will cut in the same exact place. As long as you don’t hit the feed button!!