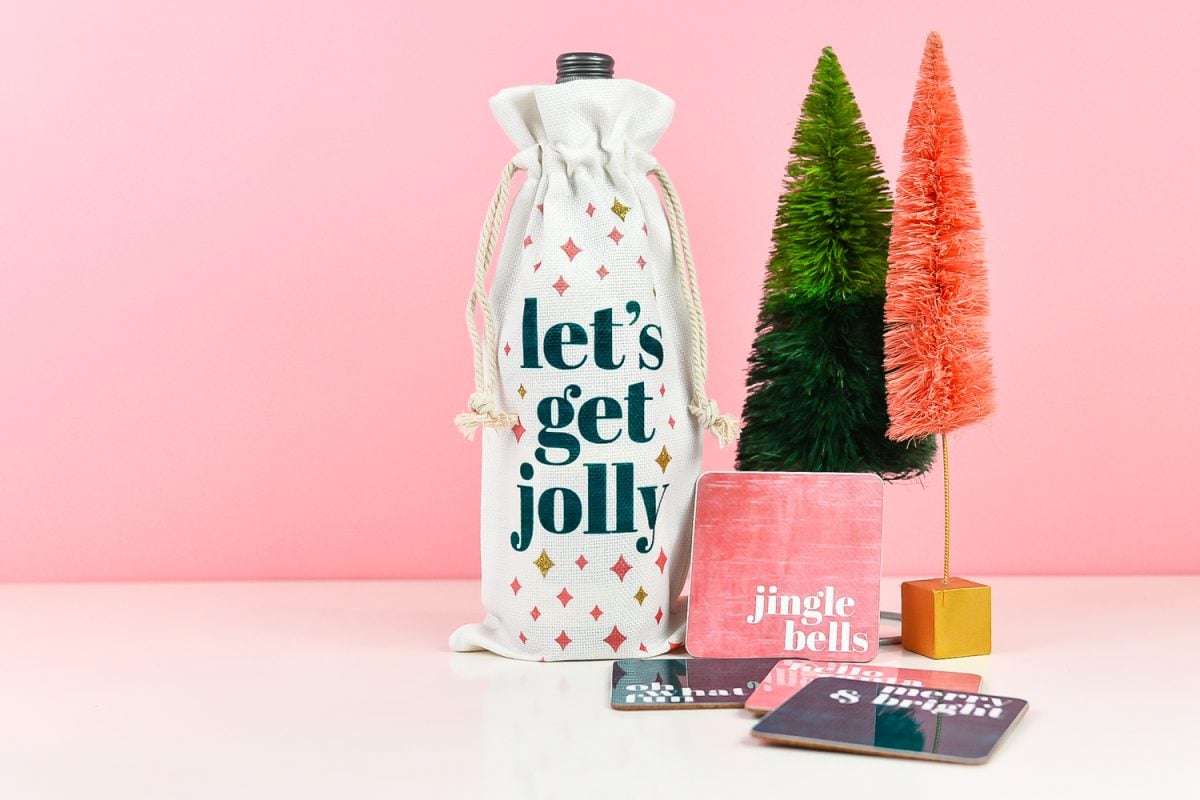
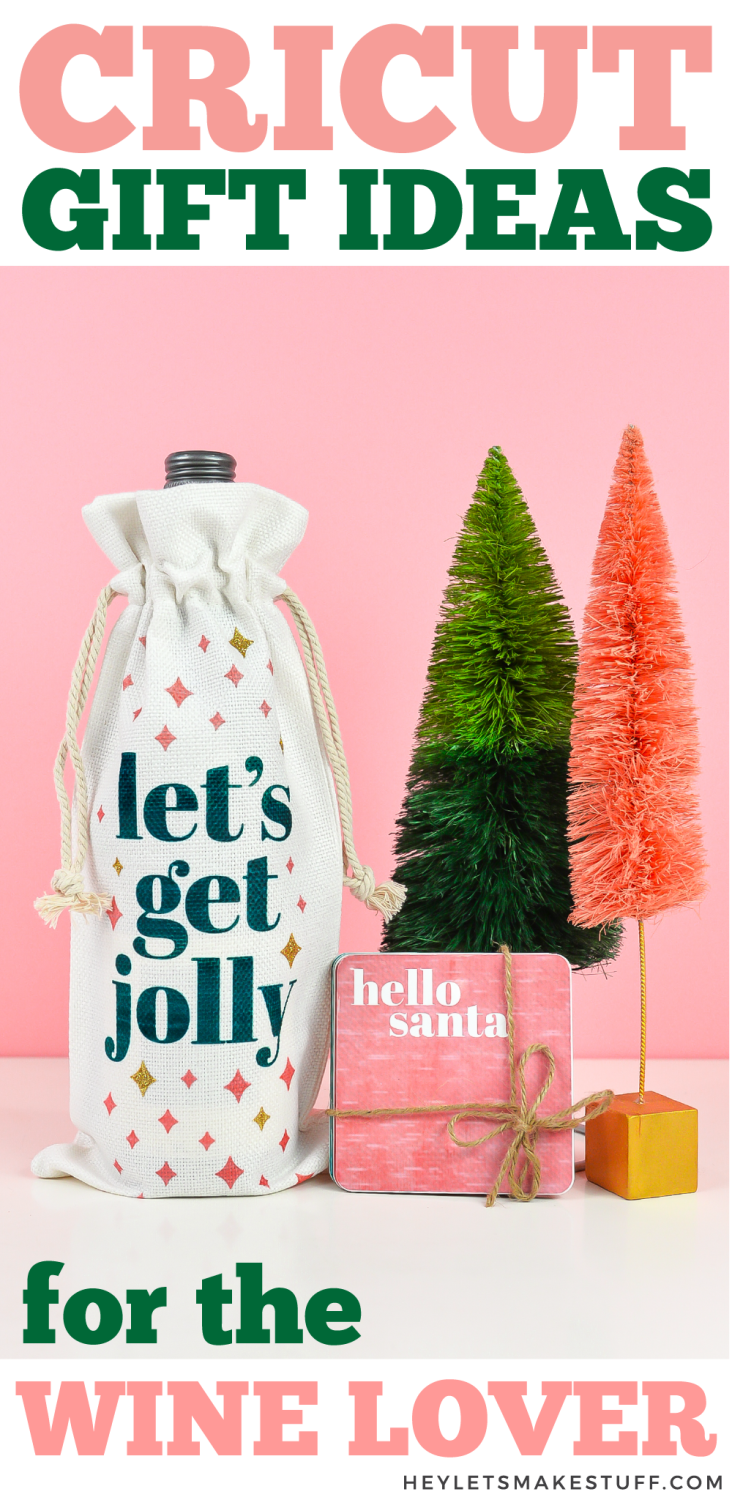
Looking for Christmas gift ideas for the wine lover in your life? Well sip back and relax and use your Cricut and Cricut Infusible Ink to make these wine-themed bottle bag and coasters!
This post is sponsored by Cricut. Thanks for supporting the brands that support Hey, Let’s Make Stuff!
It’s that time of year to start thinking about holiday gifts! I love making Christmas gifts with my Cricut, and this year is no different! With shipping delays across the country, I’m hand-making more of my gifts than ever. It’s a lot easier to hit my local craft store and grab the craft supplies I need than hope and pray my store-bought gifts make it through the Suez Canal!
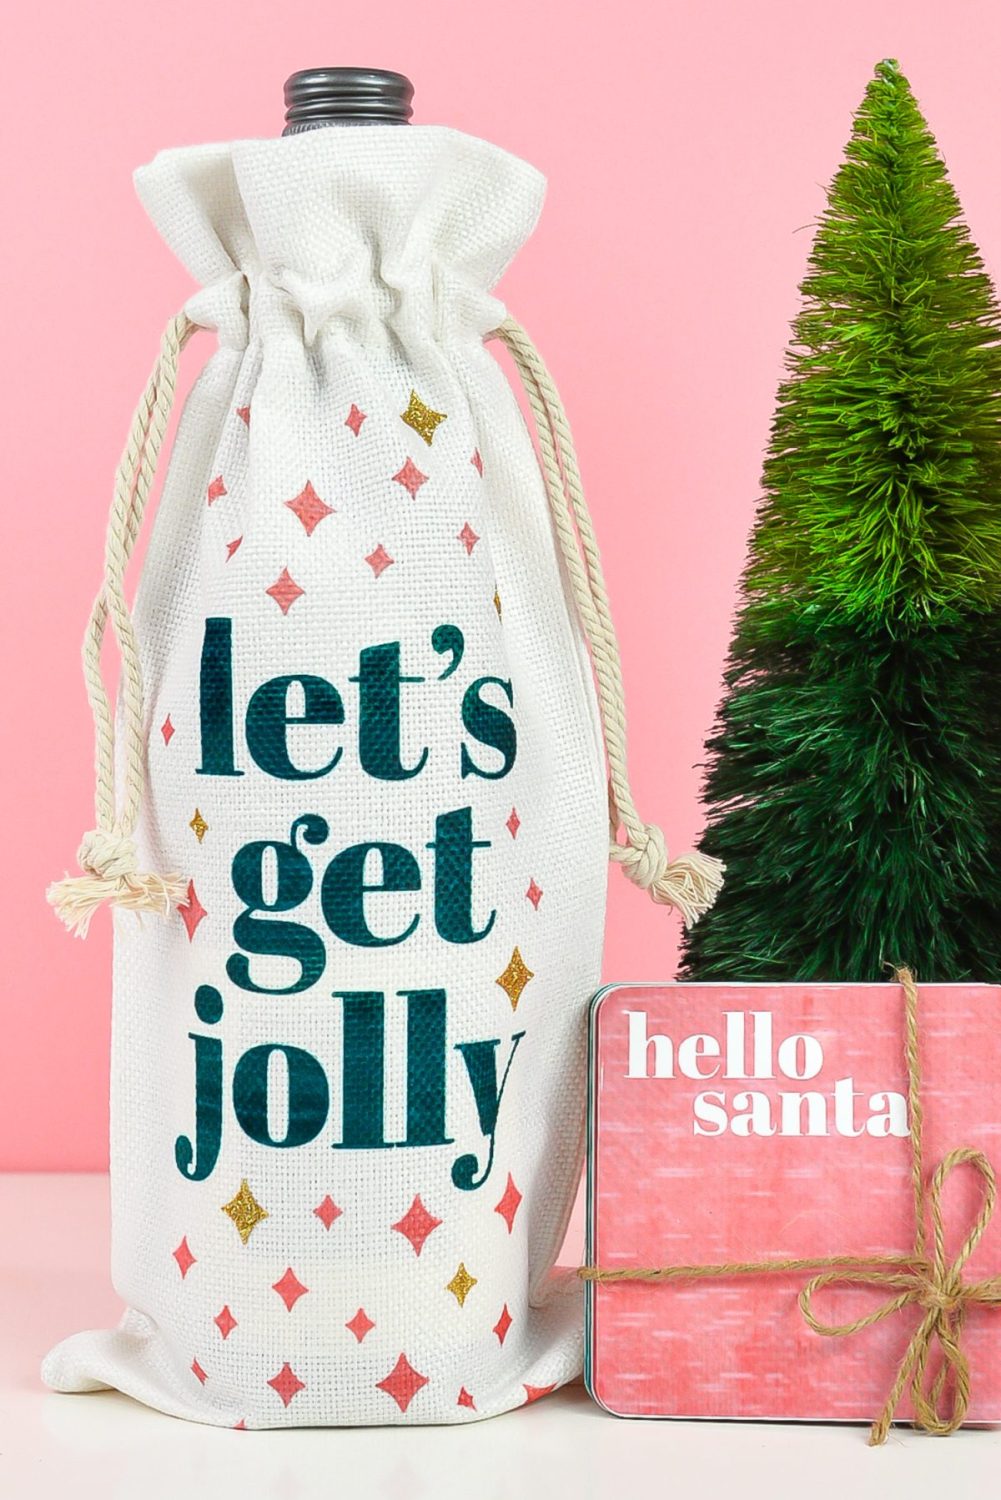
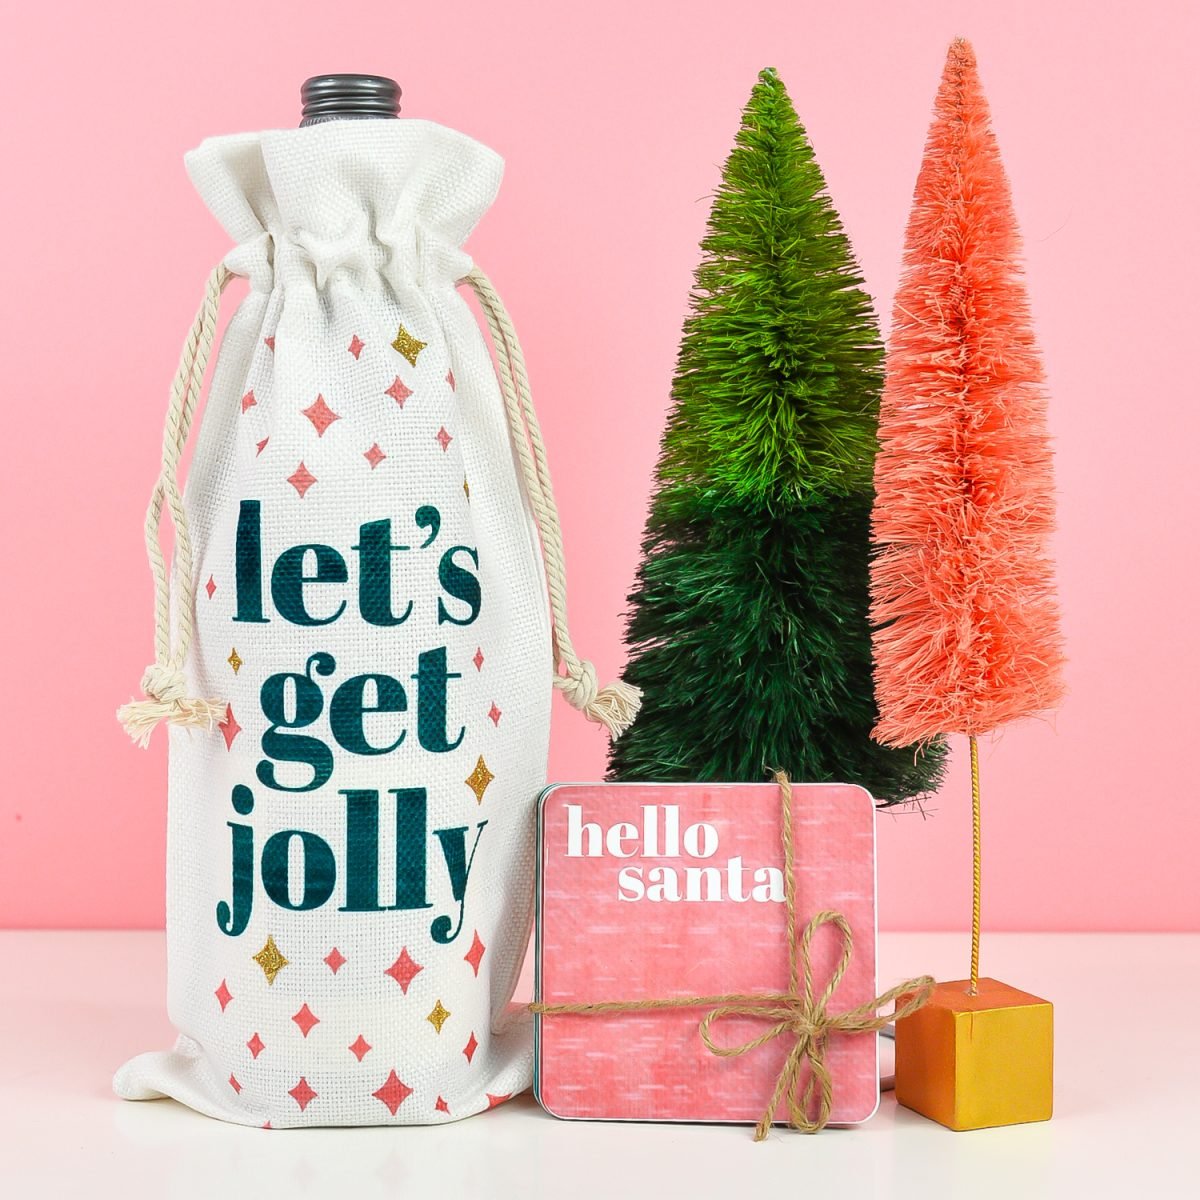
Today I’m joining with Cricut to share two gift ideas that are perfect for the wine-lover in your life. A bottle of wine is the perfect hostess gift, and the bag, made with Cricut Infusible Ink and glitter iron-on vinyl, can be reused in the future!
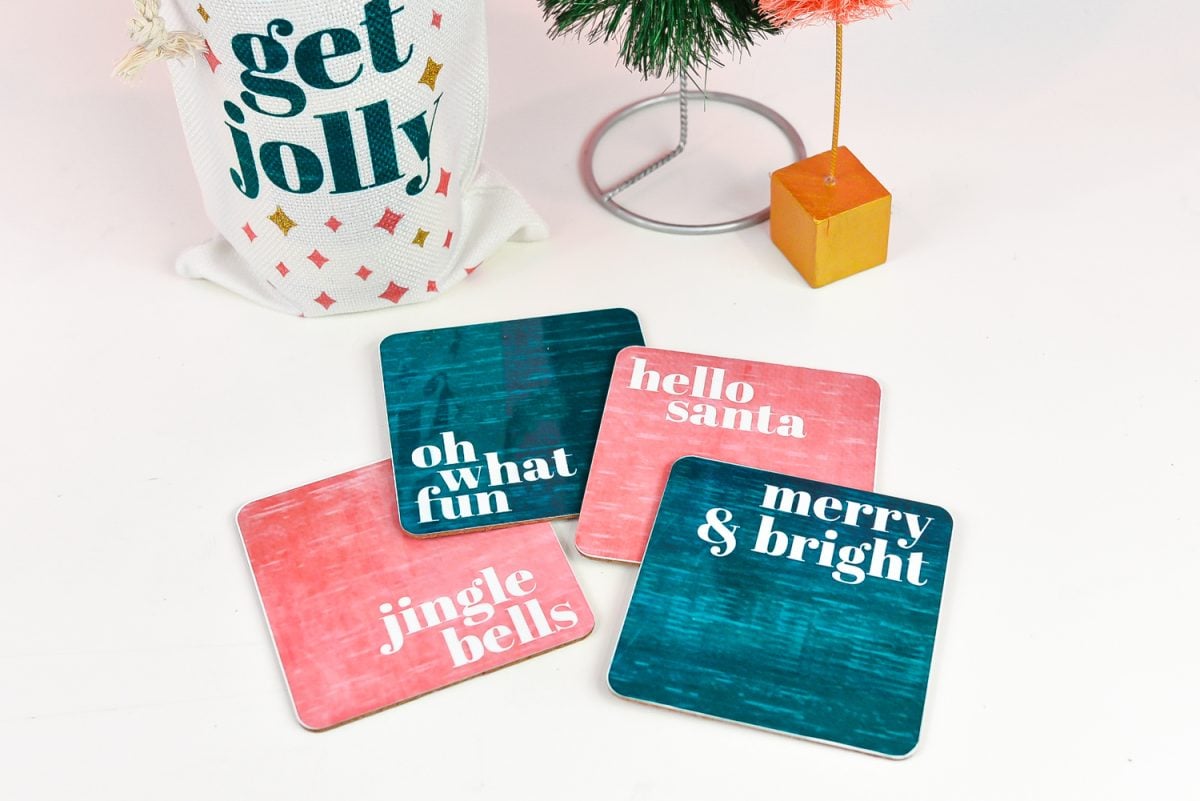
I also made a set of matching Cricut Infusible Ink coasters with a few holiday sayings. Tie with a bit of twine and they are a great addition to a bottle of wine.
These projects can be crafted on all three Cricut machines: Cricut Maker, Cricut Explore, and Cricut Joy! Let’s make some stuff!
Supplies for Gift Ideas for Wine Lovers
- Cricut Maker, Cricut Explore, or Cricut Joy
- Green StandardGrip mat
- Cricut Infusible Ink Transfer Sheets + included butcher paper
- Cricut Glitter Iron-On Vinyl
- Weeding tool
- Brayer
- Heat resistant tape
- Cricut Infusible Ink wine bag
- Cricut Infusible Ink coasters
- Cricut EasyPress 2
- White cardstock
- EasyPress mat
- Cricut Design Space File
How to Make a Wine Bottle Bag & Coasters
Set Up Your Cricut Design Space Project
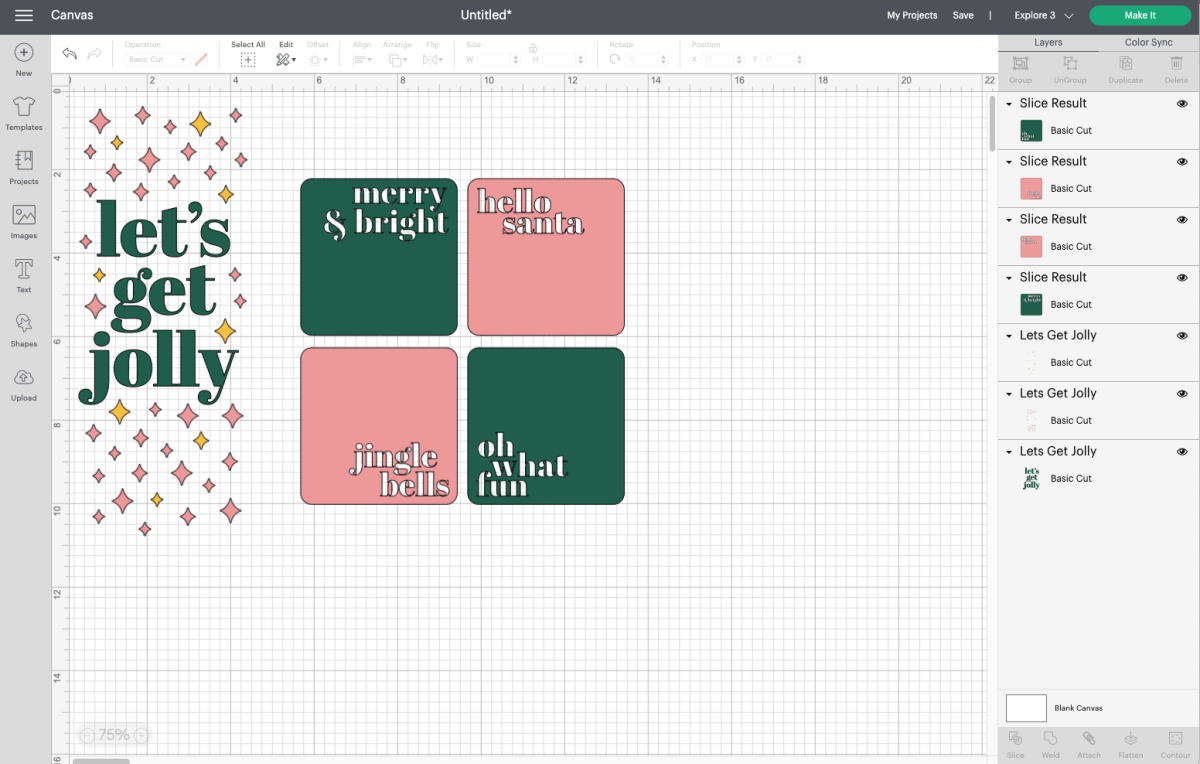
I have already created the Design Space images for you, which you can access through the link in the supply list. You can choose to make the file as is (the file is sized properly), or you can bring it onto your canvas and edit the colors or modify it it on other ways.
If you have a Cricut Maker 3, Cricut Explore 3, or Cricut Joy, you will see a pop-up when you go to make your project where you can choose your load type. Because I am using Cricut Infusible Ink and glitter iron-on vinyl for this project, I chose On Mat. If you are using any Smart Materials, you can choose Without Mat or Multliple Ways, depending on your needs.
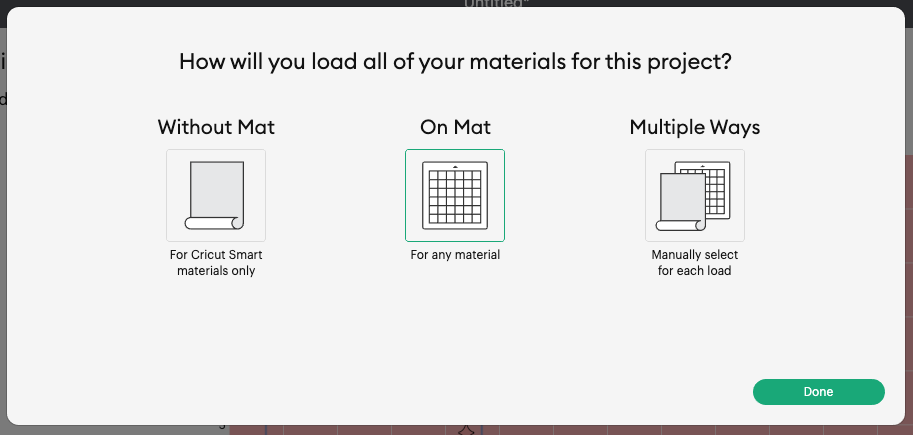
If you have an older Cricut machine, you won’t see this pop up.
In the Prepare screen, you’ll see your images laid out on the mats. You’ll want to mirror each layer. That way, when you go to transfer your images to the blanks, they’ll be facing the correct direction.
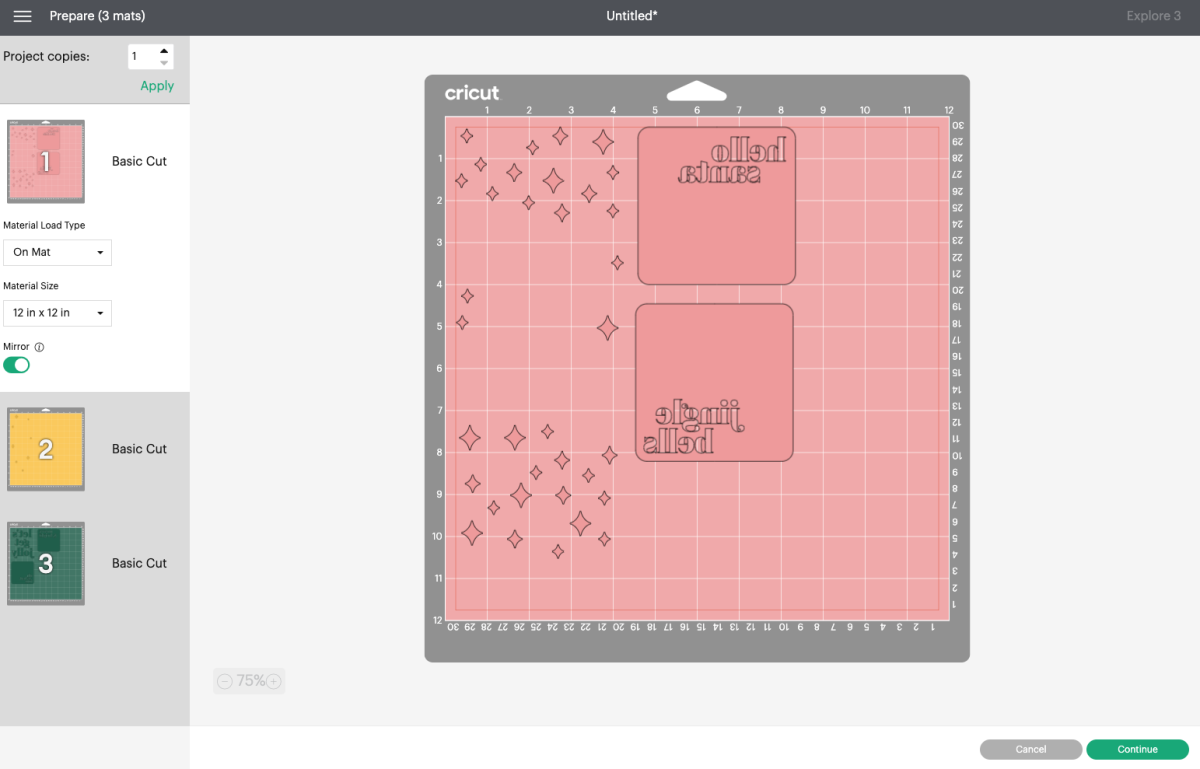
Click Continue!
Cut & Weed Your Materials
Then place your Infusible Ink face up on your mat. I find a brayer really helps get the transfer sheet flat.
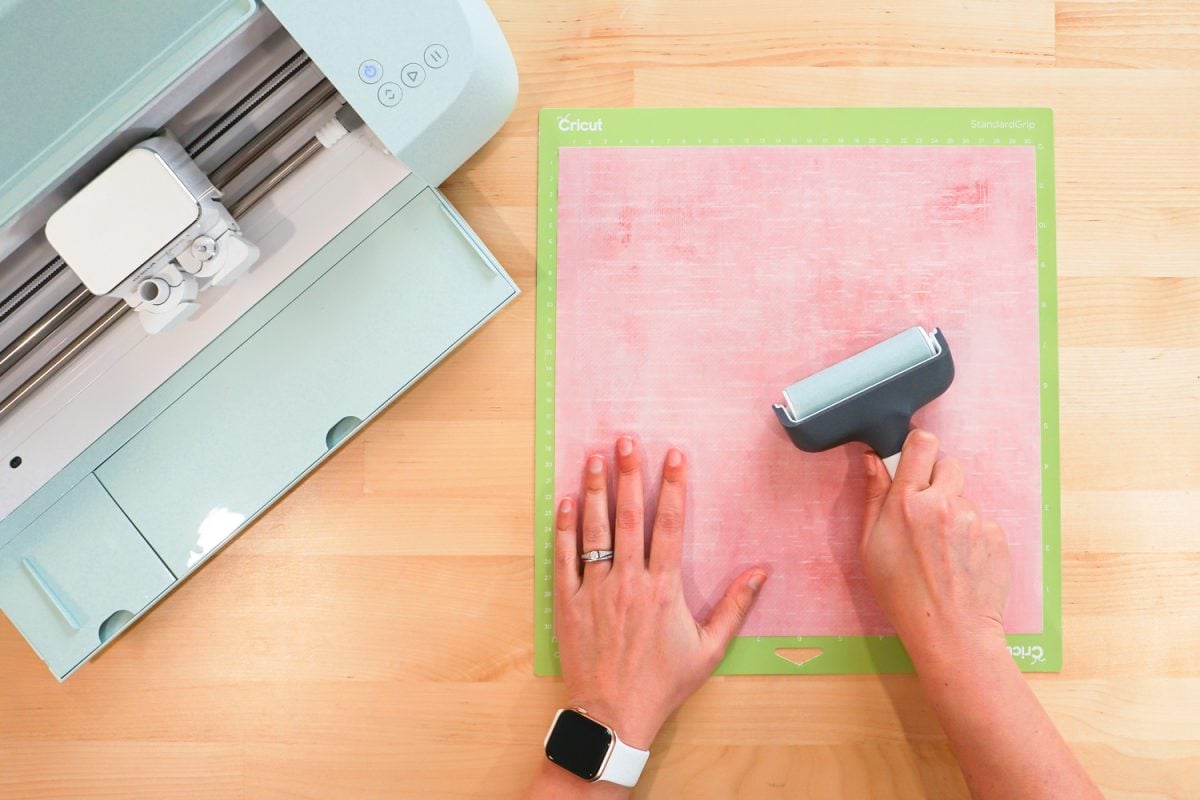
Then have your Cricut cut out your layers. I used gold glitter iron-on for the yellow layer of my project to add a bit of holiday sparkle! Make sure to change your material settings between each cut.
Once your three layers are cut, you’re going to weed your Infusible Ink transfer sheets, as well as your glitter iron-on. You’ll want to weed the Infusible Ink with your hands (see more about that in this coasters post), and you can use a weeding hook for the glitter iron-on vinyl.
Adhere Your Images
Now it’s time to adhere our images! Let’s start with the coasters. You’re going to make a stack. From bottom to top:
- Your EasyPress Mat
- A sheet of white cardstock (to protect your mat)
- Your coaster, face up
- The transfer, face down (I find that using heat-resistant tape to secure the transfer to the coaster is helpful!)
- Four pieces of butcher paper
- Your Cricut EasyPress 2 set to 385° for 60 seconds
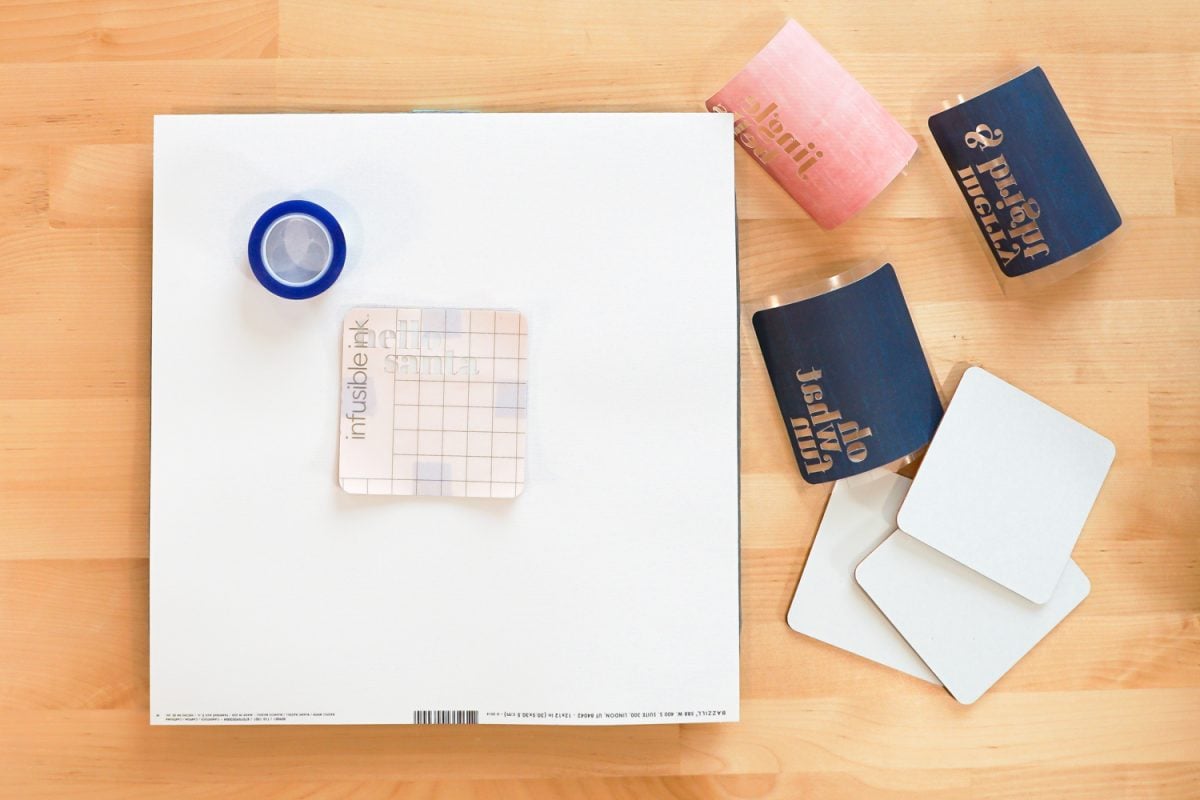
You can always find your stacking order and heating information in Cricut’s Heat Guide. I always check this page before I make any project with my Cricut EasyPress to make sure I’m doing everything properly.
Once you have your stack, place your heated EasyPress 2 on top and let it count down the 60 seconds. You do not need to apply pressure for the coasters.
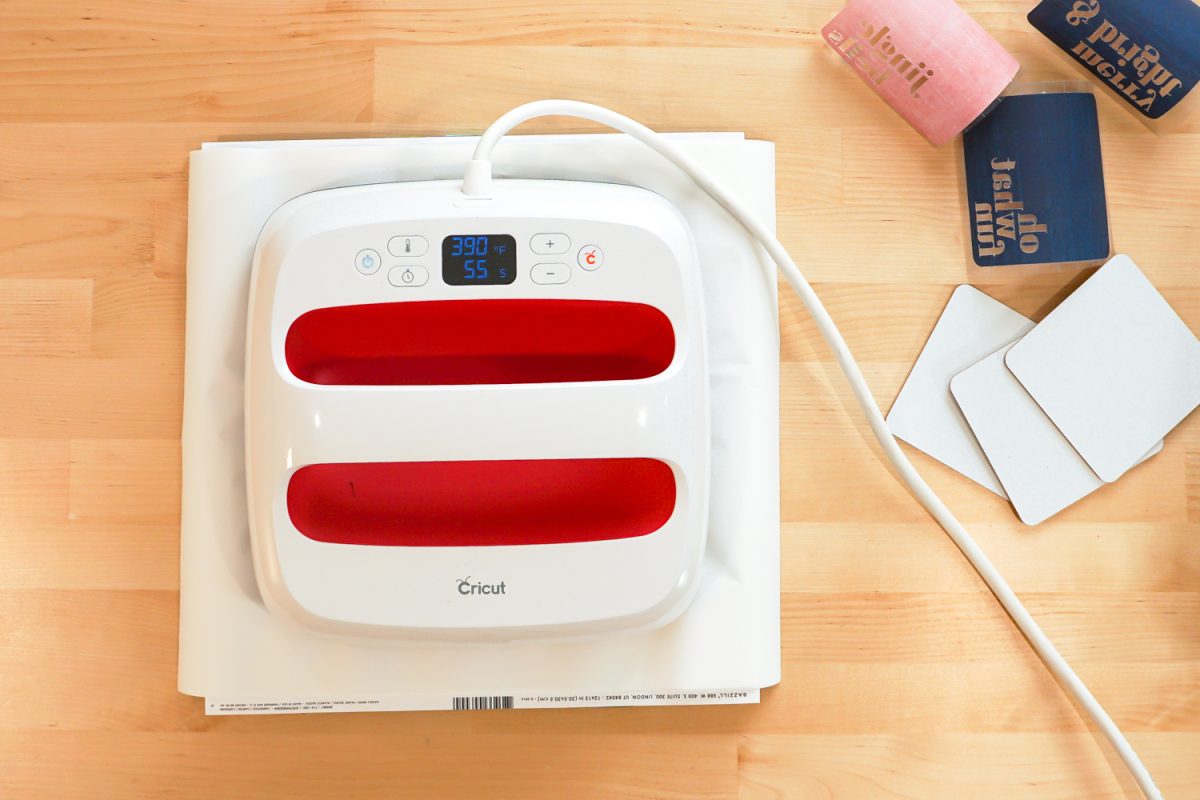
When the coaster is done, carefully and slowly remove the EasyPress and return it to its base. You don’t want the transfer to shift or it can cause ghosting (see my post on Troubleshooting Cricut Infusible Ink). The coaster will be hot! Let it cool for a few before moving it to do your next coaster.

Now let’s make the wine bag! For this bag, I have three layers—the dark teal Infusible Ink “let’s get jolly,” pink Infusible Ink stars, and gold glitter iron-on vinyl stars.
Because it’s not recommended to press Infusible Ink more than once, you can actually trim right around the edge of the “let’s get jolly” image and nest it in between the stars. This is basically Layering Cricut Infusible Ink using Slice and Set. That way, you get both images within one press.
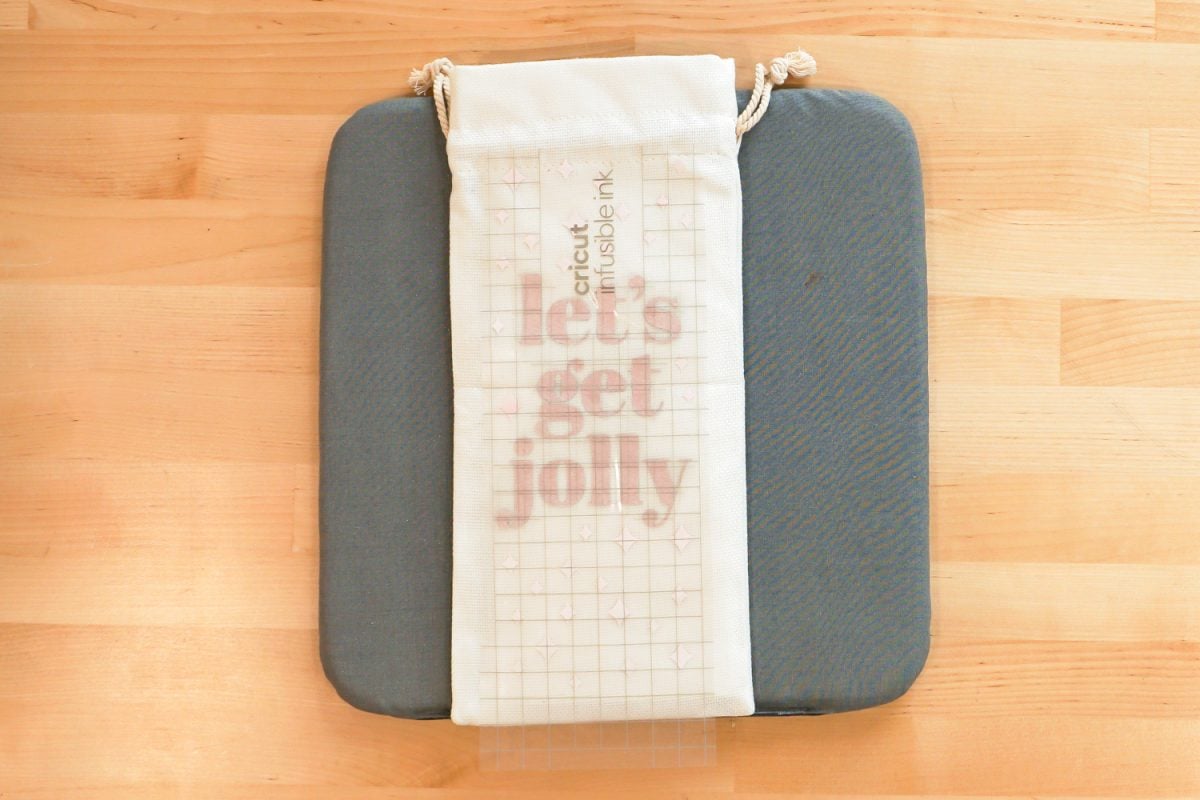
For your wine bag, your stack will look like this (bottom to top):
- Your EasyPress Mat
- A sheet of cardstock *inside* the wine bag to prevent ink bleed
- Your wine bag, face up
- Your slice-and-set transfer, face down
- Four pieces of butcher paper
- Your Cricut EasyPress 2 set to 400° for 60 seconds
Once you have your stack, place your heated EasyPress 2 on top and let it count down the 60 seconds. Apply light pressure with your hands as it presses.
When the wine bag is done, carefully and slowly remove the EasyPress and return it to its base, taking care not to shift the transfer. While it’s cooling, re-set your EasyPress to 330° and 30 seconds.
Once it’s cool, peel back the transfer sheet to reveal your image.
Now you can adhere the iron on vinyl to your bag. Because you are using a much lower temperature, the double-press on the Infusible Ink should have no effect.
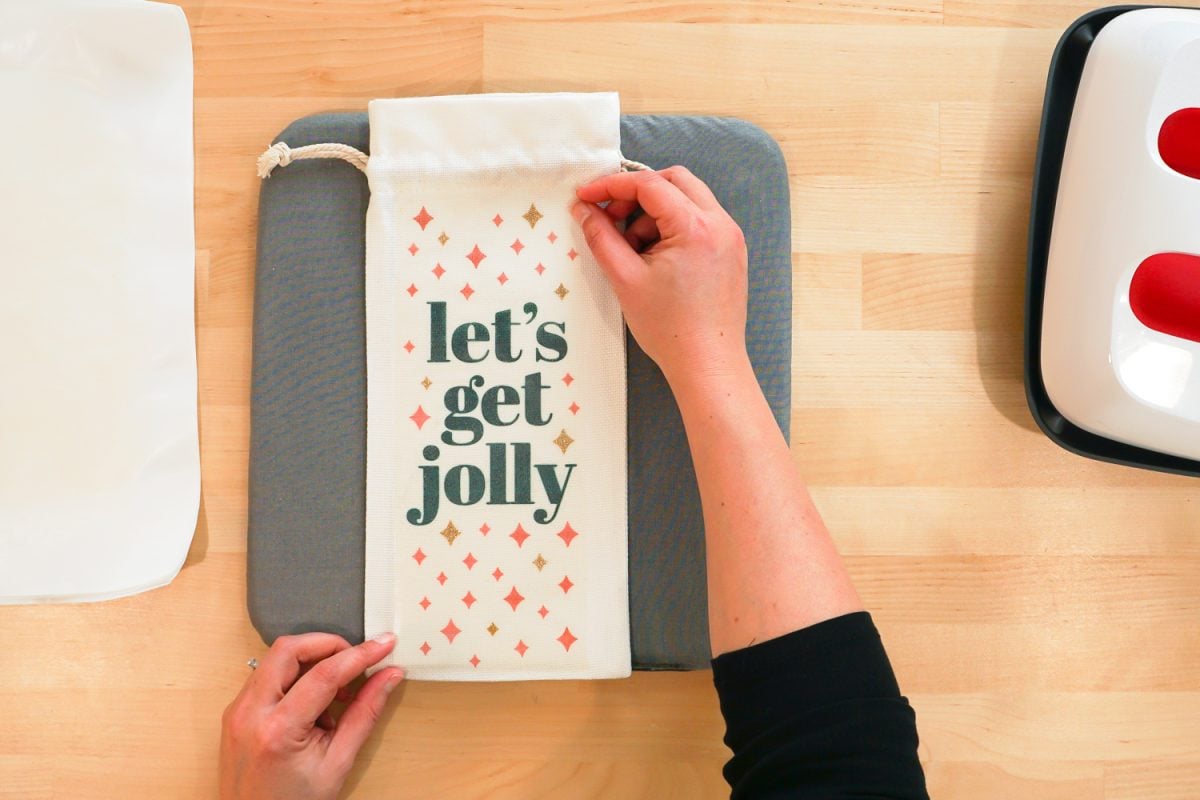
That’s it! You have the perfect Christmas gifts ideas for the wine-lover in your life! Would you be interested in more ‘happy hour’ SVGs? Check out my blog for a Free Happy Hour SVG and more!


Leave A Reply!