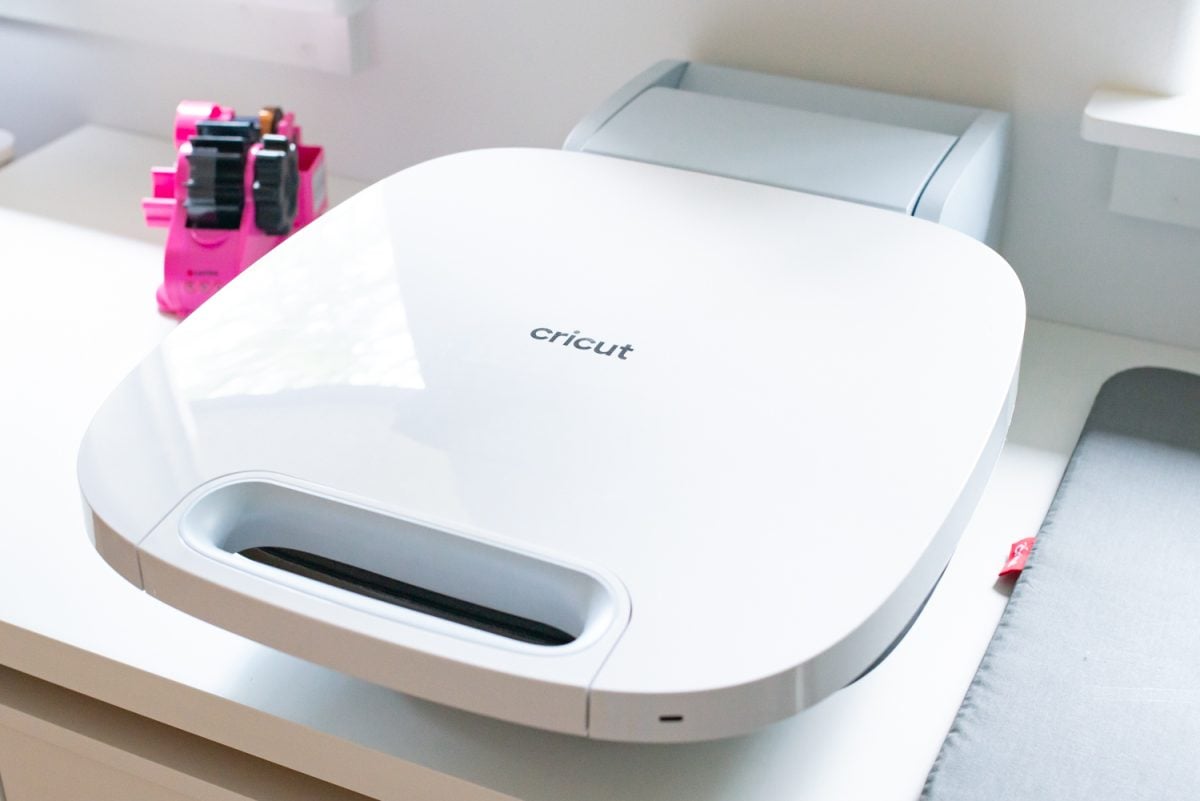
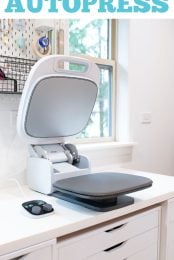
Cricut has completely redesigned the heat press from the ground up! The new Cricut AutoPress is designed for high-capacity crafters—with an easy-to-use sleek design that is different than any heat press you’ve used before!
This post is sponsored by Cricut. All opinions are my own!
If you’ve been around the crafting world for any length of time, you know what a heat press is. Heat presses are usually big, industrial-looking machines that can be intimidating, especially for newer users.
Until now! This week, Cricut announced Cricut AutoPress, a totally redesigned heat press. I was lucky enough to get one early and I’m excited to share all of the new features of Cricut AutoPress with you. Whether you’re making two dozen t-shirts for your family reunion, a bunch of tote bags for your bestie’s baby shower, or you want to level up and stock your new online shop with cozy custom sweatshirts, I think you’re going to love how this heat press allows you to create more even faster.
In this post, I’ll be going over all of the features of Cricut AutoPress, including what makes it different from other heat presses on the market and how it differs from Cricut EasyPress. We’ll also go over the basic operation of the AutoPress. Then stay tuned for more posts on how to use the AutoPress with specific materials and blanks!
The launch of Cricut AutoPress is just one of the newest heat presses from Cricut. Also make sure to check out my new posts on Cricut EasyPress 3 and Cricut Hat Press!
Not sure which heat press is for you? Check out our e-course Heat Press Roadmap! This extensive course is designed to guide you on your journey to deciding on the best heat press for your needs, space, and budget. Check out all the details about Heat Press Roadmap here!
What is Cricut AutoPress?
Cricut AutoPress is Cricut’s commercial-grade version of a traditional heat press. A heat press is used for adhering iron on vinyl, Cricut Infusible Ink, and sublimation prints to a variety of flat blanks, like t-shirts, tote bags, coasters, and more.
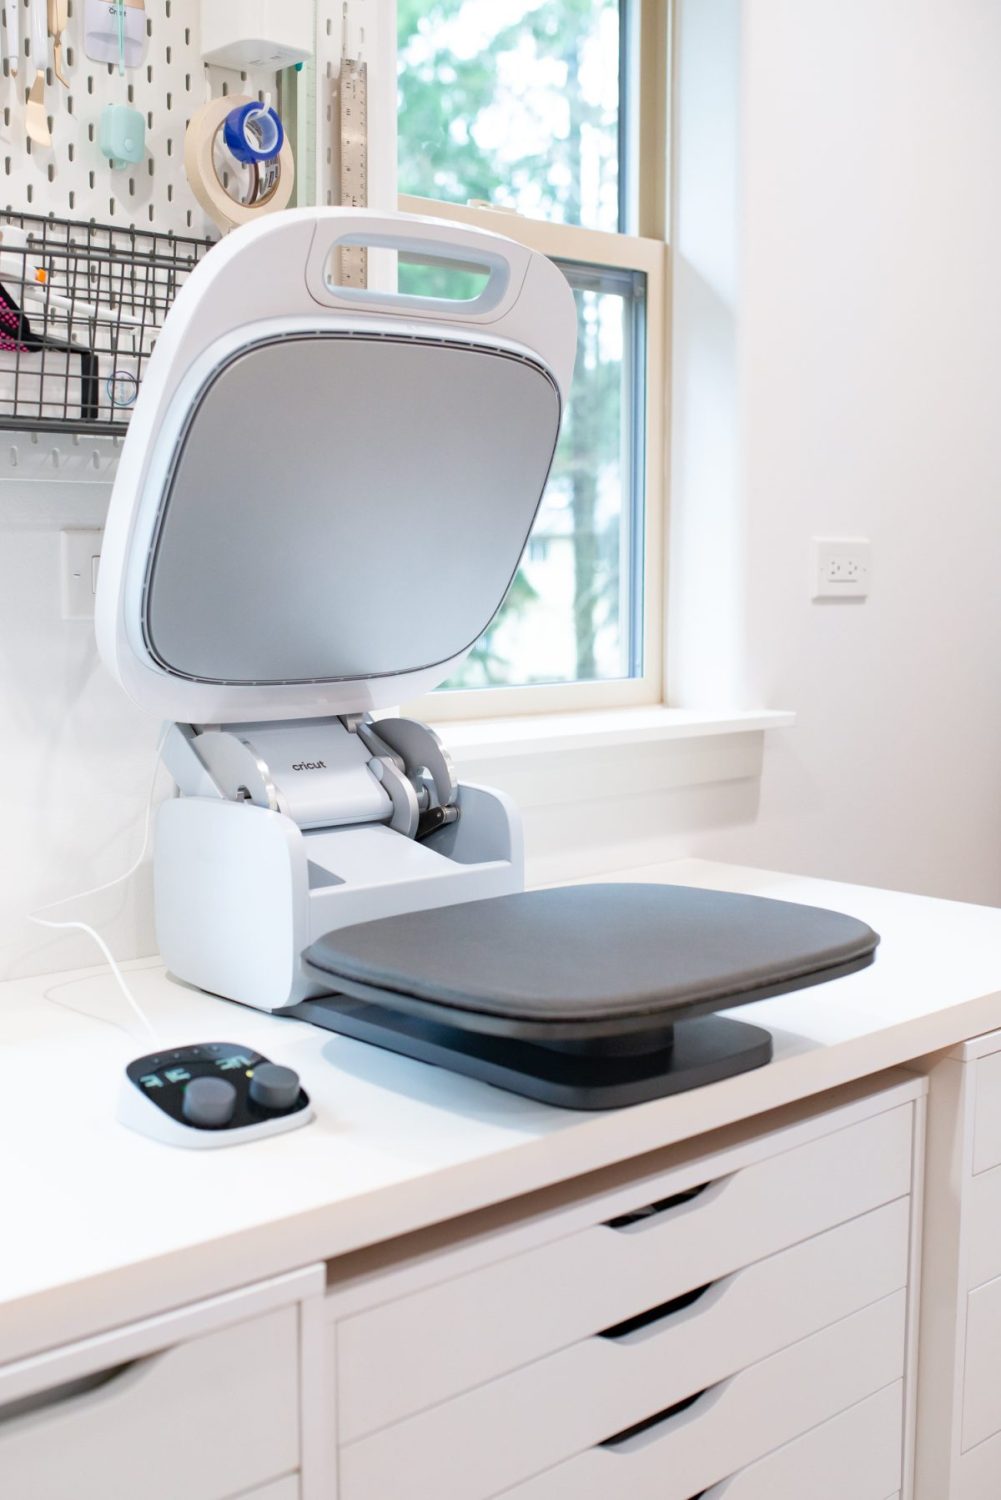
But, as you’ll see, Cricut AutoPress has a bunch of new features that make it clearly stand out among other heat presses. And while it may seem geared more toward crafters who make in bulk or who have small businesses, it’s very easy to use—even a beginner can easily operate it.
What’s in the Cricut AutoPress Box?
Inside the box (which is heavy—the box with the press is 58lbs total) are the AutoPress itself and two boxes. Inside the first box is the quick start guide, the control pod, and a USB cord to connect the pod to the AutoPress, and in the other is warranty information and the power cord for the AutoPress itself.
How Big is Cricut AutoPress?
The AutoPress is 16.63″ wide, 26.07″ deep, and 6.62″ high when closed (16.63″ tall when open). The depth is the dimension you most likely want to pay attention to. The cord adds about 2″ of depth to the press as well. The AutoPress was designed to fit on a standard counter, which is 25.5″ deep. I have it sitting on a craft desk that is 23.5″ deep and it comes right to the edge but is firmly on the table. The handle does hang over the desk a bit, which is fine for my studio. Just be aware of it for your own space.
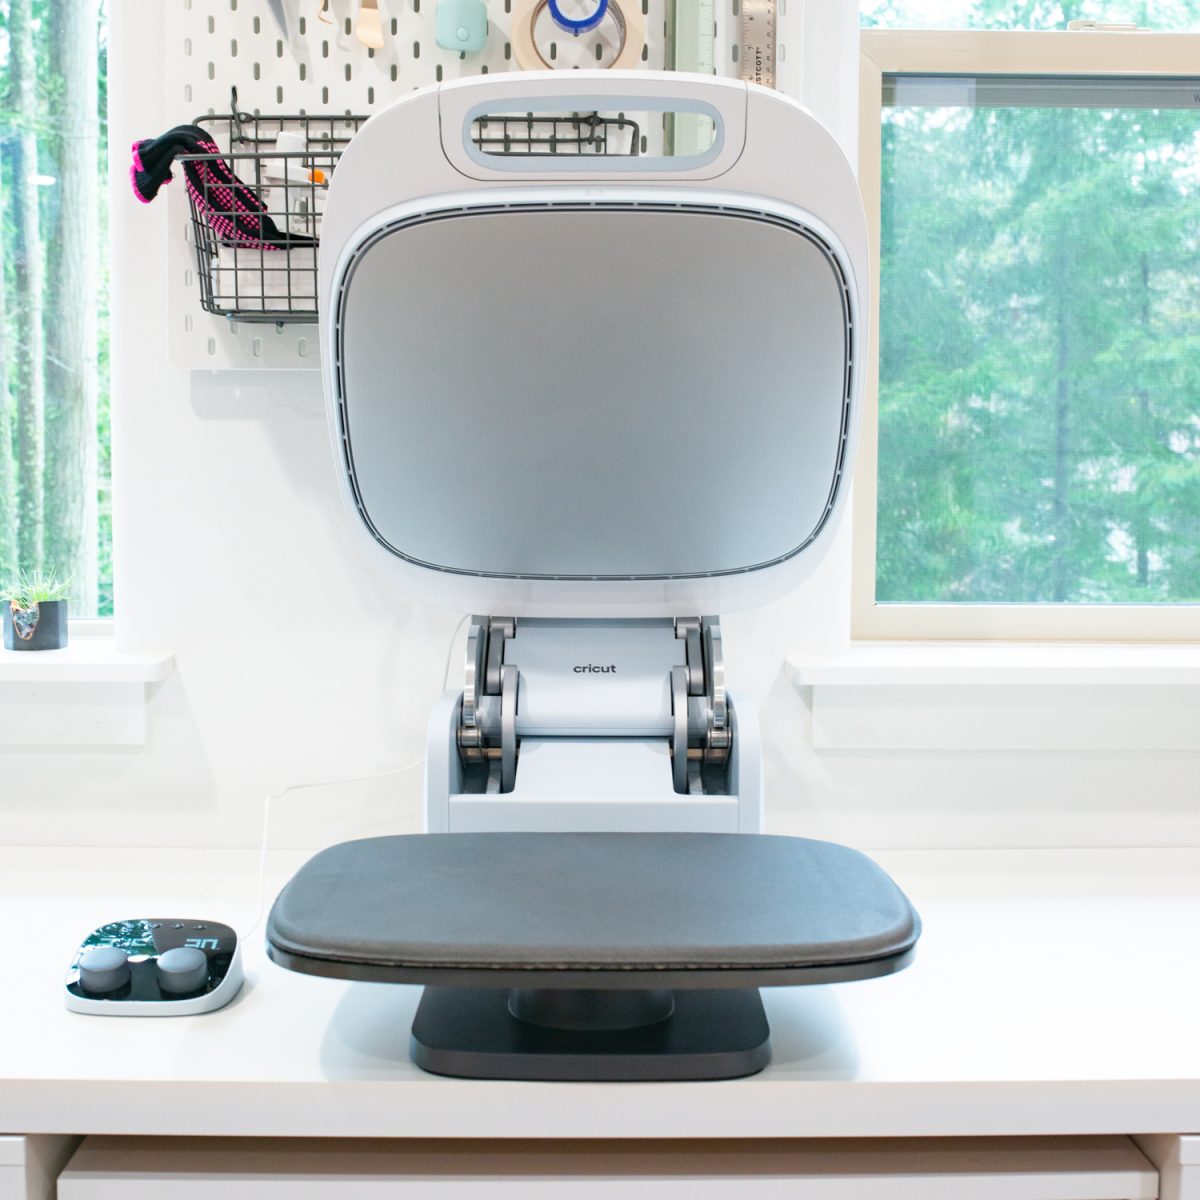
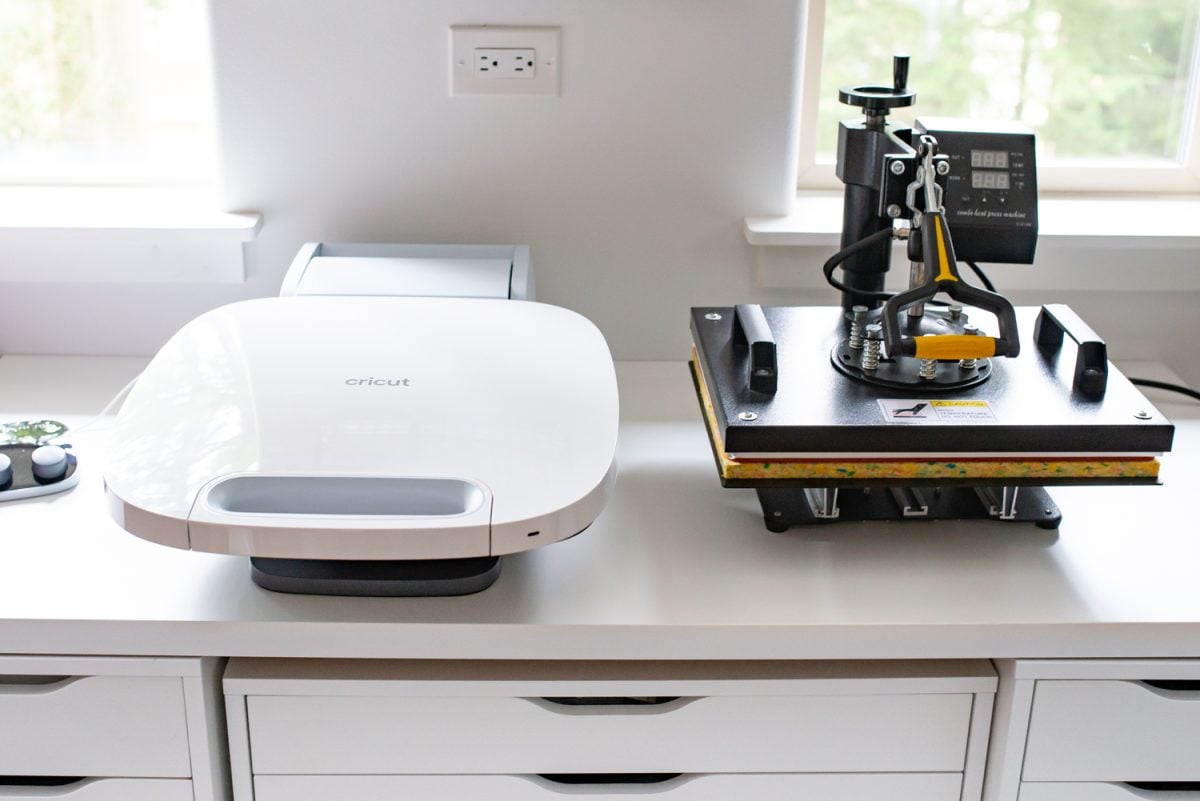
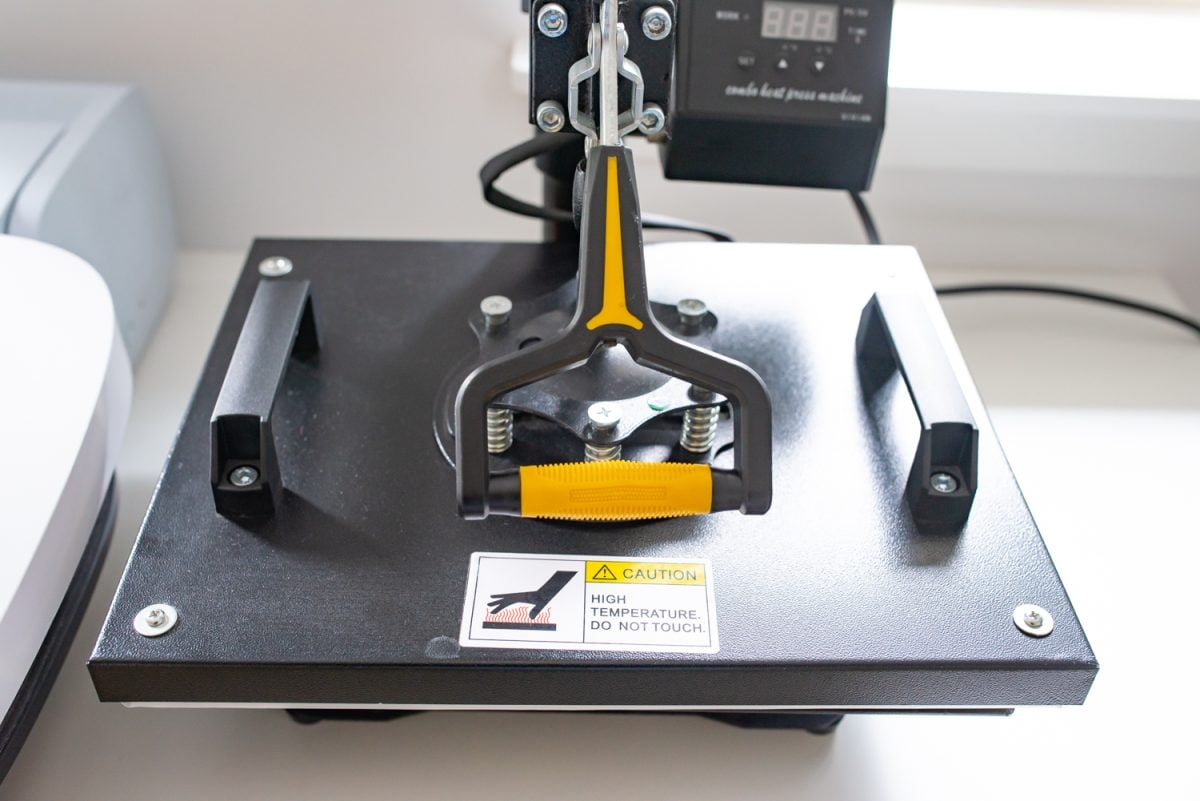
Overall, it’s about the same depth as my swing-away heat press when the top plate is swung away from the bottom plate. I actually can’t use my regular heat press on this desk—there isn’t enough room to swing it around. I use have to use my heat press on a separate cart I can roll away from the wall.
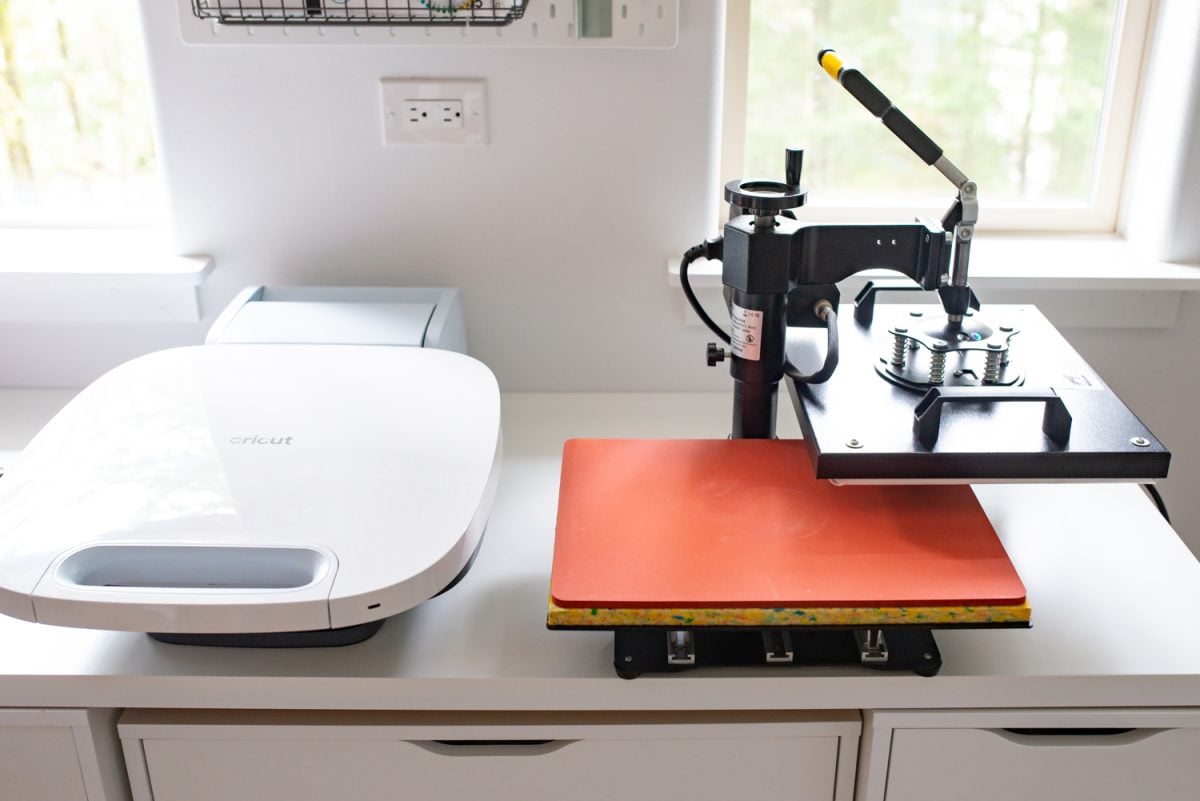
The AutoPress is also heavy—about 53lbs. I recommend having a second person to help you move it!
What Makes Cricut AutoPress Different than other Heat Presses?
While the overall function of Cricut AutoPress is the same as other heat presses (to adhere a design on a blank), Cricut has really thought about the heat press in a whole new way. Here are some of the features that are different than other heat presses on the market.
Overall Look & Feel
The first thing you’ll notice, is that instead of being a big hunk of metal, Cricut has designed Cricut AutoPress to be smooth and sleek. It falls neatly in line with the design all of Cricut’s products. The look of the machine is probably not an issue for many crafters, but I love that Cricut AutoPress looks nice in my studio!
Pressure
There are three variables when using a heat press: time, temperature, and pressure. These three variables, when working properly together, create the perfect press.
Pressure is often the most overlooked or incorrectly applied of the three. In my traditional heat press, the pressure is adjusted via a crank at the top of the machine. You can “test” the pressure by putting a piece of paper between the two plates of the machine and rotate the crank until you can’t pull the paper out. That is supposed to be “medium” pressure. But it’s fussy and I forget what I have set the second I turn the crank to apply more or less pressure to a blank.
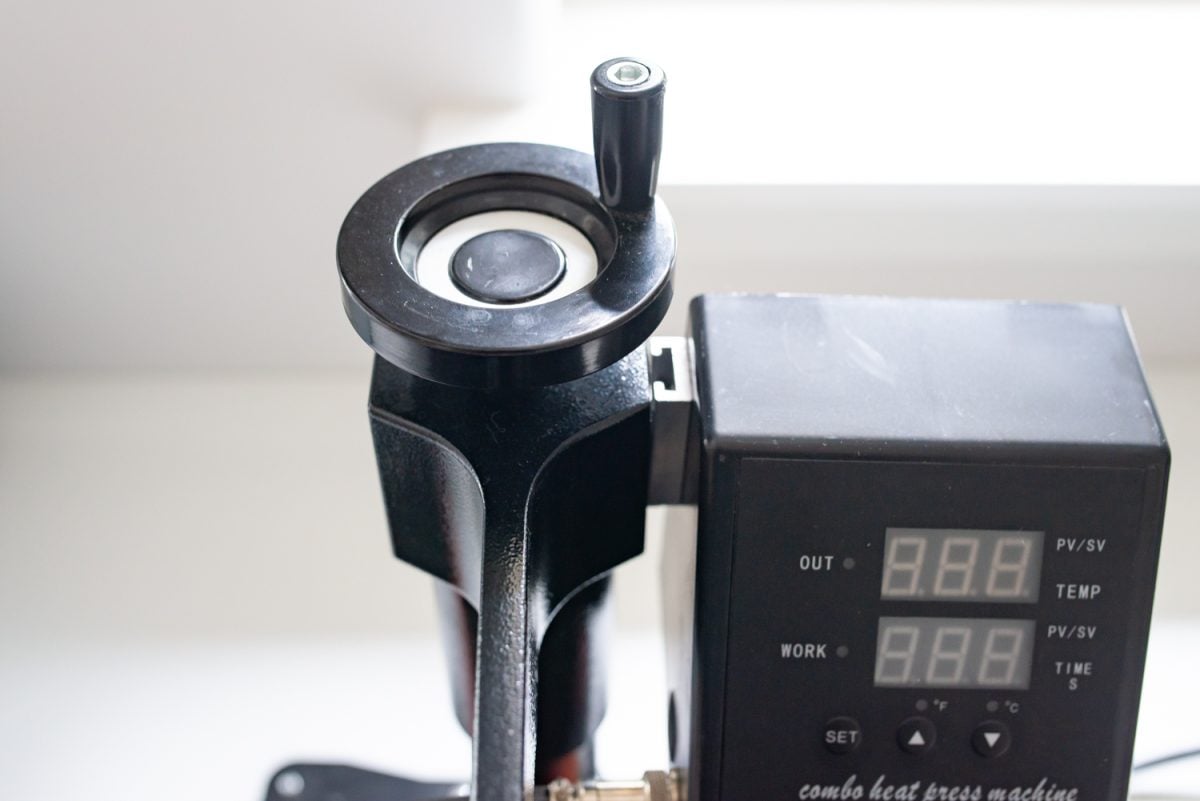
So Cricut decided to do away with manually adjusting pressure altogether. Instead, Cricut AutoPress automatically adjusts the pressure on materials up to 2″ inches thick!
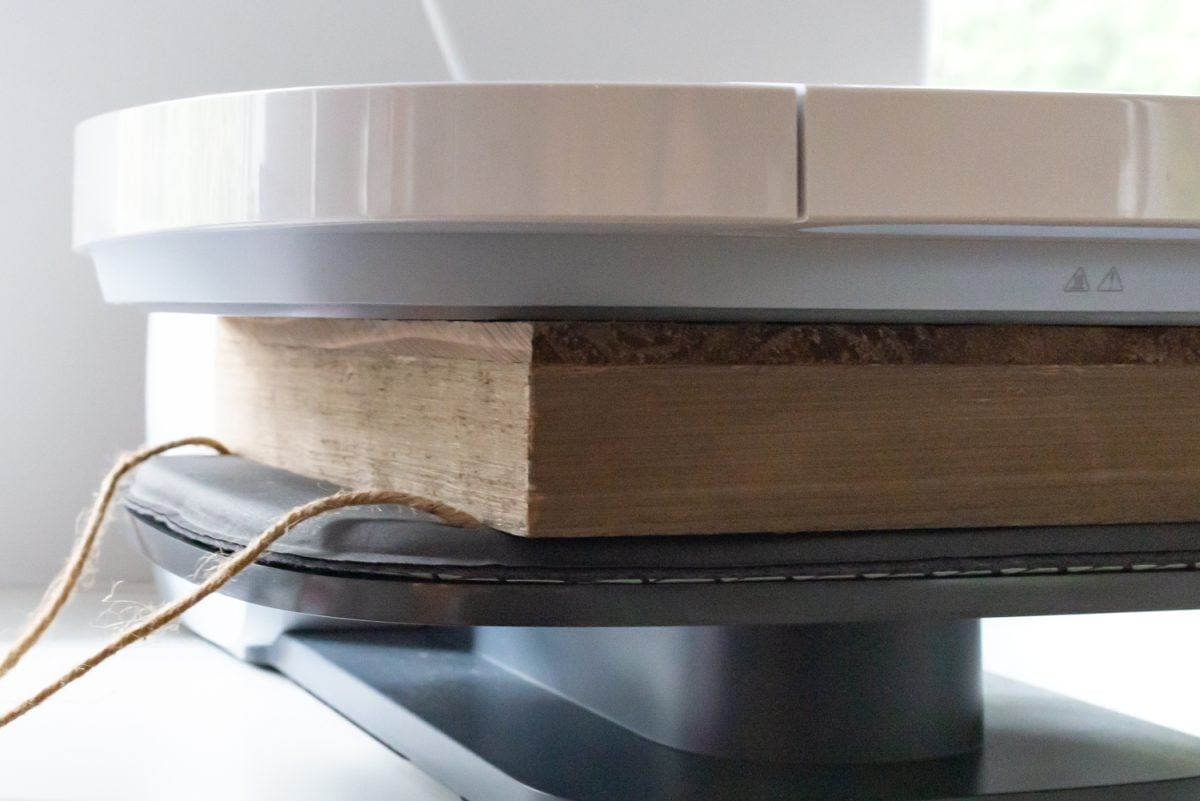
Once you press down the press to close it, you’ll hear it adjust the pressure of the top plate to your blank. It’s really clever and one of my favorite features about AutoPress.
Four-Point Hinge
One of my other favorite features is the type of hinge that’s used. There are two types of heat presses on the market—the swing away press (I have one of these) and the clamshell press. They each have their pros and cons.
The best part of a swing away heat press is that the plate is dropped completely vertically on a project and can adjust to thicker projects more easily. But it does require a lot of room to operate.
The best part of a clamshell heat press is that it’s quicker to open and close and some models have an auto-open feature when the press is done. But you are more exposed to the hot plate and it doesn’t do thicker projects well—they tend to distort as you clamp the press shut.
Cricut looked at these designs and decided “why not both?” Their engineers created a four-point hinge. Cricut AutoPress functions similarly to a clamshell in that it opens, well, like a clam. But when the top plate is about 2″ above the base plate, it comes down vertically, like a swing-away press.
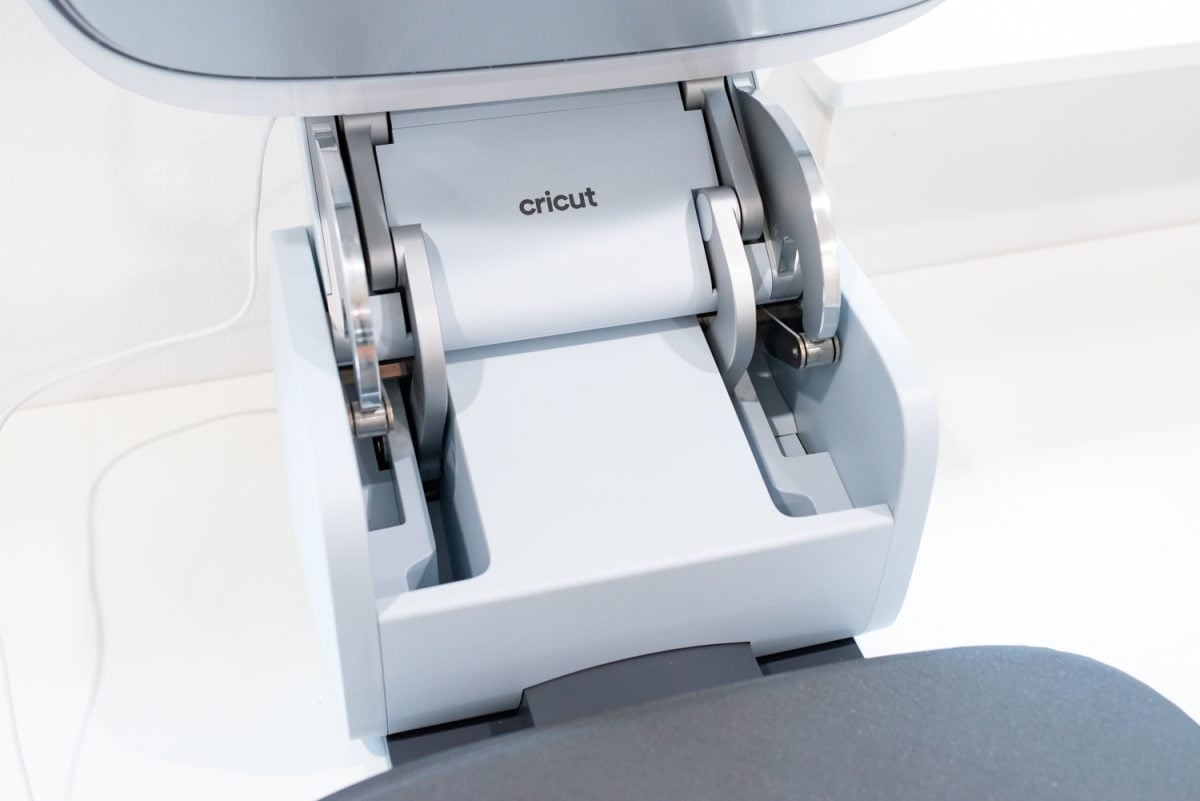
Cricut AutoPress gives you the convenience and speed of a clamshell with the ability to do thicker projects like a swing-away.
Minimal Effort
If you’ve ever worked with another heat press, you’ll know that it takes quite a bit of effort to close and open the clamp. There’s a reason many people screw their heat presses to a table—it can bounce around when opening, particularly on projects with high pressure.
Cricut AutoPress, however, is nearly effortless. To close, you just bring the handle down and press lightly. It locks and the pressure mechanism I mentioned above kicks in. When the timer is up, it automatically pops open.

This is a great feature for folks who may have strength limitations due to age, disability, or other factors.
Safety Features
Like with Cricut EasyPress, Cricut has really thought about safety in the AutoPress. The top of the press is air-cooled so it doesn’t get hot, unlike my current heat press, which will burn you if you accidentally touch it. This is a big one for me, since I have small kids around!
The opening for the heat press is 62°, more than other clamshell presses, which keeps you farther away from the hot plate when placing your projects on the base.
And the auto-open feature means that you won’t forget about your project in the press, which can be a fire hazard.
Storage
Cricut AutoPress can actually be stored on its back. Remove the power cord, pick it up (use two people if needed, as mentioned above), and stand it up on its back end. Even though it’s a decent size, it tucks nicely into smaller spaces, like this space between my desk and the wall. This is great if you don’t need your press all the time and want to free up table space for other crafts.
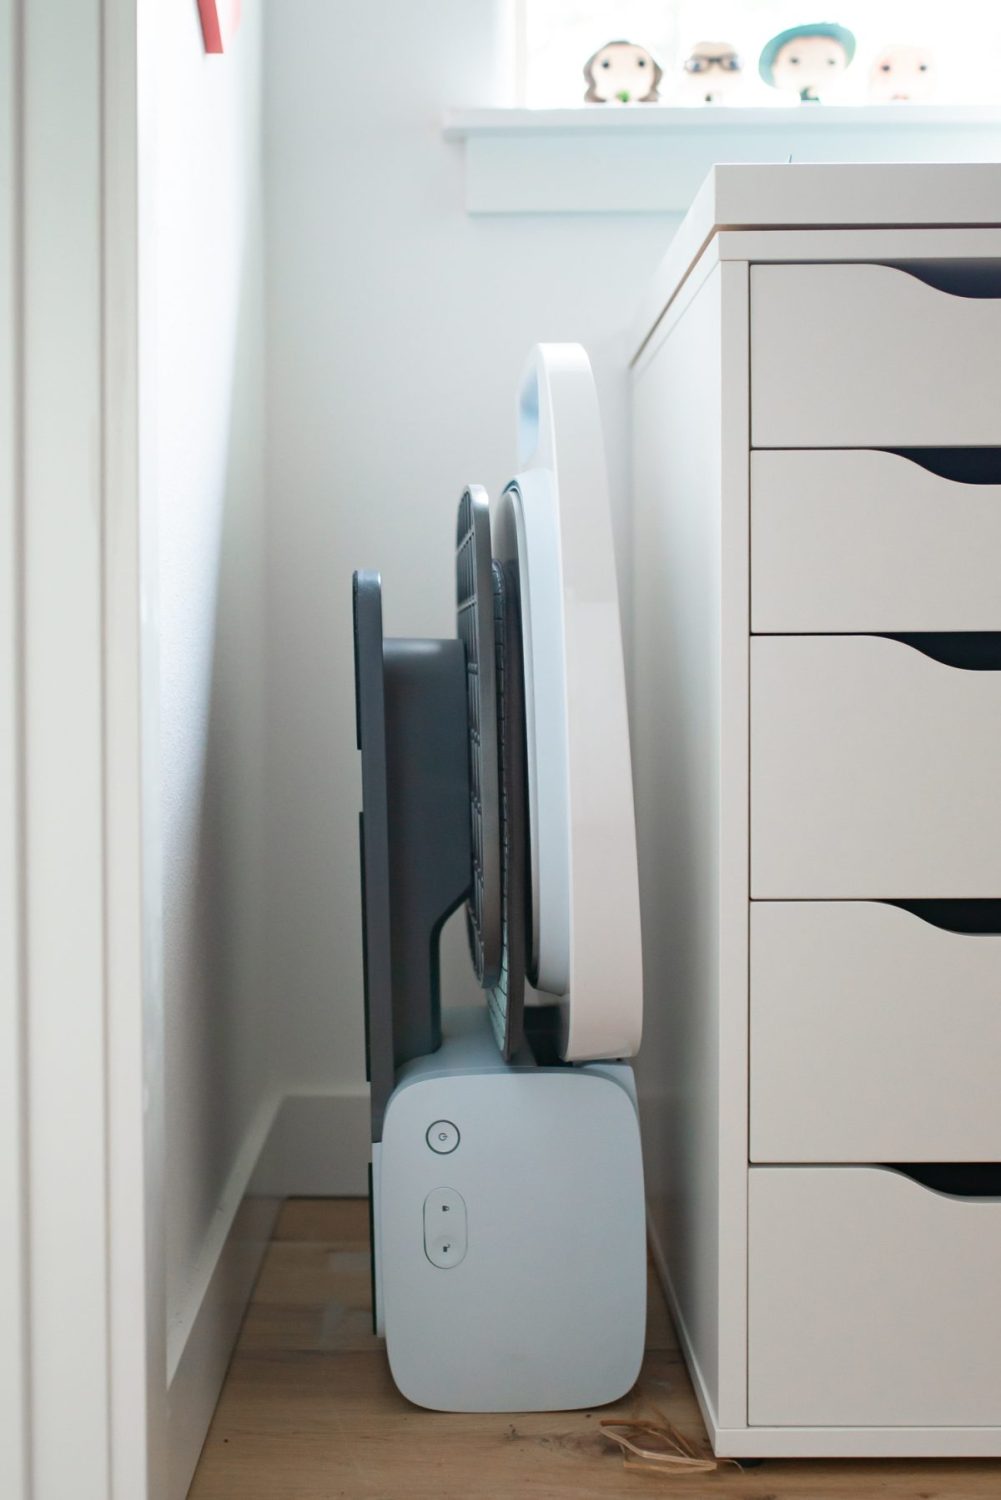
I can’t store my regular heat press anywhere—it’s a beast!
What Makes Cricut AutoPress Different than Cricut EasyPress?
Cricut, of course, already has Cricut EasyPress. You may actually own one (I have four)! There are some key differences however, between the two machines. Your own crafting needs will help you decide which is a better press for you!
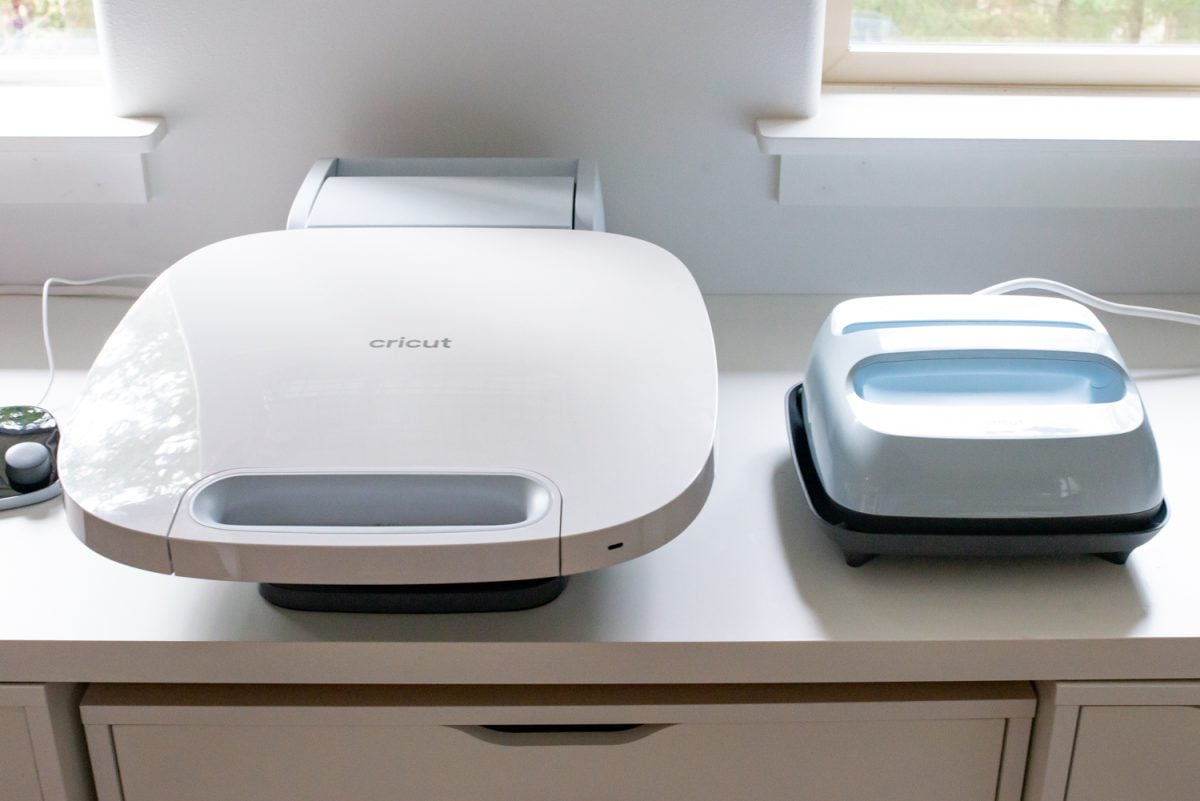
Automatic Pressure
I mentioned pressure above, and that’s a big one. With the EasyPress, it’s up to you to apply the pressure for your project. The Cricut Heat Guide will give you a suggested pressure, but it may be difficult for you to know the difference between “light pressure” and “firm pressure” using your arms. The AutoPress adjusts pressure automatically, so there’s no need to try and figure that out.
Hands-Free
You can do other things while your project is pressing using the AutoPress. Once the press is closed, it does its thing while you prep another project for pressing, weed some iron on vinyl, pack orders, or, let’s be real, scroll Instagram.
No Back Press
You do not need to press items from the back like you do with the EasyPress, making crafting even faster.
Presets
You can set four presets on Cricut AutoPress. This is a small but worthy timesaver if you have a handful of different projects you make often or in bulk. Instead of manually setting the time and temperature, just select the preset.
Larger Size
And finally, the heat plate on Cricut AutoPress is 15″ x 12″, meaning it will make projects that are larger than the largest Cricut EasyPress in one press. Think clothing in larger sizes, oversized tote bags, banners, and more.
EasyPress Benefits
That being said, Cricut EasyPress has its own benefits—it’s smaller size and faster heating time, for example. And the new Cricut EasyPress 3 has the Cricut Heat app to make pressing nearly foolproof.
If you’re happy with your EasyPress, stick with it!
Setting up Cricut AutoPress
Setting up Cricut AutoPress is easy. All you need to do is unbox the machine by removing the black handles from the box so you can slide the two parts of the box apart. Use the included USB cord to connect the AutoPress control pod to your computer. Head to Cricut Setup and follow the on-screen instructions to set up your press. You can also set it up within Cricut Design Space by going to the top left menu and selecting New Product Setup.
Mac Users: if you have a newer computer that does not have a standard USB drive (*raises hand*), you will need to get a USB to USB-C converter. If you have a Cricut Mug Press, you may already have one for that
Using Cricut AutoPress
Start by creating your project in Cricut Design Space and cutting it on your Cricut. Alternatively, you could print and use a sublimation design. For this project, I used Cricut Design Space Image #MF0479B0.
I’m using Cricut Infusible Ink on a Cricut kid’s t-shirt. I cut my Infusible Ink transfer using my Cricut Maker 3, and weeded the image using my hands.
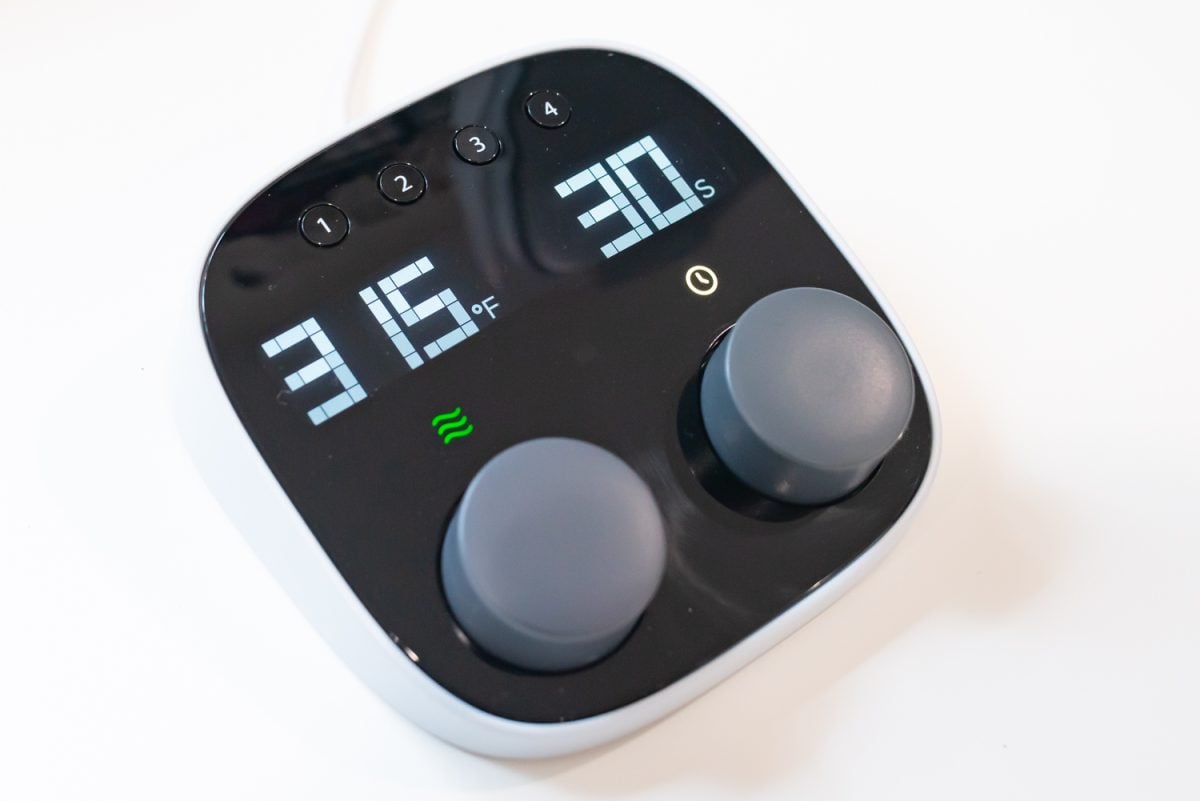
Unlock Cricut AutoPress and turn it on. Then set the control pod to your time and temperature settings based on the Cricut Heat Guide for preheating your blank. The following instructions are for my specific material and blank, so make sure you modify them based on the Cricut Heat Guide. You will also find other instructions specific to your blank there, so read carefully. I set mine to 400° for 15 seconds for the pre-heating.
Lint roll the shirt.
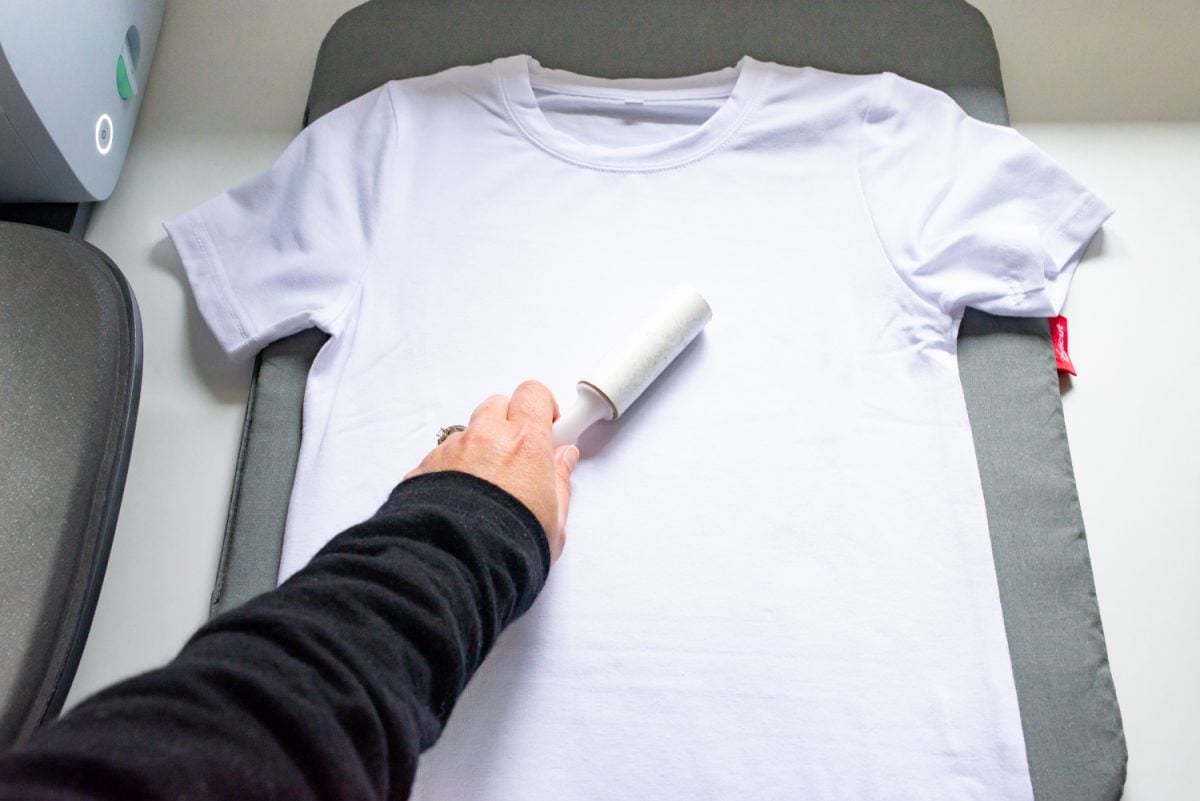
Place the shirt on the base of Cricut AutoPress, as flat as possible. If possible, reduce the number of seams that are pressed—for example, putting the shirt sideways on my base means I am not dealing with the side seams.
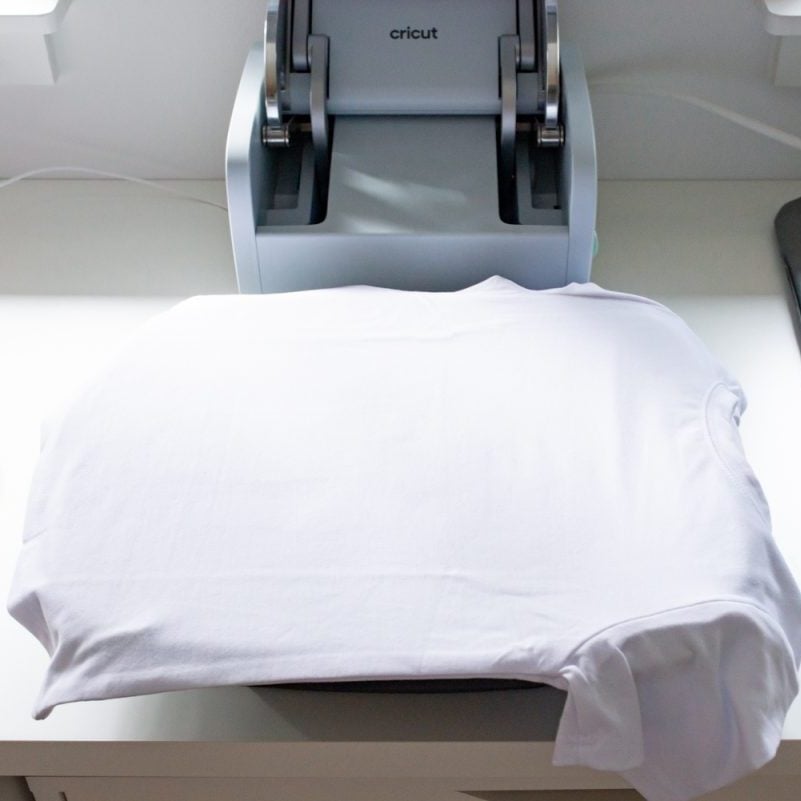
Then close the AutoPress and press the handle down until it clicks. The timer will automatically count down for preheating, and when it reaches zero, the press will pop open (it beeps before it opens, but it still surprises me sometimes!).
Let it cool. Place a piece of cardstock inside the shirt. Then place the Infusible Ink image face down on the shirt, using heat-resistant tape to make sure it stays in place.
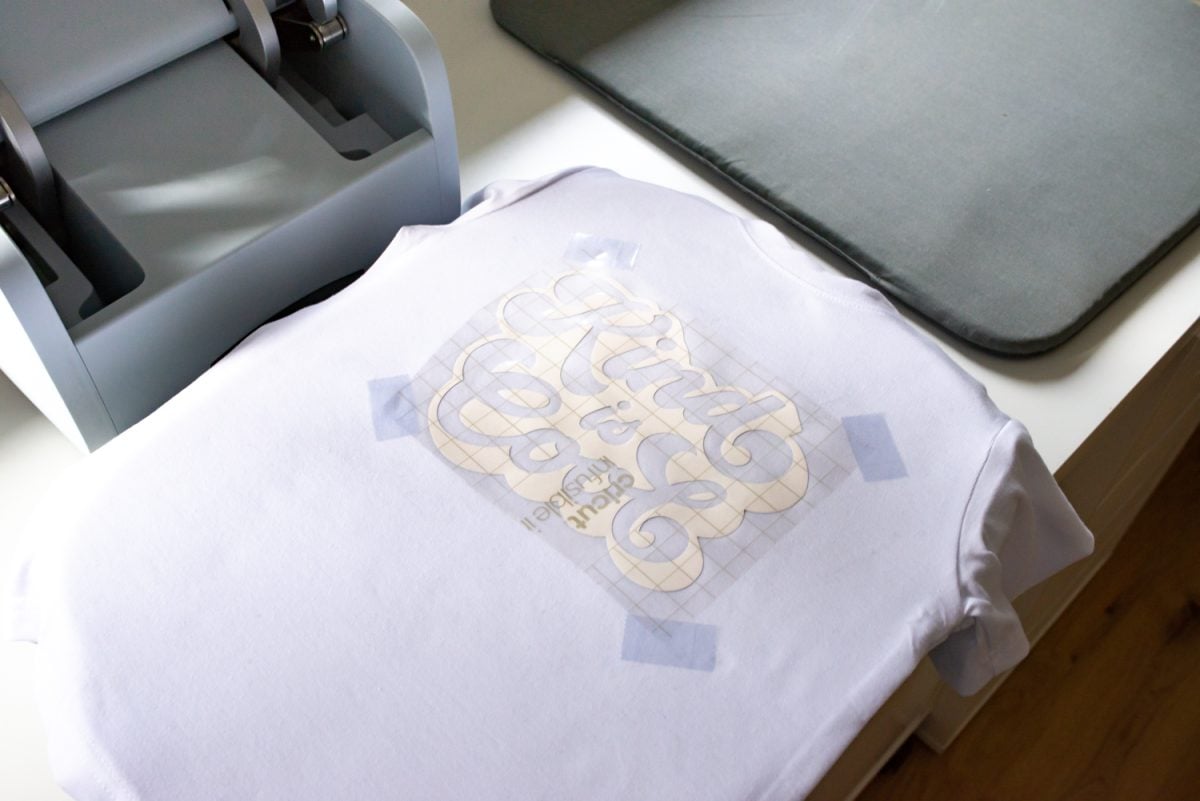
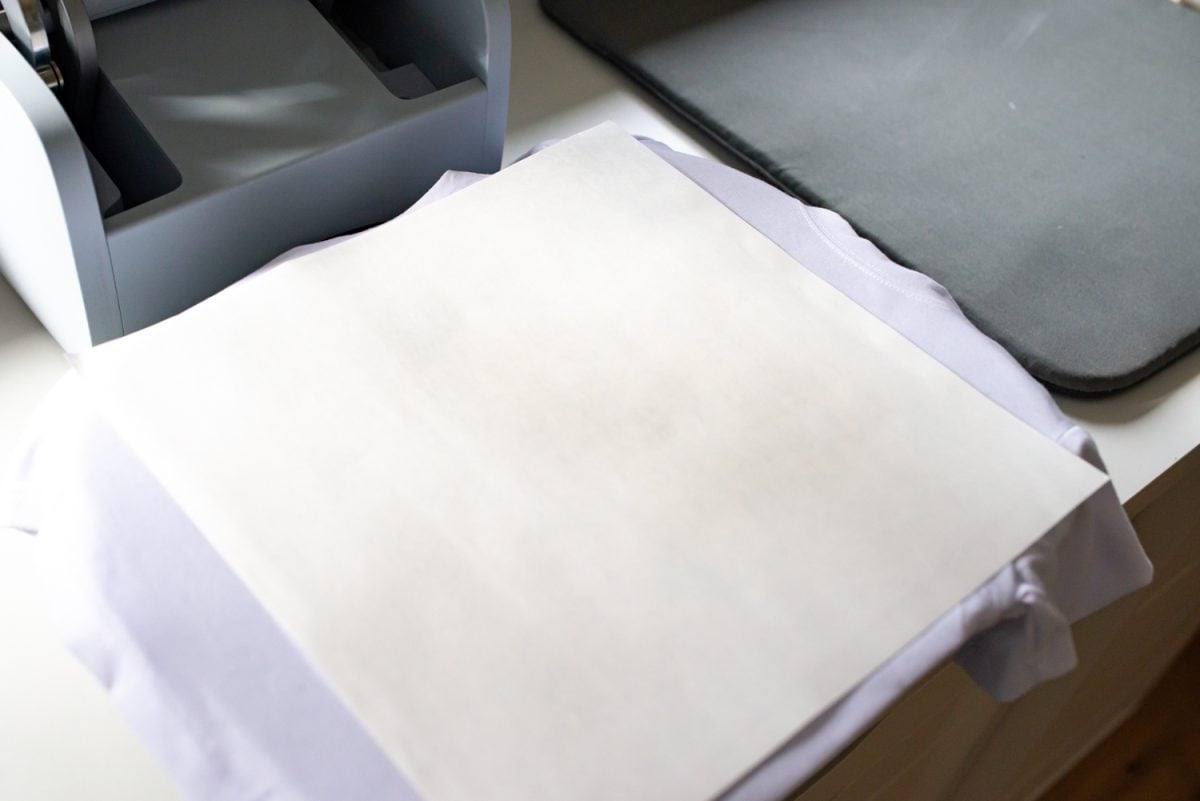
Place a piece of butcher paper on top of the shirt.
Reset the control pod to 45 seconds and press the handle down until it clicks. Again, it will count down and open when the timer hits zero.
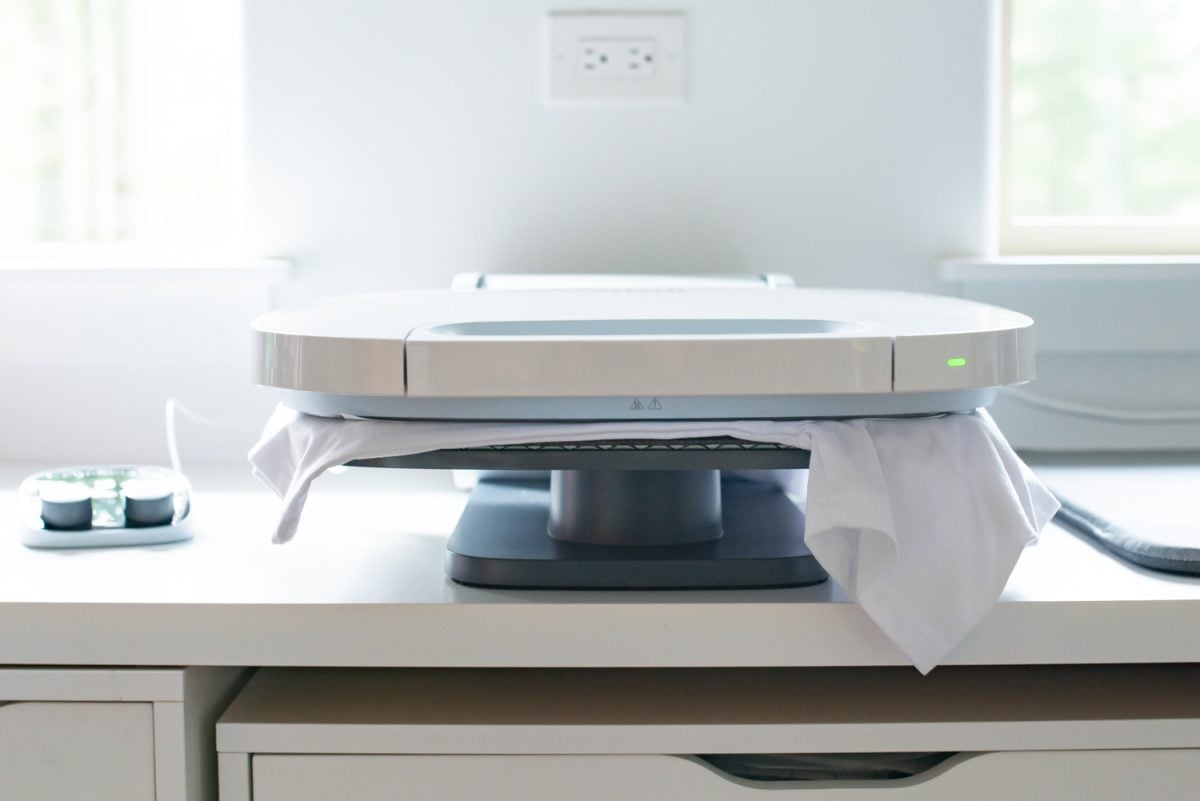
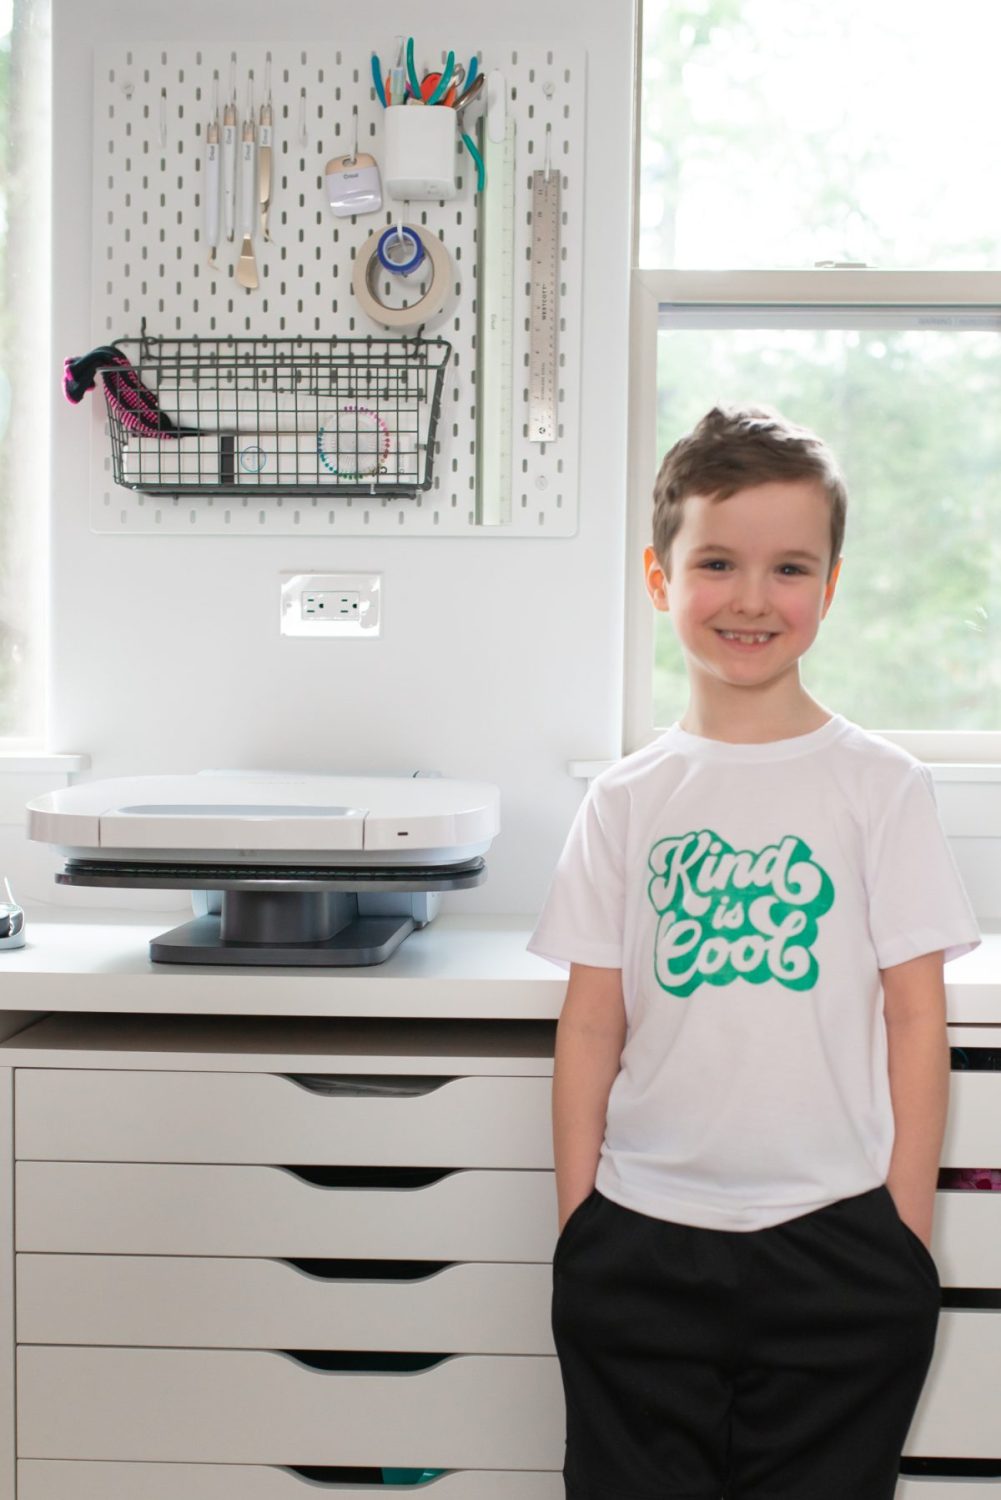
Allow your shirt to cool and remove the transfer! (Cute kid sold separately.)
Tips and Tricks
Setting the Presets
Set your desired time and temperature settings using the control pod. Then press and hold a preset button for three seconds until it beeps (3 seconds). The preset is now programmed with your new setting.
Seams and Zippers
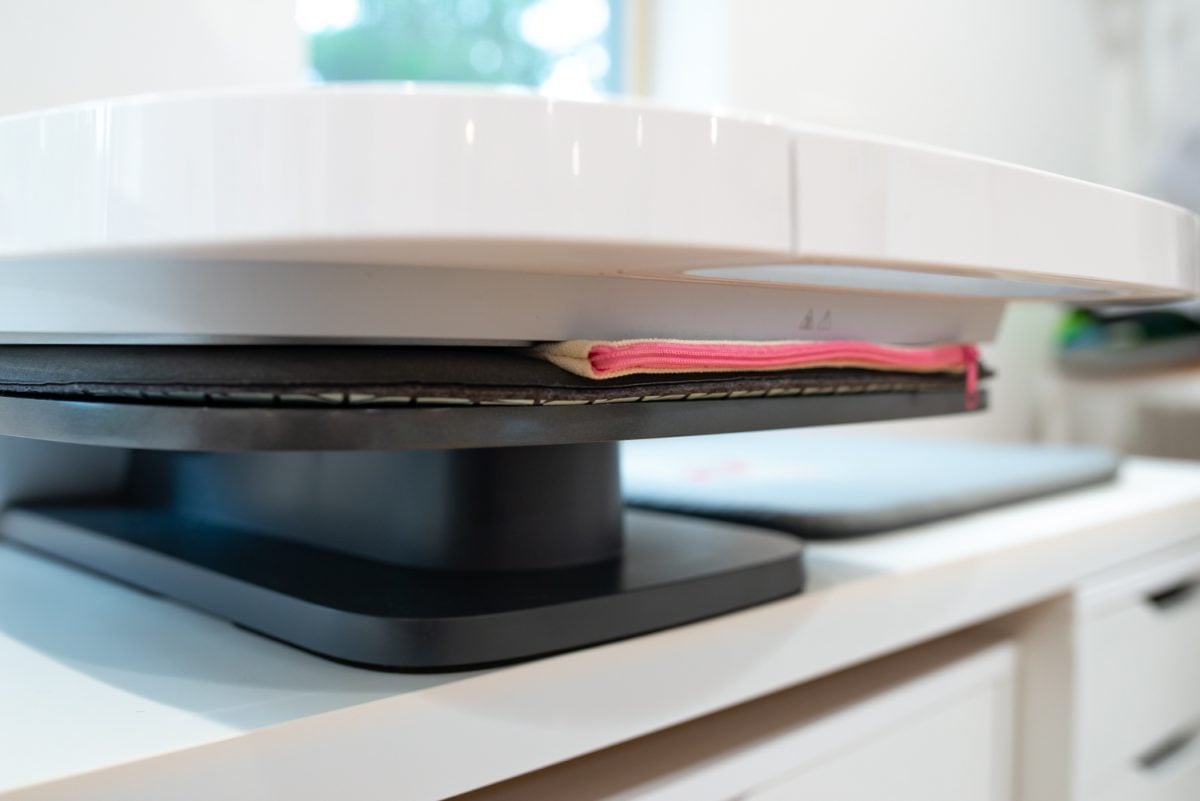
Try to avoid pressing seams and zippers. You can press them, but they can interfere with a perfect press, just like any other heat press. You can hang zippers and seams off the edge of the press, for example. You can also use a pressing pillow inside your blank. The flatter your blank, the better your transfer.
Heat-Resistant Tape
Use heat resistant tape to keep images (particularly Cricut Infusble Ink and sublimation images) from ghosting. See more about Troubleshooting Cricut Infusible Ink and Troubleshooting Sublimation Printing.
Butcher Paper
Always use at least three pieces of butcher paper below and above any blanks using sublimation. This will protect your plate and mat from getting ink on them.
Batching Projects
I’ll be going into this more in another post, but the AutoPress is so great for batching projects. While one project is pressing, get the next one ready to go on the press. You can even buy extra mats for the base of the heat press so you can just swap them out with a new project to press.
How Much is Cricut AutoPress?
The MSRP for Cricut AutoPress is $999.00.
Yes, this is significantly more expensive than other Cricut products, but it has commercial-grade engineering and the other benefits listed in this post! Cricut AutoPress is definitely not for everyone, but if you are looking to do more in less time with less effort, this is definitely a machine to consider!

Where to Buy Cricut AutoPress
Cricut AutoPress launches on May 3 on HSN, and the will be online at Cricut.com on May 16, with other retailers following on June 16! Don’t worry, I’ll be sharing all of the links to my email community, so make sure you’re on the list!
Have questions about Cricut AutoPress? I’ll be happy to answer them in the comments!


Comments & Reviews
Bill Poirier says
Great review! If I may ask, I love your crafting table that the autopress is sitting on. Can you share where you got it?? I’m struggling to find a good one and that one looks perfect !!! Thanks in advance!!
Cori George says
It’s an Alex Cart from IKEA! :)
Michelle says
Since it’s 15×12, how do you press 2xl shirts without a crease due to pressing it in 2 places?
Rona Guidry says
What are the specs for the cricut autopress? I am curious about what the wattage is and any specific electrical specification I may need to consider before purchasing
Crystal Summers says
Hi Rona,
My understanding is the Autopress runs off about 1300 watts of power and runs safely off a regular extension cord.
I hope this helps,
Crystal, HLMS Community Manager
TrishB says
Cori,
I had actually given up on crafting using heat presses because the clamshell press I have was so unstable and I didn’t feel comfortable using it (used it twice since owning it)… I’m feeling like Cricut has brought me back with the release of their new heat press! I’m going to purchase one!!
Crystal Summers says
So glad to hear that! It truly is a game changer! Way less clunky than the traditional heat presses! I use a swing 5 in 1 and it’s such a pain!
Crystal, HLMS Community Manager
Dave says
Why is it being released on HSN early ?
Crystal Summers says
Hi Dave,
Good question! Not sure the exact answer to that except that Cricut made a business decision to release there first for whatever reason. They’ll be in stores and online soon after!
Crystal, HLMS Community Manager
Debbie Jasper says
What will be the retail cost of the Cricut Auto Press?
Cori George says
Hi Debbie – the retail cost of the Cricut AutoPress is $999.