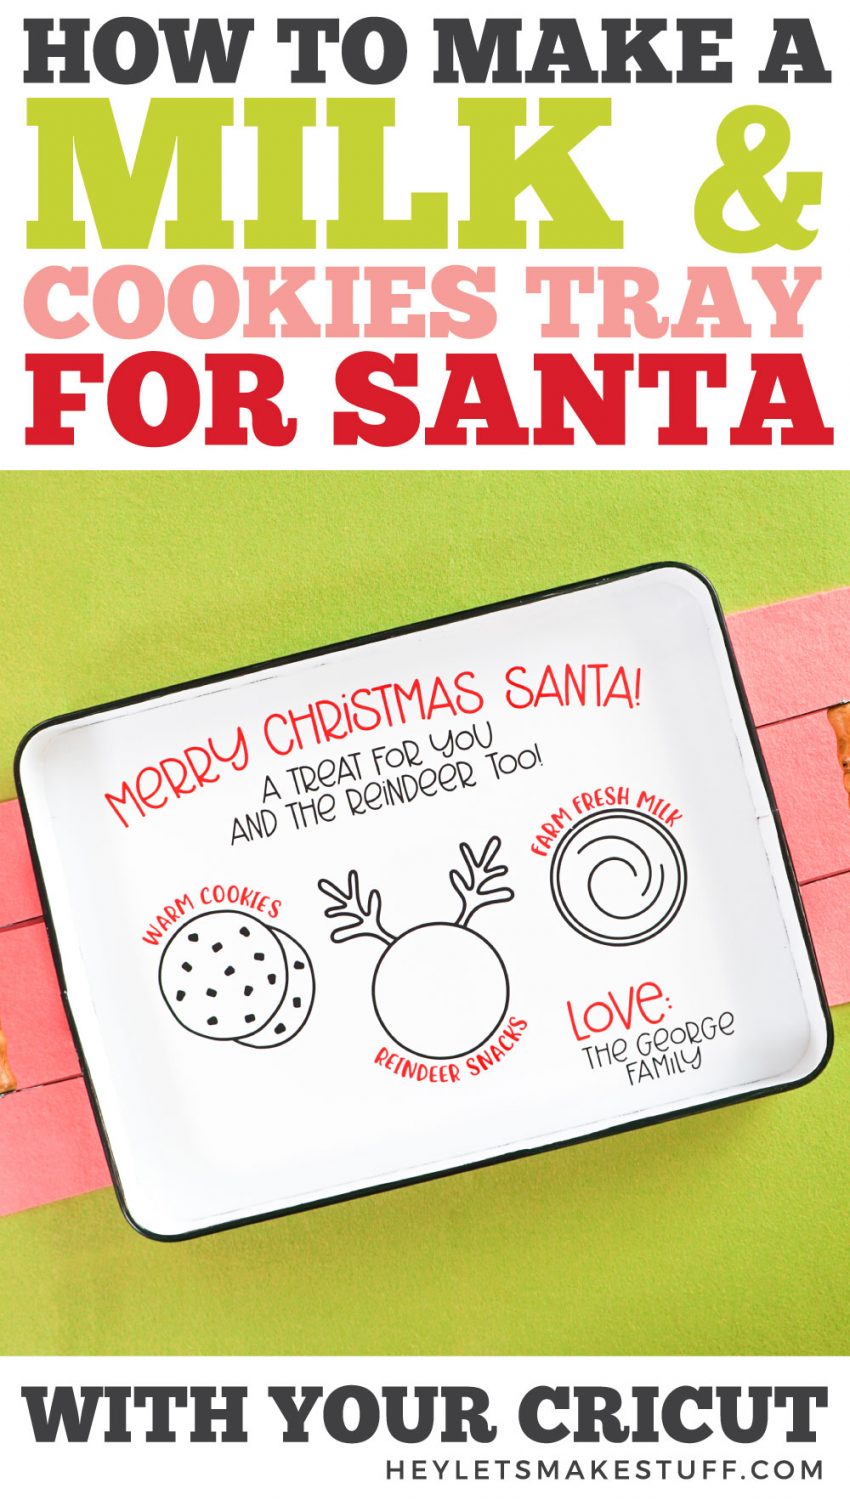
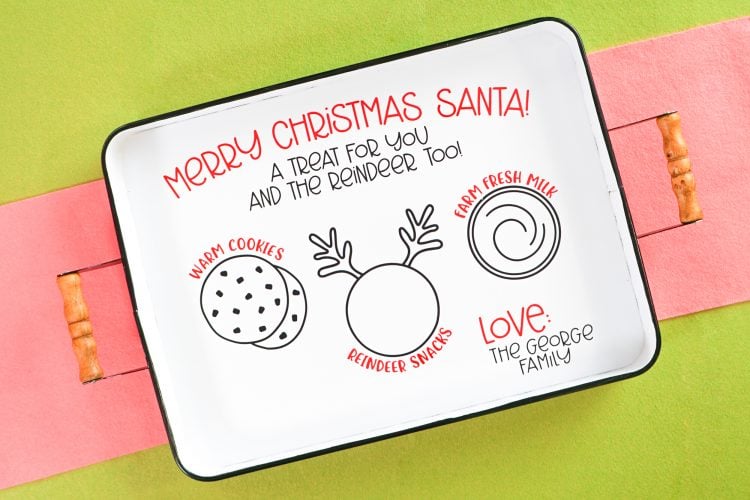
Create a special tradition with your family by making a customized Santa tray with your Cricut! You’ll find spaces for milk, cookies, and treats for the reindeer in this Cookies for Santa SVG.
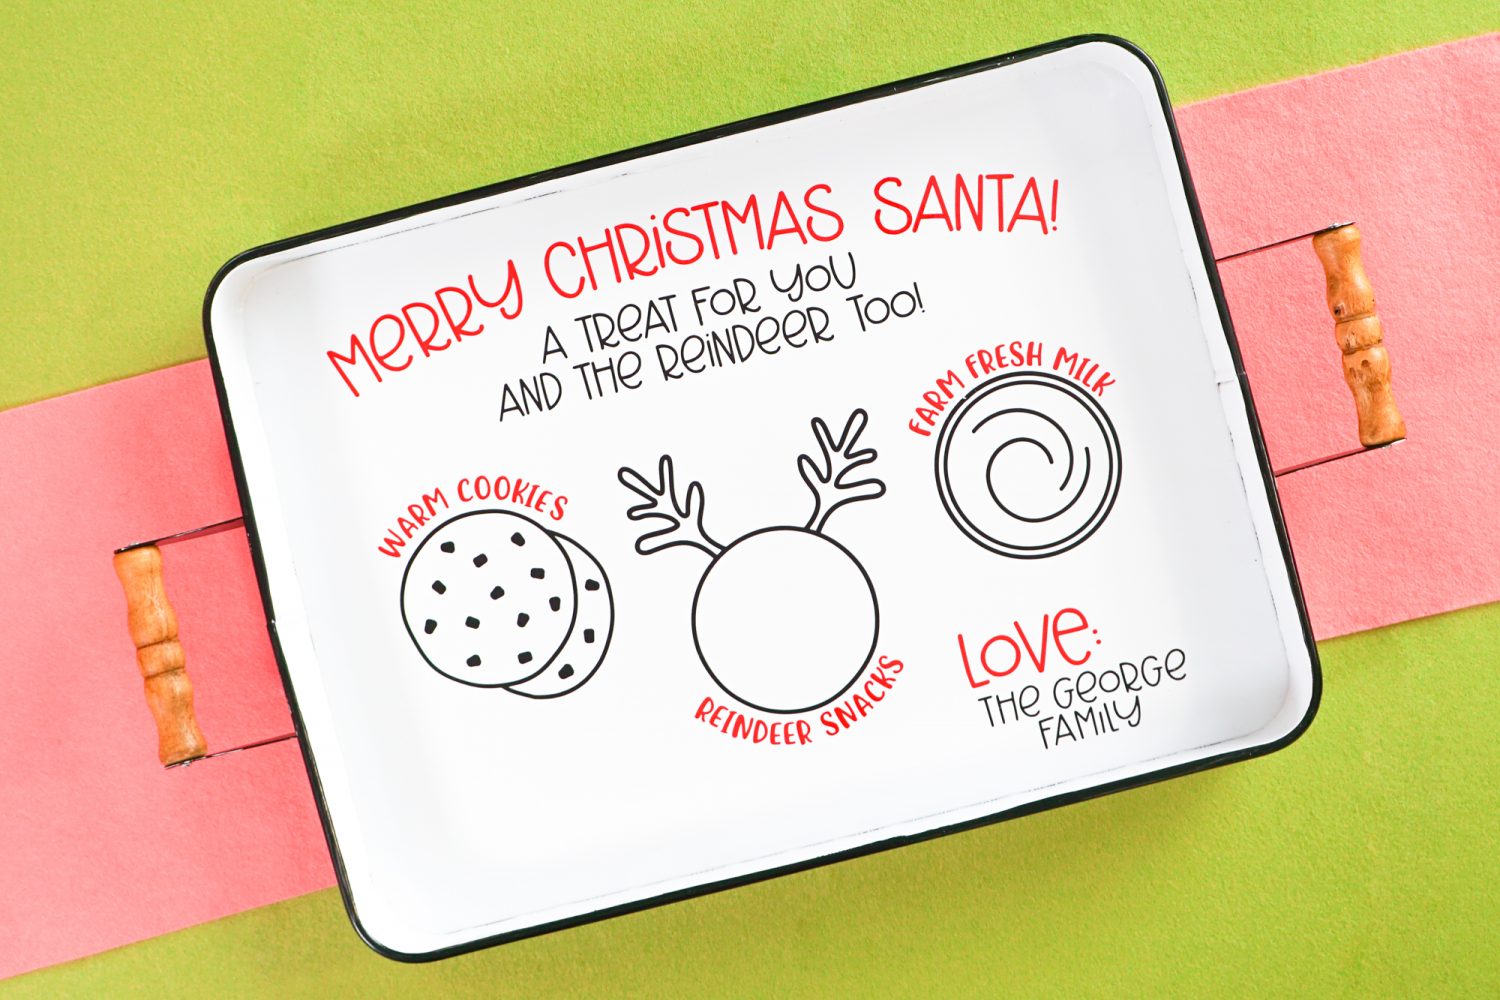
It’s Day 5 and we’re starting to cruise on through the 25 Days of Cricut Christmas! Today we’re breaking out the adhesive vinyl again to make a project that will surely become a much-loved tradition in your home.
If you’d like to get this series in an ebook format PLUS all of the SVGs needed to make all 25 projects check out the 25 Days of Cricut Christmas eBook Bundle!
It’s about that time of year when Santa starts making his list and checking it twice. Make sure you’re on the nice list by making this special tray just for St. Nick!
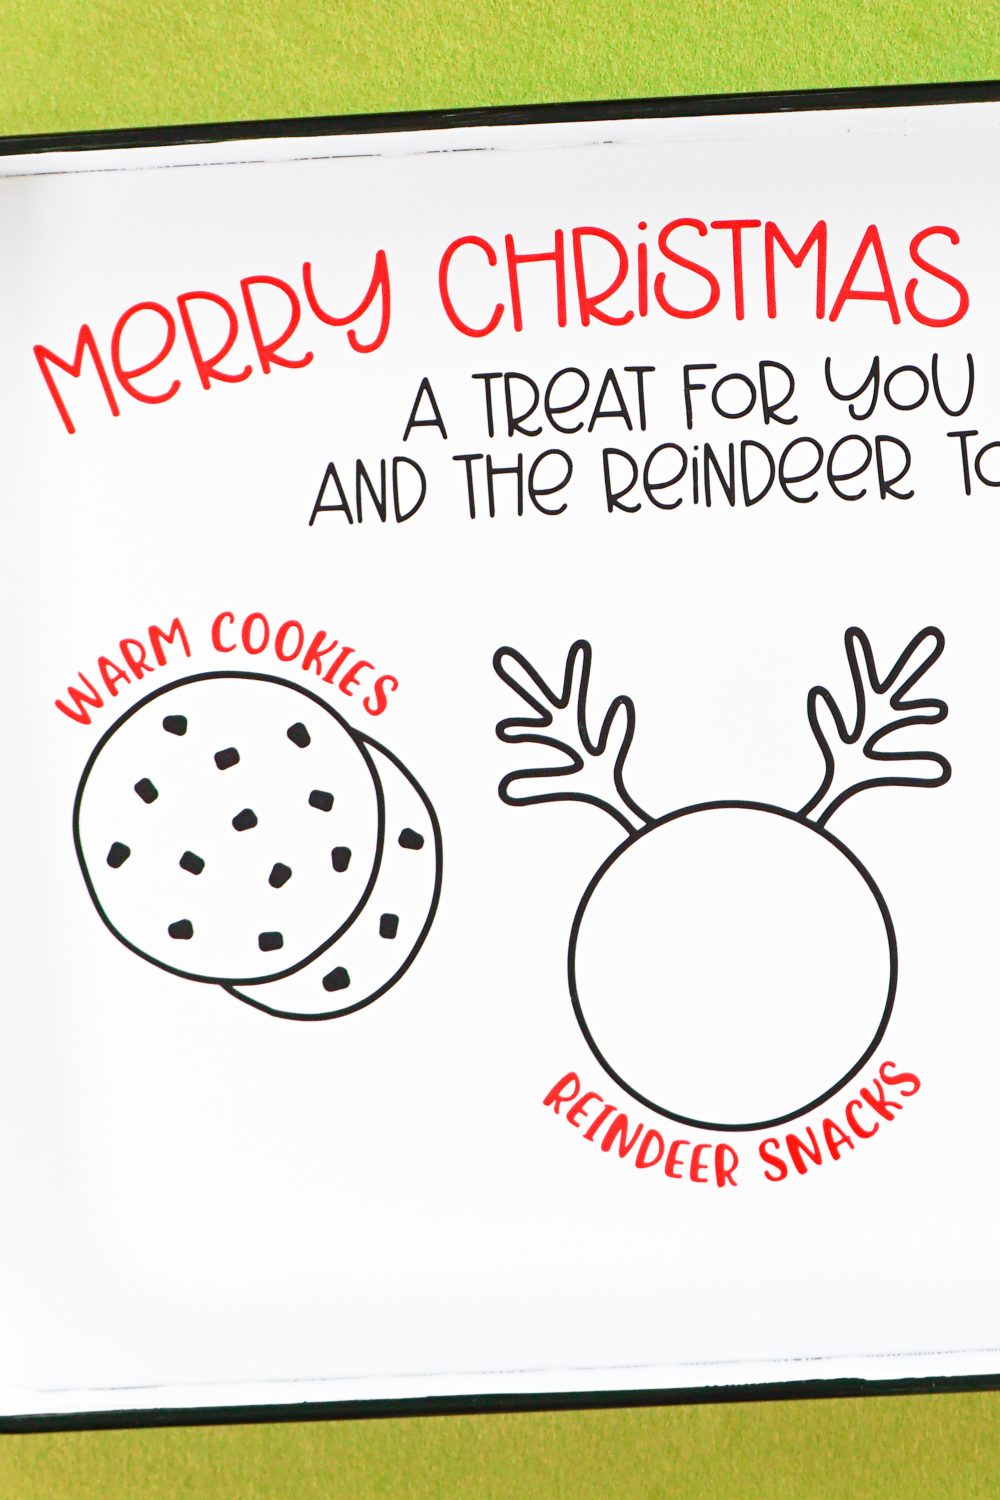
This Cookies for Santa tray has a place for milk, your favorite cookies, and even a spot for some reindeer food. This is such a sweet way for your kids to welcome Santa to your house each year.
My SVG is similar to other designs out there, but honestly, the “carrots for the reindeer” doesn’t work for me. Yes, I refuse to buy a carrot for an imaginary reindeer. And since my boys always bring home “reindeer food” from preschool (cereal mixed with glitter, usually), I thought I’d just include a round space, bedecked with antlers, so that you can put whatever snack you think Rudolph might want there—glitter cereal, carrots, Cheetos. Whatever.
Here are a few other options, if you want something a bit different (and you love carrots):
- Simple script with snowflakes
- Cute “scrapbook style”
- Plate and mug version
- Cookies for Santa, Carrots for the Reindeer Plate
- Santa Face Plate
- Simple Cookies for Santa Plate
Note: if you are going to make a plate version of this project, the instructions are basically the same.
Santa Tray Supplies
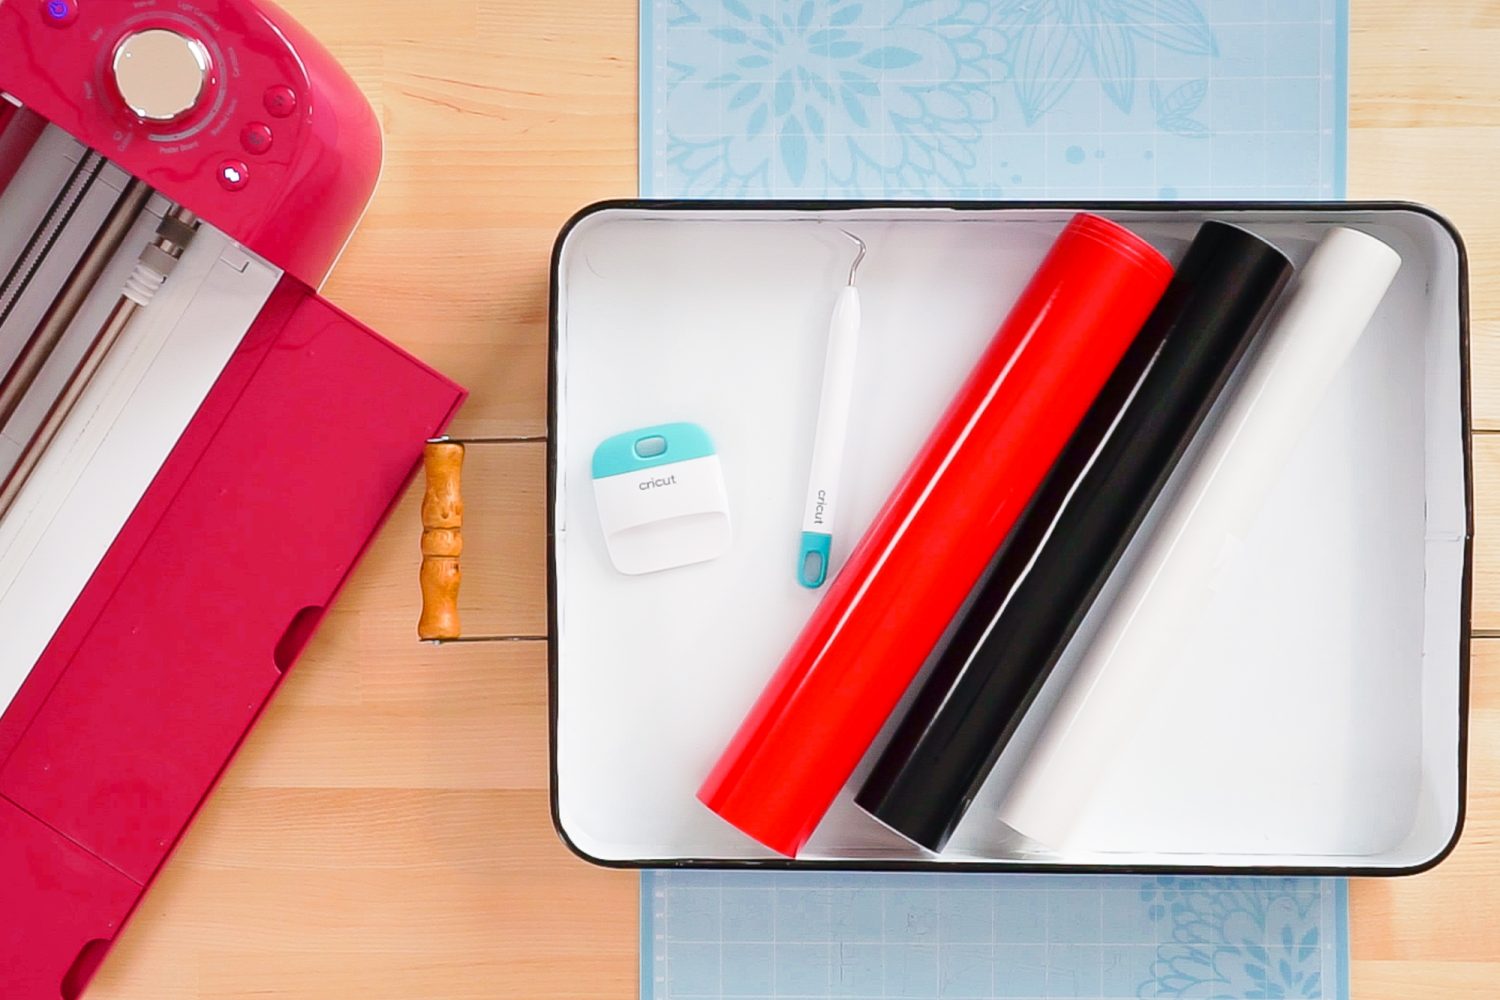
- Cricut Explore or Cricut Maker
- Blue LightGrip or green StandardGrip mat
- Fine Point Blade
- Adhesive vinyl in red and black
- Weeding tool
- Transfer tape
- Scraper
- Metal or wood tray
- Milk and Cookies SVG file
Grab the SVG for this Project
Want to customize it with your family’s name in this same font? Grab the font, Hello October, at FontBundles!
Santa Tray Instructions
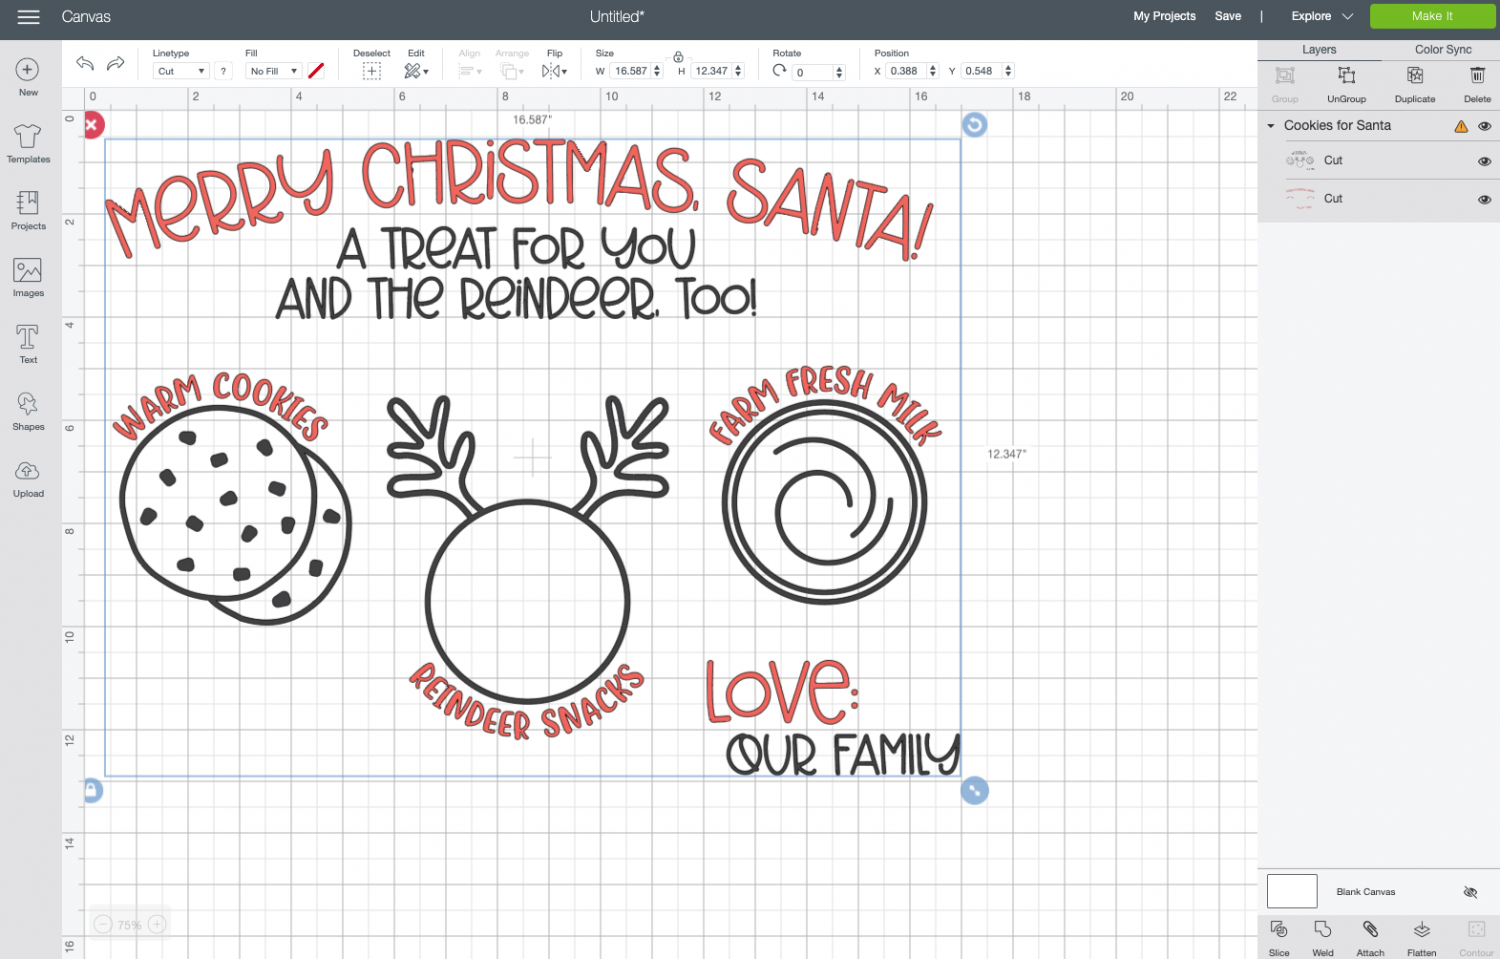
Upload the Santa Tray File to Cricut Design Space
We will start by uploading the Santa Tray file to Cricut Design Space (see Uploading SVG Files to Cricut Design Space if you need help).
Customize Your Santa Tray Image
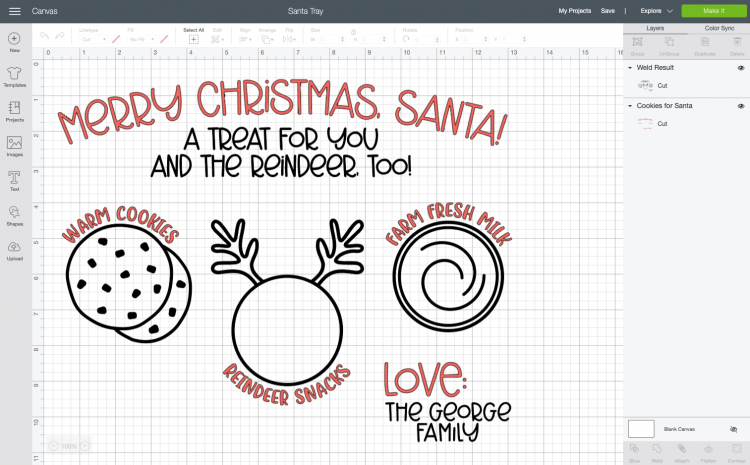
You’ll see that I designed the SVG to say “Love: Our Family.” If you’d like to customize this SVG, click the black layer and use the Contour tool to delete “our family” from the image.
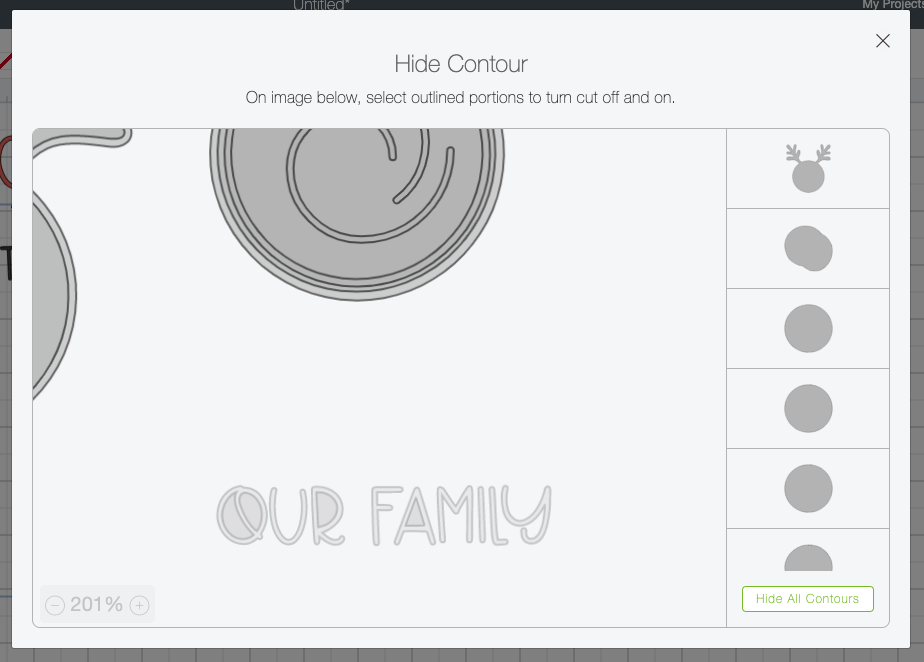
Then get the font Hello October (or use a different font if you’d like!) and type in your family’s name.
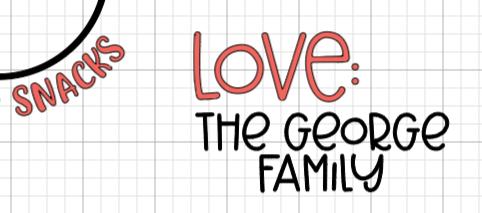
Then select the name you typed and the black layer and click “Weld” at the bottom of the Layers Panel on the right—this will make it one piece.
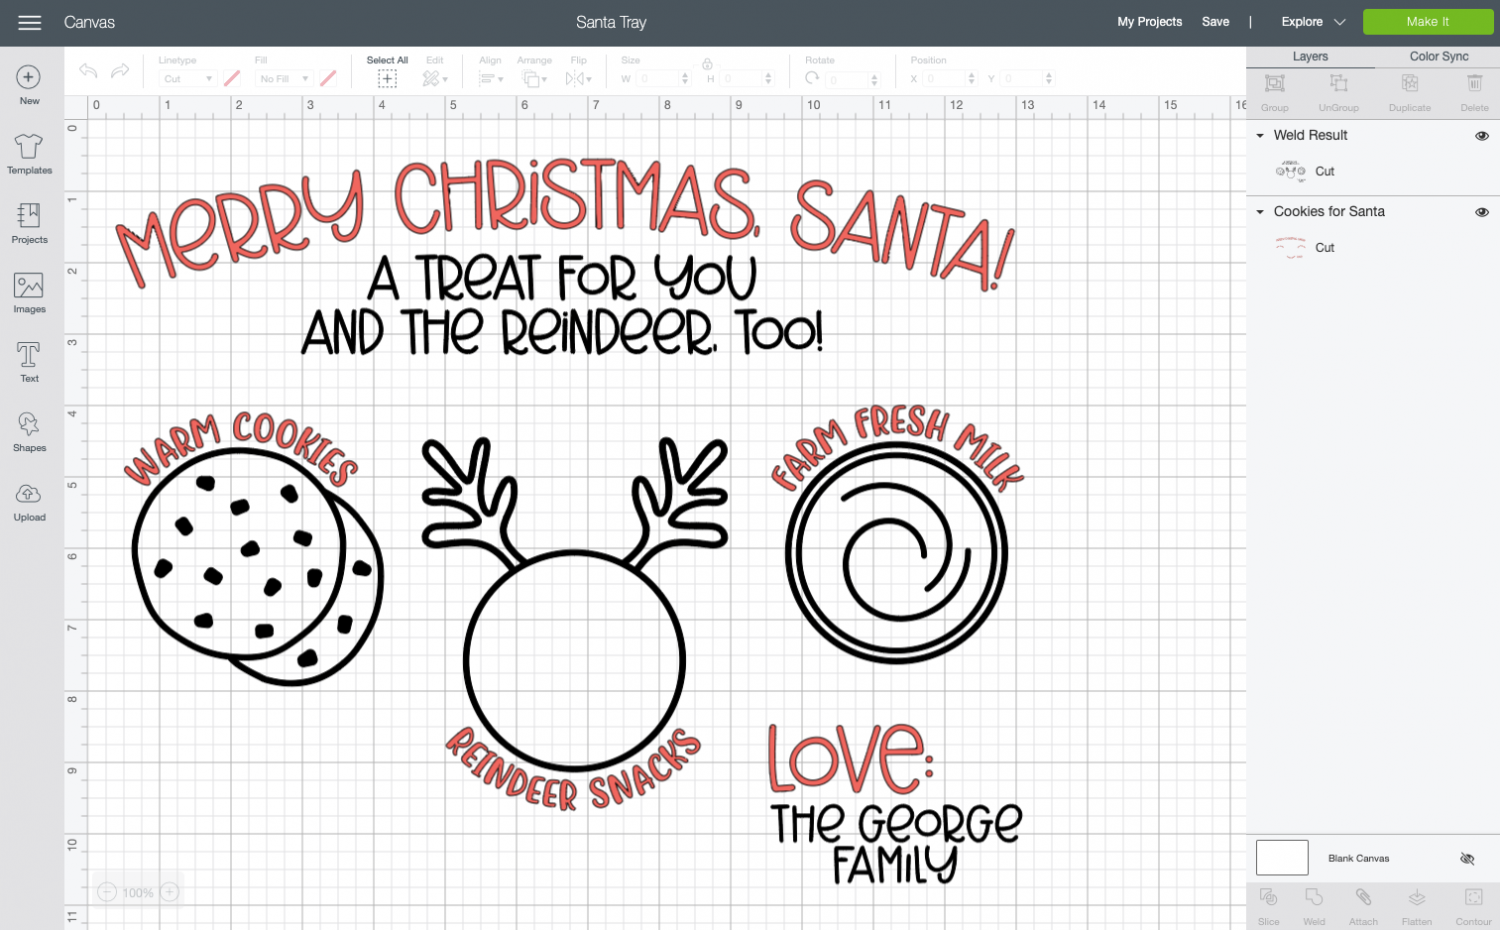
Then resize your image to fit your tray and you’re ready to cut! Click Make It in the upper right.
At the top of the Prepare Screen, you’re going to get a warning that says that your project is too big to fit on a regular 12″ x 12″ mat. Click OK to proceed.

You won’t need to do anything in the Prepare Screen to your file—it’s regular vinyl so there’s no need to mirror the image.
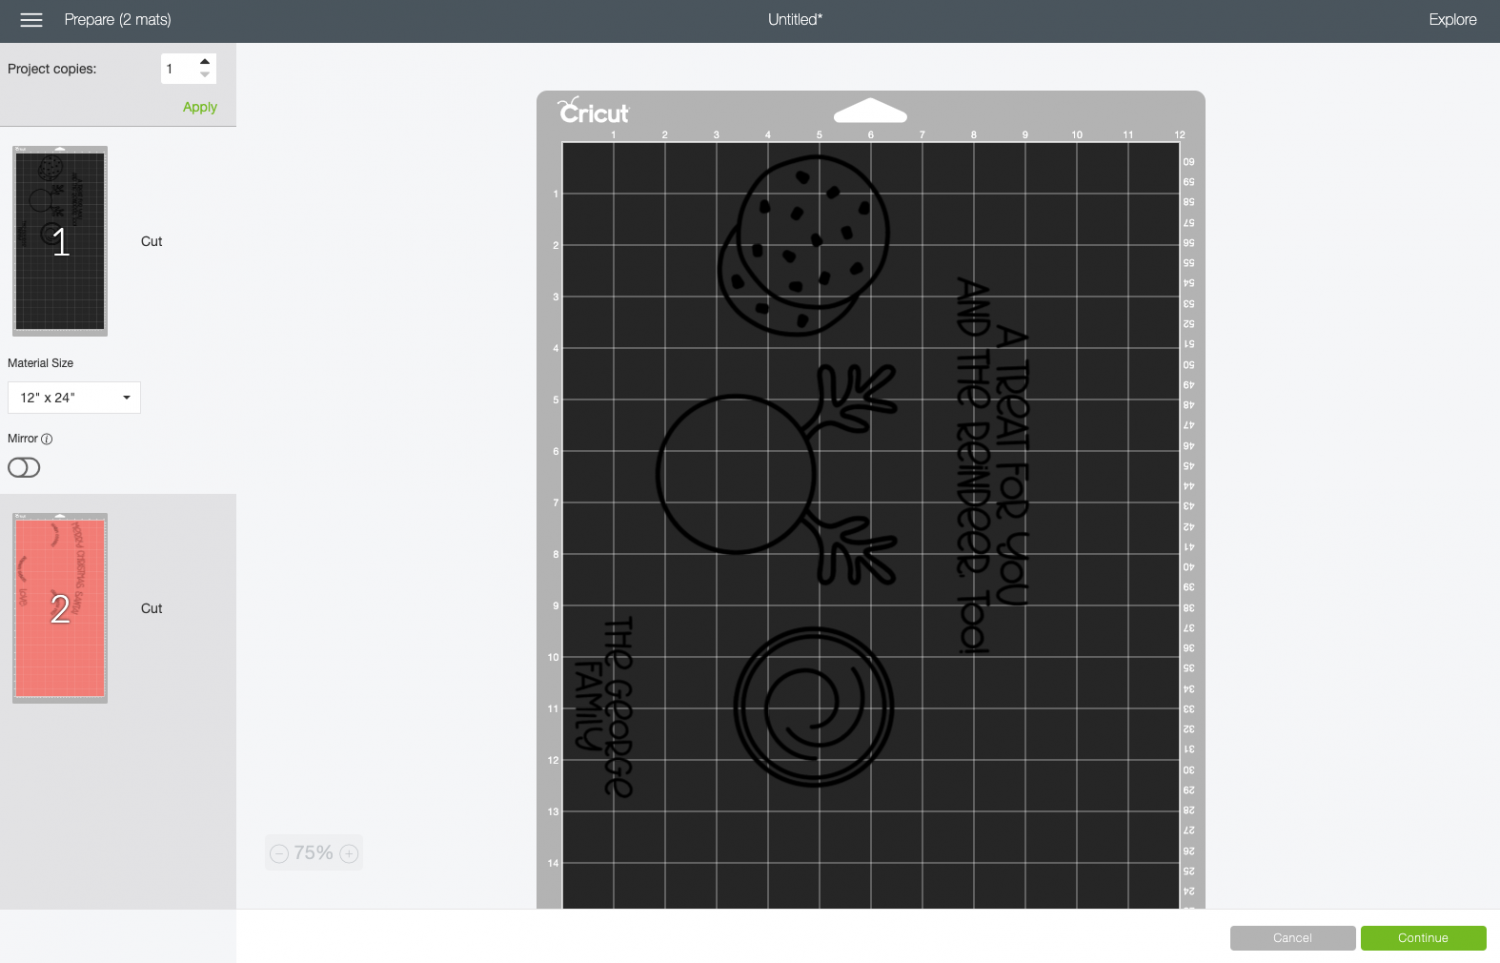
Click Continue and you’re ready to cut!
Cut Your Adhesive Vinyl for Your Santa Tray
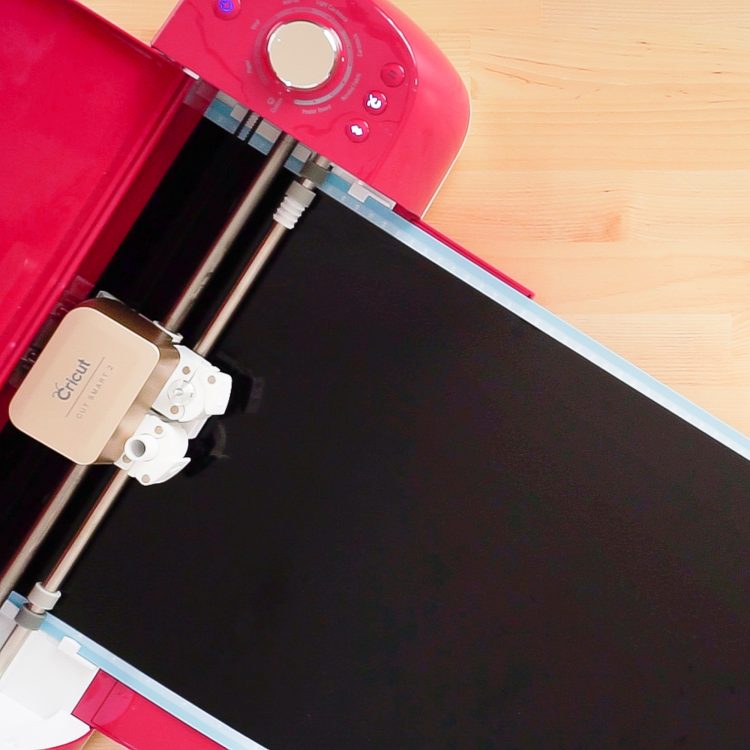
On the Make Screen, you’ll set your material to vinyl. Make sure you have your fine point blade in your machine, insert your mat, and your Cricut will cut your project!
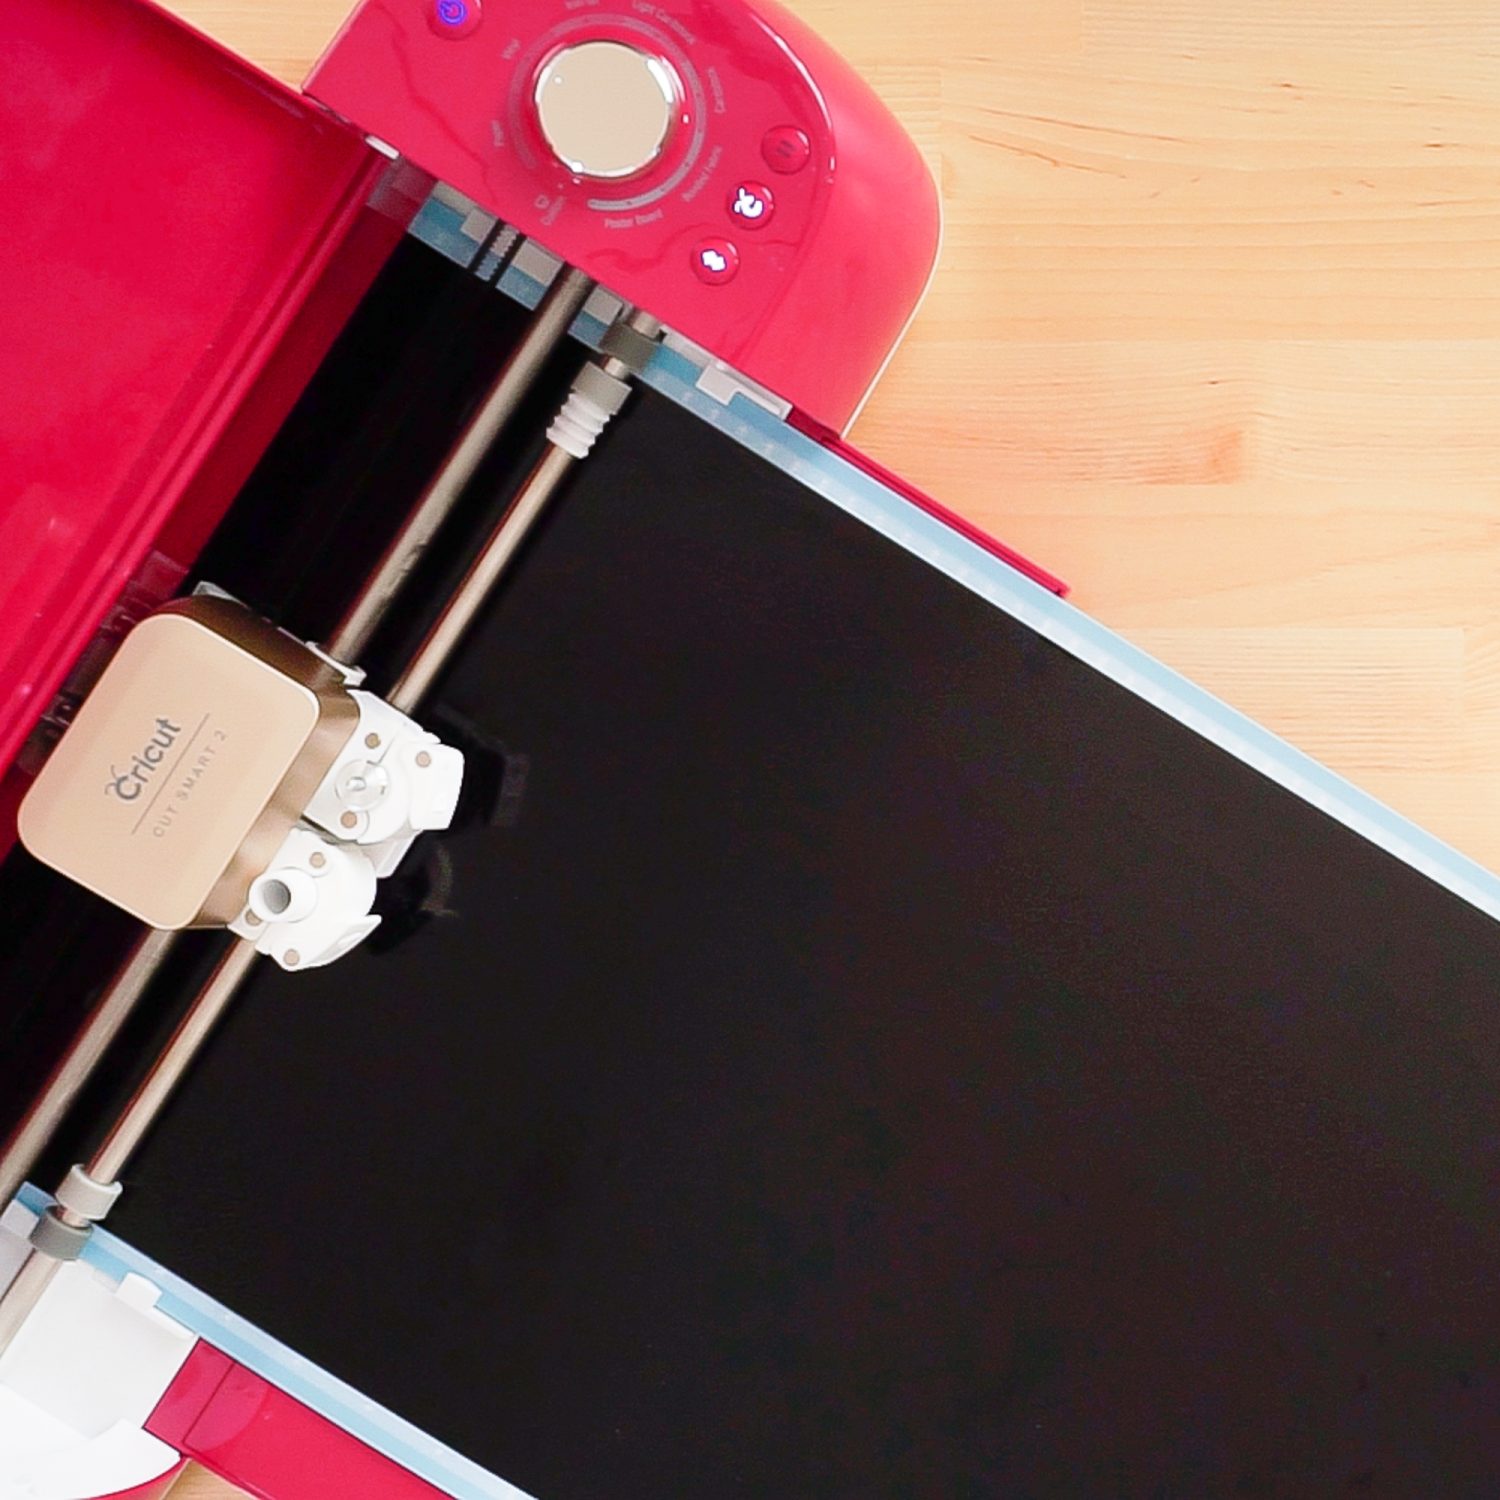
Cut both mats for your project.
Weed Your Adhesive Vinyl
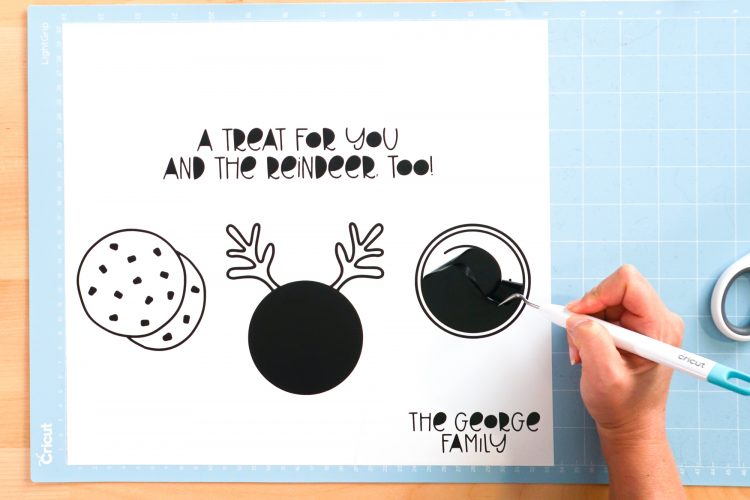
Next we’re going to “weed” the negative space from around each image. I have an extensive post about Weeding Adhesive Vinyl, which you’ll want to read—tons of tips and tricks to making it easier.
This is one where I want you to go particularly slowly! There are lots of tiny dots and letters that can easily get pulled up with the excess vinyl if you’re not careful. I highly recommend you keep this one attached to your mat while you weed.
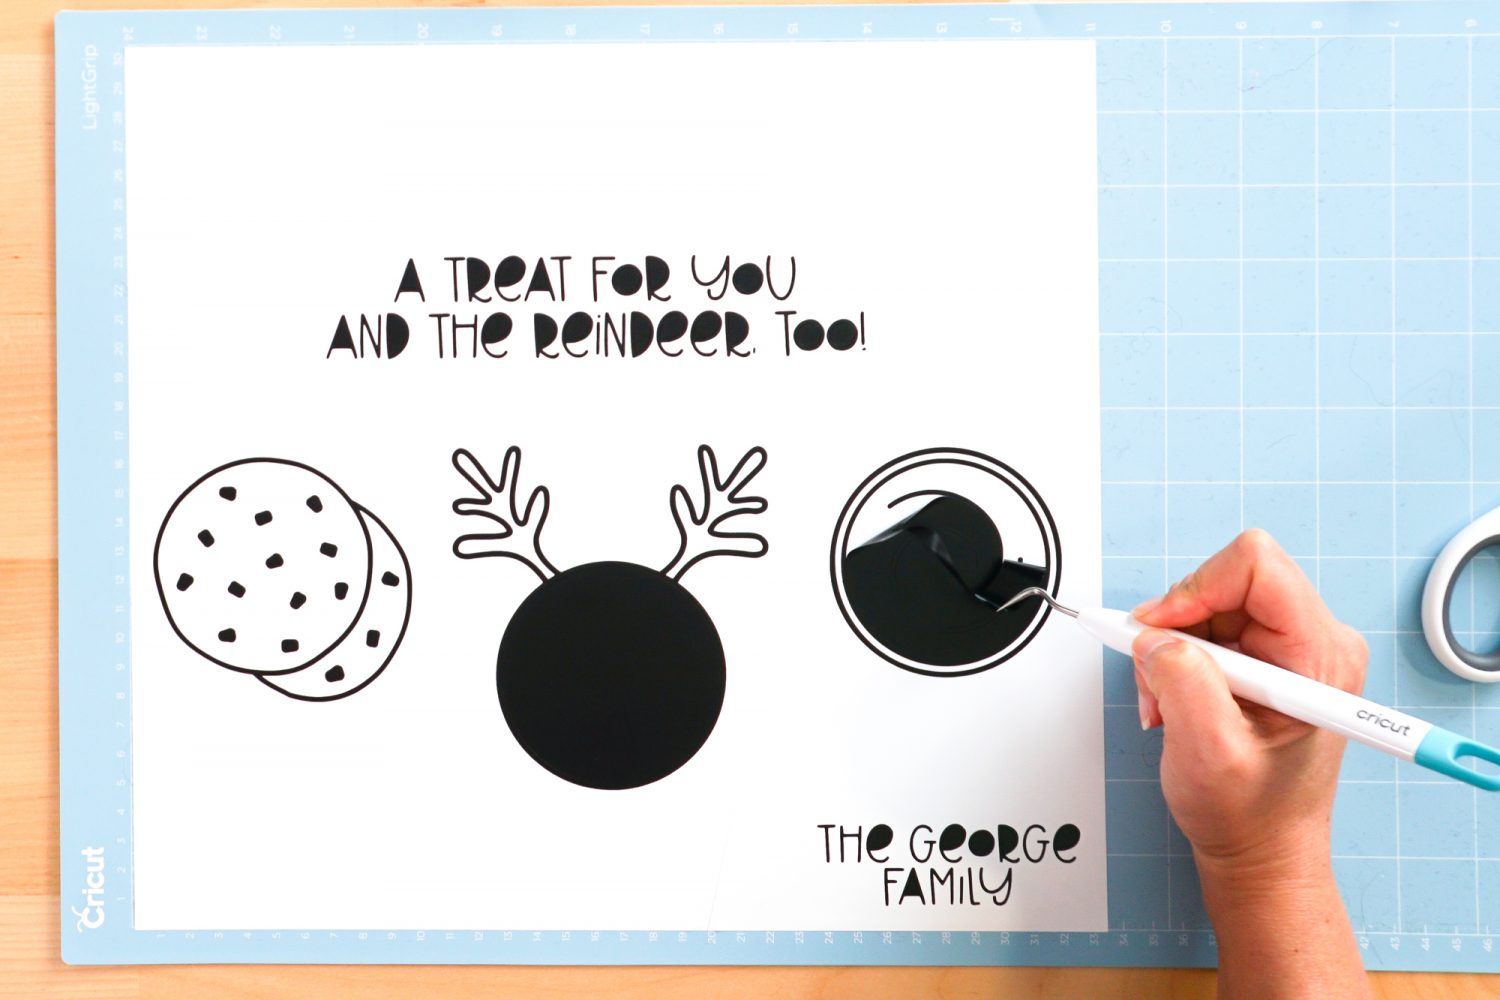
Adhere Your Adhesive Vinyl
Once all of your adhesive vinyl is weeded, it’s time to use transfer tape to adhere it to your tray. You can see an in-depth tutorial about Using Transfer Tape if you need it (plus troubleshooting tips if you’re struggling!).
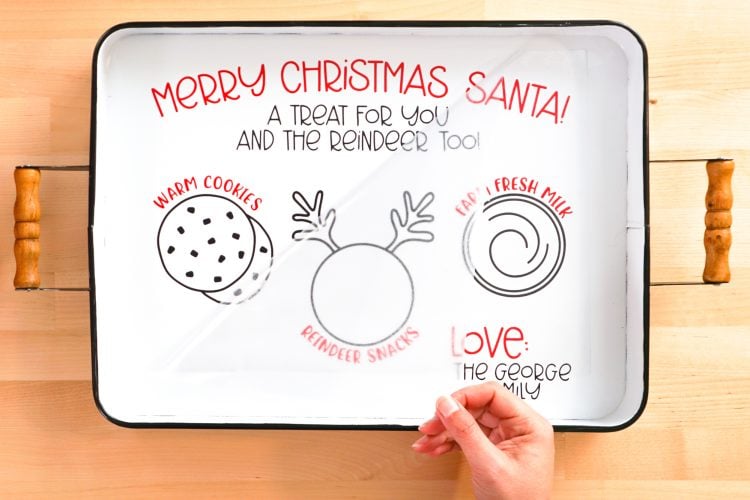
Start by cutting a piece of transfer tape the same size as your decal. Peel the backing sheet off the transfer tape and place the sticky side of the transfer tape down on your project. I like to start at one end and work my way to the other, to avoid bubbles.
You can use your hands or a scraper to burnish the transfer tape down on top of the vinyl. Then flip it over, and peel the backing sheet away from the transfer tape. Your decal should stick to the transfer tape—you can use your fingernail to catch anything that isn’t sticking cleanly. Again, go slowly—lots of tiny pieces in this one!
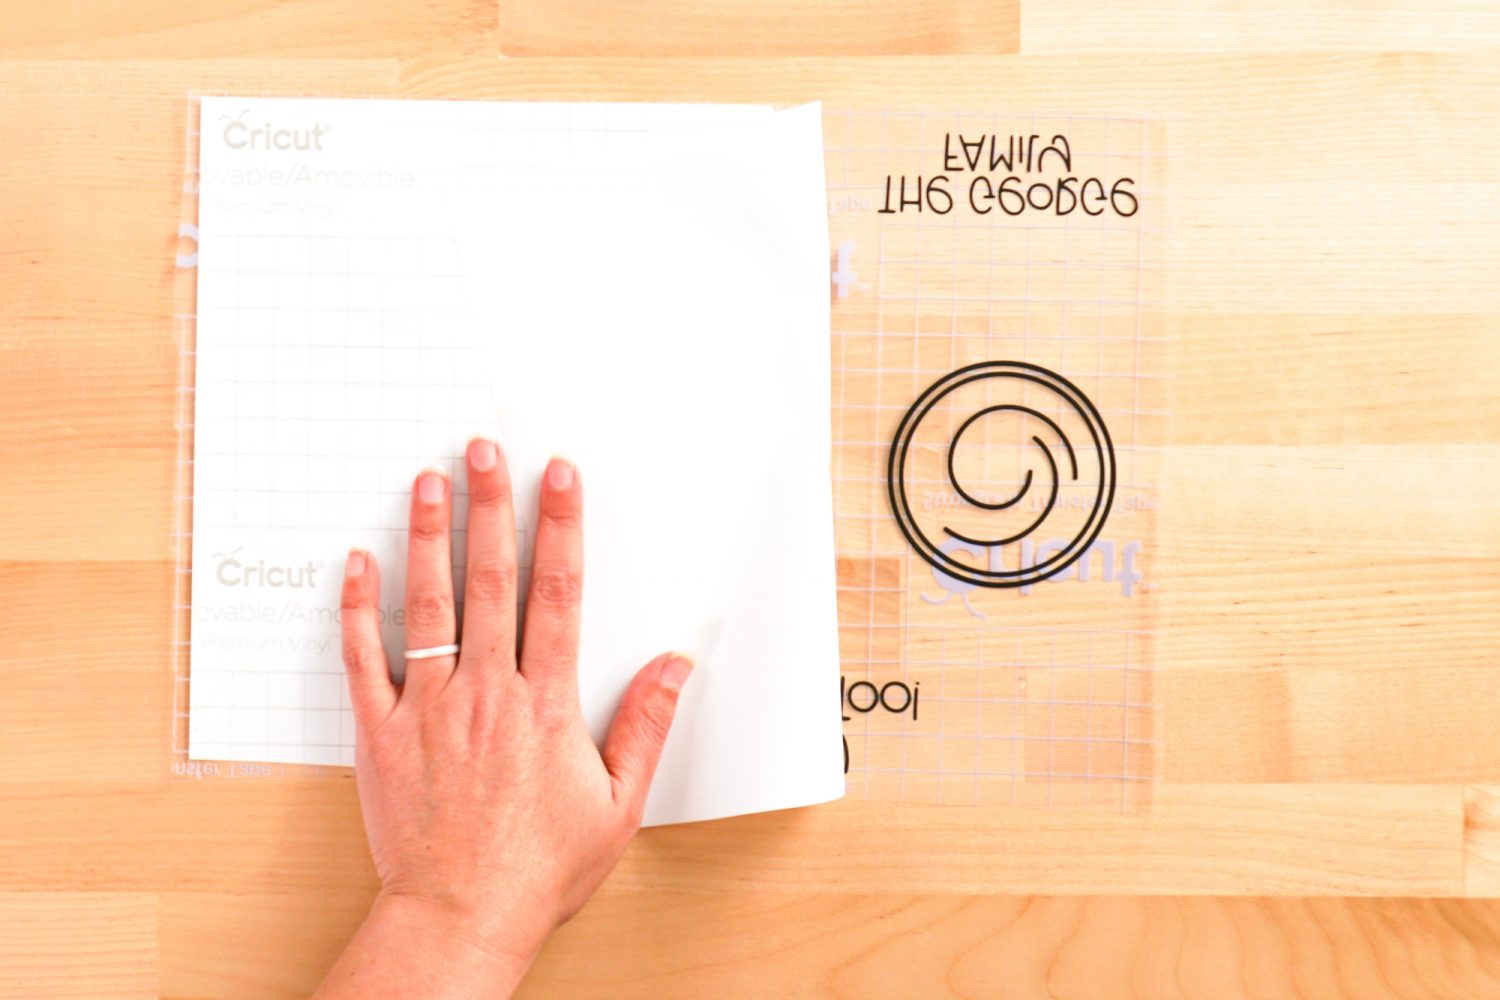
Once you have transfer tape on both your sheets, start with the black layer and flip it over and place it on your tray, remembering to leave room at the top because the red Merry Christmas Santa! is above it.
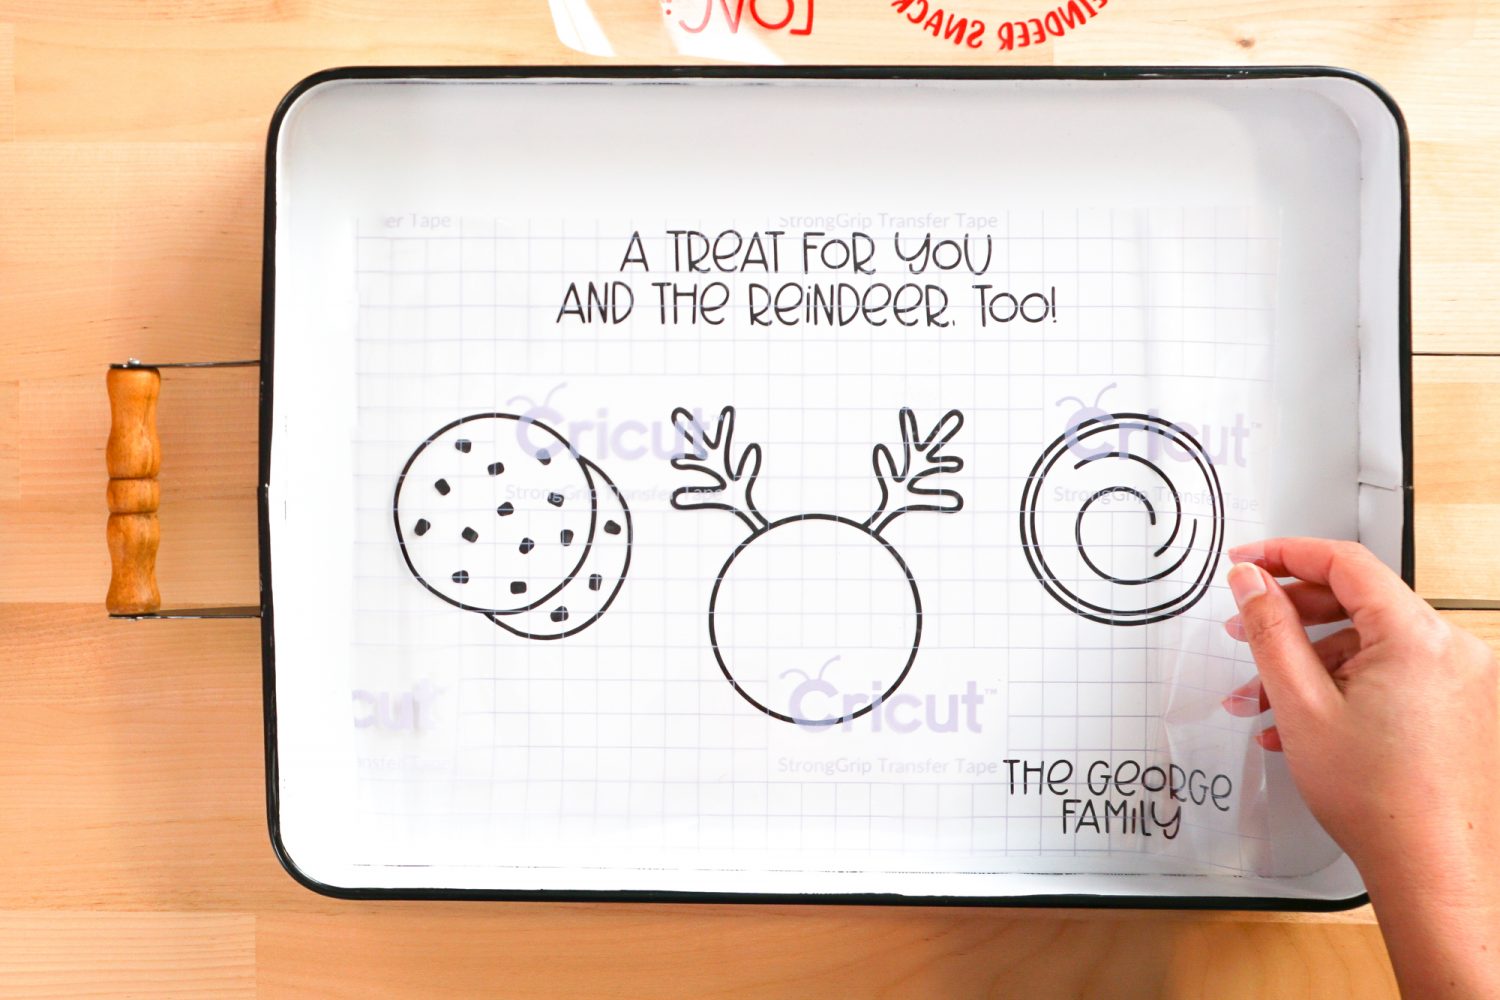
Use the scraper to burnish the vinyl into the tray.
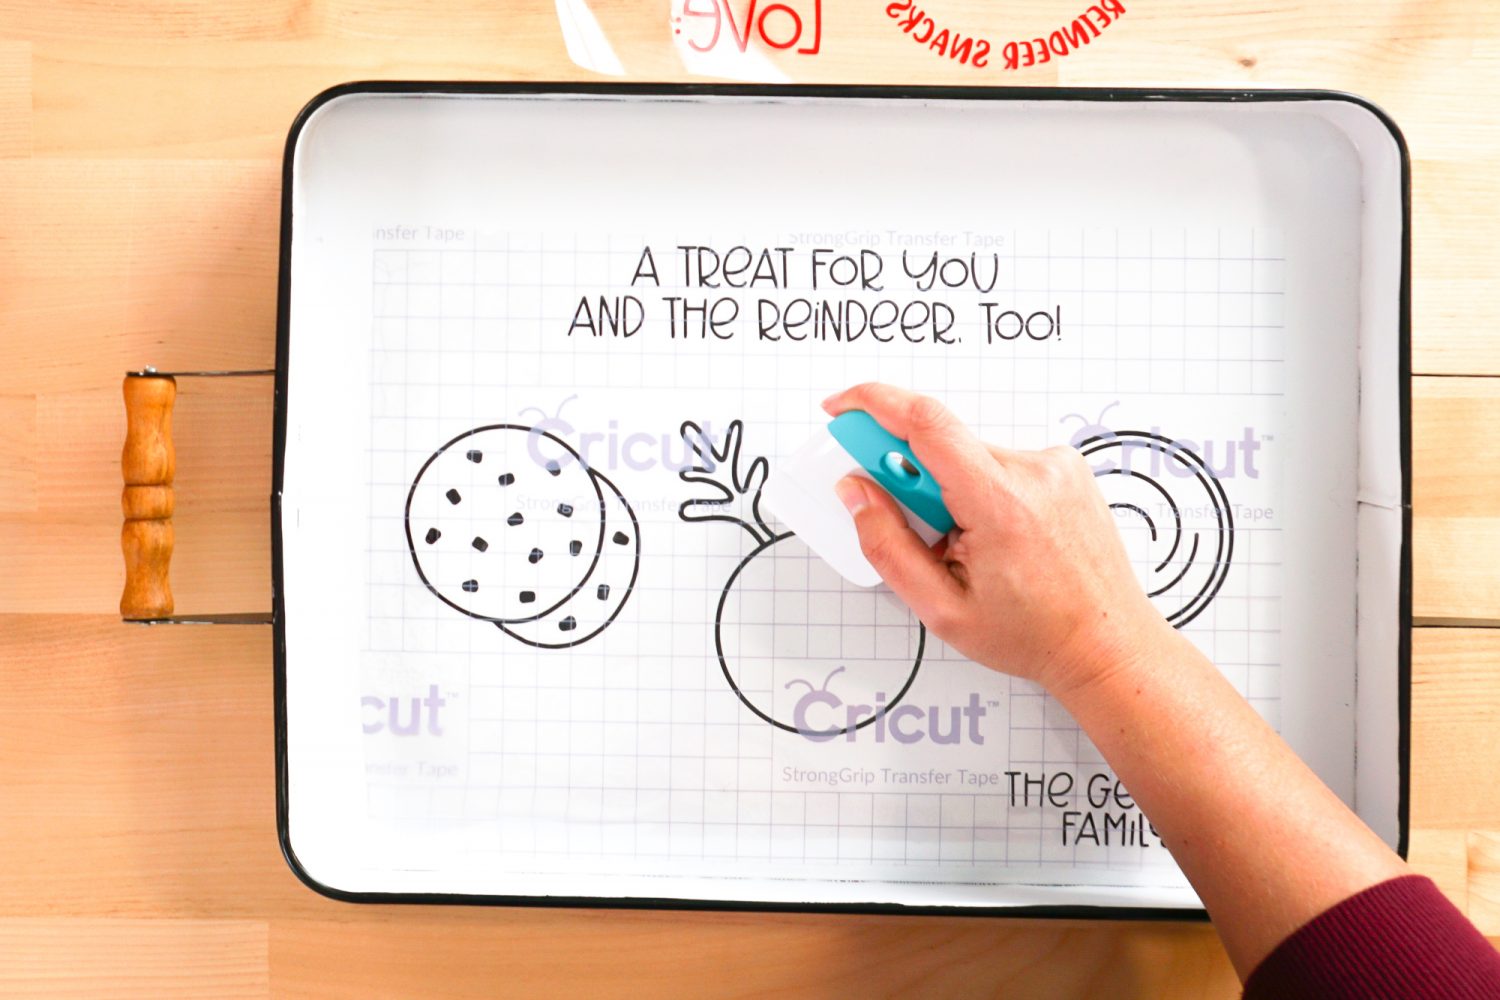
Then peel back the transfer tape and your vinyl should stick! Again, go slowly. Then do the same for the red layer.
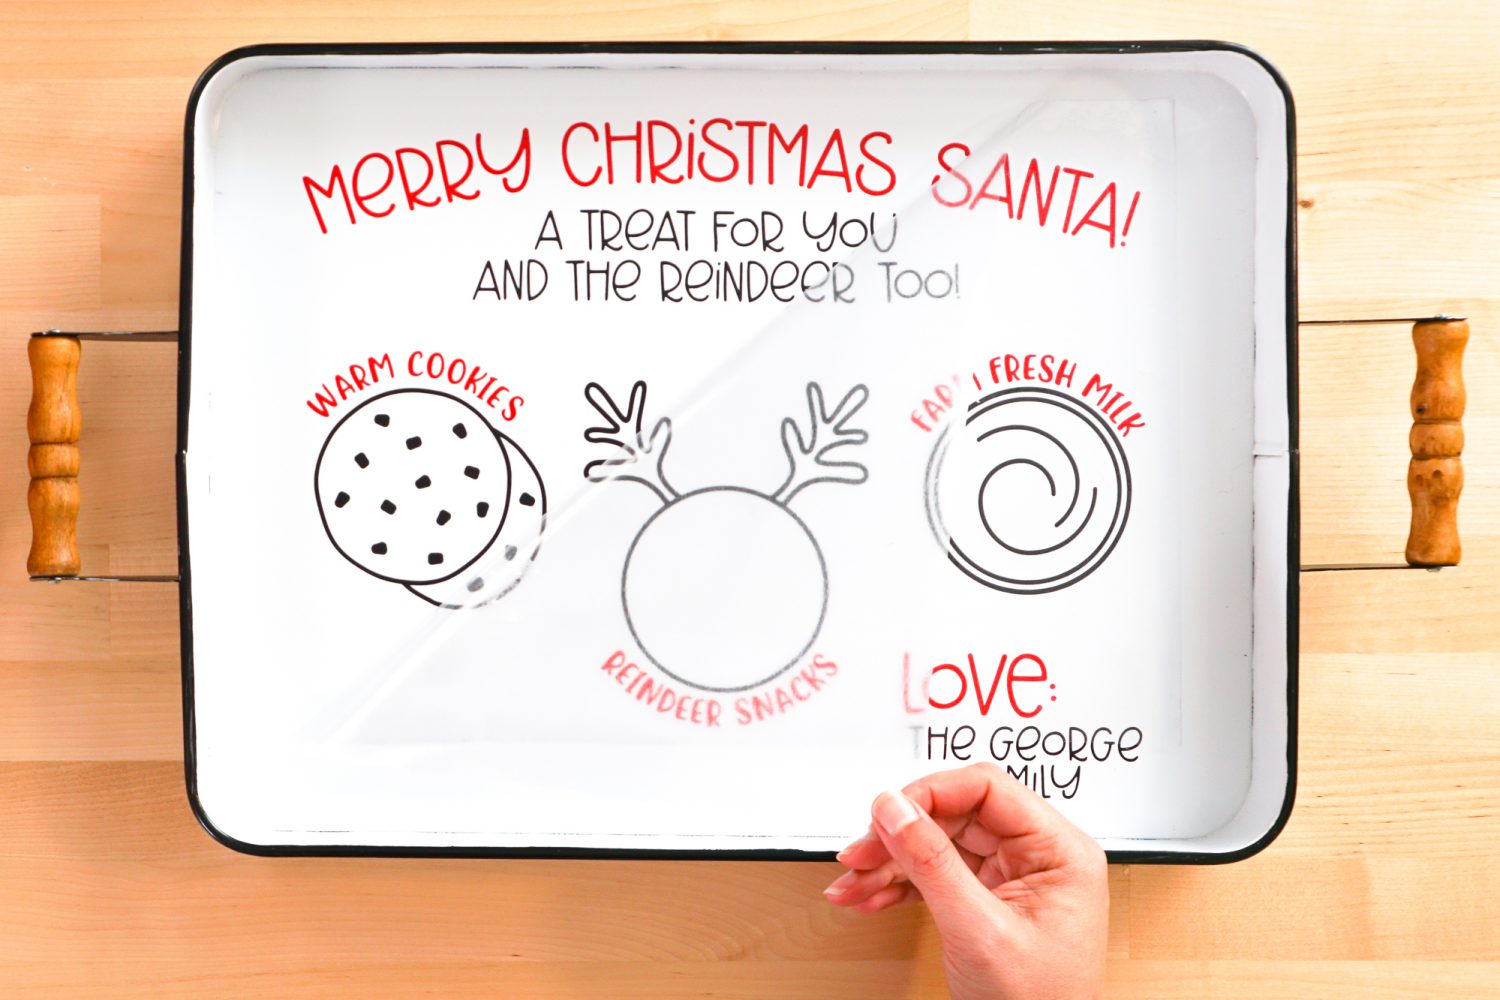
And you’re done! Get the milk and cookies ready—Santa is on the way!
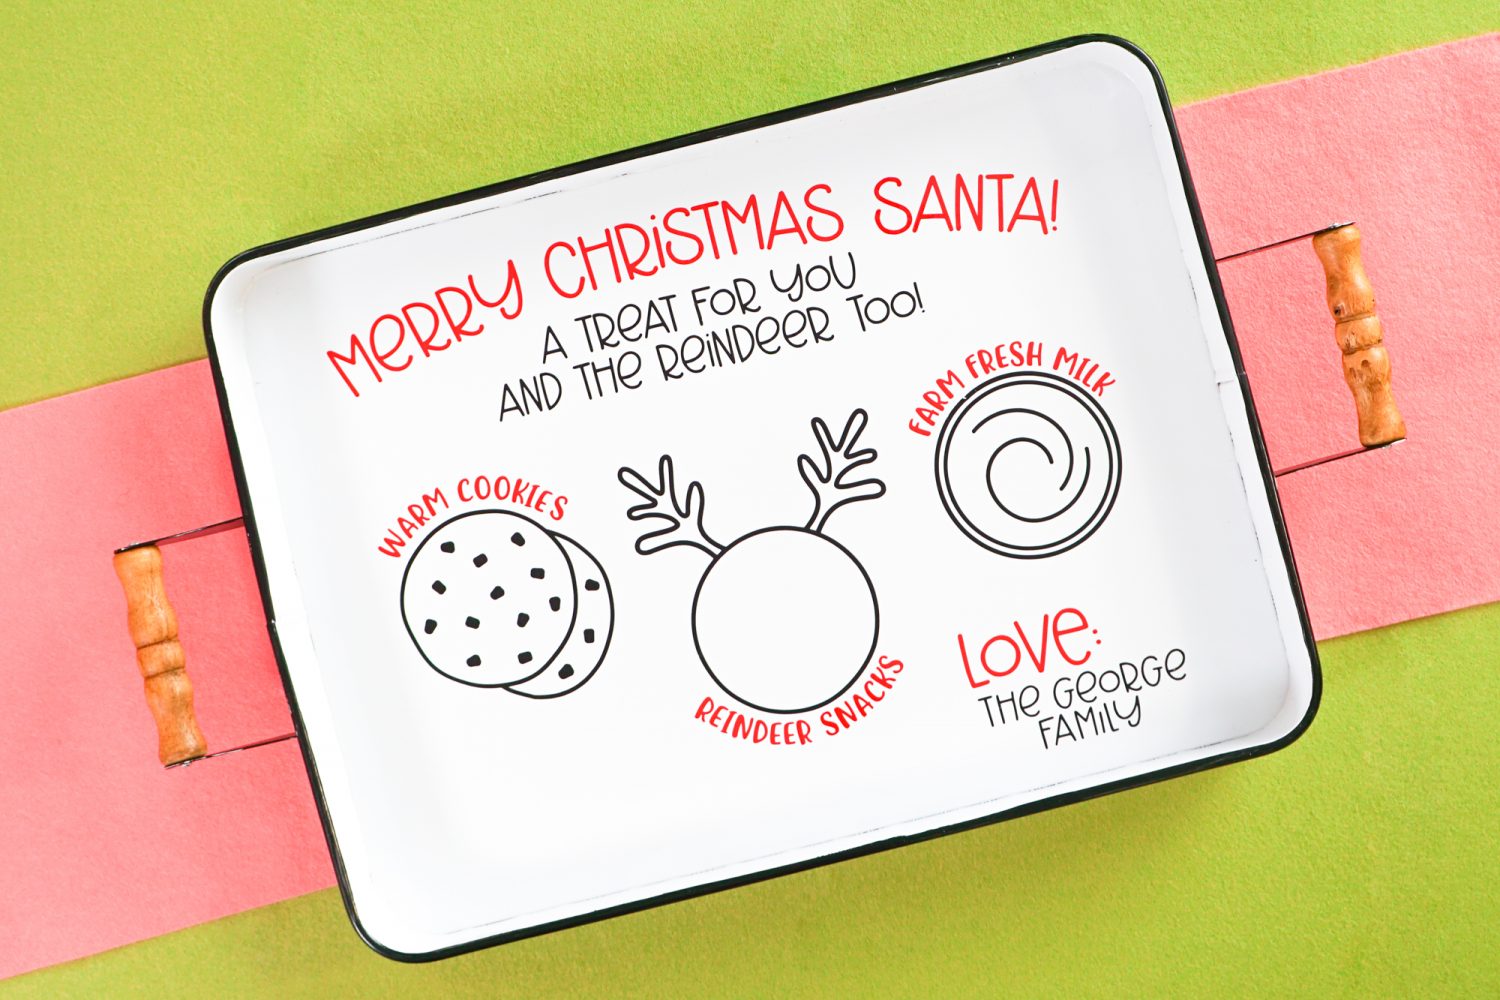
COOKIES FOR SANTA TRAY
Equipment
- 12" x 24" Cricut Cutting Mat
Supplies
- Vinyl black and red
- Transfer Tape
- Metal Tray
Instructions
- Upload the file to Cricut Design Space and change the name if desired.

- Cut the pieces from adhesive vinyl.

- Weed your adhesive vinyl pieces.

- Use transfer tape to adhere the two layers to the tray.

- Get ready for Santa's visit!

Make All the 25 Days of Cricut Christmas Projects!
We’ll be adding links as each day goes live! Grab the full bundle with all of the projects and SVGs in our 25 Days of Cricut Christmas eBook!
- Day 1: DIY Christmas Countdown Calendar
- Day 2: Snow Globe Shaker Card
- Day 3: Happy Holly Days Christmas Banner
- Day 4: Felt Gnome Pillow
- Day 5: Cookies for Santa Tray
- Day 6: Snowflake Coasters
- Day 7: Customized Christmas Banner
- Day 8: Etched Holiday Baking Dish
- Day 9: DIY Gift Card Holder
- Day 10: Christmas Apron
- Day 11: Christmas Quilt Block Artwork
- Day 12: Constellation Glitter Ornaments
- Day 13: DIY Christmas Card Holder
- Day 14: Papercut Christmas Village
- Day 15: Funny Christmas Socks
- Day 16: Veneer Pinecone Earrings
- Day 17: How to Make Felt Bows
- Day 18: Personalized Santa Sacks
- Day 19: Newborn Footprint Ornaments
- Day 20: Layered Christmas Mandala
- Day 21: Customized Pot Holders
- Day 22: Sleigh Rides Christmas Sign
- Day 23: Hot Cocoa Mug Gift
- Day 24: Print then Cut Gift Tags
- Day 25: Matching Christmas Pajamas



Comments & Reviews
Tanya L Schwinn says
Cute idea. I am curious where you found your tray.
Cori George says
I got it in-store at JOANN last year. It looks like they don’t carry it anymore, but here’s a similar one from Lowes: https://www.lowes.com/pd/allen-roth-A-R-18-in-White-Tray-w-Handles/1002978608. Hope that helps!